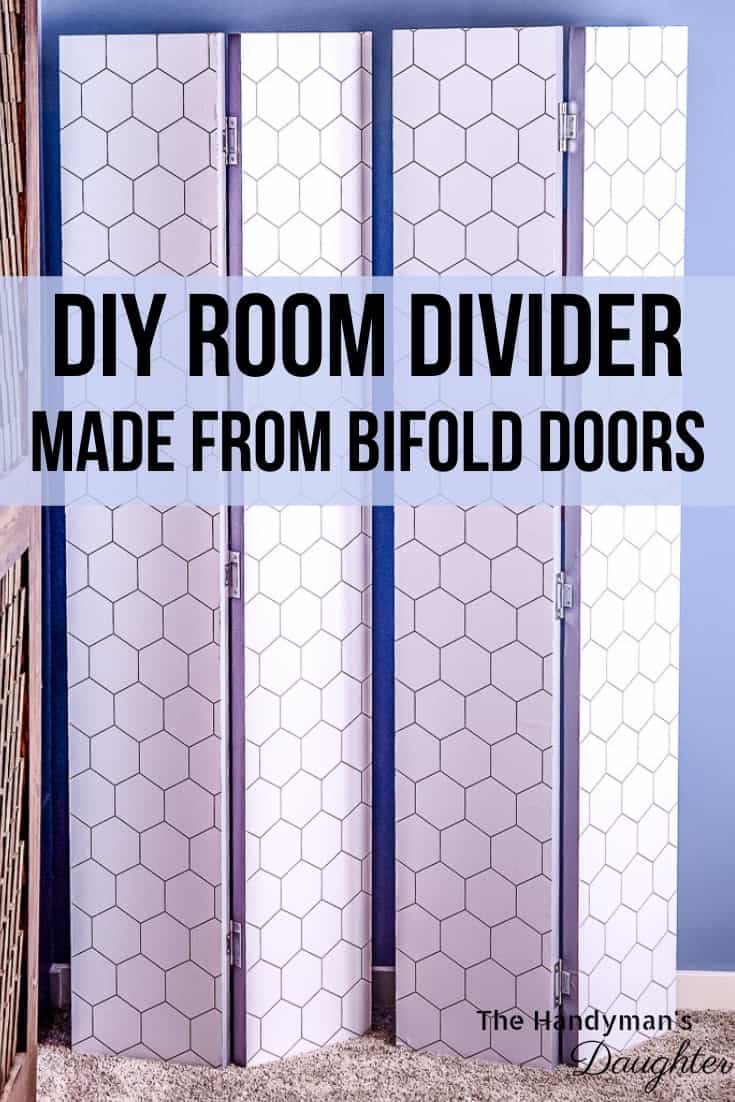
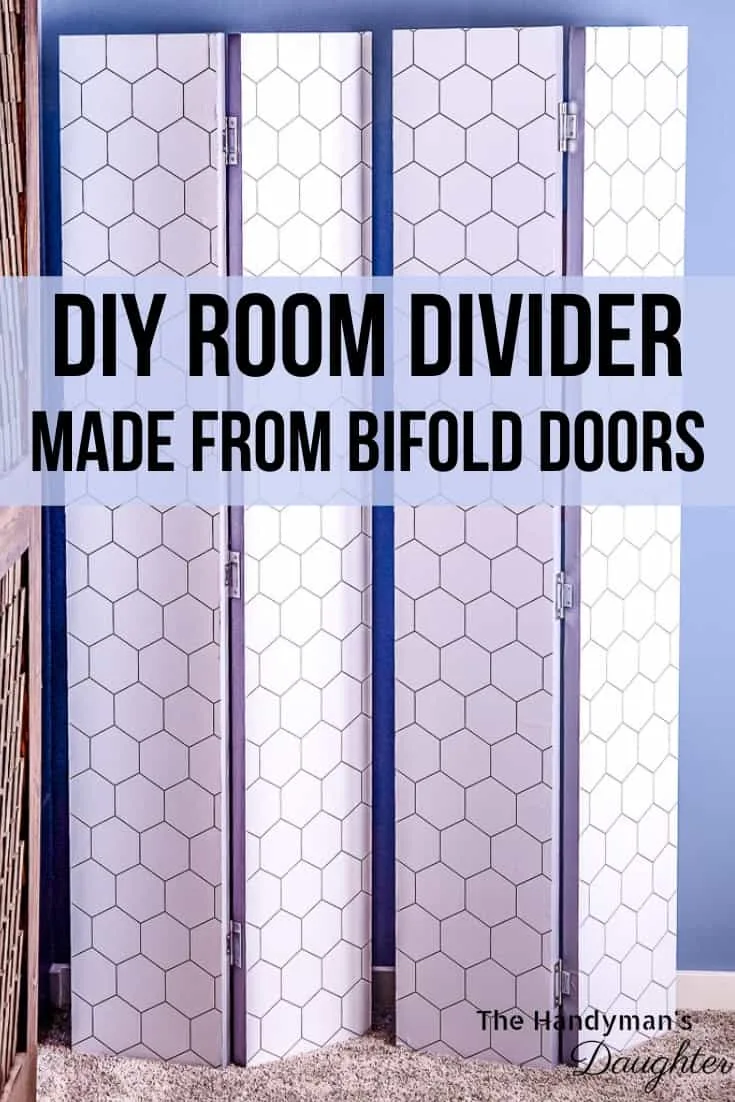
Add privacy or hide away clutter with this DIY room divider! This folding screen is easy to make with bifold doors and contact paper!
Our basement family room is full of eyesores! First, we had to deal with the cold, hard floor that was anything but cozy. That tile was covered with carpet within a few months of moving in!
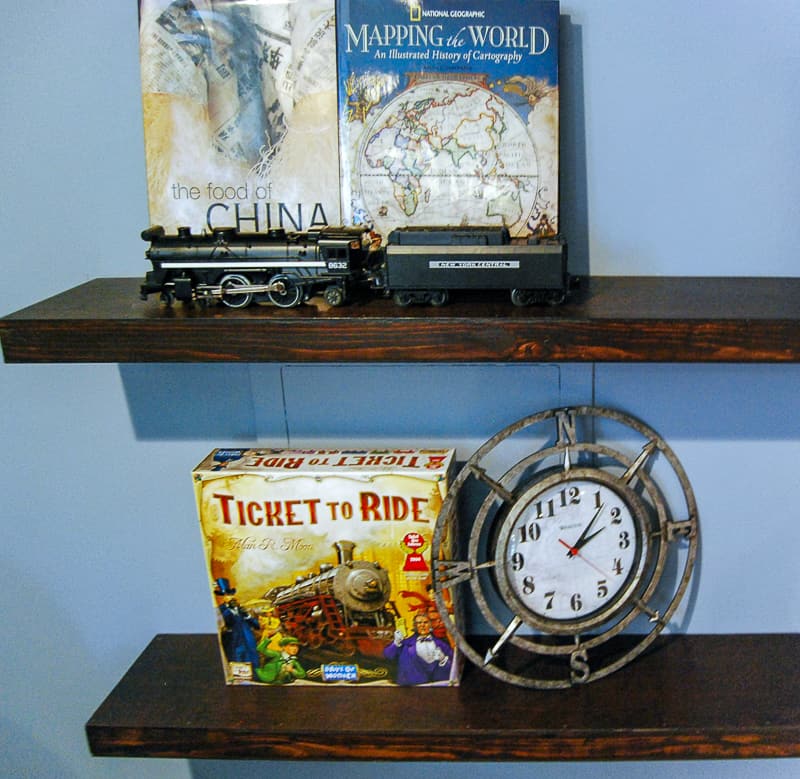
Then we removed a closet to add extra space, but the water shut off valve was exposed in the process. One of my very first woodworking projects was the long floating shelves that hide the knob and access door behind the knickknacks.

Now I finally have a solution to another basement eyesore . . . the electrical panels that stick out like a sore thumb at the end of the room!


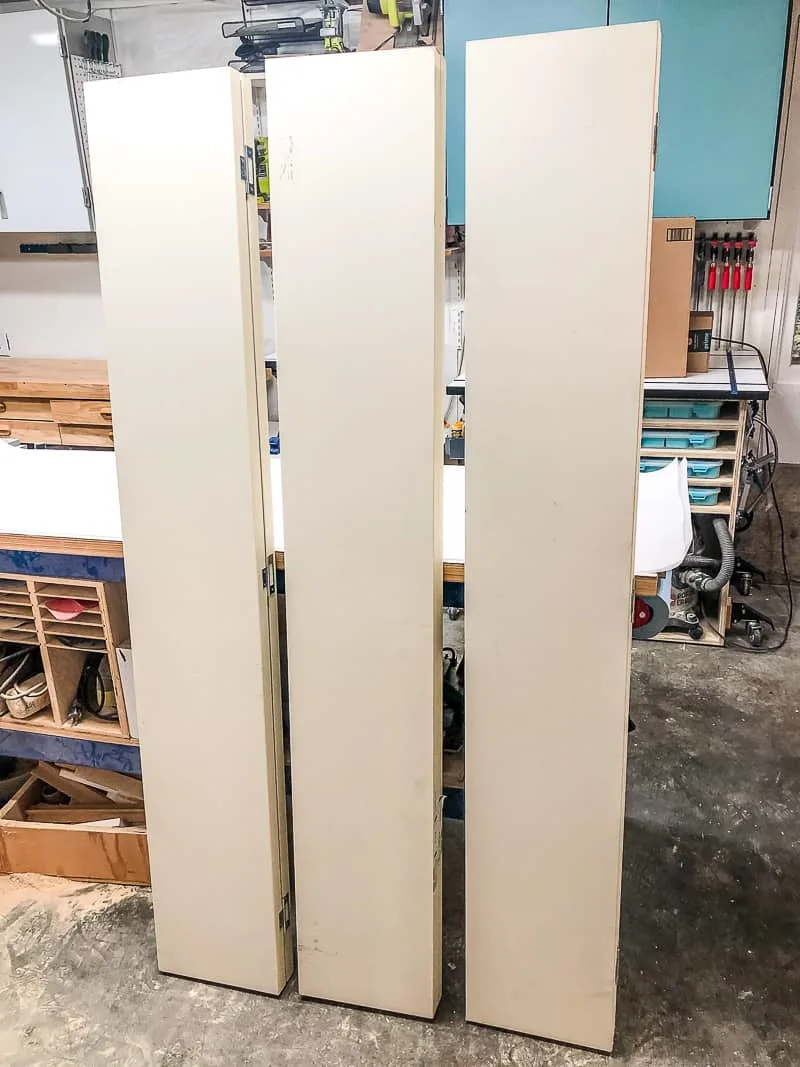
For years, we just tried to ignore it. But I spotted these bifold doors at my local architectural salvage store and knew they were destined to become a folding screen! They're shorter than your average door, and the hollow core makes them light and portable.

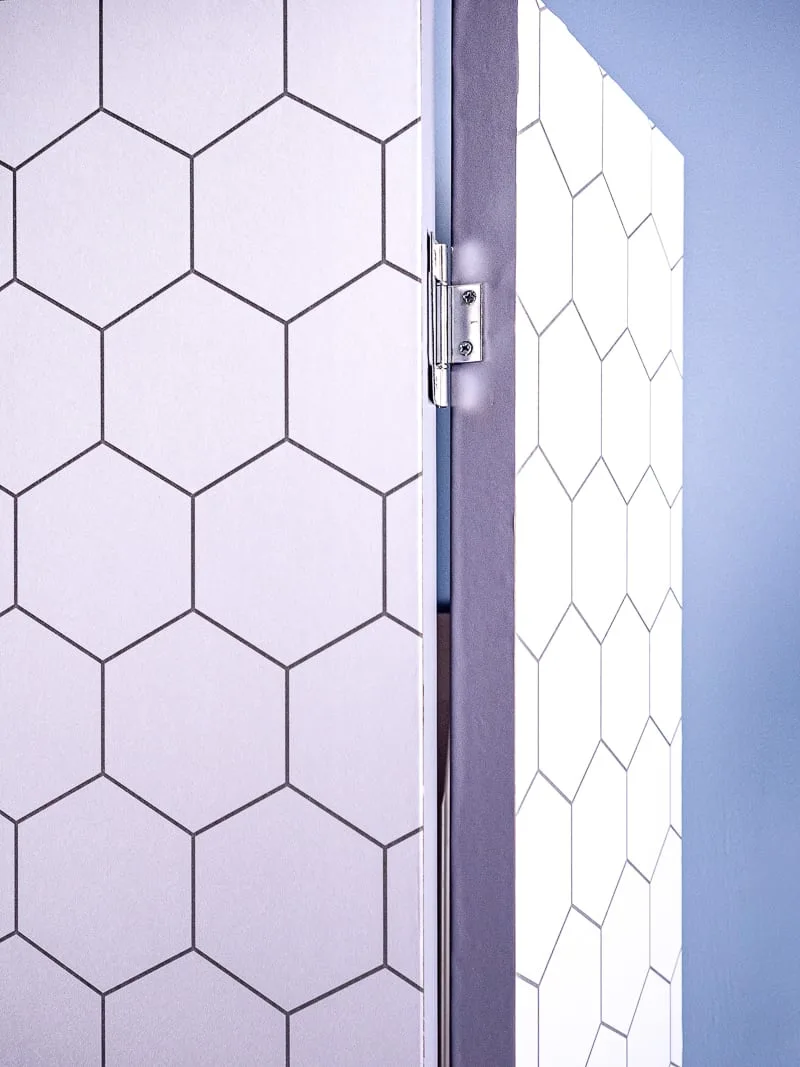
Best of all, the flat front makes them super easy to decorate with contact paper! I'm totally addicted to this stuff, and I've used it to cover everything from our kitchen counters to cabinets. This time, I used a fun print for one side and a coordinating color on the back so I can switch up the look easily! You can find more creative uses for contact paper here!
Here's how to make a folding screen room divider for yourself!
This post contains affiliate links for your convenience. Purchases made through these links may earn me a small commission at no additional cost to you. Please visit my disclosures page for more information.
Materials Needed for DIY Room Divider Screen
- Flat front, hollow core bifold doors
- Check your local Habitat for Humanity or other architectural salvage yard. They usually have plenty of them in stock!
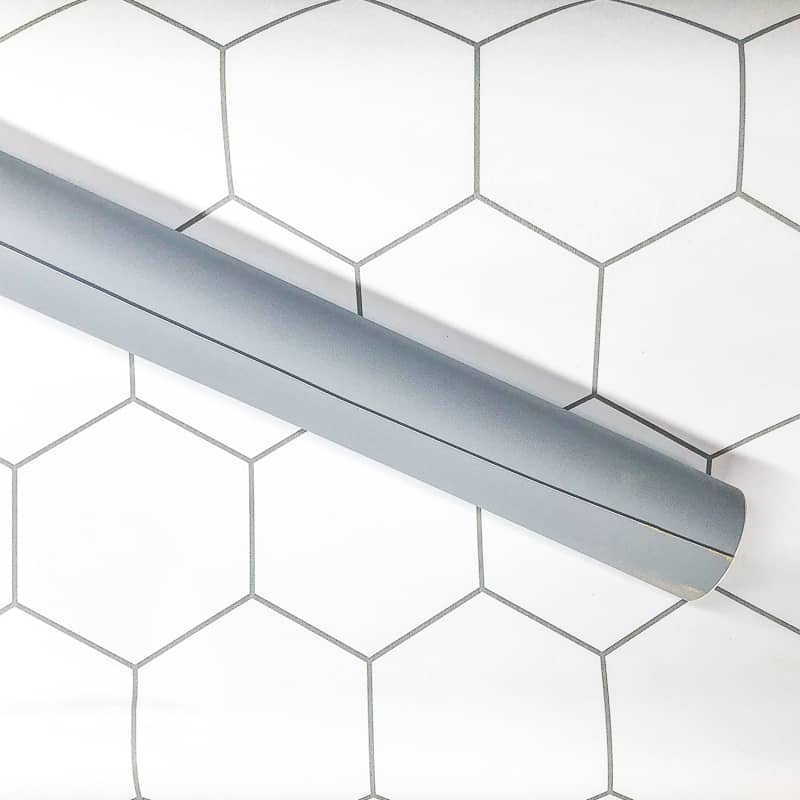
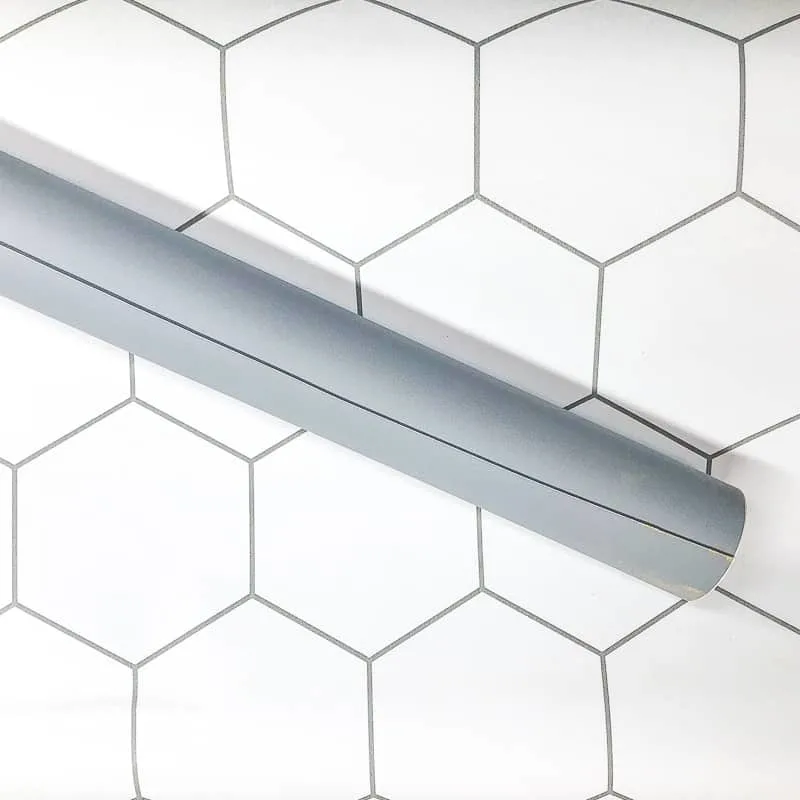
- Contact paper
- I used this hexagon pattern contact paper for one side and this solid gray one for the other three sides.
- Razor blade knife
- Smoothing tool
- Screwdriver to remove door hardware
- Cardboard or cutting mat
How to Make a Folding Privacy Screen
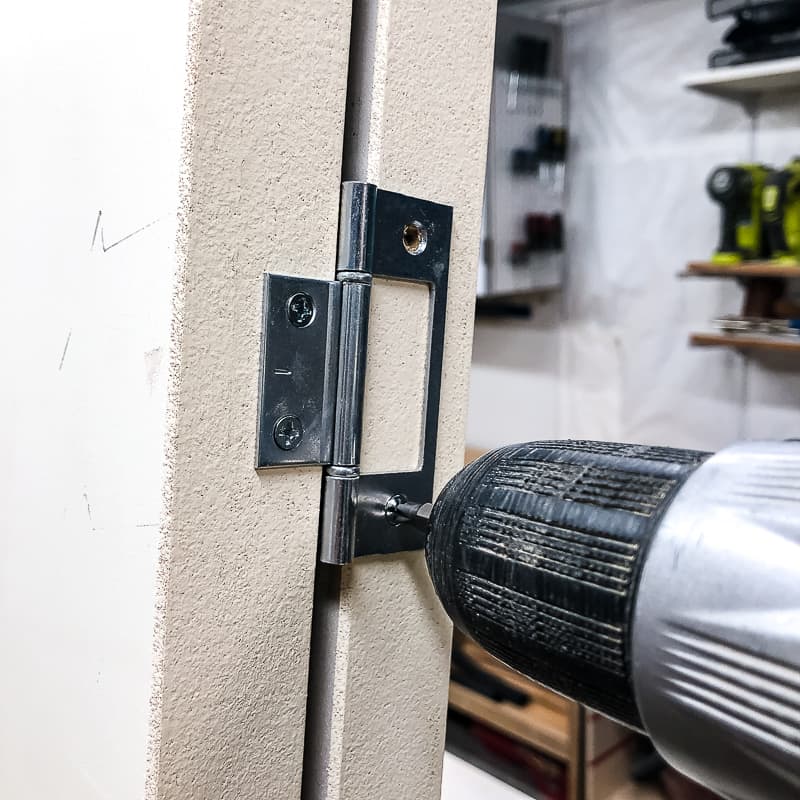
Remove the Bifold Door Hinges
Unscrew the hinges from both doors. It's a lot easier to work with each panel individually.

Cut the Contact Paper to Length
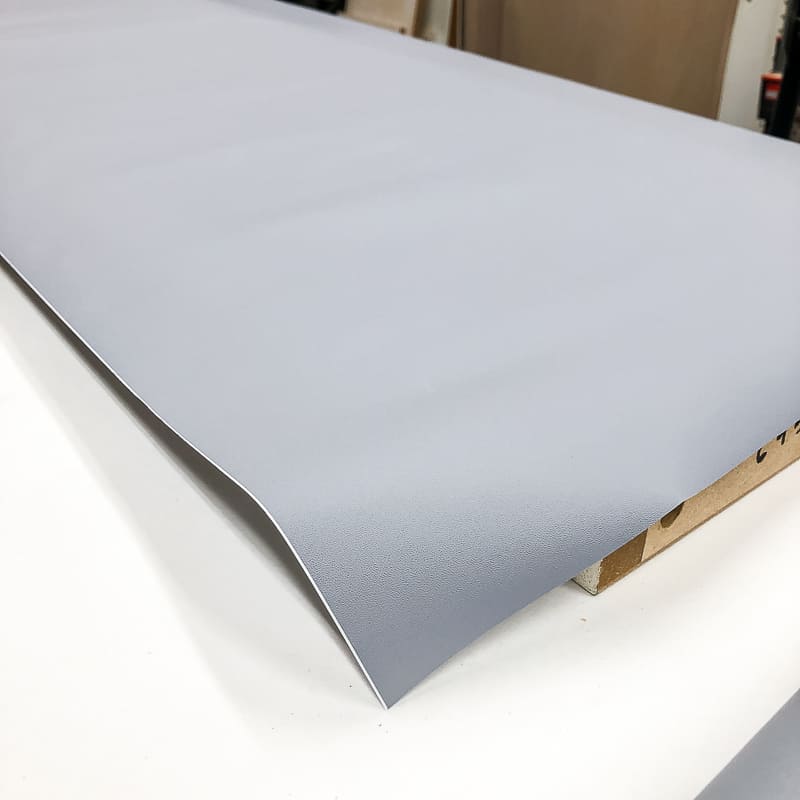
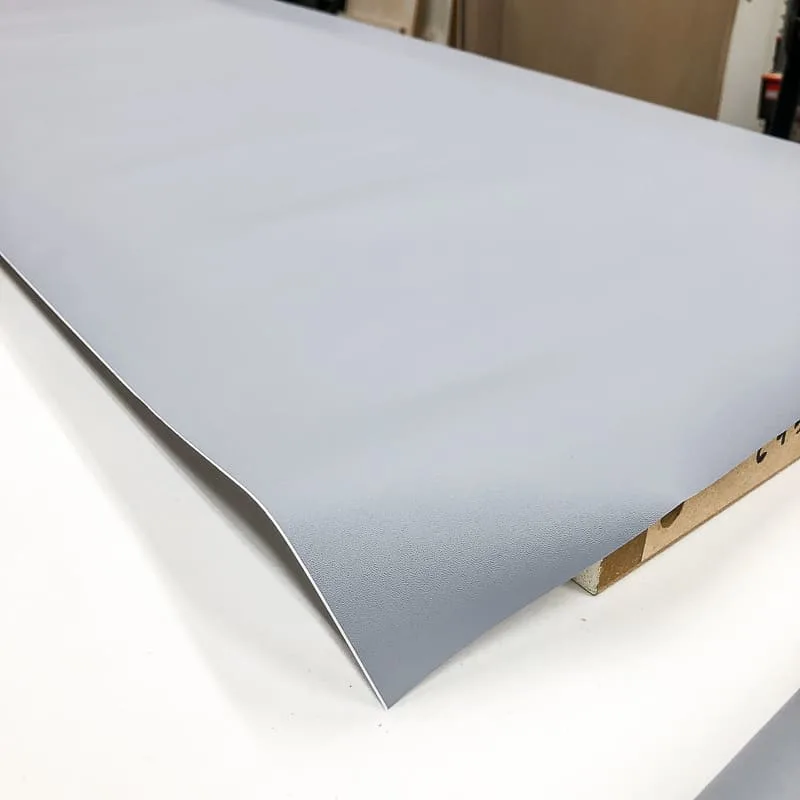
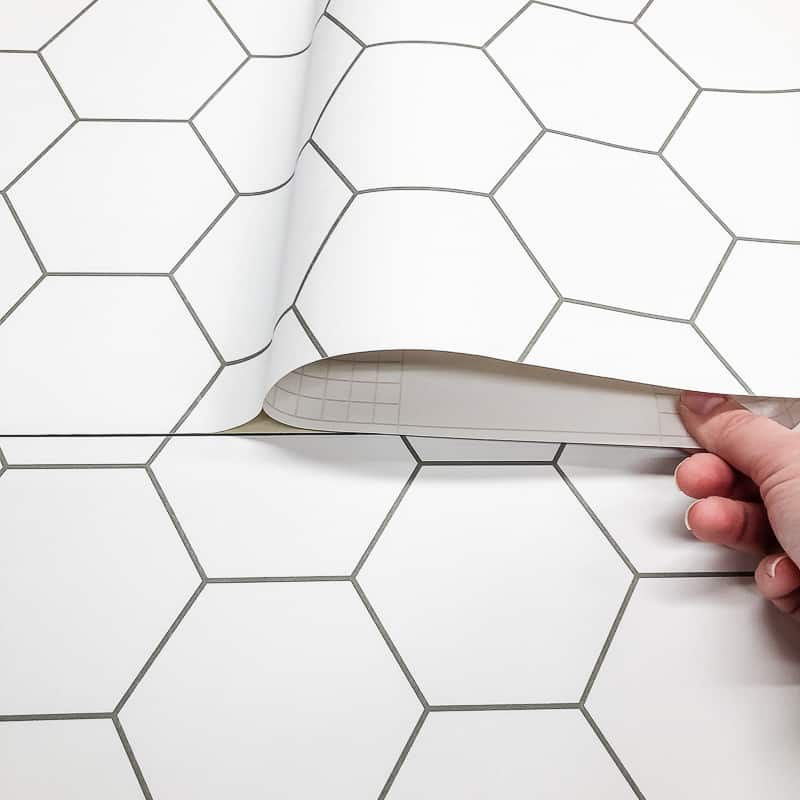
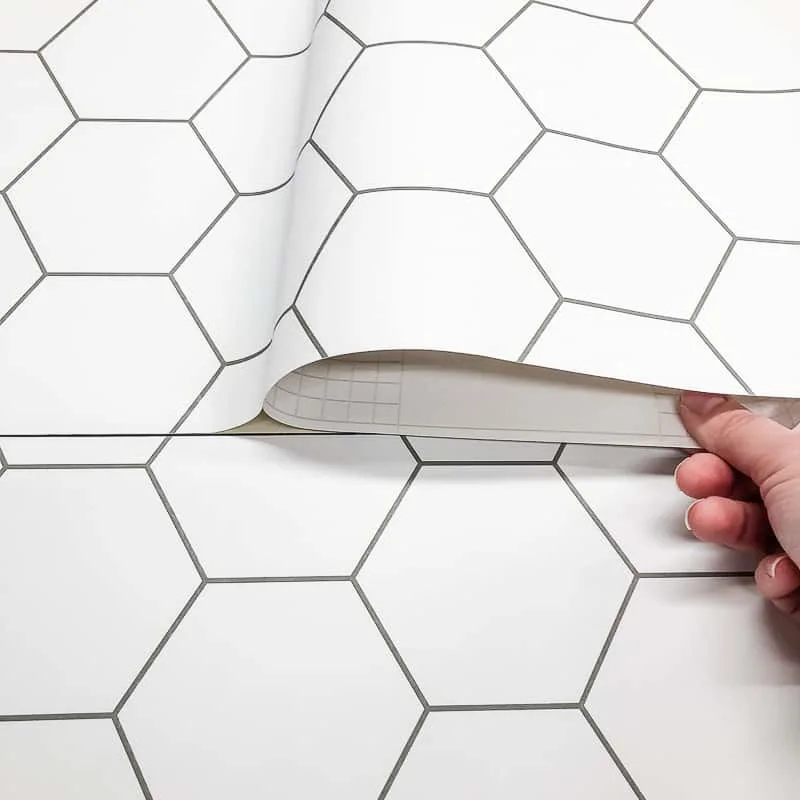
One side of the doors will get a hexagon patterned contact paper, and the others will be a solid gray color. I could have painted those sides, but this is faster and easier!
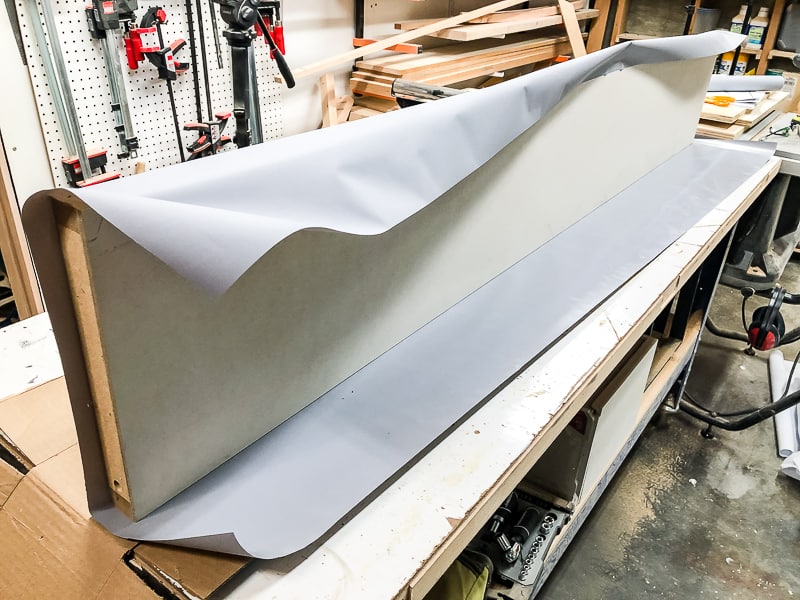
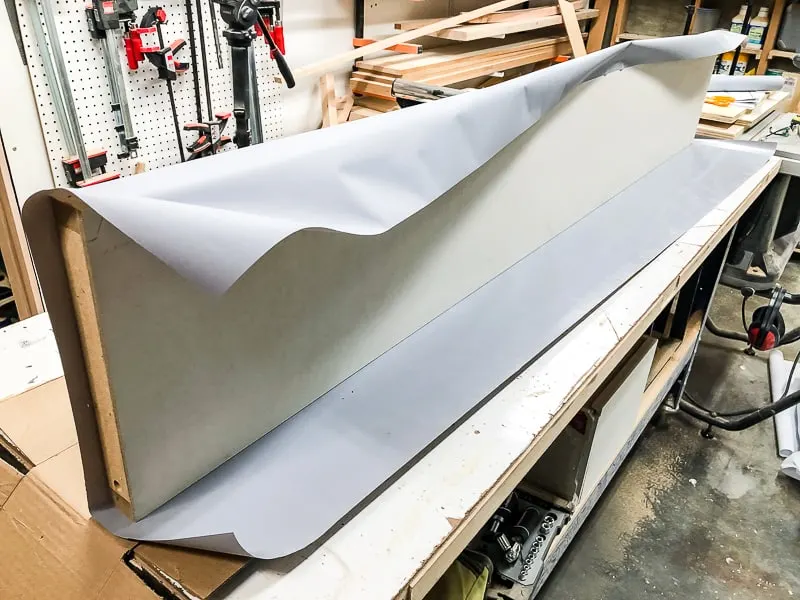
I started with the solid gray sides, saving the pattern matching for the end. Roll out the contact paper down the length of the door and cut it to size with a little excess just in case.
Peel and Stick Contact Paper to Door
I started with the solid color side first. I planned to wrap the contact paper around to the sides of the doors, so I kept it roughly centered. Just peel off the first few inches of the backing and stick it in place!

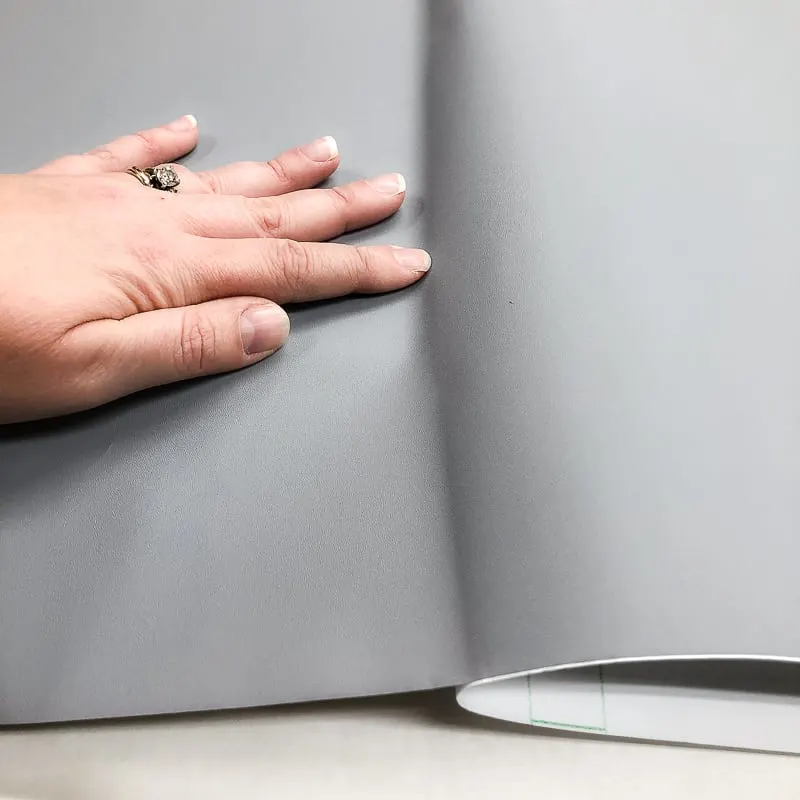
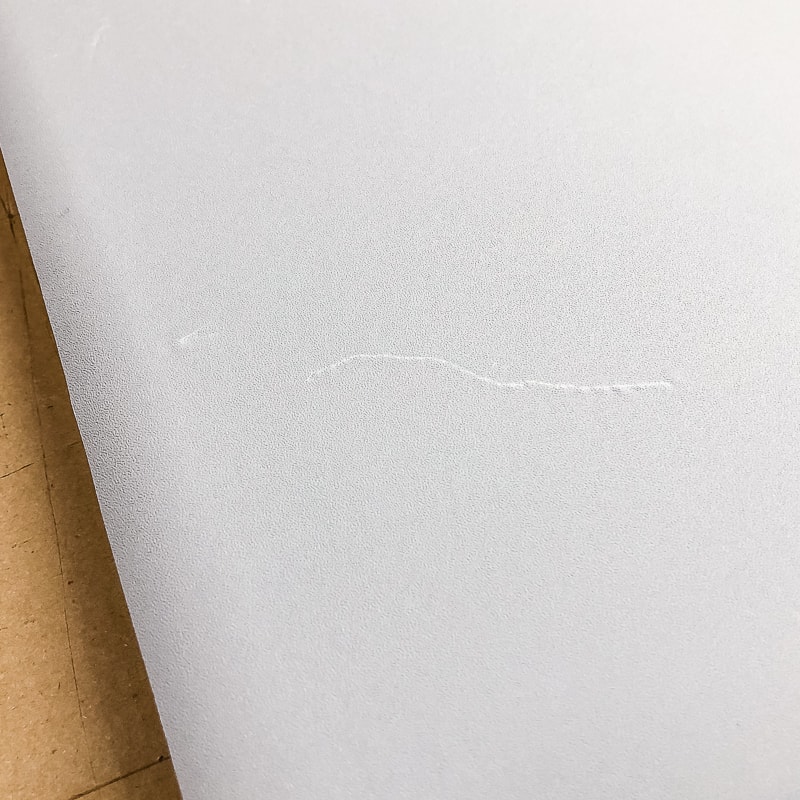
This stuff is pretty thick, so I just pressed out any air bubbles with my hand. You can use a smoothing tool, but I was worried it would create lines. This contact paper isn't as durable as the kind I used on my kitchen counters, and every scratch shows on the solid color!
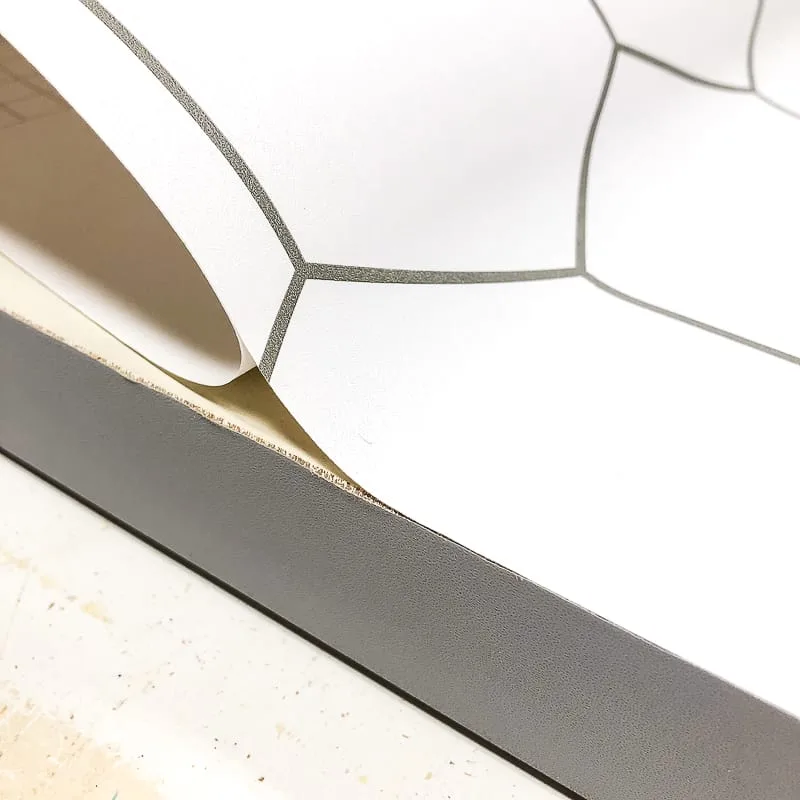
Once the contact paper is in place on the front, crease it along the edges and wrap it around to the sides.


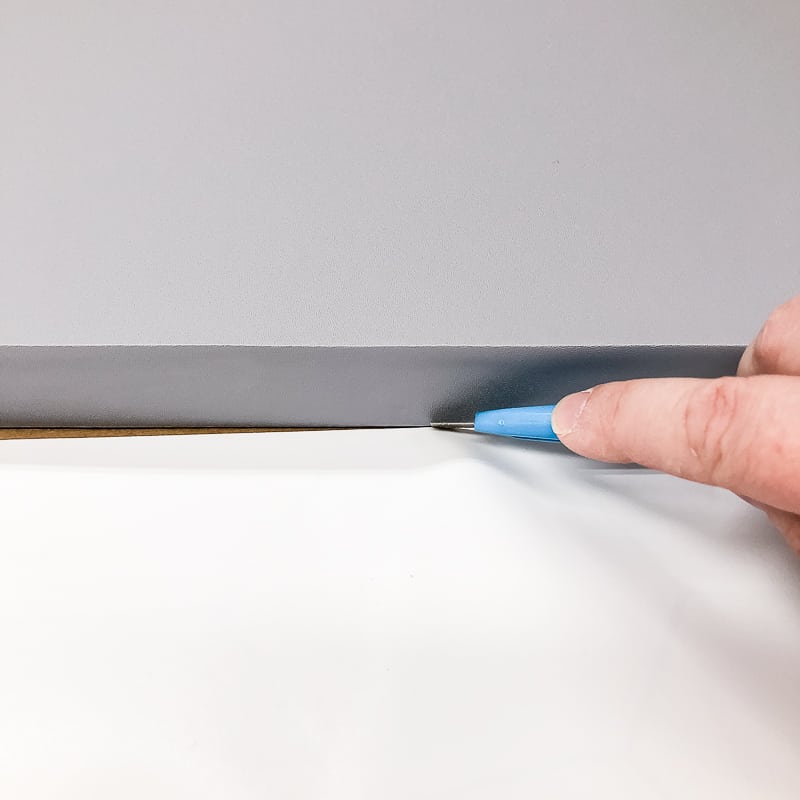
To get a perfectly cut edge, I stood the door up on its side with a piece of cardboard underneath.
Then I used a razor blade to slice away the excess along the edge.
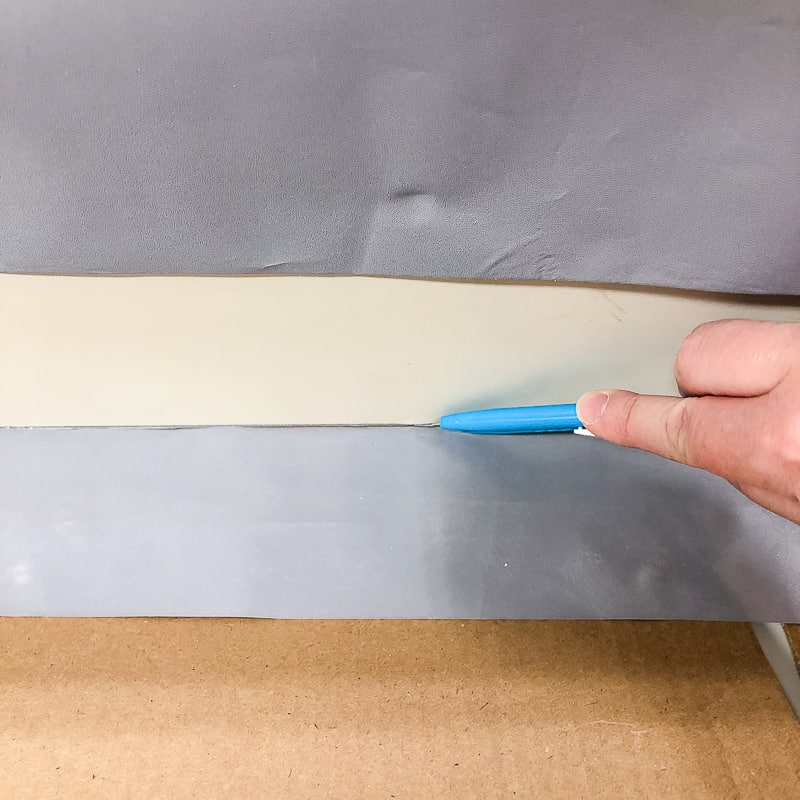
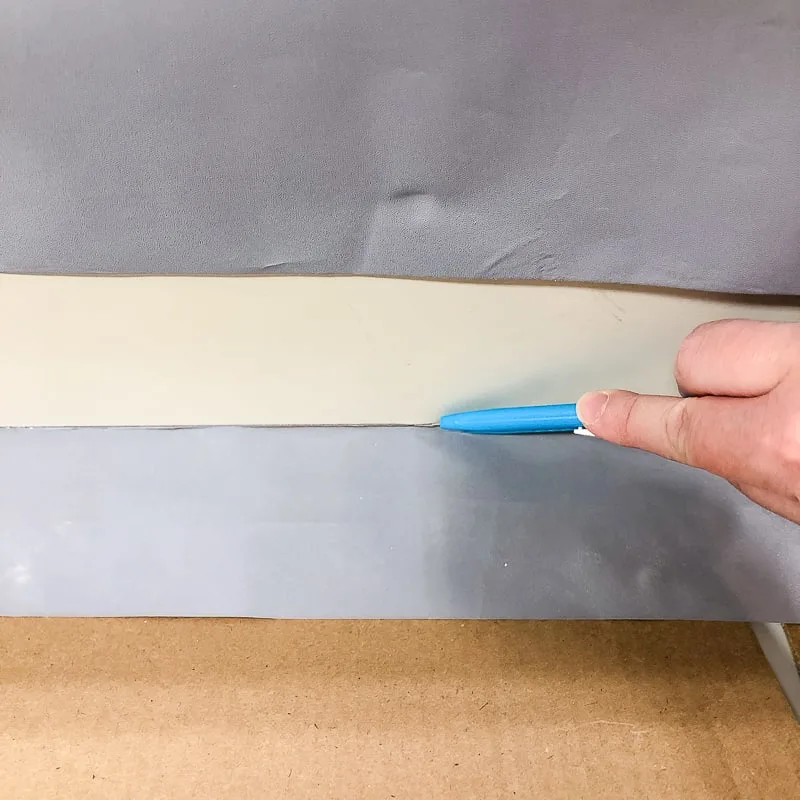
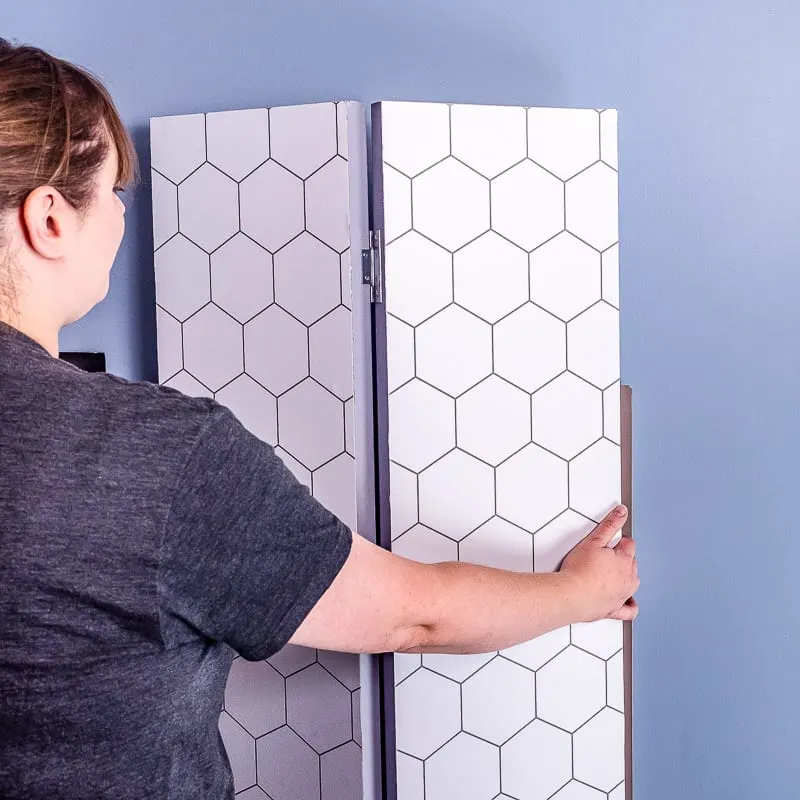
The hexagon side was a little trickier because I had to match up the pattern. First, I lined up the factory cut edge of the contact paper with the side of the door with the hinge holes. Allow the excess to hang off the other side.

Then I flipped the door over so that the patterned contact paper was on the bottom (on top of cardboard). Cut along that edge to remove the excess.

Place the two doors with the hinge holes facing each other. Line up the pattern so that it continues to the next door.
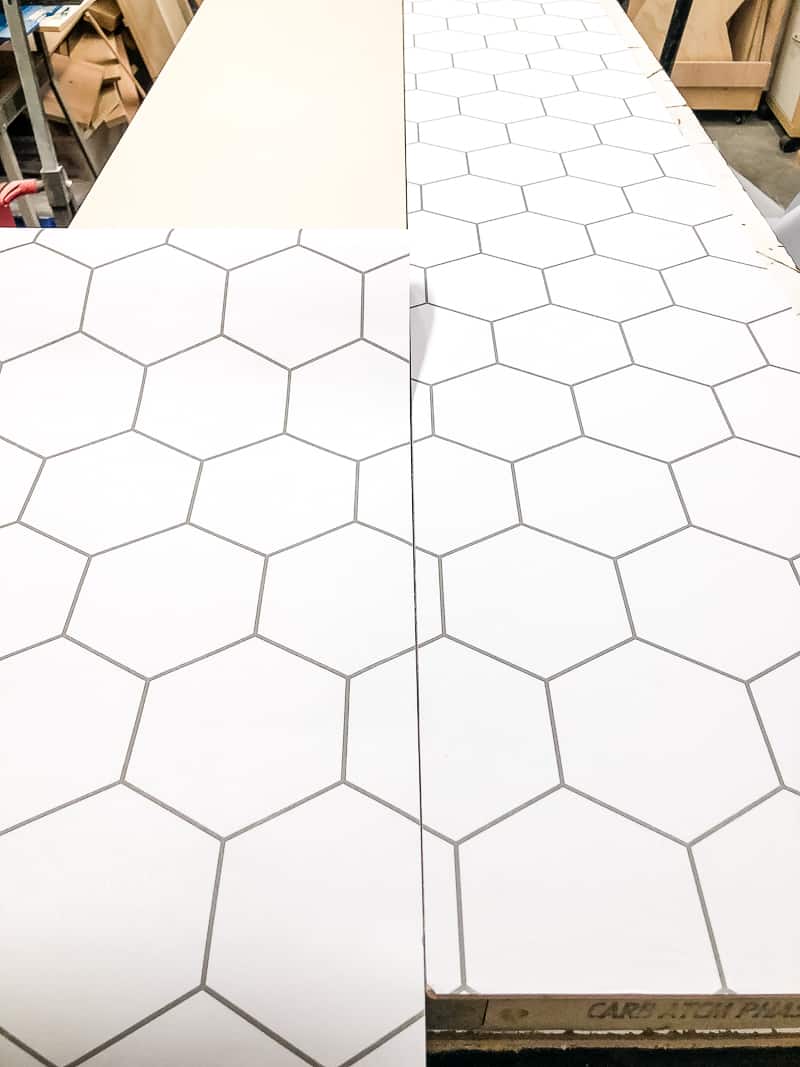
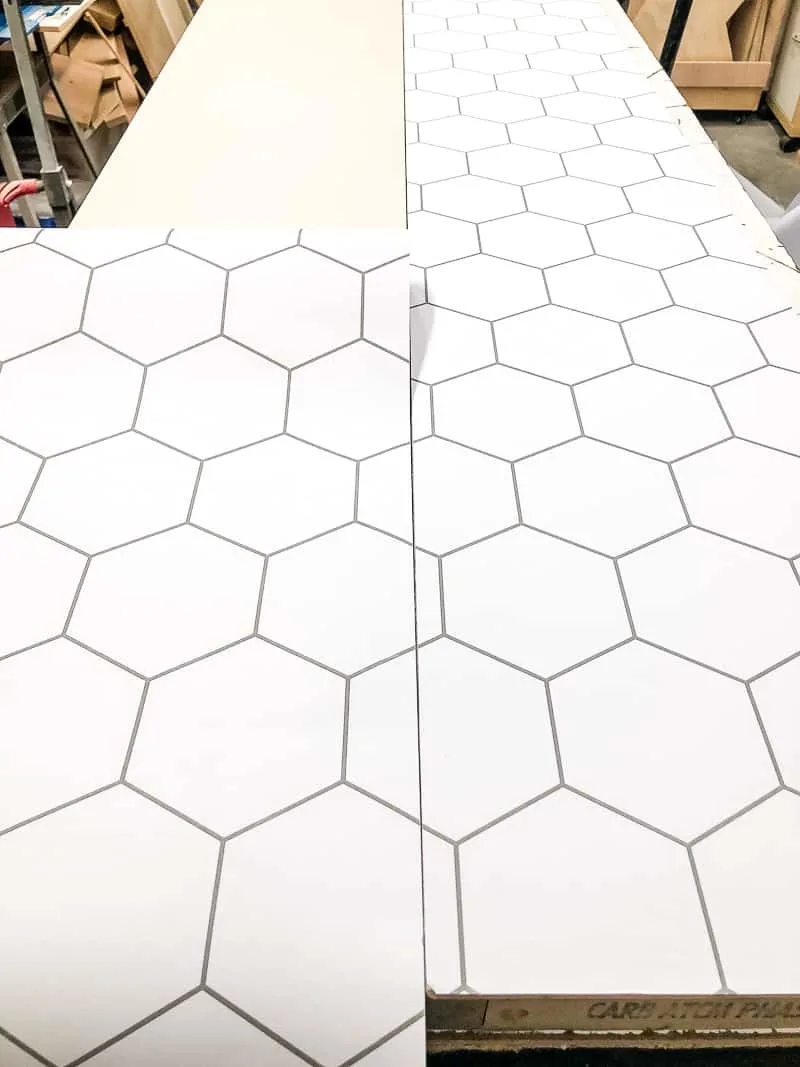
Stick the contact paper in place, then cut off the excess the same way as before.
Reattach the Hinges
Since the original hinge holes were covered with contact paper, I had to feel along the edge to find them. Screw them back into place on one door, then attach the second one.

You could use additional hinges to connect all the doors together for a longer folding privacy screen. But I thought this would be too awkward to move if we needed to get to the electrical box in a hurry, so I just left the doors in pairs.


Stand Up your New Folding Screen Room Divider
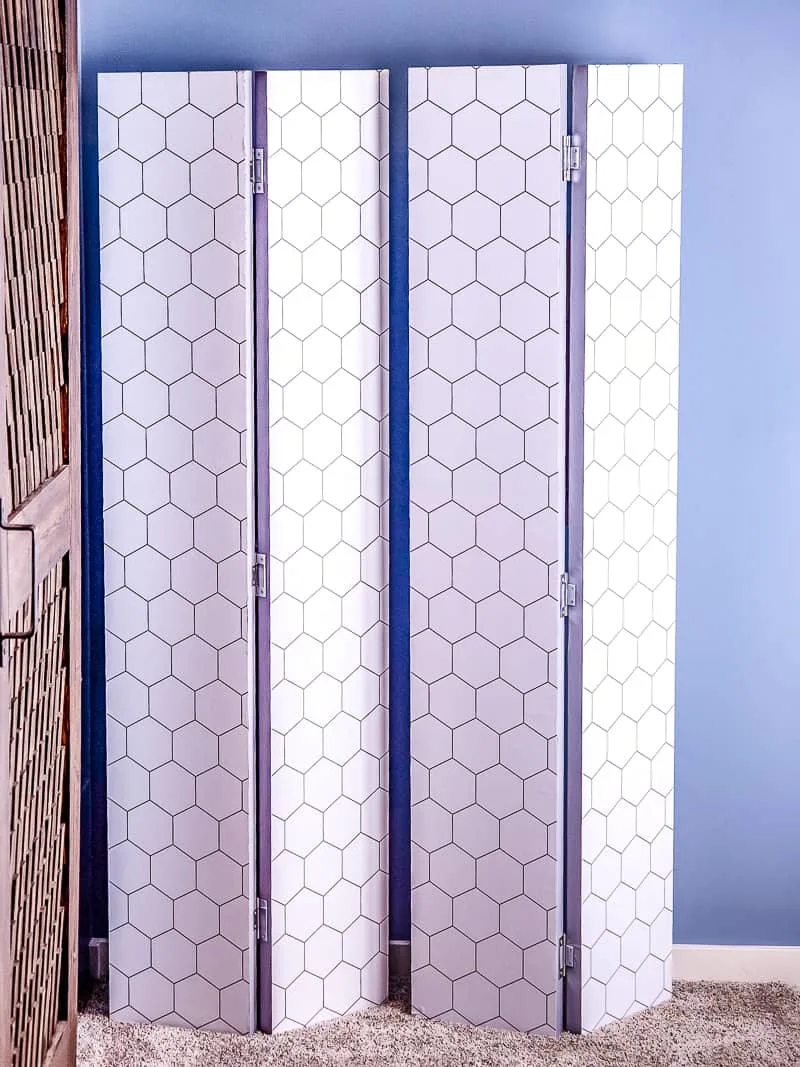
Open up the doors to form a V, then stand them up in place.
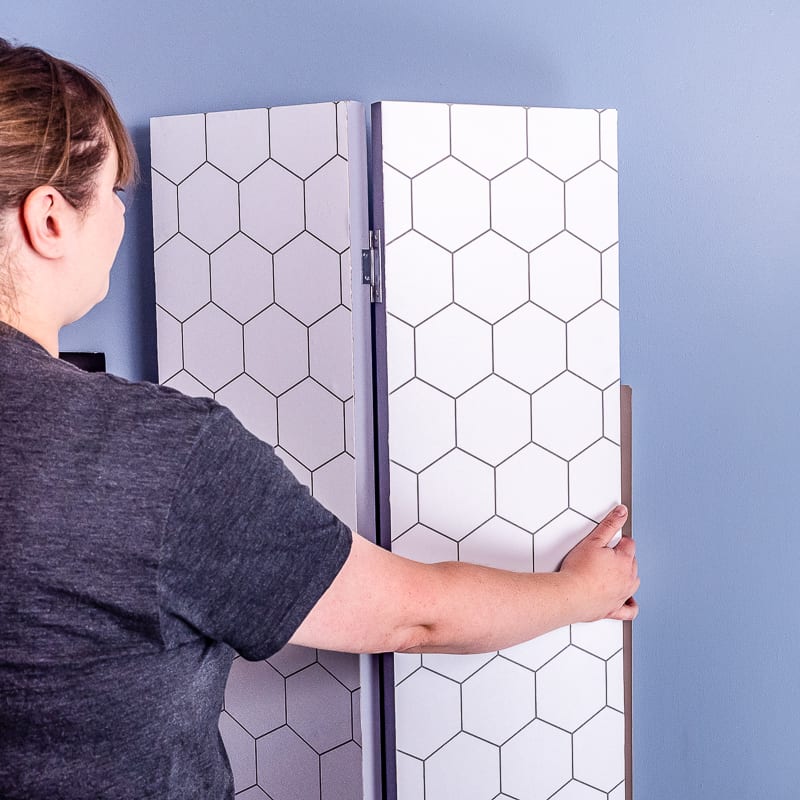
I played around with the arrangement to see what looked best. You can mix them up and have the pattern showing on one pair, with solid color on the other.

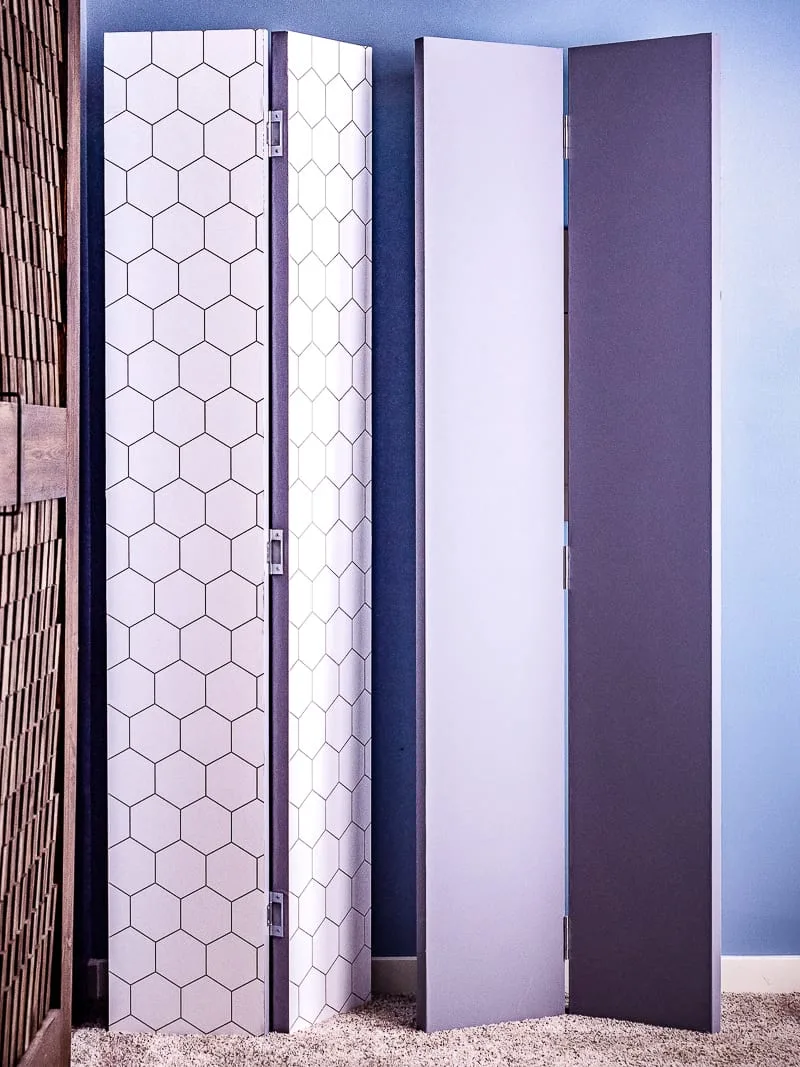
I personally like the hexagon side best. I adjusted the spacing between the two panels so the pattern flows better from one to the next.

Even with the barn door open all the way, there's plenty of room to store the room dividers off to the side when necessary.

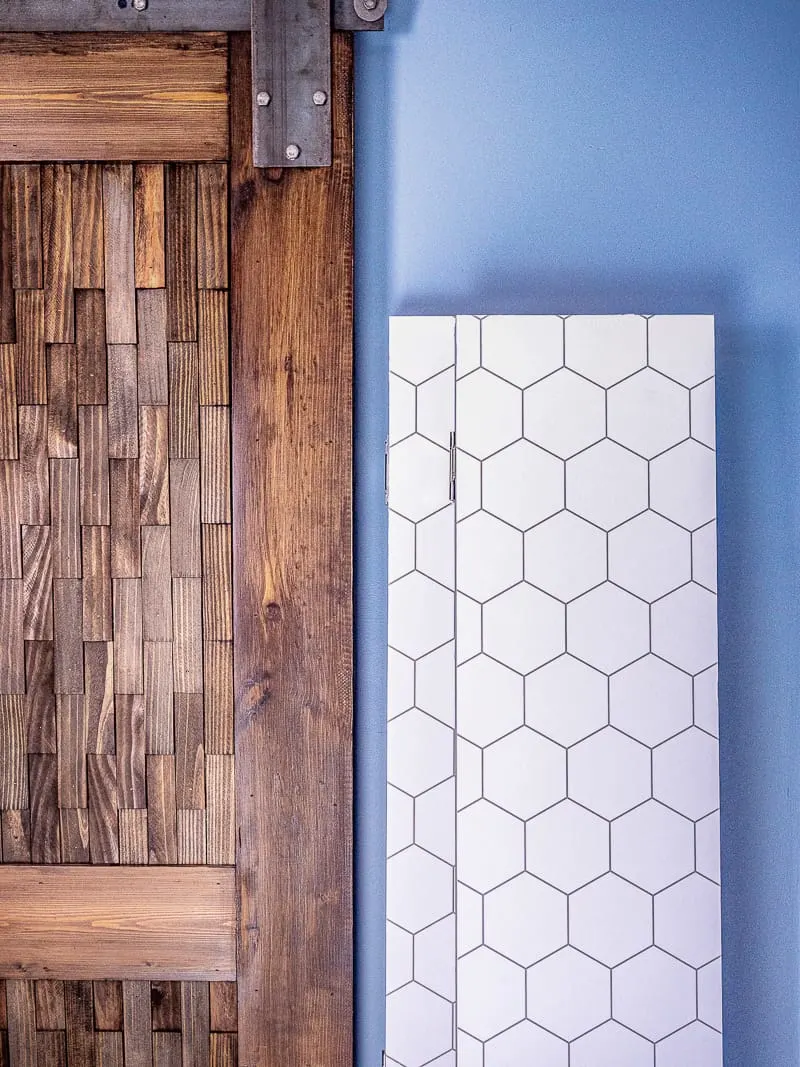
I'm so glad I don't have to look at those ugly electrical panels at the end of the family room anymore! 🙂
Check out these other DIY project ideas!