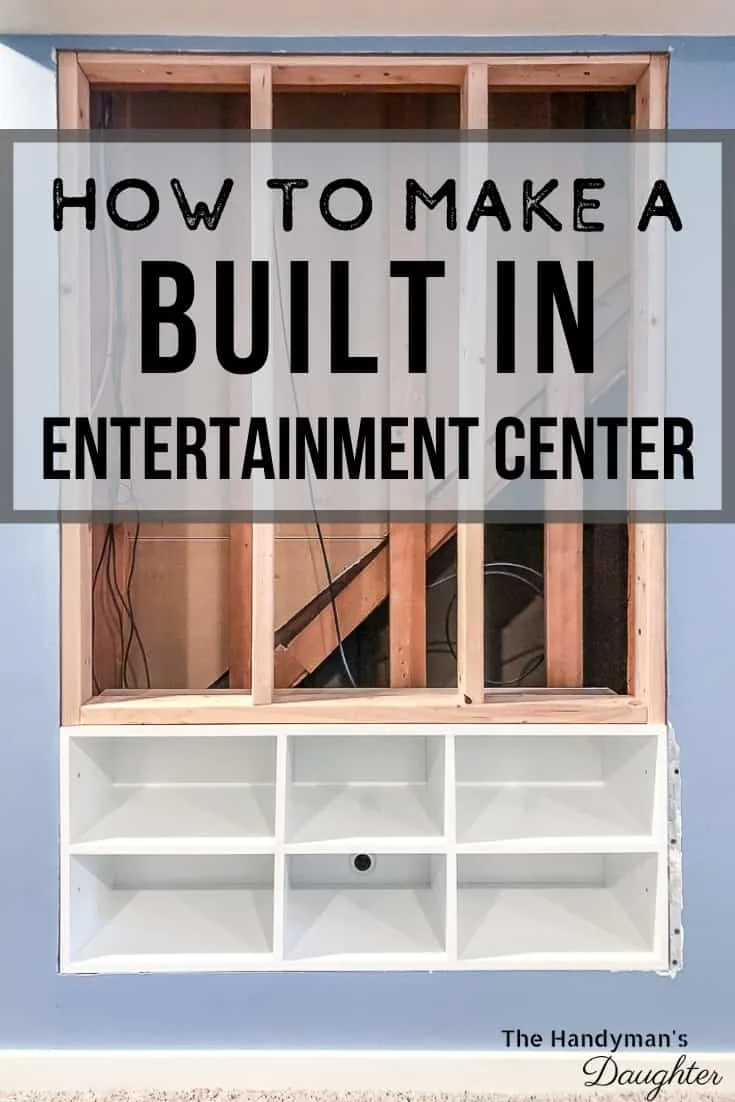
Turn the space behind the drywall into a built in entertainment center! Here's how I recessed shelves for our game consoles below the tv.

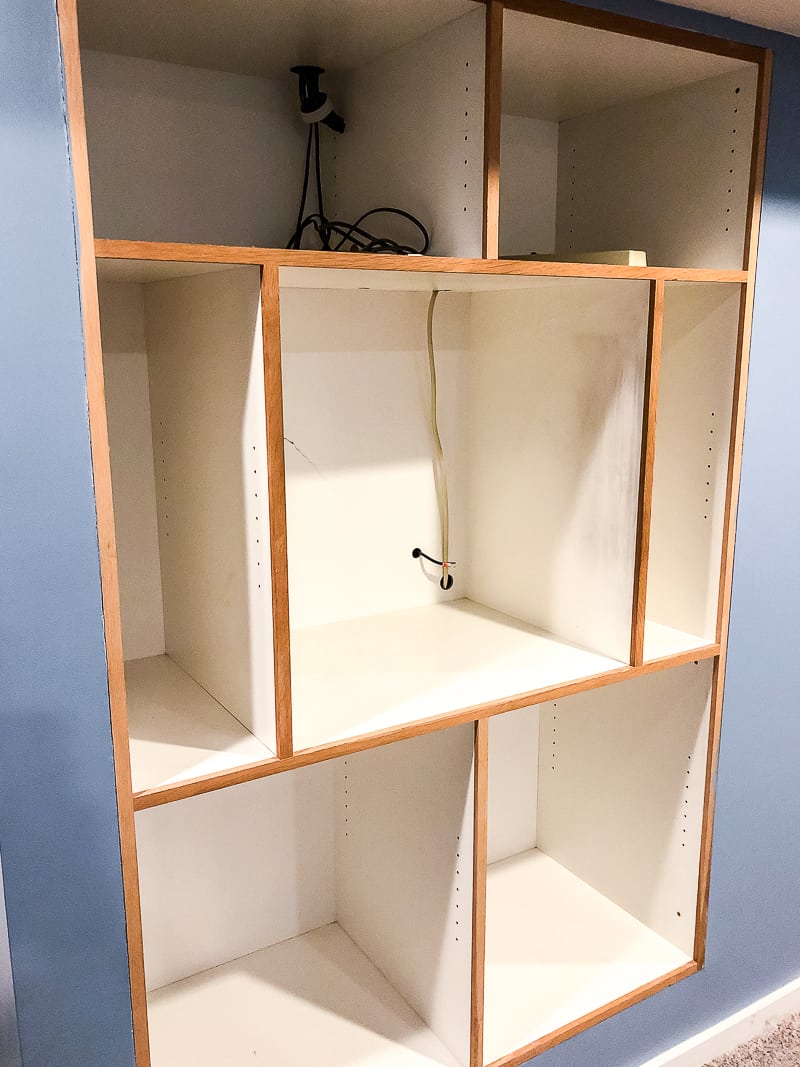
I'm finally checking a project off my to-do list that I've been wanting to tackle for-e-ver! This built in entertainment center in our basement would have been great in the 1990's, but it doesn't fit our 55" flat screen TV. Instead, we plopped this stand in front of it and tried to hide the mess as best as we could.

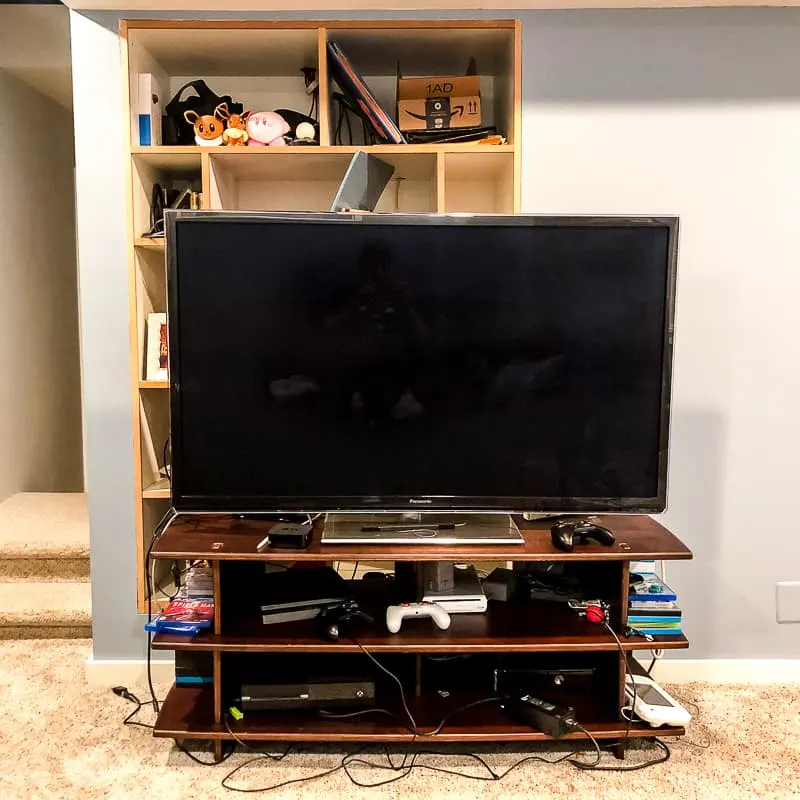
But now I'm ripping the whole thing out! I'll build recessed shelves for all our gaming consoles, then I'll drywall over the rest of the hole so we can hang our TV on the wall!
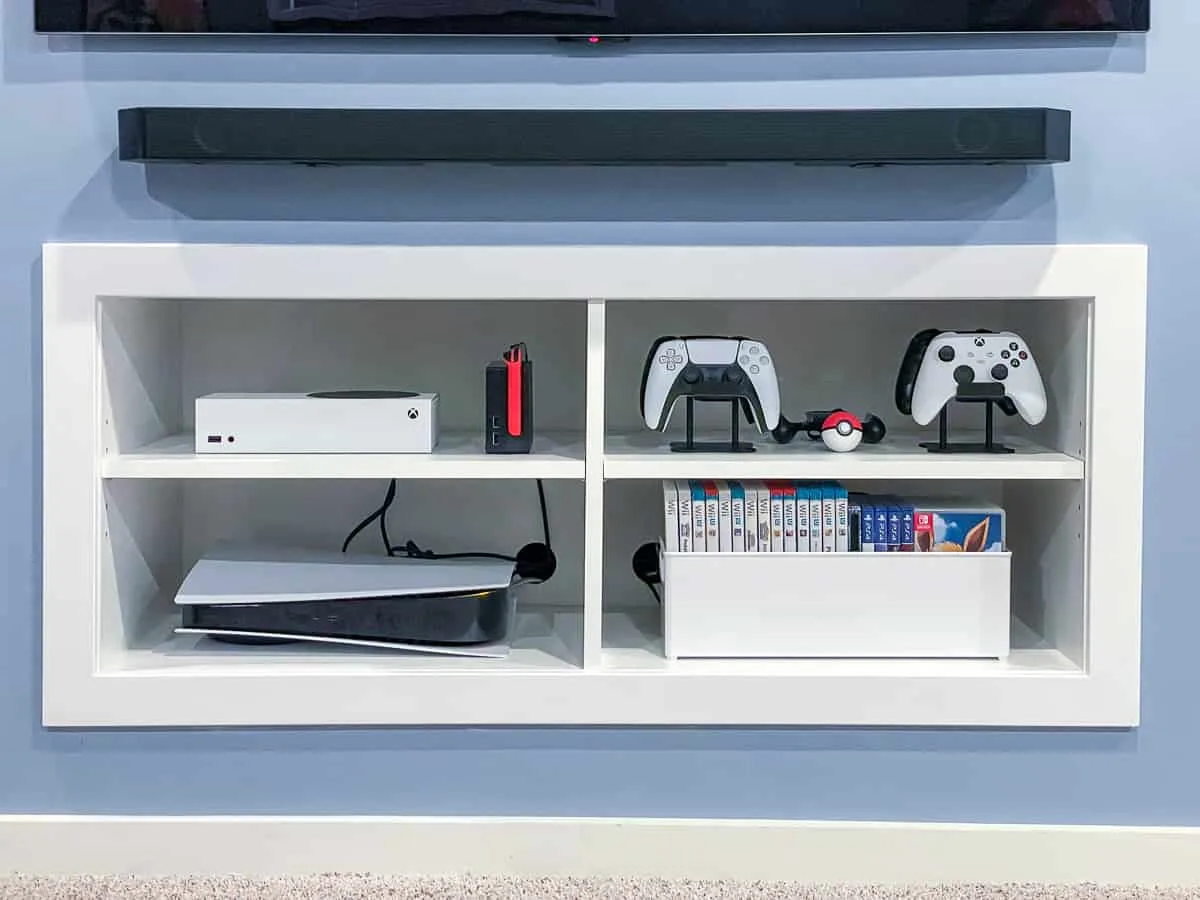
UPDATE: It turns out, these shelves weren't big enough for the Playstation 5! I rebuilt them with wider adjustable shelves so everything fits! Check out the tutorial on how to make these game console shelves here.

Keep in mind that most walls are only a few inches deep, with 3 ½" between the sheets of drywall. You'll need a much deeper space to create shelves that are large enough to hold game consoles or tv equipment.
This process is similar to the recessed bathroom shelves I made during my bathroom renovation, just bigger! If you only need to store DVDs and game controllers, you could use that tutorial to make shelves that stick out just a few inches from the wall.
This post contains affiliate links for your convenience. Purchases made through these links may earn me a small commission at no additional cost to you. Please visit my disclosures page for more information.
How to Make a Built-In Entertainment Center
Make a Hole in the Drywall
There's nothing like a little demolition to start off a project! 🙂 It's both nerve-wracking and exhilarating at the same time.
Obviously, we already had a huge hole in our drywall from this built-in shelving unit. I'll be reusing about a third of this space, and covering up the rest with new drywall later.
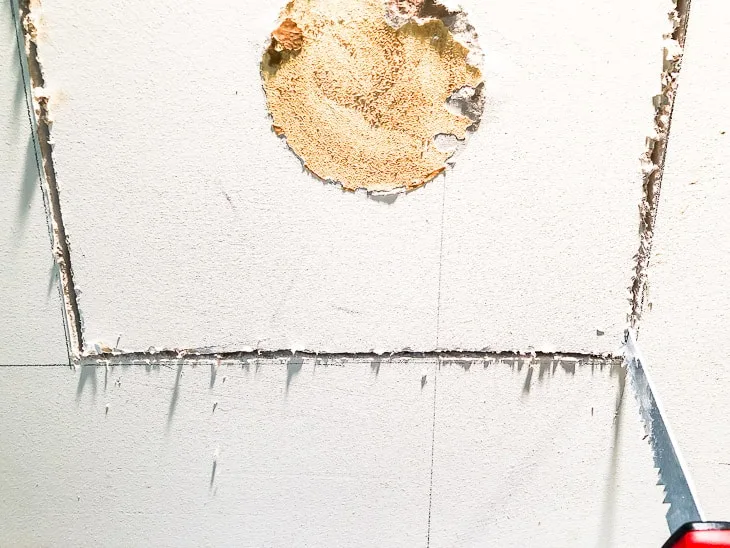
To create a new hole, first you'll need to locate the studs. Mark their location, then use a drywall saw to cut along the side of the studs on either side of the hole. Then cut across the top and bottom and remove the drywall. You may need to remove the drywall screws from the studs in the middle of the panel so it can come out in one piece.

In my case, I had to remove this monstrosity to create the hole I wanted. With everything cleared away, it was easier to see how the old built-in entertainment center was installed. The entire thing was assembled outside of the wall, then slid into place! All the shelves were put together with dados and glue, so there wasn't an easy way to take it apart.

So I got out my trusty jigsaw and started hacking away!
I cut all the interior shelves out first, then took out the screws that were holding the entire thing to the studs. Don't worry about those dangling cords, they're just dead speaker wires.
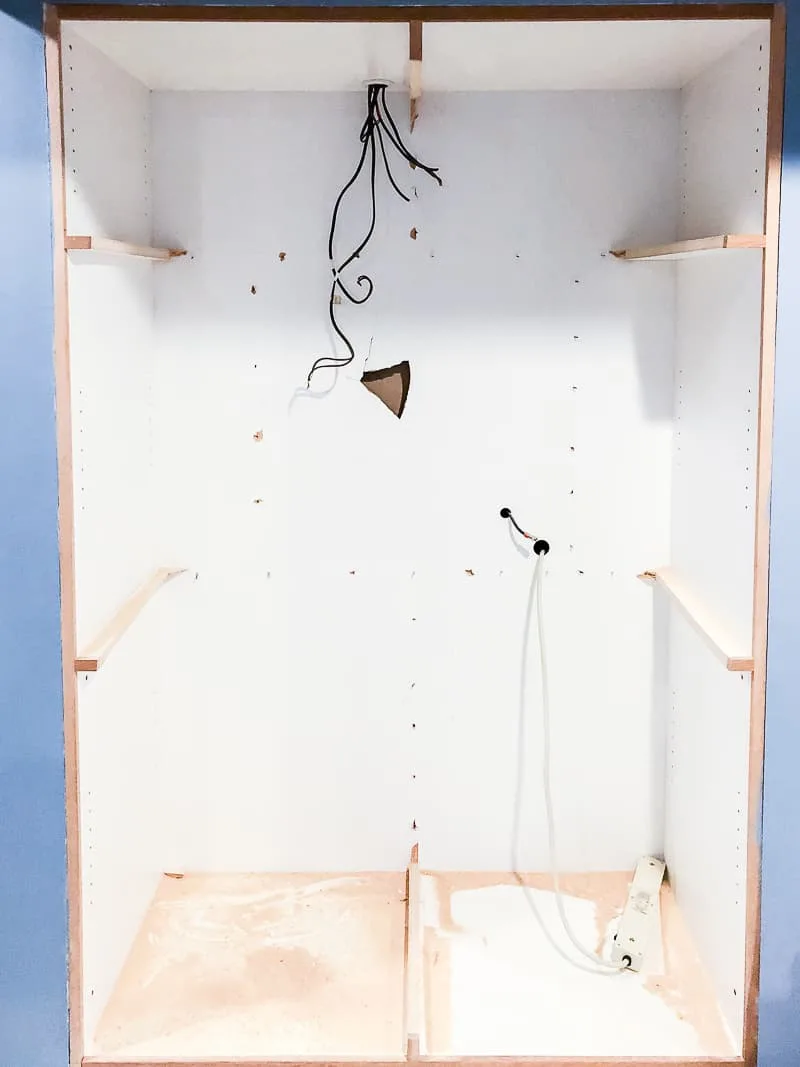
Then I busted through the back panel and used a crowbar to slowly pull the frame out of the hole.
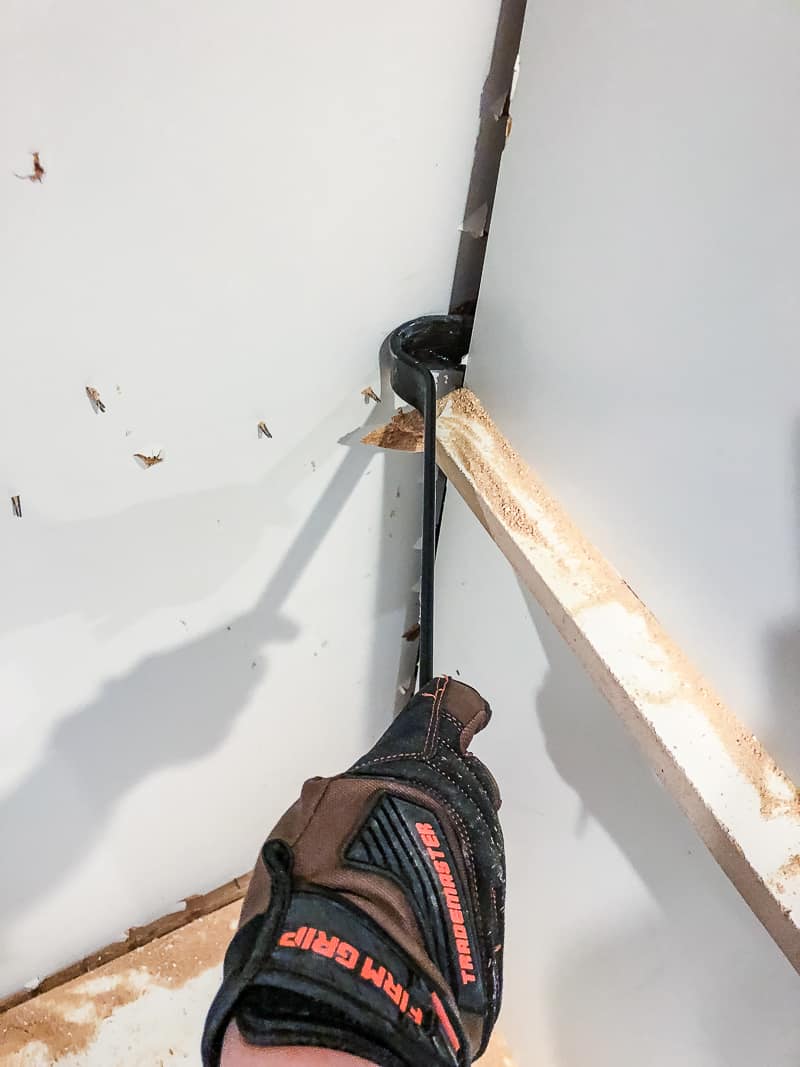

It took lots of back and forth to shift this huge frame inch by inch, but I finally got it out!

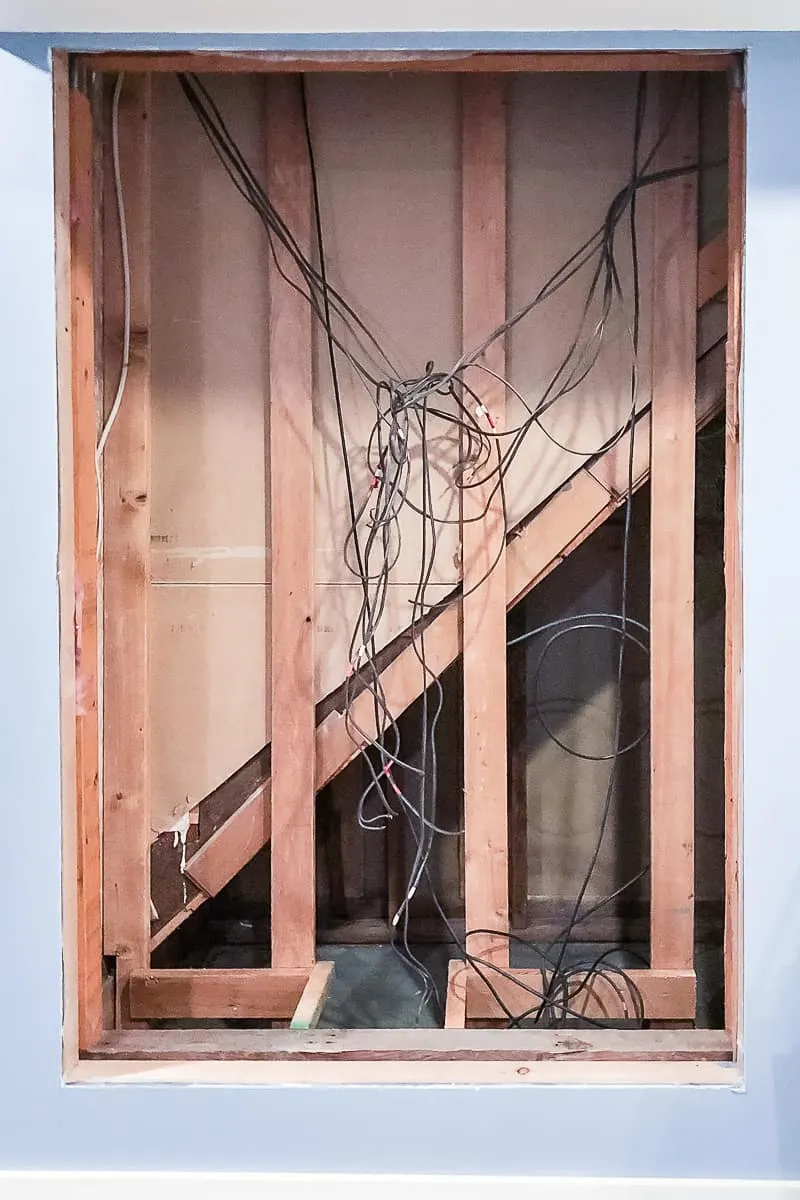
Cue the self-doubt and wondering "what have I done?" There's nothing like a giant hole in the wall to make you rethink your brilliant idea . . .
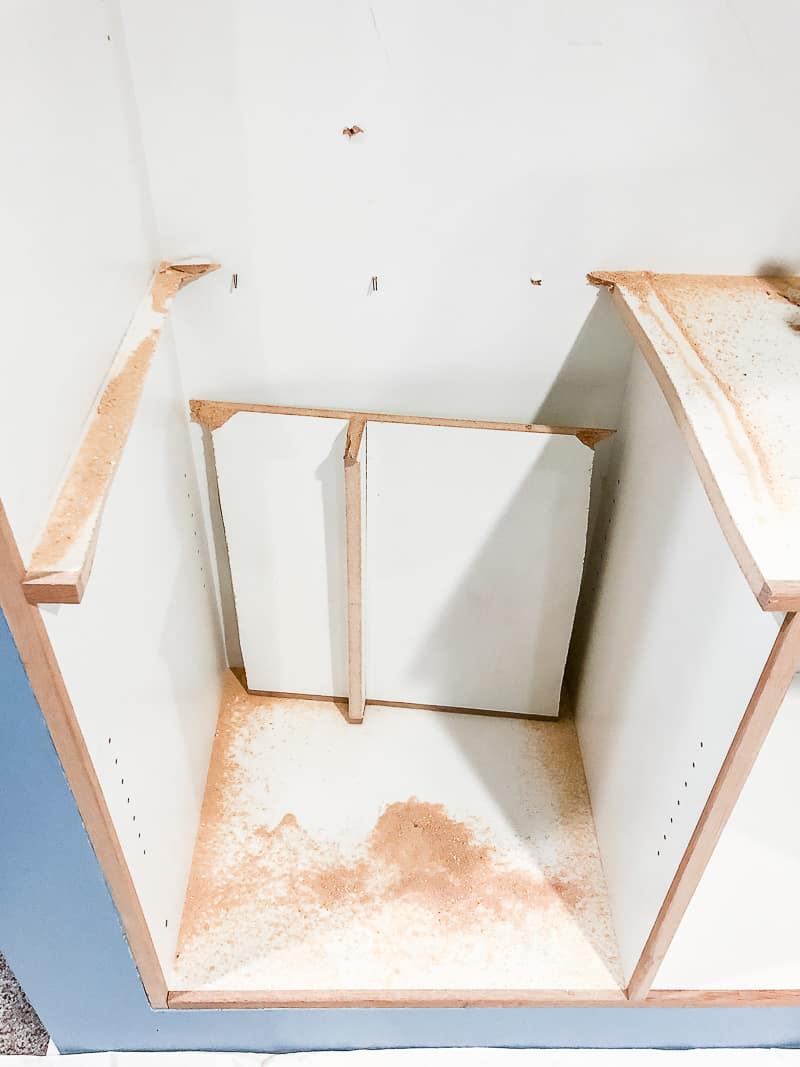
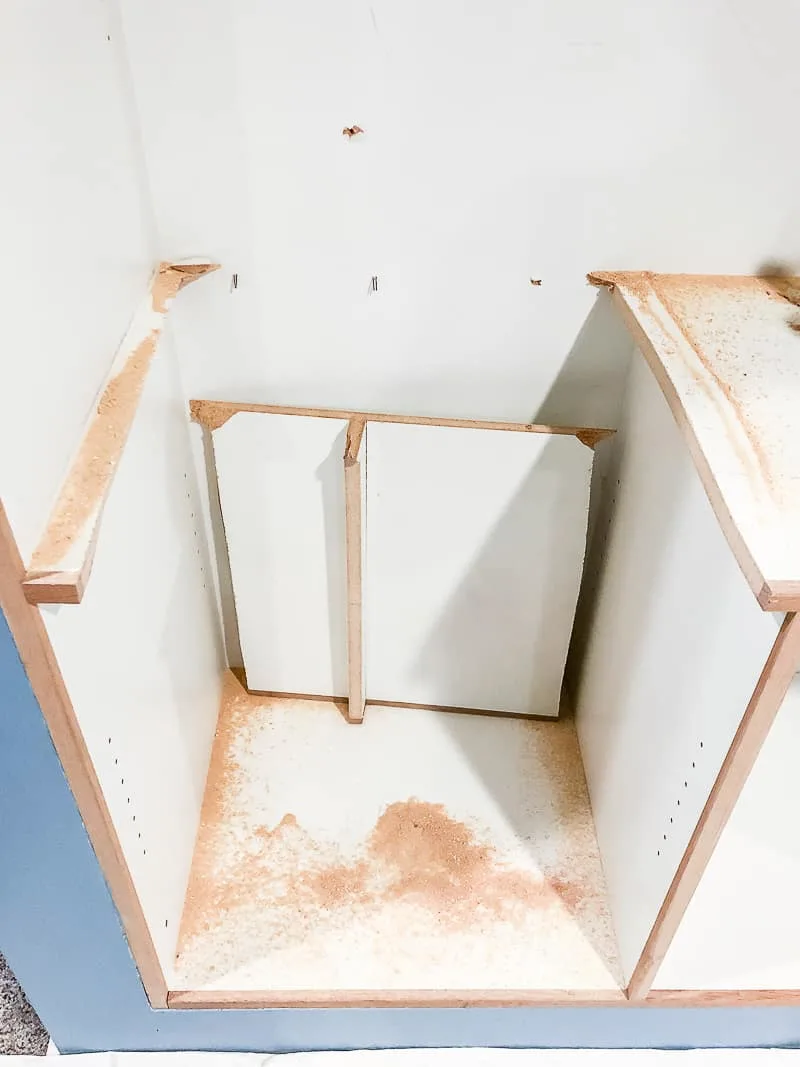
Build a Platform Inside the Wall
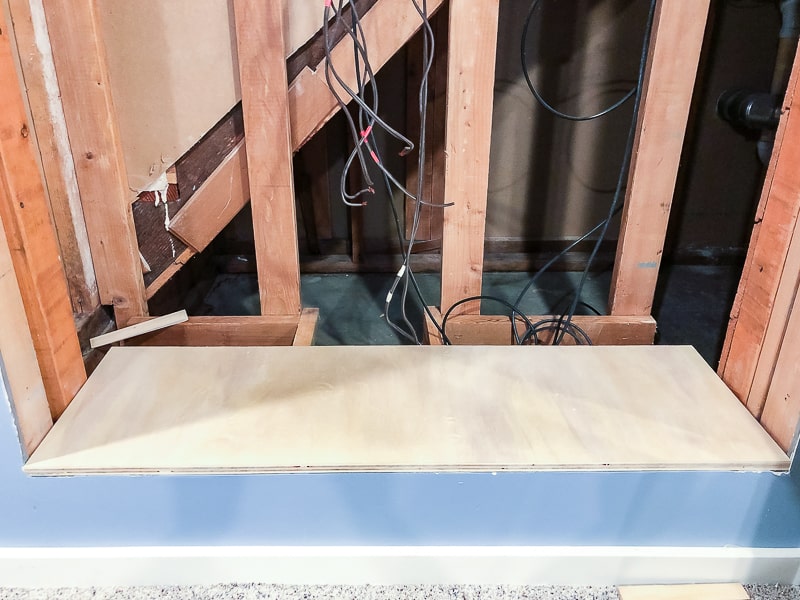
One good thing about the old shelving unit is how it was installed inside the wall. There was a nice, level platform about a foot off the ground to hold the weight of all that plywood! You can see how it was framed out in the photo above. I decided to leave it as is and build the new shelves to fit in the same space.
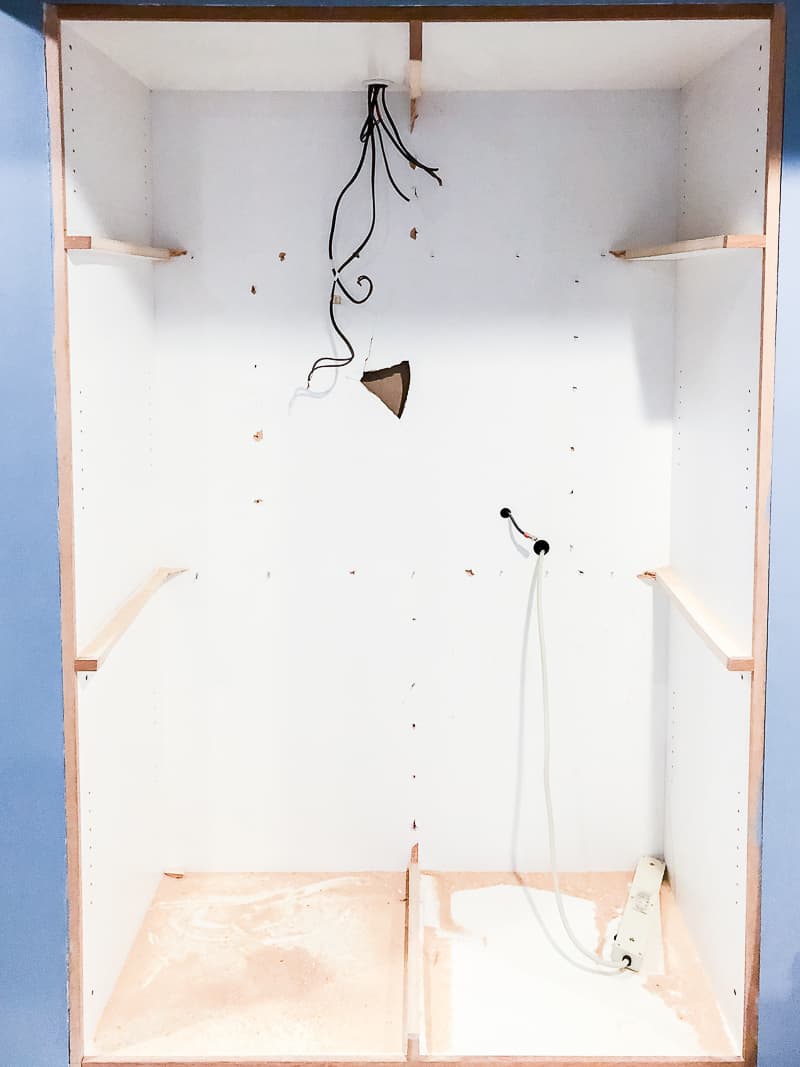
To build a new platform, measure the distance from the floor inside the wall to the top of the drywall opening. Cut two pieces of 2x4 lumber to the width of the opening, and multiple "legs" to hold that 2x4 at the same level as the opening.
Drill countersink holes at both ends and the middle of the top 2x4, then attach the legs with 3" wood screws. Then place both sets of legs inside the wall and connect them together with a few cross pieces.
Assemble the Shelving Unit
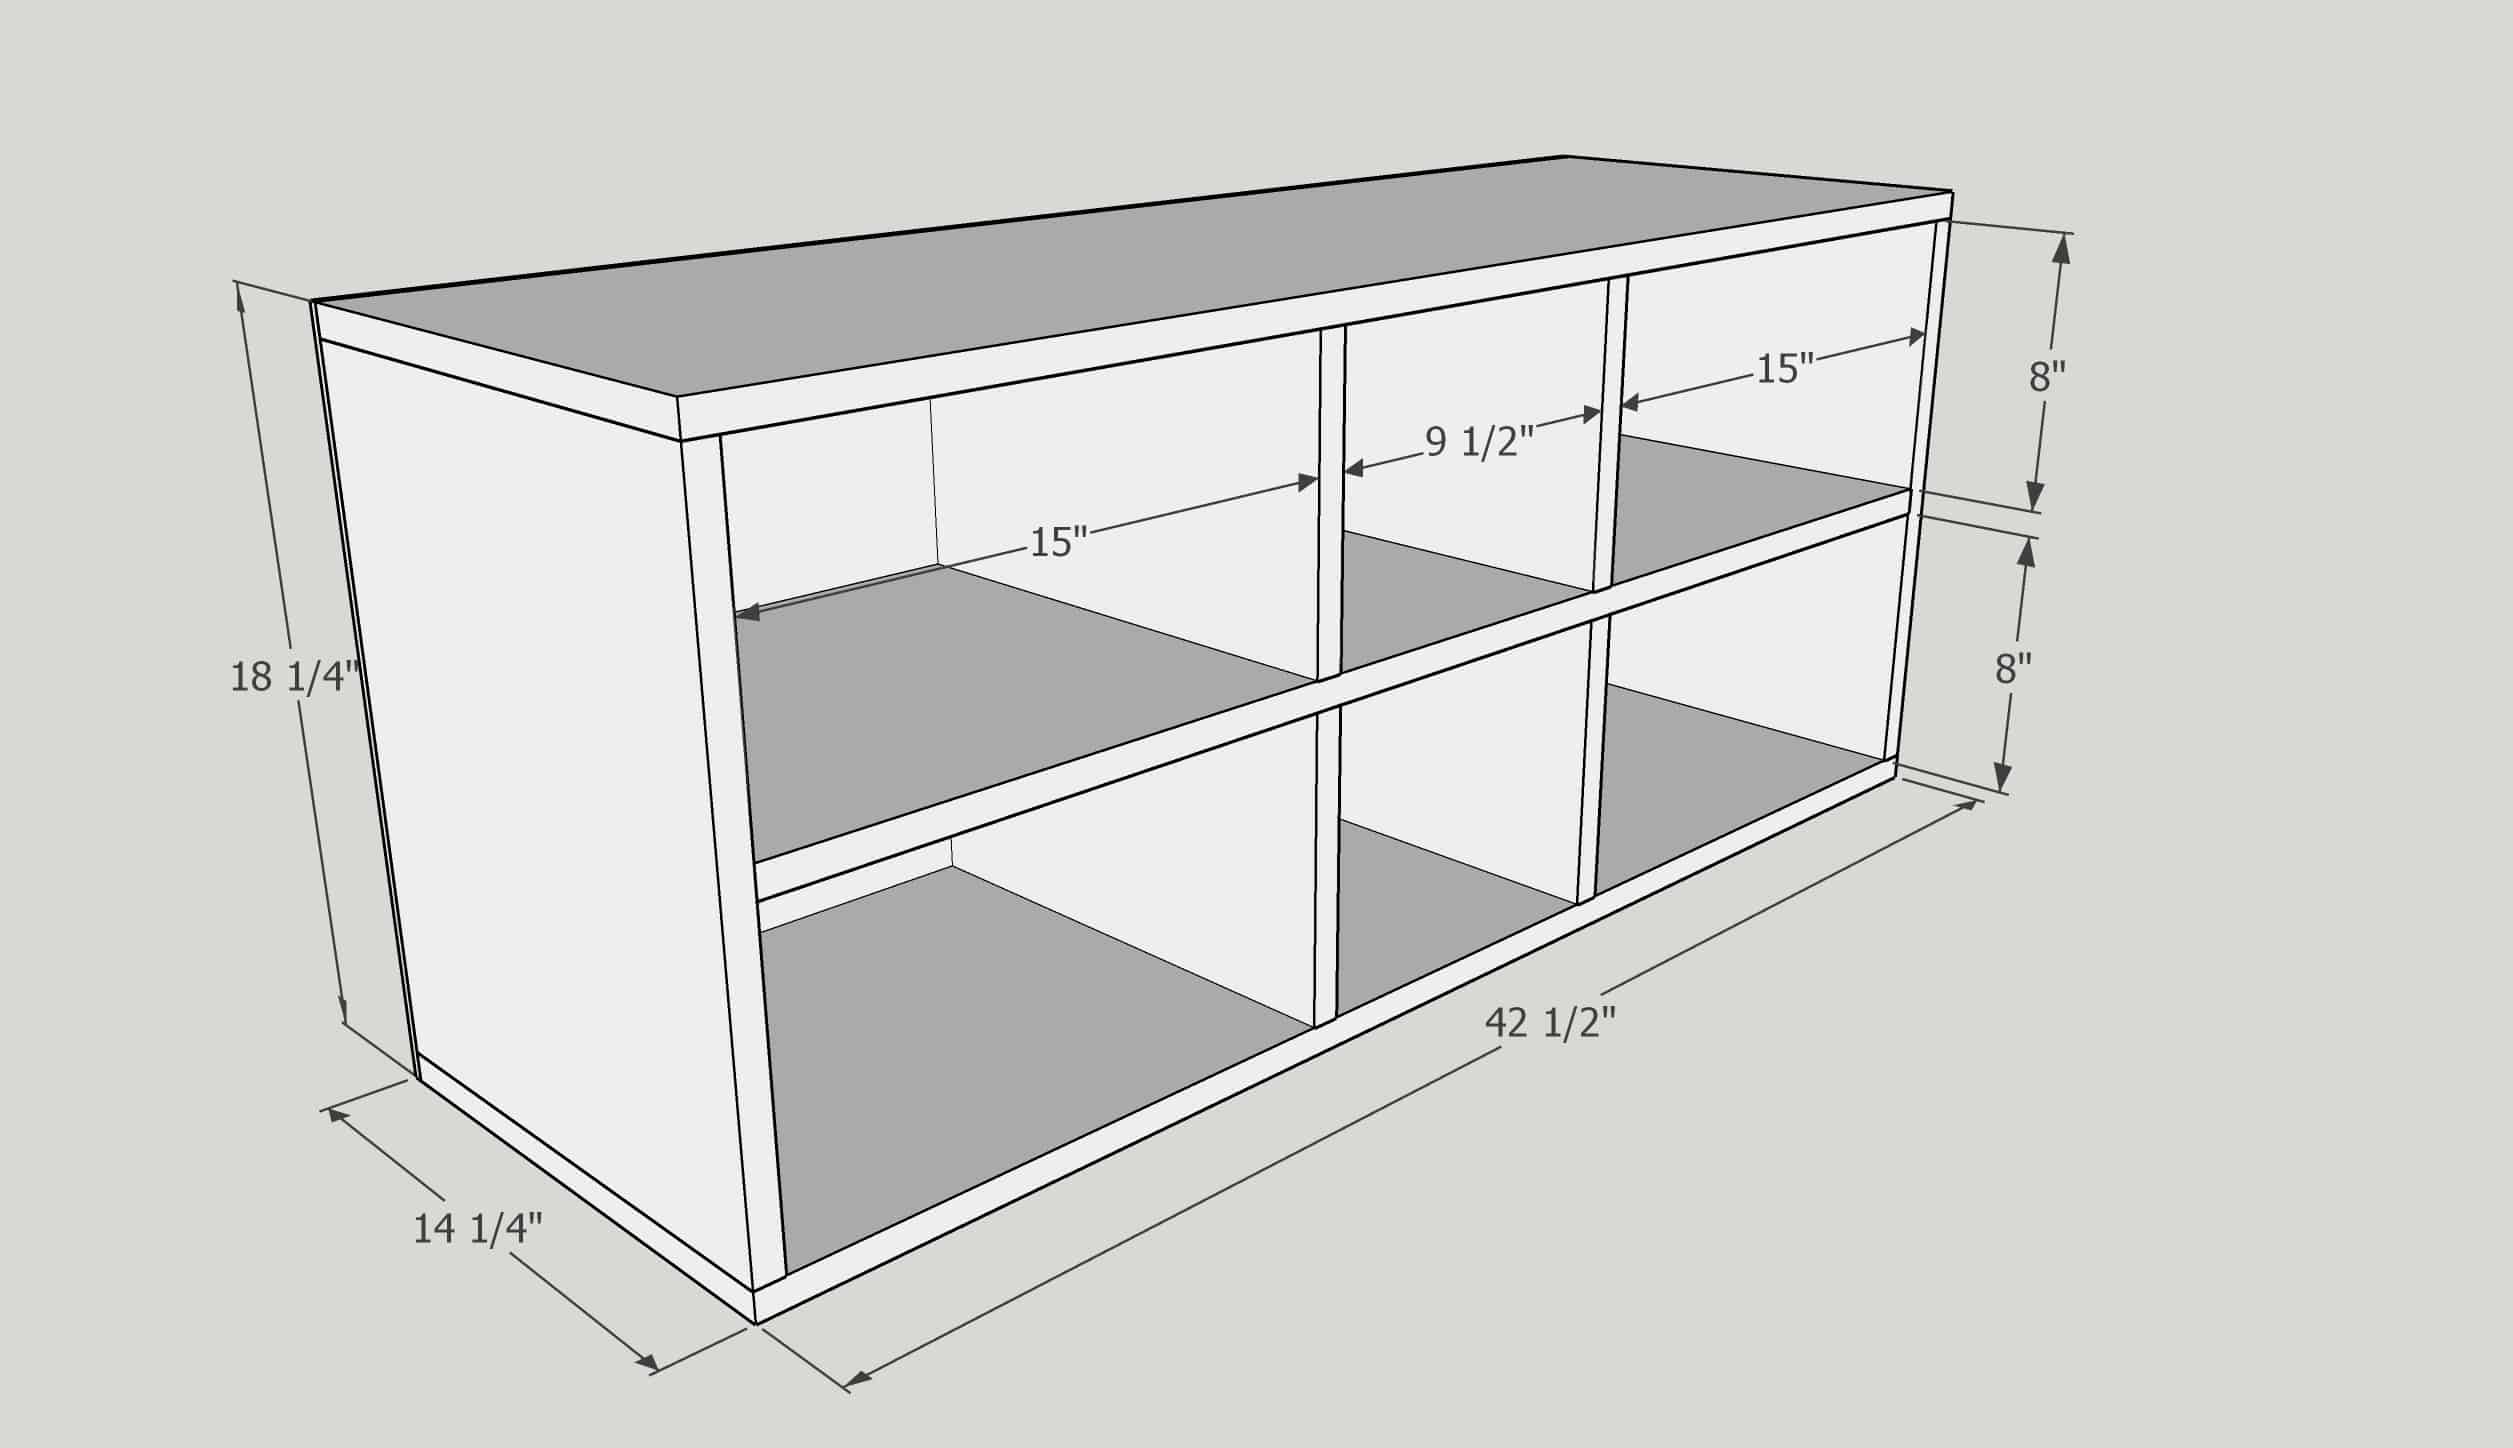
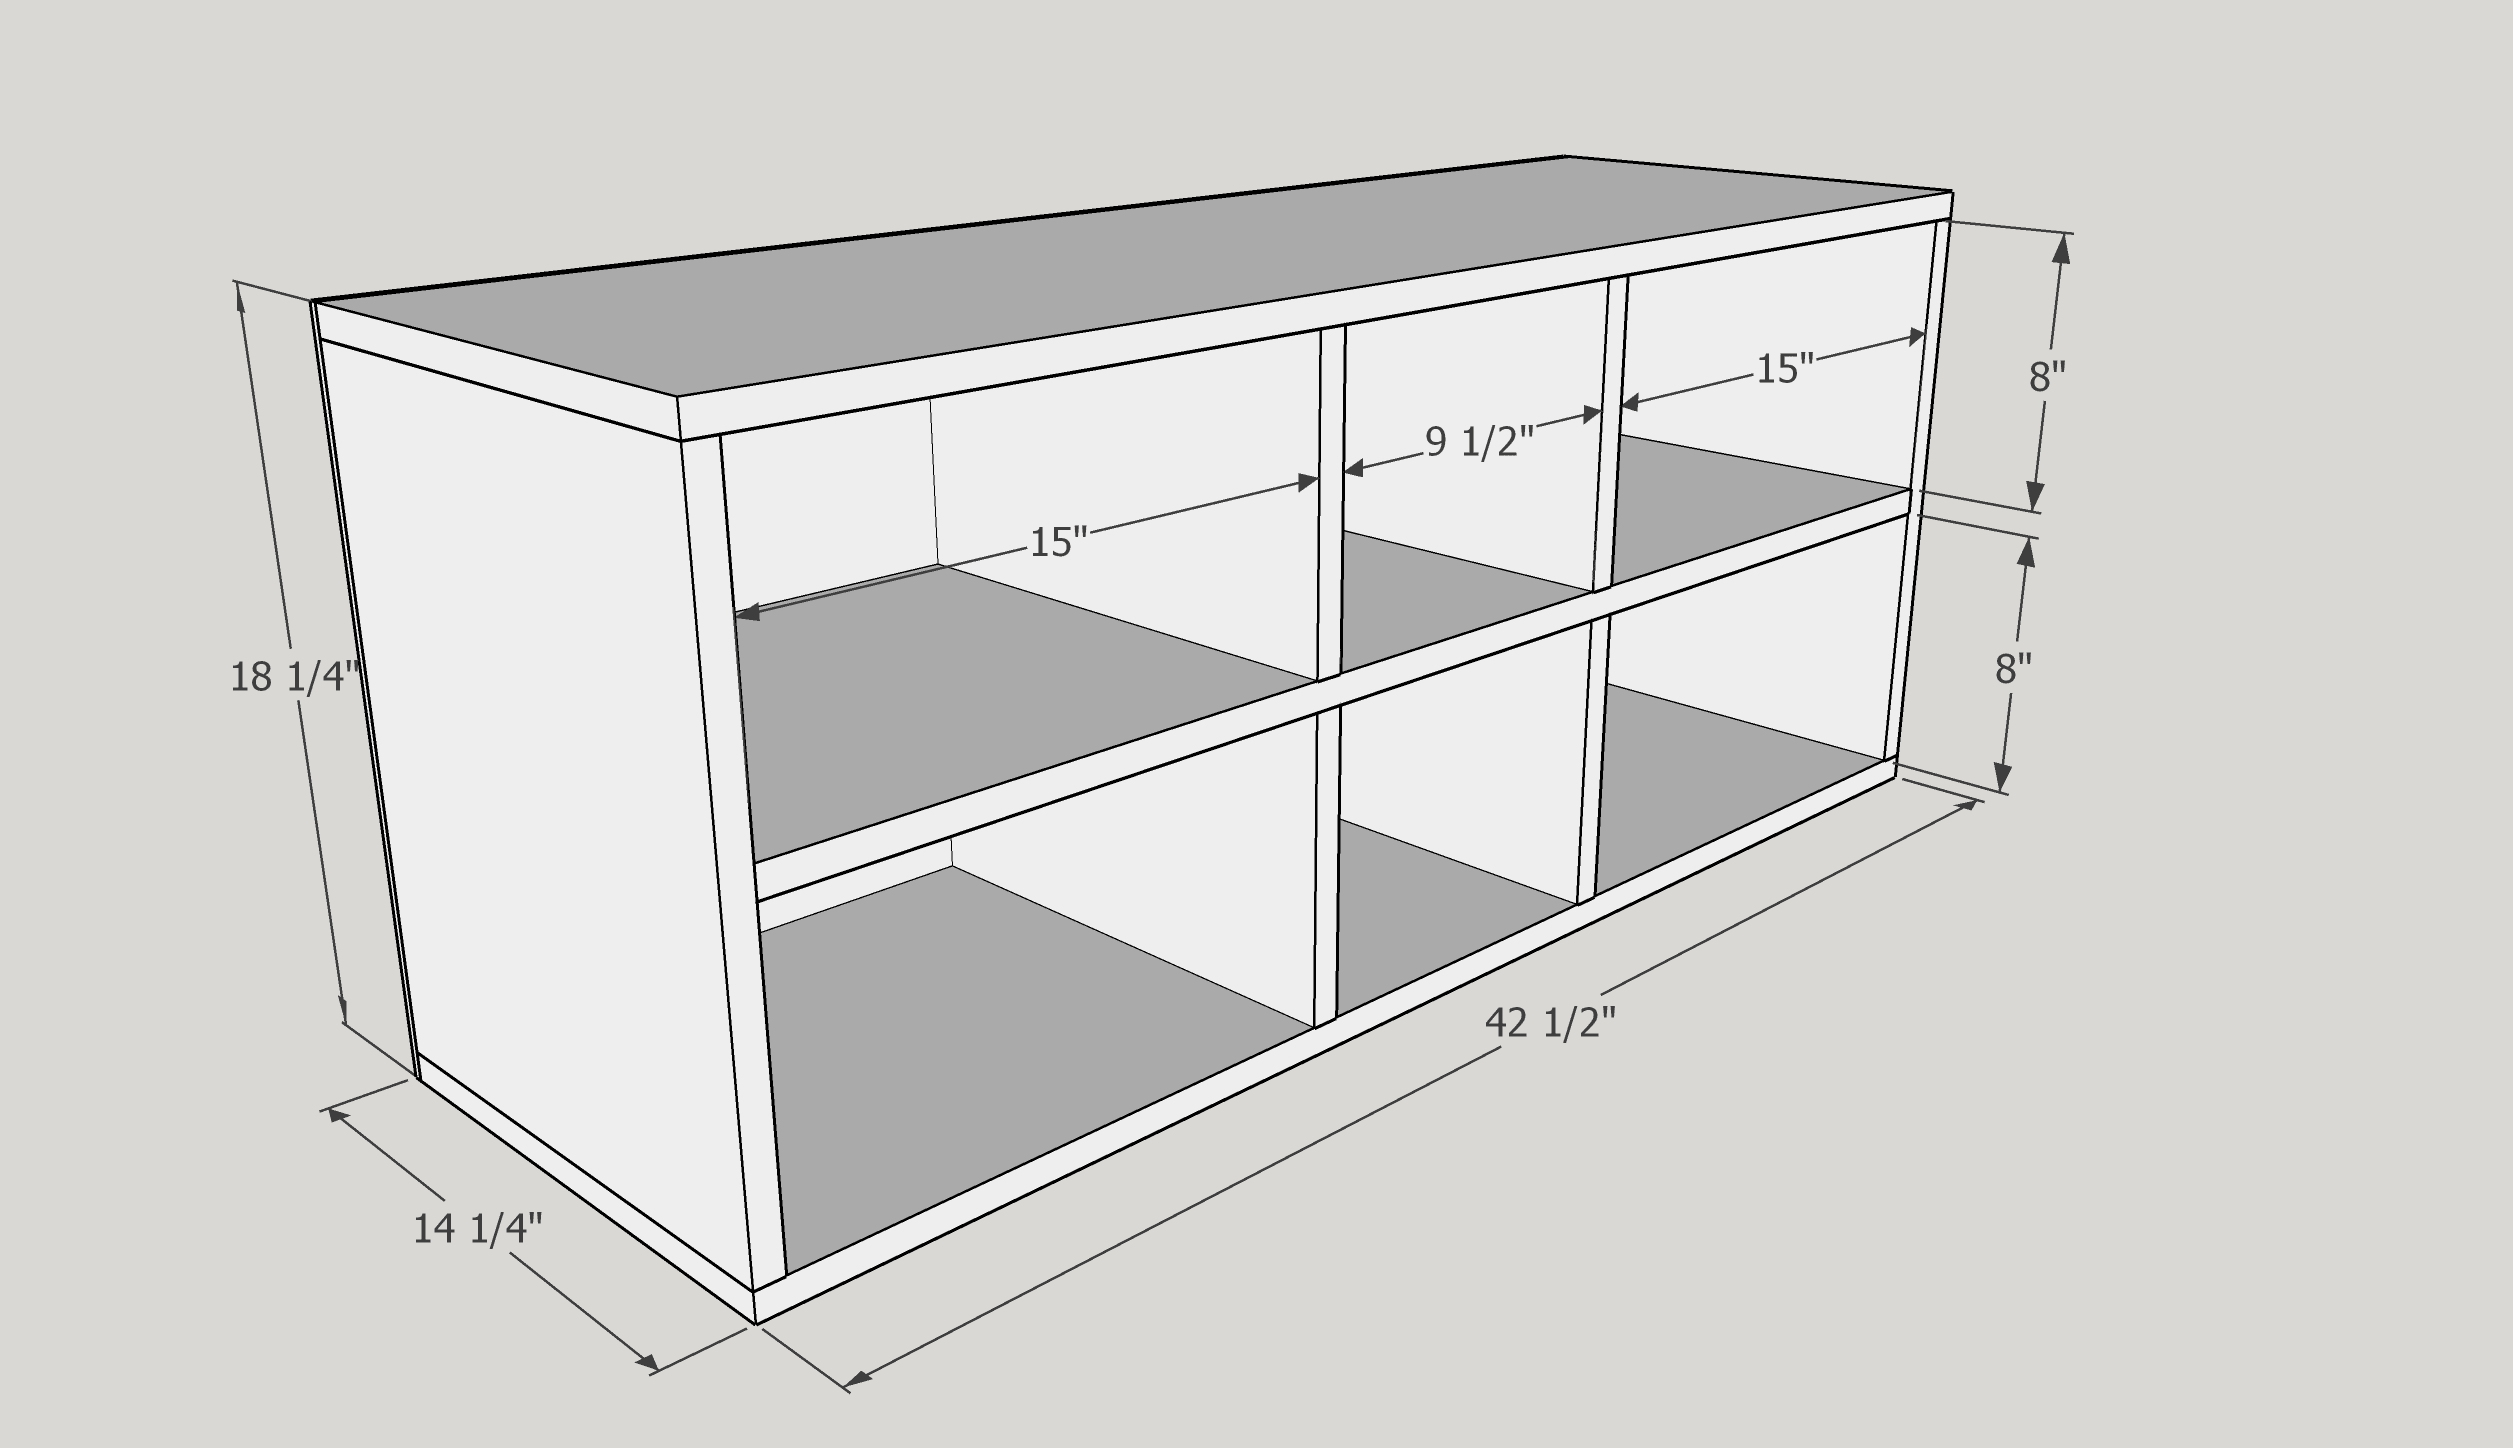
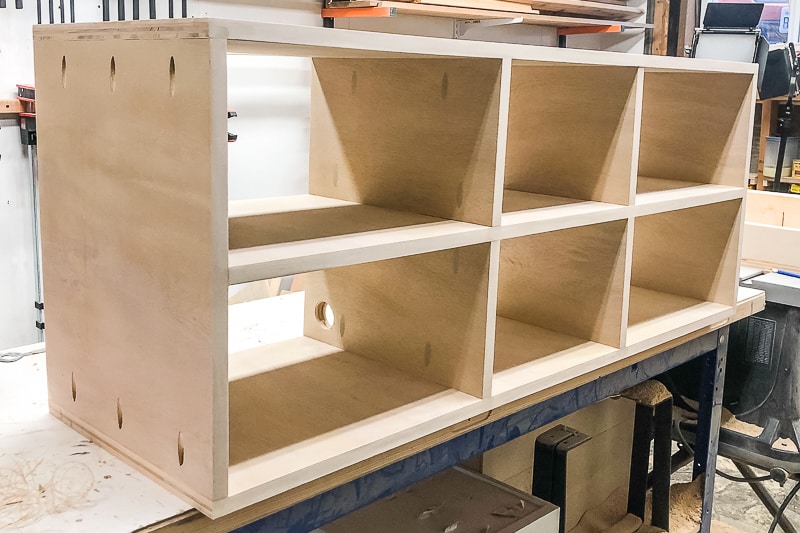
I measured all our game consoles, and made a 3D model with the dimensions I'd need for the built-in entertainment center. It features six compartments that are all 8" high, which is slightly taller than a DVD case. The wider sections are big enough for our XBoxOne and Playstation 4 (but not a Playstation 5), with a narrower spot in the middle for the Nintendo Switch. Can you tell we kinda like video games in our family? 😉
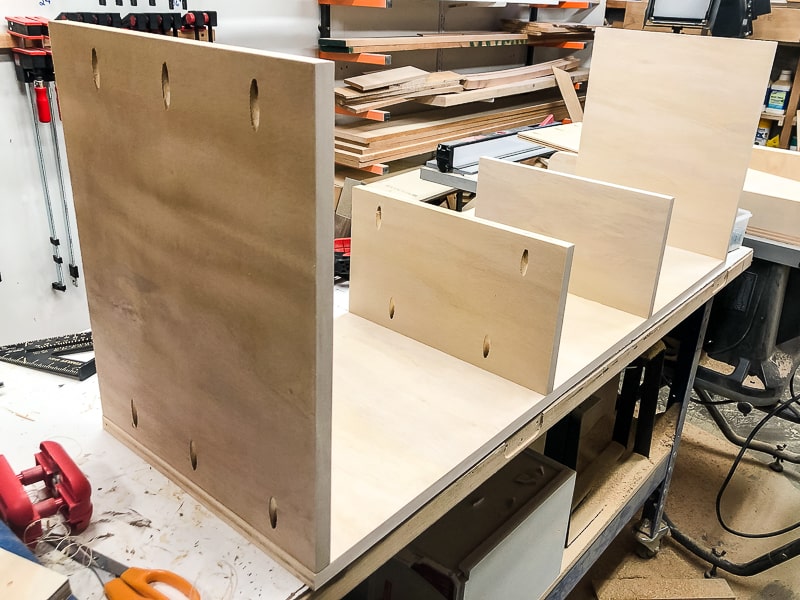
The shelves are made from ¾" plywood. Cut the bottom piece first, then double check the fit by sliding it into place in the hole.

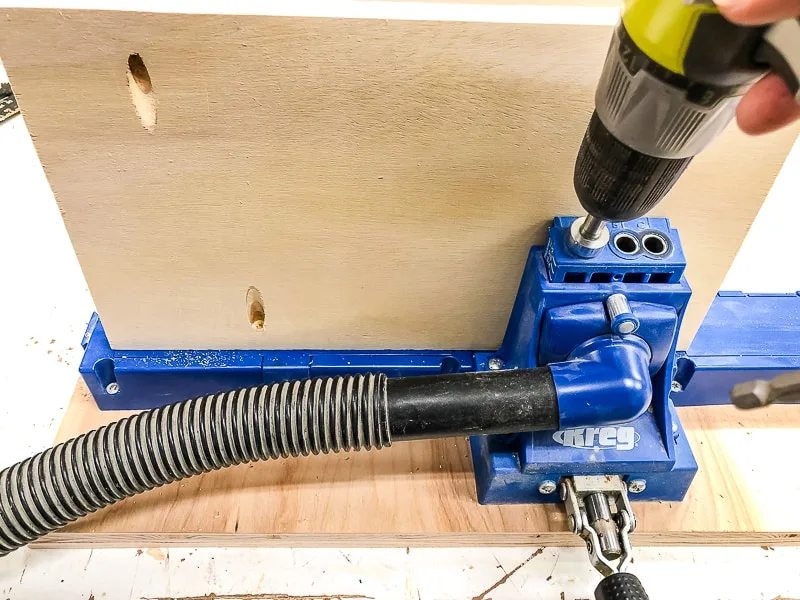
Everything is put together with pocket holes. Most of the holes will face outside so they're hidden inside the walls. In retrospect, I should have taken a clue from the old entertainment center and used dados for the interior shelves instead. Covering up pocket holes with wood filler is a pain!

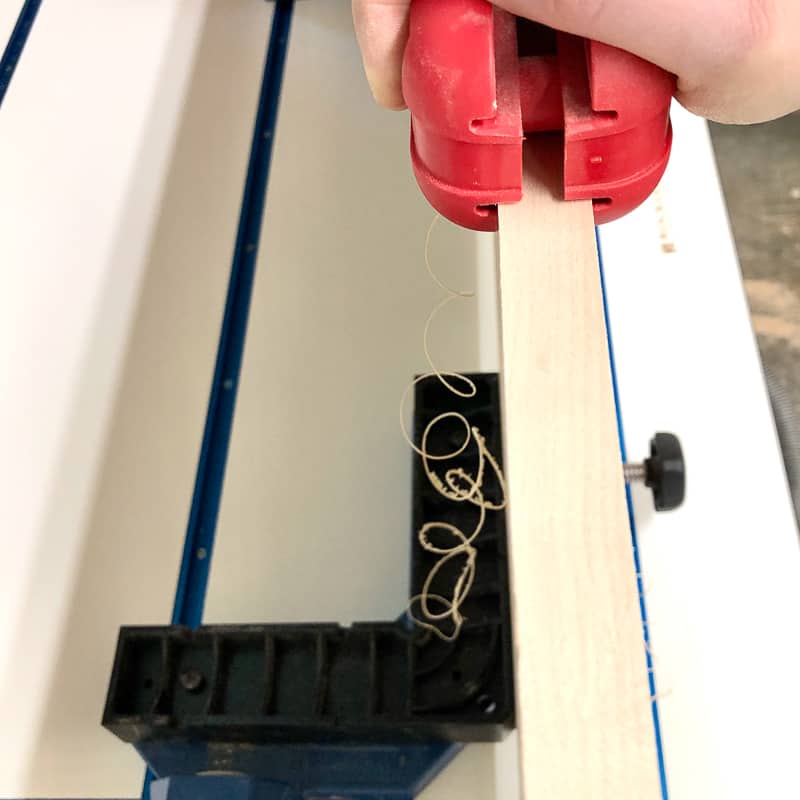
Since the front edge of the plywood pieces will be exposed, I covered them with edge banding before assembly. You can get all my tips for applying edge banding here!

Then I put together the shelves from the bottom up. This makes it easier to access the pocket holes that are facing down, although you'll need a right angle drill adapter to get the ones on the underside.

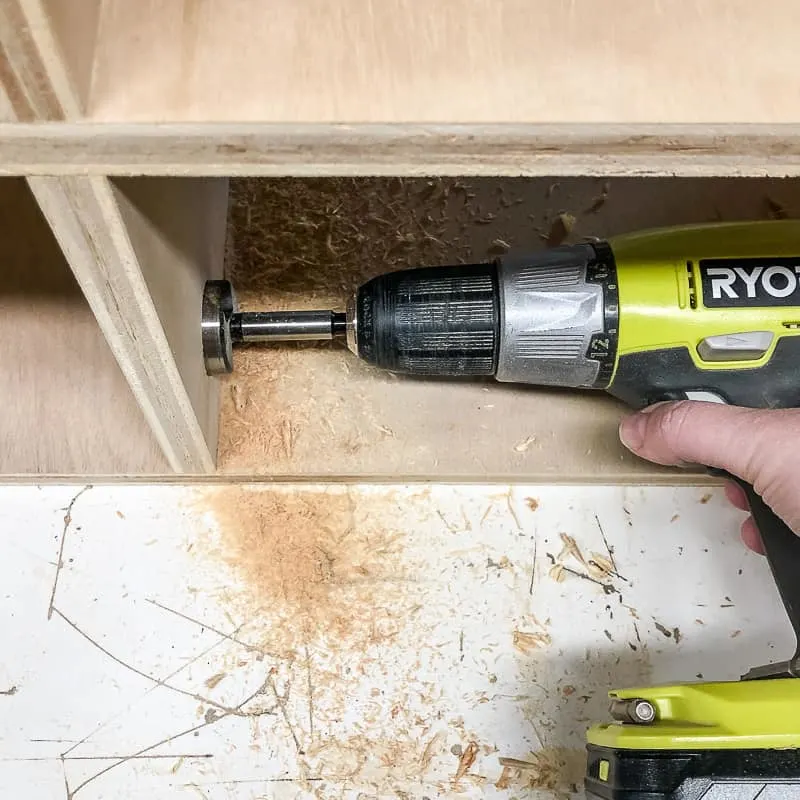
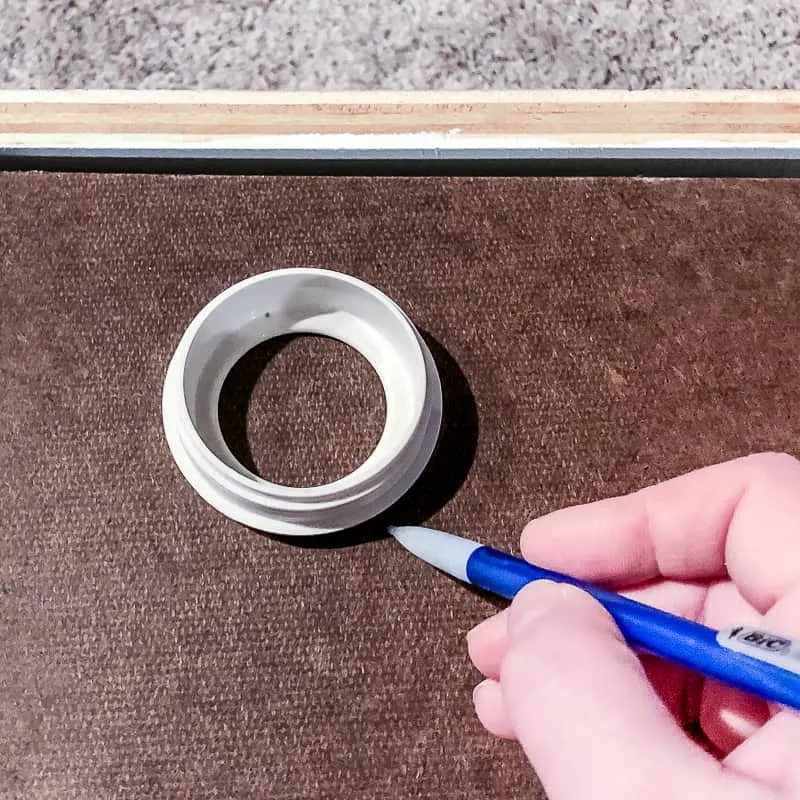
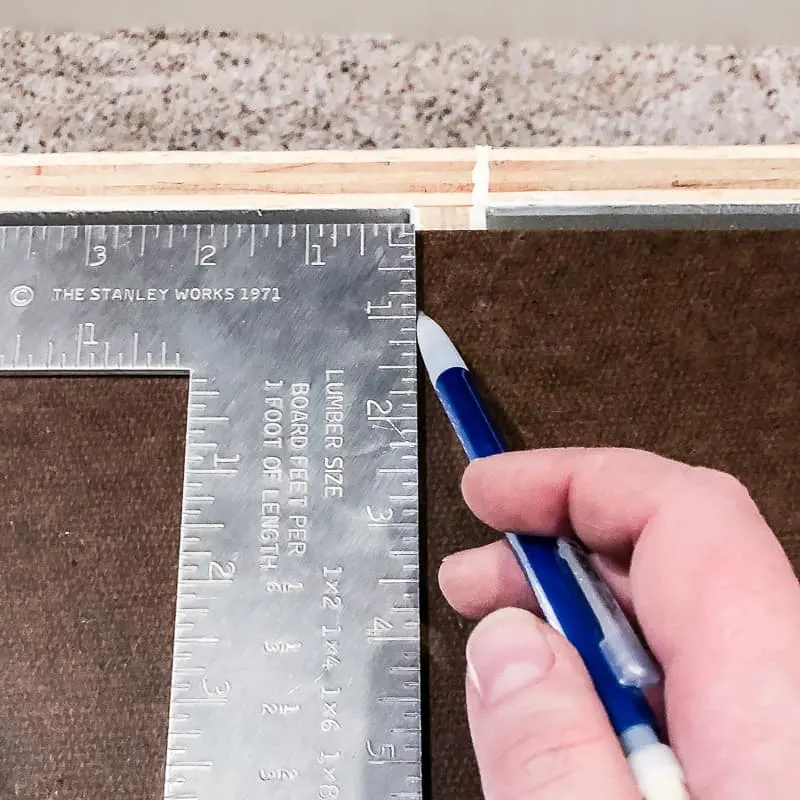
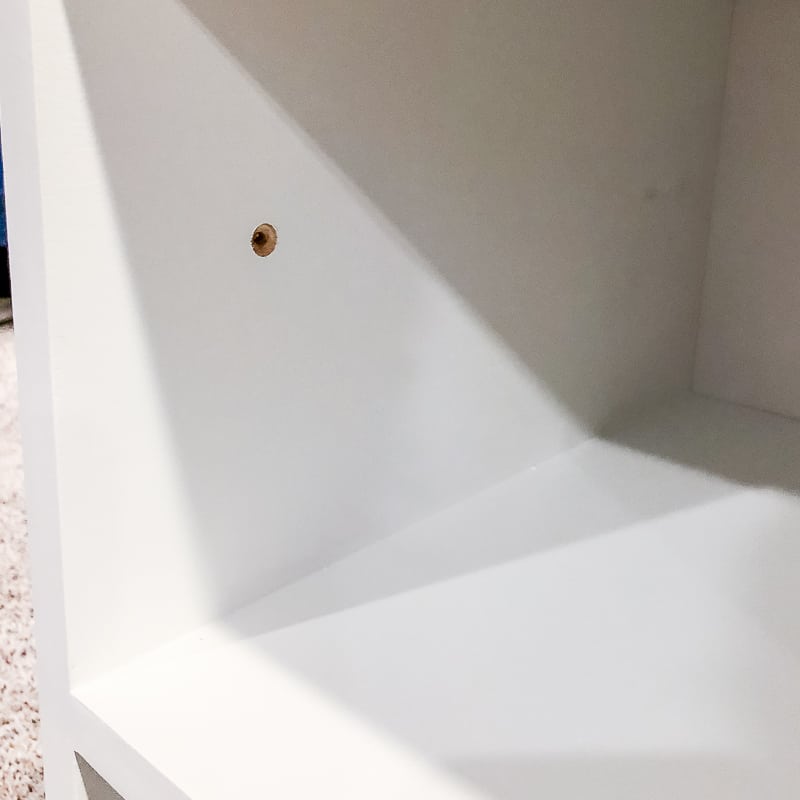
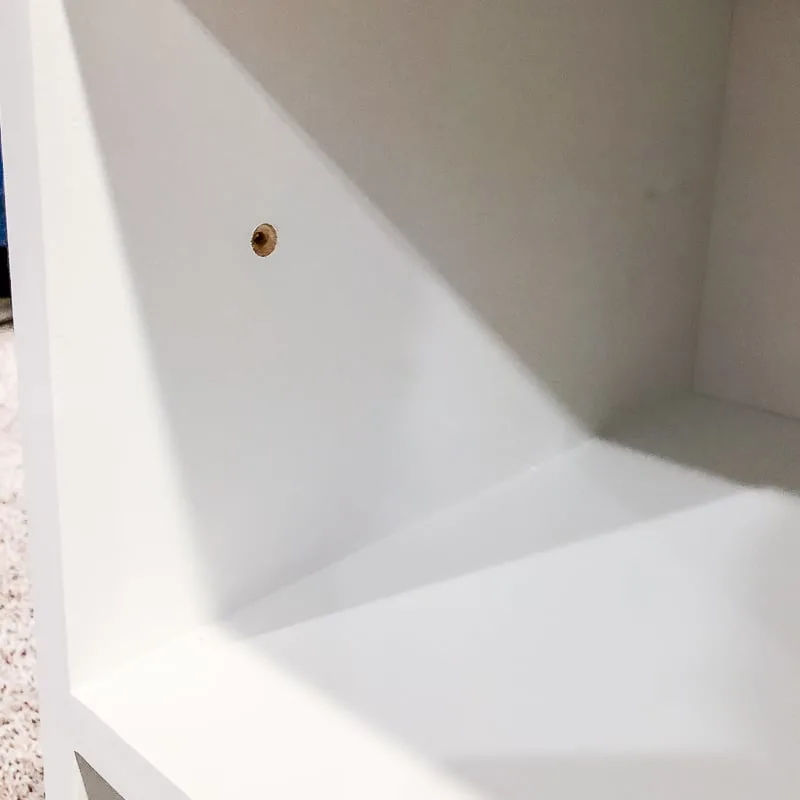
All the components will plug into a power strip located in the center section, so I drilled holes through the two sides with a 1 ½" Forstner bit. A hole saw is a cheaper way to go, but since I bought this bit for the DIY candle holder I made last week, I wanted to put it to good use!

Paint the inside and front edges of the entertainment center shelves after everything is assembled. I covered the pocket holes with wood filler first, so they disappear behind a coat of paint!

Attach the Backing
If you follow me over on Instagram, you might have seen my oops! I was so excited to install these recessed shelves, I forgot to add the backing! Luckily, I caught my mistake before I screwed everything to the studs! Just call it a dry fit . . . 😉

I pulled it back out, then put it face down on the floor. Measure the length and width of the back, then subtract about ¼" in both directions. I prefer to have the backing slightly smaller so it doesn't interfere with the fit inside the hole.
I had some paneling left over from the whiteboard wall I installed in the workshop, so I used that for the backing. Once it's cut to size, mark the position of the hole for the cords in the back of the entertainment unit. I'll be using this in-wall cord management kit to connect the components to the TV above.

Also mark the position of the shelves on the back, so you can accurately nail the backing in place.

Once everything is marked and drilled, attach the backing to the entertainment center shelves with panel nails.
Install the Shelves
I drilled countersink holes into the sides of the shelves that line up with the studs on either side of the unit. Make sure to measure how far back the studs are from the drywall and try to hit them in the middle.
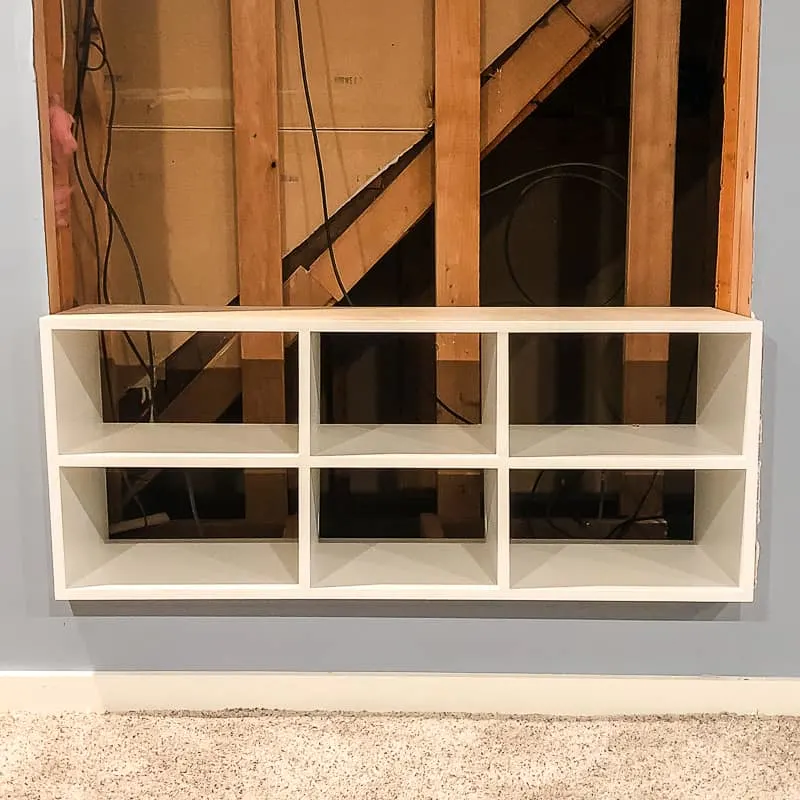
Then just slide the shelves into place! Line up the front edge with the outside of the drywall. The seam will be covered with trim after the rest of the wall is closed up. Screw the sides into the studs to keep the built in entertainment center from shifting.
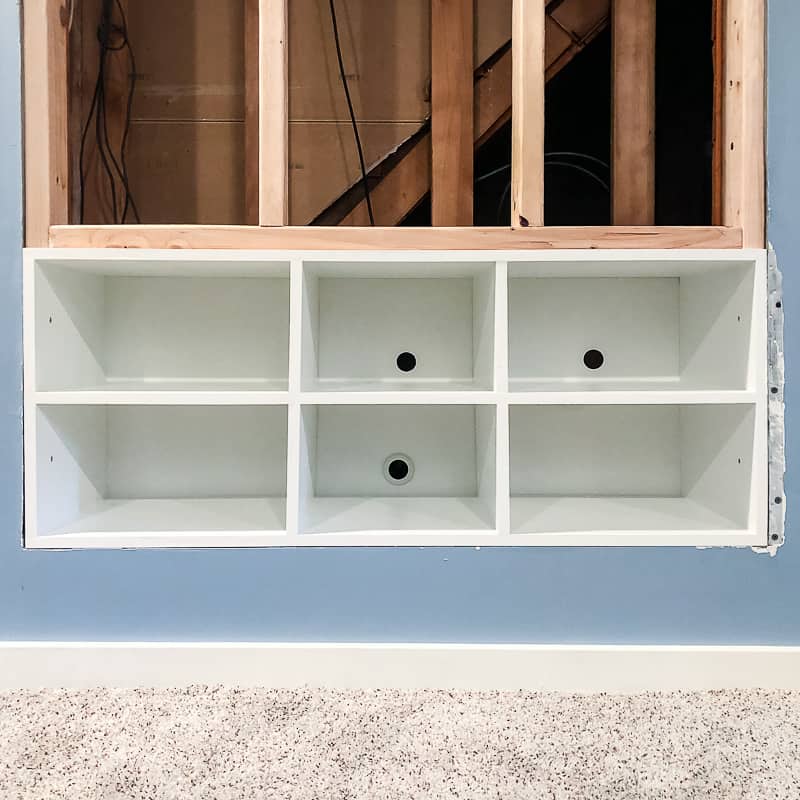
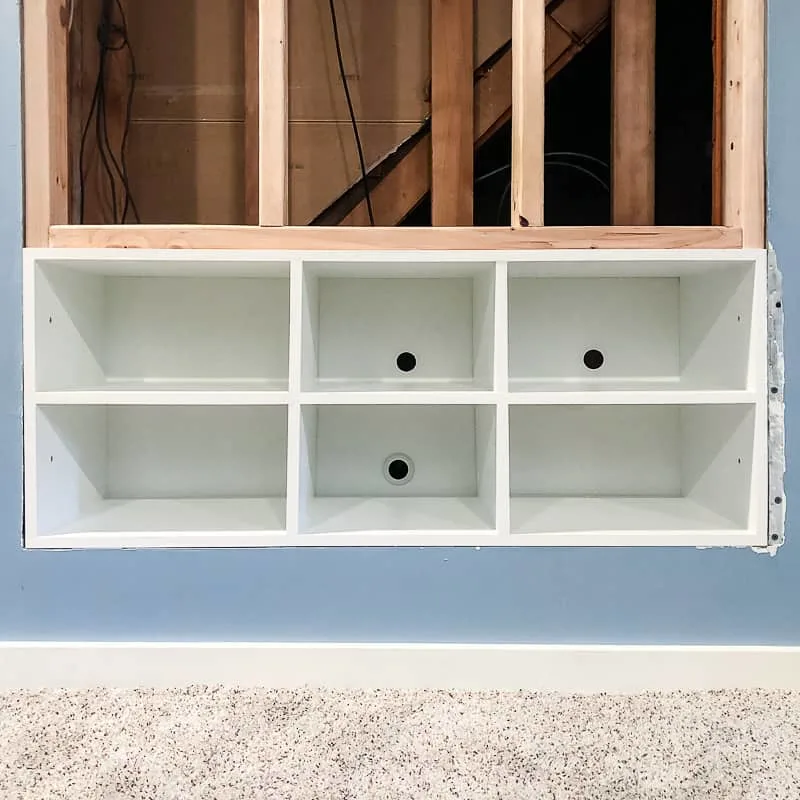
With the shelves installed, it's time to drywall over the rest of the hole and mount the tv!
Amy
Thursday 21st of November 2019
Nice job! I love utilizing dead space.