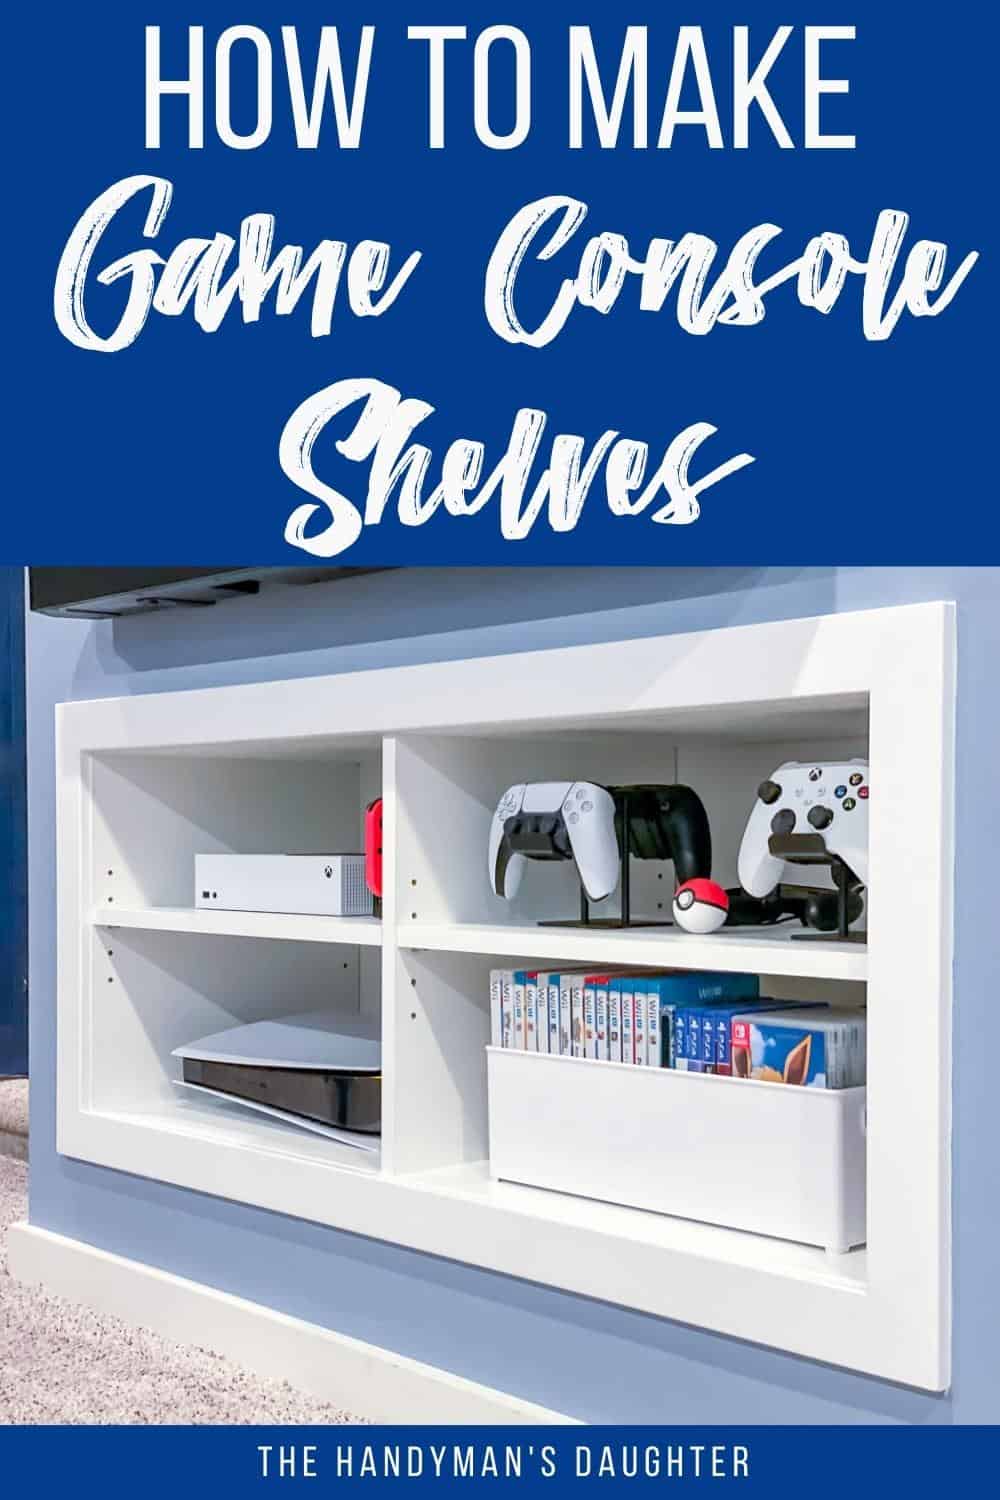
Need storage for your Playstation, Xbox and Switch? Make this simple DIY game console shelf with adjustable shelves for all your video games!

Back in 2019, I made this built-in entertainment center under our wall-mounted tv for all our gaming consoles. It was great to have everything tucked into the empty space behind the drywall, with all the components for each gaming system on its own shelf.
Then, the PlayStation 5 came out...
It took us over a year to get our hands on one. But as soon as we had our long-awaited PS5 out of the box, I realized a huge problem.
It didn't fit on any of the shelves!
I thought technology was supposed to make things smaller, not bigger! Sigh. Time to build a new one!
While my game console shelves will be recessed into the wall, you could easily make yours free standing. Add feet to elevate it off the floor and attach a nice wooden top to turn it into a tv stand! Or if you have a larger collection of game consoles, you can make it taller for more storage!
Let's get building!
This post contains affiliate links for your convenience. Purchases made through these links may earn me a small commission at no additional cost to you. Please visit my disclosures page for more information.
Materials
In the interest of saving time, I opted to make this version out of white melamine shelves from the home improvement store. They already have edge banding along the front, and I won't have to paint because it's already white. You could also make these shelves out of plywood or MDF.
- Two 15 ¾" wide white melamine shelves
- ¼" plywood or ⅛" white hardboard for the back
- 1 ½" wood screws
- Heavy duty stapler and ½" staples
- You could also use ½" pan head wood screws.
- Shelf pin jig
- ¼" shelf pins
- Countersink bit
- Painter's tape
- Screw hole covers (optional)
- Saw (circular saw, track saw, miter saw or table saw)
How to Make a Game Console Shelf
Measure your space and consoles
I was limited to the existing hole in the drywall, so I kept the same measurements for the new shelves. It's slightly smaller than our 55" TV, but matches the width once the trim around the outside edge is installed.
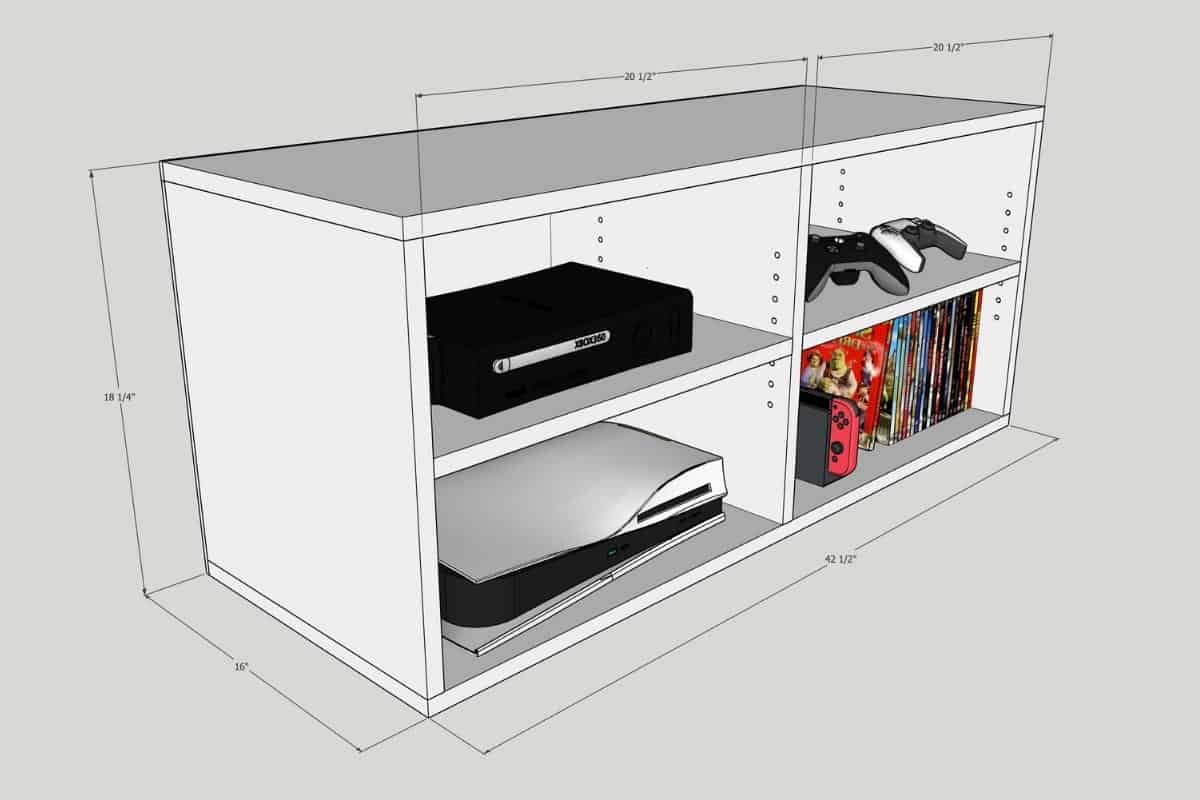
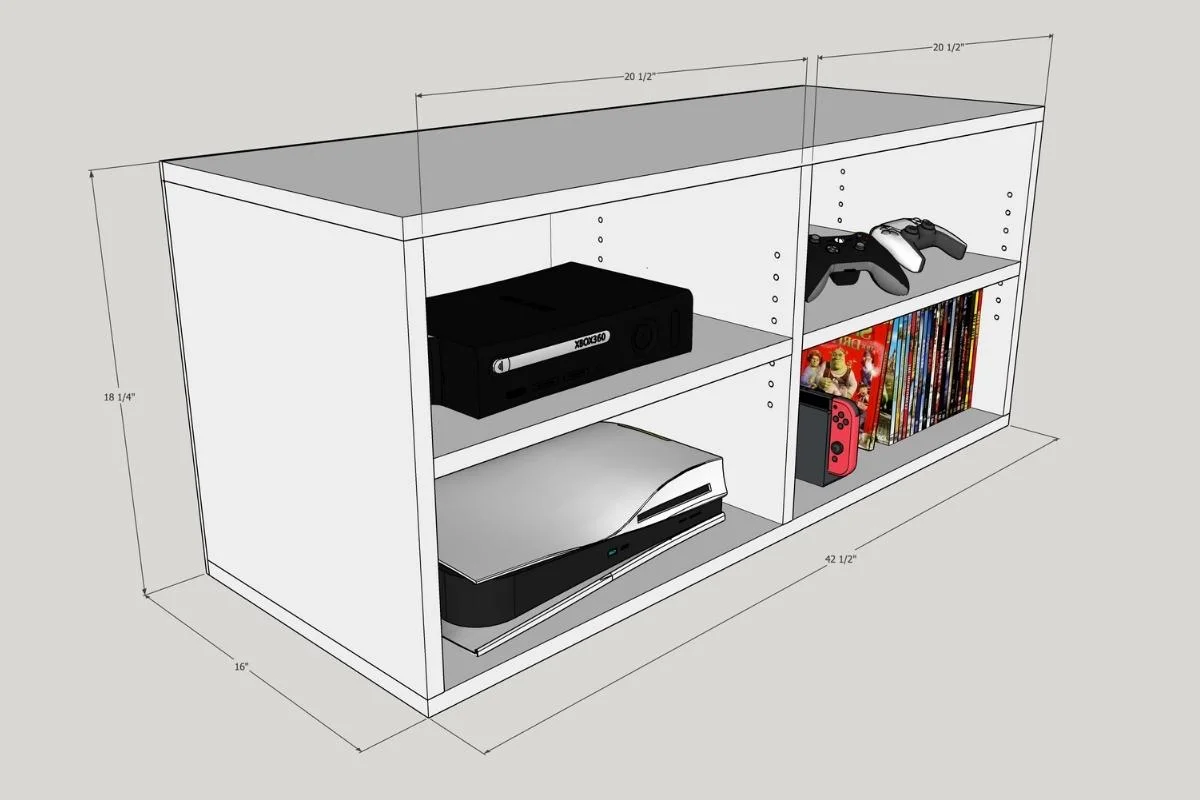
This time, I'm dividing the cabinet box into four shelves instead of six, and the shelves will be adjustable instead of fixed. This should future-proof the shelves and give each game console plenty of breathing room to keep it cool during long play sessions.
Cut the shelf pieces to size
One thing to keep in mind when cutting melamine is that it can chip very easily. I like to use a strip of painter's tape along the cut line to keep the plastic coating intact while the blade slices through it.

I was able to cut the top and bottom pieces out of one 97" shelf, and the sides, center divider and shelves out of the other. Be sure to label each piece, and mark which end of the side pieces is the top. You'll see why this is so important in the next step!
Drill shelf pin holes
There are several different ways to drill shelf pin holes yourself. You could also use predrilled melamine shelf boards for the sides, but it can be difficult to find in stores.
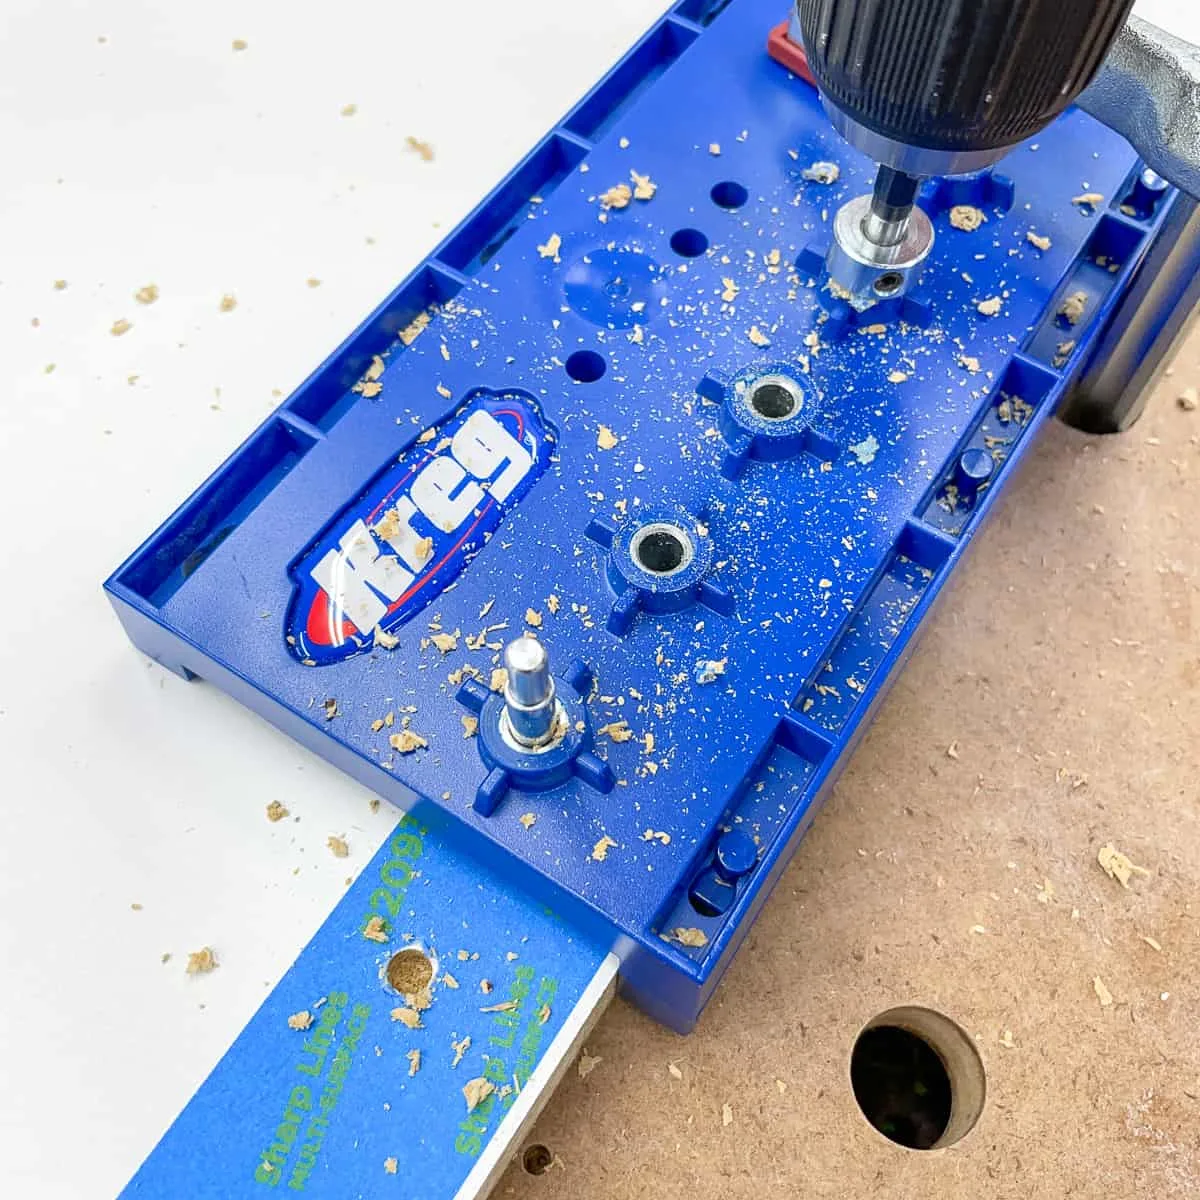
For a project like this, I prefer to use this simple jig. It's easy to keep the spacing consistent, so your shelves aren't crooked when they're placed on the pins.
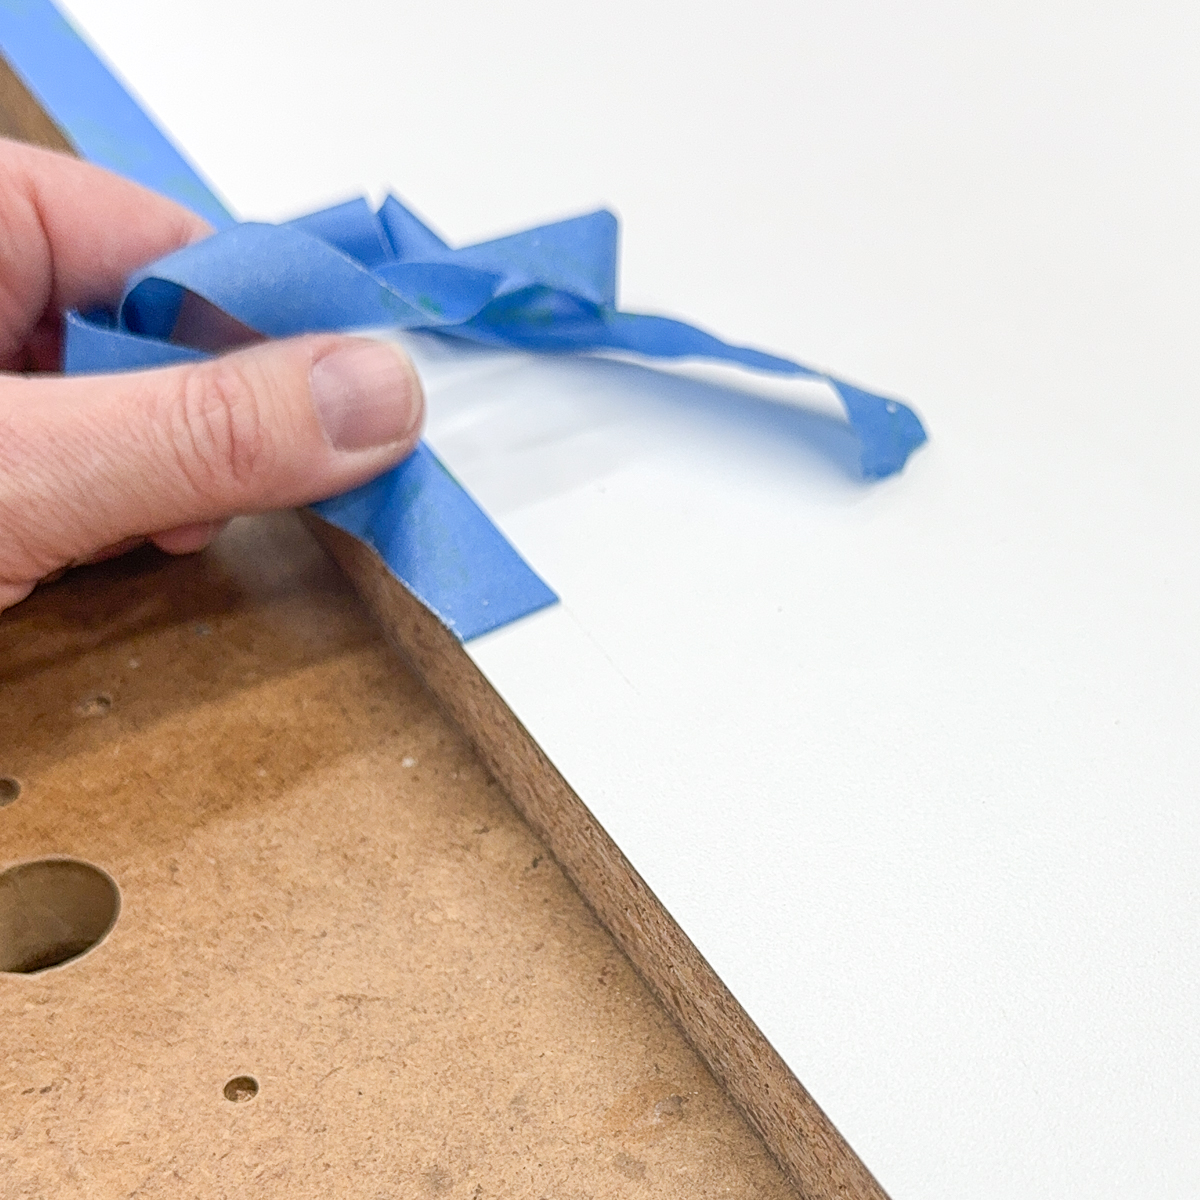
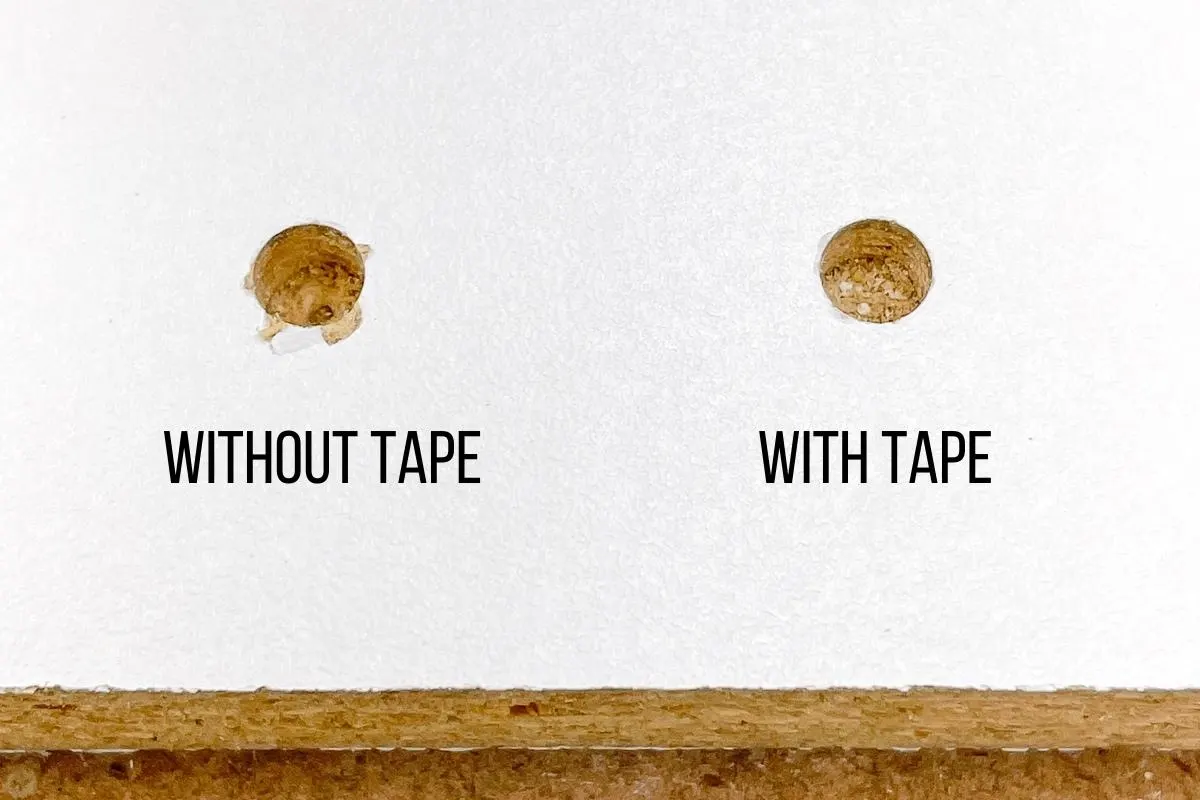
Just like with cutting melamine, drilling holes in the surface can lead to tear out. Place a strip of painter's tape along the edge where you'll be drilling the shelf pin holes to prevent chipping.

Line up the bottom of the jig with the bottom of the side piece, and clamp it in place. You won't need shelf pins at the very bottom, so just drill out the top two.
Next, place the pin in the top hole you just drilled and slide the jig onto the pin. This will keep the spacing consistent as you move the jig up the board. Clamp it in place or hold it down tight as you drill the rest of the holes.

It's important to keep track of which end is the bottom, so you always start your holes from the same point. If you accidentally flip one around, your shelves will be crooked. Also remember that the middle divider will get shelf pin holes on both sides.
Assemble the box
There are a variety of different ways you could build the shelf box. You could use pocket holes, dowels or just screw it together from the outside. I decided to use the latter option, since the screw holes will be hidden inside the wall and I didn't want to fill the pocket holes afterwards.
I used clamping squares to keep the corners at 90 degrees while I marked ⅜" from the edge for the holes. This will put the screw in the center of the board so it won't split or bulge.
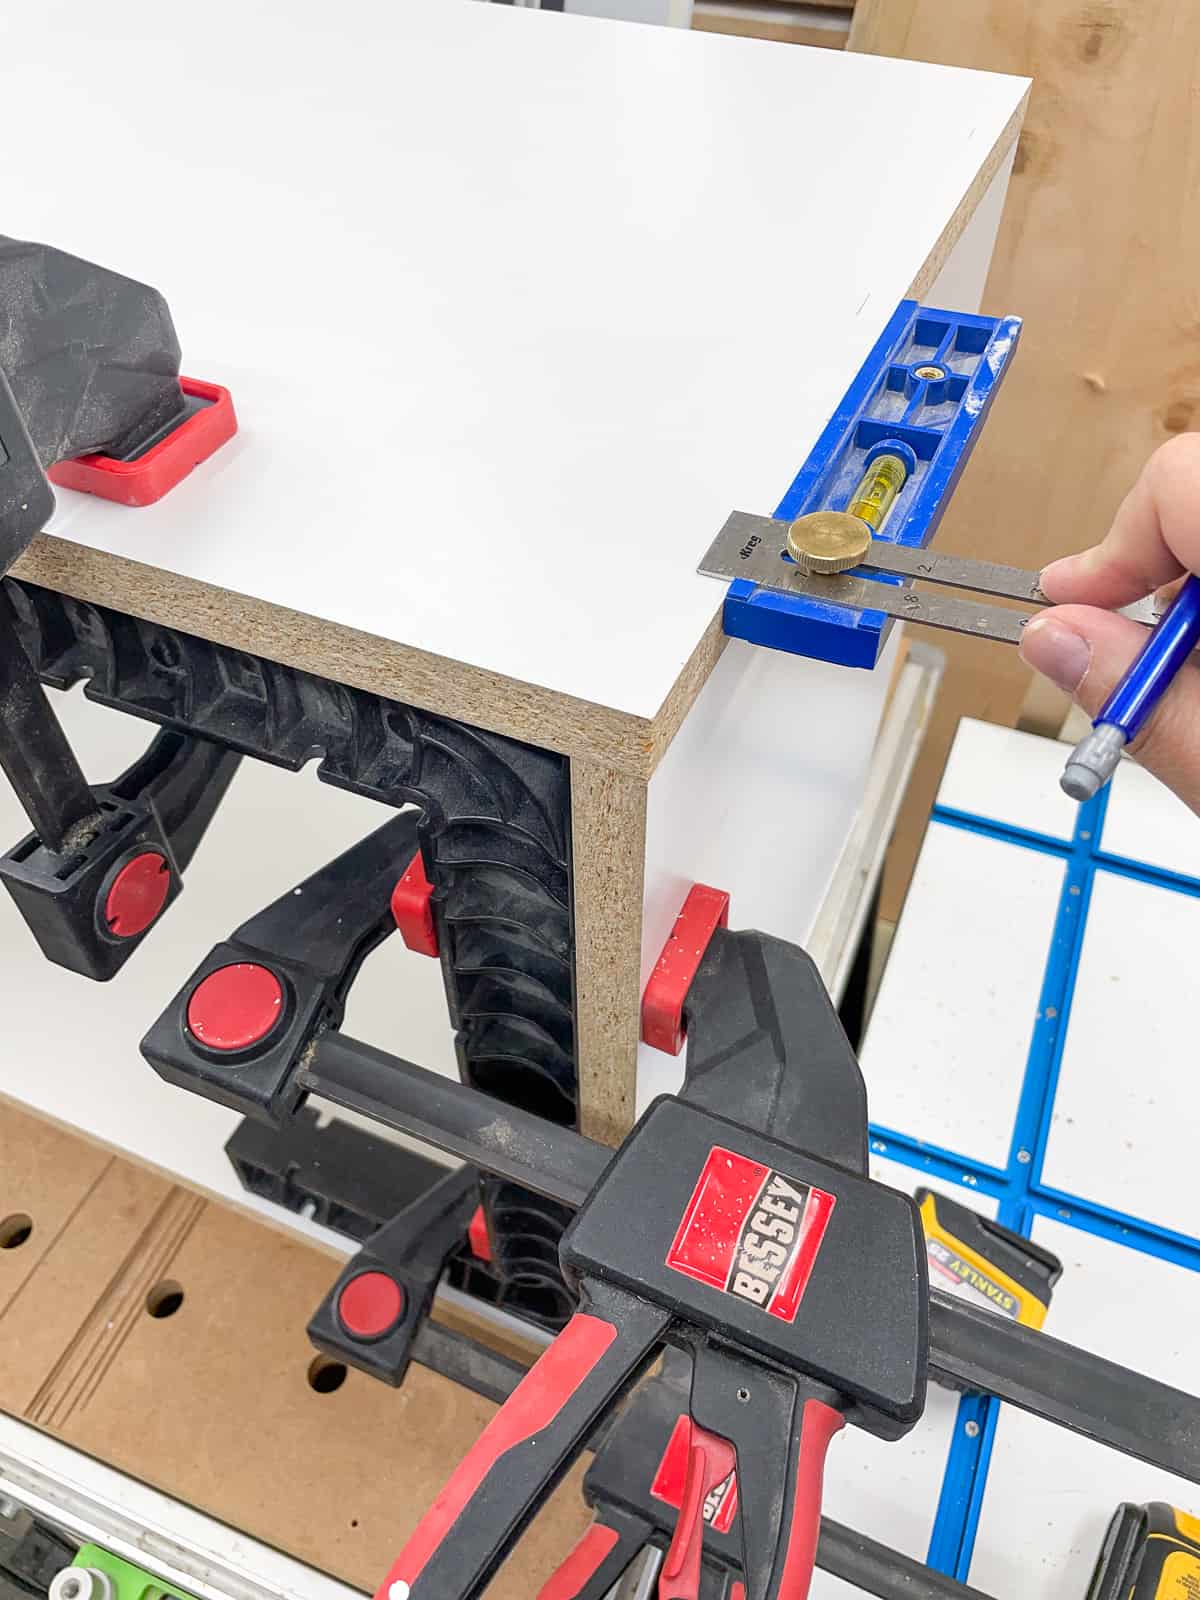

Then I drilled countersink holes at those markings so the screw heads would be recessed into the wood. Predrilling also removes some of the material so the screws don't split the melamine. Use 1 ½" wood screws to join the boards together.

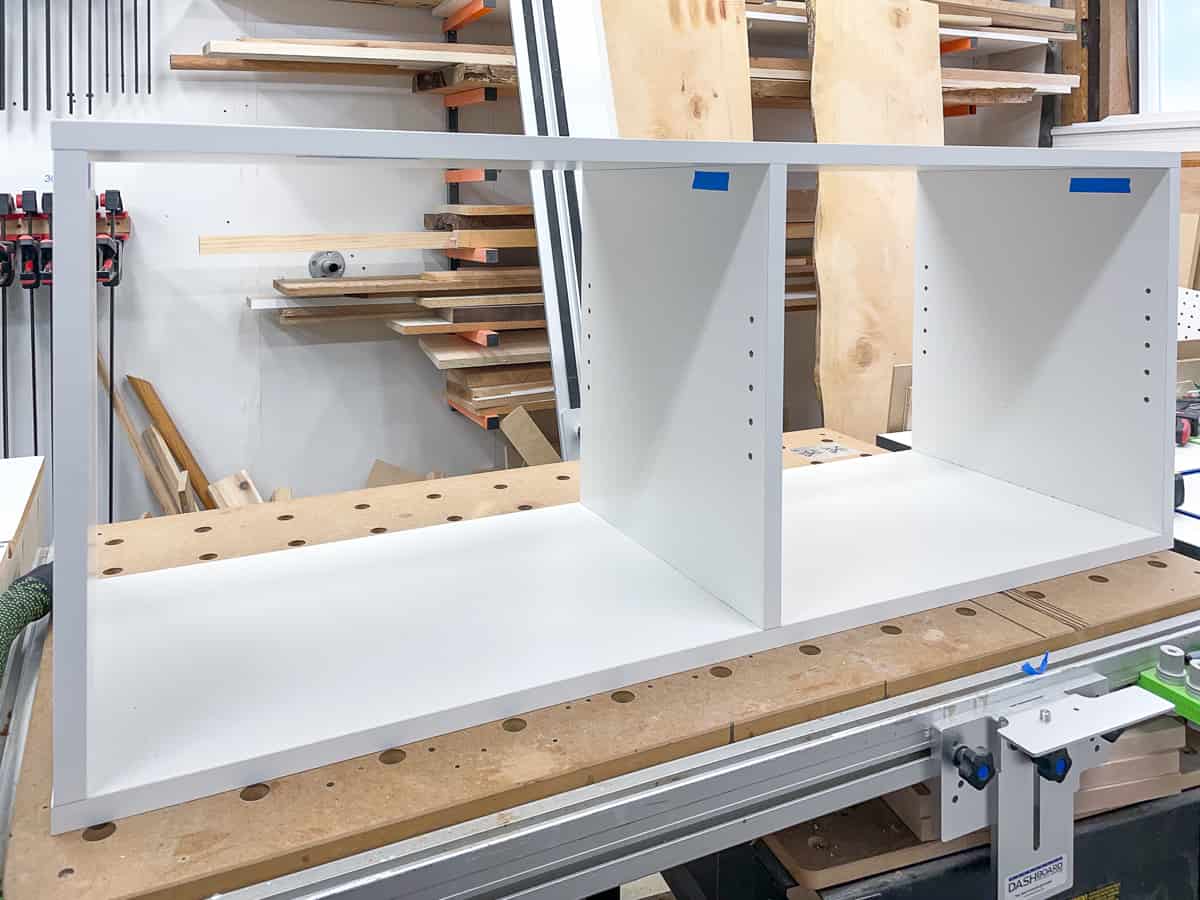
Slide the center divider into the middle, and make sure it's square in both directions (up and down and front to back). Mark the position of the divider on the top, then screw it place.

If you want to hide the screw holes in the top after assembly, you can use these little stickers or white plastic plugs. Or you can add a wooden top to cover it up and create a two-toned look!
Attach the back panel
A cabinet back panel will prevent the shelves from racking or tilting, although it makes it a little more difficult to manage all those cables. I decided to add two holes in the back panel, one on either side of the center divider, that was big enough to pass all the cords through.
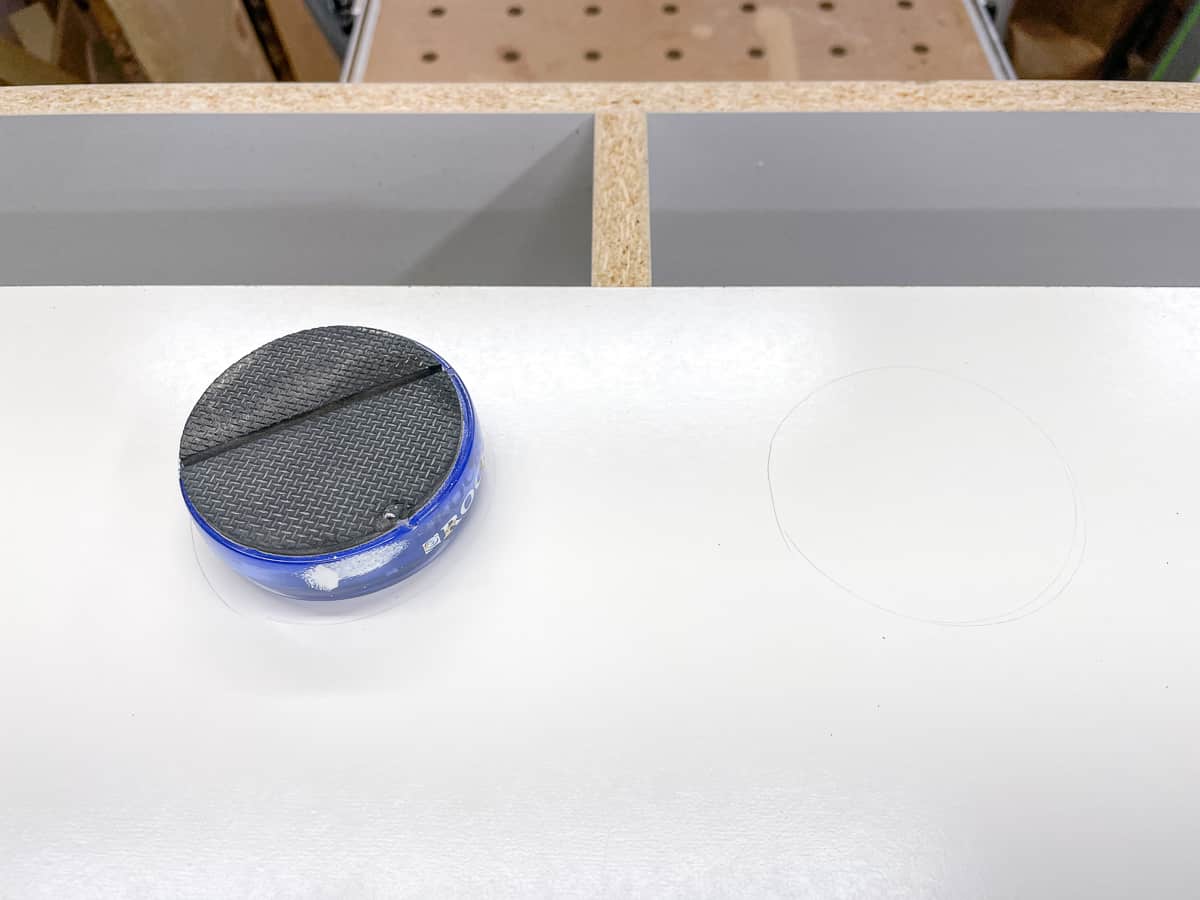
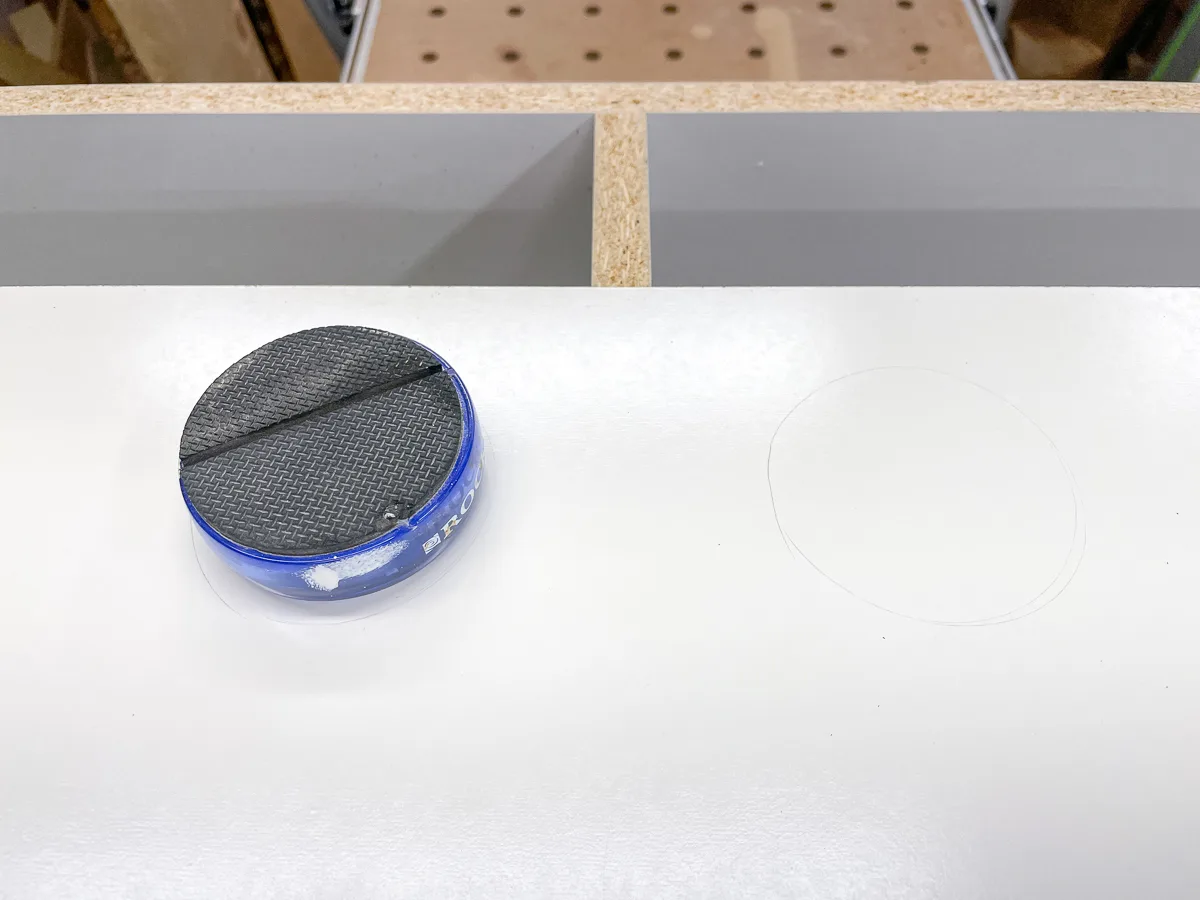
I found a leftover piece of the whiteboard material I used for my workshop wall that was perfect for the back panel. I cut it down to size, then flipped the shelves onto their fronts and placed the panel on top. I traced a rough circle on either side of the center divider for the holes.
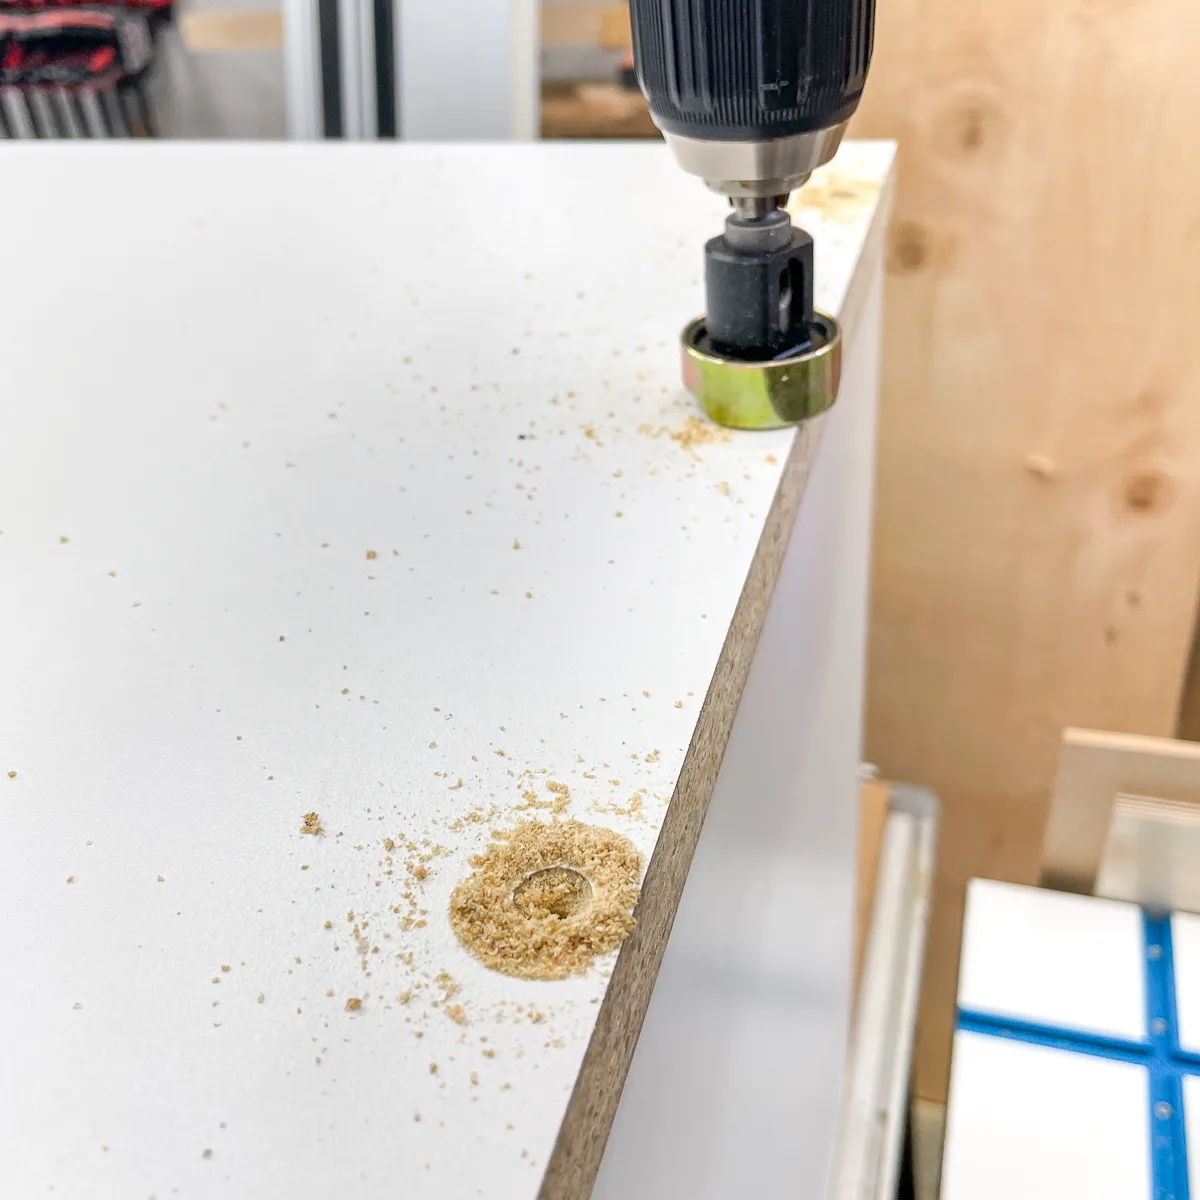
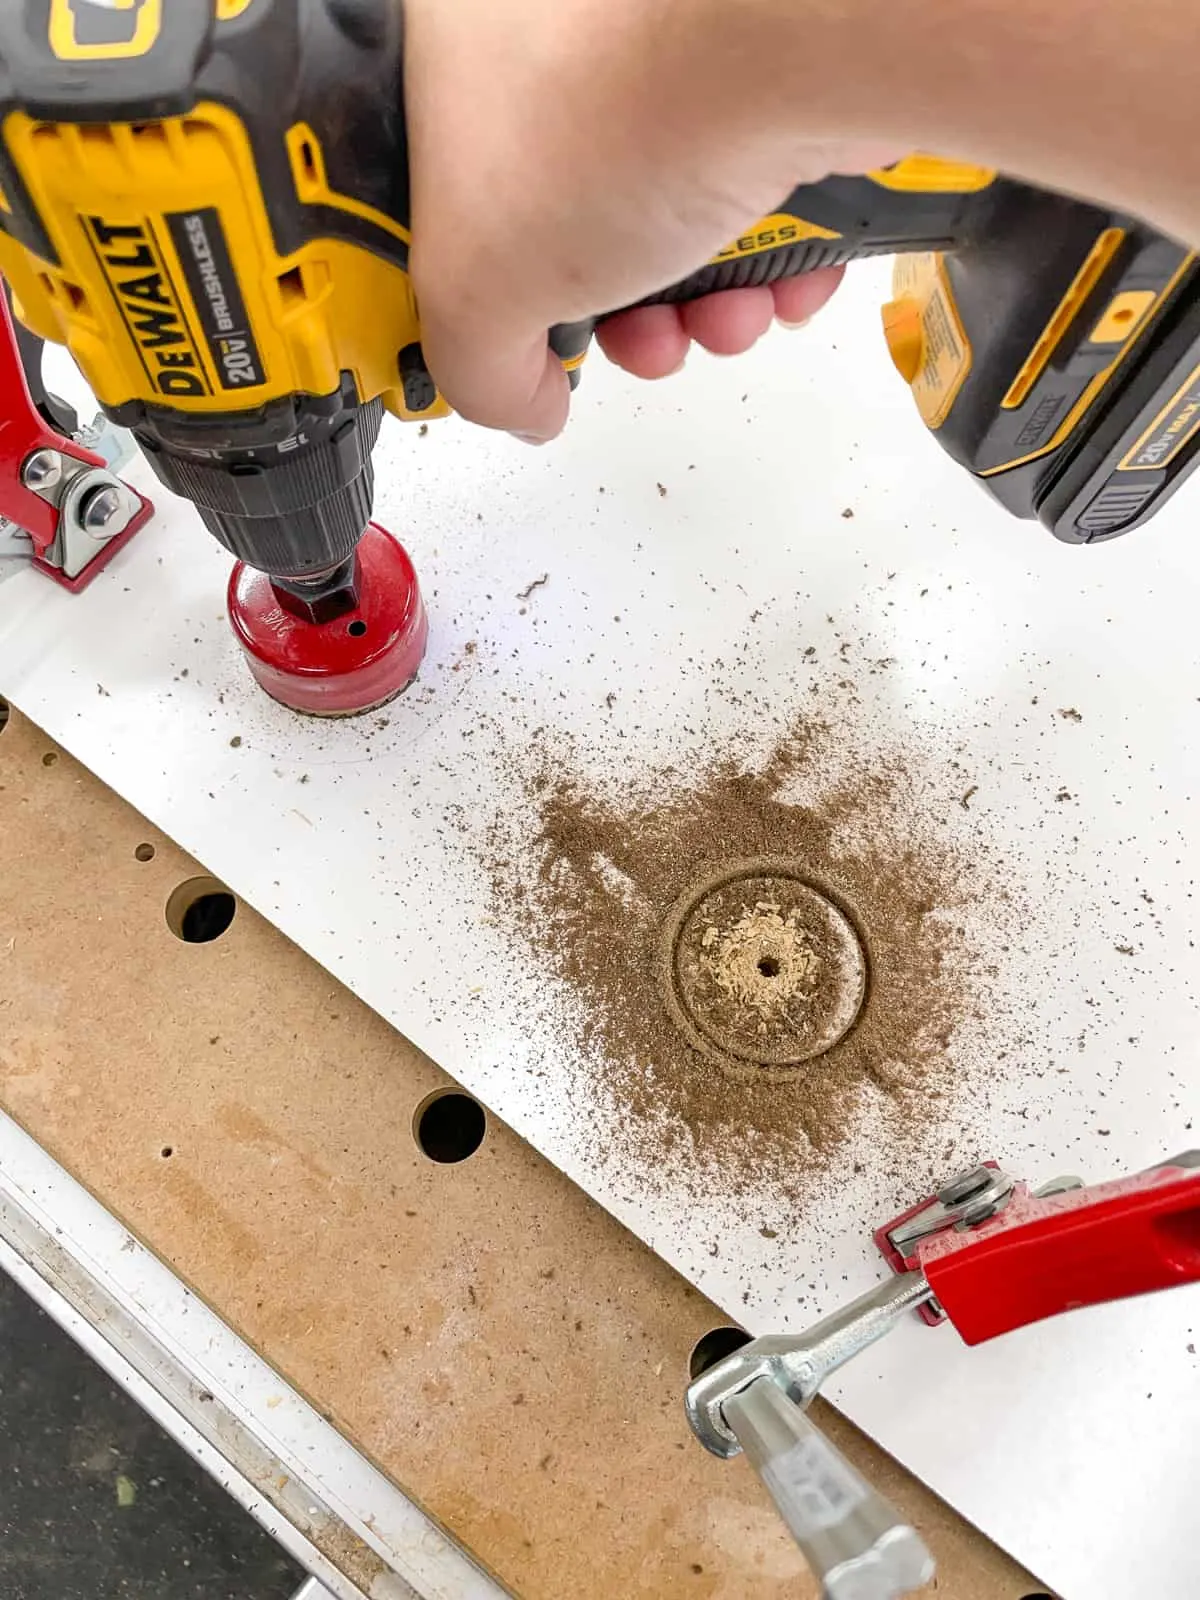
Then I used a hole saw to drill out the holes. Make sure to place a scrap piece of wood under the holes so it doesn't blow out the back. You can use a desk grommet to protect the edge of the hole and give the back panel a cleaner look.

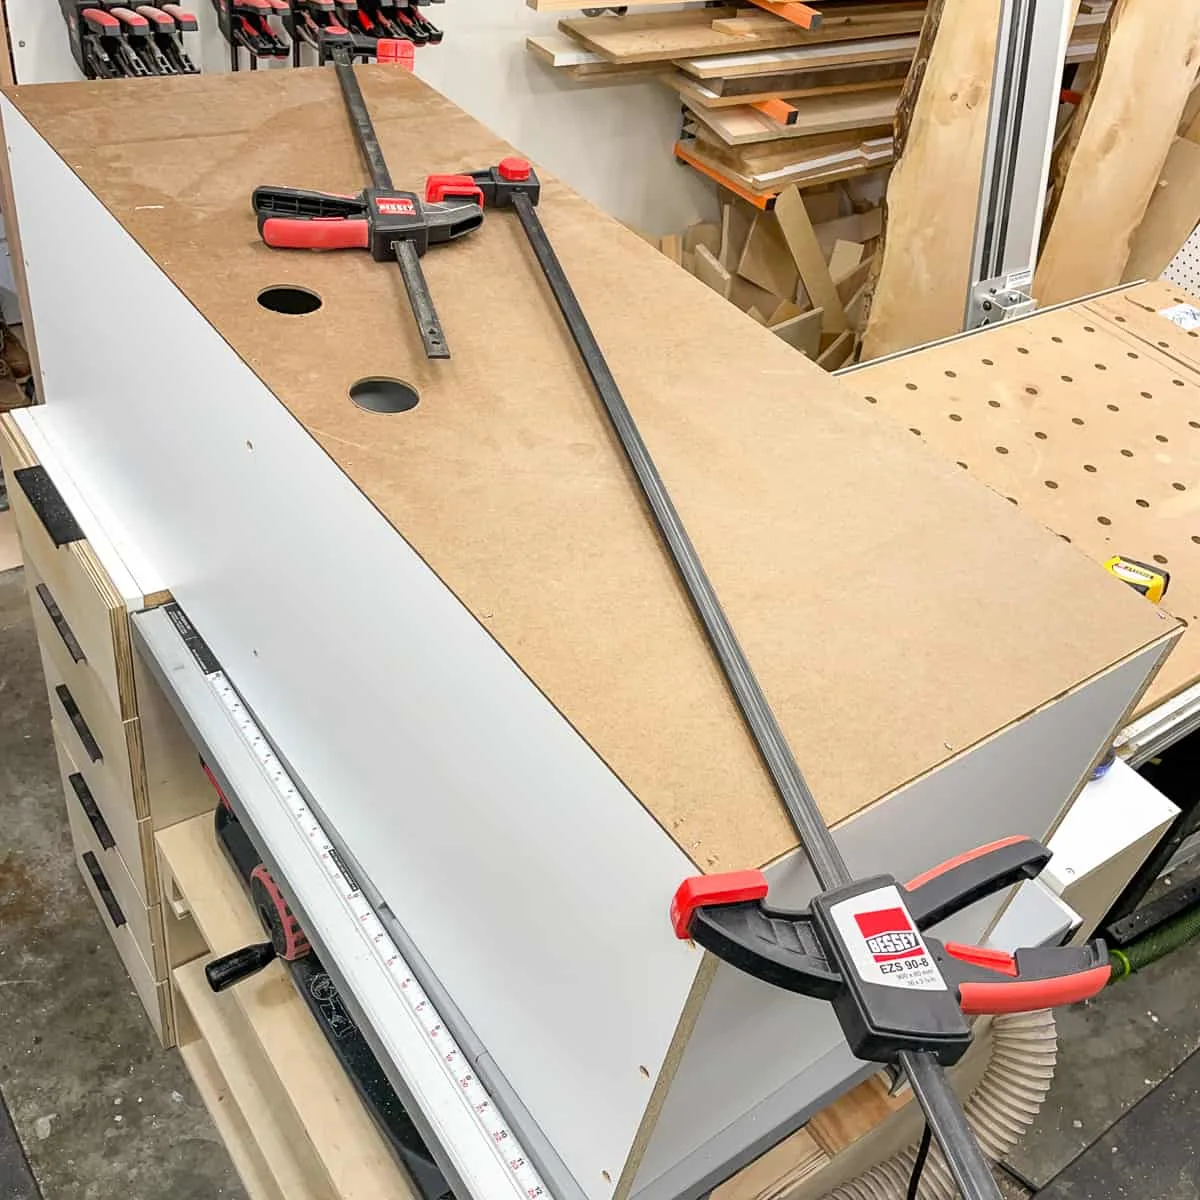
The shelves were a little bit out of square, so I used two clamps across the longer diagonal to force them into place. Once the back panel is attached, it will hold the box square.

In the past, I've used a brad nailer to attach the back panel, but the tiny nails tend to pull through this thin material too easily. This time, I used heavy duty staples to tack it into place.
Insert the adjustable shelves
Measure the width on both sides of the center divider, and cut the adjustable shelves slightly smaller so they slide in place easily without rubbing the sides. I also trimmed ¼" off the back of the shelves so the wires can slide behind it.
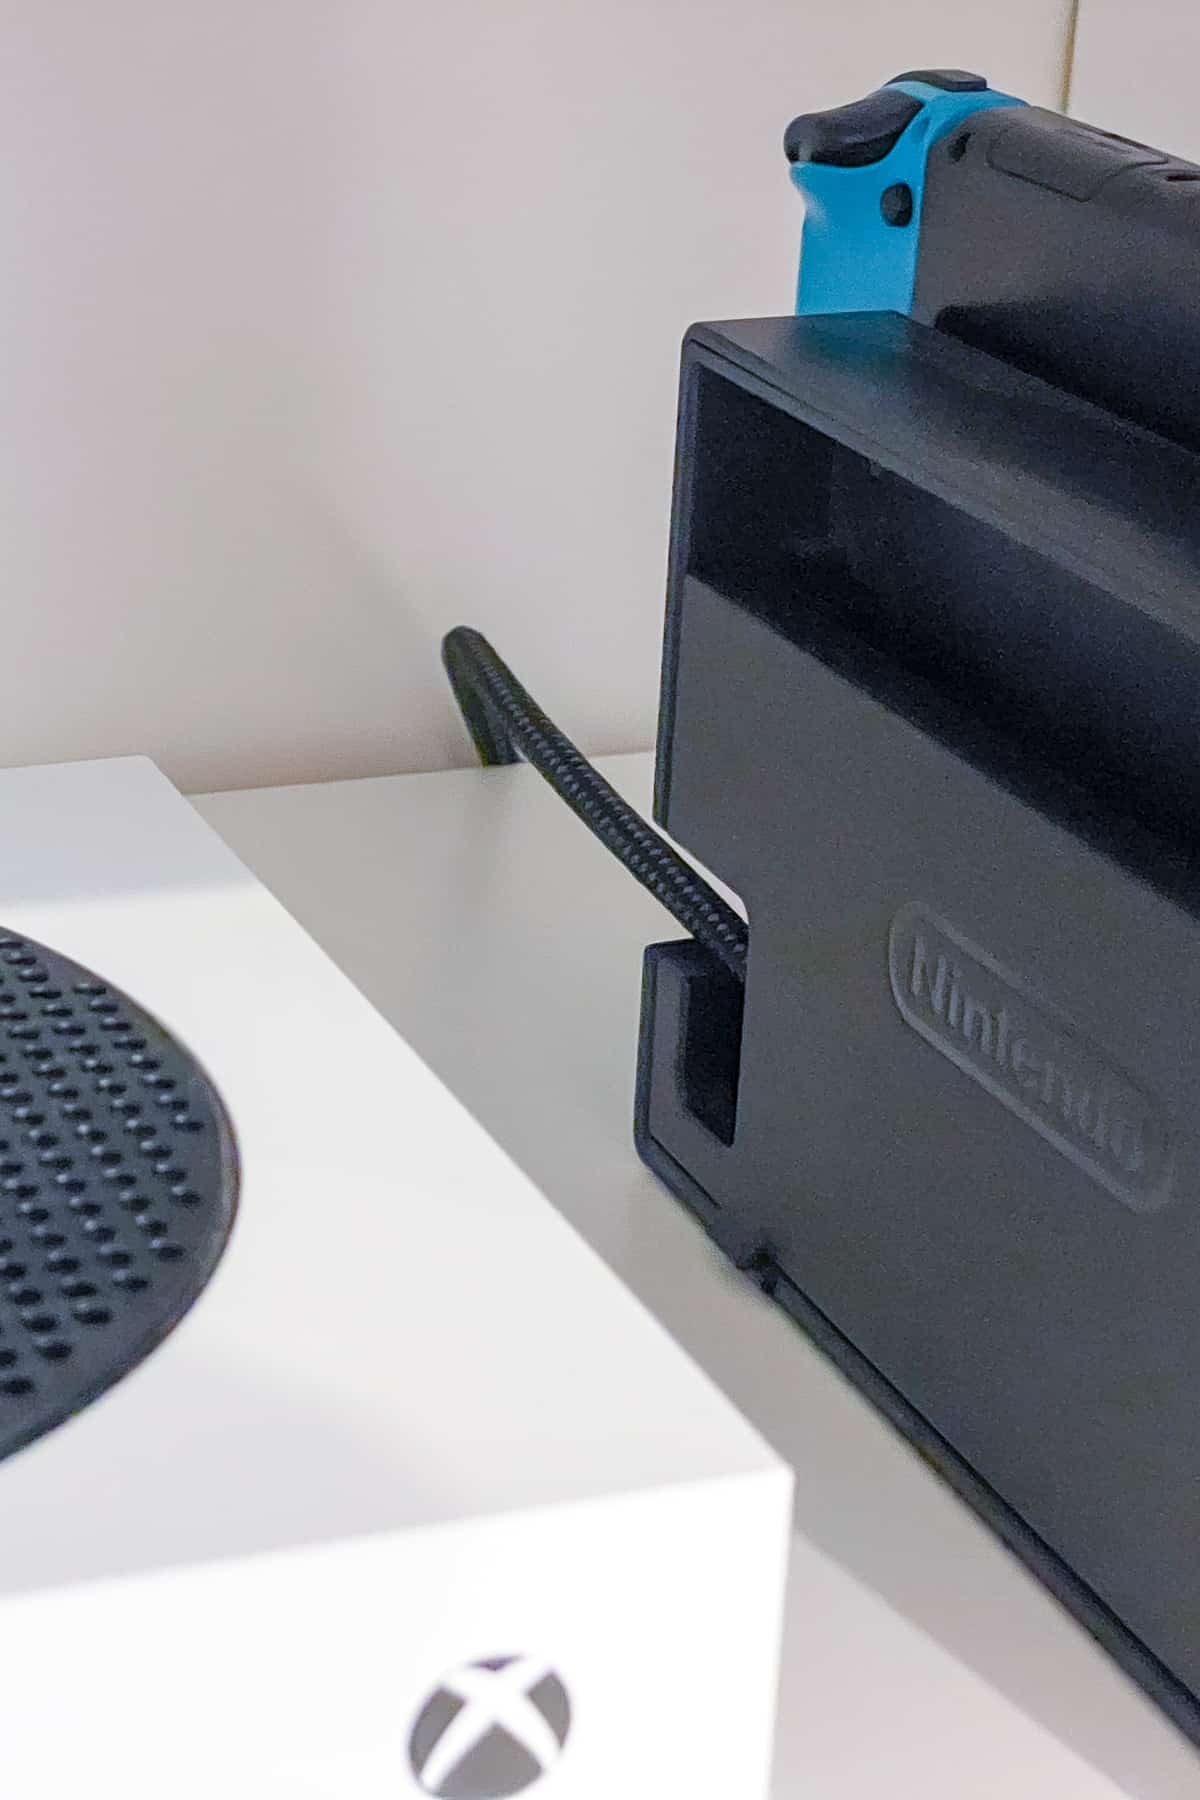
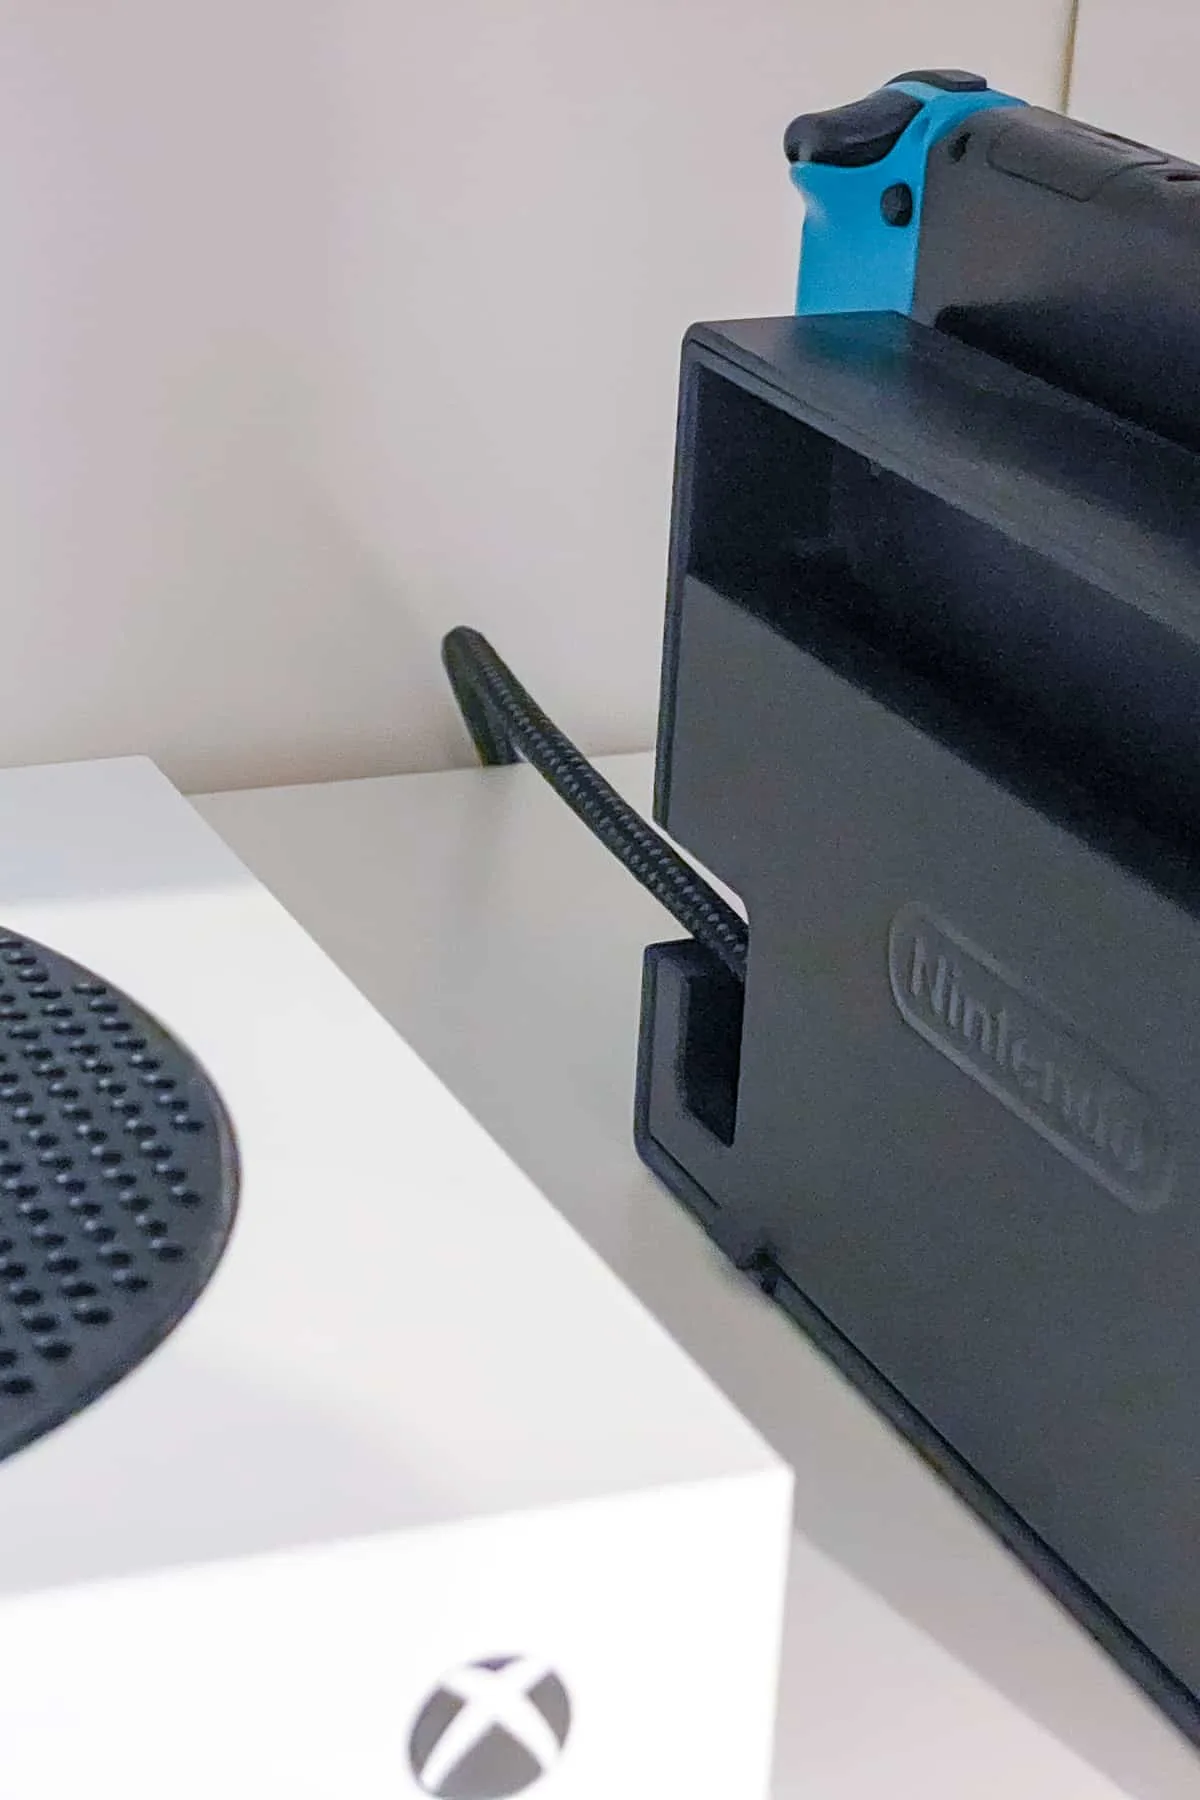
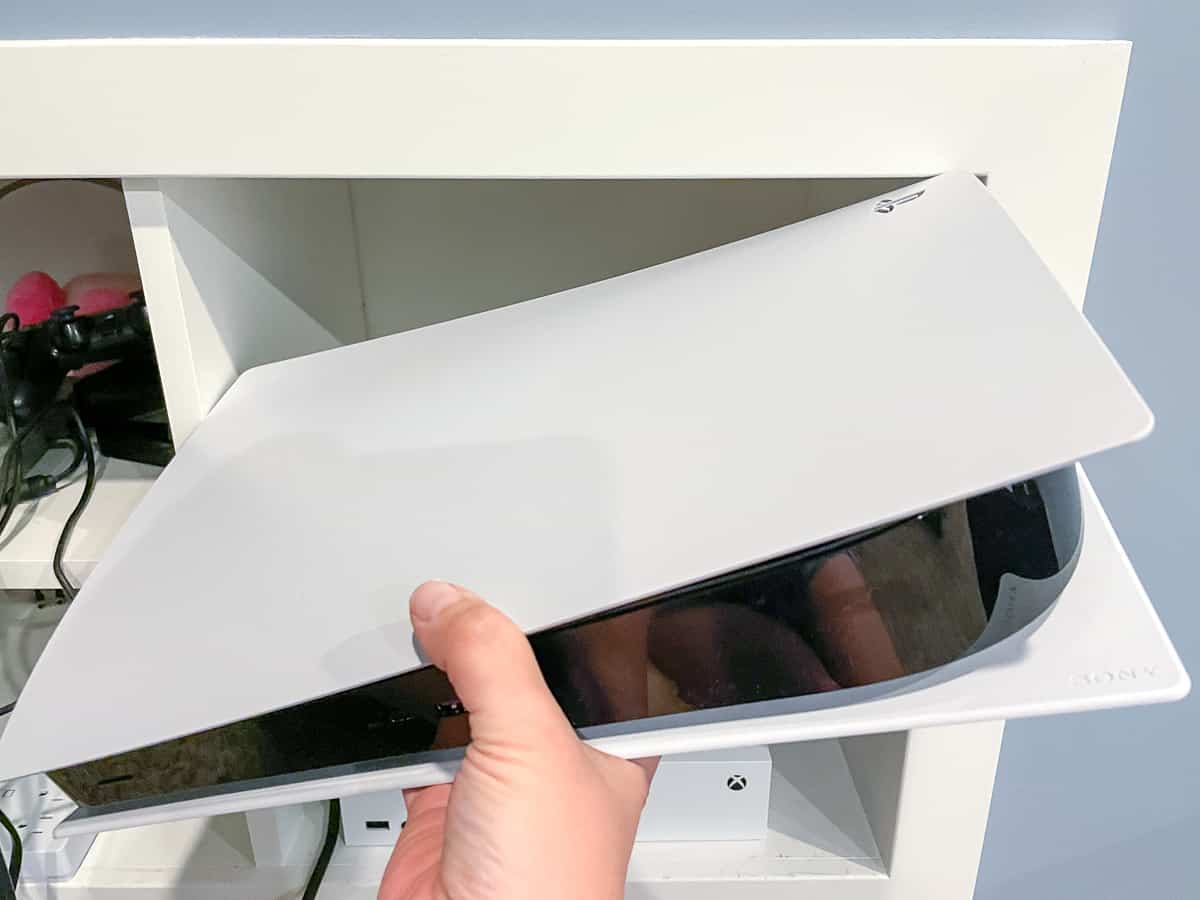
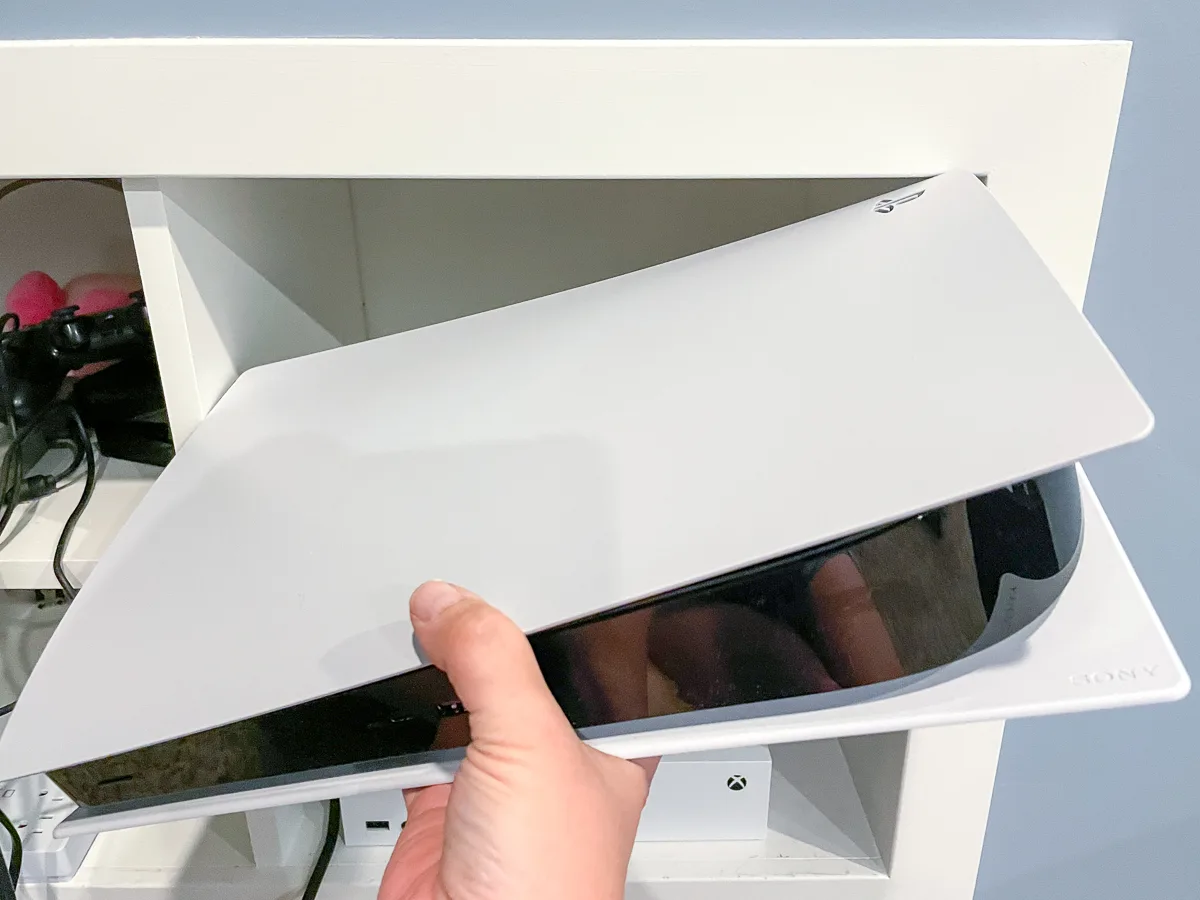
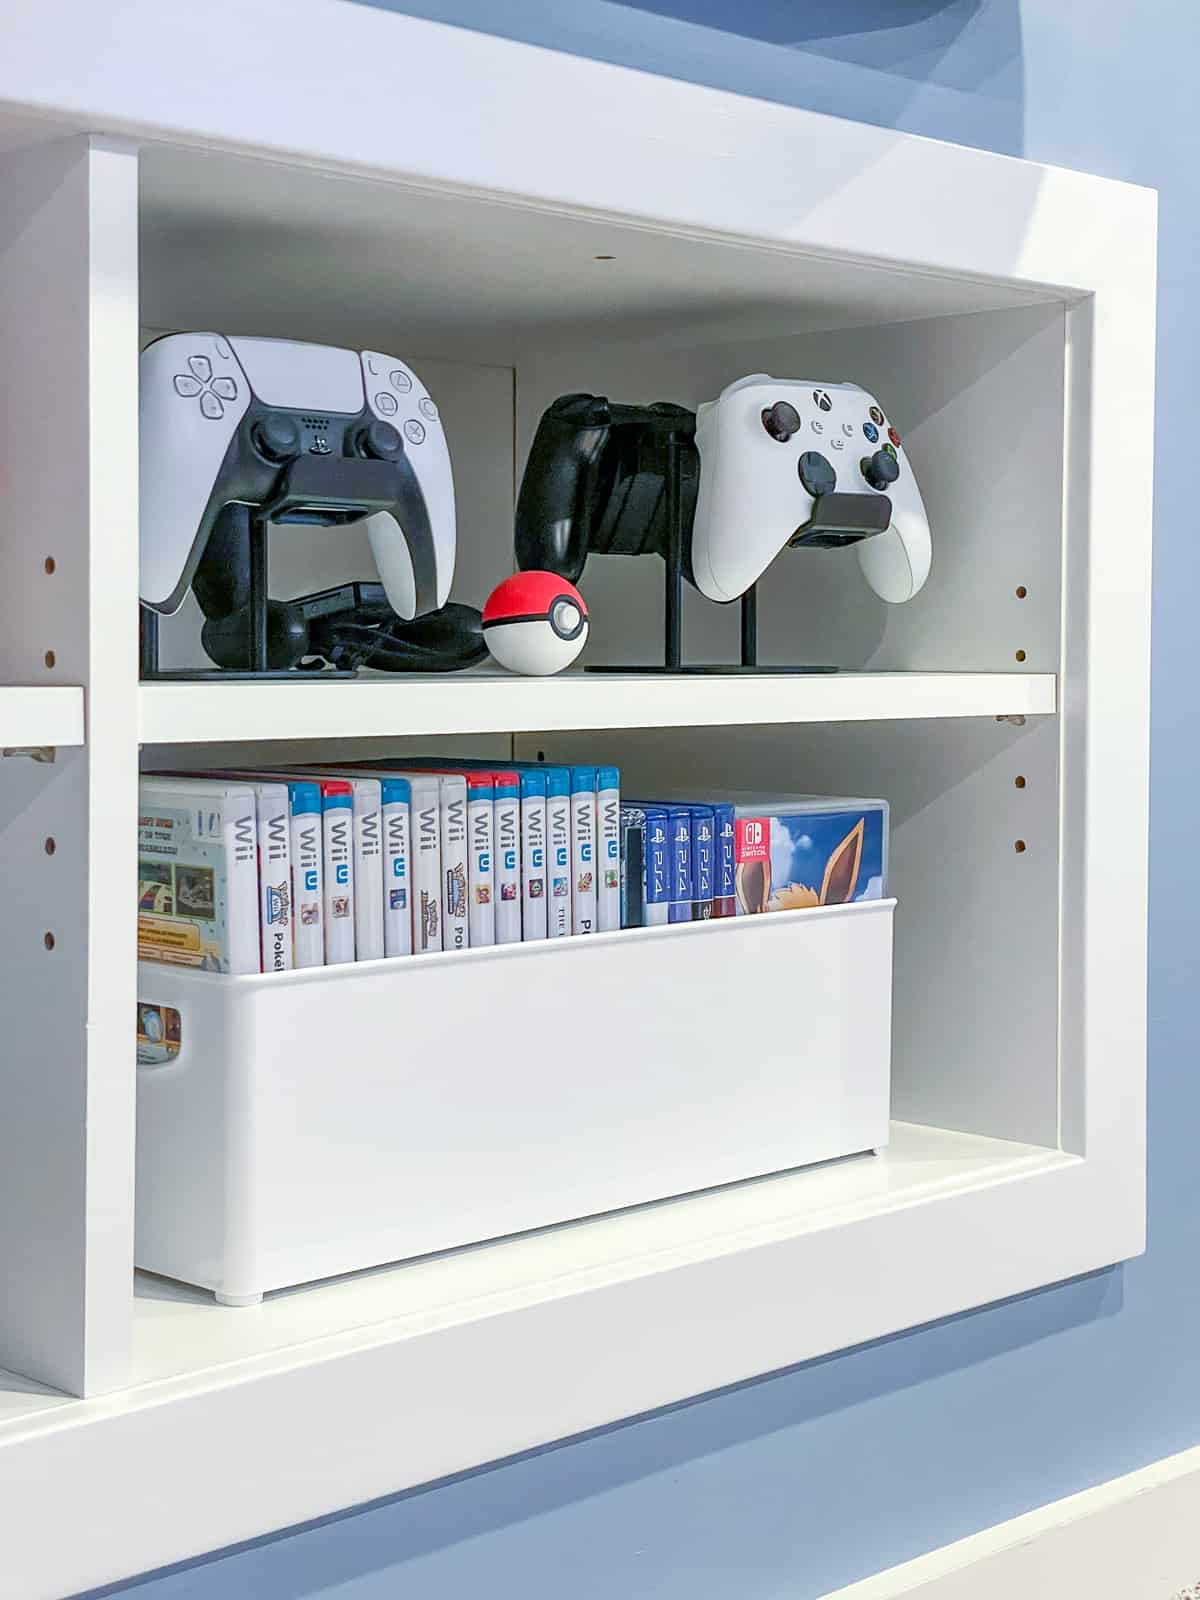
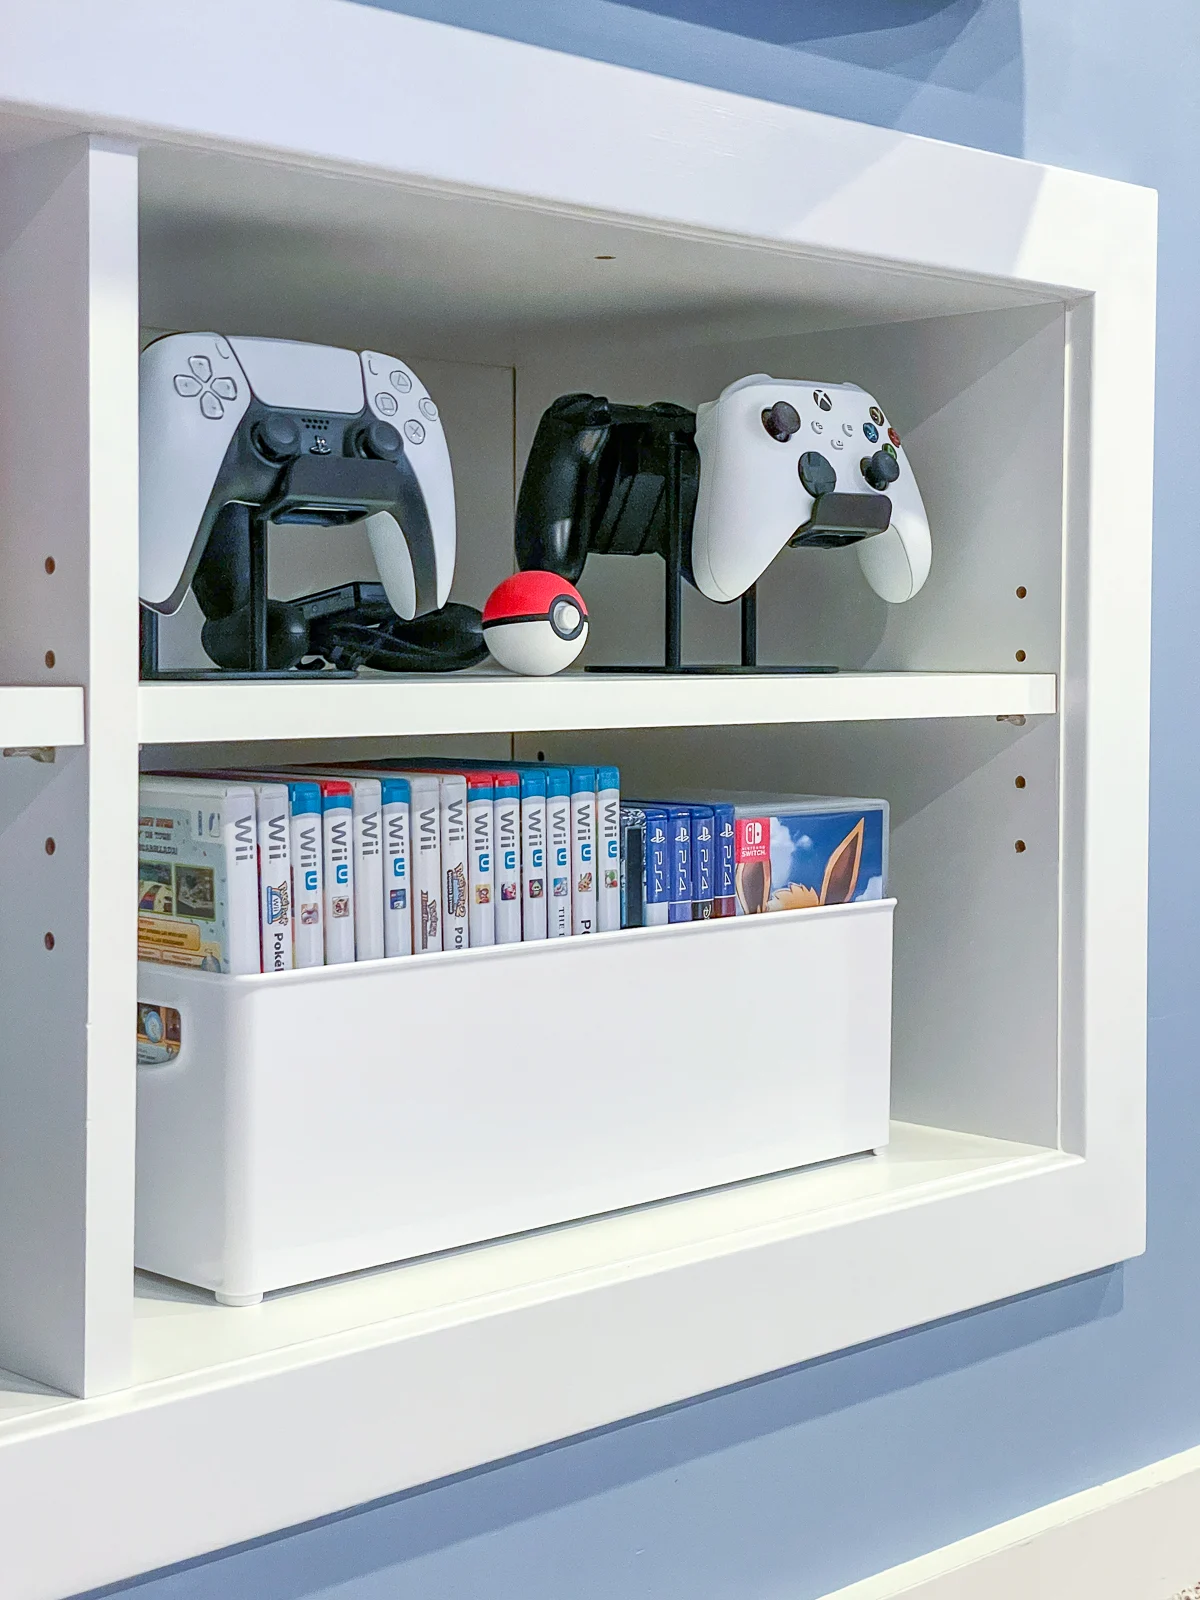
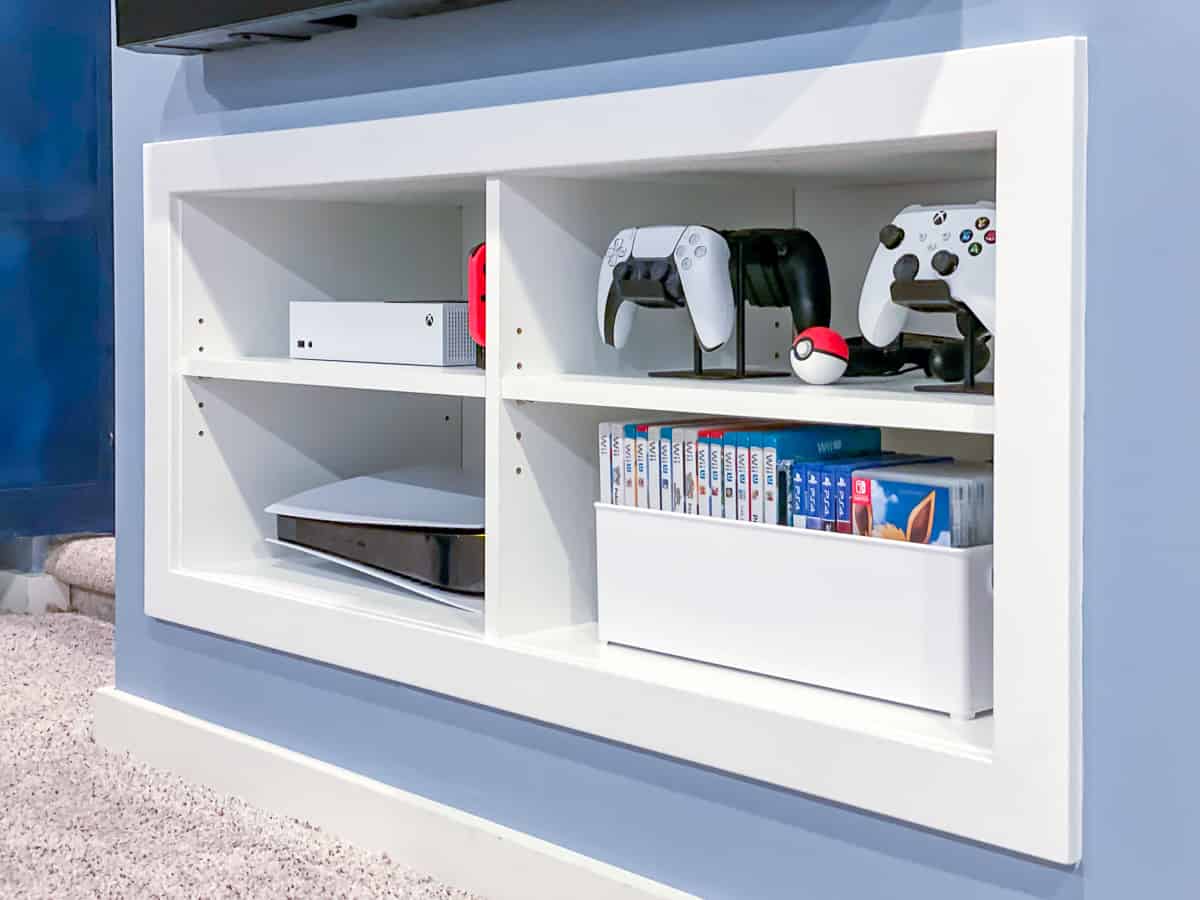
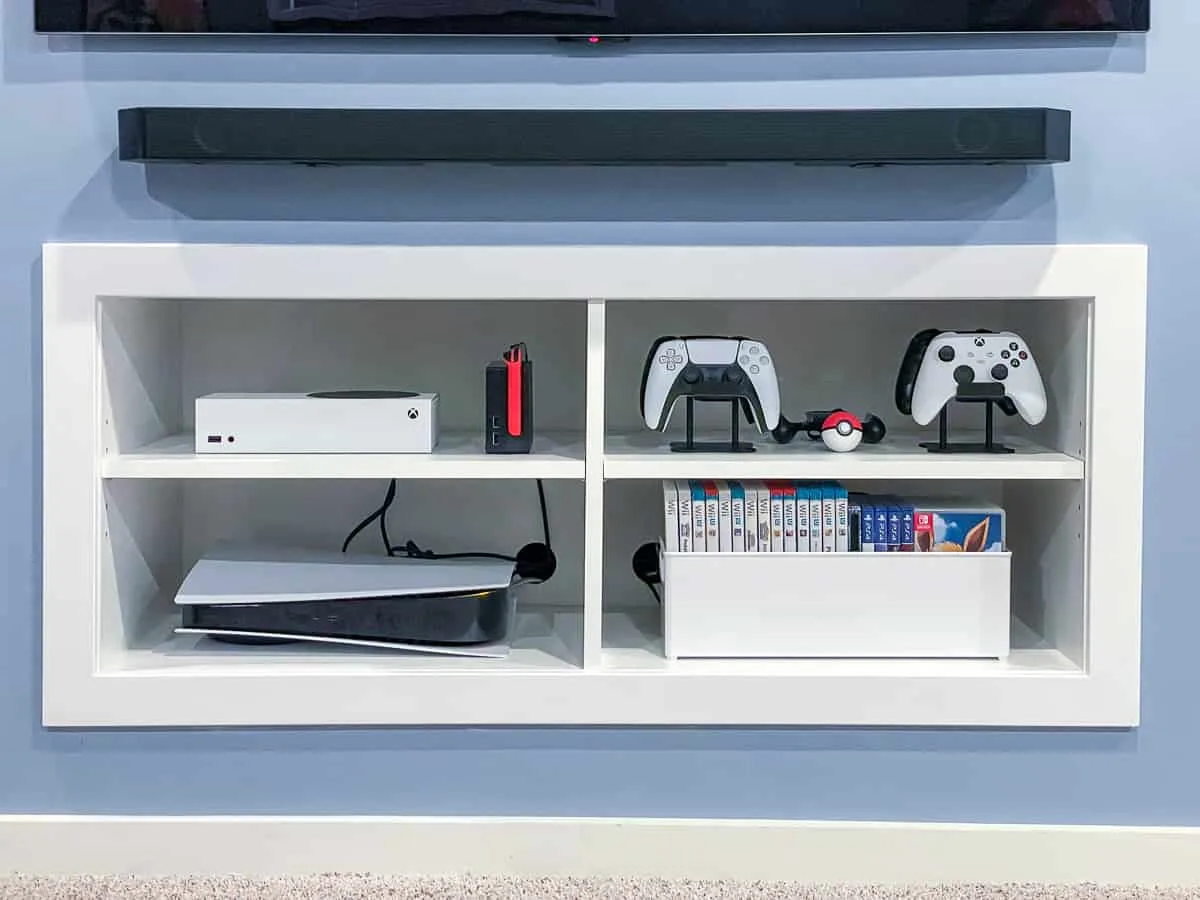
Then you can just pop the shelf pins into the holes and place the shelf on top! I decided to store all the game consoles on one side and all the games and controllers on the other. I'm so glad that the Playstation 5 actually fits now!
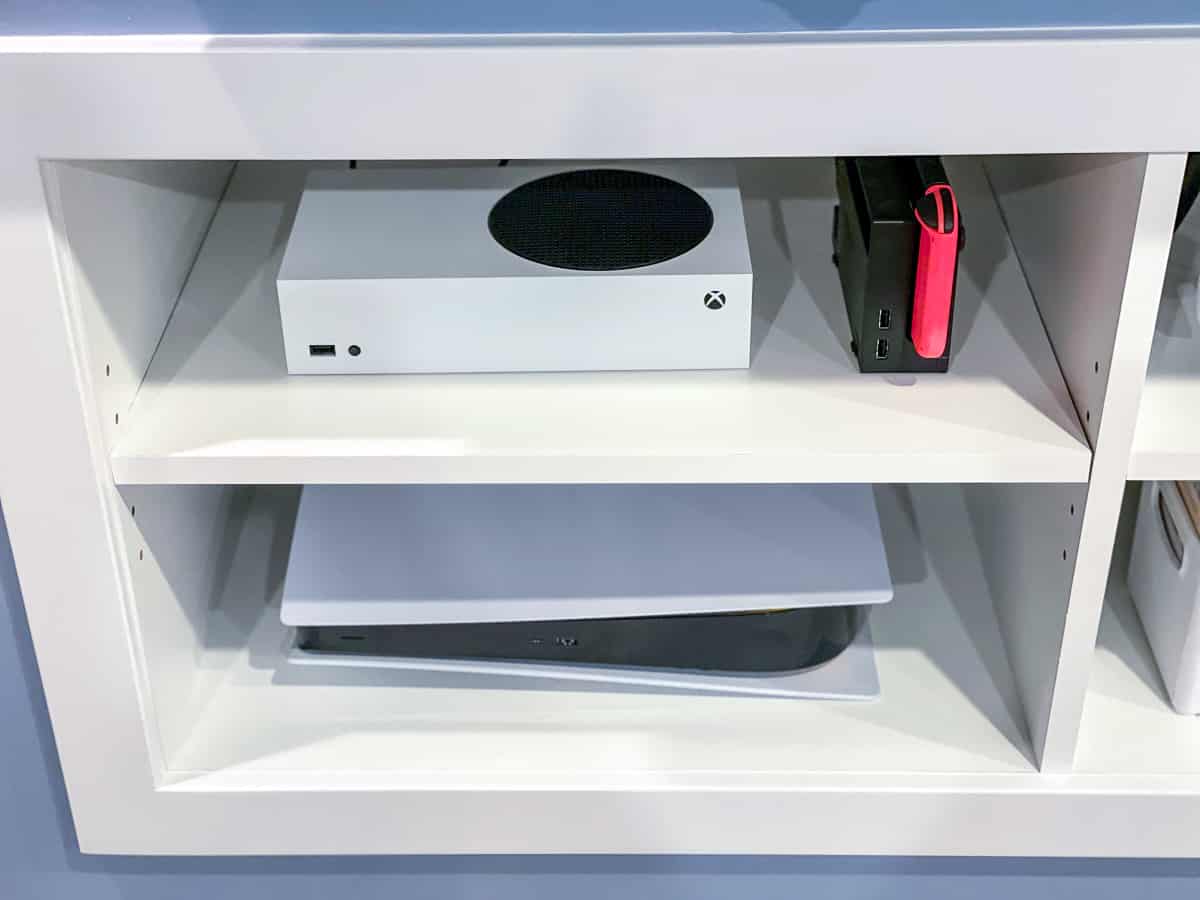

All the wires are hidden behind the consoles and this game storage box, so you don't see the mess. These controller hangers keep the Playstation and Xbox controllers organized and in the same spot so you don't have to hunt around the basement for them.
Once the shelves were installed, I replaced the trim around the box to cover up the edge of the drywall and give it a finished look. After a little caulk and paint, you'd never know that these aren't the original shelves! Read my previous tutorial to learn how to recess the box into the wall.

I'm so happy with how my new DIY game console shelf turned out! Now we should have space for any new system that comes out, and adjust the shelves to fit!

Check out these other shelving tutorials!