Want to make adjustable shelves in your cabinet? I'll show you how to drill shelf pin holes two different ways with simple jigs!

Want to create customized storage in your cabinet, but there aren't any holes for those little shelf pegs? Don't worry, it's super easy to drill shelf pin holes yourself!
Drilling accurate and consistent shelf pin holes is crucial to ensure your shelves are level and secure. Even if you're really careful measuring and marking the position of each hole, the drill bit could wander and you'll end up with wonky shelves!
Whether you're building a new cabinet or updating an existing one, I'll walk you through the process step by step. I'll show you how to use a shelf pin jig, and how to make your own out of pegboard.
Let's get started!
This post contains affiliate links for your convenience. Purchases made through these links may earn me a small commission at no additional cost to you. Please visit my disclosures page for more information.
Match the drill bit size to the shelf pins
One of the first things you need to consider when drilling shelf pin holes is selecting the right size drill bit. The size of the drill bit should match the size of your shelf pins to ensure a snug fit. Here are some tips for finding the correct size:
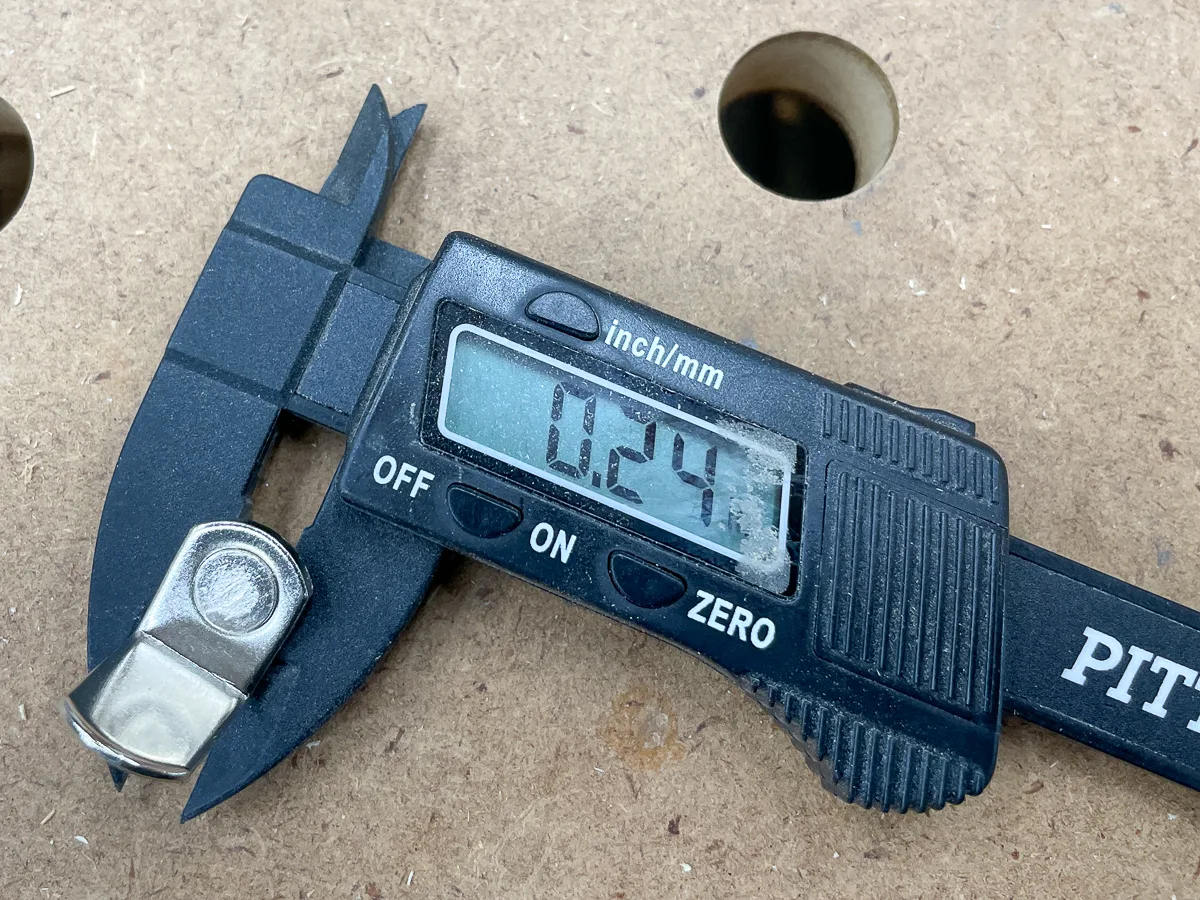
- Measure your shelf pins: Use a caliper or a ruler to measure the diameter of your shelf pins. This measurement should also be listed on the package if you're buying new ones. Remember that if you're adding holes to IKEA furniture, they use metric!
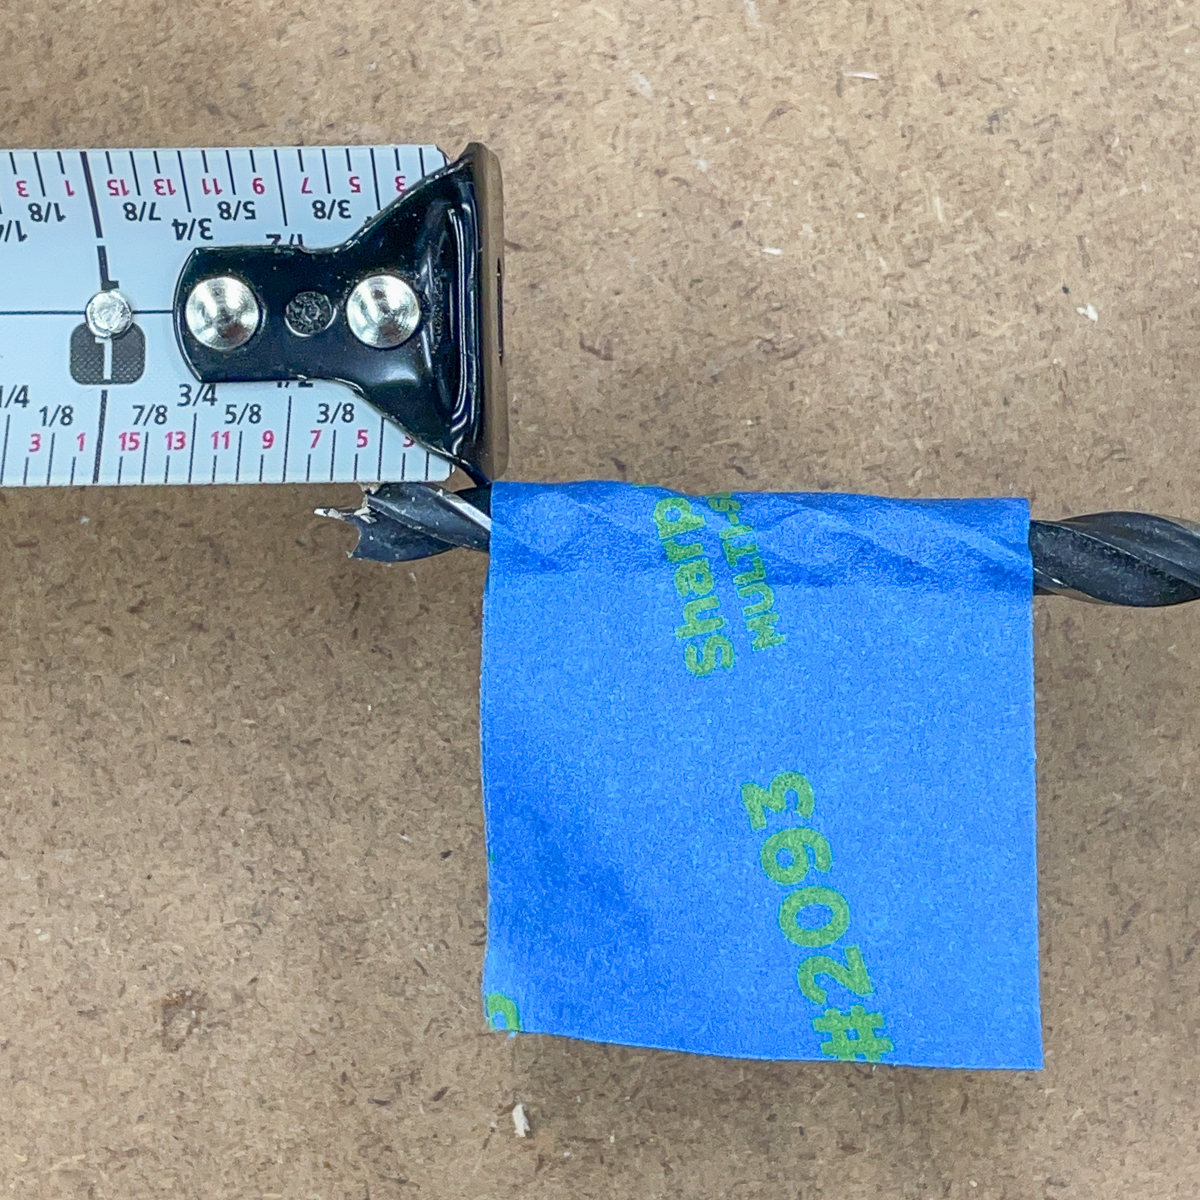
- Choose a drill bit that is the same diameter as the shelf pin: Make sure the drill bit is the same size as the pins. If your shelf pins are ¼", choose a ¼" drill bit. If it's metric, use a metric bit (not an imperial size bit that's "close enough.") The shelf pin measured below is just shy of ¼", so I'll use a ¼" bit for that hole.
- Test the fit: Before drilling all the holes, it's wise to do a test run on a scrap piece of wood. Drill a hole with the chosen bit and insert the shelf pin to ensure the fit is secure and snug.

Avoiding tear out
Nothing makes a DIY project scream "homemade" more than chipped edges around holes. This is a common issue when using melamine or particleboard, but can also occur on cheaper plywood.

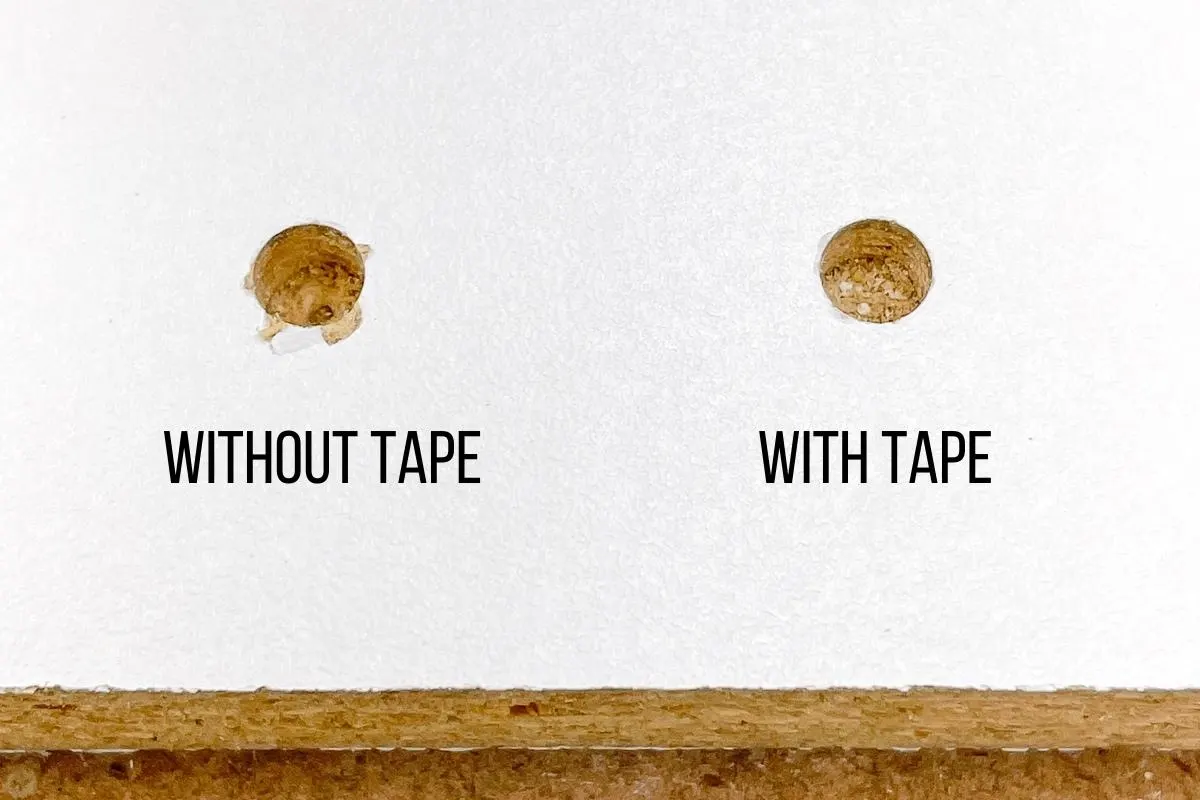
Luckily, there's an easy way to prevent this issue...painter's tape! Before you start drilling holes, place a strip of painter's tape over the area. The tape holds the fibers of the wood in place, so you get a cleaner hole!
How to use a Kreg shelf pin jig
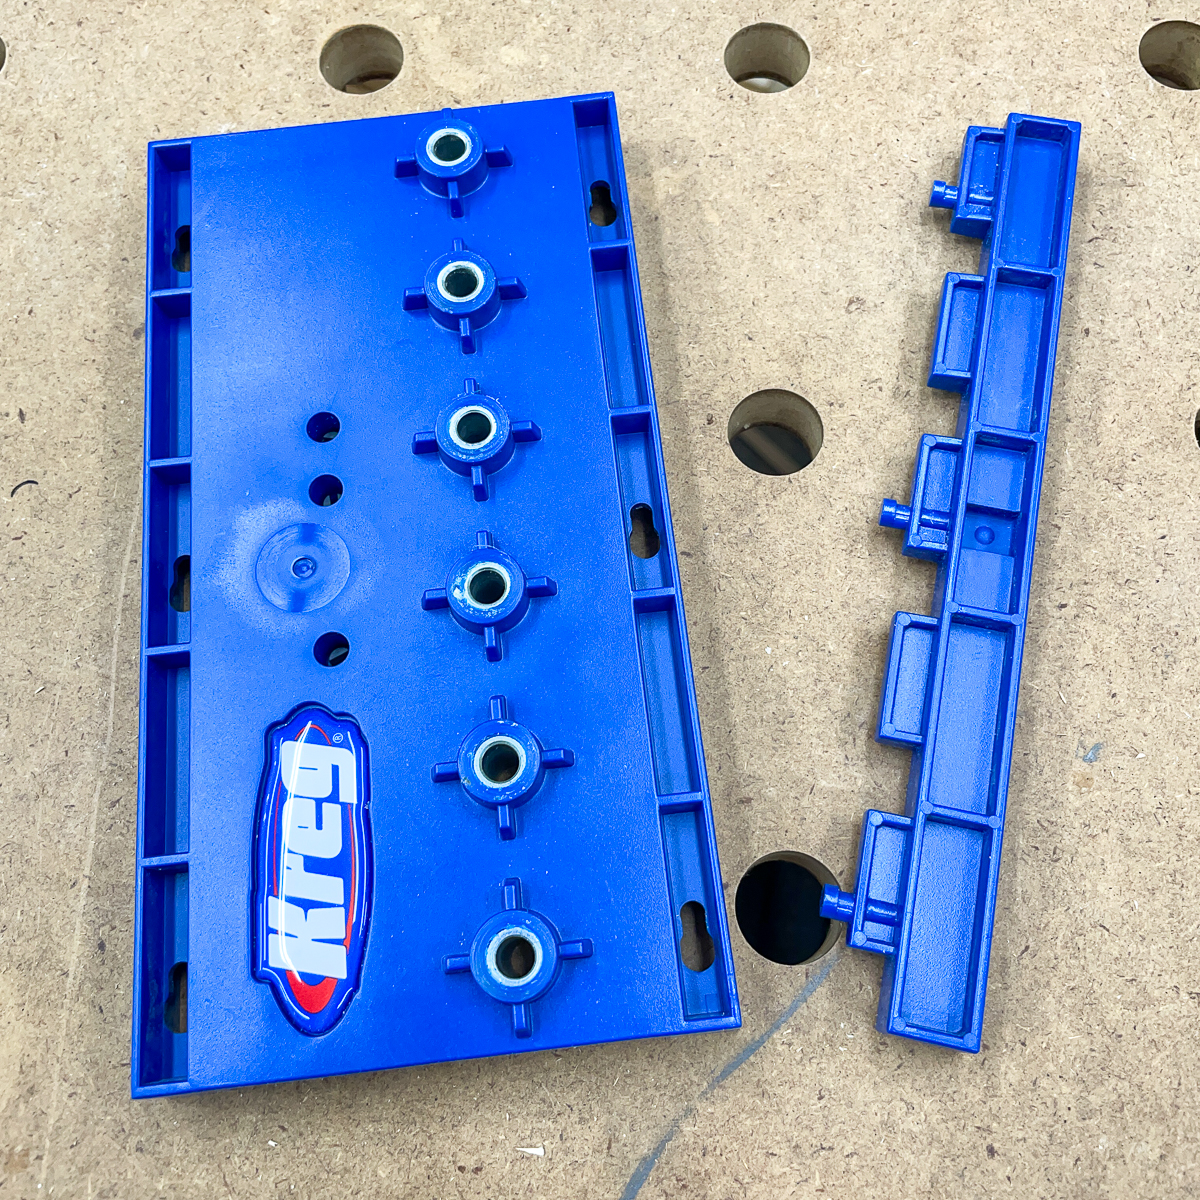
There are several jigs available on the market, such as the Kreg shelf pin jig. These jigs come with drill guide holes, ensuring that your bit stays straight and the holes are evenly spaced and the correct depth.
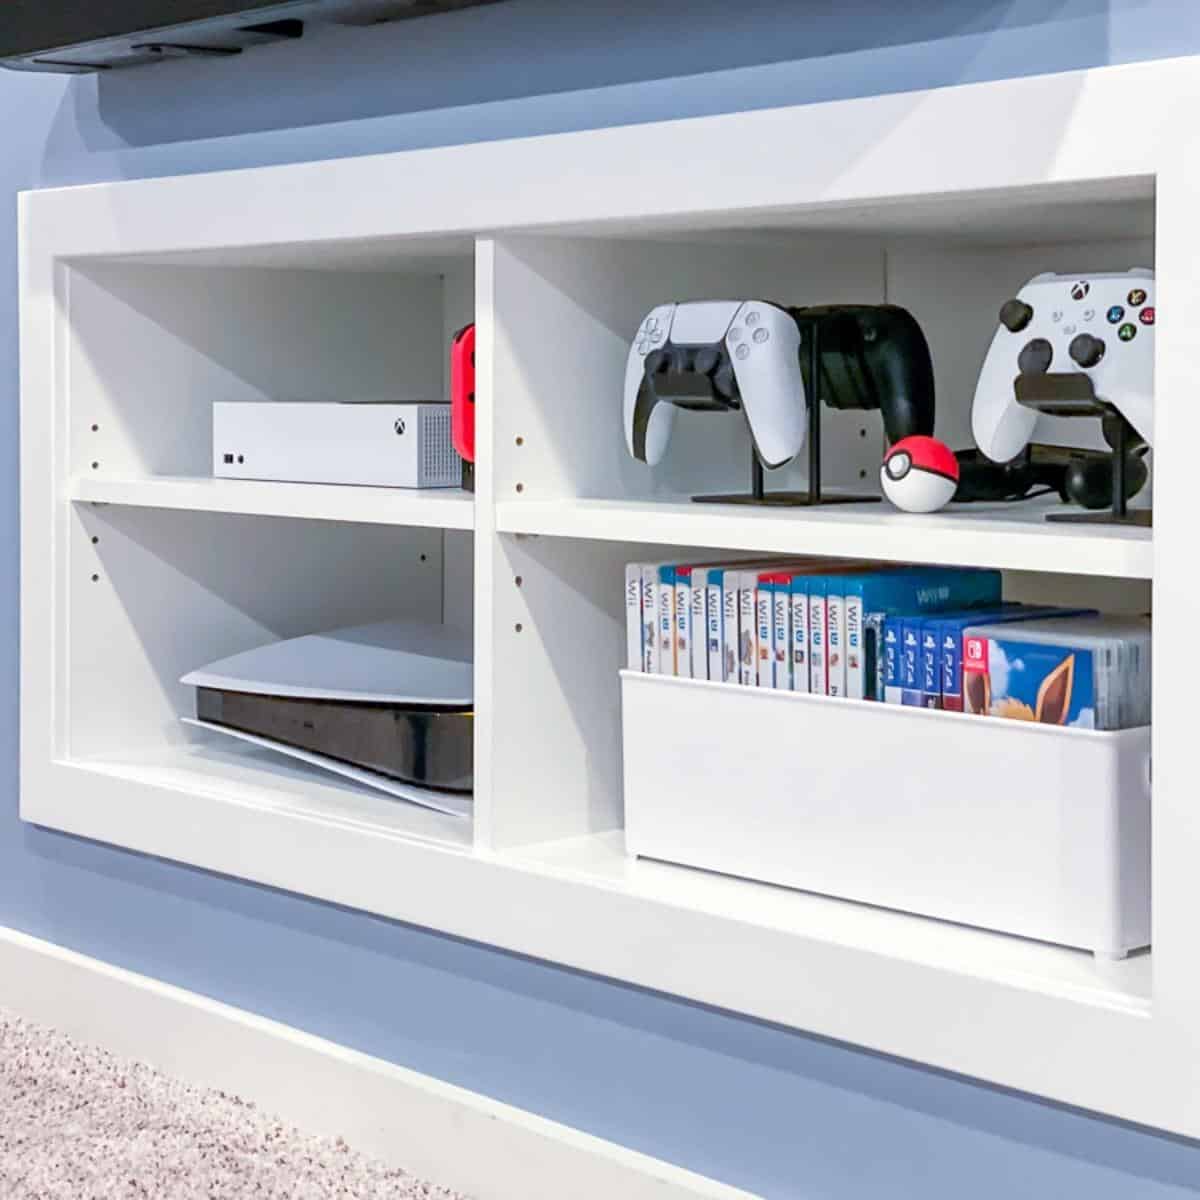
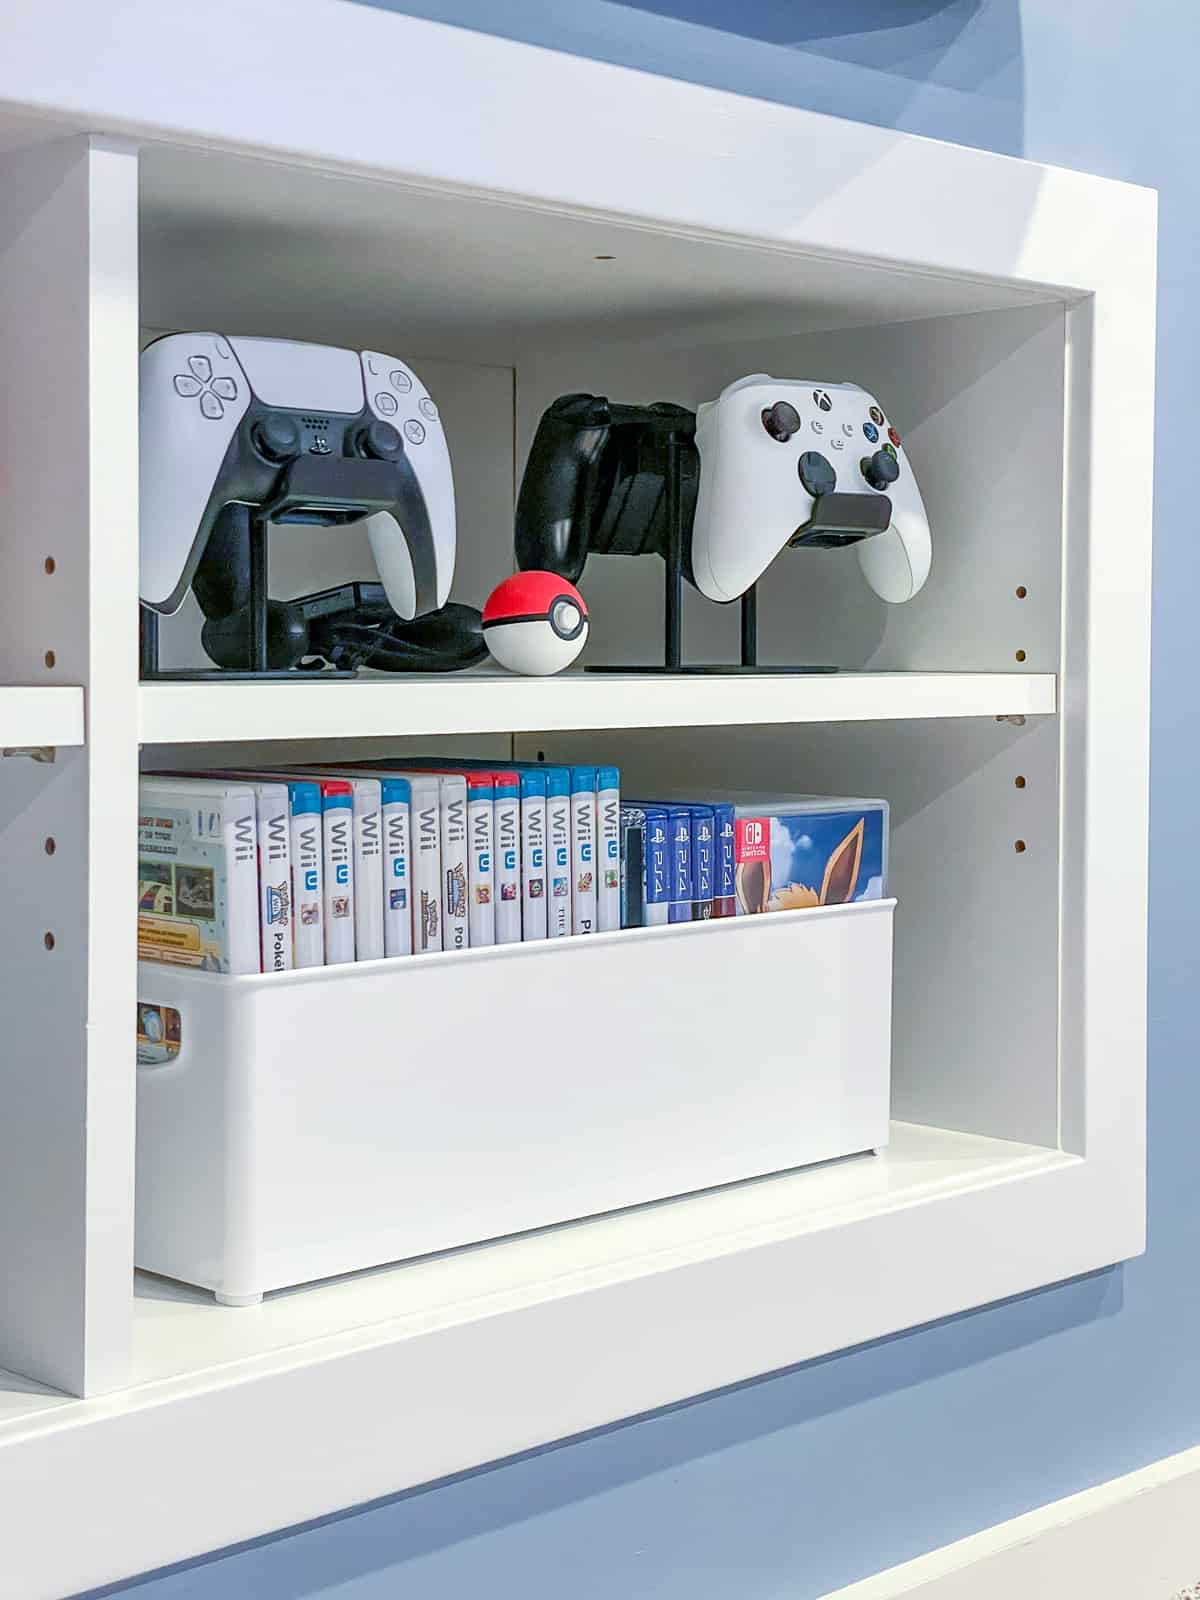
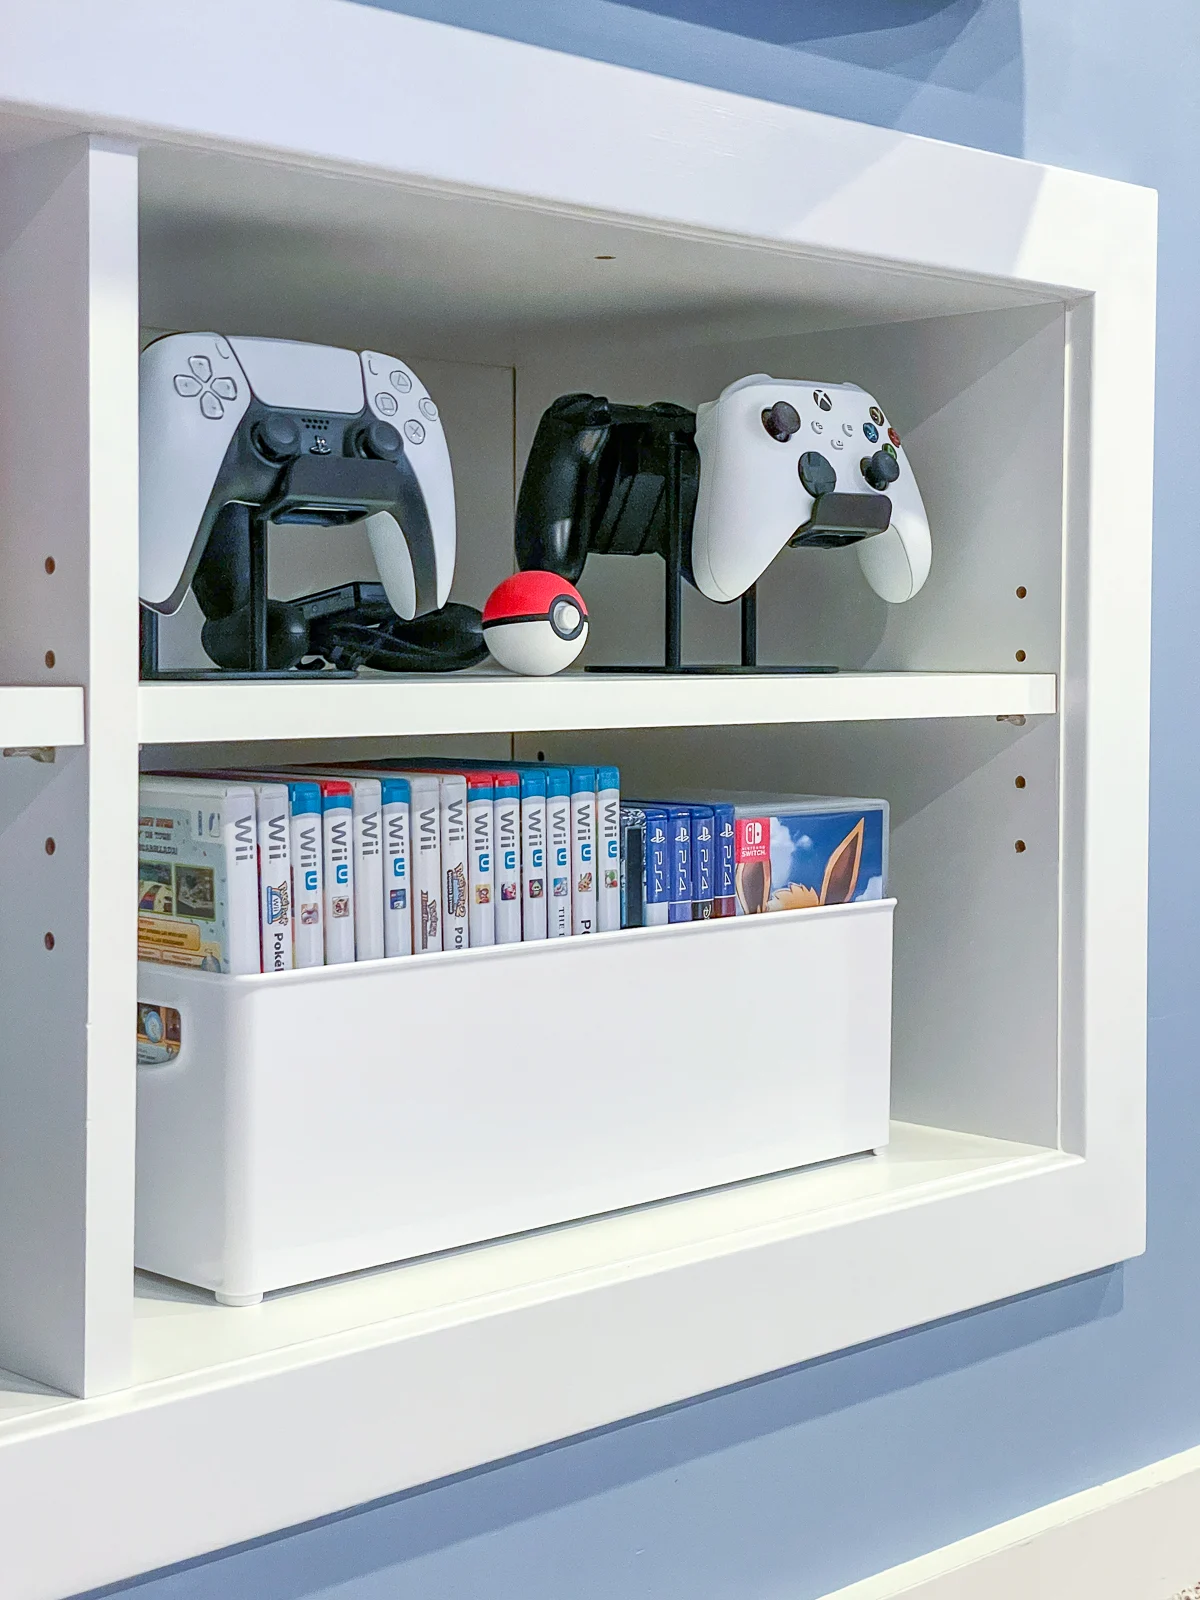
I used my Kreg shelf pin jig on this DIY game console shelf so I could easily adjust them to fit new console sizes. I had to rebuild the previous entertainment center because our PS5 didn't fit!

Always start from the same spot
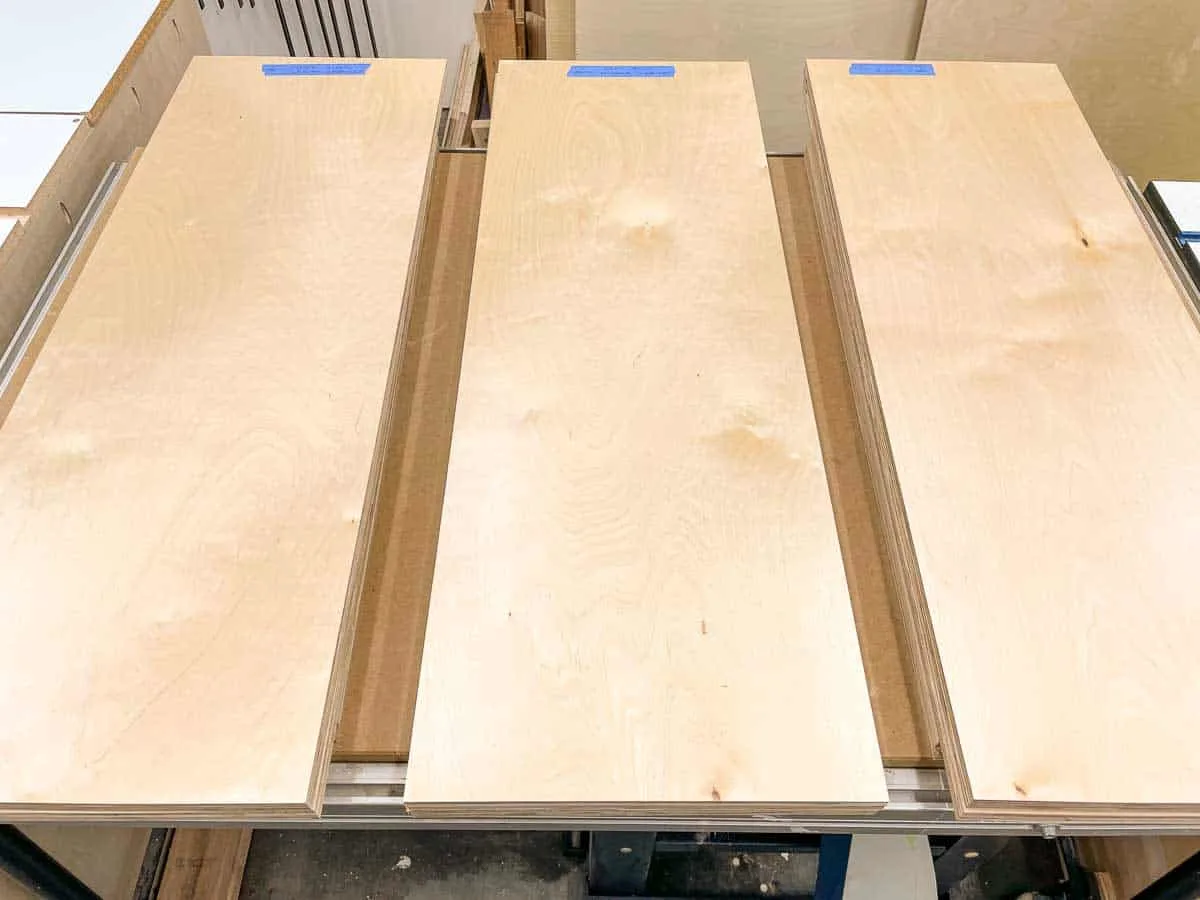
If your cabinet is already assembled, it's easy to know which end is up. But if your cabinet is in pieces, make sure to mark which is the top on each of the side pieces. You don't want to start at the bottom on one side and at the top on the other! I always mark the top with a piece of painter's tape.

Set the depth stop
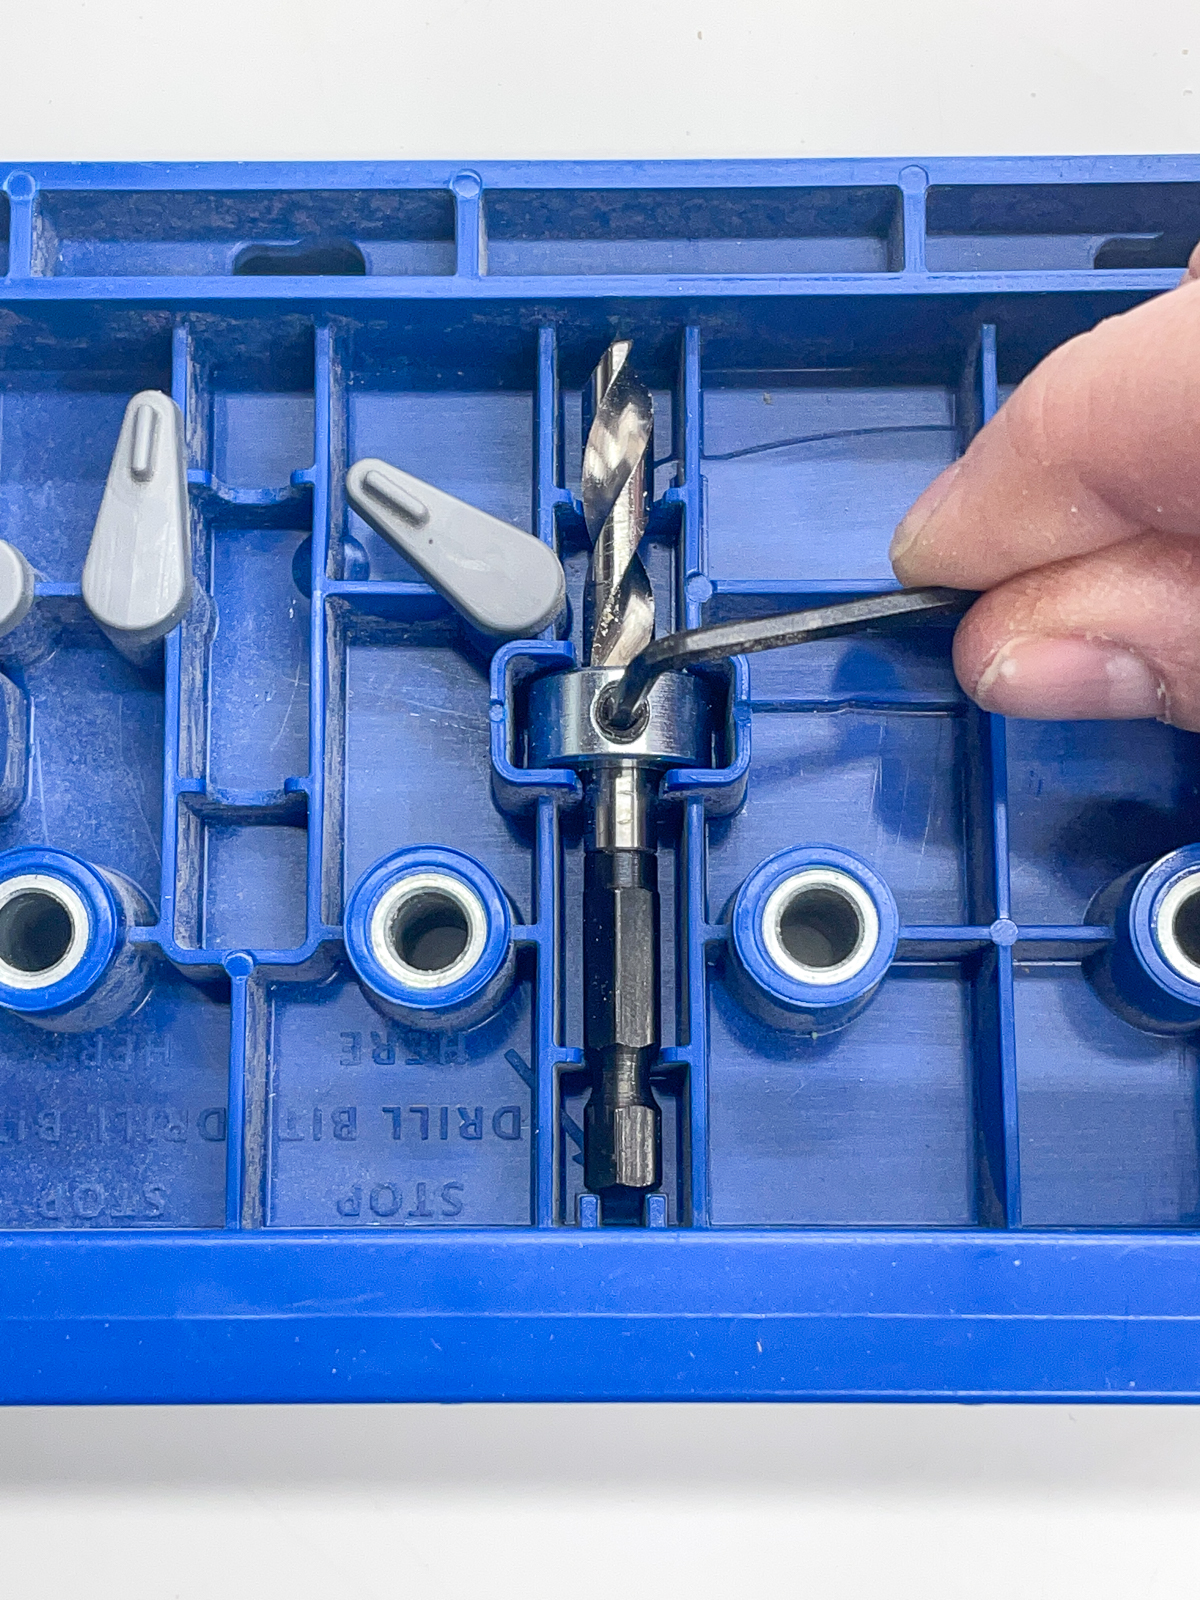
The Kreg shelf pin jig comes with a drill bit and stop collar that is already set to the correct depth for ¾" material. You can adjust the height of the stop collar if necessary (such as when working with thinner stock) with the set screw.
Reset the depth to ¾" material by inserting the bit into the back of the jig and tightening the screw.

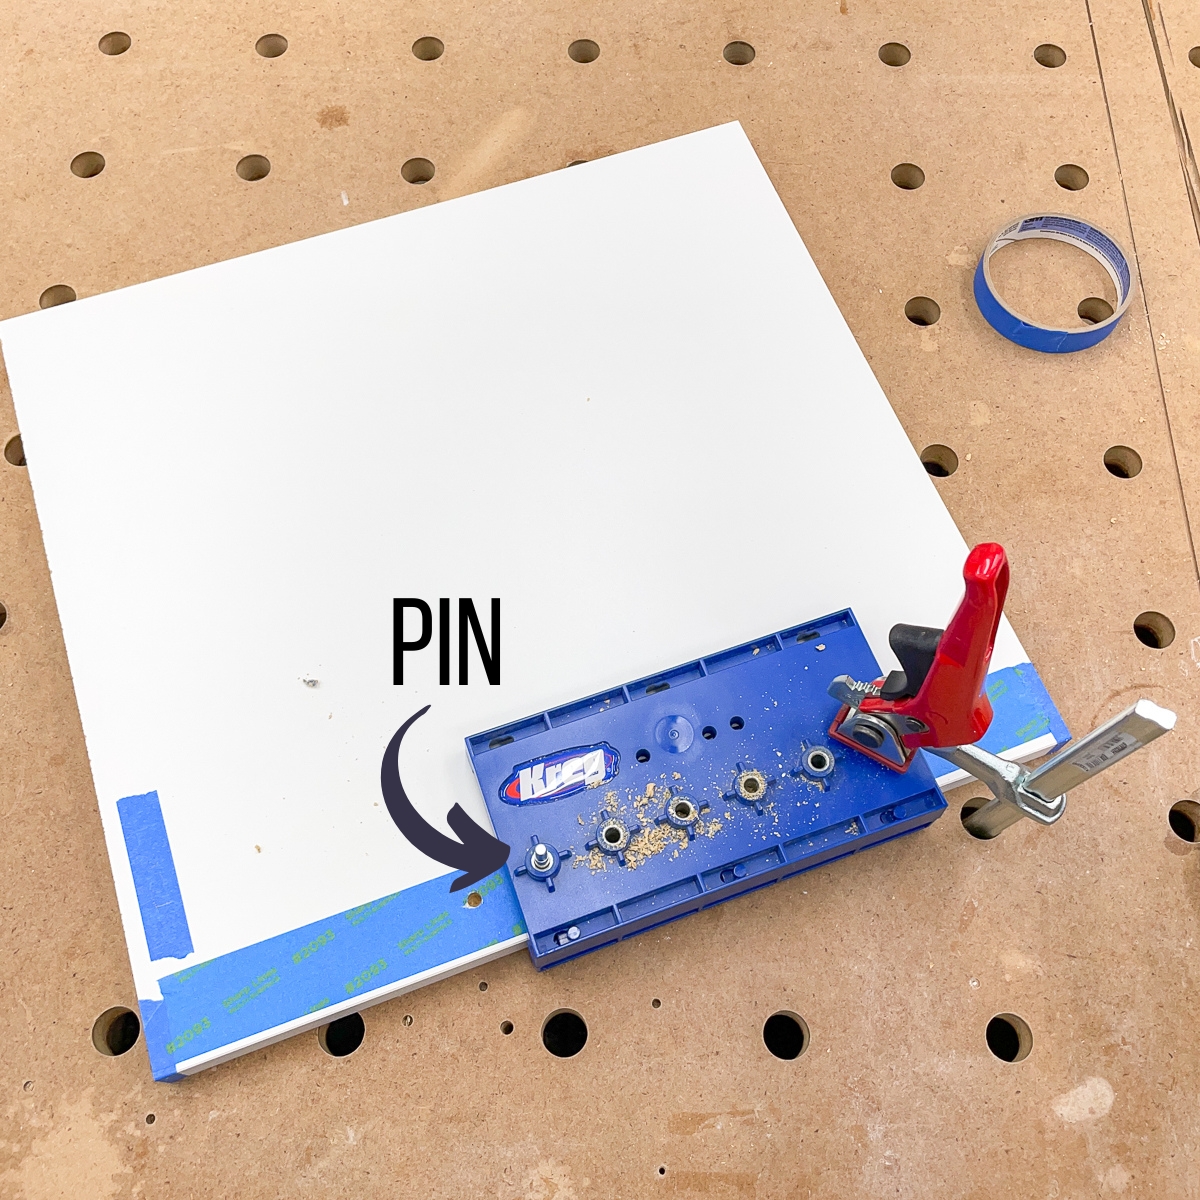
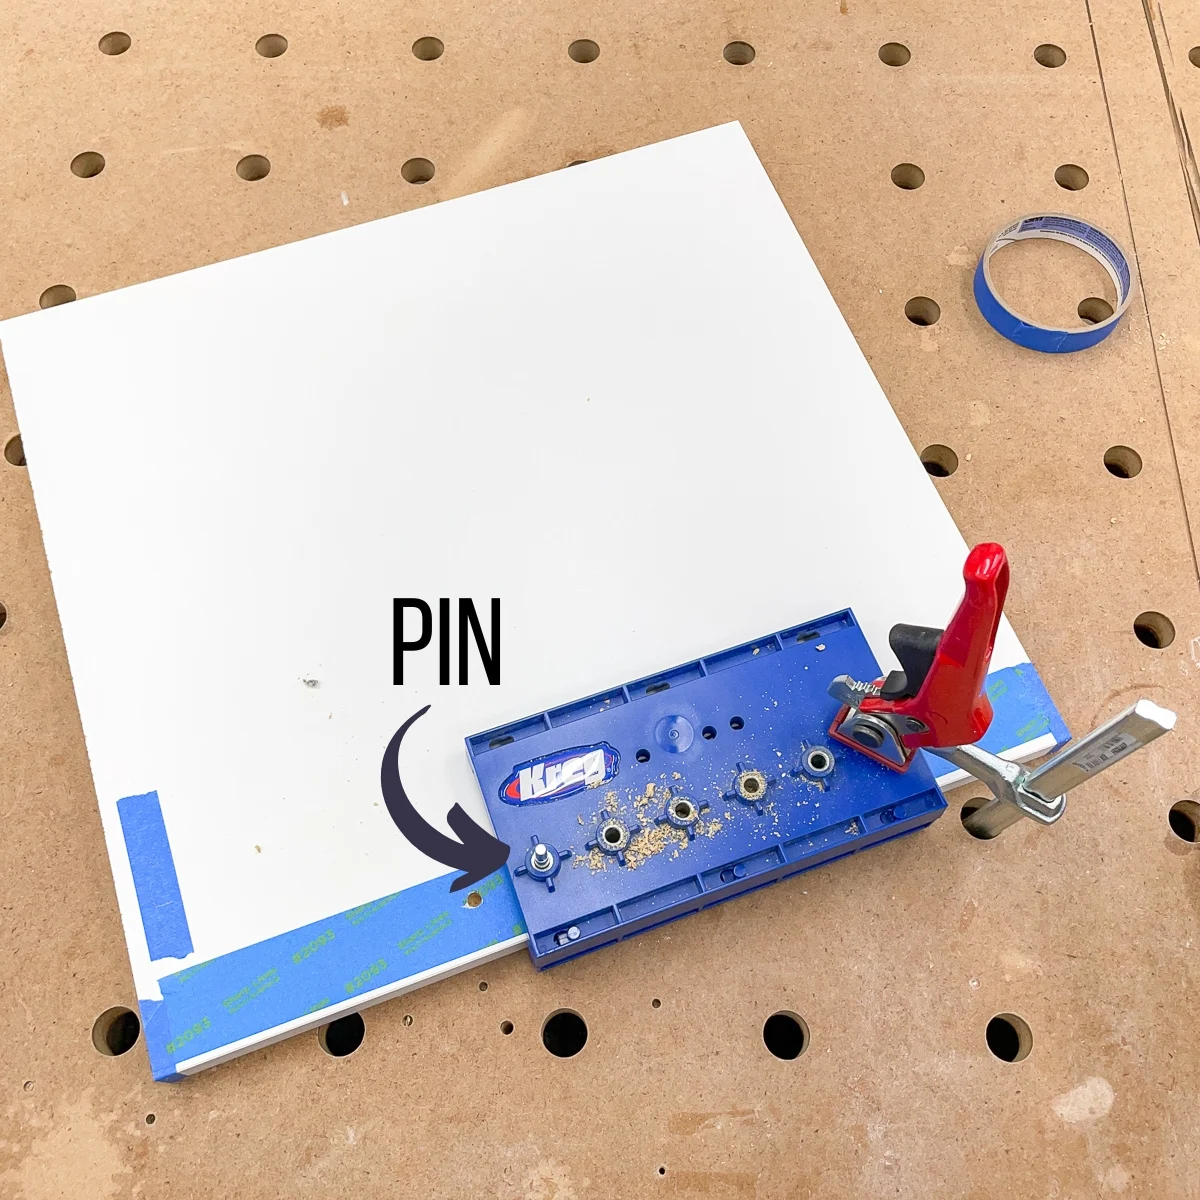
Clamp the shelf pin jig in place
Align the jig with the front edge of the cabinet side where you want to drill the holes. There's a removable hook piece on the jig that makes it easy to keep the correct spacing from the front edge.
Clamp the jig in place to prevent it from moving. On an assembled cabinet, just butt it up to the inside of the top or bottom. If you're working with flat pieces, align the edge of the jig with the edge of the board on one end.
Drill the first holes
You typically don't need shelf pin holes all the way down the side of your cabinet sides, unless you plan on storing paper or other flat items. In general, you'll want at least six inches to get your hand in there comfortably.
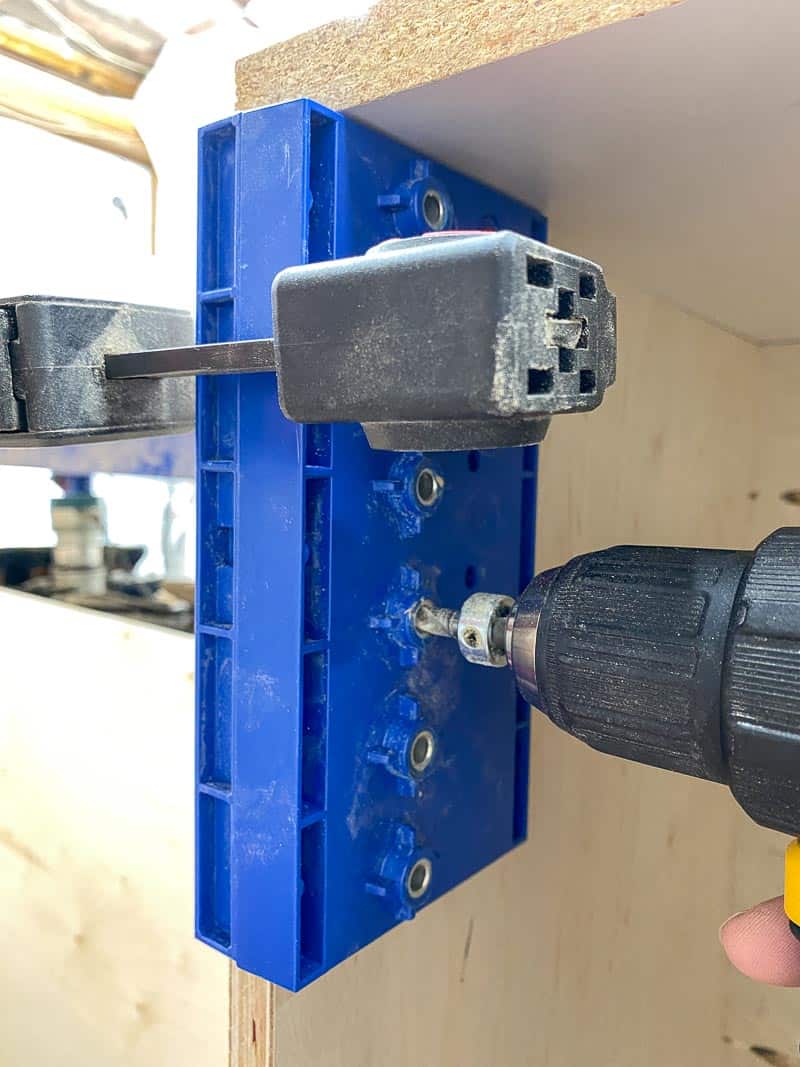
I usually skip the first three or four holes, but make sure you drill at least one! You'll need this hole for the set pin on the next batch. Drill through the jig's holes using the drill bit until it hits the depth stop collar.
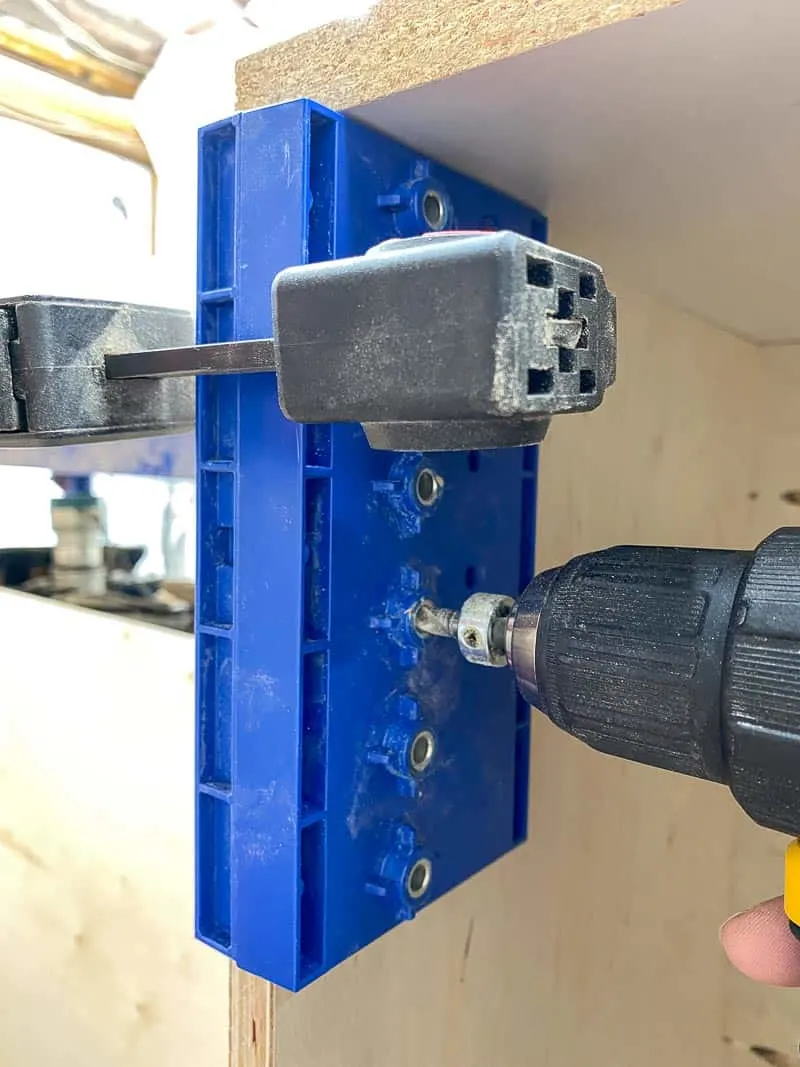
Use the set pin to keep the hole spacing consistent
Shelf pin holes are typically kept at a consistent spacing of 32 mm on center (even if you're working in imperial measurements). The set pin holds the jig at the right spacing as you move it down the cabinet side.
Start from the same end at the back of the cabinet
If you're working with a pre-assembled cabinet, remove the hook from the jig when drilling the holes in the back so it's flat against the surface. Start from the same end (either the top or the bottom) and drill the same holes.

You won't be able to clamp the jig down in the back, so just hold it steady as you drill the first hole. The set pin will keep it in place after the first hole is drilled.
Insert the shelf pins in the holes
Now that your shelf holes have been drilled, you can insert the pins and place the shelves on top! Just count down the same number on all four rows so your shelf is level.
How to make a DIY shelf pin jig
If you prefer a DIY approach, you can create your own jig using a piece of pegboard. Pegboards have pre-drilled holes evenly spaced in a grid pattern, which makes them a perfect guide for drilling evenly spaced shelf pin holes.
Creating your own pegboard jig not only saves money, but it also allows you to customize the placement of your shelf pin holes. This method can be especially useful when you're working with non-standard cabinet sizes or unique shelf layouts.
Cut the pegboard
The first step is to cut a piece of pegboard that matches the height of your cabinet side. You can also make it the same depth as the cabinet so you can do all the holes on a side at the same time!
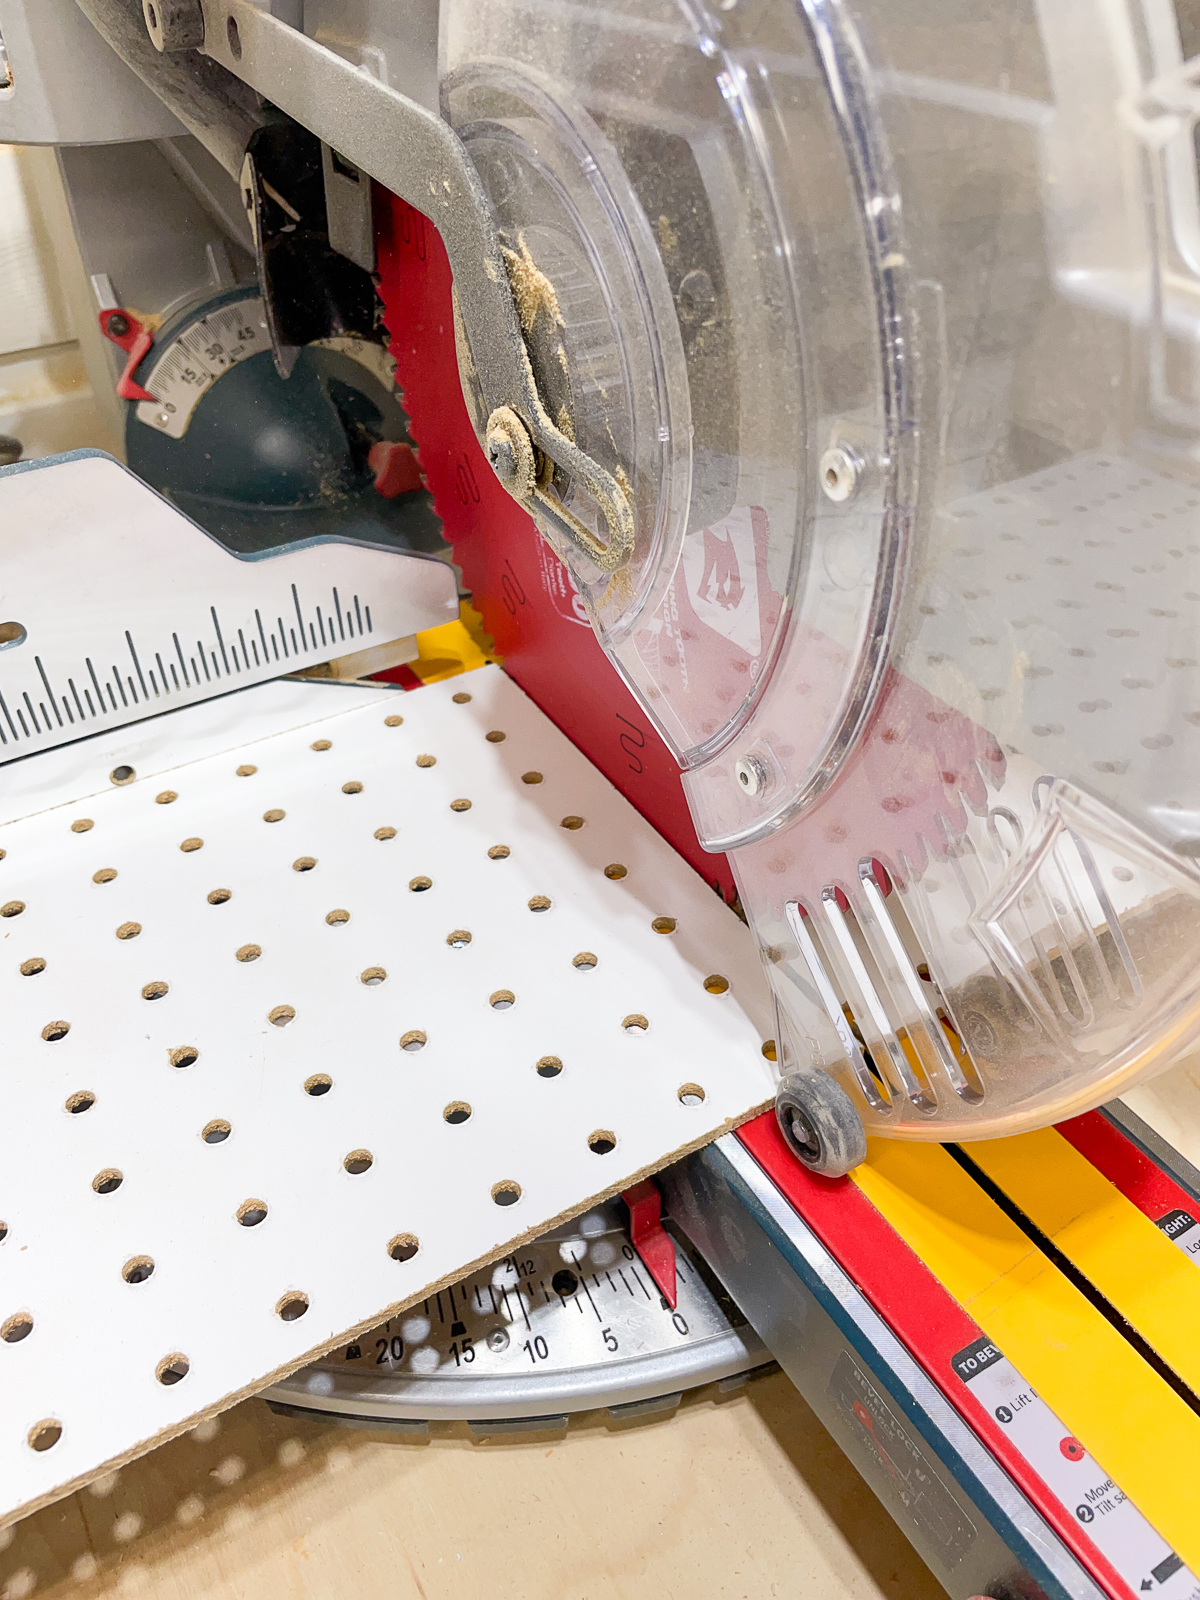
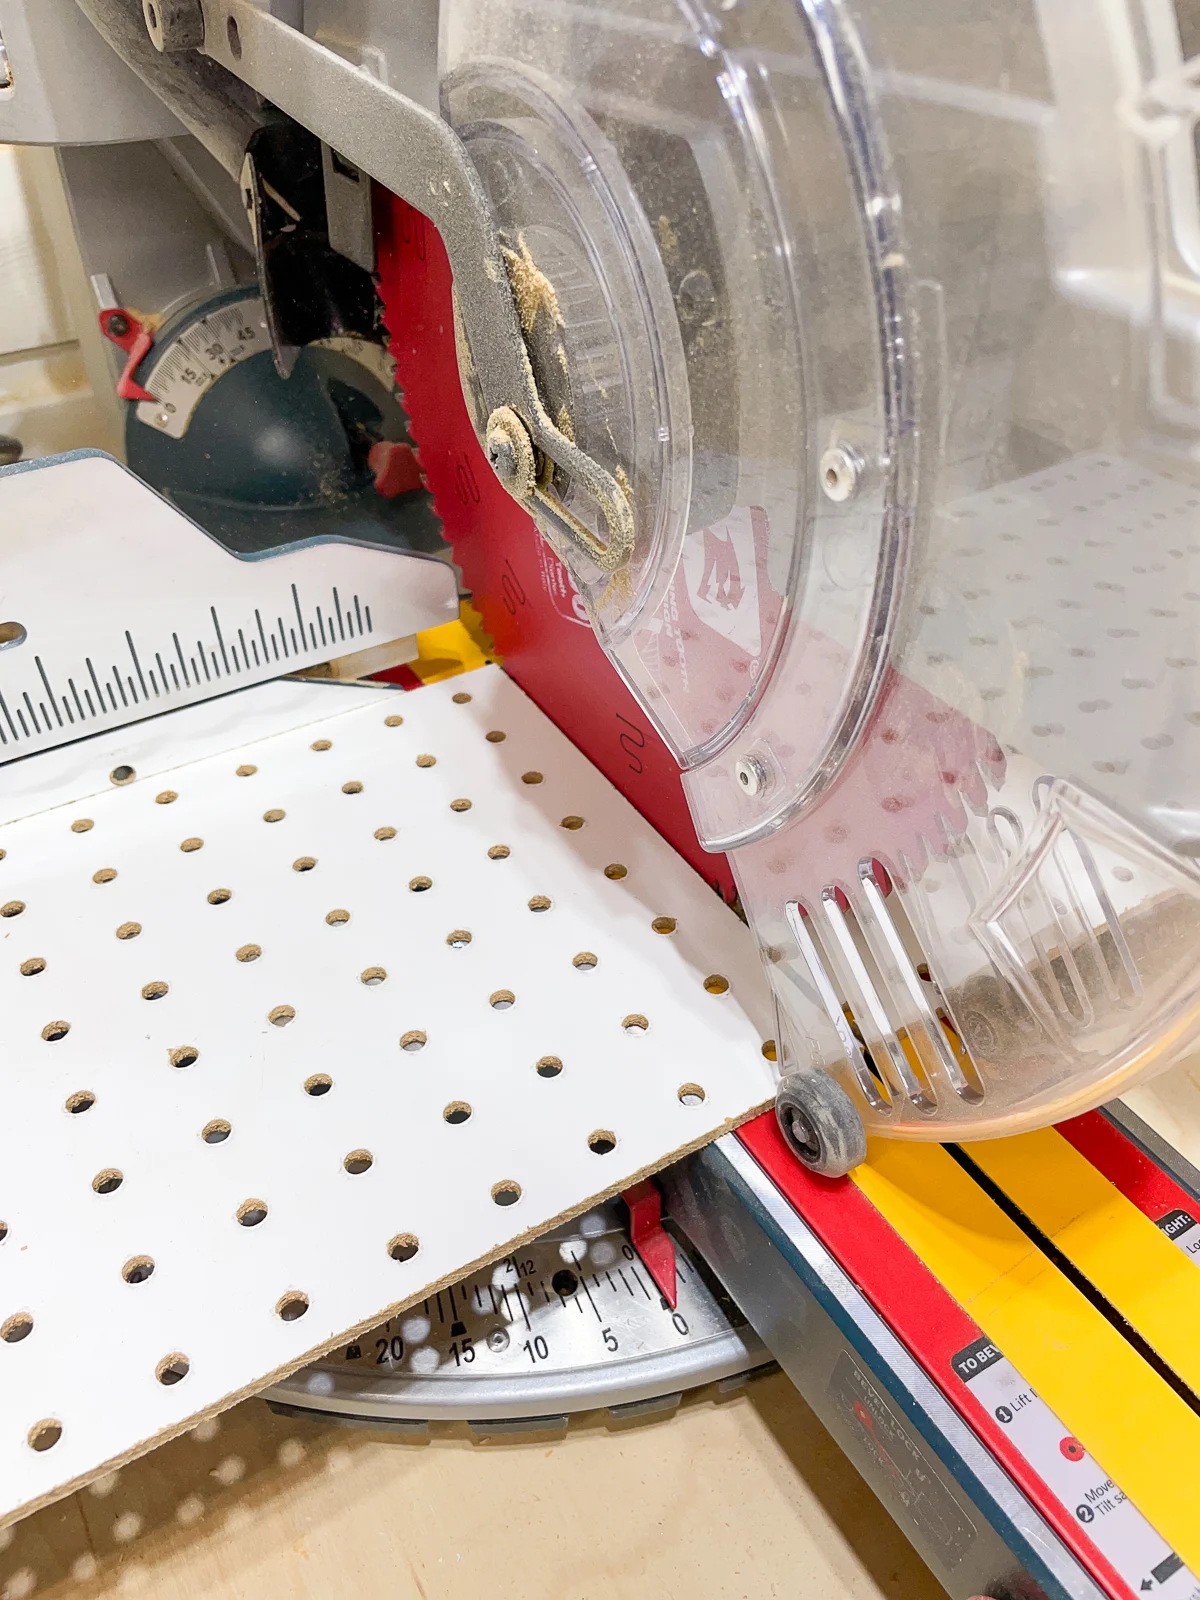
You can use a table saw, track saw or circular saw to cut the pegboard to the desired size. I had a scrap of pegboard laying around that was the exact width I needed, so I just cut it to length with the miter saw.
Mark and align the pegboard
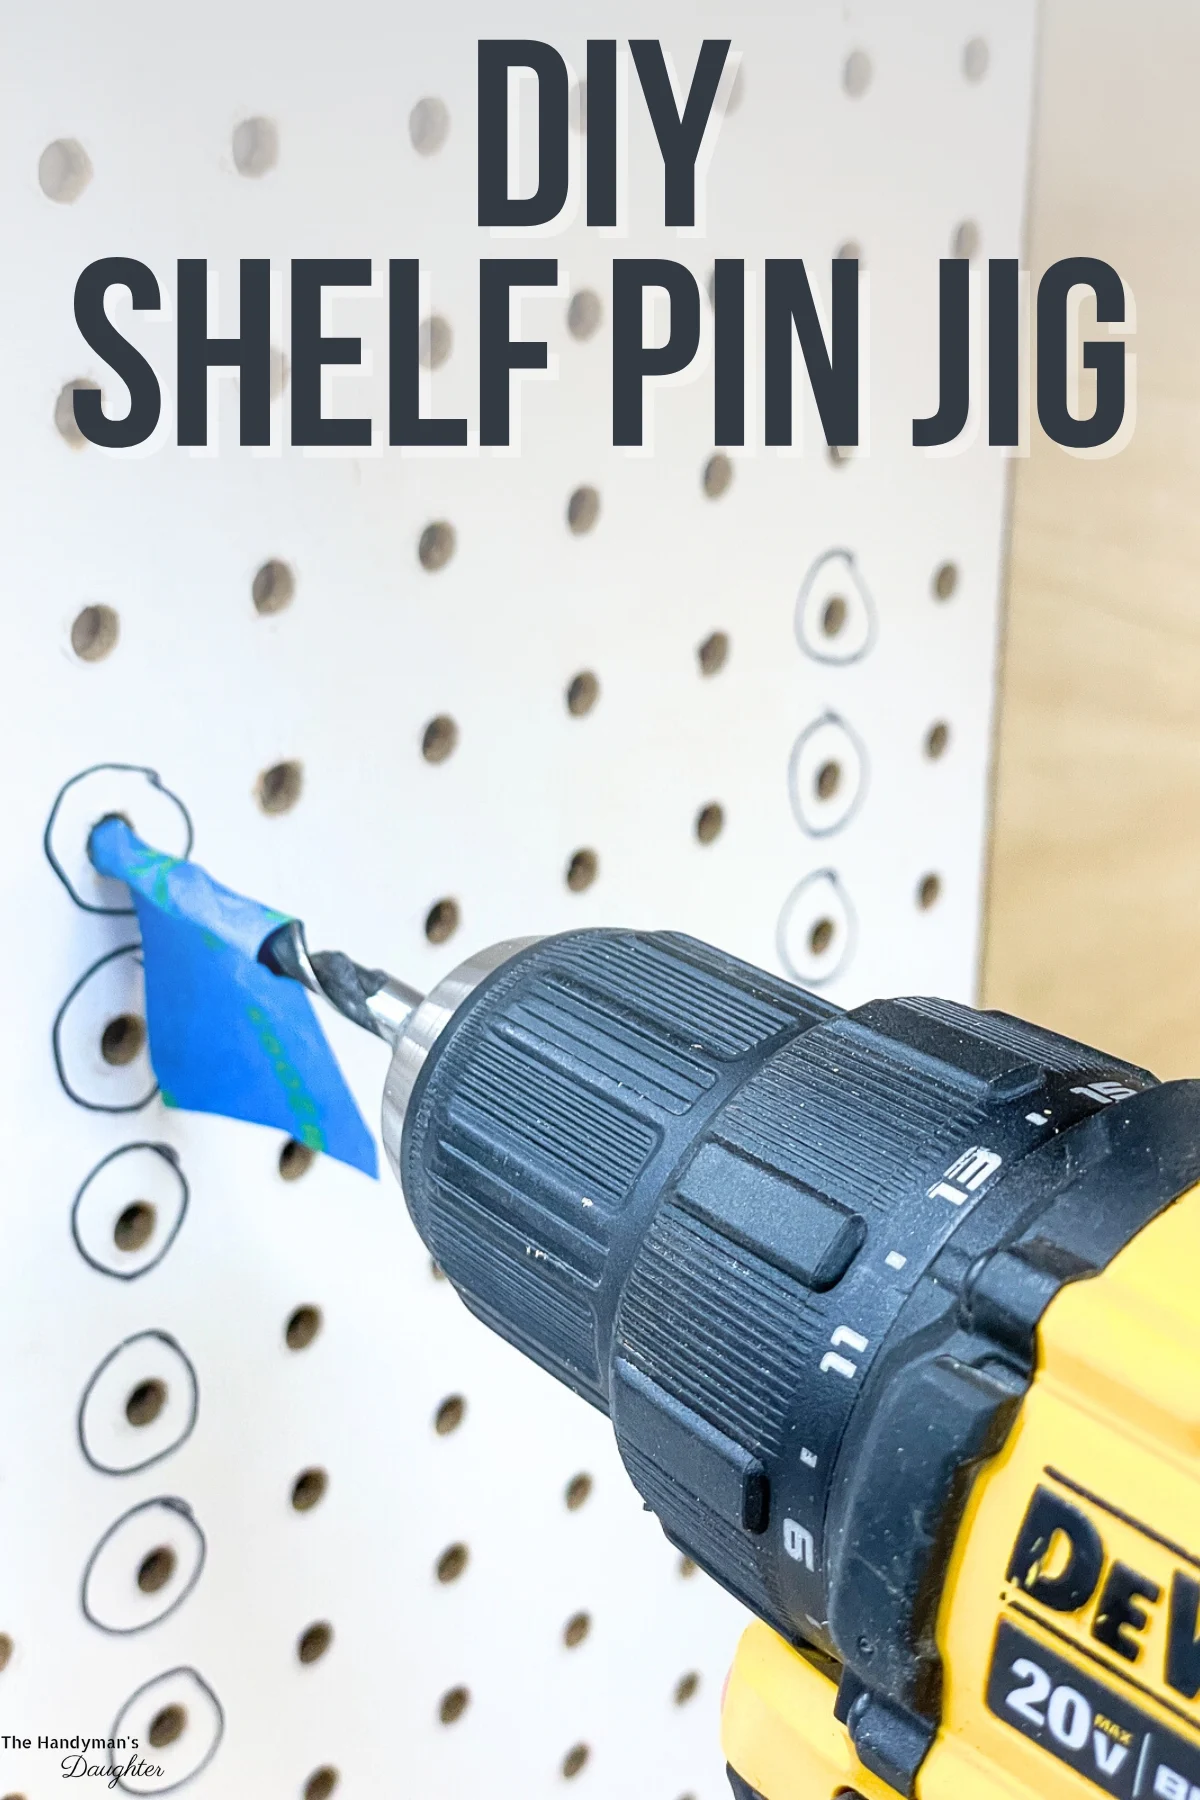
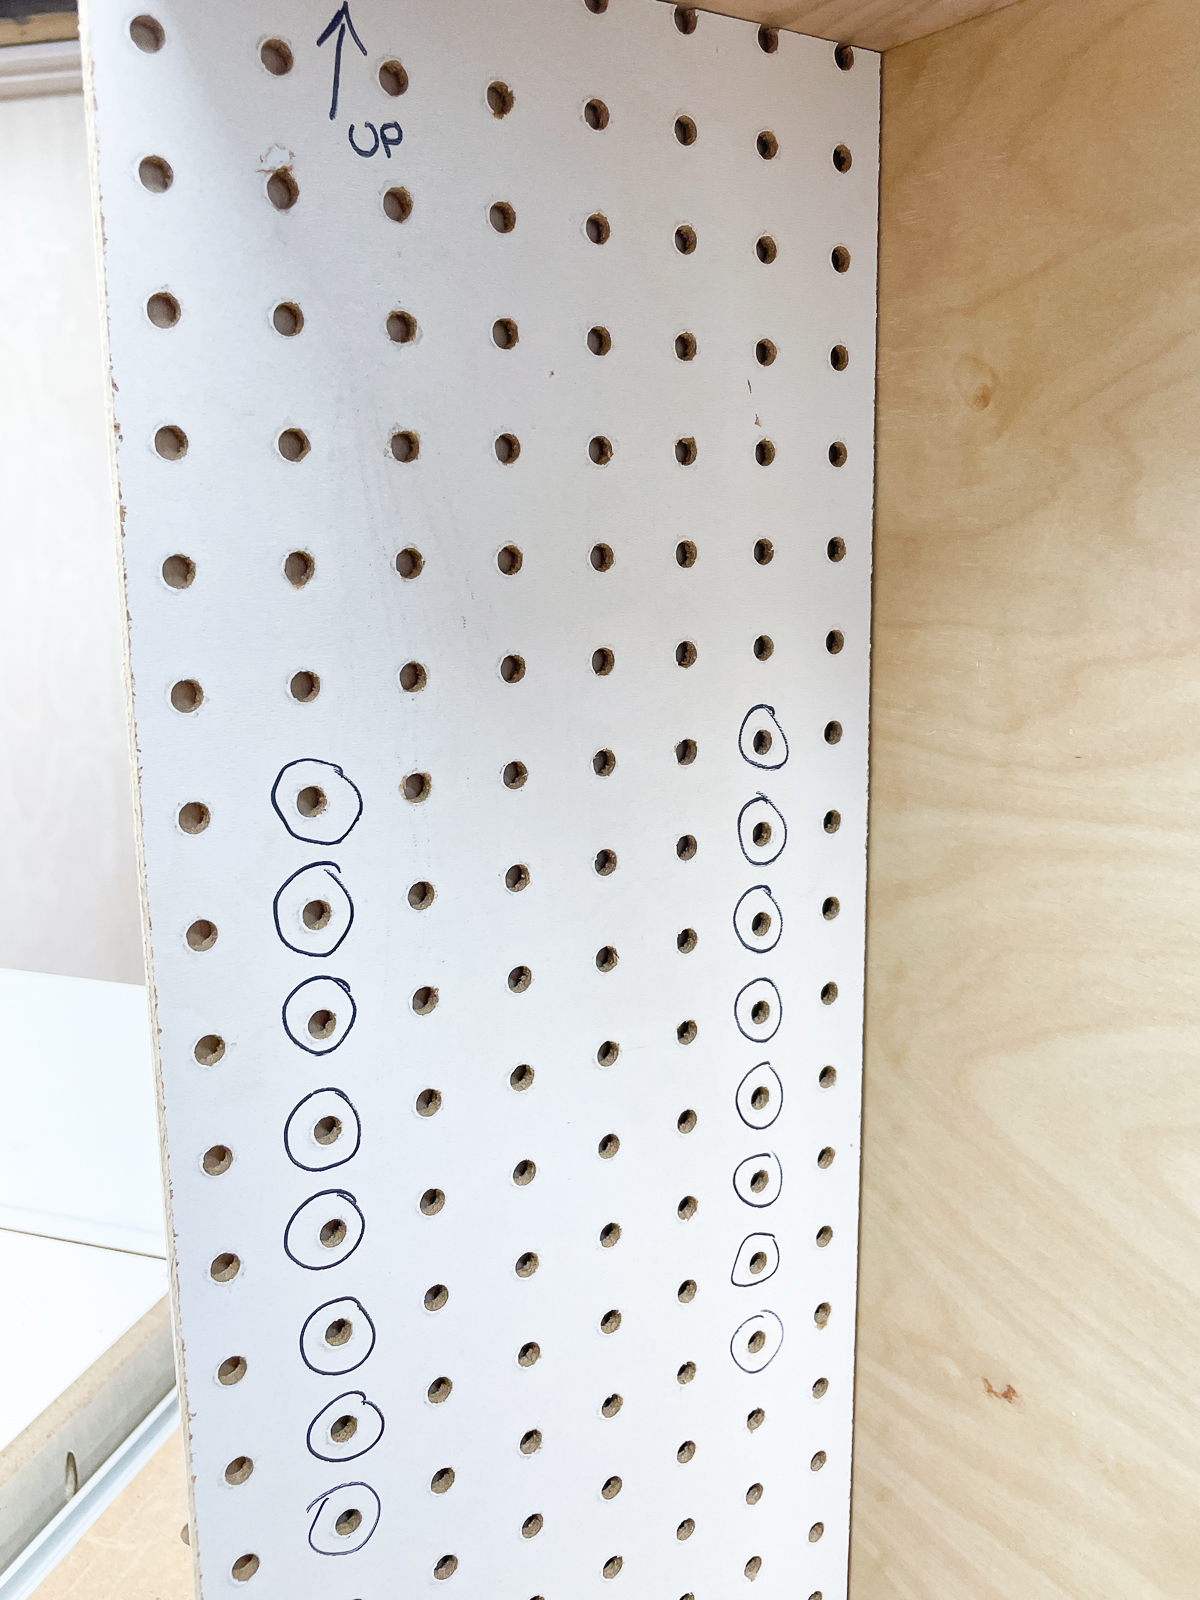
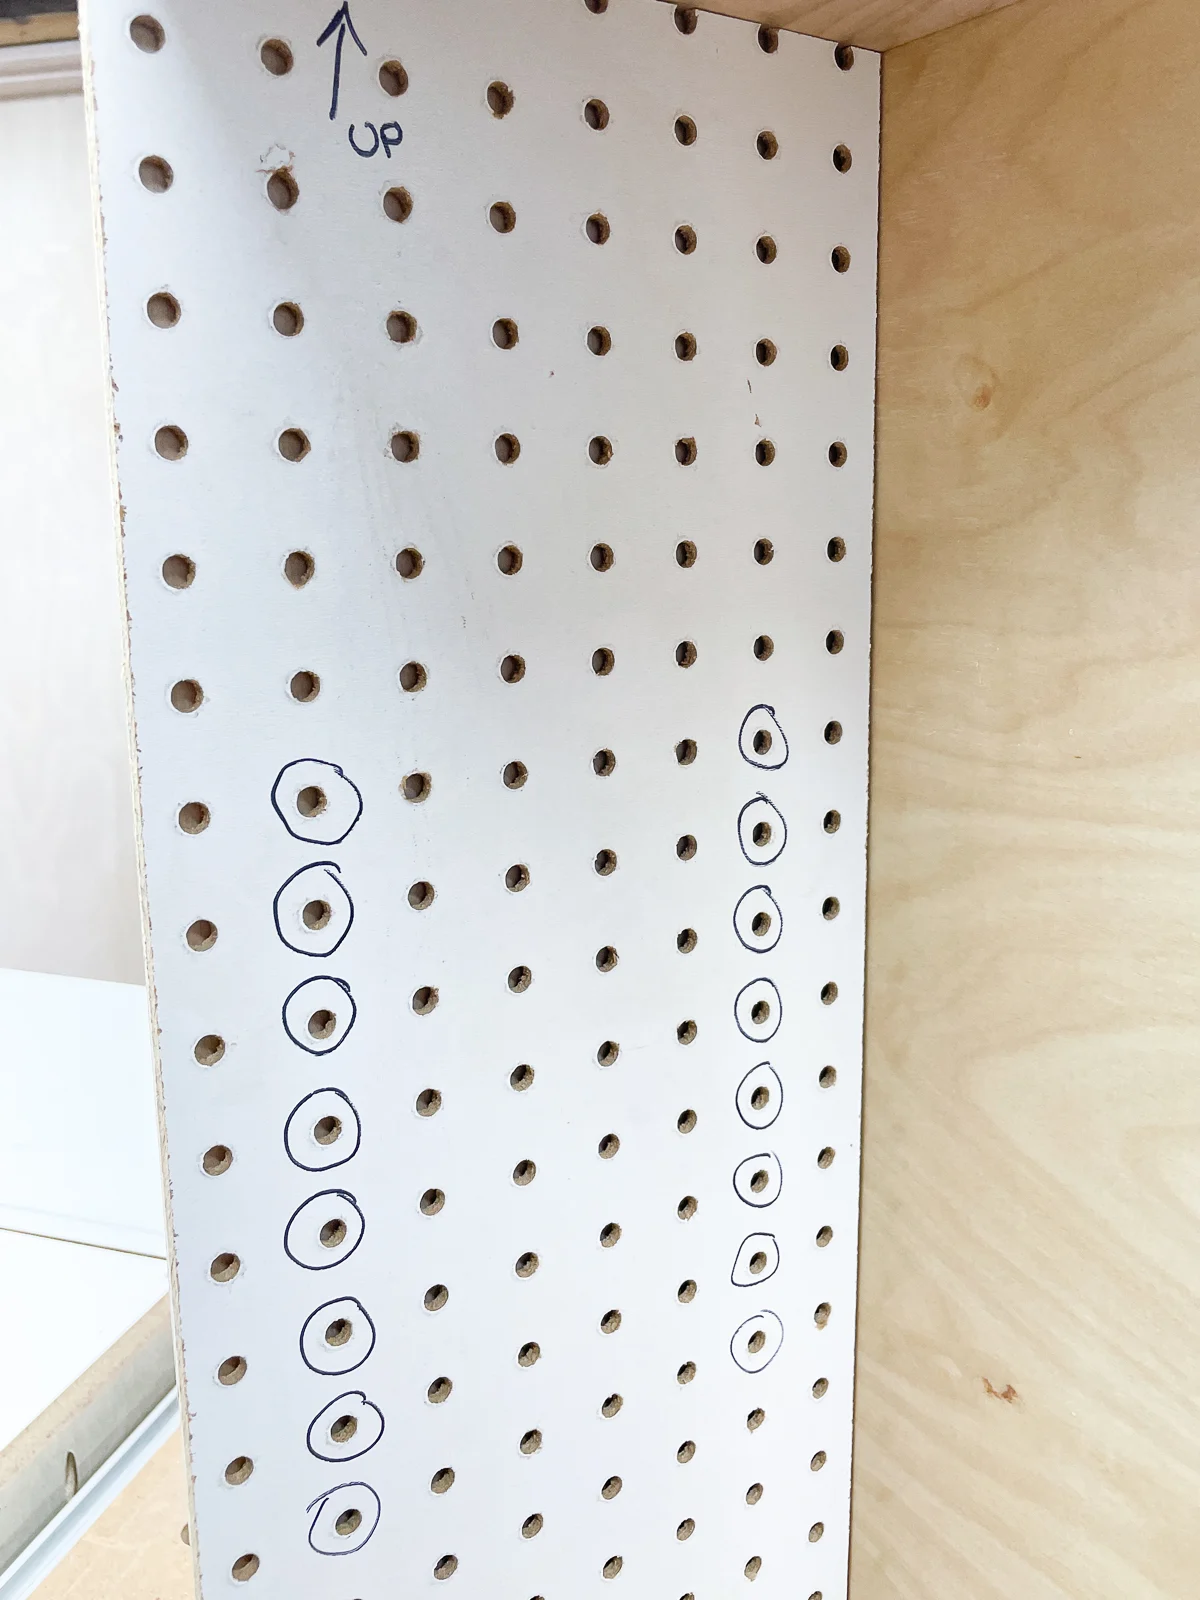
Before you do anything else, mark which end of the pegboard goes up! Circle the holes you plan to drill, so you don't have to count up or down every time. You can also skip every other hole for wider spacing.
Once your DIY shelf pin jig is prepared, align the pegboard with the edge of the cabinet side where you want to drill the holes. To prevent the pegboard from moving while you drill, clamp it securely in place. Make sure the clamps don't obstruct the areas where you plan to drill.
Drill the shelf pin holes
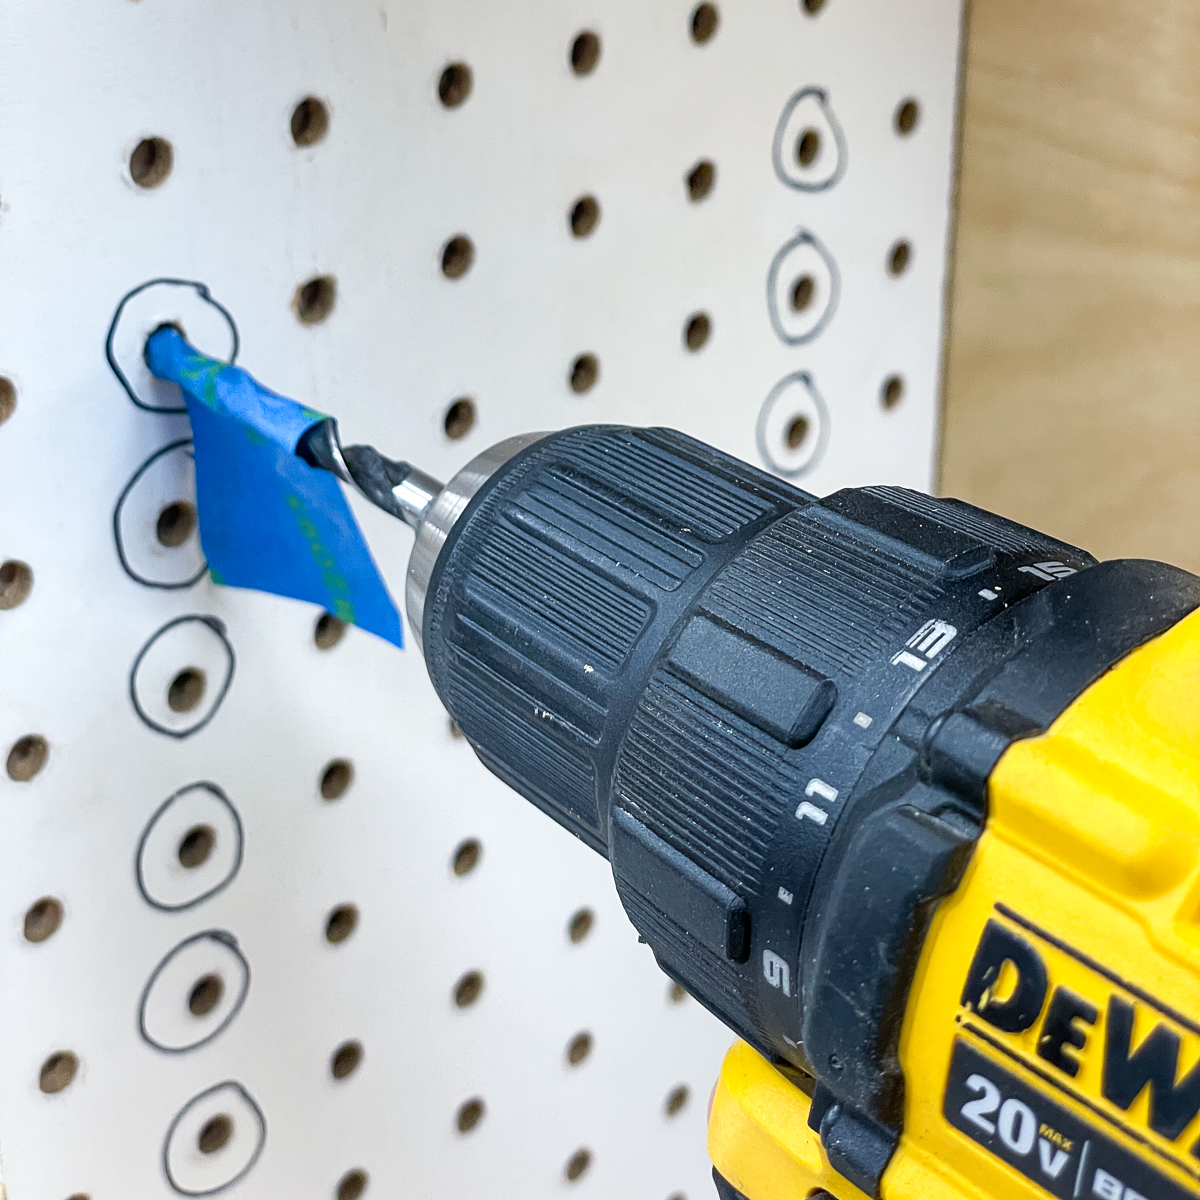
Set your drill bit to the right depth to avoid drilling through the cabinet side. If you don't have a stop collar, you can create a little tape "flag" on your drill bit at the correct depth to prevent yourself from drilling too far. It should be the length of the peg plus the thickness of the pegboard.

Use the pegboard's pre-existing holes as a guide to drill the shelf pin holes. Remember to keep the bit as straight as possible, and stop as soon as the flag brushes against the pegboard.

Repeat for the other side
After drilling the holes on one side, remove the pegboard but keep it in the same orientation. Slide it over to the other side of the cabinet, and circle the same holes on the BACK of the pegboard jig. This will keep the same spacing from the front and back edges of the cabinet box. Then you can drill the matching holes on the other side!
Now that you know how to drill shelf pin holes, you can customize every cabinet and bookcase in your home! Whether you just want to add a single hole to fit that oversized item on the shelf, or you're building out an entire kitchen, these handy jigs will make the job easy!
Check out these other shelving ideas!