Turn a rustic board into gorgeous live edge floating shelves with this simple tutorial! All you need is a drill, a board and hidden brackets!
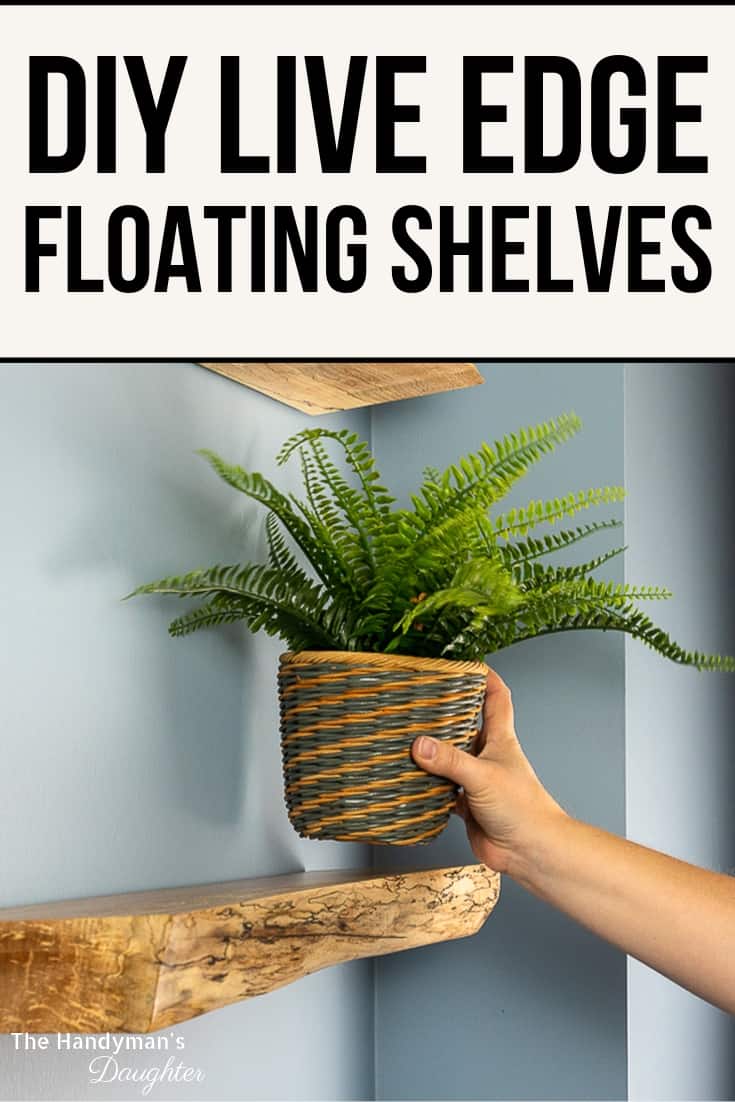
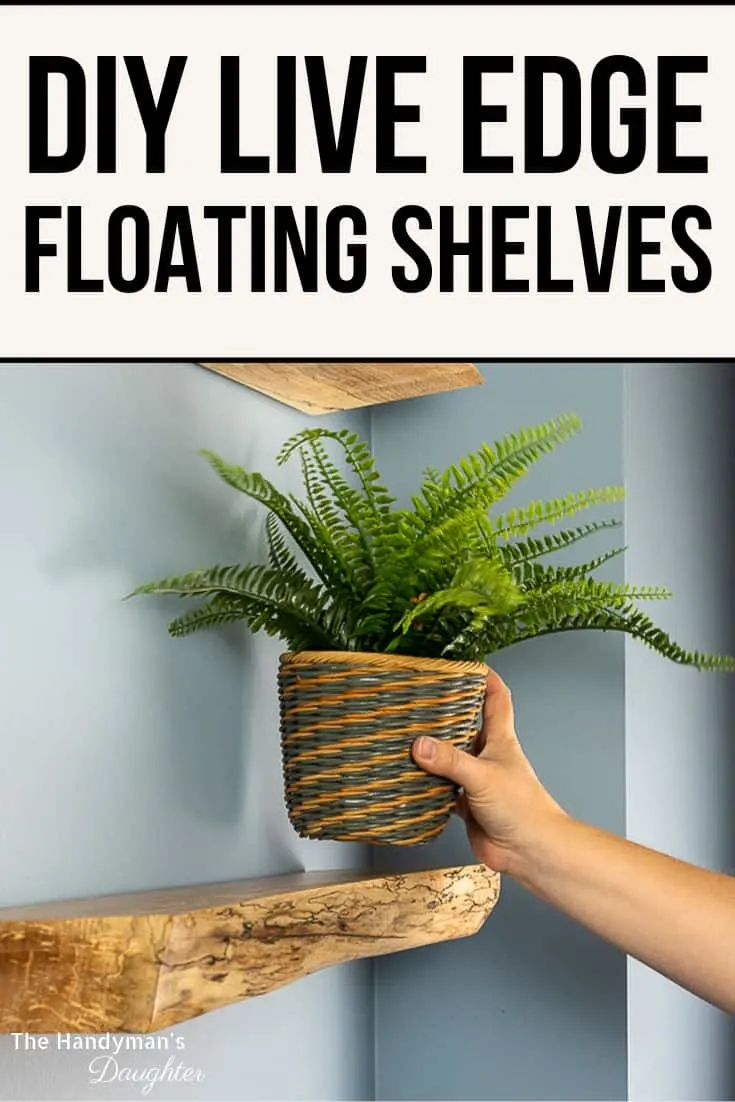
Live edge wood is all the rage right now, but full slabs can cost a fortune! Luckily, I found a smaller piece that's perfect for a set of live edge floating shelves! This project is easy for a beginner to make with just a few basic tools.
I built hexagon floating shelves for my craft room, but they took a while to cut and assemble. If you find a board that's ready to go, you could have these simple floating shelves up on the wall in less than an hour.
This post contains affiliate links for your convenience. Purchases made through these links may earn me a small commission at no additional cost to you. Please visit my disclosures page for more information.
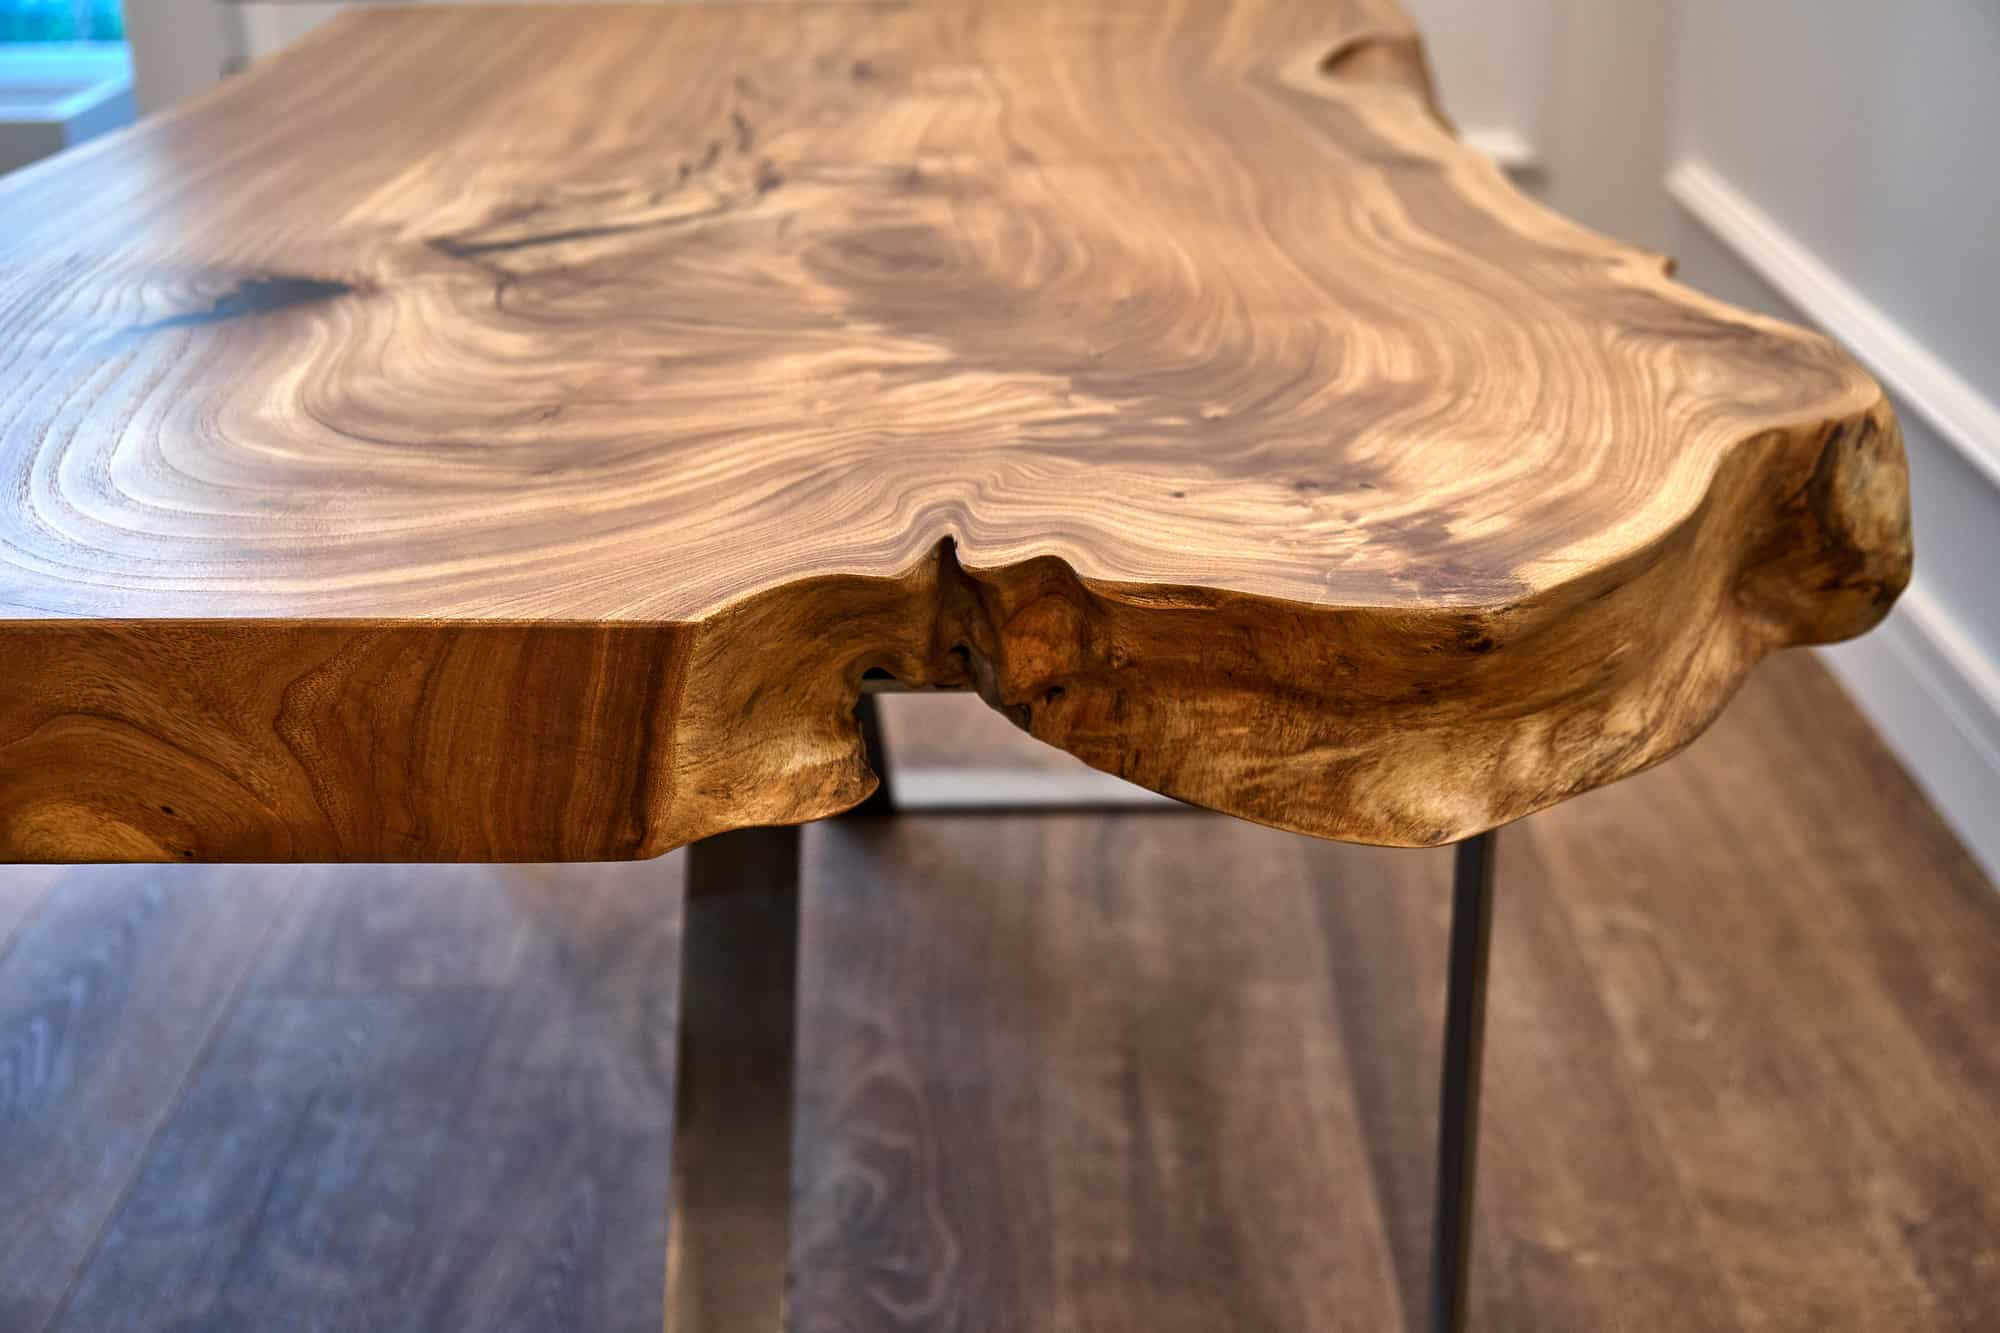
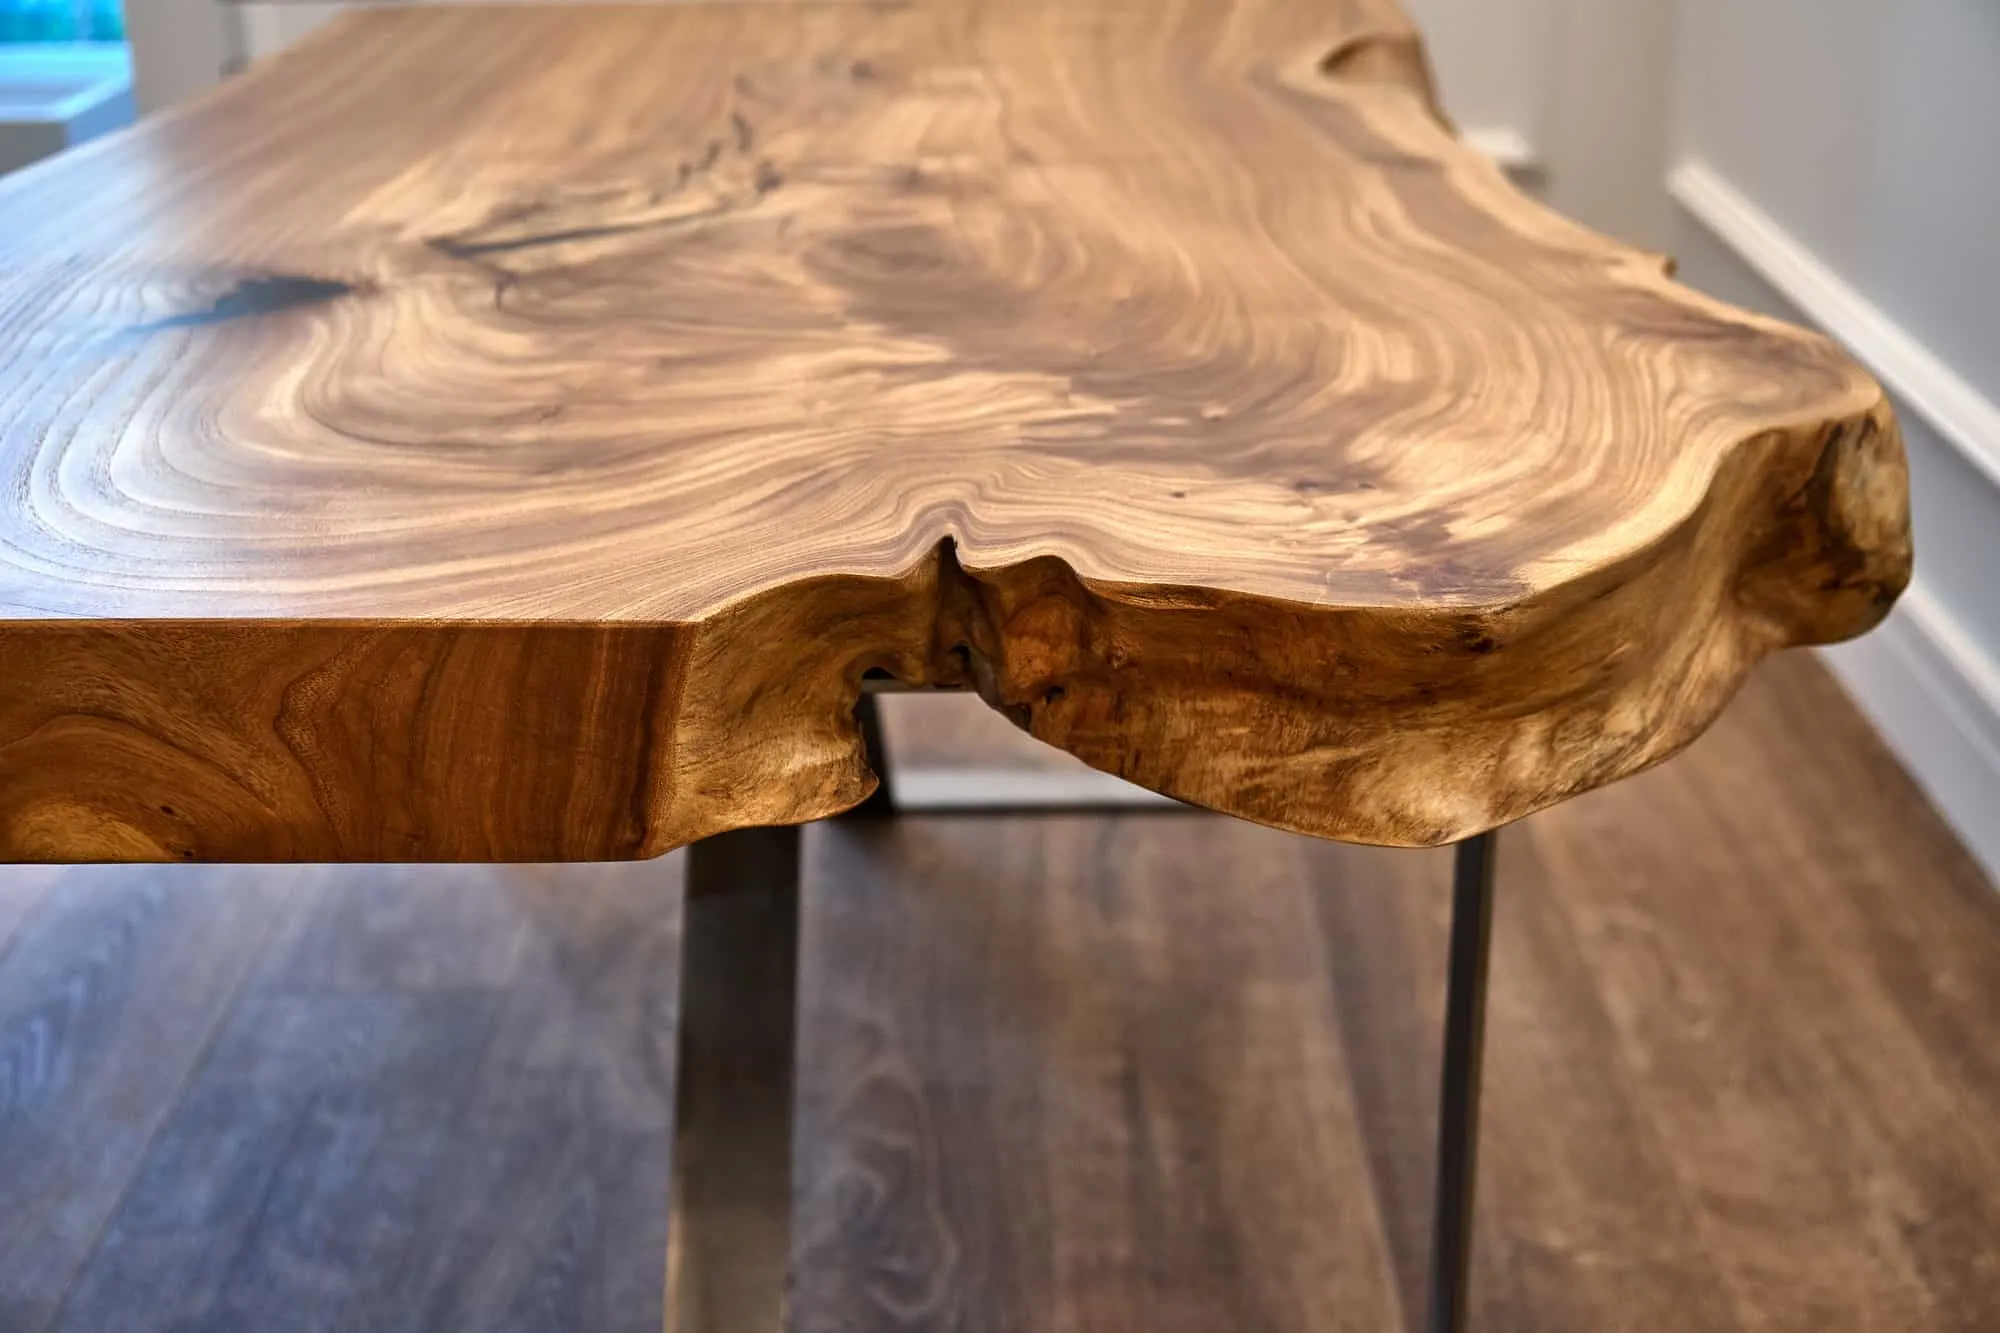
What is Live Edge Wood?
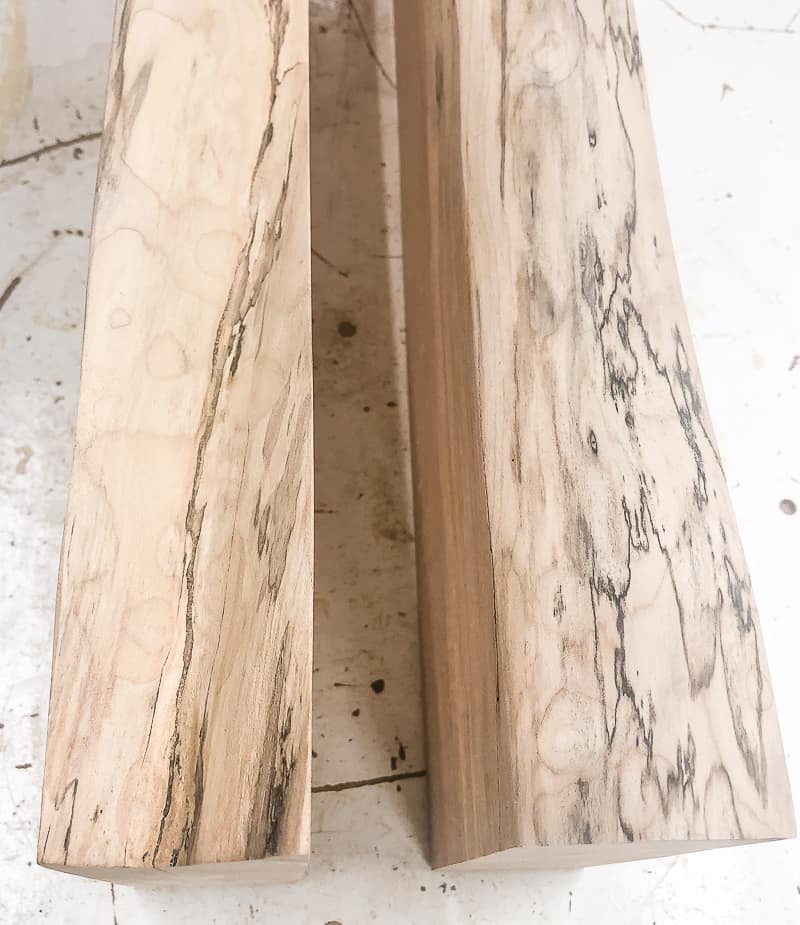
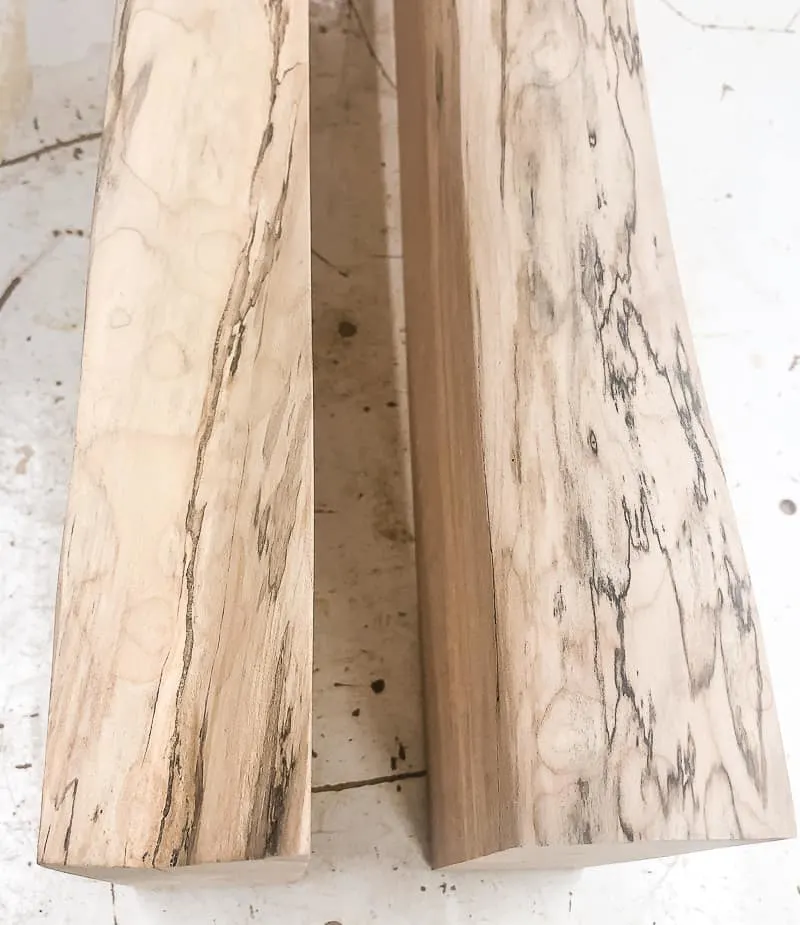
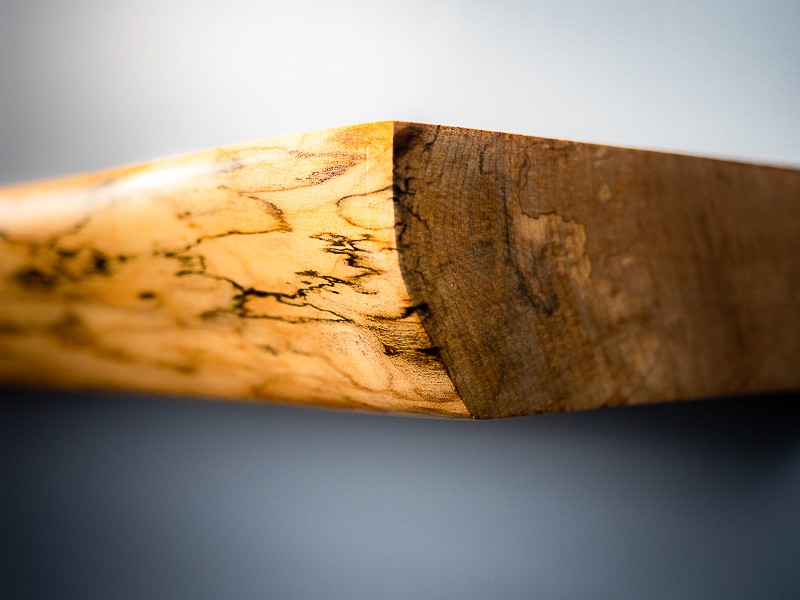
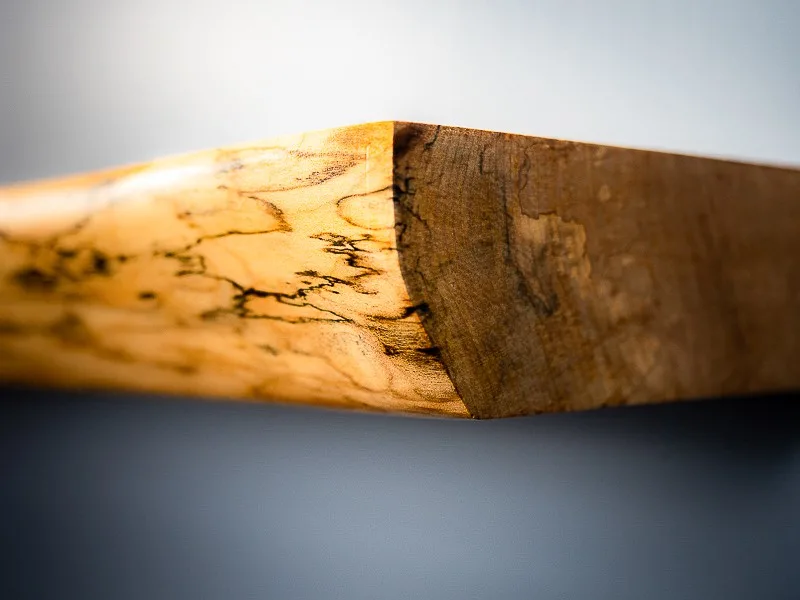
Live edge wood is when a tree is cut into a slab that retains the natural edge along the outside (with or without the bark intact). Isn't it gorgeous?
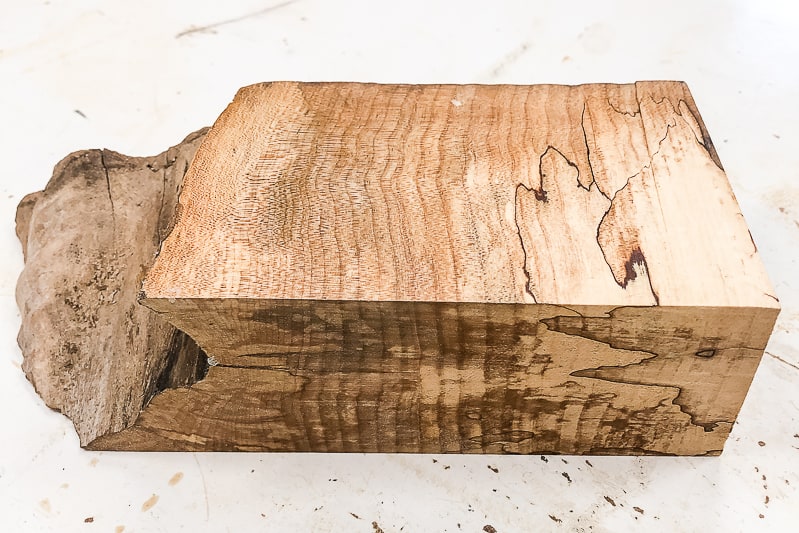
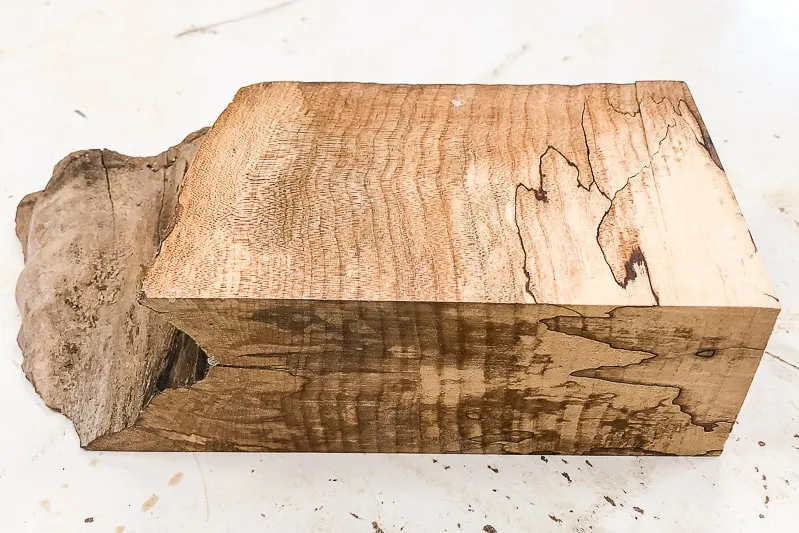
The piece I'm using is a thick slab of spalted maple that I found at a local store. It's just over 4 feet long, but only six inches wide in some spots. I instantly knew that it was destined to become live edge floating shelves!

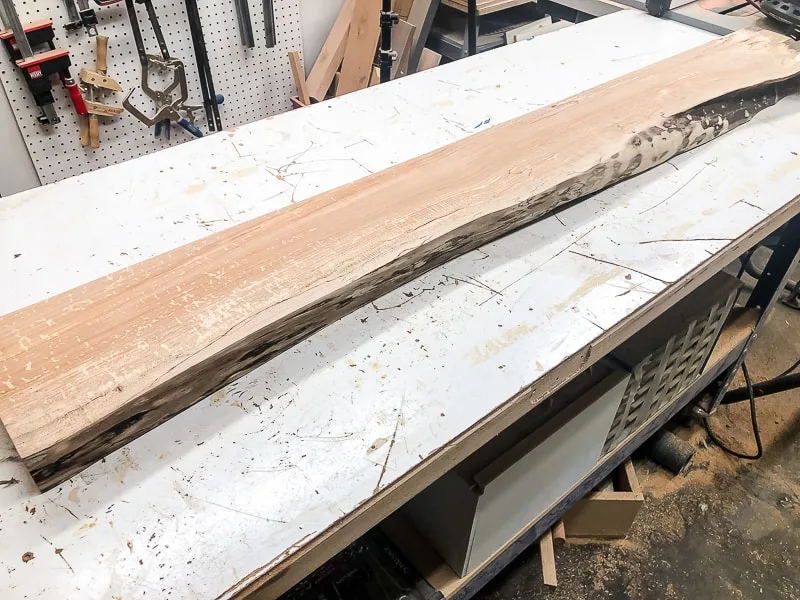
This board already had a straight side and a flat top and bottom, and the bark was removed. If you're starting with a completely raw piece, you might want to check out this article first. It shows you how to remove the bark and flatten the slab to create a usable piece of wood for your project.
Materials Needed to Make Floating Shelves
- Live edge board with one straight long side
- You can also use regular lumber that is at least 1 ½" thick.
- Floating shelf hardware
- Wall anchors
- Cordless drill
- Drill bit slightly larger in diameter than the floating shelf hardware post
- Wide painter's tape
- Level
- Pencil
How to Make Floating Shelves
Clean Up the Live Edge
If you're using a regular straight board, you can skip this step!
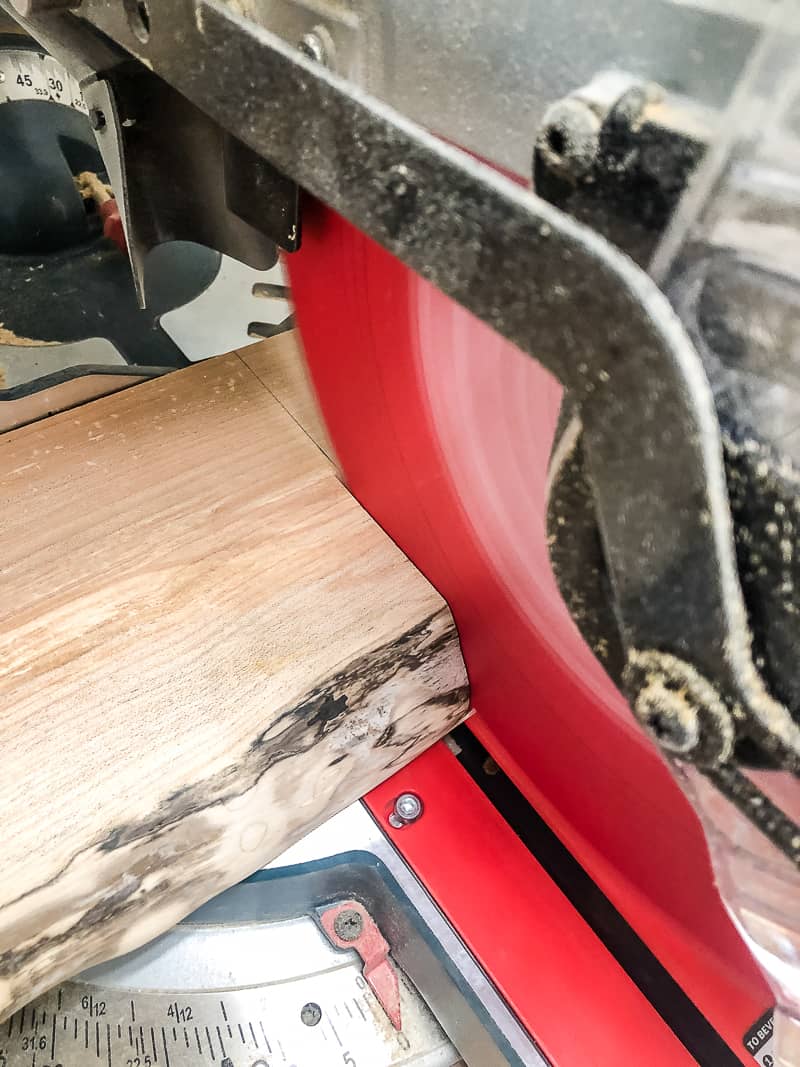
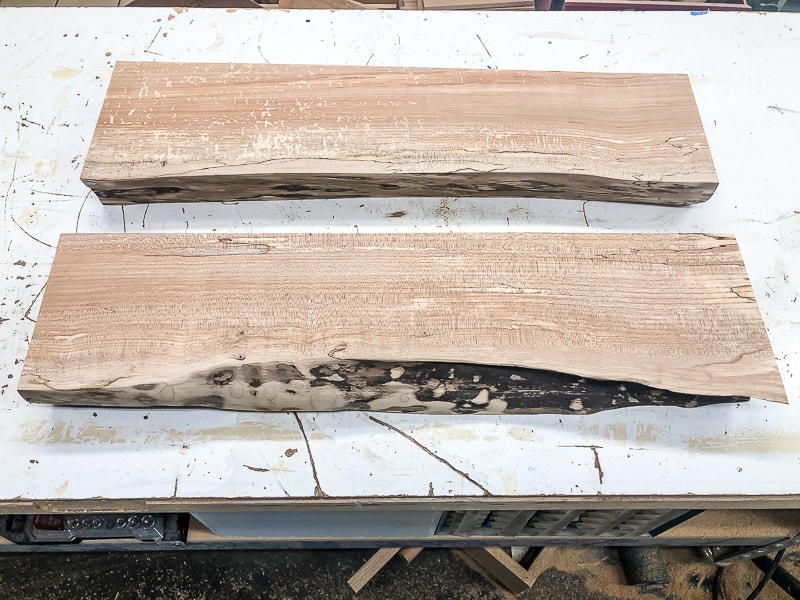
My board was looking pretty good on the top and bottom, but one end was a little ragged. I used my miter saw to cut the slab into two 24" pieces, and kept the ragged end piece to test finishes later.

The black lines in the spalted maple are actually from a fungus, so I took extra precautions when cleaning up the live edge boards. The drying process kills off the spores, but better to be safe than sorry! A face mask is a must!

There was a lot of grime along that live edge covering up the beautiful wood grain. I started off cautiously with a soft sanding block on the flatter areas.

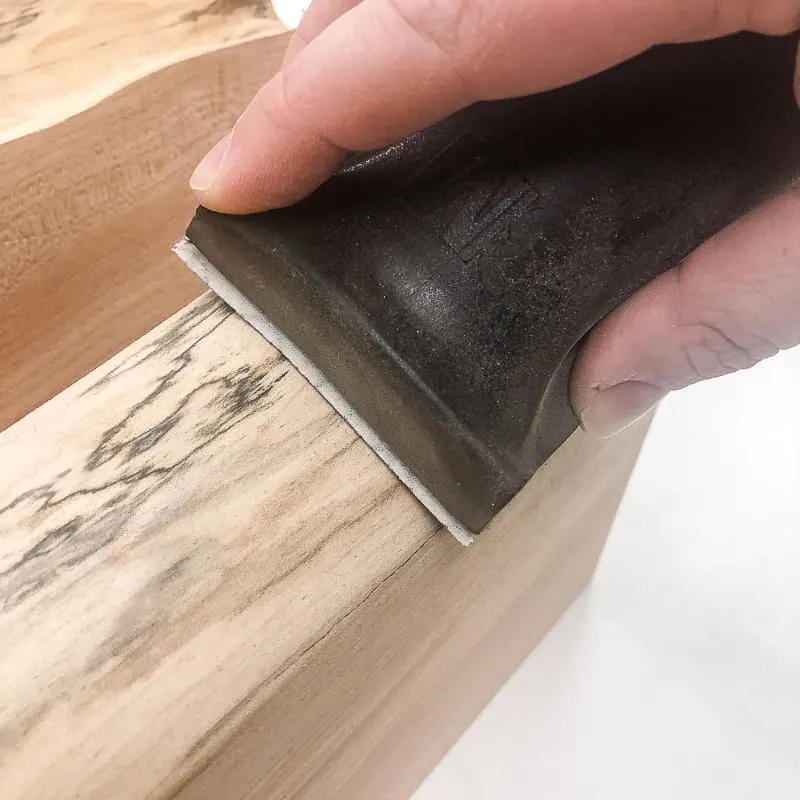
I used a corner sander to get into all the grooves, making sure not to sand away any of the detail. I started with 80 grit to remove the dark spots, then worked my way up to 220 grit sandpaper to smooth it out. Much better!
With the boards cleaned up, it's time to turn them into floating shelves!
Buy the Right Hardware
It took a bit of research to find the right floating shelf hardware for these narrow boards. These ones are only 4 ¼" long, so I won't accidentally drill straight through to the other side! You'll want to use brackets that are at least an inch shorter than the width of your board.
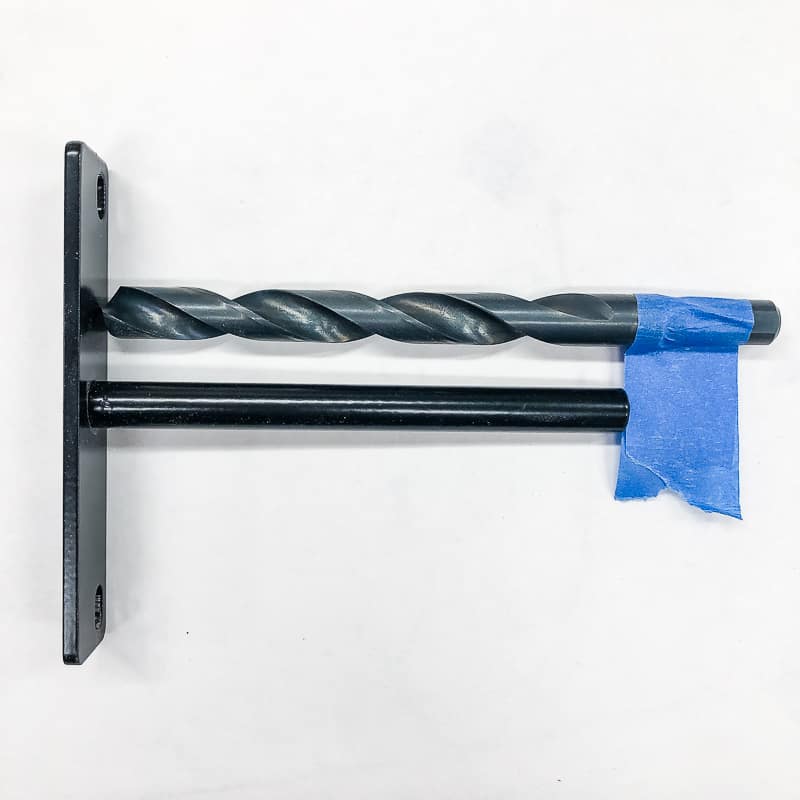

Find out the diameter of the bracket post and get a drill bit that is a tiny bit larger. Mine is ⅜" in diameter, so I needed a 7/16" drill bit. Use a piece of painter's tape to mark the length of the bracket post on the bit, so you don't drill too far!
Mark and Drill the Bracket Hole in the Shelf
The position of your brackets depends on the location of the studs in the wall. Unfortunately, the only stud I could use was in the center of the board, so I decided to use wall anchors on the sides instead. I don't plan to put heavy items on the shelves, and the anchors are rated for 75 pounds, so I think I'm good. 🙂
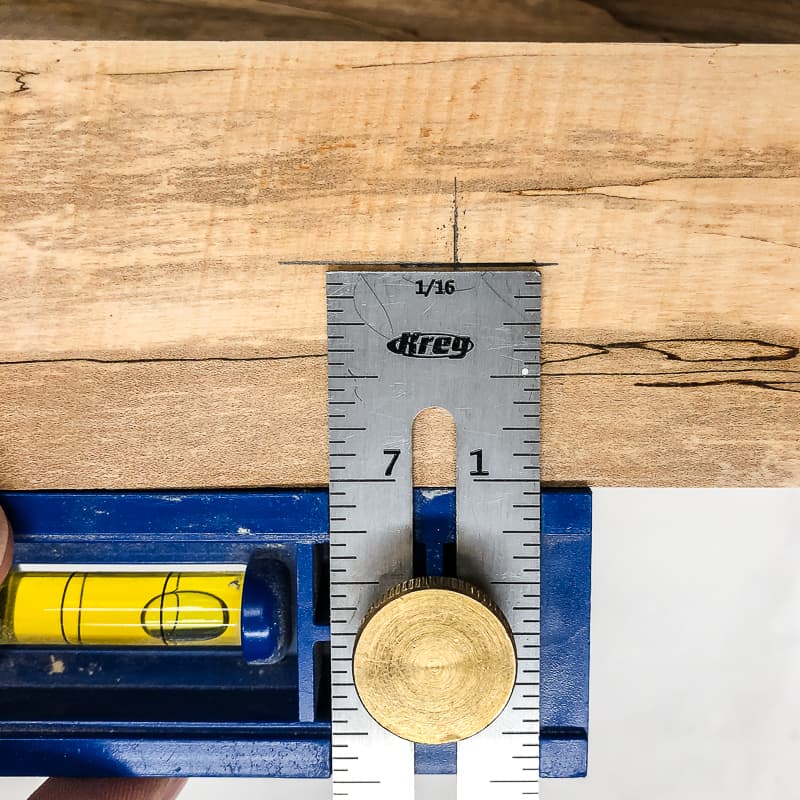
Measure the desired distance from the sides of the board (taking into account the stud location), making sure that the entire bracket will be hidden behind the shelf. Then mark the halfway point of the thickness of the board. Where those two marks meet is where you should drill the hole for the bracket post.

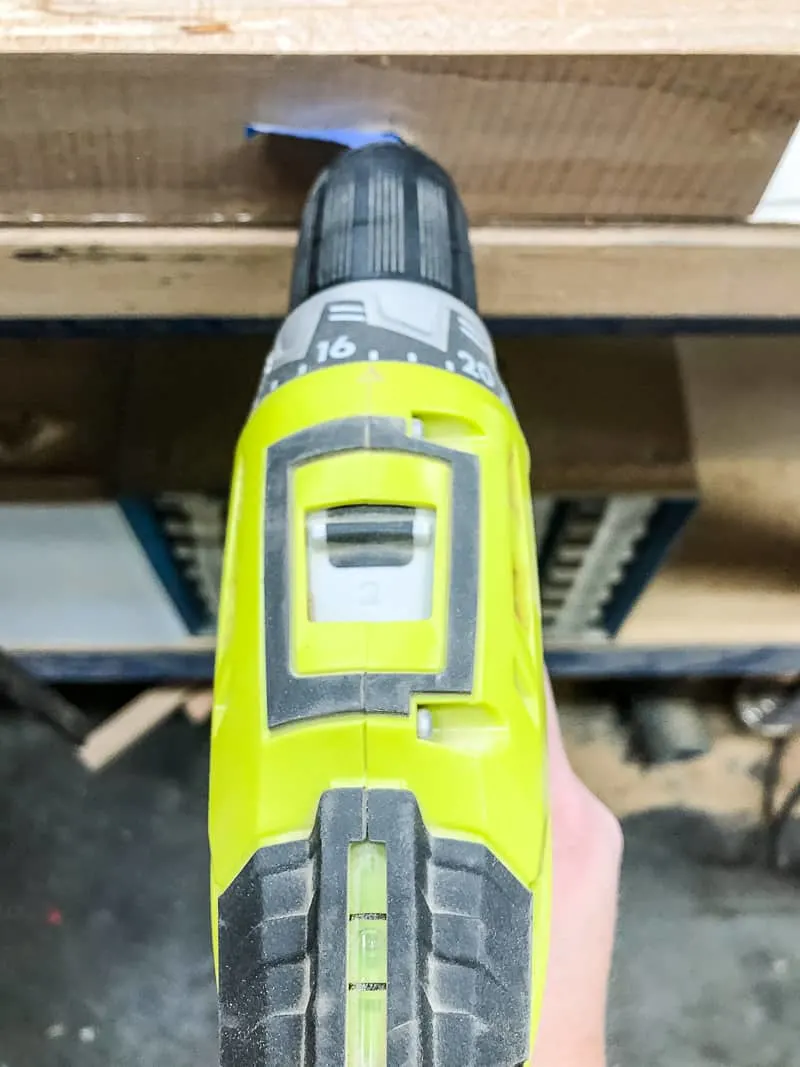
I have a drill press in the workshop, but I couldn't stand the board upright on its live edge without a complicated jig. Luckily, an ordinary cordless drill works too, as long as you drill straight! 🙂
Place the drill bit with the painter's tape into the drill, and line up the point with the X. Check the bubble level on the top of the drill to make sure your bit is level before starting to drill the hole.

Dump out the sawdust from the hole, then check the fit of the bracket post.

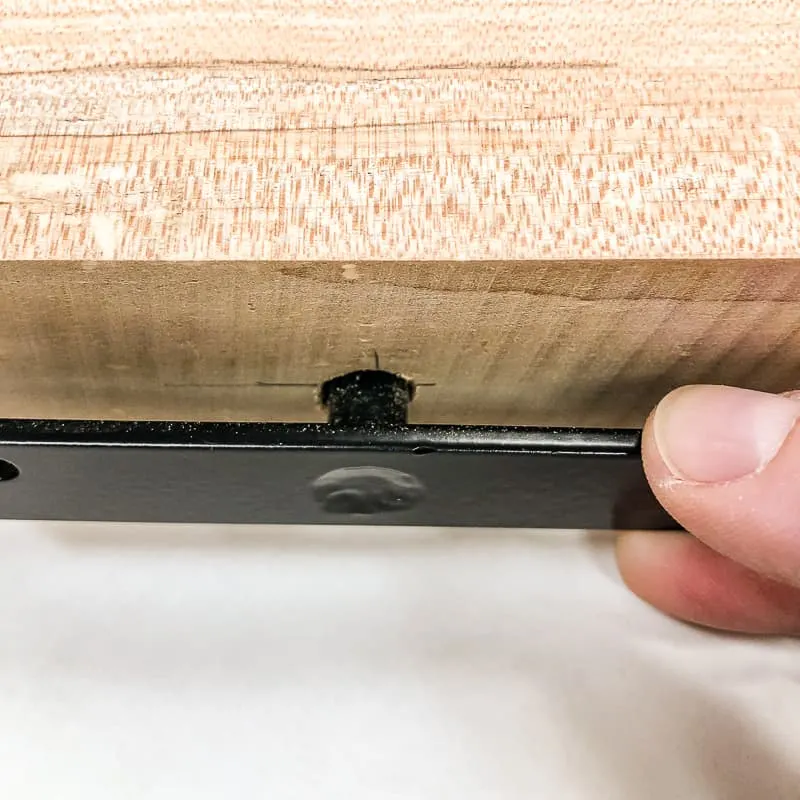
If you want to be really fancy, you can chisel out the back of the shelf to recess the rest of the bracket. You won't be able to see my shelves from the sides, so the tiny gap between the shelf and the wall won't be noticeable. Plus, I'm lazy! 😉
Apply Finish to Shelves (optional)
Now that the sanding and drilling is done, it's time to apply a beautiful finish to the shelves. If you bought prefinished boards like these, you can skip this step and go straight to the installation!
I tested a few different finishes on the little end piece I cut off earlier. Any oil based finish will give maple a yellowish-orange tint, which I wanted to avoid. I tried dewaxed shellac and mineral oil to see which one worked better. The shellac (on the top) gave me the look I was going for!
You might have seen my video over on Instagram where I applied the dewaxed shellac to the finished board first. It's so satisfying to watch!
Once it was dry, I sanded back the raised wood grain a bit with 300 grit sandpaper. Then I applied three coats of General Finishes High Performance Top Coat in Satin (the same stuff I used on my grey stained dining table). It's a water based finish that dries clear, so it kept all that beautiful contrast between the light and dark areas of the wood without changing the color.
Attach the Wall Brackets
The tricky part about any invisible brackets is getting the placement right on the wall. Installing the brackets too close or too far apart, even just by a few millimeters, will prevent the floating shelves from sliding on properly. But this painter's tape trick will help you get it right the first time!
Slide the wall brackets into the holes in the back of the shelves. Check to make sure they're straight, then tape them in place. Then stick painter's tape along the entire bottom edge of the shelf, making sure that it covers the holes in the bracket.

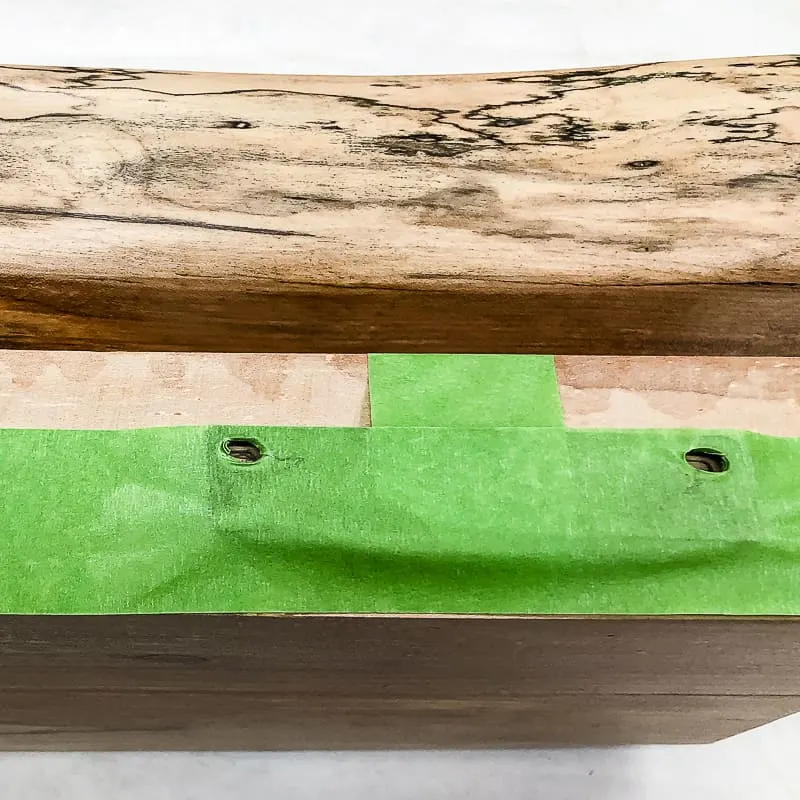
Poke through the tape with a pencil where the bracket holes are located, then remove the tape. Then place the tape on the walls where you want the shelves to go, making sure it's level.
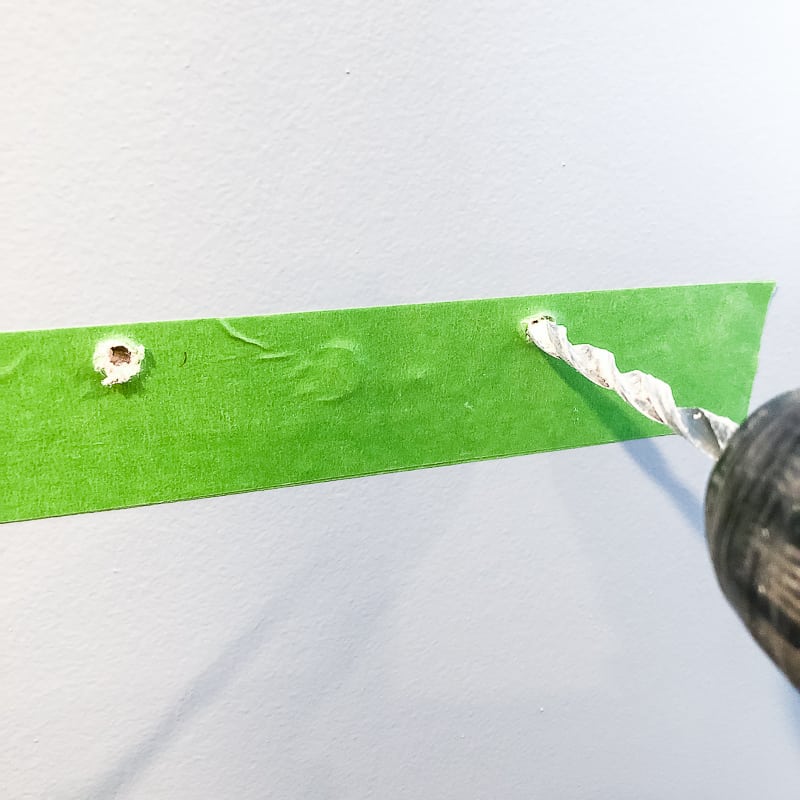

If possible, you should install your floating shelves on the studs (learn how to find them the right way here), but it doesn't always work out. If necessary, drill holes for the anchors through the holes in the tape. Remove the tape from the wall and finish installing the anchors.
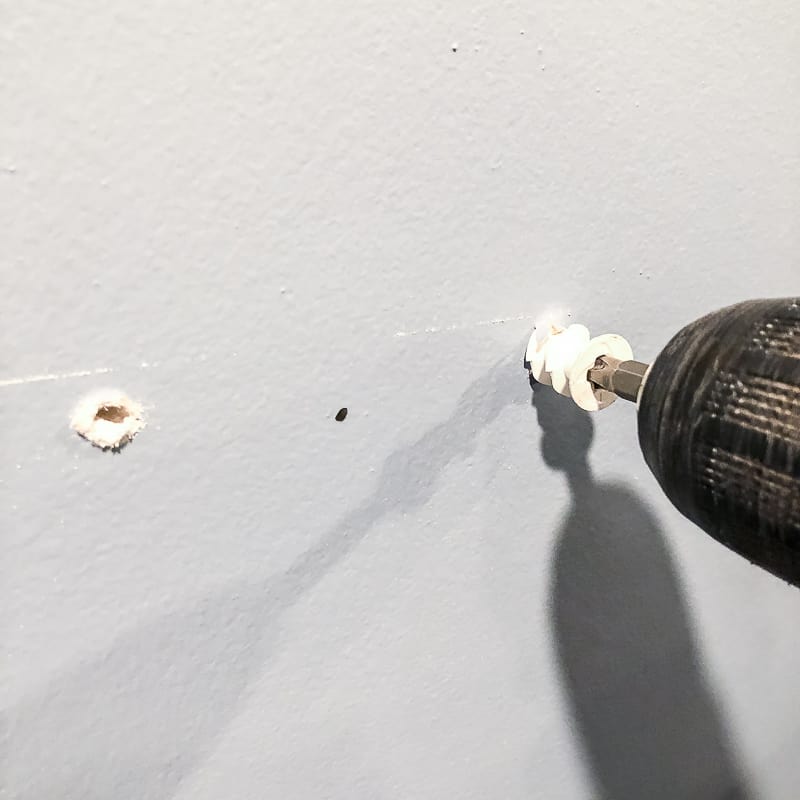
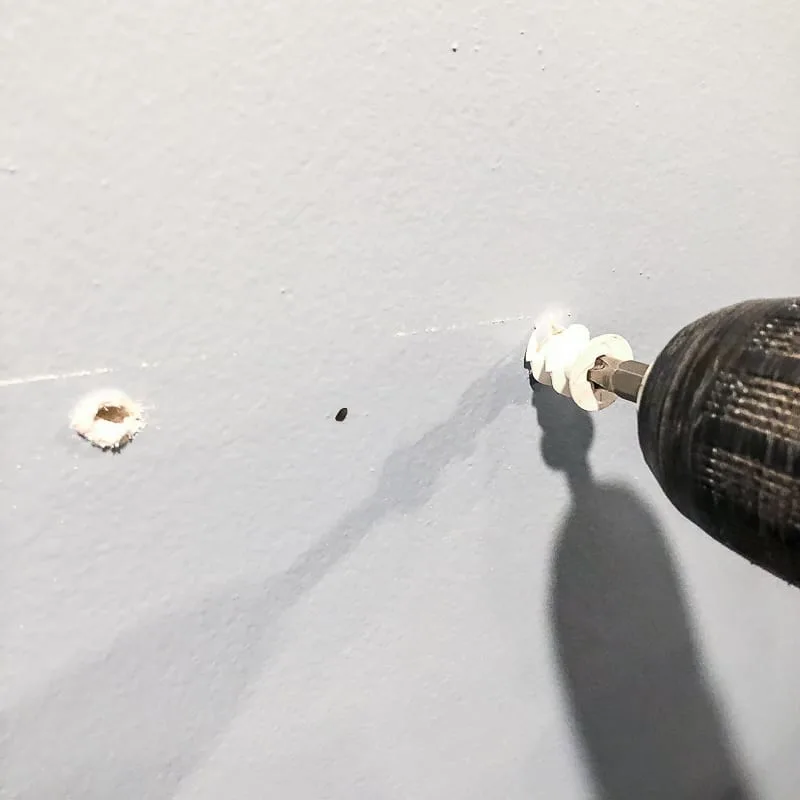
Now you can screw the brackets into the anchors and know that your placement is perfect!
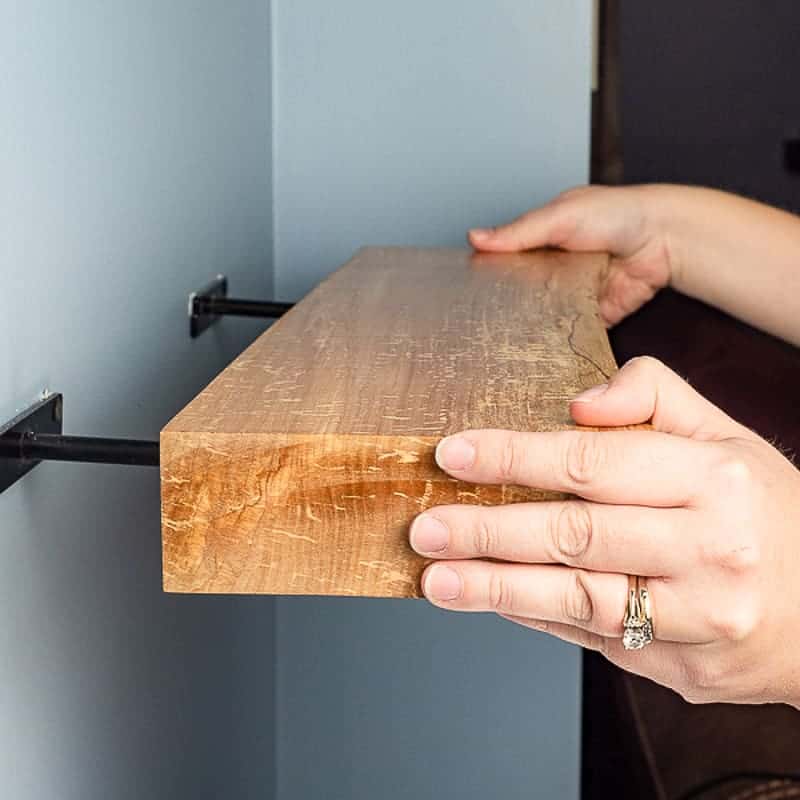
Slide the Floating Shelves onto the Brackets
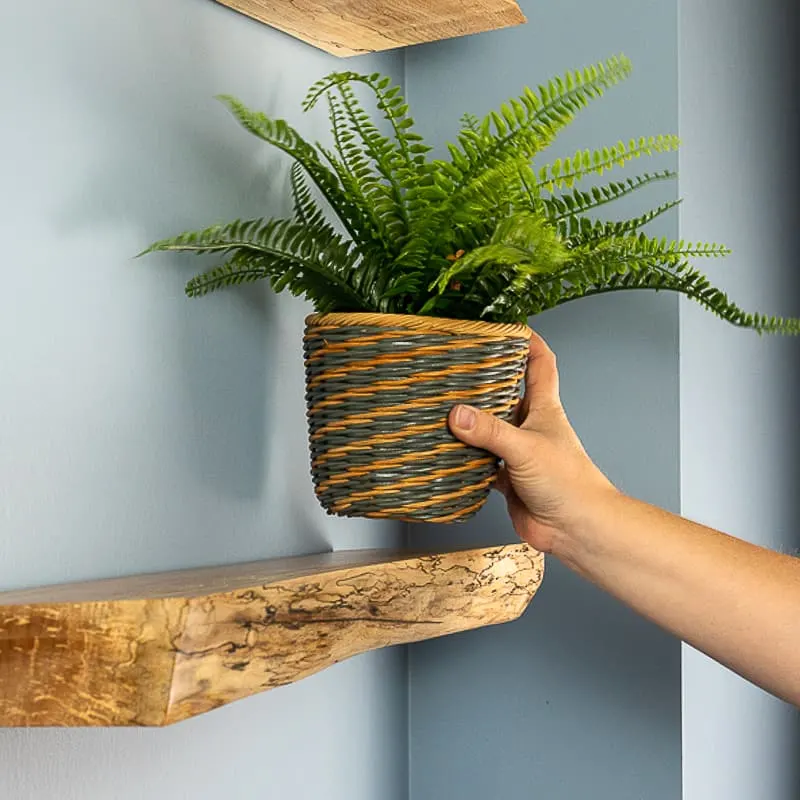
Installing these live edge floating shelves couldn't be easier! Just line up the brackets with the holes and slide it on.

These brackets are made with a slight upward angle to counterbalance the weight you place on the shelf. So when the shelf is empty, it might look a little skewed.

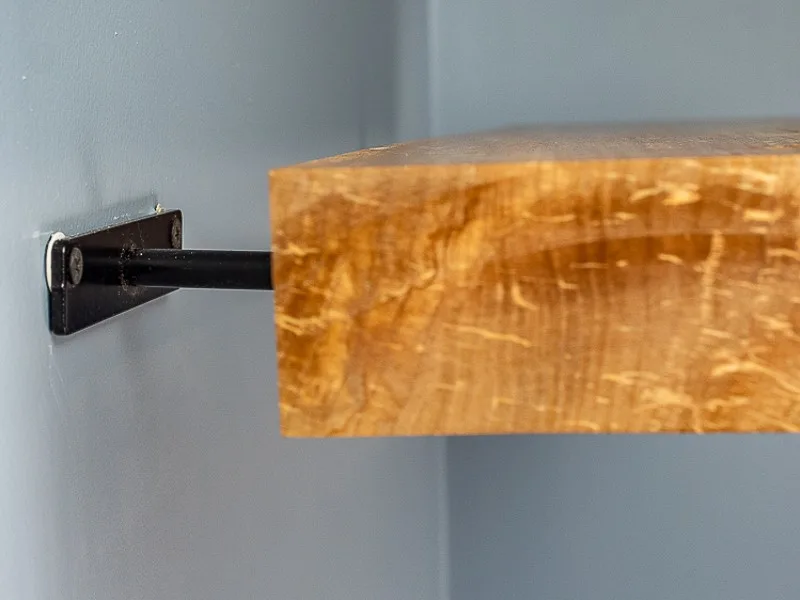
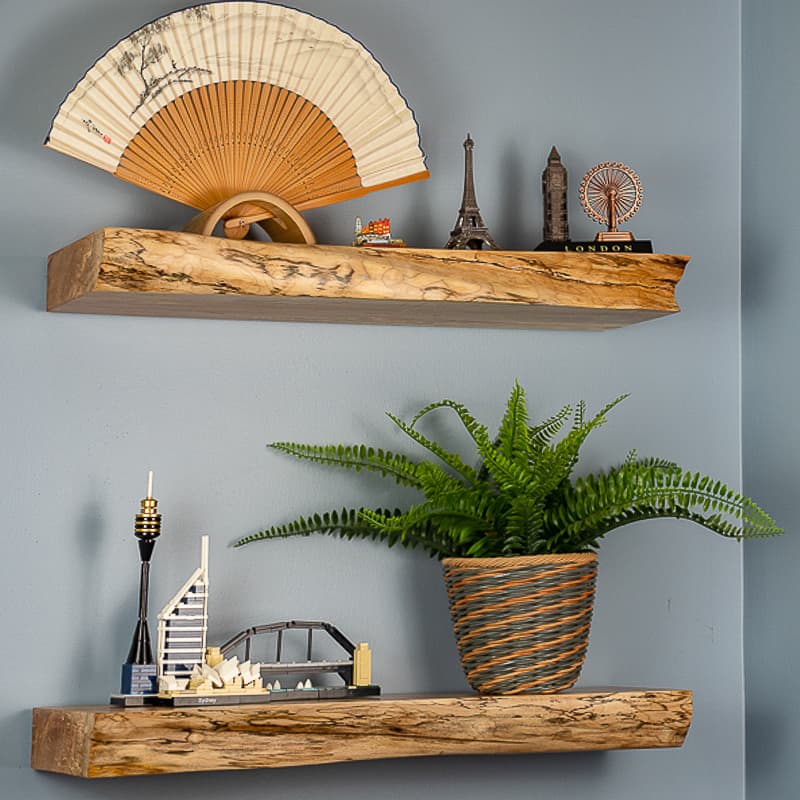
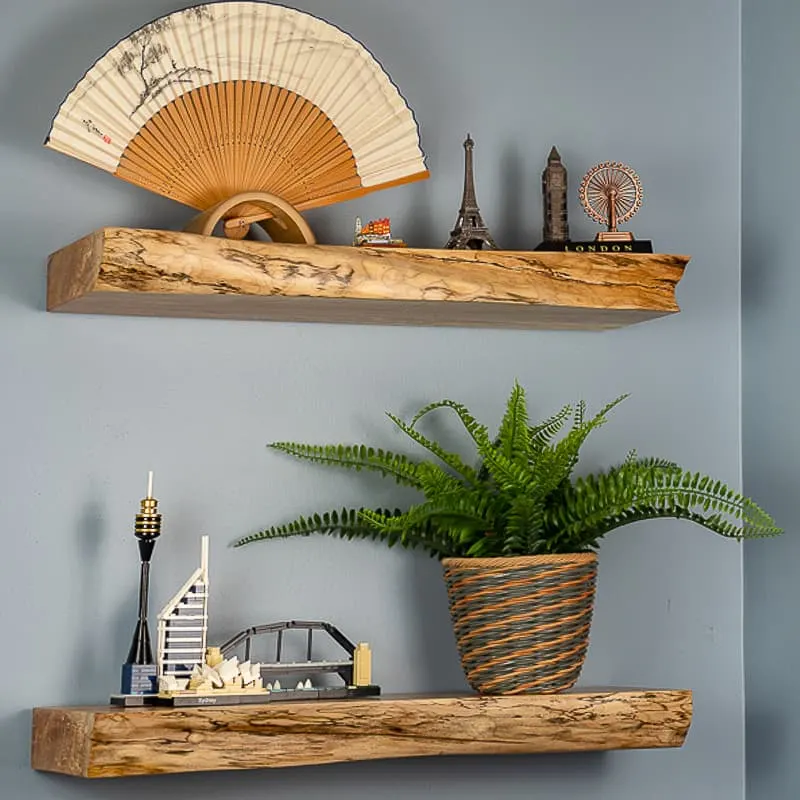
But once you start placing decor on them, it levels out!

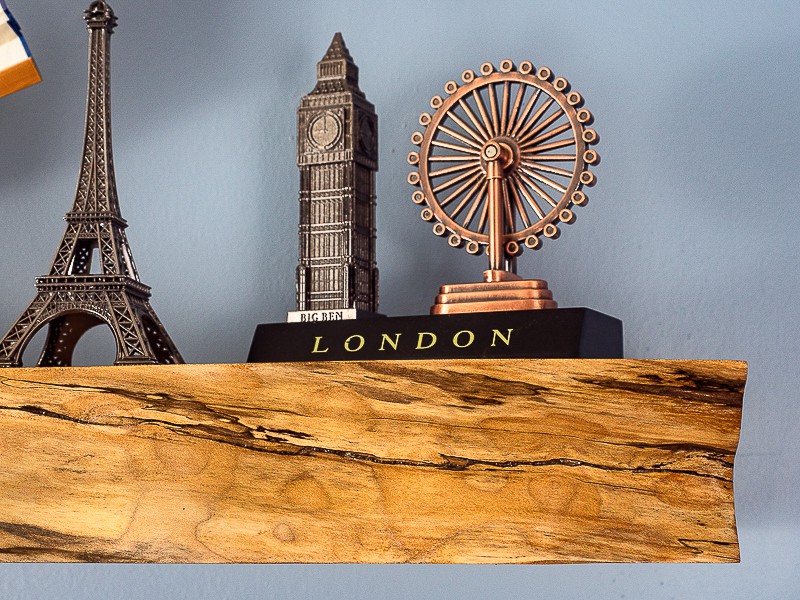
We like to pick up little souvenirs from our travels, but they've been scattered throughout the house for years. Now they're all in one spot for a cohesive look!

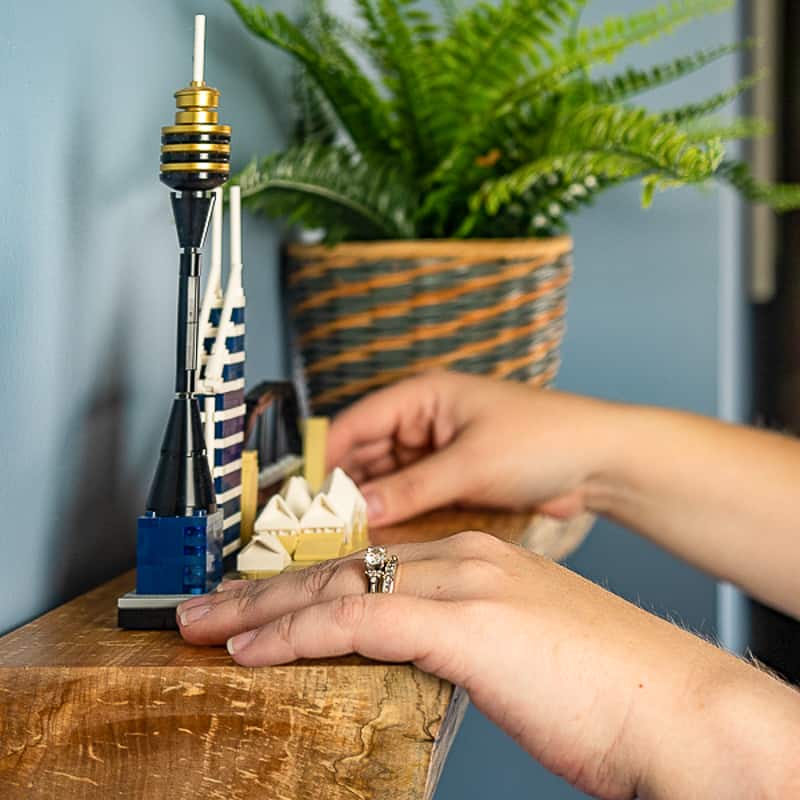
And of course, there's Lego too! This one is Sydney, Australia, but we also have a London bus, a Venice gondola and the Eiffel Tower buried somewhere in my son's Lego table...

These beautiful wooden wall shelves work perfectly with our family room decor. Now that they're installed, it feels like they were always meant to be there!
Check out these other DIY shelving ideas!
caren gittleman
Saturday 12th of October 2019
I absolutely LOVE that idea! Wish I had a home instead of a small condo.........hardly any wall space here........that idea is brilliant and I LOVE how the shelves look!
Vineta
Saturday 12th of October 2019
Floating shelves are great for adding storage on a small wall. These shelves are on a short section of wall that's just over 2 feet wide!
SR
Saturday 12th of October 2019
Wow!!! Gorgeous.
Vineta
Saturday 12th of October 2019
Thank you so much!