Gain extra storage inside the walls! I'll show you how to build recessed bathroom shelves or a wall niche between the studs. Make adjustable shelves with an easy-to-use shelf pin jig, so you can customize the space to fit your needs.
There's so much unclaimed space in your home, hidden between the studs in the walls. I wanted to reclaim some of that space in our bathroom remodel by creating a wall niche next to the sink for pretty toiletries.
Building recessed bathroom shelves is easier than you think, and gives you convenient storage without taking up any floor space!
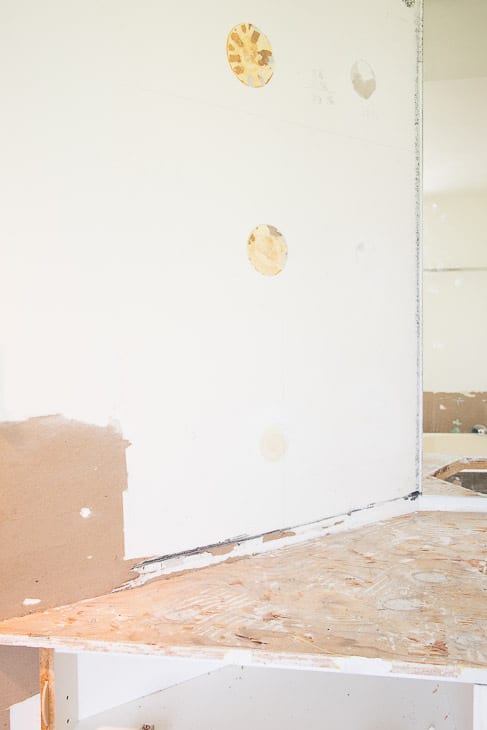
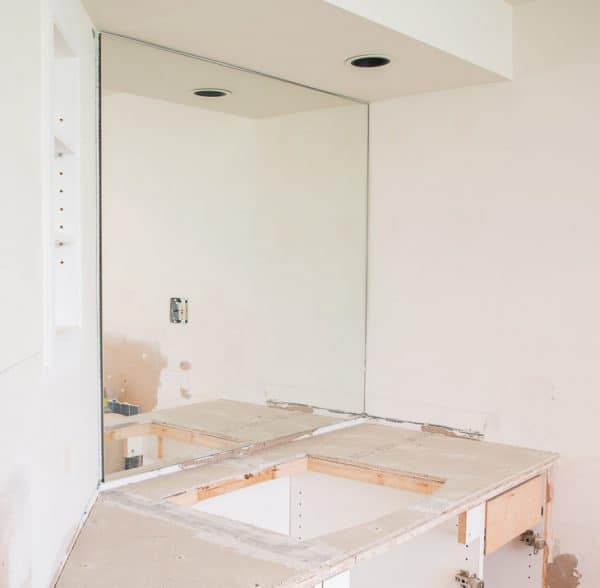
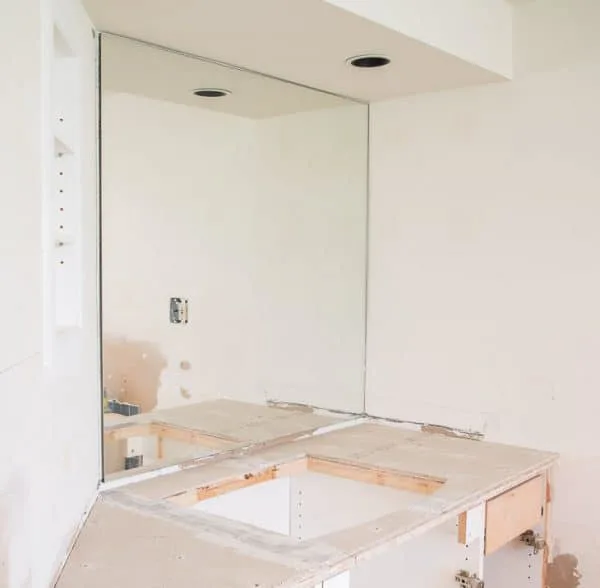
During the bathroom demolition process, I removed a mirror from this weird angled wall above the vanity. There's no medicine cabinet, so I decided built in bathroom shelves would be perfect in this spot. It will keep clutter off the counter without shelves sticking out from the wall and impeding use of the vanity.

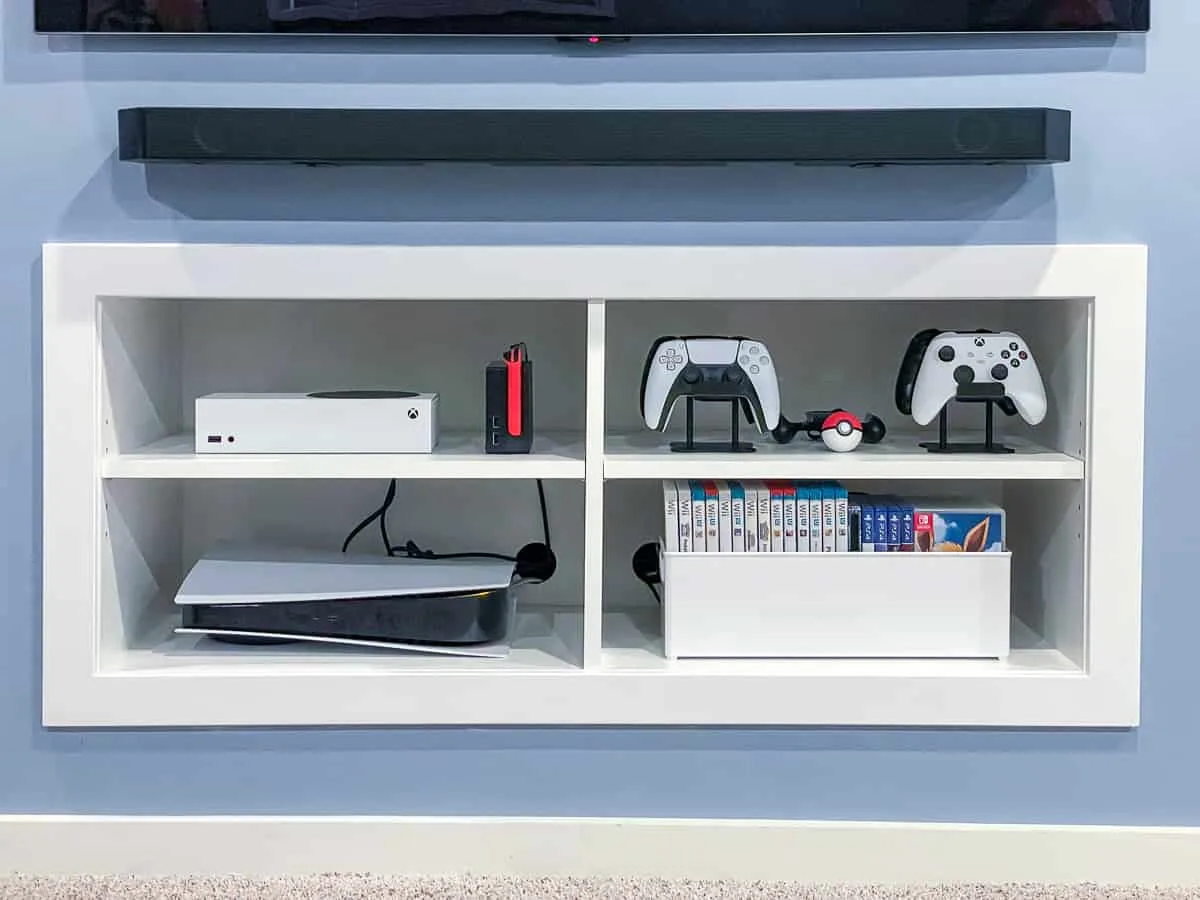
It's pretty simple to put shelves between the studs of any wall. Check out how I built these game console shelves that are recessed in the wall below our TV!

Get your tools ready and build yourself a new wall niche!
This post contains affiliate links for your convenience. Purchases made through these links may earn me a small commission at no additional cost to you. Please visit my disclosures page for more information.
Materials Needed to Build Recessed Bathroom Shelves
- Stud finder
- Utility knife
- Drywall knife
- ½" plywood
- ¼" plywood
- Brad nailer and brad nails
- Wood glue
- Square
- Trim
- This is the one I used. It's available by the foot in stores.
- Shims
- Level
- Shelf pin jig
- Clamp
- Shelf pins
- Caulk
Don't forget your safety gear when woodworking! Here are my recommendations for safety glasses and ear protection. Drywall dust isn't good for your lungs (and you'll be making a lot of it!), so a respirator mask is a must. No excuses!
How to Build Recessed Bathroom Shelves
Find the Studs in the Wall
Use a stud finder to locate the edges of each stud. Normally studs are 16-24 inches apart, but they're much closer together on this particular wall. At least it's centered over the vanity! It's important to find the exact location, so check out this tutorial on how to find a stud in the wall, with or without a stud finder, if you're not sure.
Mark the studs, then decide how tall you want to make the niche. Keep in mind the width of the trim you plan to use. If I went too high, the trim would look awkward up against the soffit. Too low, and it would run into the backsplash I'll be installing later.
Cut a Hole in the Drywall
Score the drywall paper with a utility knife and a straight edge. Then cut inside the line with the drywall saw. You can always trim off the excess later. Cut with the saw at an angle so you don't accidentally poke through to the drywall on the other side!

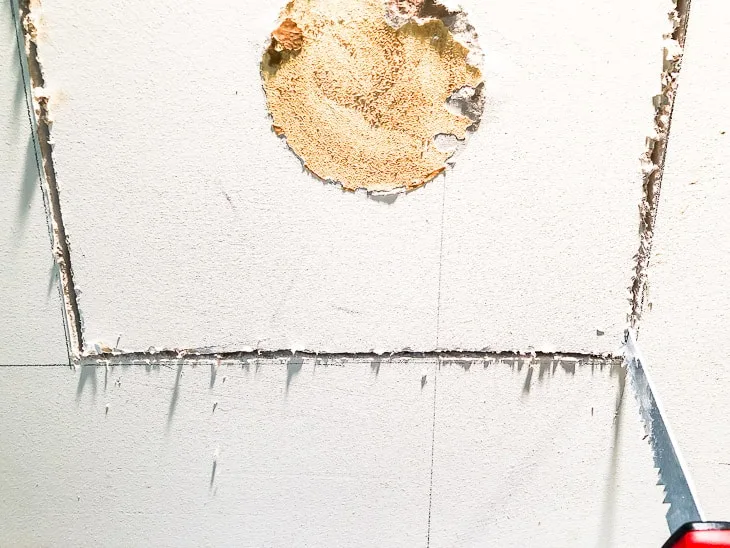
Trim away any excess drywall along the edge of the stud. You want it to be perfectly flush with the edge of the wood. Also check that the corners are square and the top and bottom are level and parallel to each other.
Cut the Shelf Pieces
You can save yourself a lot of trouble by buying a premade recessed shelving unit and skipping the next few steps. But the studs in my wall weren't at standard spacing, so I decided to make my own.
Measure the exact dimensions of your newly cut hole, then cut a piece of ¼" plywood to match. This will be the back of the shelf.
I used ½" plywood for this small set of recessed shelves. Consider using ¾" plywood if you're making bigger shelves or plan to put heavy things on them.
Measure the depth of your wall cavity from the outer drywall edge to the back of the drywall on the other side. Subtract ¼" for the plywood back.
Cut the ½" plywood to the dimensions of your hole to create the interior frame, as well as the interior shelves. Check your cut pieces against the plywood backing to make sure they all fit.
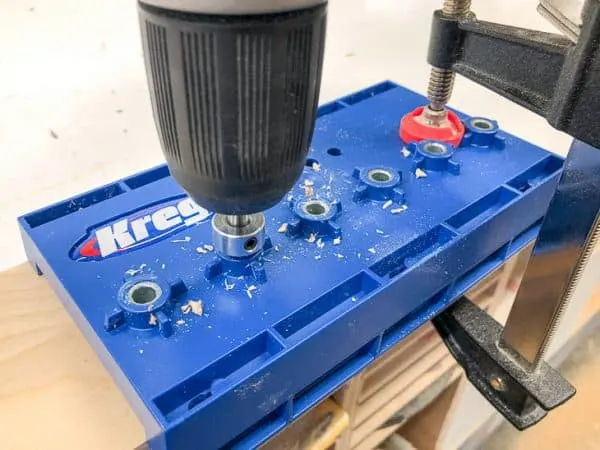
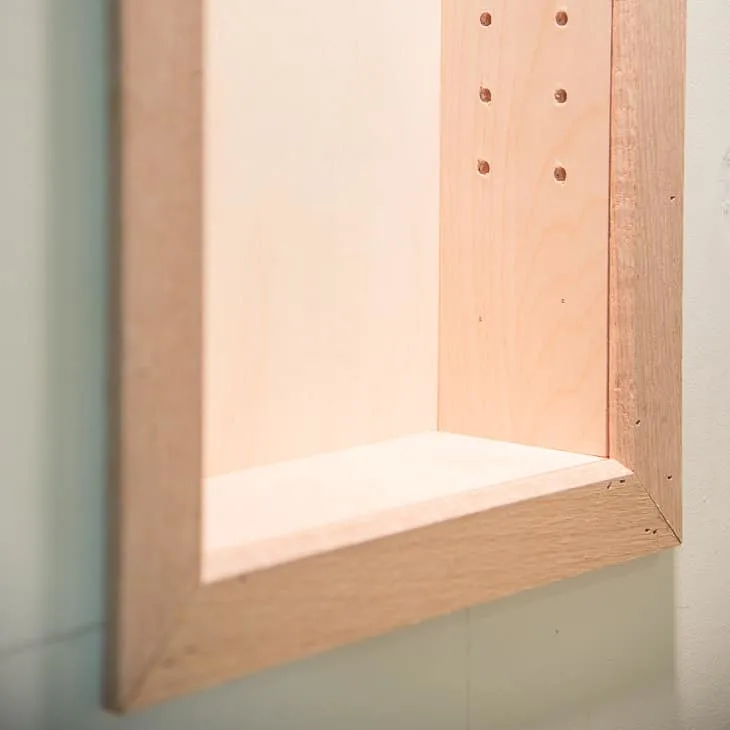
Add Shelf Pin Holes (optional)
Add flexibility to your shelving configuration with shelf pin holes. This is easy to do with the Kreg Shelf Pin Jig!

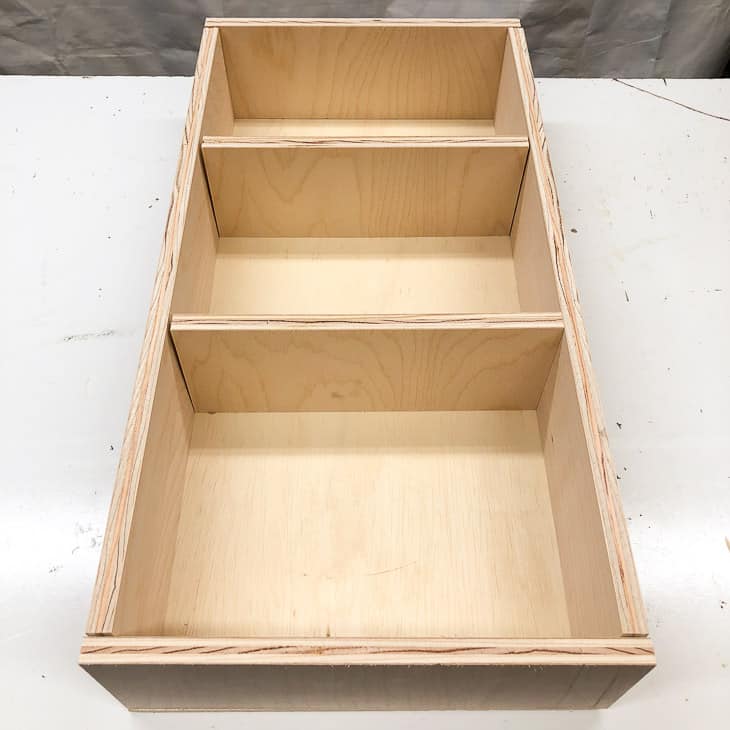
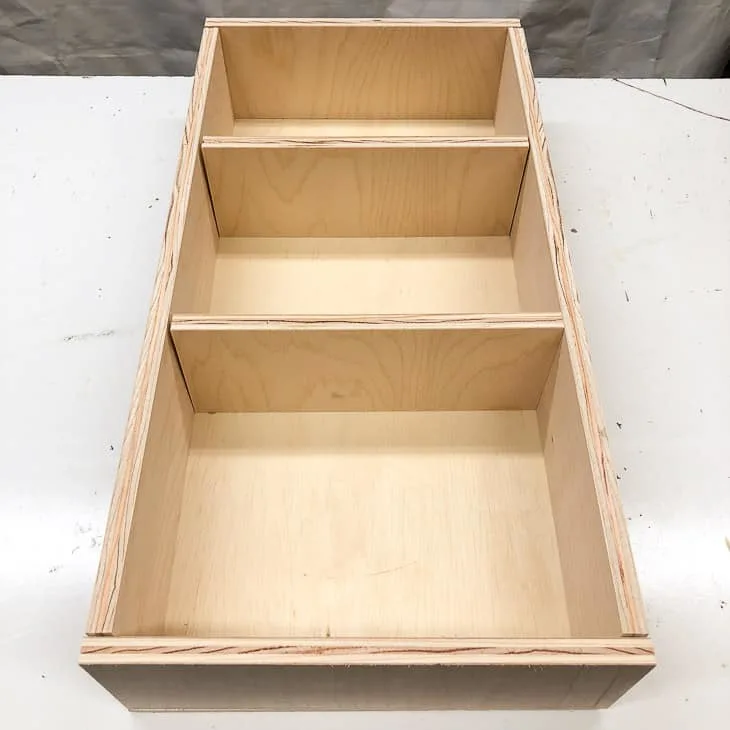
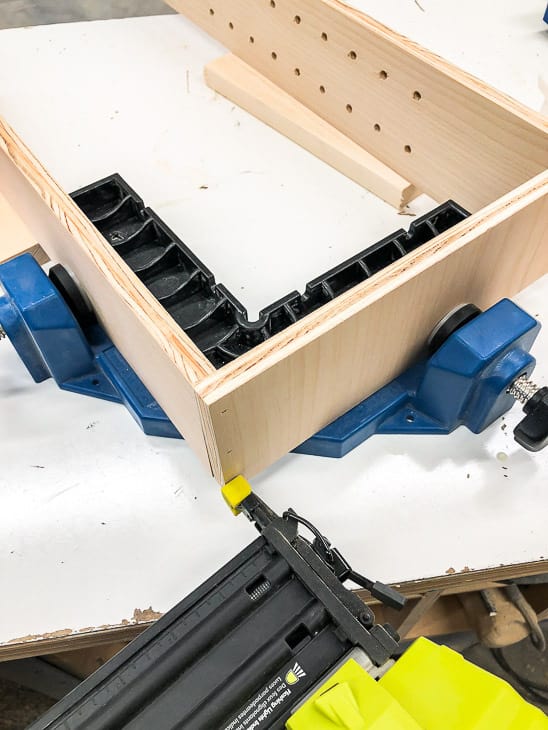
Assemble the Recessed Bathroom Shelves
Apply wood glue to the ends of the vertical pieces, and attach the top and bottom with brad nails. I used these clamps to hold the pieces together while I wielded the brad nailer.

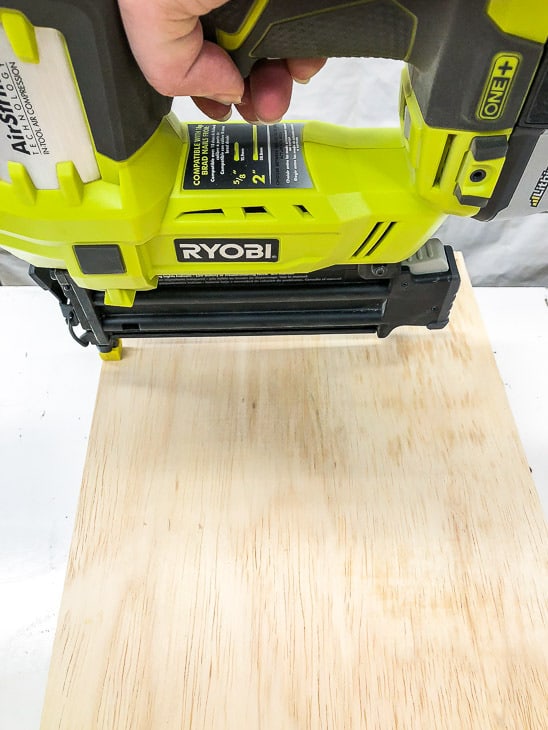
Glue the back of the assembled frame, then attach the ¼" plywood back with brad nails.

Install the Recessed Bathroom Shelves
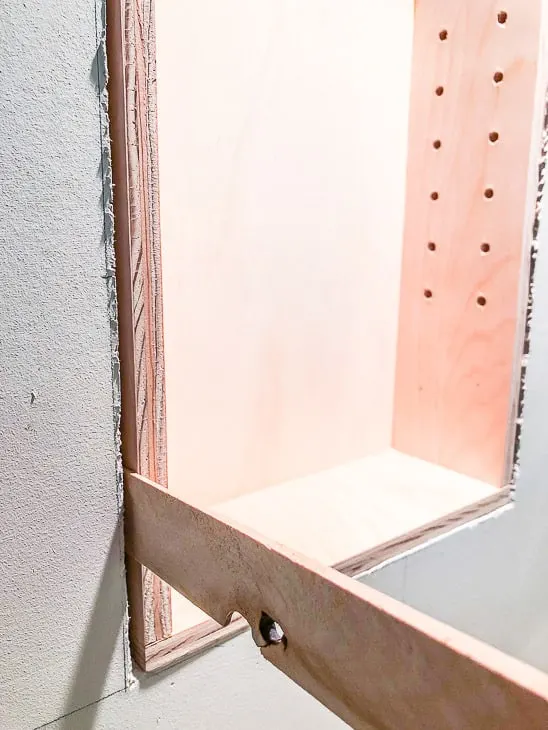
Now, the moment of truth! Hopefully, your newly assembled shelving unit should slide right into the hole you cut out of the drywall.
It was at this point that I realized that the left stud wasn't installed straight in the wall! I inserted shims to get it level, then nailed through the shim and into the stud. Then I scored and snapped the shim flush with the wall. Luckily, all this mess will be covered up in the next step.

Attach the shelves to the studs with brad nails. If you're making a bigger recessed shelf that will be holding a lot of weight, use screws instead.

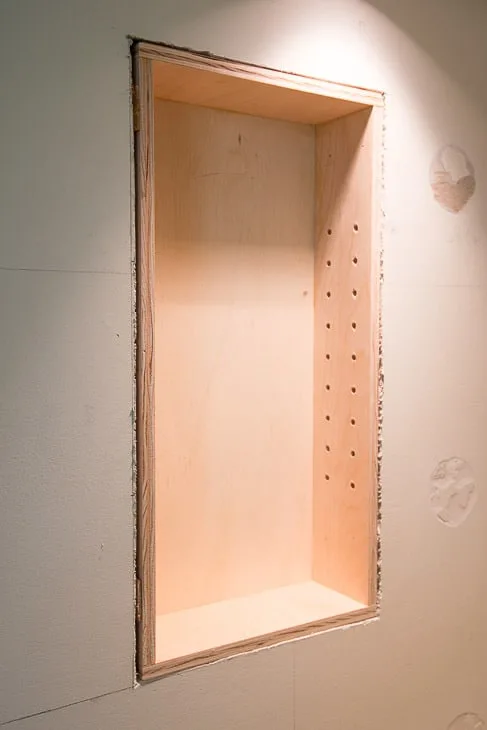
Attach Trim to the Outside Edge
To cover up the cut drywall and plywood edges, you'll want to find a thin moulding that coordinates with the other elements of the room.
The trim I found at Home Depot is almost an exact match to the detail on the inside panel of the cabinet doors I'll be installing on the vanity. Score!
Miter the corners of each piece to create a frame. Apply wood glue to the back and angled cuts, then nail them to the plywood shelf edges.

Wood filler will fix up any gaps and nail holes. Caulk the outside edge where the trim meets the wall and the interior seams. It looks like a mess now, but it will look great once it's painted!

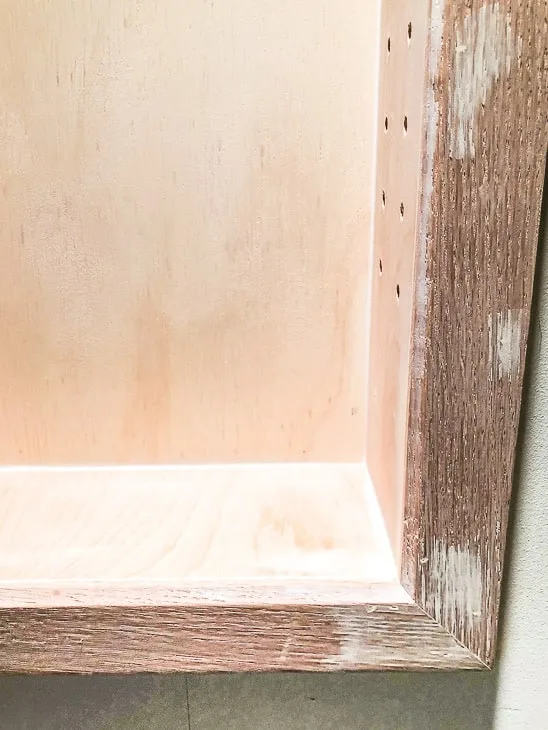
Paint or Stain Your Shelves
Give everything a few coats of primer to even out the color.
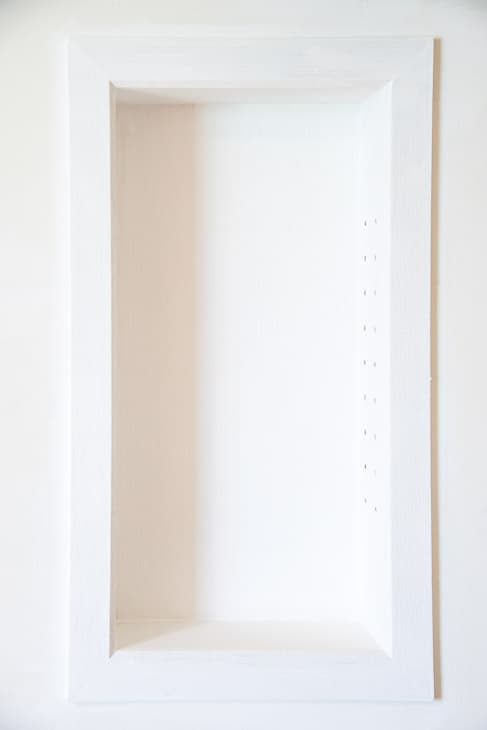
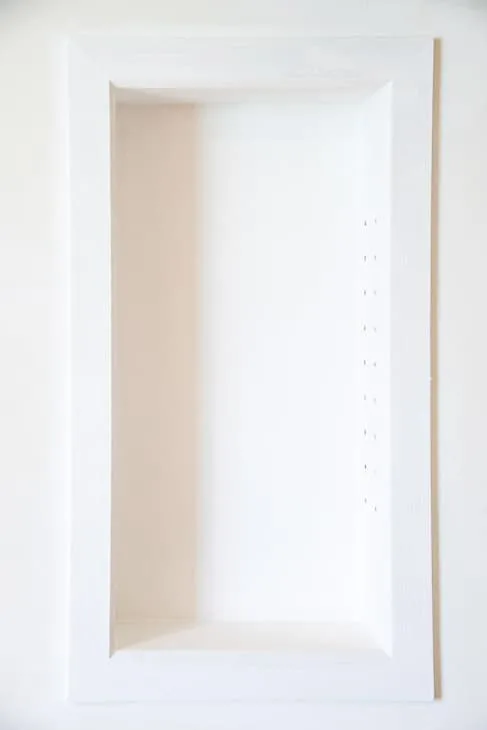
I painted the shelves a few shades lighter than the wall color for a subtle contrast.
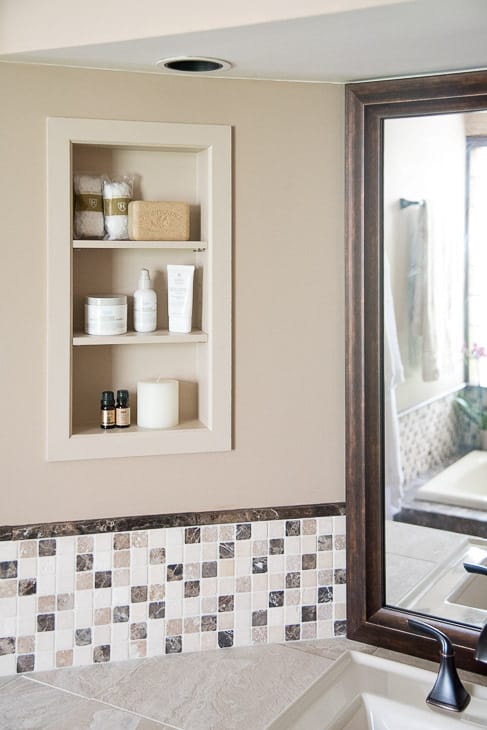

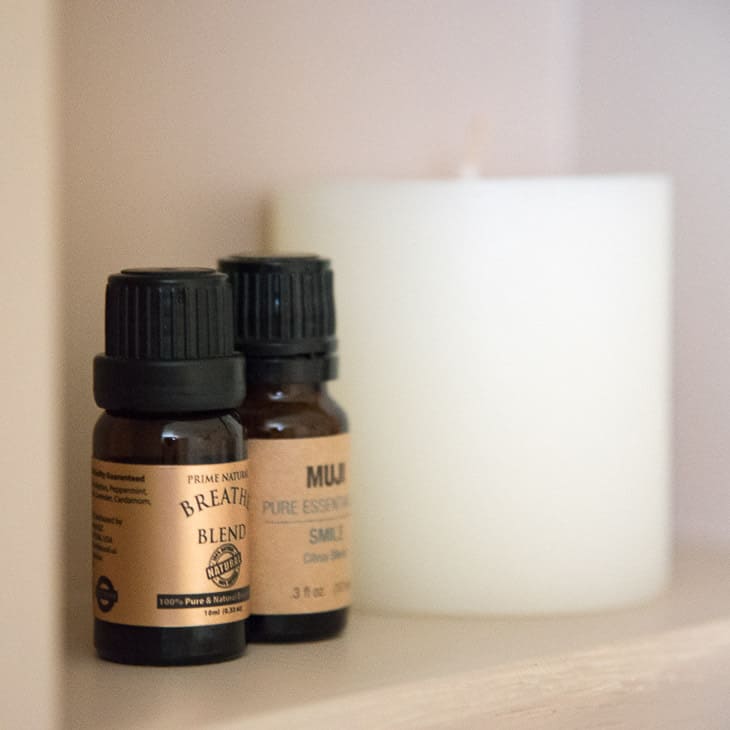
These recessed shelves aren't very big, but it's a great spot for displaying my favorite soaps, lotions and bath accessories!
Want to see what else I was doing this week during my bathroom remodel?
The giant hole from my overly aggressive chiseling was patched up with the drywall cut out for the shelves. Everything was smoothed over with joint compound and is ready for new tile!

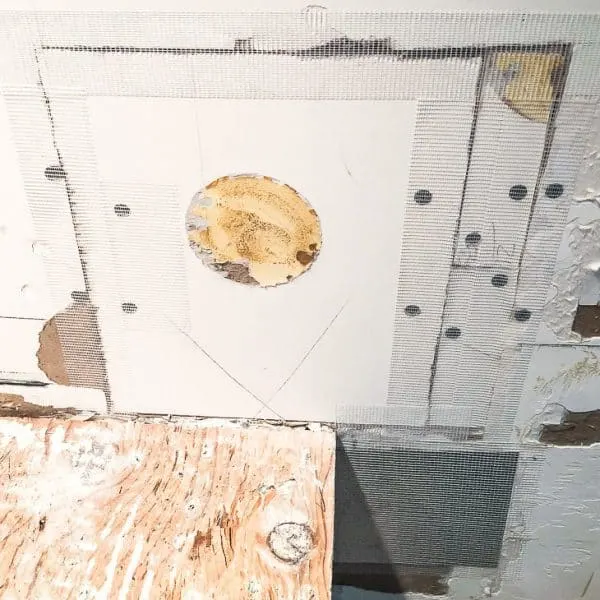
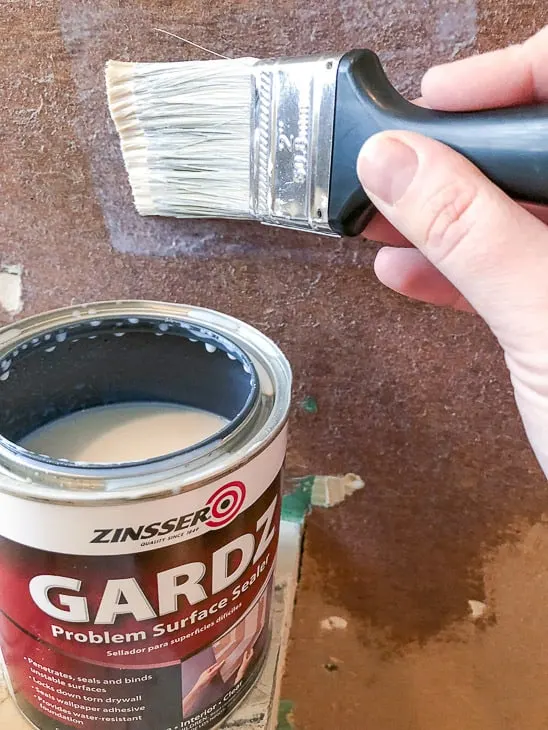
The damaged drywall paper was sanded down, then coated with GARDZ Problem Surface Sealer. This stuff is great for strengthening ripped drywall paper or gouges that are crumbling. You can find my tutorial for how to repair torn drywall paper here. All of these surfaces will be covered with tile as well.

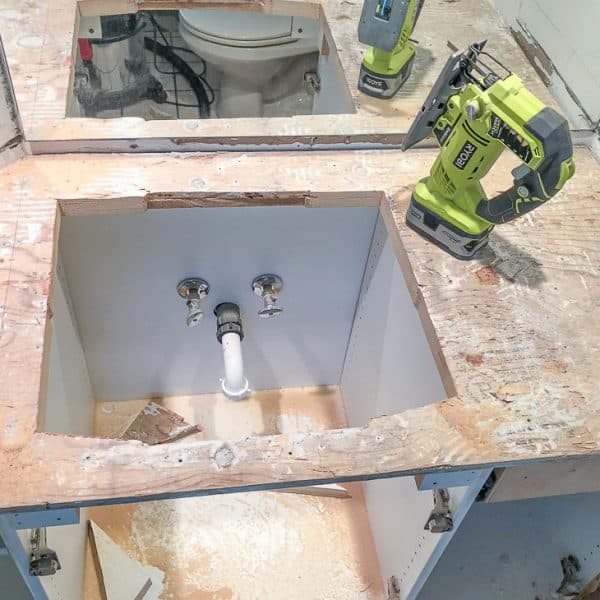
The hexagon sink hole in the vanity was cut into a more traditional shape for the new sink.

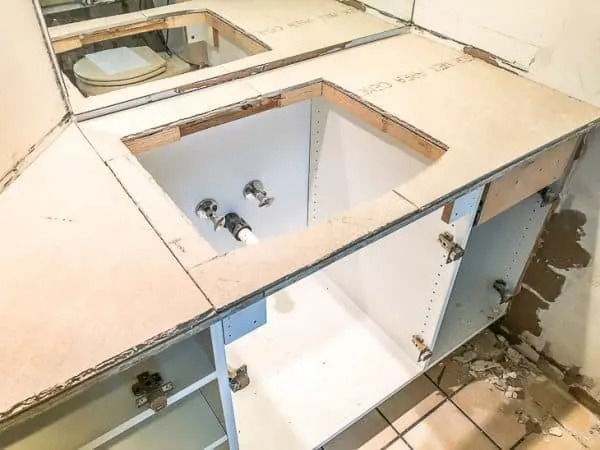
I had some leftover cement backer board from building my fireplace hearth, so I pieced together enough to cover the vanity. This was attached to the plywood top with thinset mortar and 1 ⅝" backer board screws.

Next week is all about vanity tile, sink and faucet installation! I'm excited to finally start making this bathroom pretty!
Check out these other bathroom project ideas!
Elissa
Wednesday 14th of November 2018
I am thinking of doing this in my kid's BA. Just one question, did you notice a difference in the noise level? One wall of the kid BA is my oldest child's wall....
Vineta
Wednesday 28th of November 2018
I haven't really noticed a difference, although these shelves are between the bathroom and the family room, which usually isn't very quiet to begin with! ;)
Kit Hannigan
Saturday 25th of August 2018
It sure is nice to know that building a wall niche will help maximize the space available in the bathroom. My wife recently mentioned that we need more space to store our toiletries in the shower. Looks like having a shower niche installed by a professional contractor will be next on our list of additions to our home.
Sheri
Monday 23rd of April 2018
This is so cool Vineta! Trying to figure out where I could do this in my house. ;) Thank you for sharing at the To Grandma's House We Go DIY, Crafts, Recipes and More link party! Pinned!
Theresa
Friday 20th of April 2018
Awesome DIY.Thanks for sharing @DearCreatives Inspiration Spotlight party. See you again soon. pinned, and sharing.
Kim~madeinaday
Tuesday 17th of April 2018
What a great project! It came out perfect. I would love this in my hall bath. Pinned! Thank you for sharing on Merry Monday! Hope to see ya next week! Kim