You'll be stunned by the before and after photos of this DIY bathroom renovation! I transformed my dated blue bathroom into a relaxing retreat in just six weeks, without any prior remodeling experience!
After six long weeks, my DIY bathroom renovation is finally complete! It took a lot of blood, sweat and tears to get this bathroom finished in time, but I'm sooooo happy with the results!
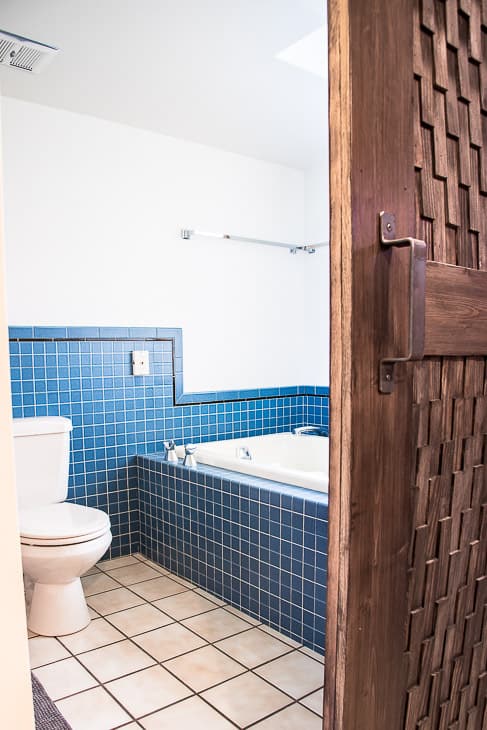
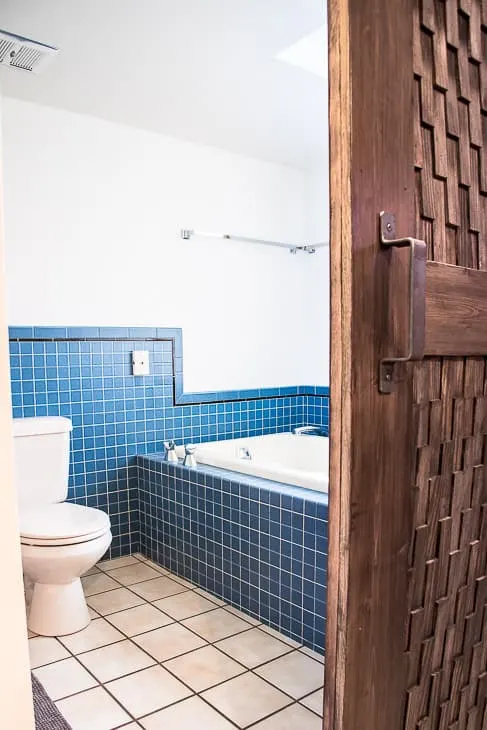
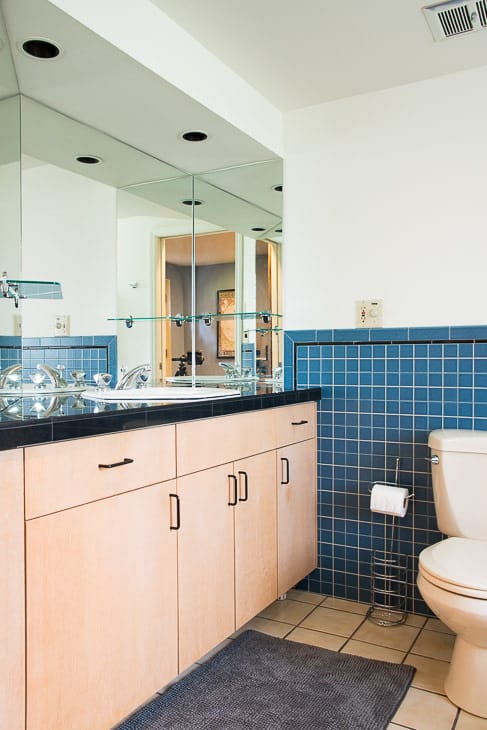
The dated blue eyesore is gone, and in its place is a relaxing retreat that is now the nicest bathroom in the house!
This post was sponsored by Jeffrey Court, Cabinet Door Mart, MirrorMate and Liberty Hardware. Links to the products used may be affiliate links. Purchases made through these links may earn me a small commission at no additional cost to you.
My goal for this bathroom renovation was to work with the almond fixtures instead of replacing them. They may be dated, but they're too expensive to throw away! This basement bathroom isn't used much, so I couldn't justify the cost of a full gut job.
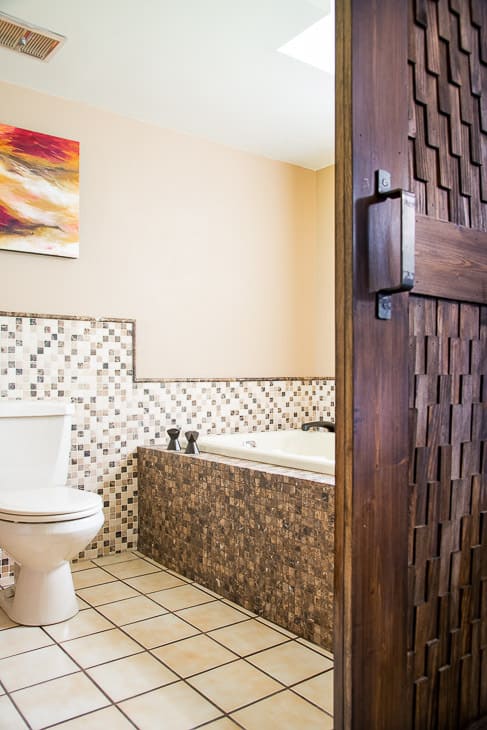
Before, the bathroom was hidden from view by the wood shim barn door I built for that purpose.
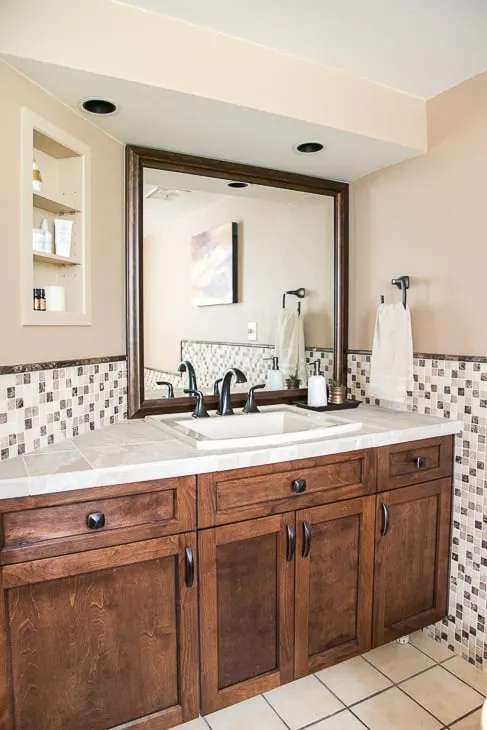
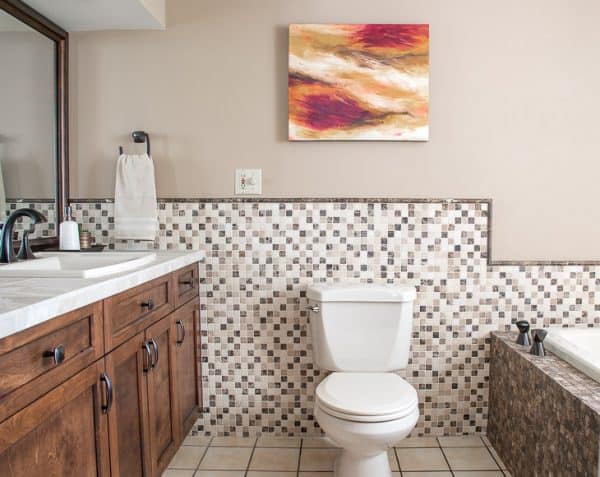
Now, the door can stay wide open! I focused on a neutral color palette that would blend with the almond tub and toilet. Shades of beige, tan and brown make the off-white fixtures seem fresh and clean, instead of dated and dingy.

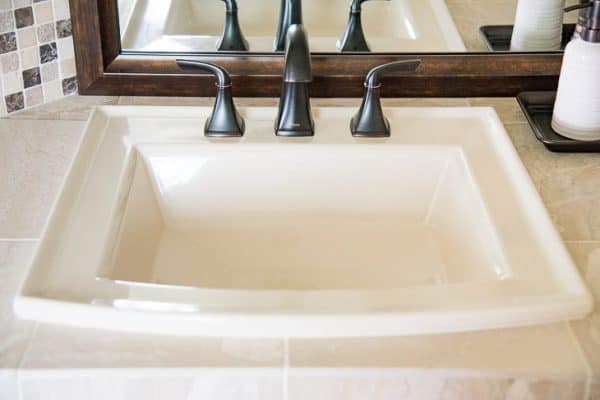
I even replaced the crazy hexagon sink with another almond one to keep the colors consistent. A bright white sink would stick out like a sore thumb! The countertop now has limestone tile that blends well with the new sink.

But the almond fixtures weren't the only issue. The vanity was an ugly orange-pink color, and the countertop was a black granite tile that showed water spots constantly!

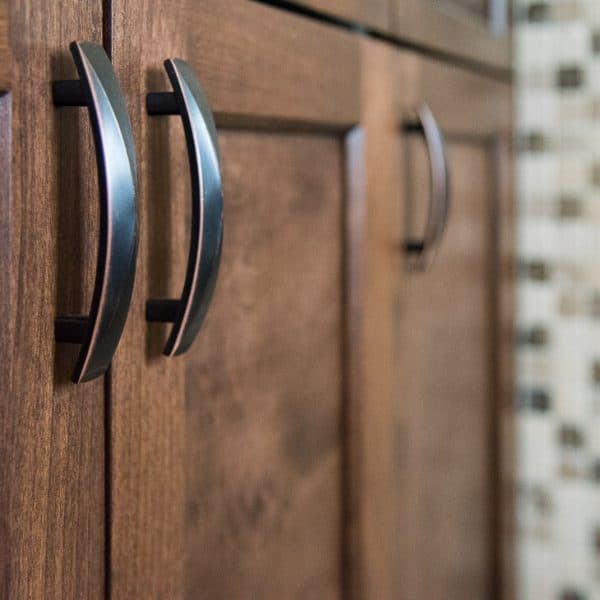
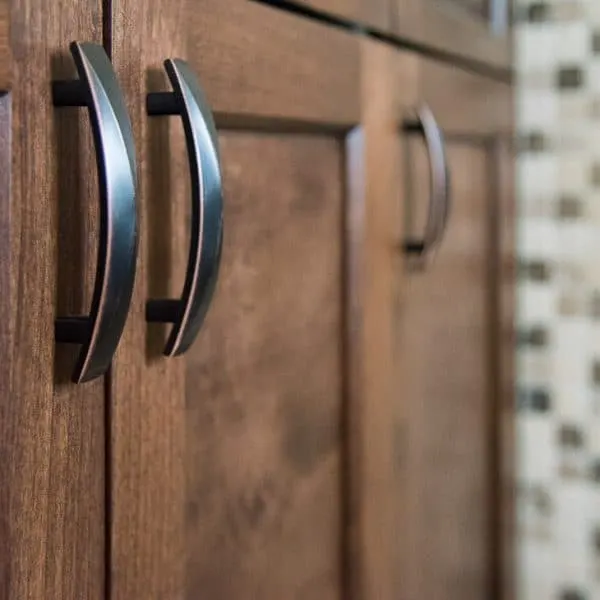
But the vanity was custom built into this angled space, so replacing it would be a huge endeavor. Instead, I switched out the doors and drawer fronts for gorgeous new cabinet doors from Cabinet Door Mart.
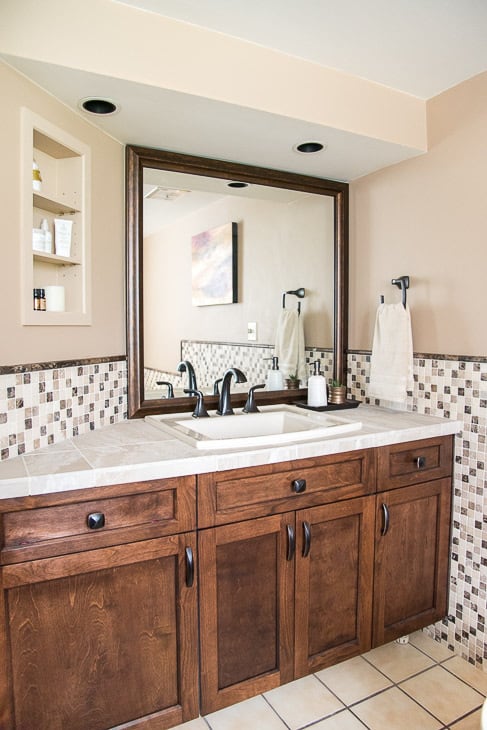
The door pulls and knobs from Liberty Hardware feature the same bronze and copper finish as the faucet, bringing the whole look together.
The three mirrors around the vanity area before created a fun house effect. Trust me, no one wants to see themselves climbing out of a deep jetted tub from every angle!
I removed the two side mirrors, and gave the back one a makeover with an easy-to-install frame from MirrorMate. You can find the tutorial for how to install a stick-on mirror frame here.
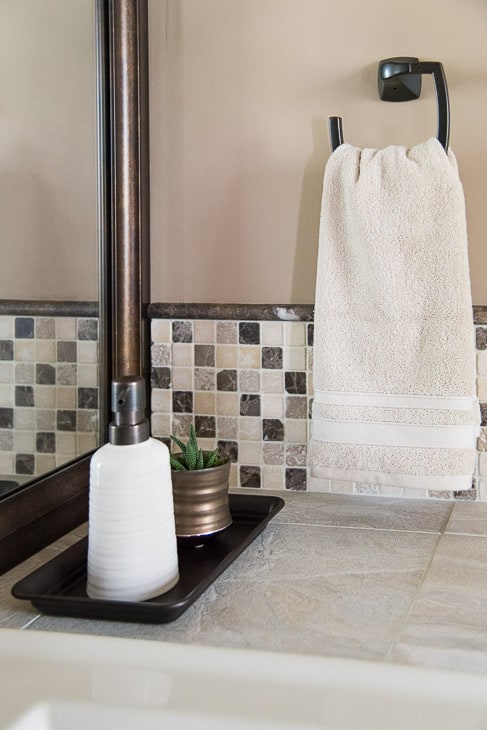
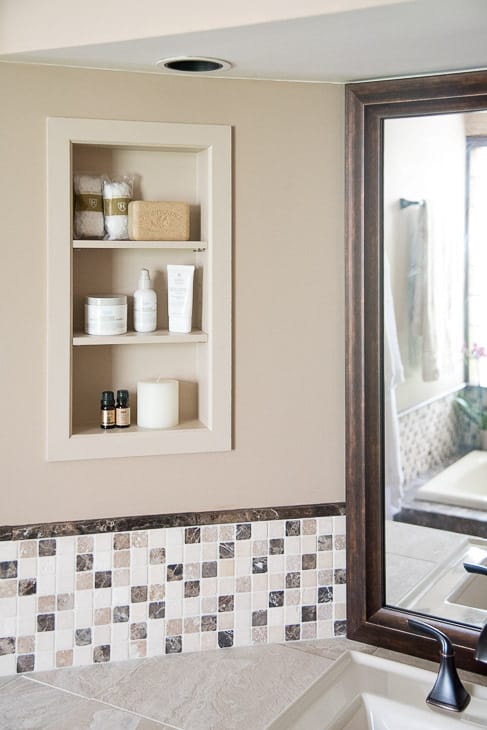
The right side turned into the perfect spot for a towel ring and a small tray.

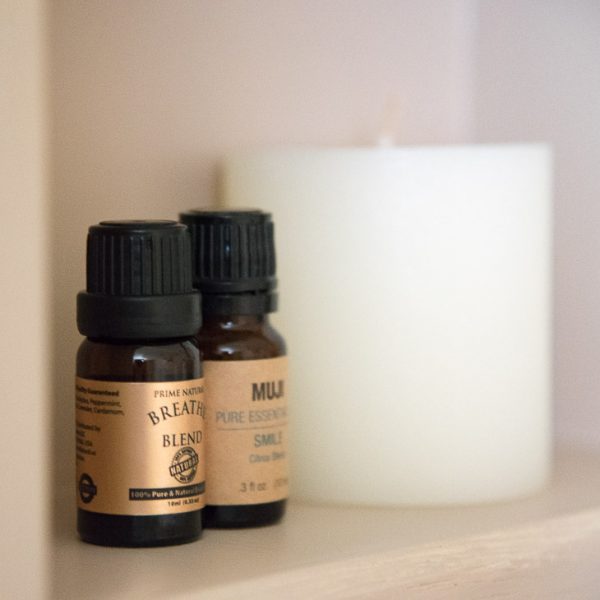
The angled wall now features recessed bathroom shelves to hold pretty toiletries.

But the biggest change was the tile! I partnered with Jeffrey Court for their renovation challenge, where 16 bloggers were tasked with giving an entire room a makeover featuring their gorgeous tile.
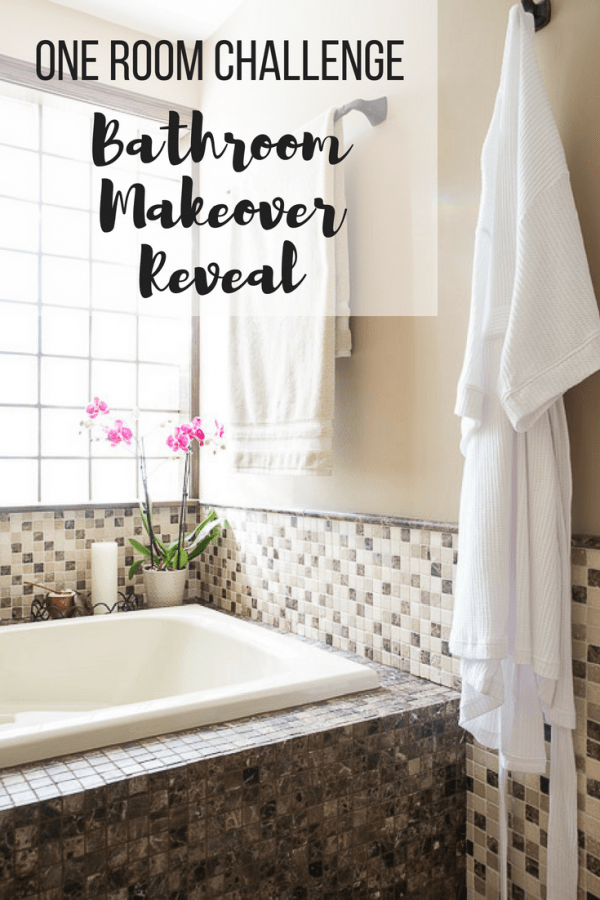
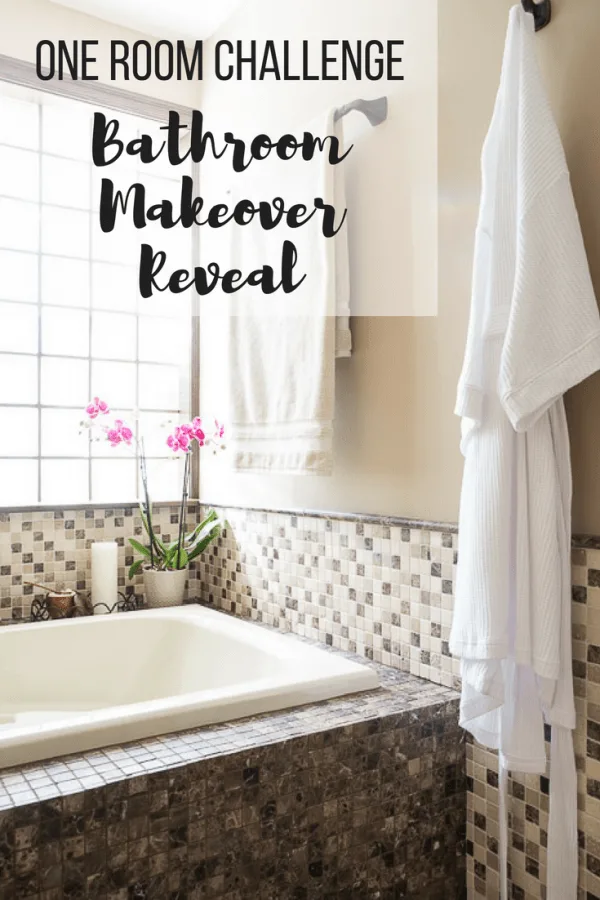
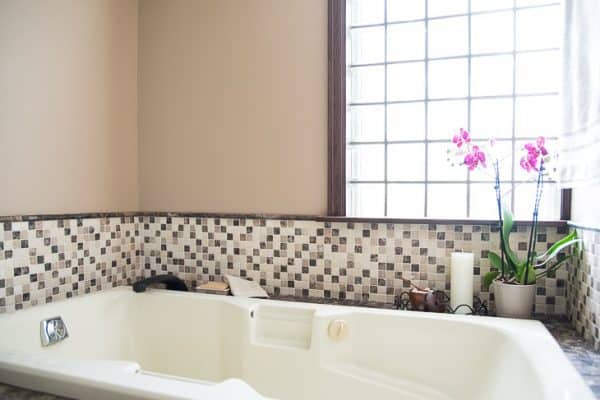
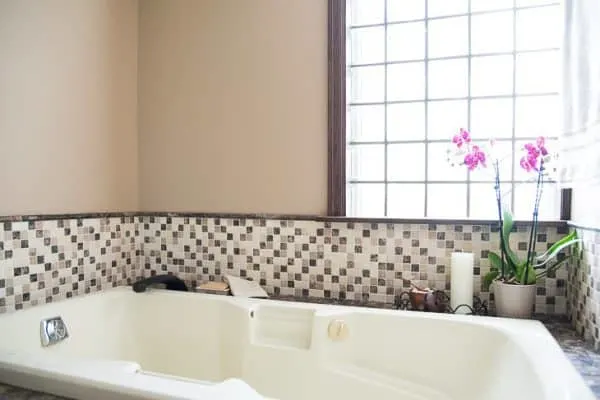
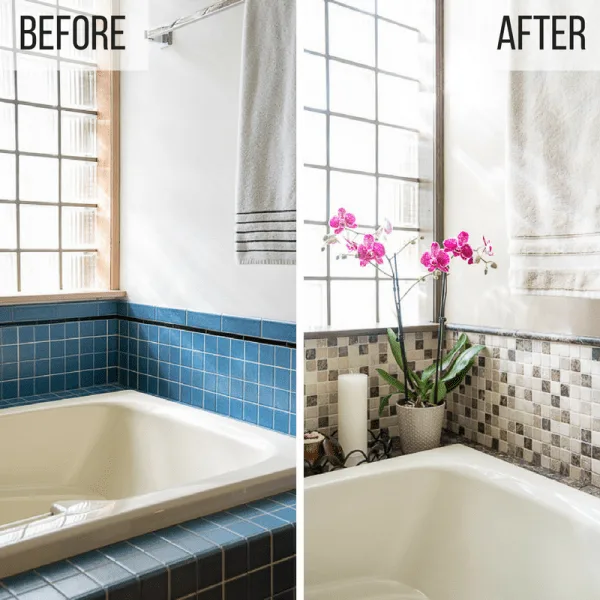
I started with the bathtub surround, which is tiled in Jeffrey Court's Emperador Mosaic tile. The darker brown tiles mirror the stain color of the vanity, bringing the design together.

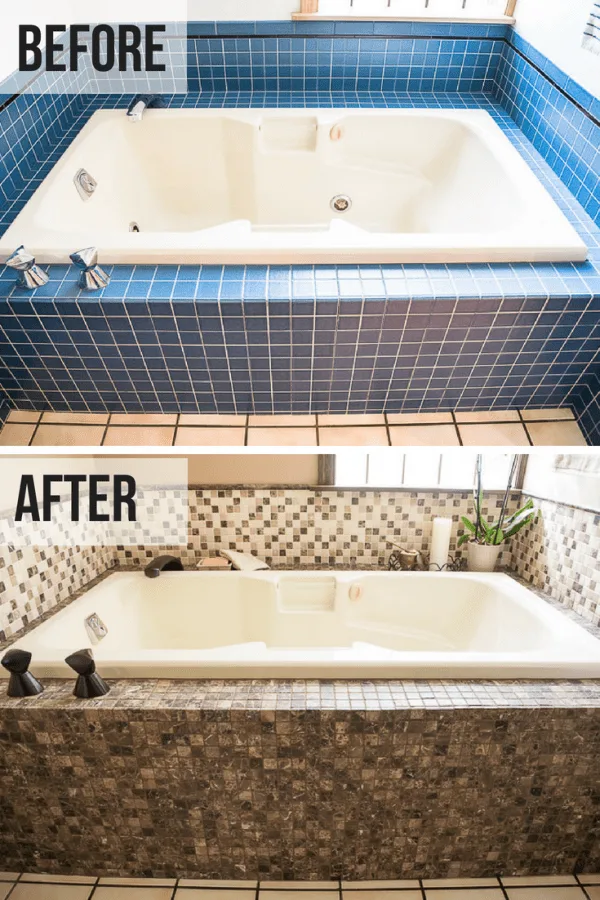
The walls around the tub and vanity are Jeffrey Court's Emperador Mix Mosaic. The darker tiles in the mixed mosaic are the same stone as the tub, and the lighter tiles bring in the colors of the tub, wall paint and vanity tile.
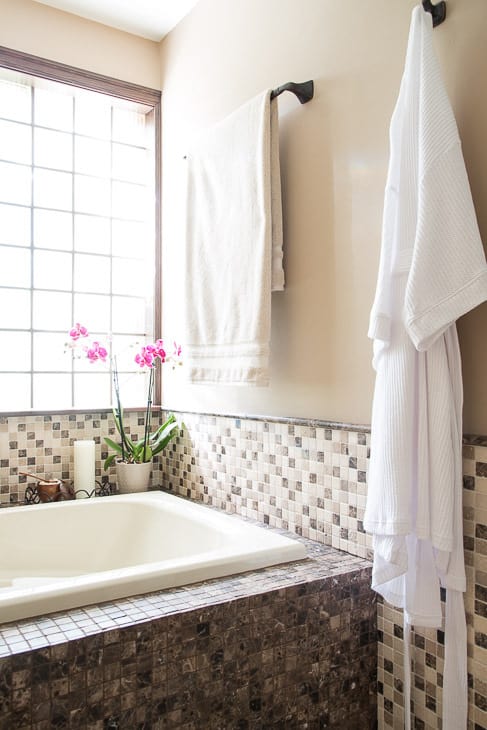

There's no shower in this tub, so I only needed to extend the tile up the wall a foot to protect the drywall from splashes. The transition between tile and wall is marked by Jeffrey Court's Emperador Dome trim tile, which creates a continuous line that draws your eyes around the room.
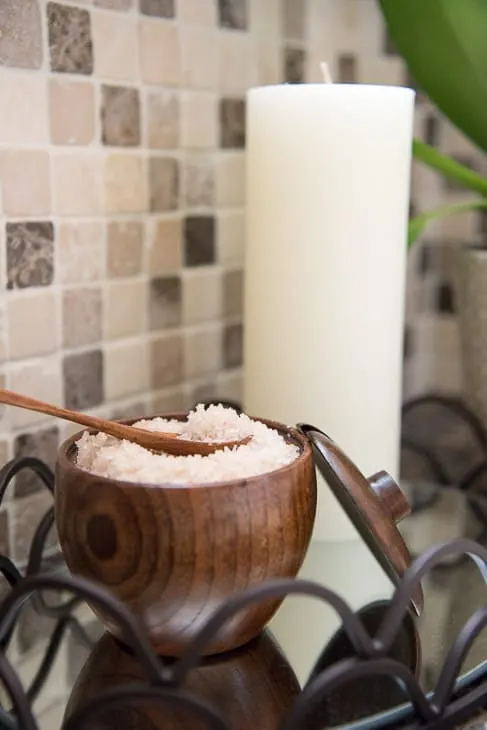
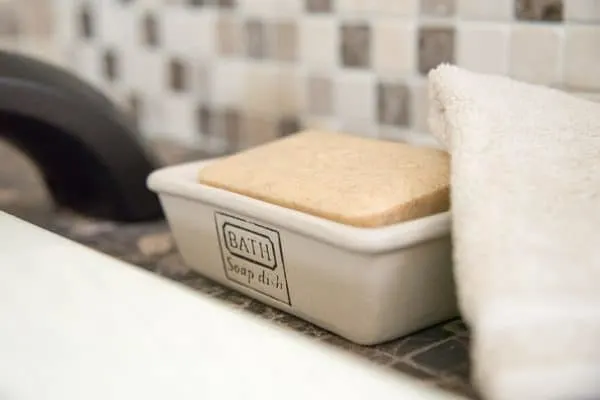
I've spent more time in this tub working on my DIY bathroom renovation than I ever did relaxing in it, but that's going to change after this week! I have all the necessities for a soothing soak in the jetted tub now.


I'm so thankful for the One Room Challenge giving me the kick in the pants I needed to get this major project completed. I've been putting it off for years, and it would have dragged on forever without the six week timeline motivating me to get it done!


See something in this DIY bathroom renovation that you'd like for your own home? Here's the complete list of materials and items I used, so you can nab them for yourself!
Tile
- Jeffrey Court Emperador Mosaic tile
- Jeffrey Court Emperador Mix Mosaic
- Jeffrey Court Emperador Dome trim tile
- Limestone tile (I found mine locally, but these are similar)
- Dark grout
- Light grout
Vanity
- Artesia doors and drawer fronts from Cabinet Door Mart
- Java gel stain
- Knobs from Liberty Hardware
- Pulls from Liberty Hardware
- Sink
- Faucet
Walls
Accessories
- Hand towel
- Bath towel
- Bath salts bowl and spoon
- Bath salts
Check out my half bath makeover too!
Karen
Monday 3rd of September 2018
This looks fantastic! I did have one question though, how do you access the inner workings of your jetted tub should it need any repairs? would you have to break into the tile or is there another access area?
Vineta
Tuesday 4th of September 2018
There's an access panel on the other side of the wall on the end opposite the faucet.
Lawrence Barnett @sweetbathroom
Tuesday 7th of August 2018
It looks completely different. I like it. What a lot of activity, but so worth the struggle. Well done. You've inspired me to finish mine. I love the paint colors and tile. Excellent!
Angelina
Wednesday 23rd of May 2018
Wow! What a dramatic difference! You should be so happy! Thanks for sharing with Thursday Favorite Things! I’ll be featuring you tomorrow!
Jann Olson
Sunday 20th of May 2018
It really turned out wonderful! Thanks for sharing with SYC. hugs, Jann
Diane Rath
Thursday 17th of May 2018
Tackling tile is a big job!! Congrats on taking this all on and completing it for the ORC!