Limestone tile is gorgeous, but it can be tricky to work with. I'll show you how to install limestone bathroom tiles with great results!

I love the natural, organic look of limestone, but it can be a tricky material to work with. I'll share everything I learned when installing these limestone tile countertops, so you can do it yourself!
These tips would also work for a limestone backsplash, fireplace, or shower wall! Check out my other tiling tutorials, such as how to install fireplace tile or wall tile, for more information.
This post contains affiliate links for your convenience. Purchases made through these links may earn me a small commission at no additional cost to you. Please visit my disclosures page for more information.
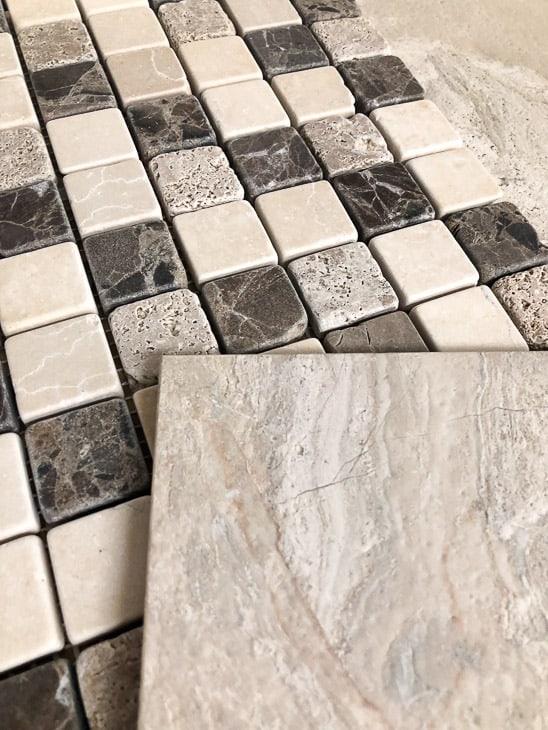
I'm pairing the larger format limestone tiles with the mosaic backsplash tile from Jeffrey Court. It was a match made in heaven! The textures are similar, the colors match perfectly, and the price was right at $4 a tile!

I gathered up all the materials I needed before I got started. There's nothing worse than running out of grout or thinset halfway through the project! Here's what to get . . .
Materials Needed to Install Limestone Tile
- Limestone tile
- I purchased mine at a local tile shop, but there's a great selection here too
- Tile saw
- Sure, you could rent one. But they're so cheap nowadays, you'd probably save money buying one if you need it for more than a day or two.
- Angle template tool
- Optional, but saved my brain cells when cutting tiles for those awkward angles!
- Sanding stone
- Notched mortar trowel
- I prefer this margin trowel for smaller areas like my countertop.
- Thinset mortar
- I hate, hate, hate mixing mortar! It makes a huge mess, and I always end up with either way too much or way too little. Premixed mortar is the way I roll!
- Tile spacers
- LOVE these Snap-n-Space tile spacers from Ridgid! They worked so much better than those tiny cross shaped ones!
- Grout release
- Grout
- Grout float
- Just like with the trowel, I like this margin float for smaller areas.
- Grout bag
- Grouting sponge
- Limestone sealer
Don't forget your safety gear! Here are my recommendations for safety glasses and ear protection. No excuses!
How to Lay Limestone Tiles
Plan Your Layout
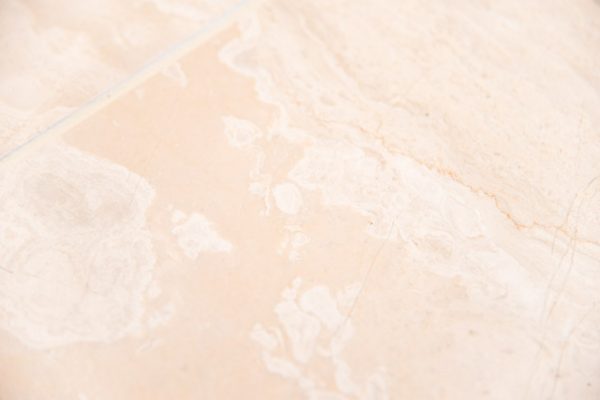
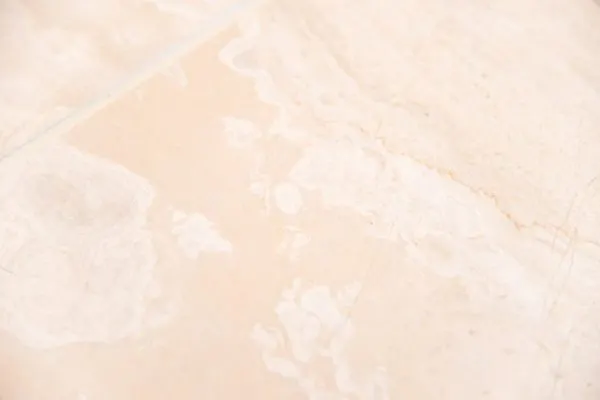
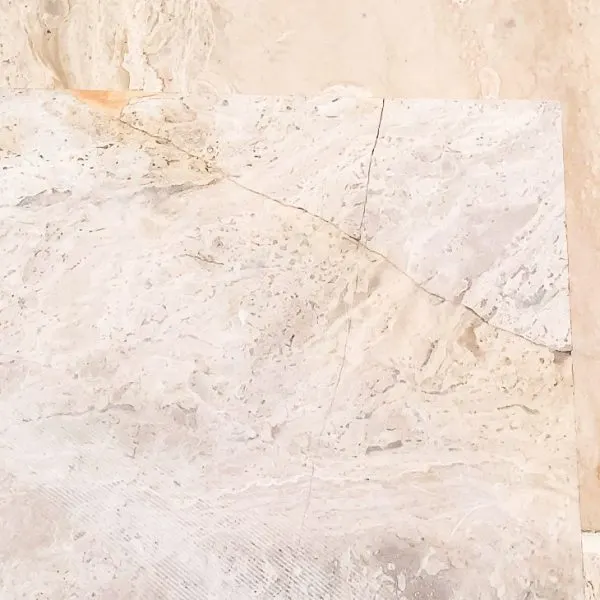
Before you start, lay out all your tiles and see if there are some common patterns among them. Limestone is made of sediment from the ocean floor, so you'll see coral, shells and other deposits. Some of my tiles were striated...

and others looked like billowing clouds.
I like to group similar styles together, and keep patterns flowing from one tile to the next. This makes it look like they were taken from the same stone. I used the same technique for my fireplace hearth tile, and if it weren't for the grout lines, you'd think it was one big marble slab!

Use the boring, solid colored tiles for the smaller cuts and edges. Those eye-catching striations and shell formations make the tiles weaker, and can break easily under the tile saw blade (as you'll see next!)

Inspect for Cracks Before Cutting
Before making a cut, flip the tile over and inspect the back. See these cracks? The manufacturer applied an epoxy to hold it together.
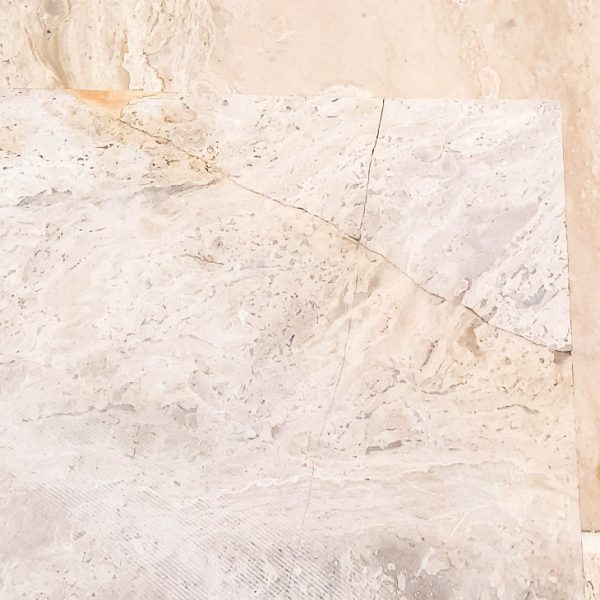
Cutting across these cracks is the fastest way to heartache and another trip to the tile store!

The epoxy is holding those cracks in place, and you don't want to cut them loose. They should be fine as full tiles, so plan to use them in the middle of your layout.
How to Cut Limestone Tiles
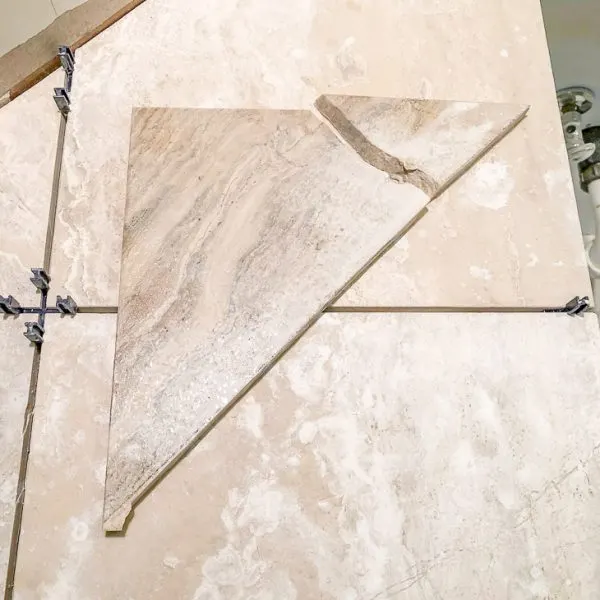
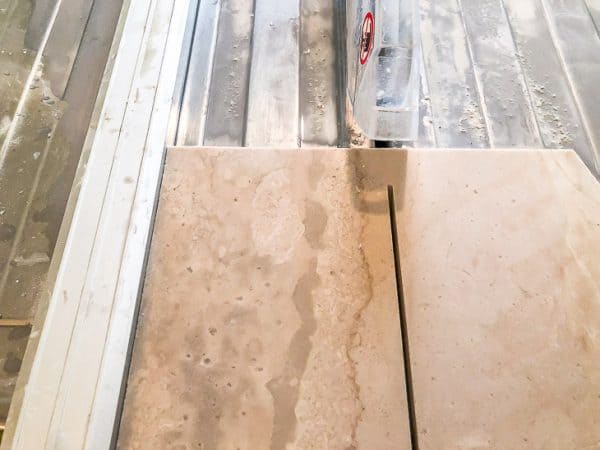
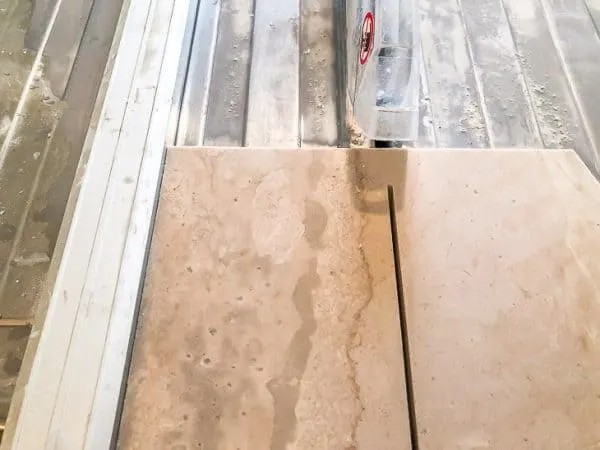
Limestone tile is incredibly soft compared to ceramic or porcelain tile. It can break apart at the end of a cut, leading to chipped corners.
Here's a neat trick . . . Stop cutting the tile an inch or so before the edge, then flip the tile around. The final cut is in the center instead of the corner!
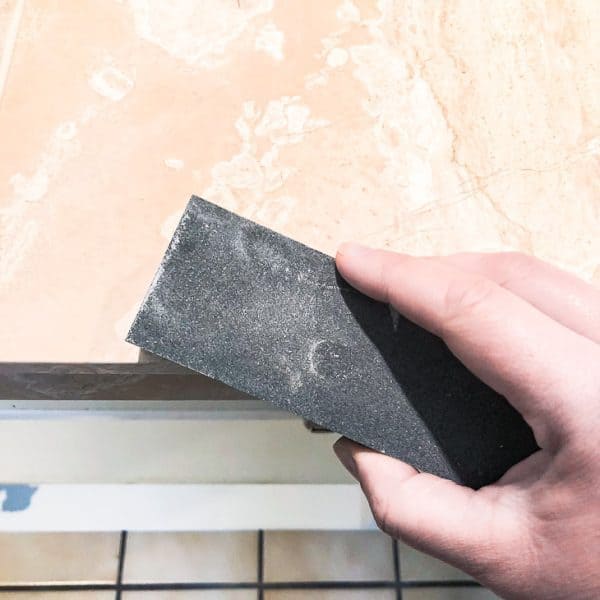
Any bumps along the cut edges can be sanded down with a sanding stone. Yes, you can sand limestone tile! This is also a great way to round over the countertop edges instead of installing bullnose tile. Dunk the stone in water, then file down those sharp corners.

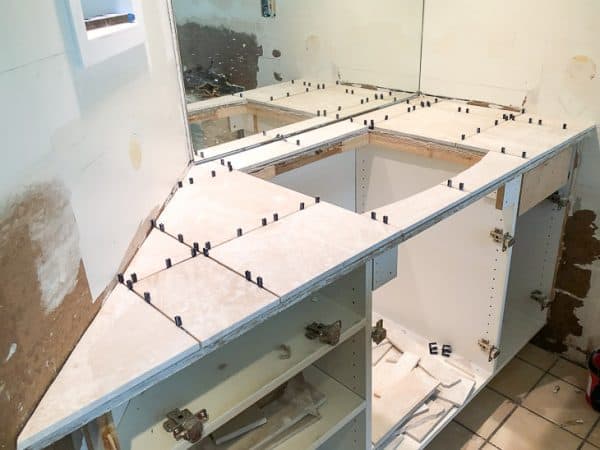
My vanity has an angled side, which made cutting those tiles quite the chore! After mis-cutting several tiles in a row, I called it quits for the day. The next morning, I remembered I had an angle template tool in my workshop! It was a total lifesaver, and I finished the rest of the countertop quickly.

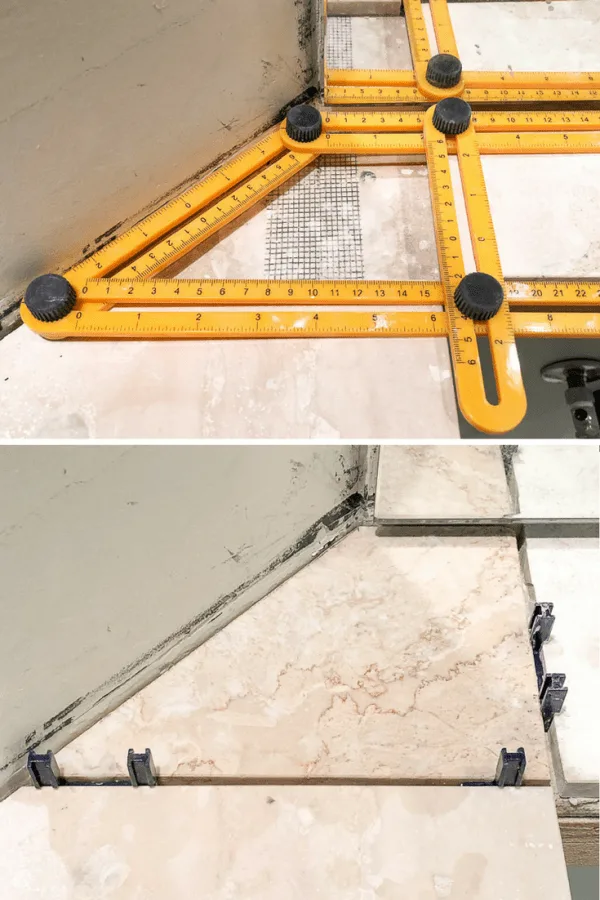
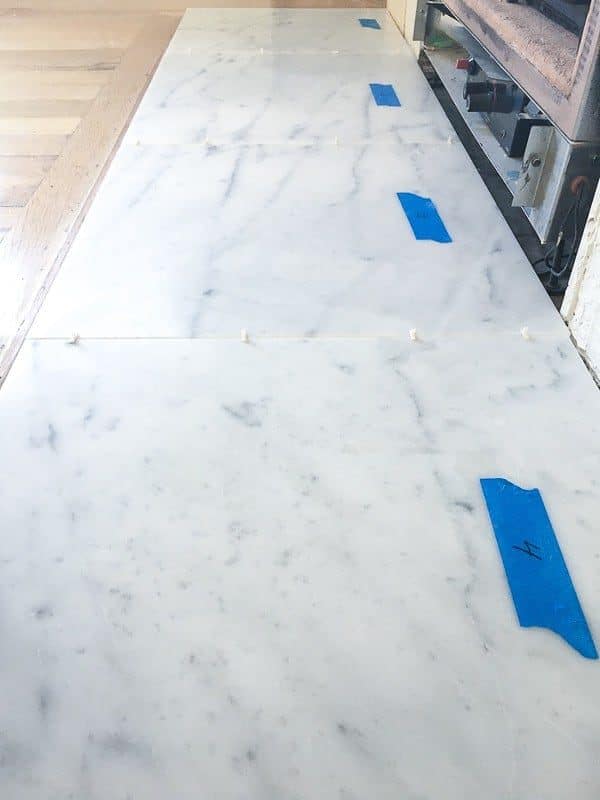
It was such a relief to finally have all the cuts made and tiles attached to the backer board!

How to Grout Limestone Tile
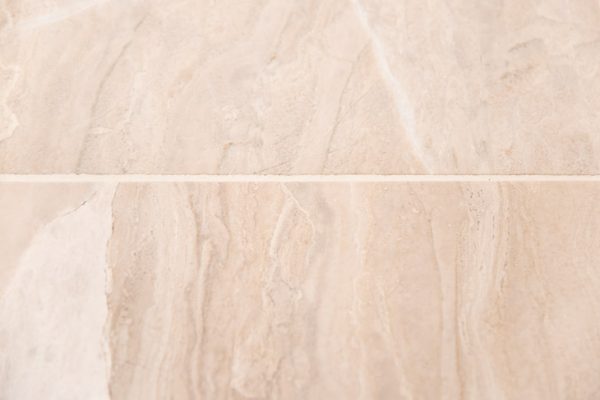
One of the reasons why I chose this limestone tile was the textured surface. A smooth, glossy tile wouldn't work next to the tumbled stone mosaic I plan to use for the backsplash.
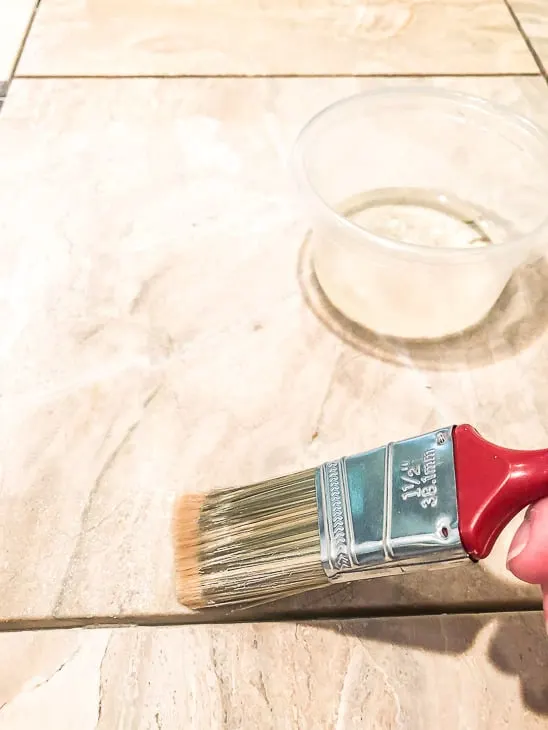
But smearing grout around will fill in all that texture. In addition, limestone is porous and will suck up the grout, making it very difficult to remove. Applying grout release to the tile first will prevent these problems.
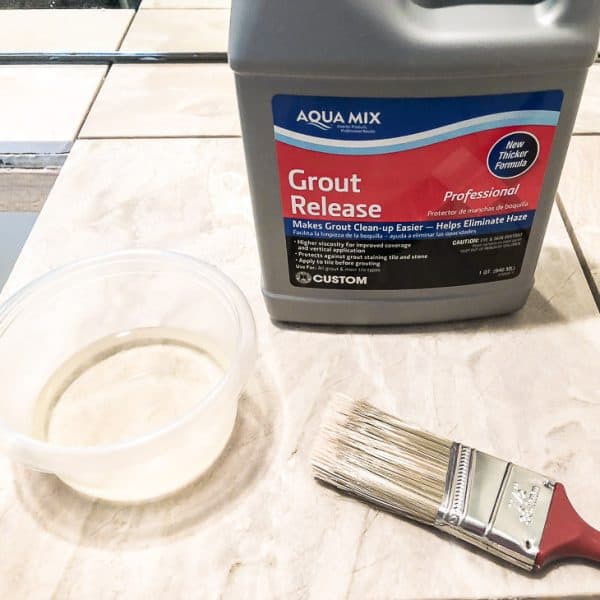

Keep the grout release from filling in the grout lines (you know, where you actually WANT grout to stick) by applying it with a paint brush to the edges first. Then fill in the center of each tile with a thin coat.

Even with the grout release, I didn't want to take any chances! I used a grout bag, which is basically just like frosting a cake (but no licking the bag at the end!) I used unsanded instead of sanded grout, which fills into these smaller grout lines easily.
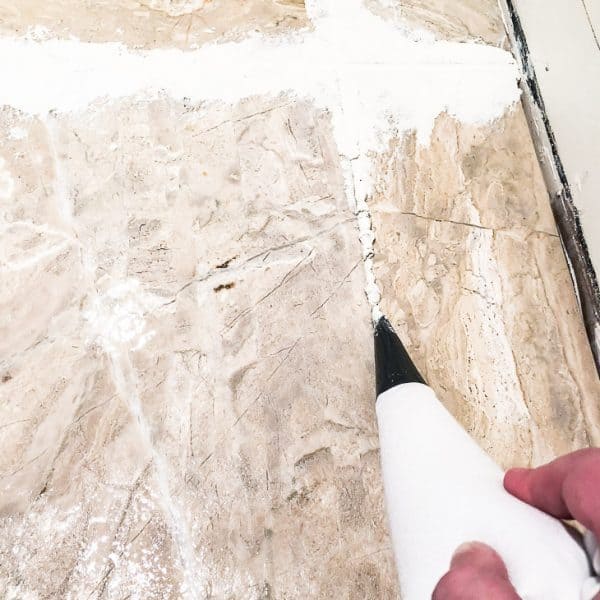
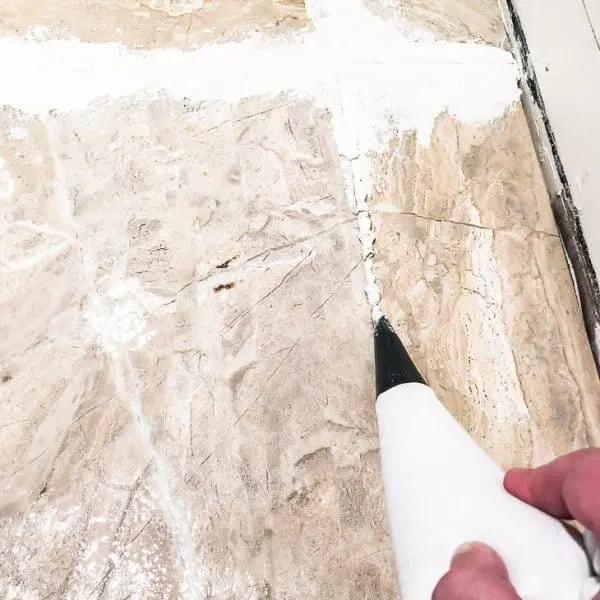
Press the grout into the gaps with the grout float and fill in any low spots.


Then wipe away any excess with a damp grouting sponge. Clean the sponge with each pass so you don't wipe too much grout over the tile surface.
How to Seal Limestone Tile
Limestone tile is very porous, and stains can get sucked deep into the stone if you're not careful. This is less of an issue in a bathroom, but if you're installing a limestone tile backsplash, you'll want to protect it from splatters. To seal the surface against stains, I used this limestone sealer.
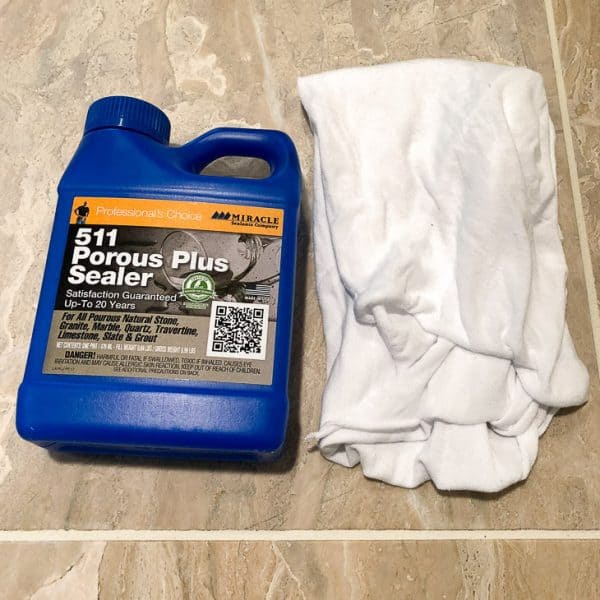
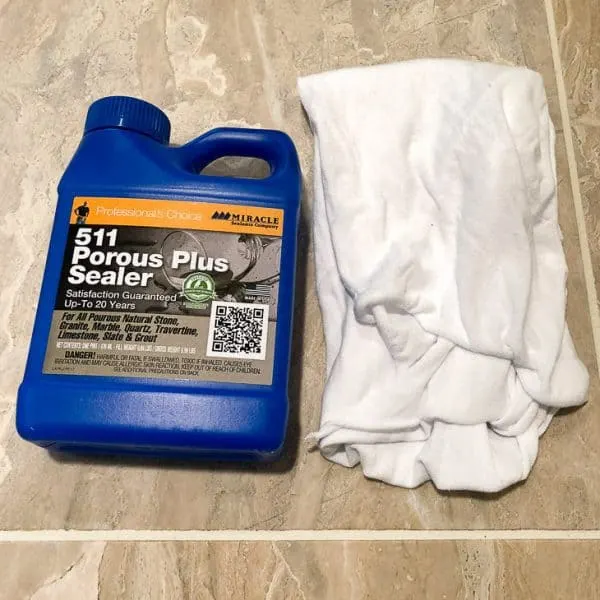
Just wipe it on with a rag, then remove the excess after a few minutes. Repeat this process every few months if it's in a high traffic area to build up a good film. Now your beautiful new limestone tile will stay as perfect as the day you installed it!
I didn't get quite as much finished as I had planned at this point in my bathroom remodel. I was hoping to be installing the new vanity doors and moving on to the wall tile. It's time to kick it up a notch and get this project done! You can check out all my progress up to this point here.
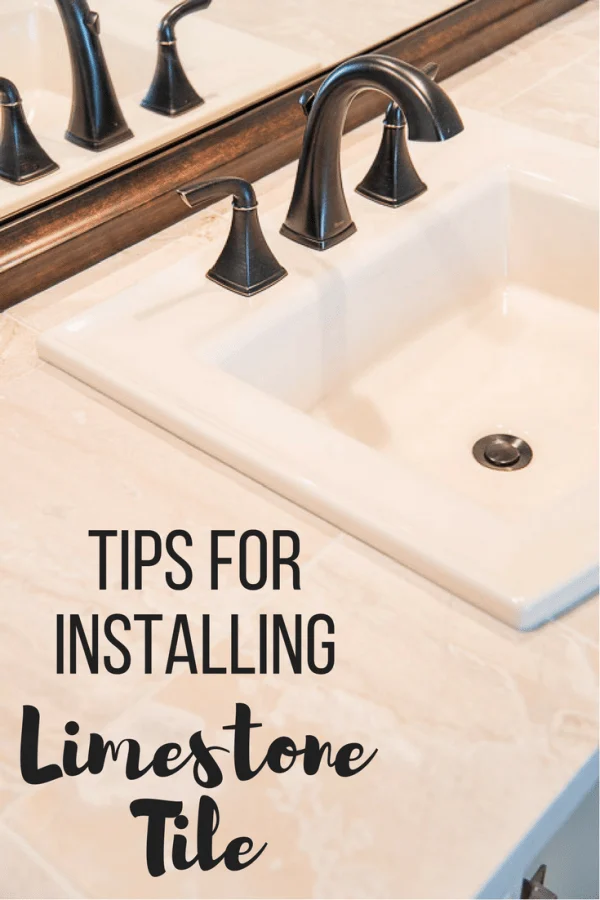
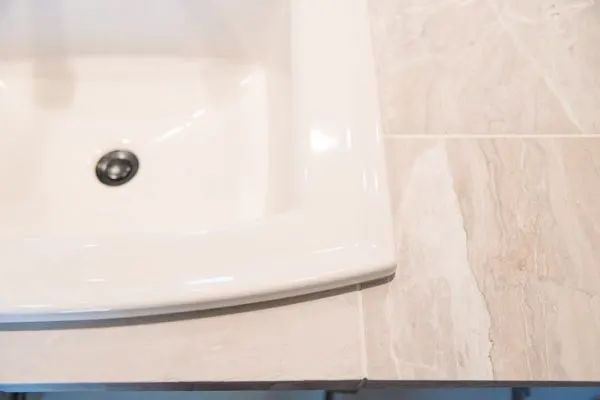
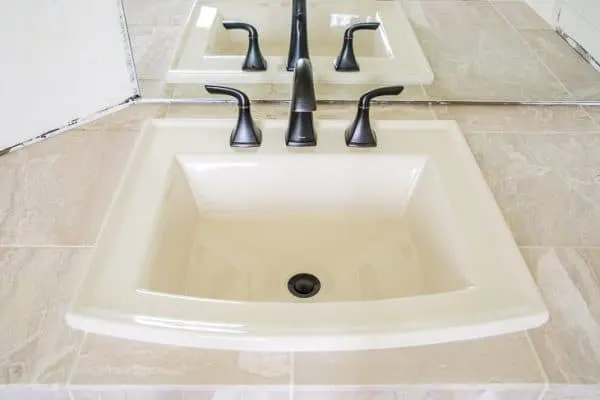
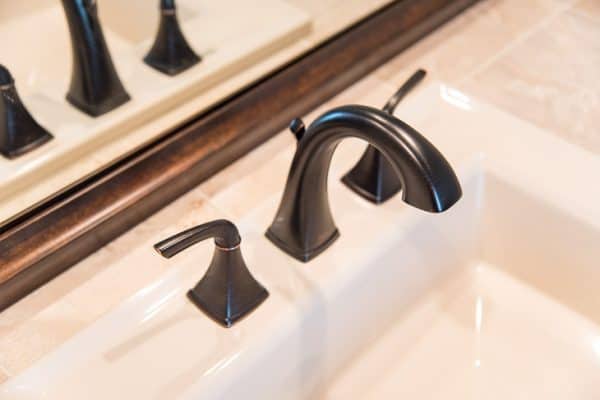
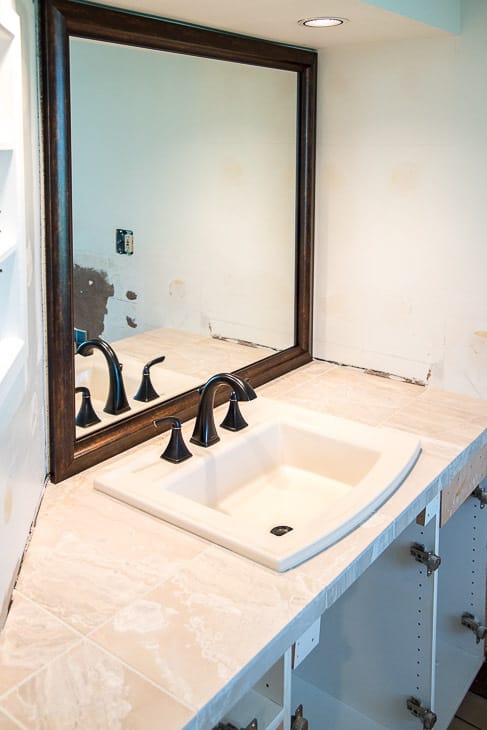
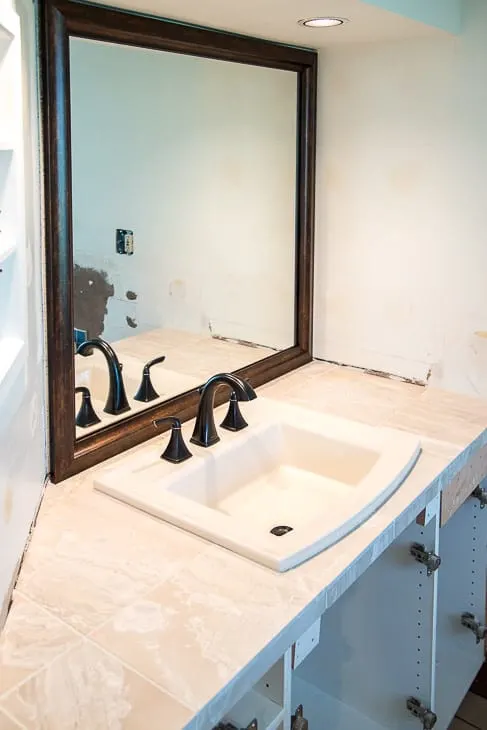
Even though I'm behind schedule, what I've completed so far is turning out just as I had envisioned! The new sink and faucet look amazing against the limestone tile. My plan to design around the almond fixtures is working!
You can find the Kohler sink here and the Pfister faucet here. I sealed up the gaps around the underside of the sink with caulk that matches the grout (no, caulk and grout are not interchangeable!)

A big thank you goes out to MirrorMate for providing me with the mirror frame for this project! It was a snap to install! You can check out the full tutorial on how to install the mirror frame here.
The brushed bronze color picks up the copper accents of the faucet and ties the whole vanity area together.

So far, so good! With any luck, this side of the bathroom will be complete soon!
Here's the checklist of my progress so far. I've removed a few optional things that will be completed later, so I can focus on getting the bulk of the project done by the deadline!
Repair wall damage from demolitionInstall recessed shelves next to sinkAttach new backer board to vanity and cut hole for sinkInstall vanity tileInstall sink and faucetFrame mirror- Stain and install new vanity doors and drawer fronts
- Tile tub
- Tile walls
- Spray paint tub faucet and handles to match sink faucet
- Stain window trim to match vanity
- Paint walls
- Decorate!
Check out the rest of the bathroom remodel!
Tee at Beauteeful Living
Wednesday 25th of April 2018
Wow, this took a lot of work but so worth it! Can't wait to see this week's update from you!
Michelle
Tuesday 24th of April 2018
Wow! This is looking amazing. I cannot even dream of tackling a project like this. It is beautiful and I cannot wait to see more!
Jessica | Petal + Ply
Monday 23rd of April 2018
The limestone tile is so pretty!! Excellent installation tips too!
Susanne
Monday 23rd of April 2018
Vineta that is beautiful!! And I love the mirror frame, you are moving right along!! I can't wait to see next week :)
Vicki and Jenn 2 Bees in a Pod
Sunday 22nd of April 2018
This is gorgeous - and such a beautiful transformation! You have made such great progress on your bathroom!