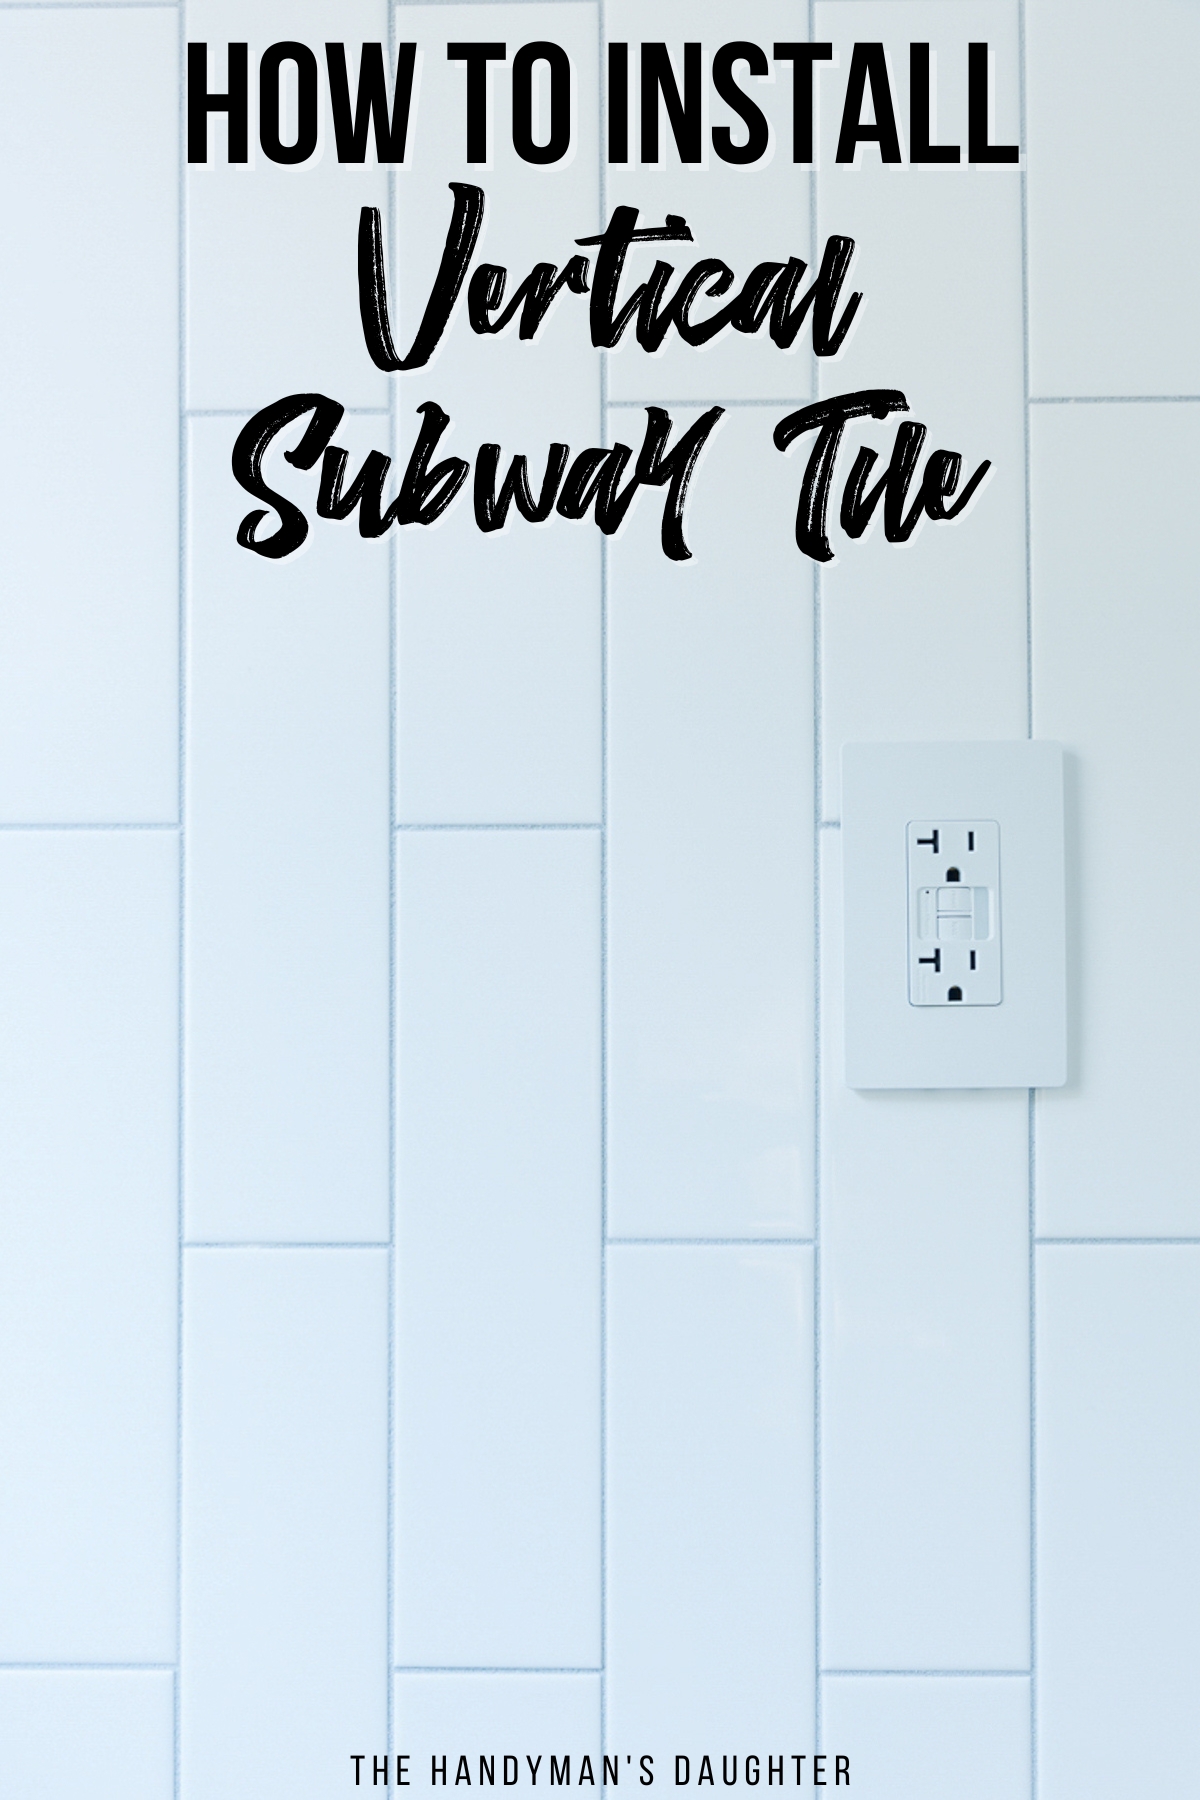
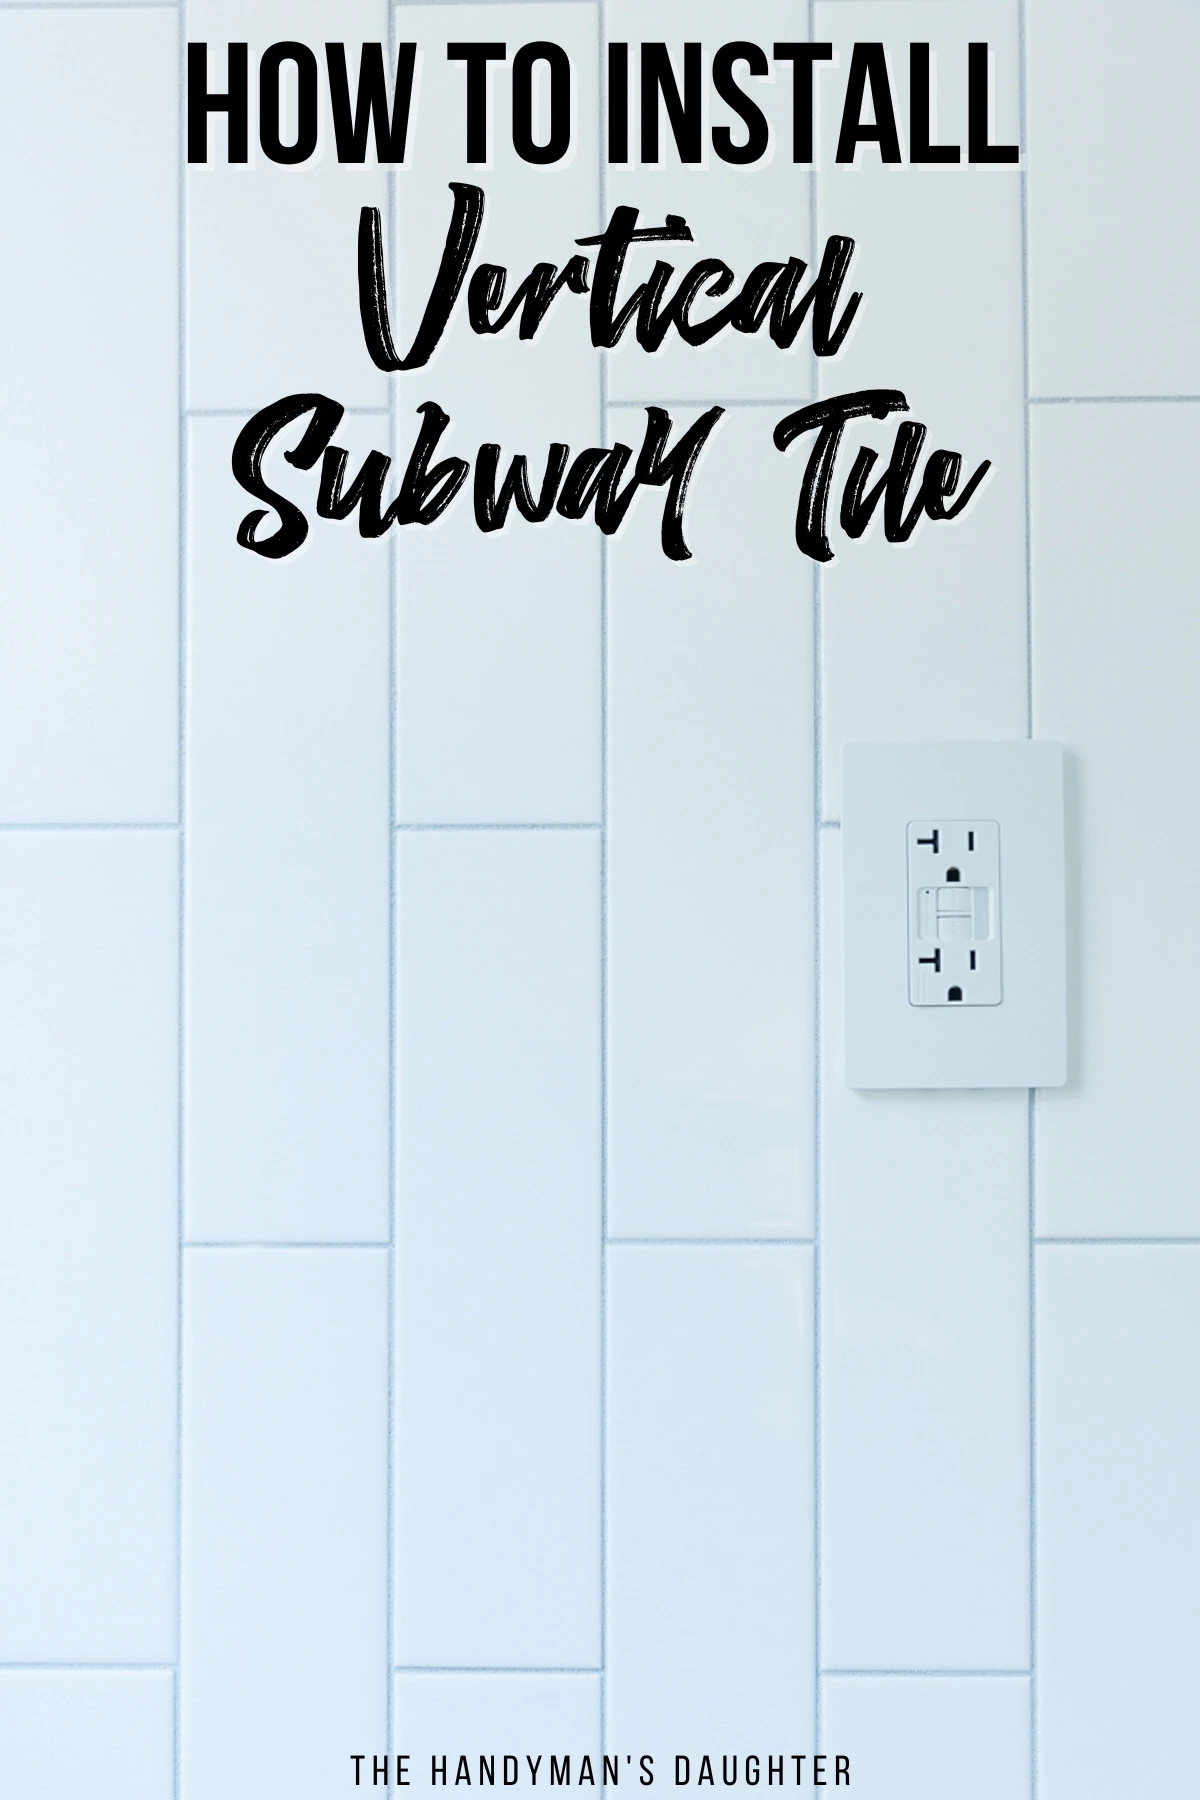
Give classic subway tile a modern look! I'll show you how to install vertical subway tile to give your walls the illusion of height!
Our upstairs half bathroom is TINY! Not only does it lack in square footage, but the ceilings are also really low. While I can't add more actual space, I can make it feel bigger with vertical subway tile!
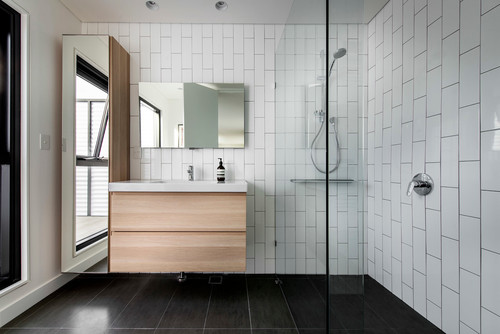
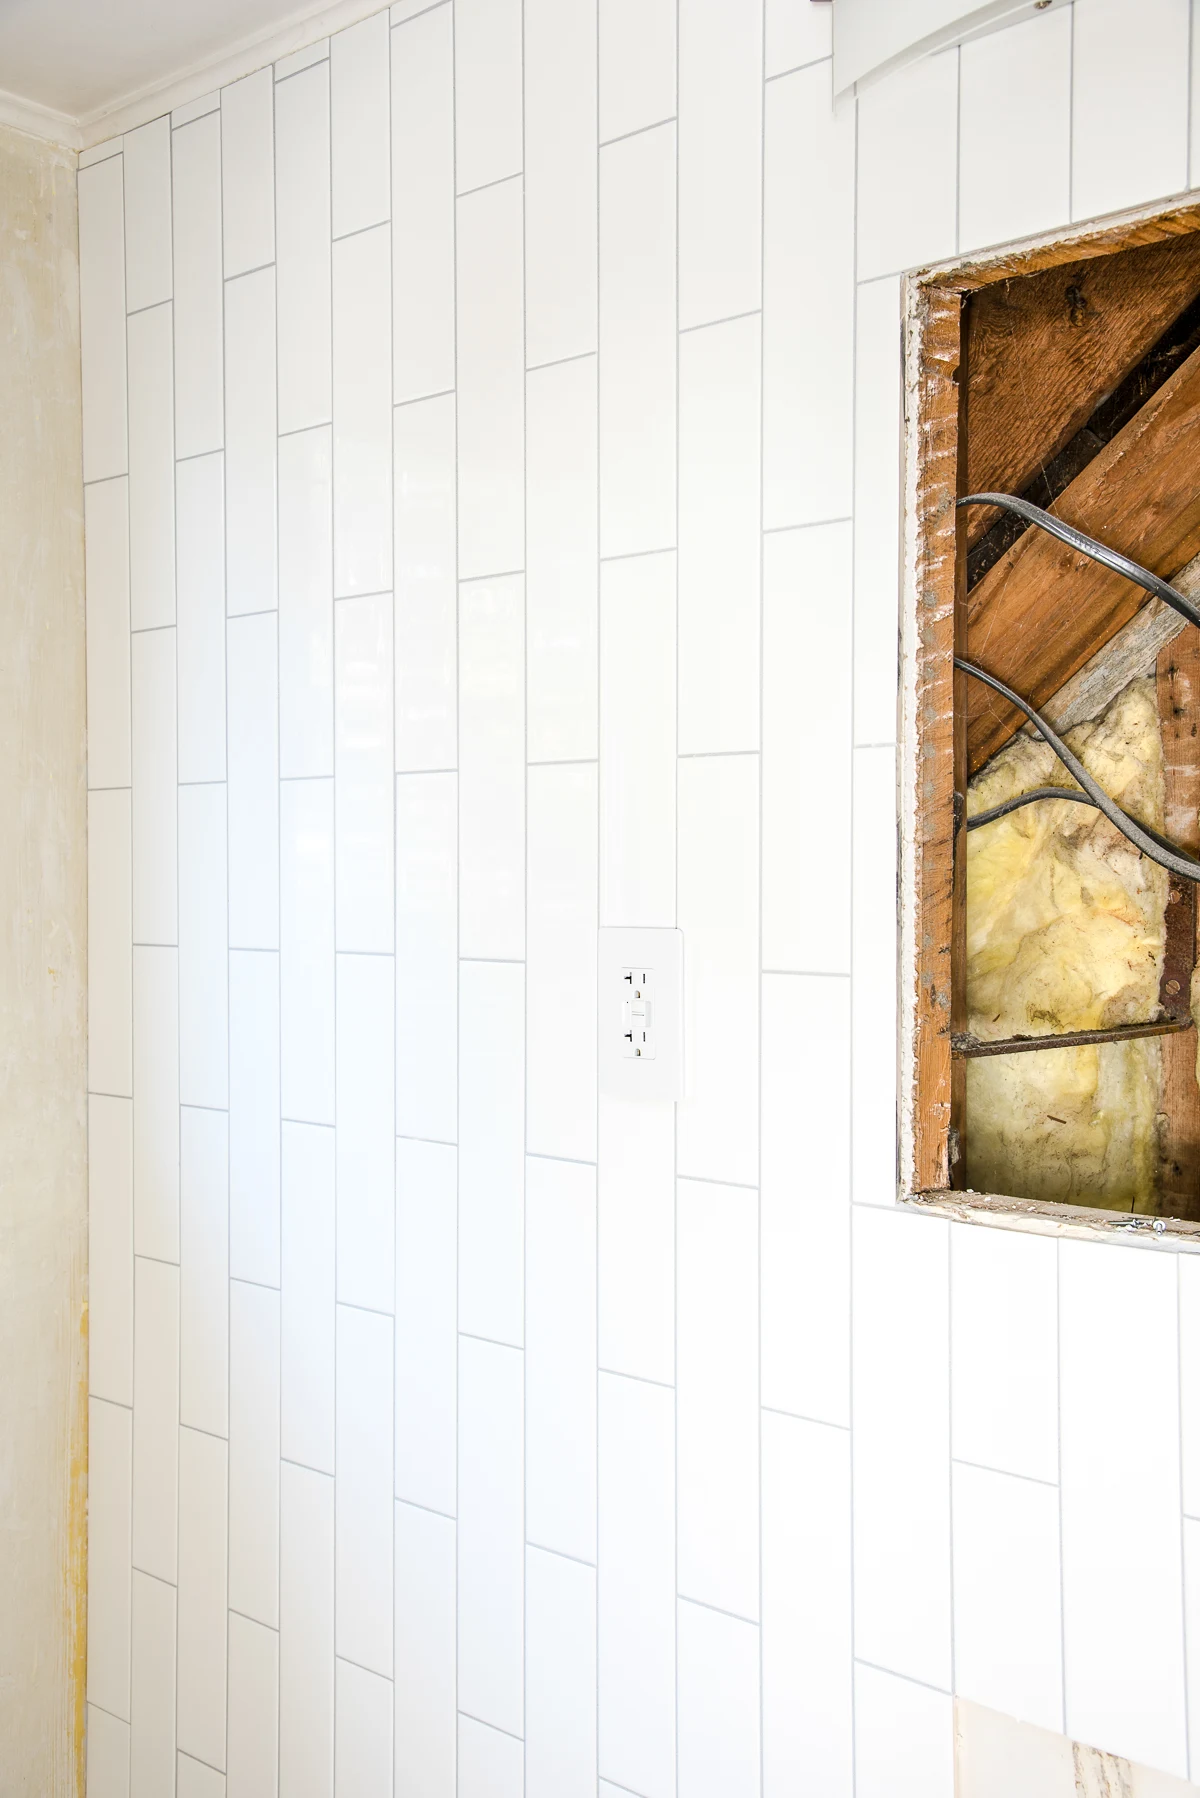
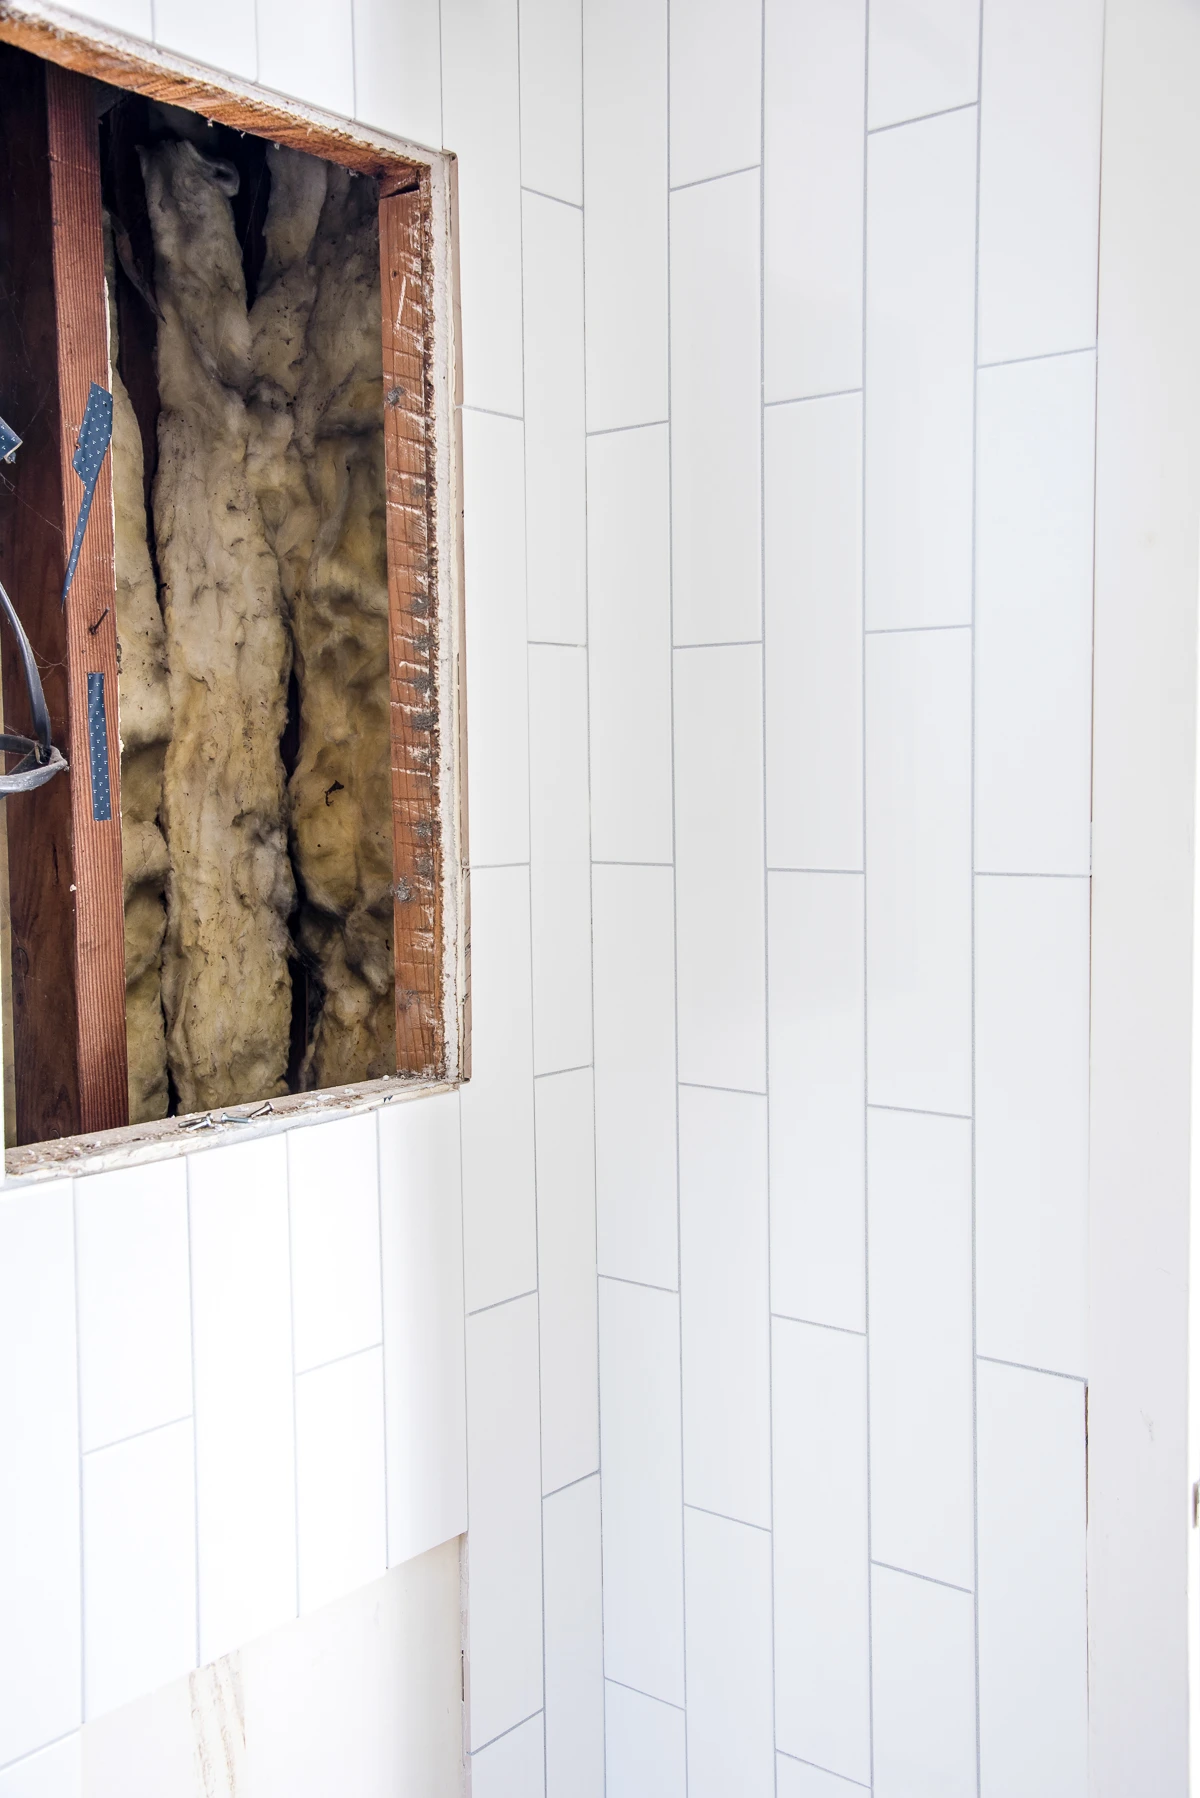
I recently finished up the bathroom demolition and removed all the backsplash tile and wallpaper, so now it's time to make this room pretty! I'm installing floor to ceiling subway tile on one wall to draw your eye up and make the short ceilings feel a little taller. It will make a huge impact in this small space!
This post contains affiliate links for your convenience. Purchases made through these links may earn me a small commission at no additional cost to you. Please visit my disclosures page for more information.
Subway Tile
When we think of subway tiles, we often imagine them in their classic, horizontal brick pattern, reminiscent of the early 20th-century New York City subway stations from which they draw their name.
Yet, subway tiles are far more versatile than this traditional layout might suggest. One increasingly popular approach is the vertical installation, which can dramatically transform the aesthetic of your space.
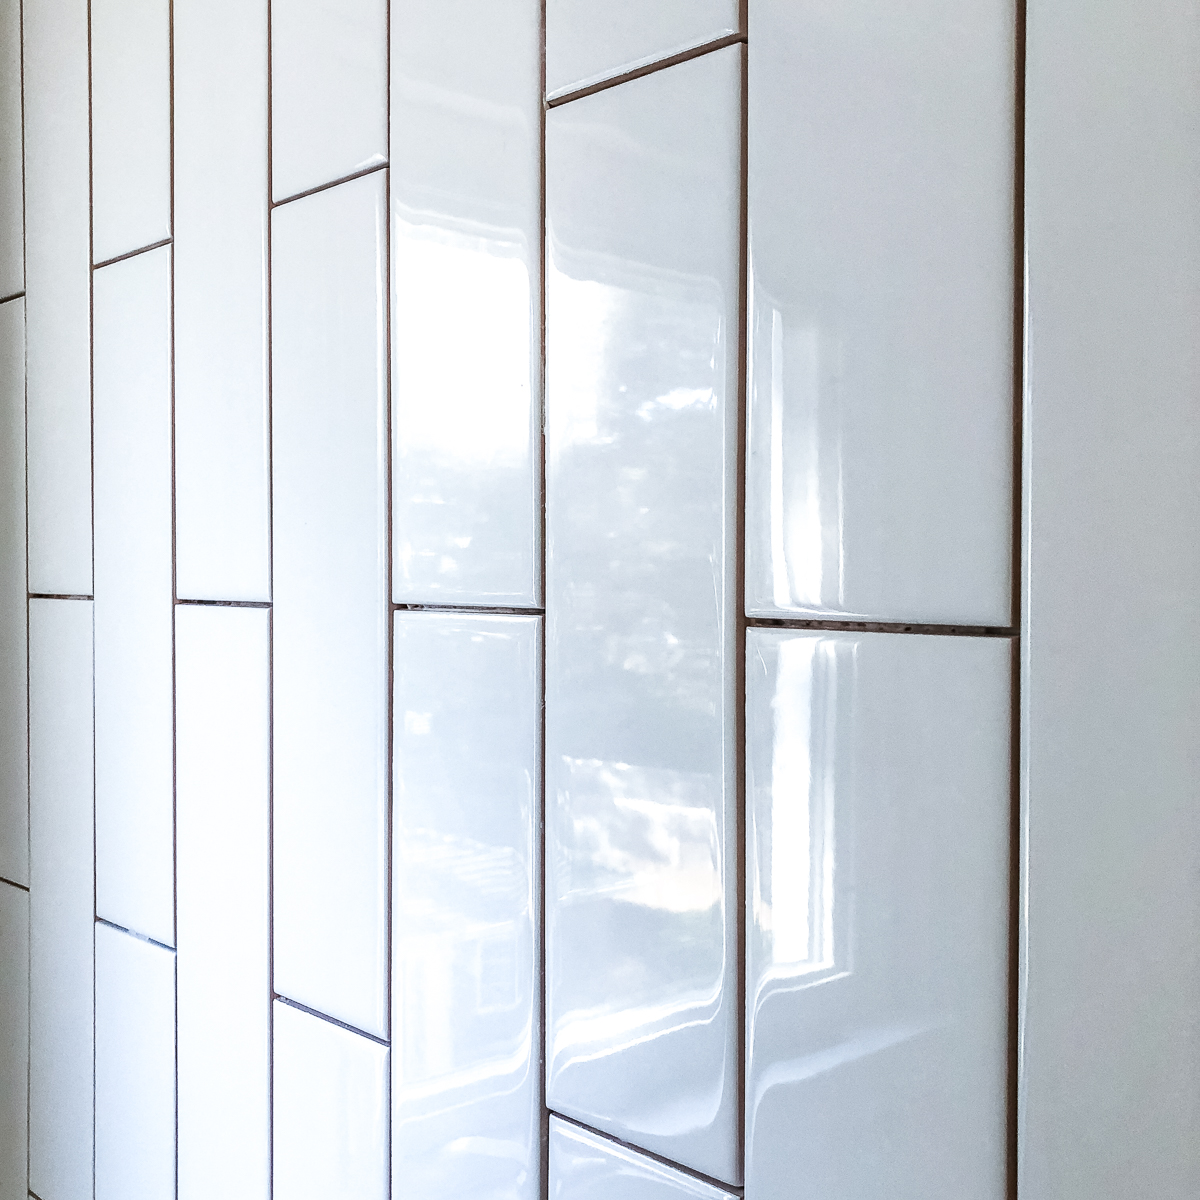
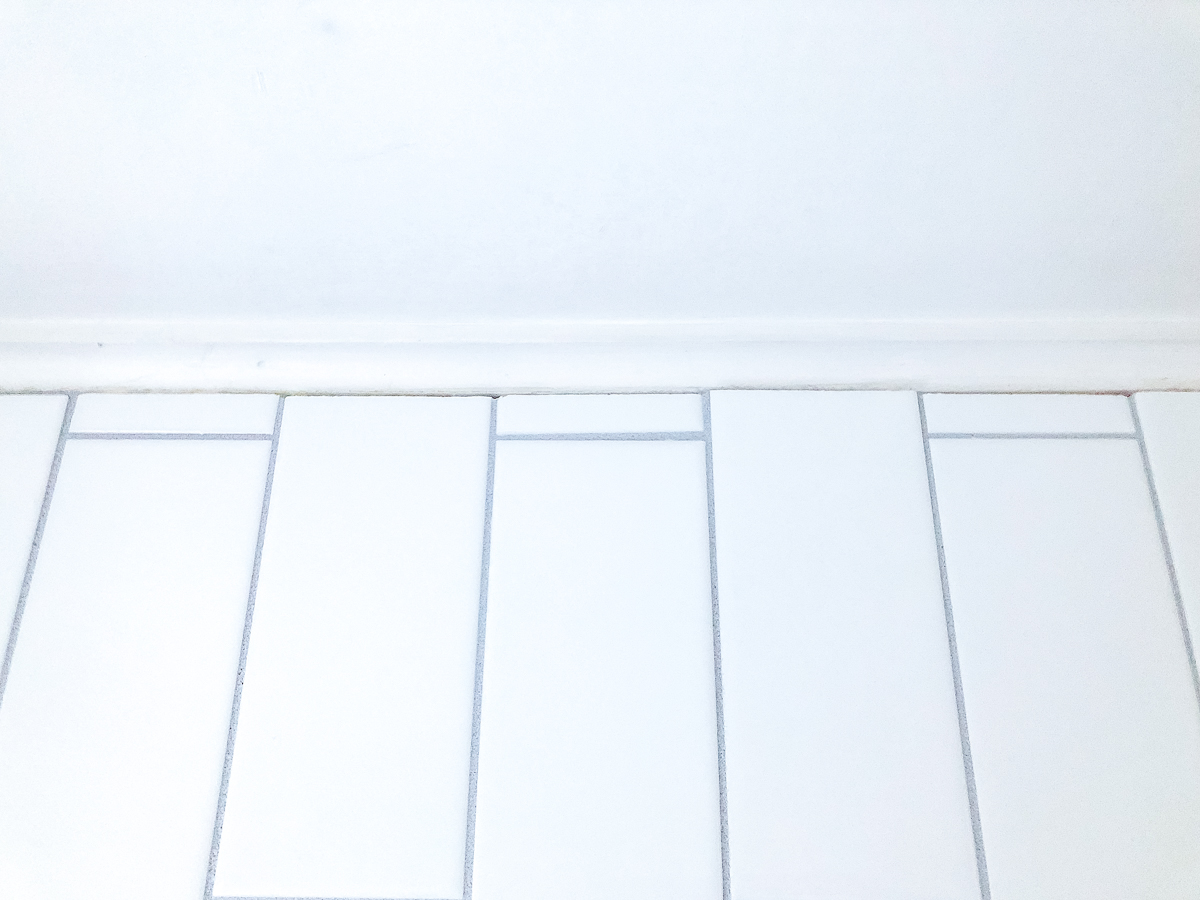
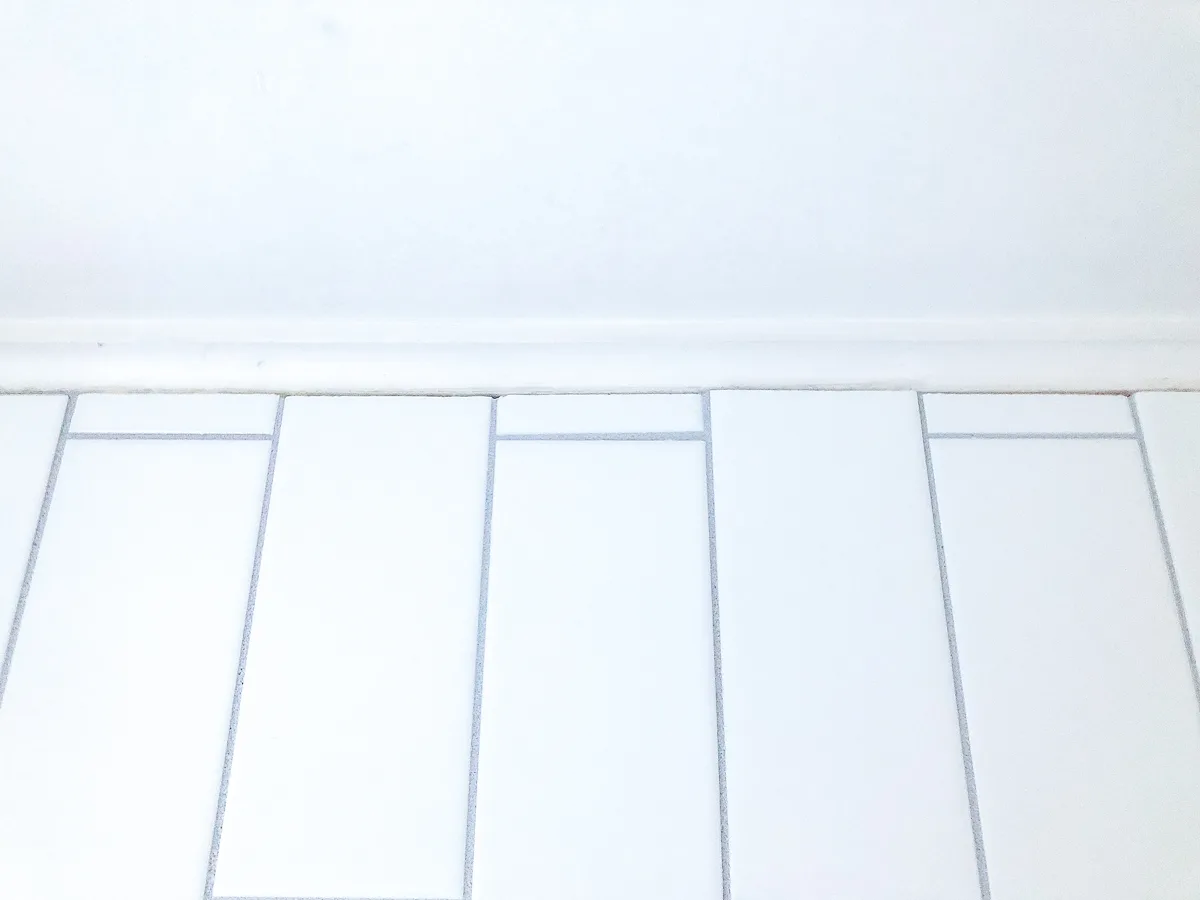
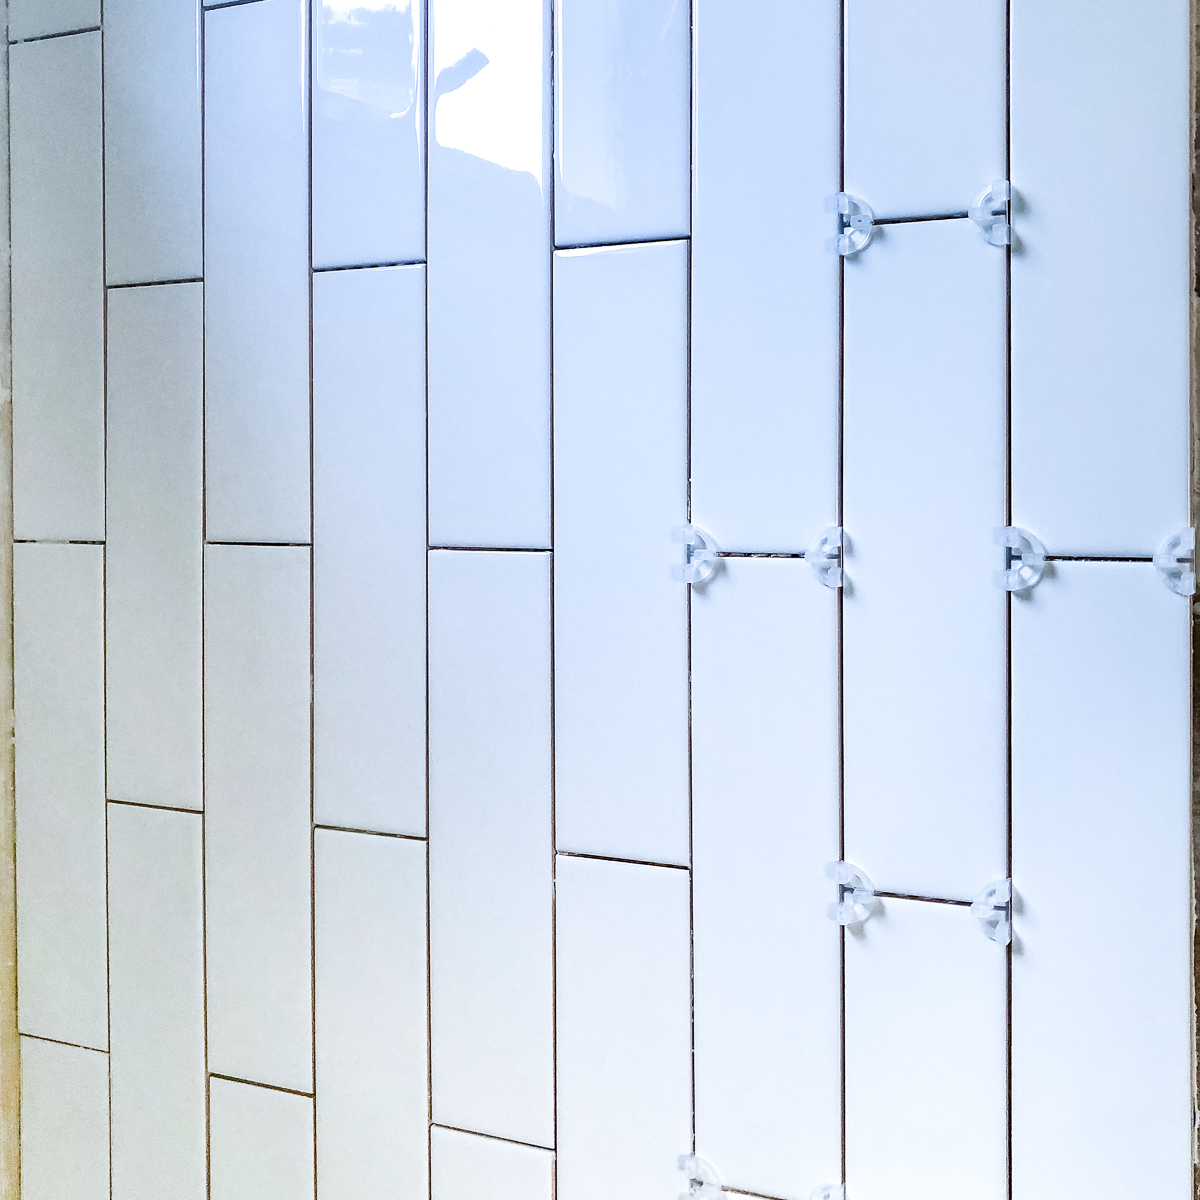
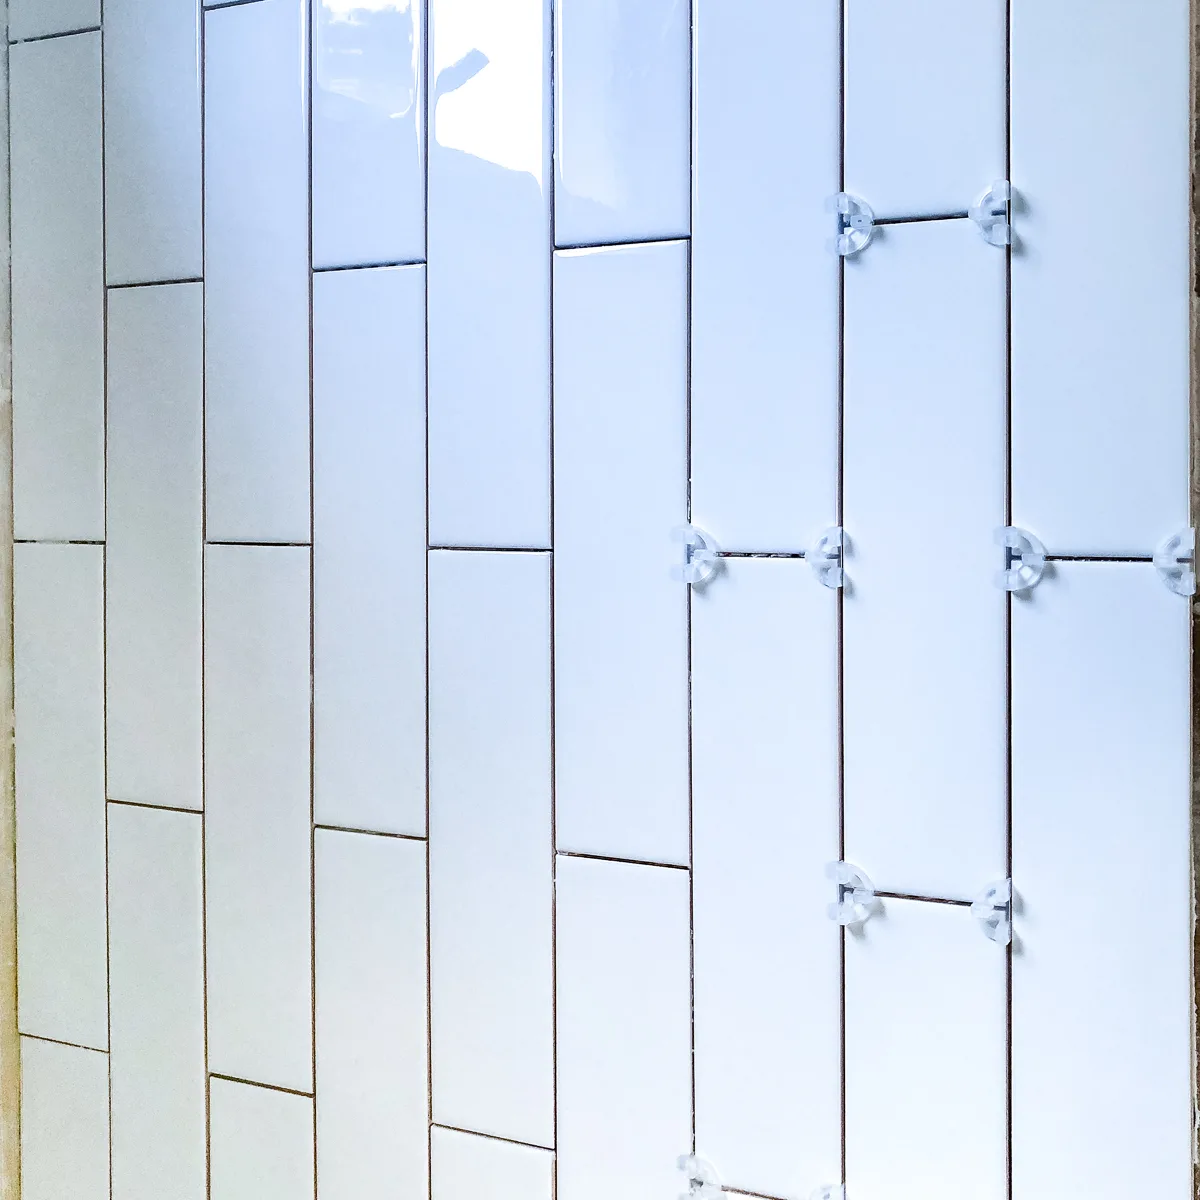
Typically, subway tiles measure 3 inches wide and 6 inches long. I'm giving it a fresh new look by using an elongated 3"x12" white subway tile from Floor & Decor and installing the tiles vertically. In my bathroom inspiration photos, you can see how this configuration makes it more modern!
Watch the Video
Check out the video below to see how I installed vertical subway tile in my small bathroom!
Materials Required
Before you start any project, it's crucial to gather all the materials and tools you'll need. This way, you can ensure a smooth process without any unnecessary interruptions. For this project, here's what you'll require:
- Subway tile
- Tile adhesive
- I prefer OmniGrip because it holds wall tile in place without sagging.
- Tile spacers
- This kind works much better than those little cross shaped ones!
- Tile saw
- I have this one, but you can use a score and snap version if you don't have a lot of oddly shaped cuts to make.
- ¼" notched trowel
- I like to use both the larger version and the smaller margin trowel to get into those small areas.
- Level
- Grout
- I used Mapei grout in the color Rain to match the wall color that will be going up later.
- Grout float
- Grout sponge
- Buckets
- Caulk that matches the grout color
Preparing for Tile Installation
Plan your layout
If you plan ahead and create the ideal layout before you install a single tile, the finished result will look much more professional. You don't want to end up with a sliver of a tile at the top or side of your wall!
Measure the wall, and calculate how many tiles it will take to go all the way across and up to the ceiling. Make sure to take into account the width of your spacers! Mine are 1/16".

I didn't follow my own advice, and forgot to account for the spacers when measuring the height of the wall! The wall ended up with ¾" pieces at the ceiling, which isn't ideal. I debated removing the tiny crown moulding, but decided that patching all the damage would make too much work for myself! 🙂
What I should have done was trim an inch or so off all the bottom tiles, which would give me more tile at the top. It doesn't look horrible, but I wish I had planned better!
Choose a starting point
Which side of the wall draws the most attention? In this tiny bathroom, you see the far corner next to the window first, so I decided to keep the full tiles along that corner.

The small wall with the door is tiled as well, so the cut edges will be hidden in the corner and caulked along the door trim.
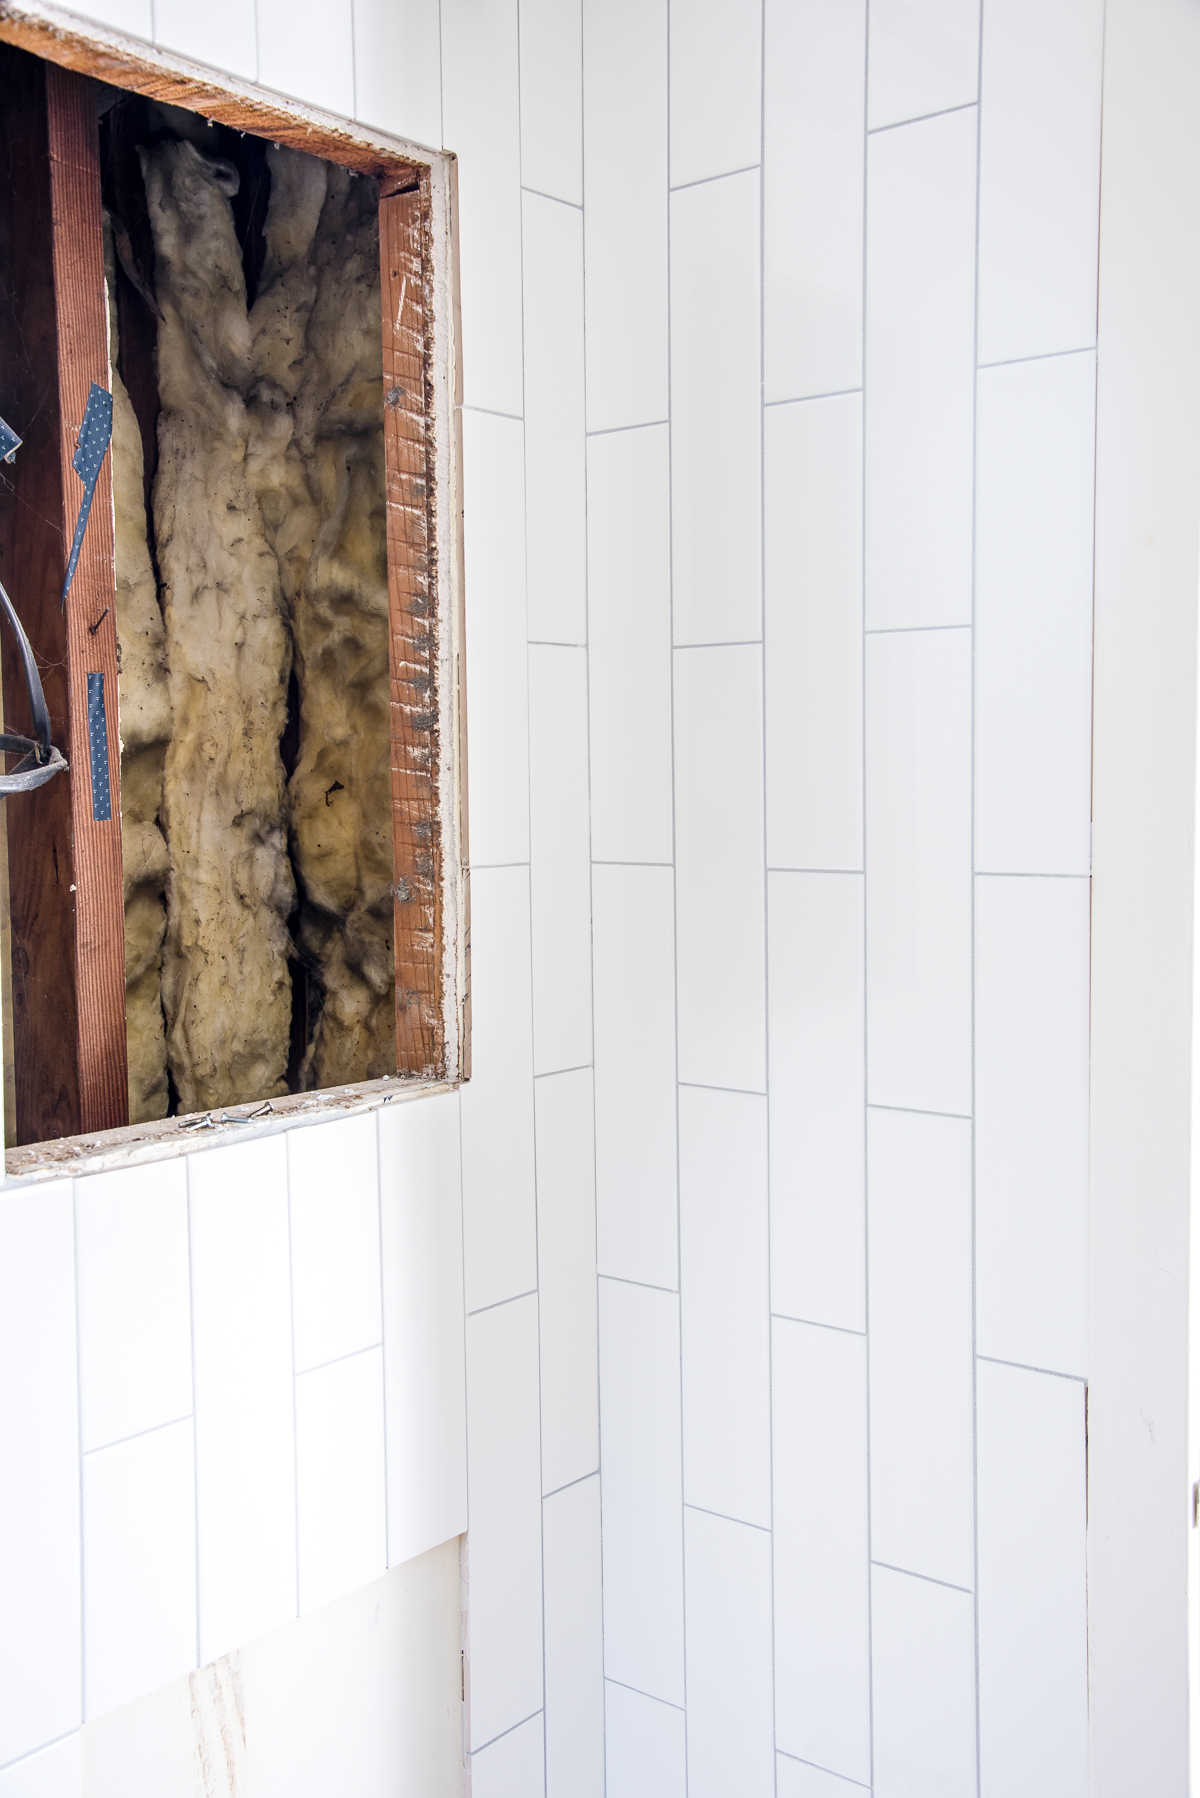
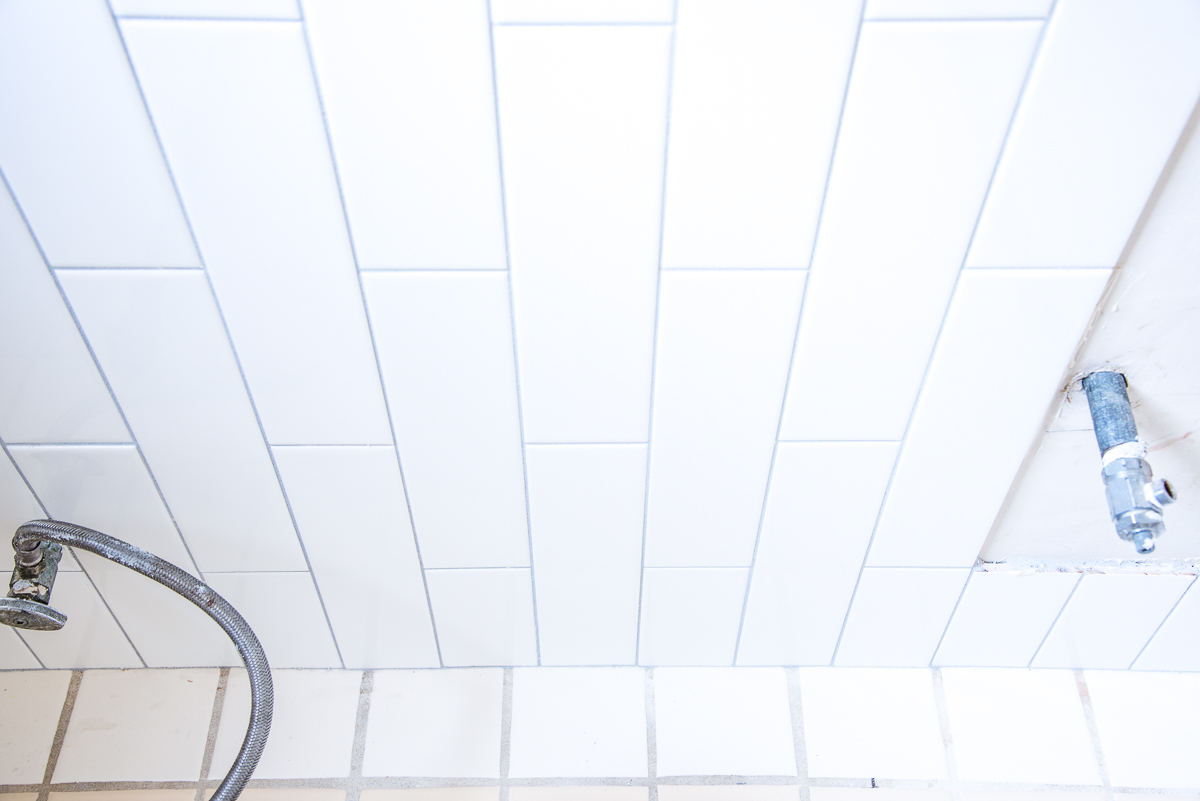
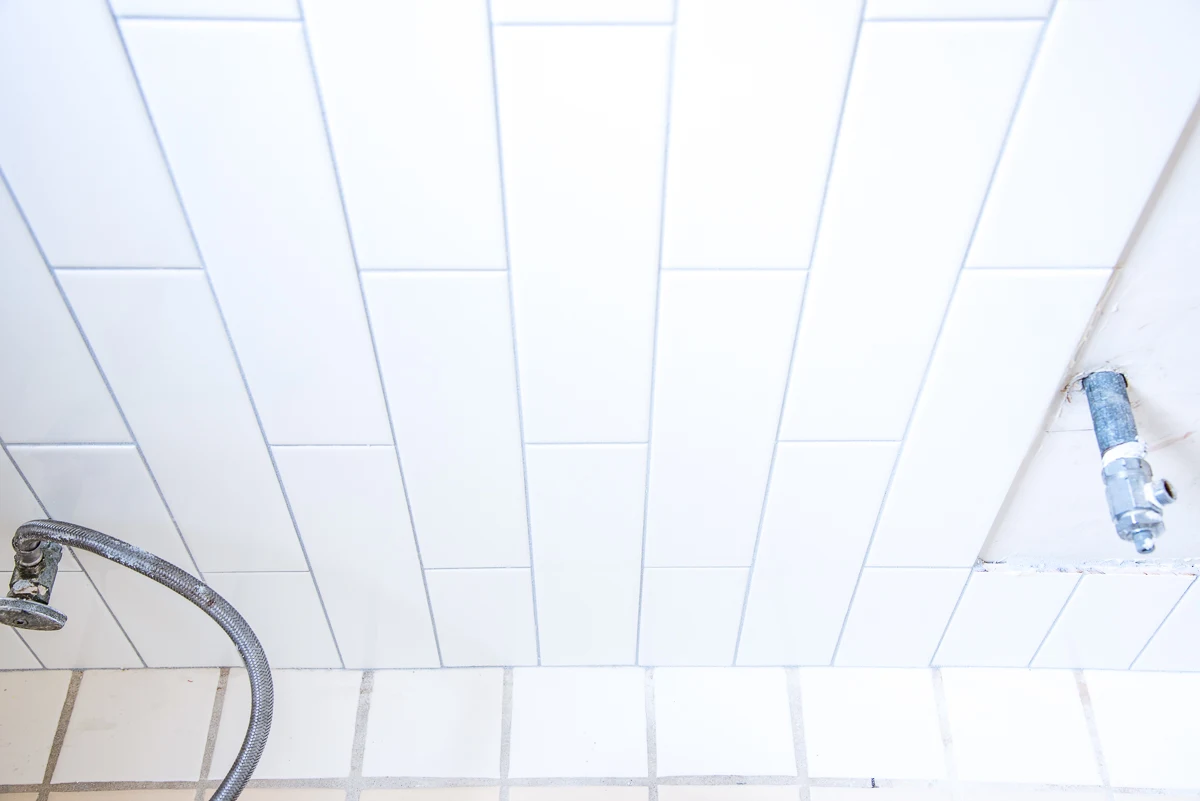
Also keep in mind any obstacles that are on the wall that may interrupt the pattern's flow. The hole for the medicine cabinet required only a tiny bit cut off of the tiles to fit. A sliver of tile wouldn't hold up as well along that edge.
Choose a layout pattern
There are a few different ways to lay subway tile, and each one has their own unique look. I went with the traditional half brick design.
The bottom row of tiles will set the pattern for the rest of the wall, so make sure you get it right! I cut about a dozen of my longer tiles in half. These alternate with the full size tiles along the bottom of the wall.
Also consider how you plan to finish off the edges. That wasn't an issue here, because the tile covers the entire surface of the wall and ends at the door trim. You can use bullnose tile or pencil tile, or edging trim to finish off exposed edges.
Make sure your walls are clean and flat
I recently removed wallpaper from this bathroom, so I made sure there wasn't any leftover glue residue. I also filled the holes left behind when I took the hand towel holder off the wall and repaired the torn drywall paper.
Luckily, these walls were pretty flat, level and plumb (unlike some other parts of our house!) If you have significant high or low spots, you may need to sand them down or fill them up before you start tiling.
How to Install Wall Tile
Now that your wall is prepared and your layout planned, it's time to start installing your subway tiles. This is where your project really begins to take shape. Here's a step-by-step guide to installing your subway tiles vertically:
Spread the adhesive on the wall
I prefer to use pre-mixed thinset when tiling, so I don't have to worry about getting the consistency right. But it's more expensive, so take that into consideration when choosing your adhesive.
This large notched trowel is the same size as three tiles across, so I installed three columns at a time. Just smear the tile adhesive on the wall and level it out with the trowel, making sure the notches create ridges throughout the surface. This helps ensure a strong, even bond.

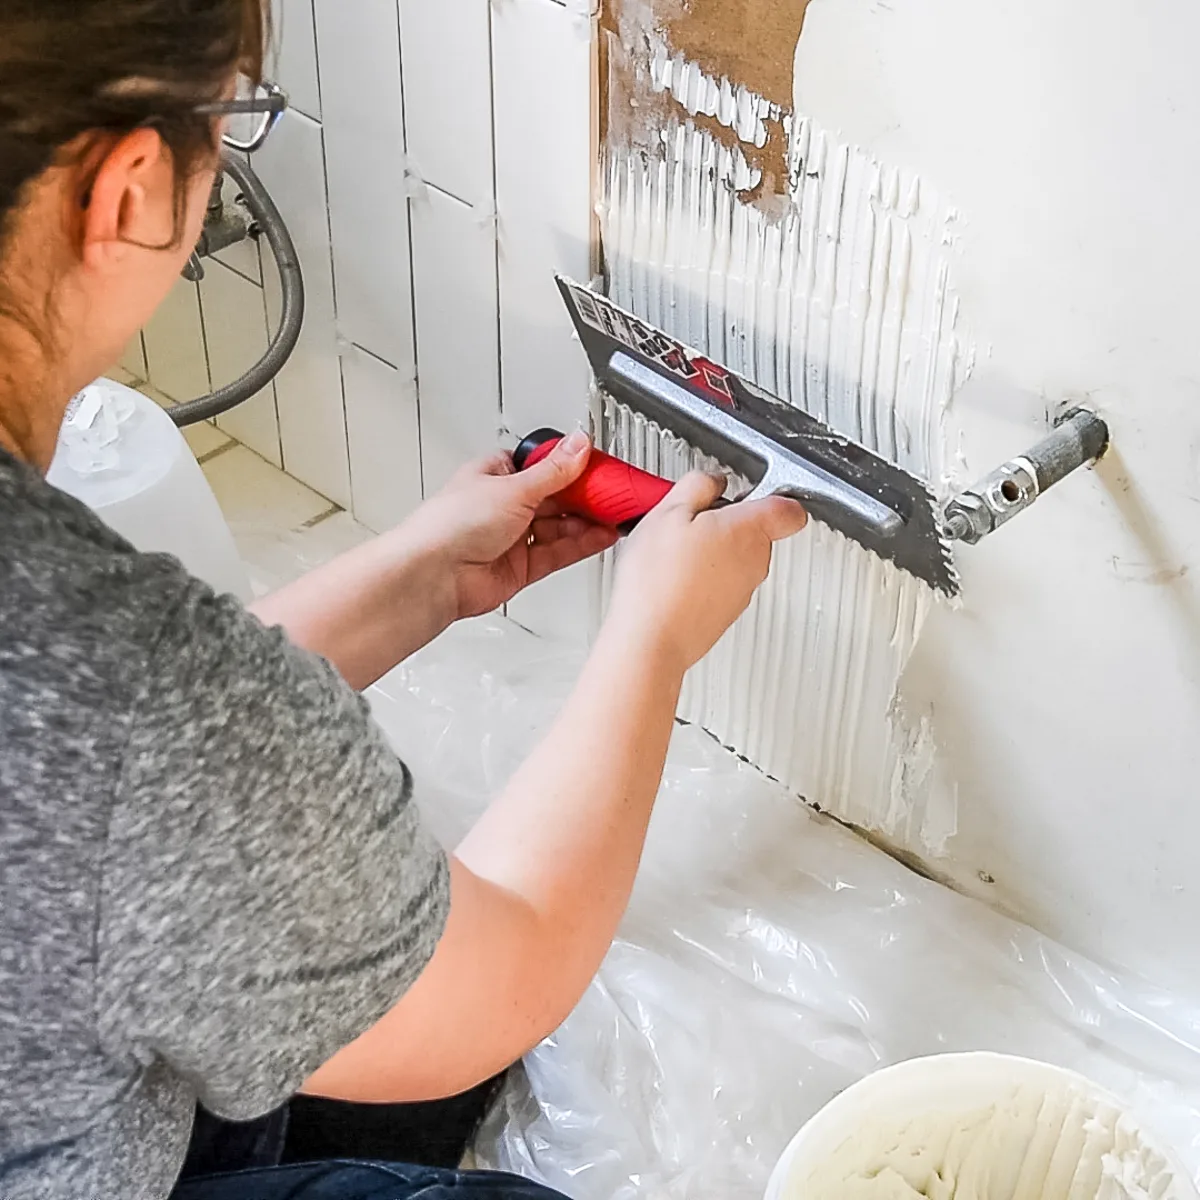
Install the first row
Getting the first row straight will really make the rest of the job go much smoother. Press your first tile firmly into the adhesive, giving it a slight wiggle to help it adhere.
Insert spacers on all sides of the tile to maintain consistent gaps for grout. There should be a spacer between the adjacent wall and the tile to account for movement over time. That gap will be filled with caulk at the end.
For the brick subway pattern, alternate between full and half size tiles along the bottom. Continue applying adhesive and setting tiles, working in small sections to prevent the adhesive from drying out.

Continue tiling up the wall
After the bottom row is set, the rest of the tiles fall into place. Work your way up the wall, frequently checking that everything is straight with a level.
Even small deviations can become noticeable over a large area. If a tile is out of alignment, carefully pry it off and adjust it. Be sure to clean off any adhesive from the front of the tile.
I tiled this wall over the course of several days, so I worked on three or six vertical rows at a time. It's hard to stop part way up the wall, so just plan to go from bottom to top in a single session. When it's time to stop for the day, use the flat side of the trowel to scrape away any leftover adhesive.

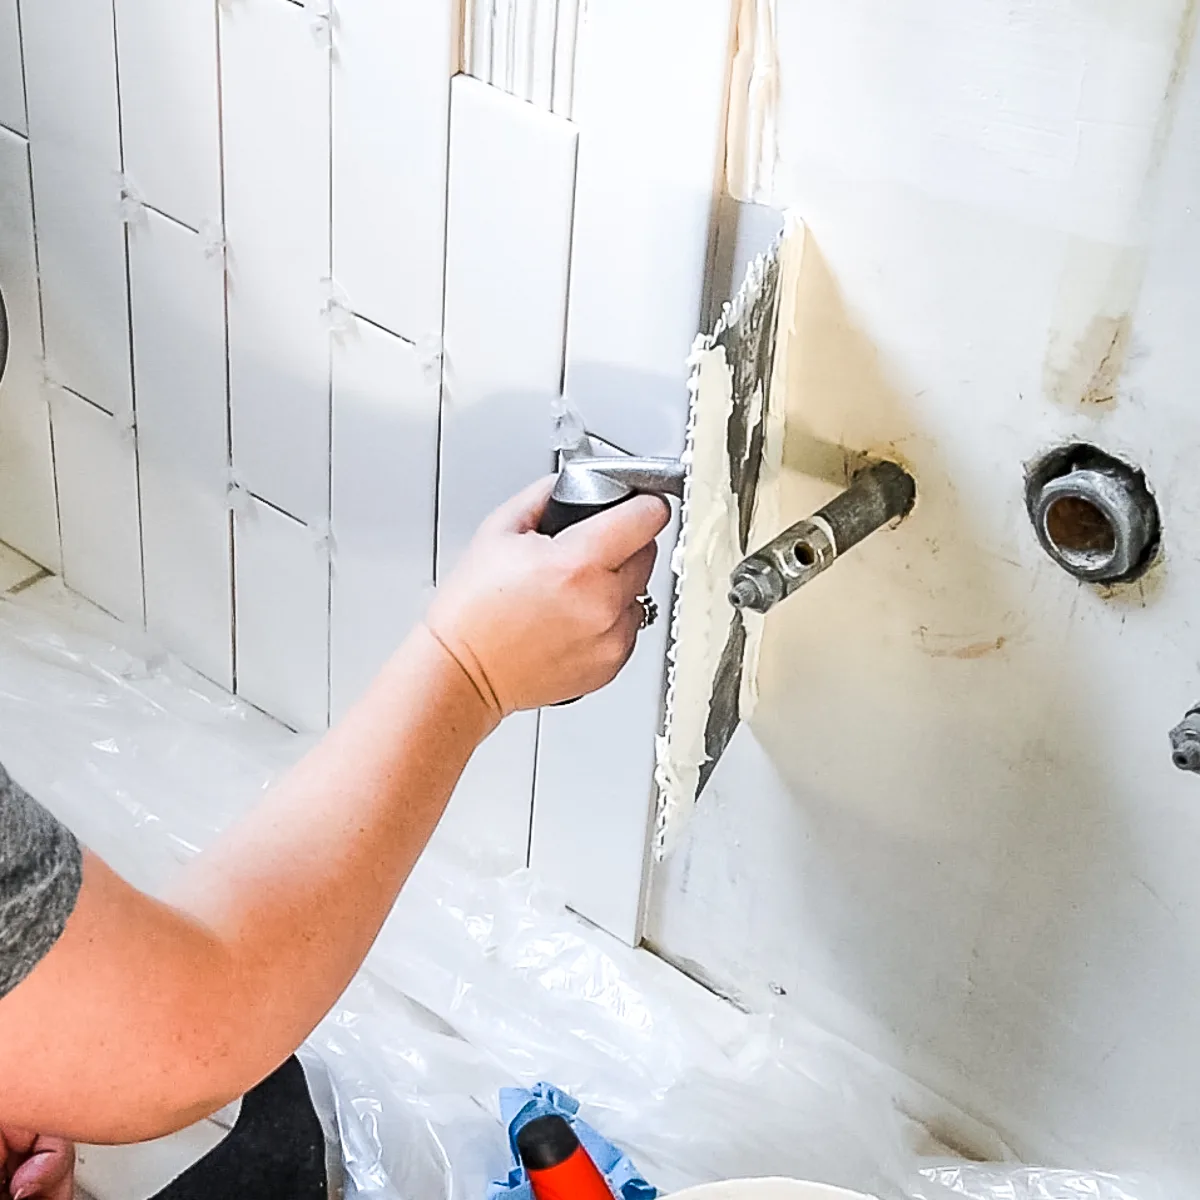
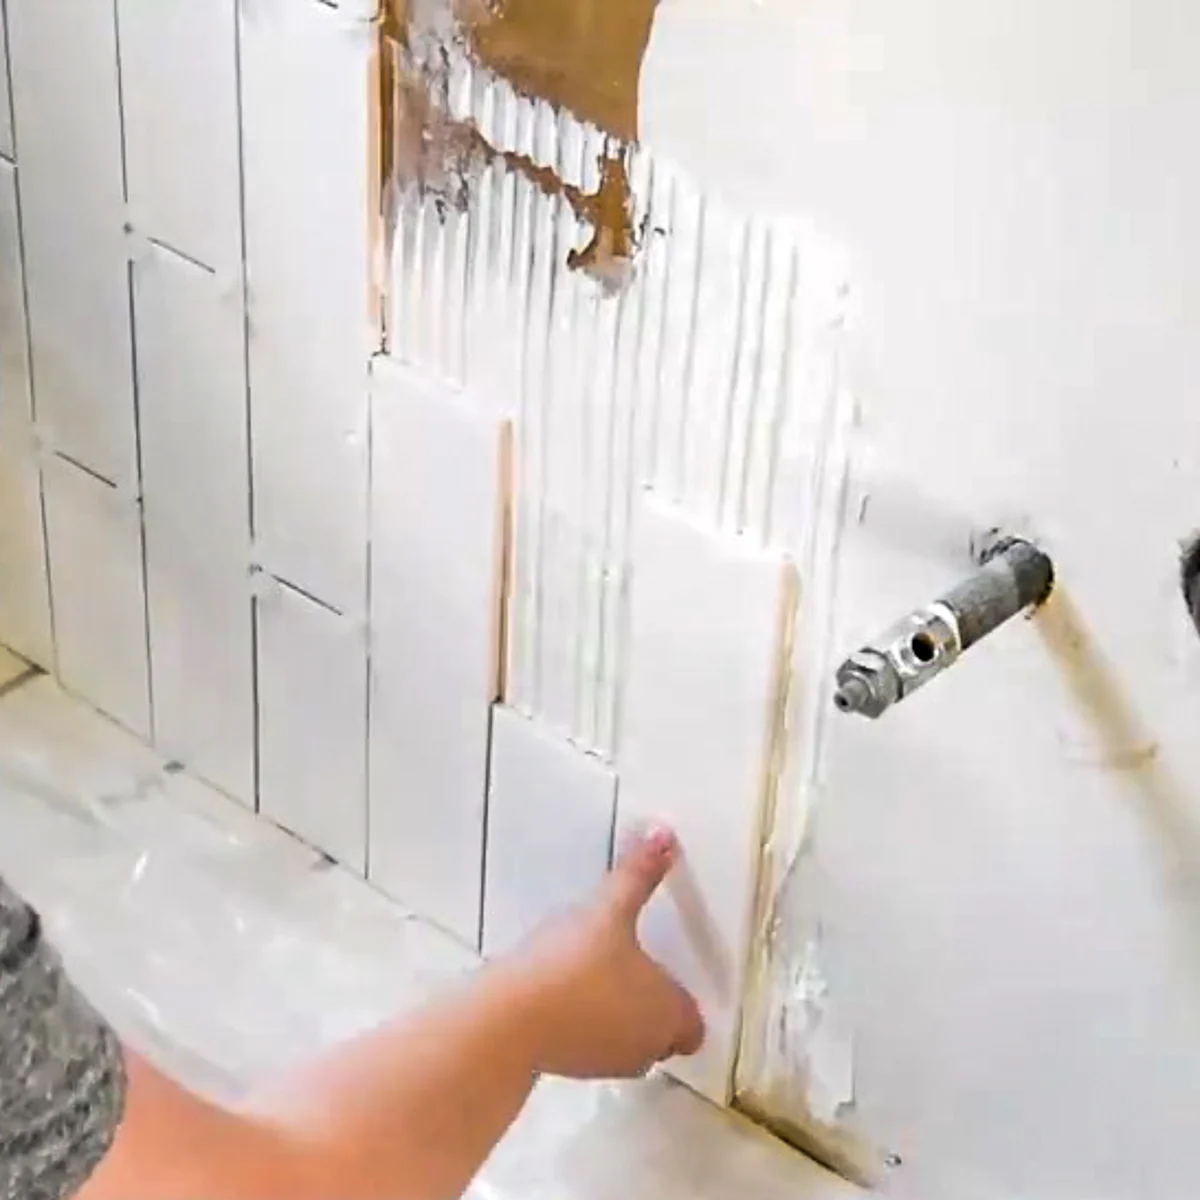
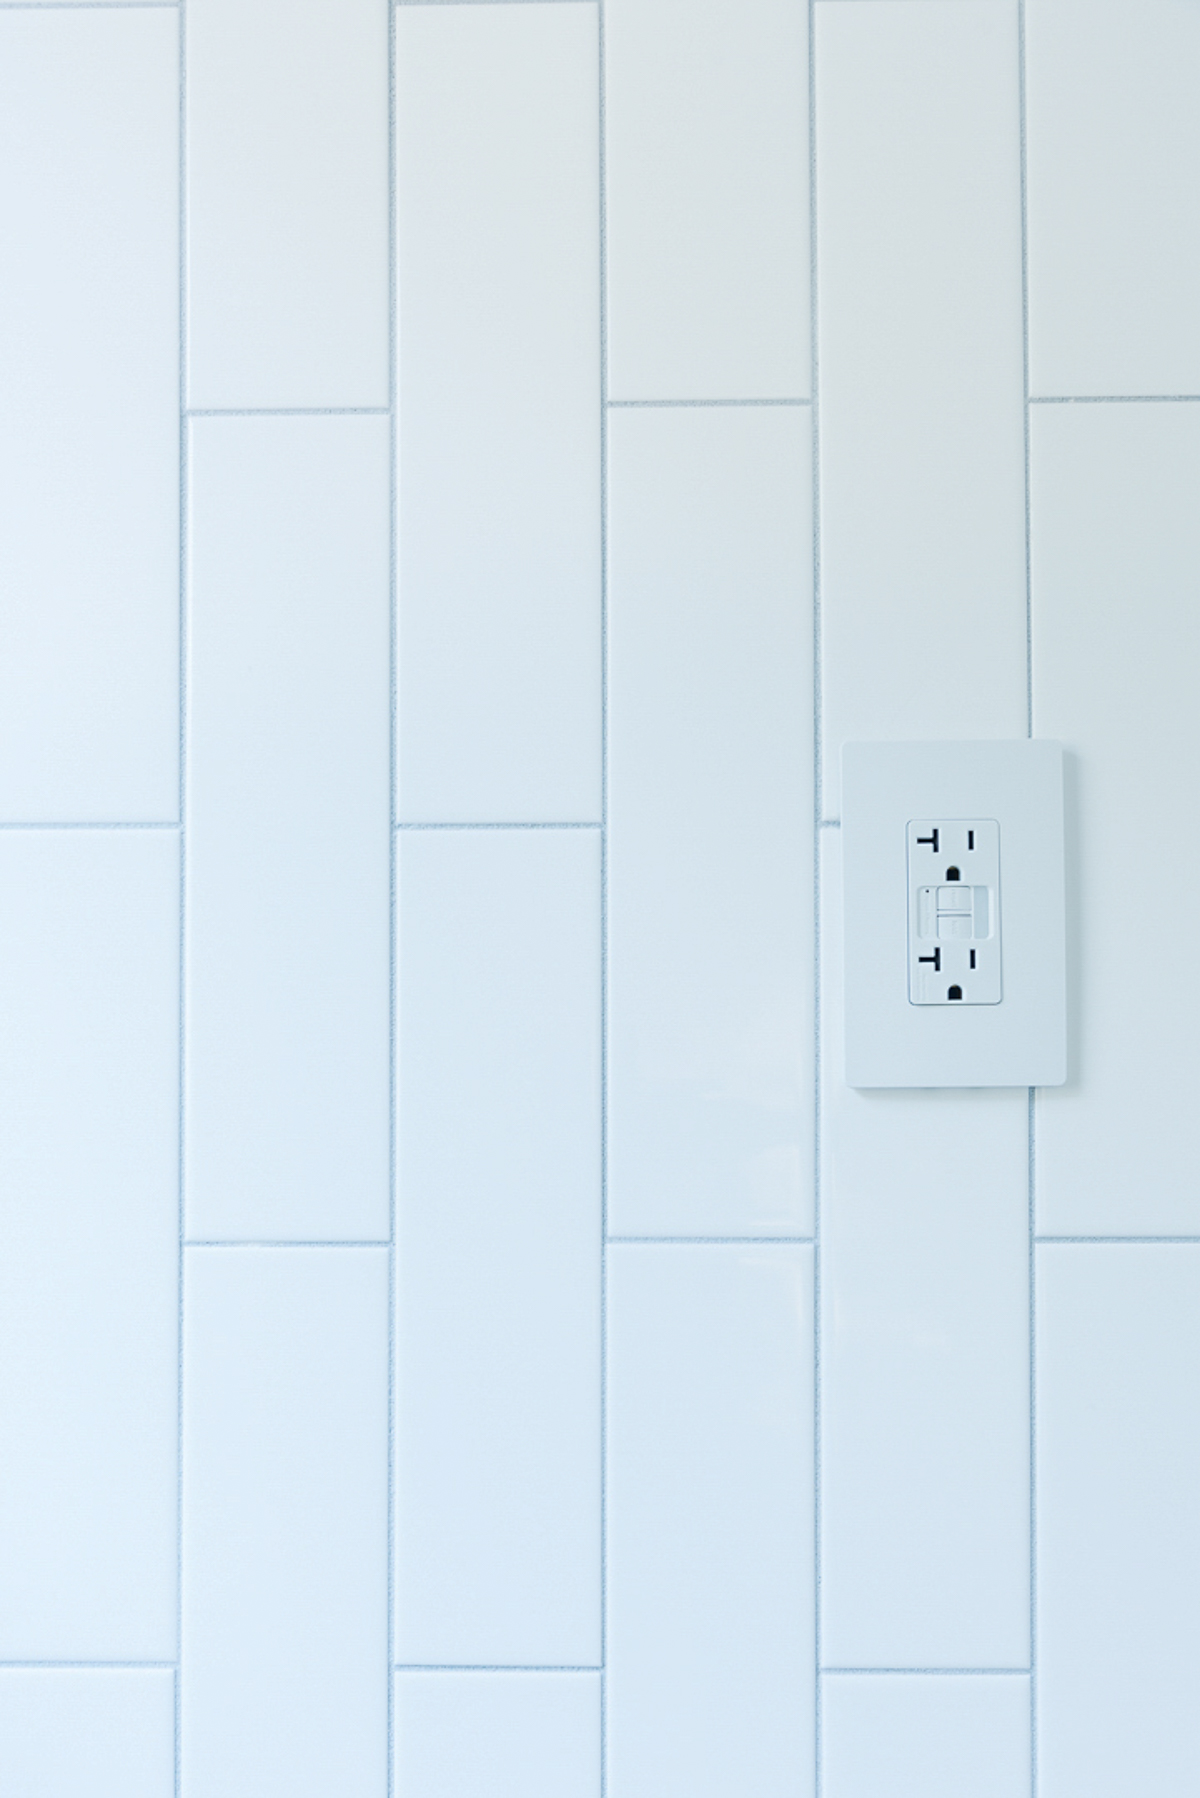
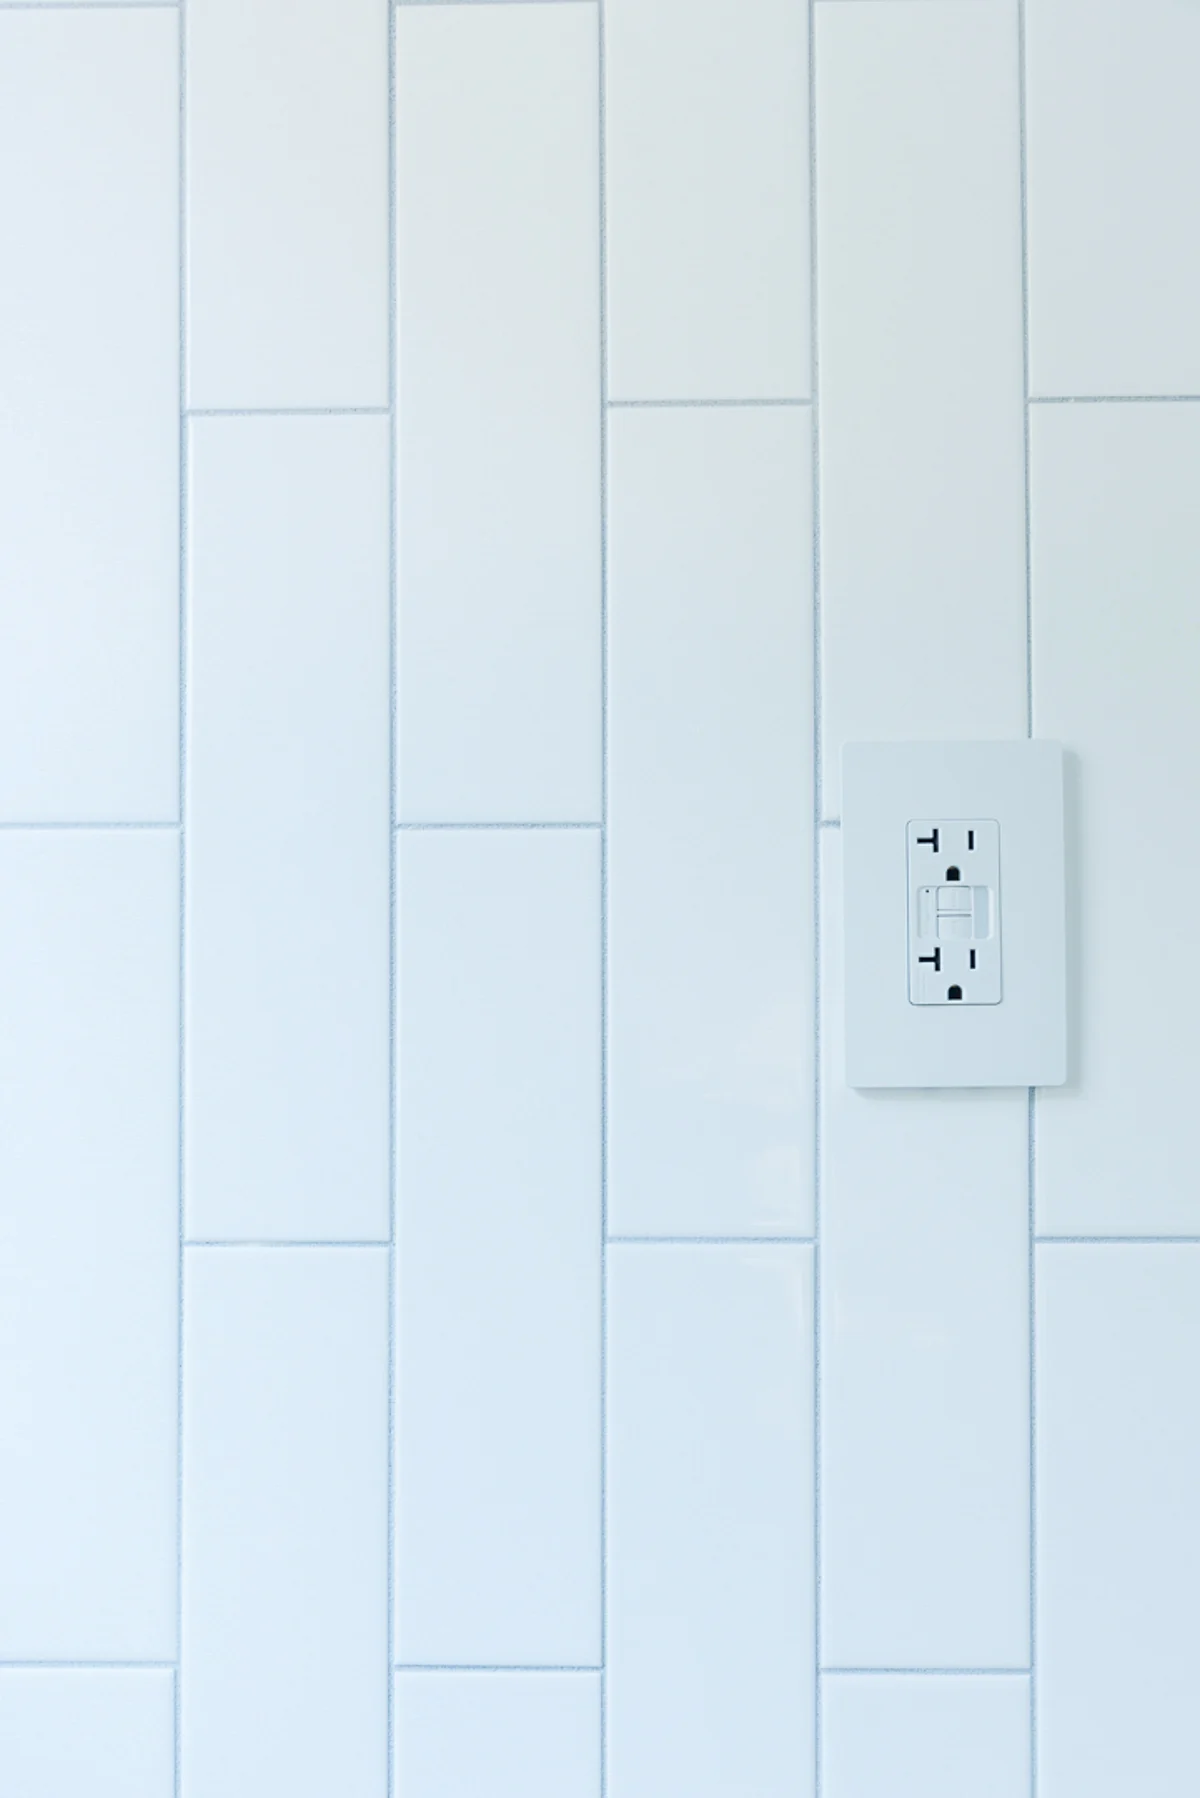
Cutting around outlets and pipes
When installing subway tiles, you're likely to encounter obstacles such as outlets, switches, windows, or pipes. These elements require special attention, but with careful planning and execution, they won't disrupt the flow of your design.
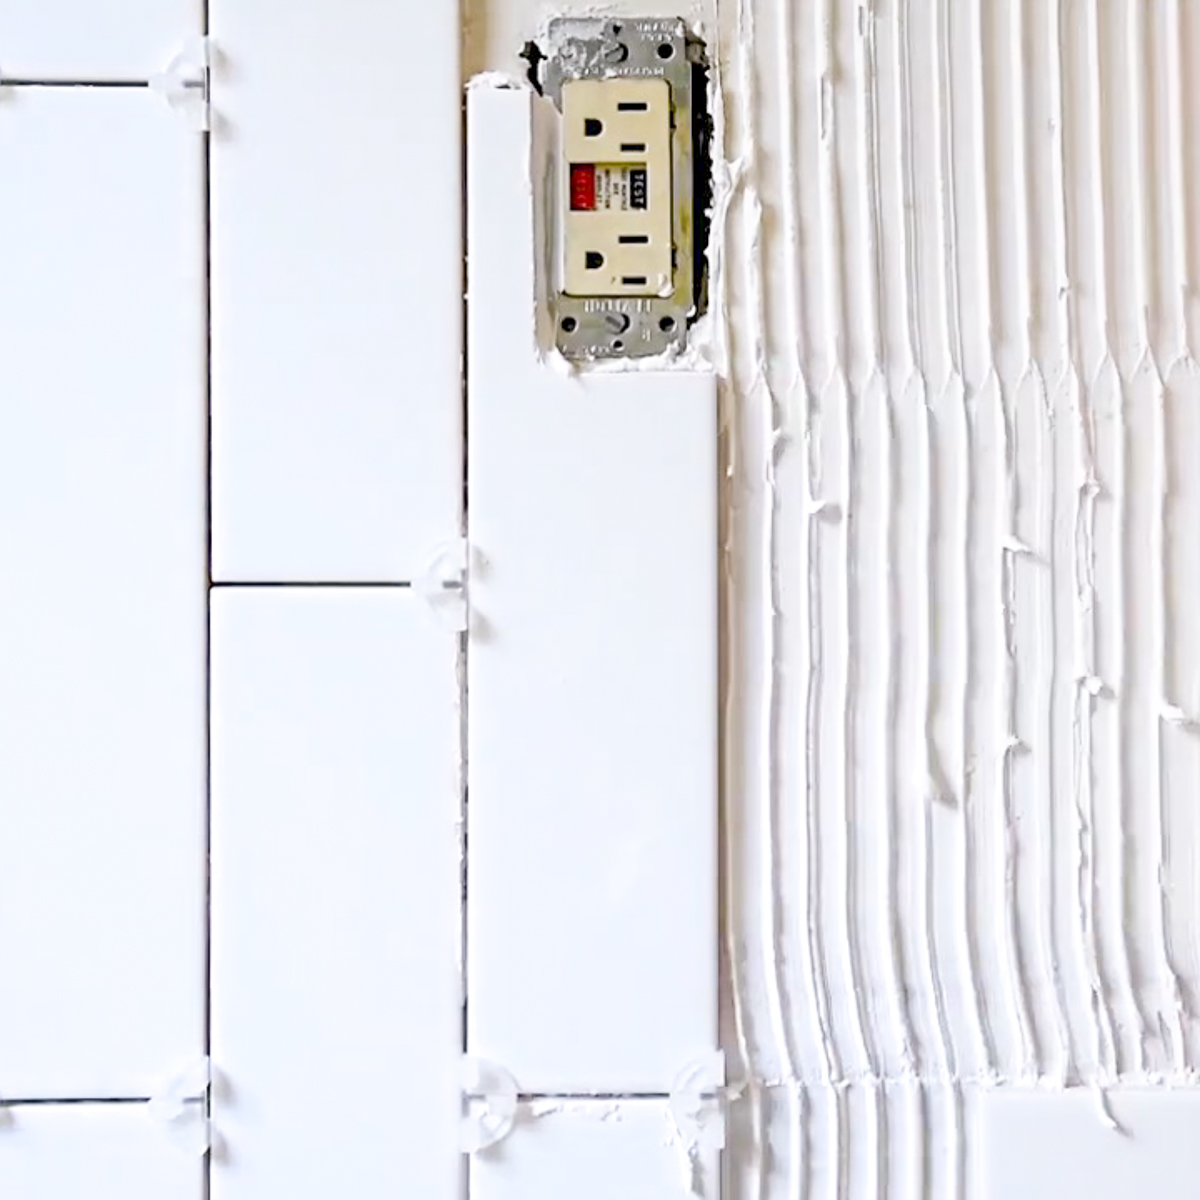
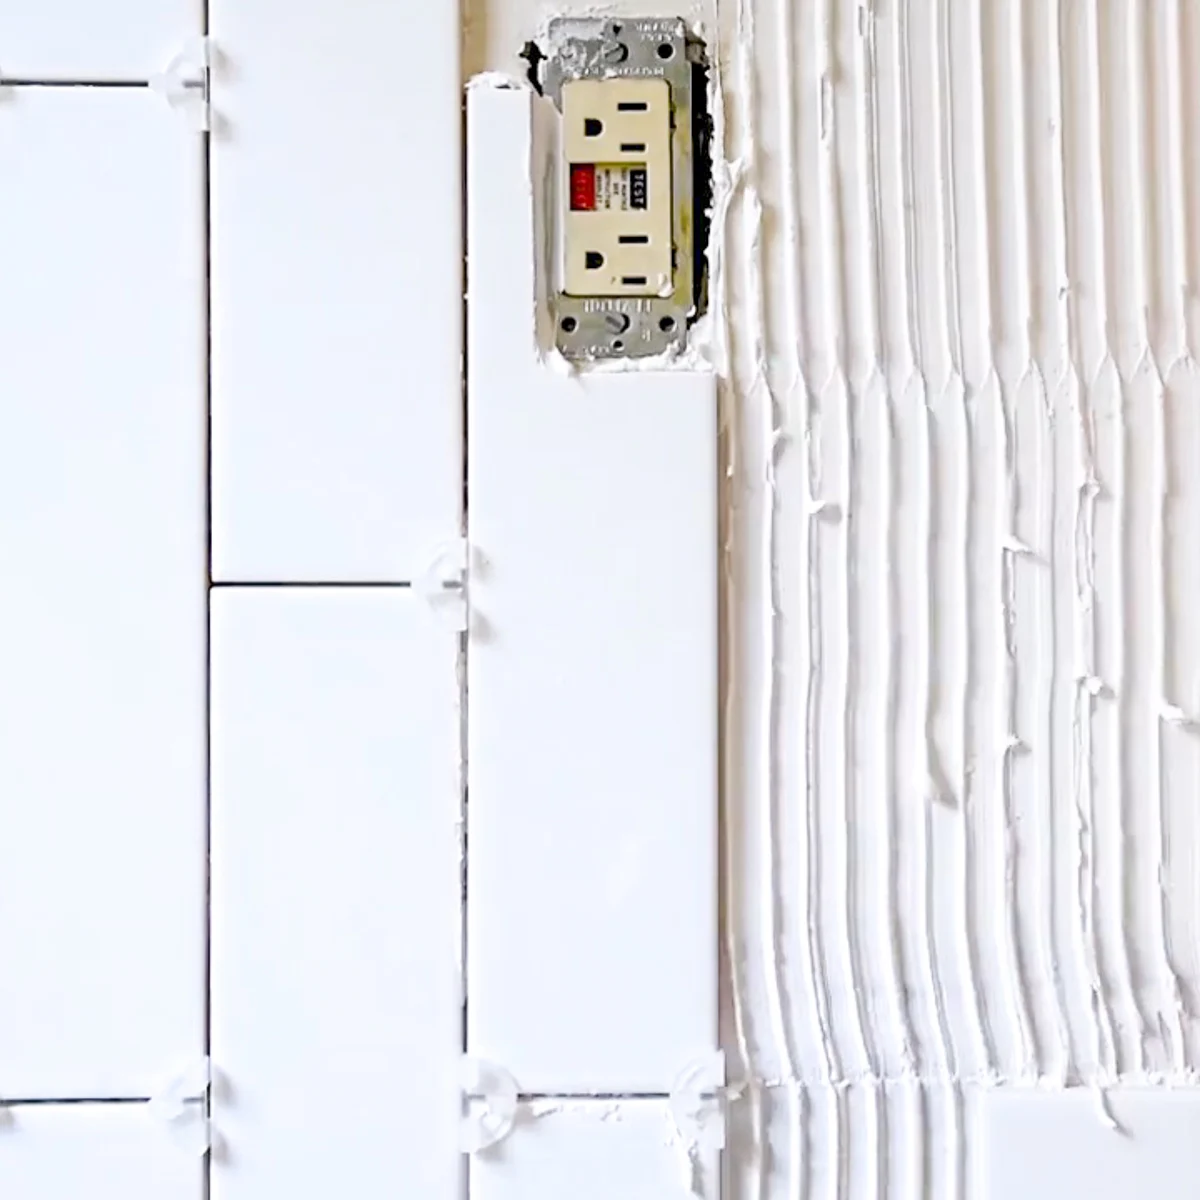
Measure the location of the outlet or pipe in relation to your tiles, and mark these measurements on the corresponding tile. A grease pencil will stay on the tile if you're using a wet saw, but permanent marker floats right off!
Here's a great video that shows how to get a clean cut on your tile around outlets.
For round pipes, you can either nibble away at the marked circle with your wet saw, or use a tile hole saw. These special saws can cut perfect circles and are ideal for this task.
Apply the Grout
Grout plays a crucial role in your tile installation. It not only strengthens the installation but also seals out moisture and dirt, and adds a finished look.
I chose unsanded grout instead of sanded grout for the walls, because the grout lines are small and walls don't get as much abuse as floors. It gives a smoother appearance and is easy to work with.

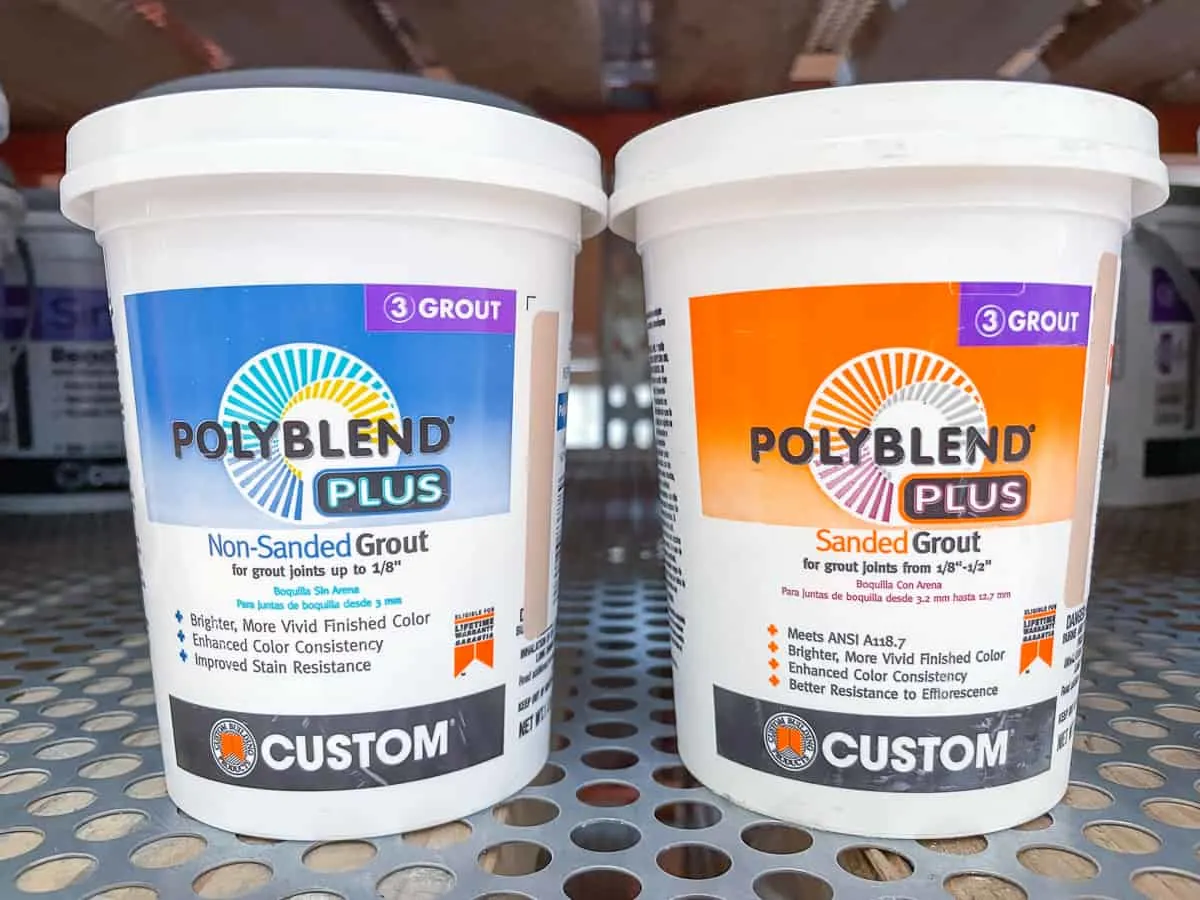
While dark grout on white tile has a nice contrast, that contrast will highlight any errors you made during installation. If you're not confident in your tiling abilities, stick with a white or light colored grout that is a bit more forgiving. I went with Mapei grout in their Rain color to match the paint on the walls.
Spread the grout over your tiles using a grout float. Hold the float at an angle and push the grout into the gaps. Wipe away the excess by swiping across the tiles at a 45 degree angle from the grout line.

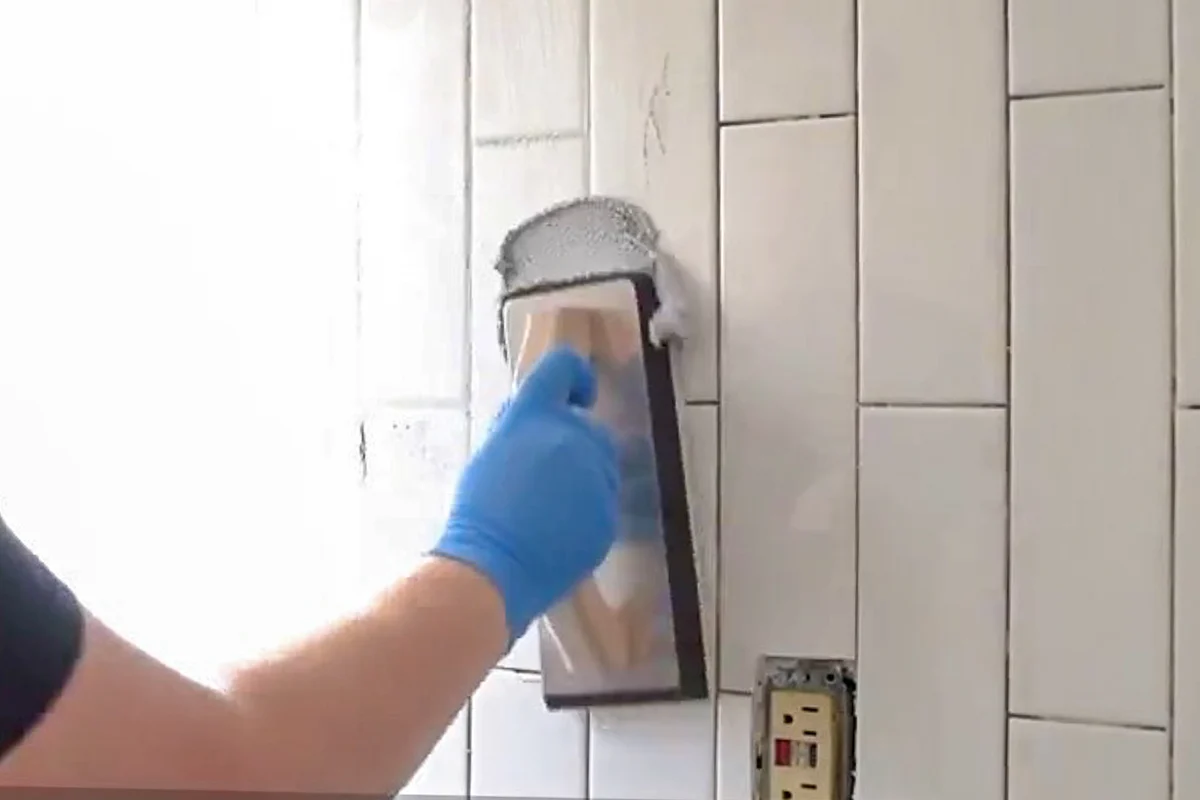
Clean the tiles
Allow the grout to set for about 15-30 minutes. Once it starts to dry and turn powdery, use a damp sponge to clean the tiles. Be careful not to press too hard or you might remove the grout from the lines. Rinse the sponge often and change the water as needed.
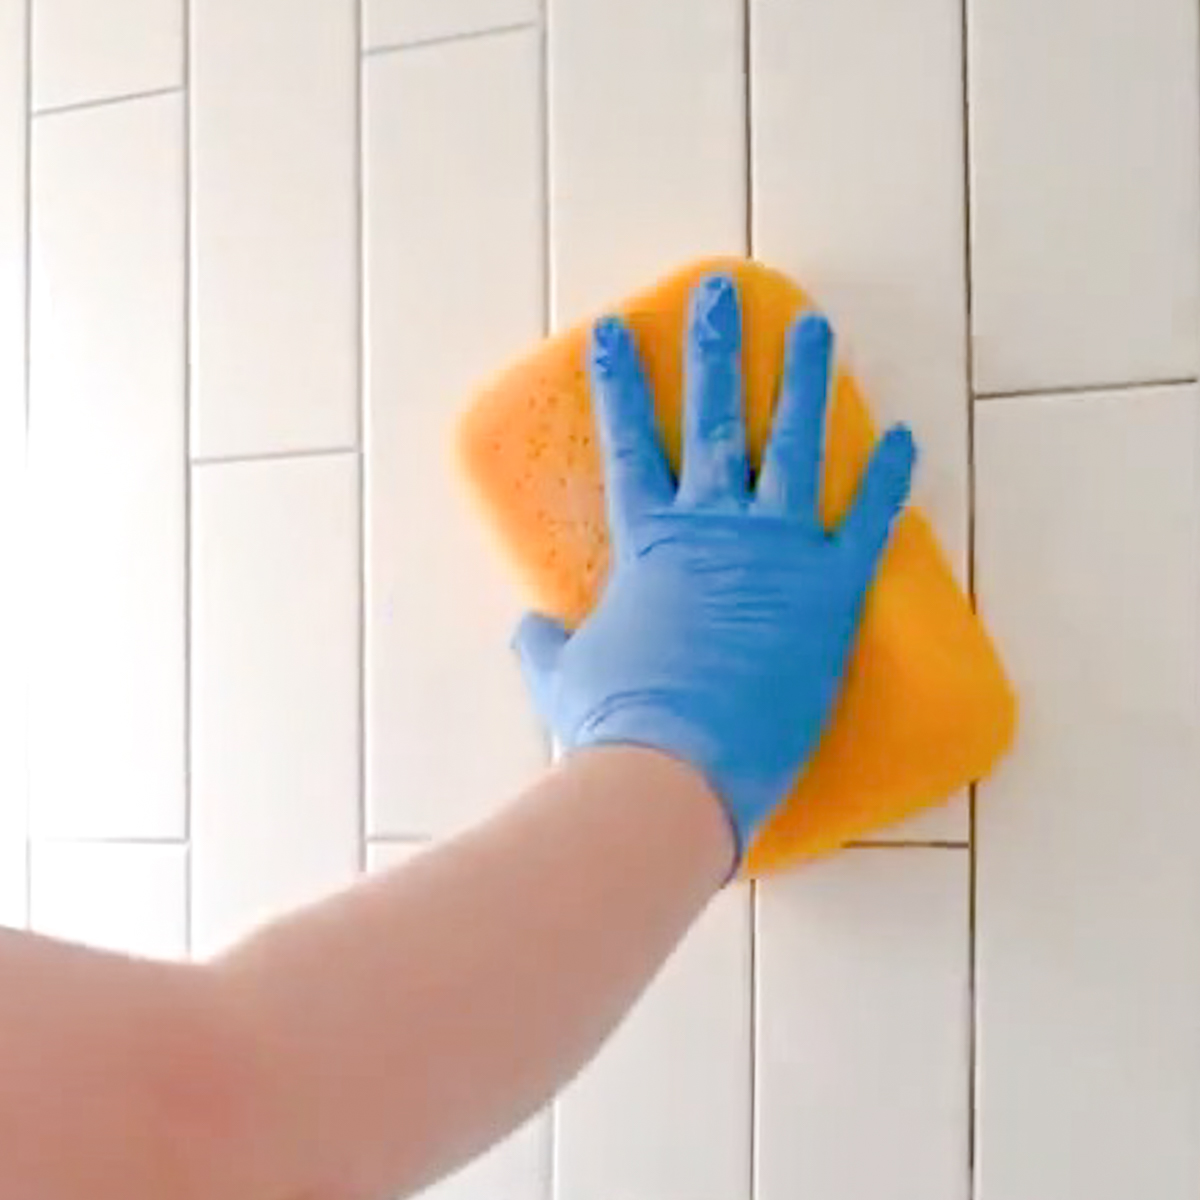
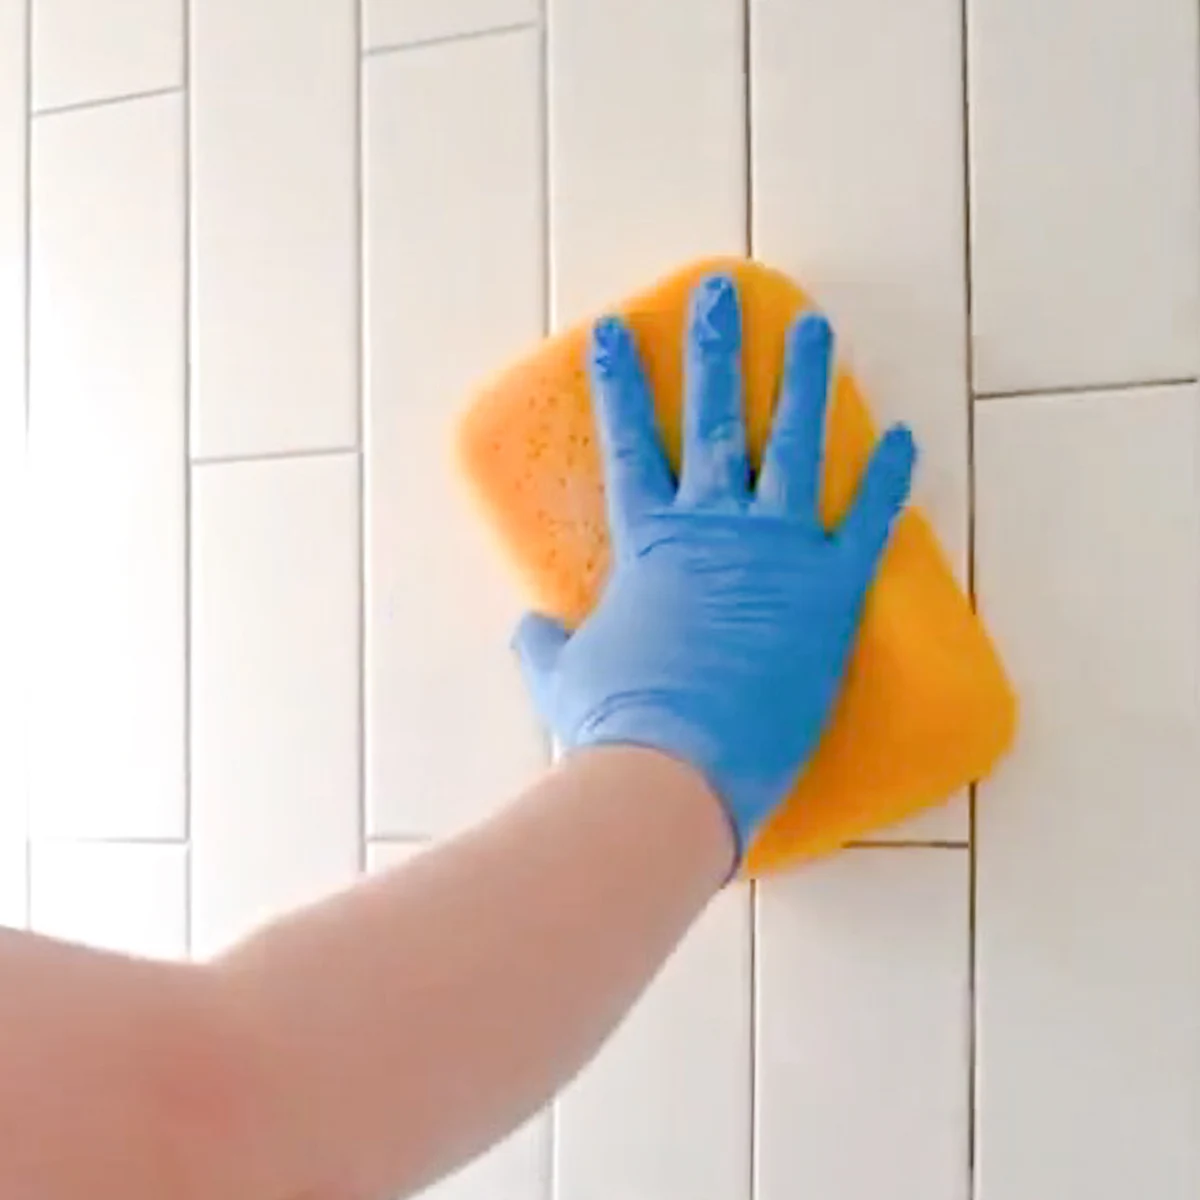
After the grout has dried completely (usually after 24 hours), a haze might appear on the tiles. Use a soft cloth or cheesecloth to buff off this haze.
Finish the Edges with Matching Caulk
Once I paint the bathroom walls, I'll run a bead of caulk along the corners where the wall meets the tile. Don't use grout instead of caulk, or it may crack along the corner as the house settles or shifts.
You can usually find caulk that matches the color of your grout for a seamless look. I have a tutorial on how to use a caulk gun if you've never done it before.
I'm so happy with how this vertical subway tile wall turned out! It looks so crisp and clean, and really does make the room feel bigger!
Next week, I'm painting, painting, painting! The walls will be painted the same color as the vanity mirror and grout, and the trim will get a fresh coat of bright white. I'll also start painting the tile floor with a stenciled design!
Check out the rest of the bathroom remodel!
Kim~madeinaday
Wednesday 24th of October 2018
Wow I like the tile turned this way! It looks fantastic. Thank you for sharing on Merry Monday! Hope to see ya next week! Kim
Chas Greener
Wednesday 24th of October 2018
Love this look! Thanks for sharing on To Grandma's House We Go!
angie
Monday 22nd of October 2018
the tile this way looks really neat. I love the way that it offers the room height. Thanks for sharing and offering a great idea.
Beth
Saturday 20th of October 2018
This looks so good! Now I want to do vertical subway tile in our bathroom!
Nicole Q-Schmitz
Thursday 18th of October 2018
I'm planning on installing vertical 3x12 tiles for our (future) bathroom too - so I had to stop in and see your progress :) Looks good so far, good luck!