DIY bathroom demolition can be fun, but it's a lot of hard work! Get my tips and tricks, and check out my half bath makeover progress!

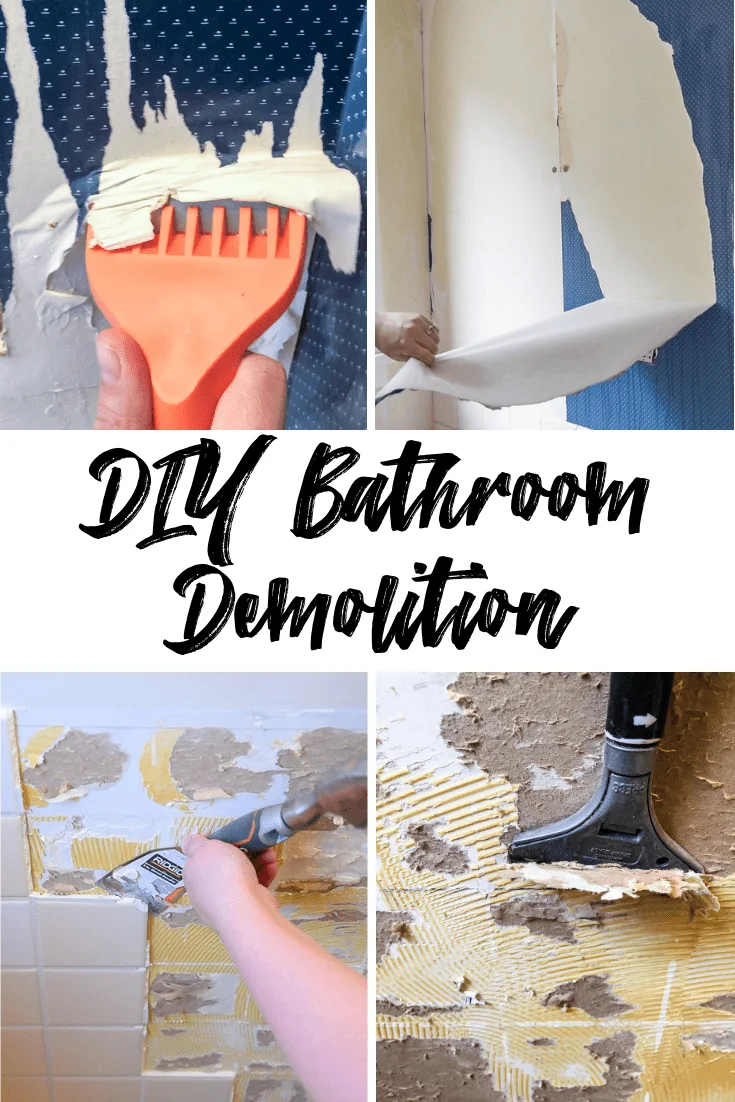
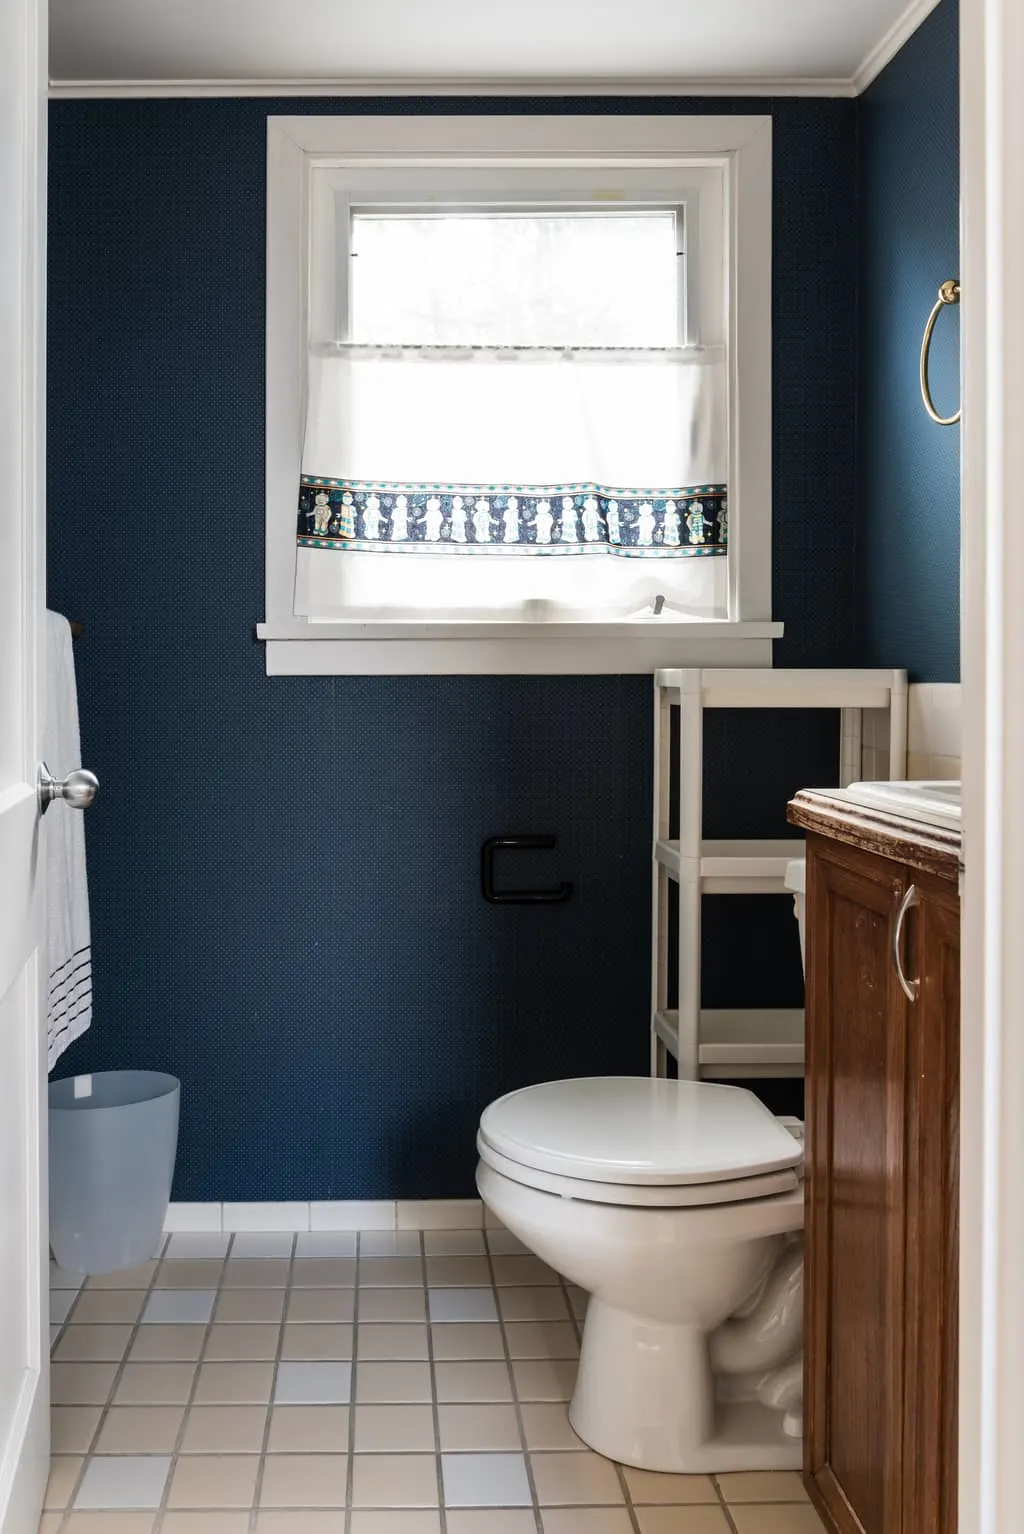
Bathroom demolition is the most fun and the most exhausting part of any renovation. There's nothing like starting with a clean slate! This week, I removed all the wallpaper and wall tile, and tore out the old vanity and medicine cabinet. It's looking better already!
This post contains affiliate links for your convenience. Purchases made through these links may earn me a small commission at no additional cost to you. Please visit my disclosures page for more information.
Before we get into the specifics of this demolition, check out the video below to see my progress!
This tiny half bath was much easier to rip apart than my last bathroom demolition . . .

or even my fireplace demolition!
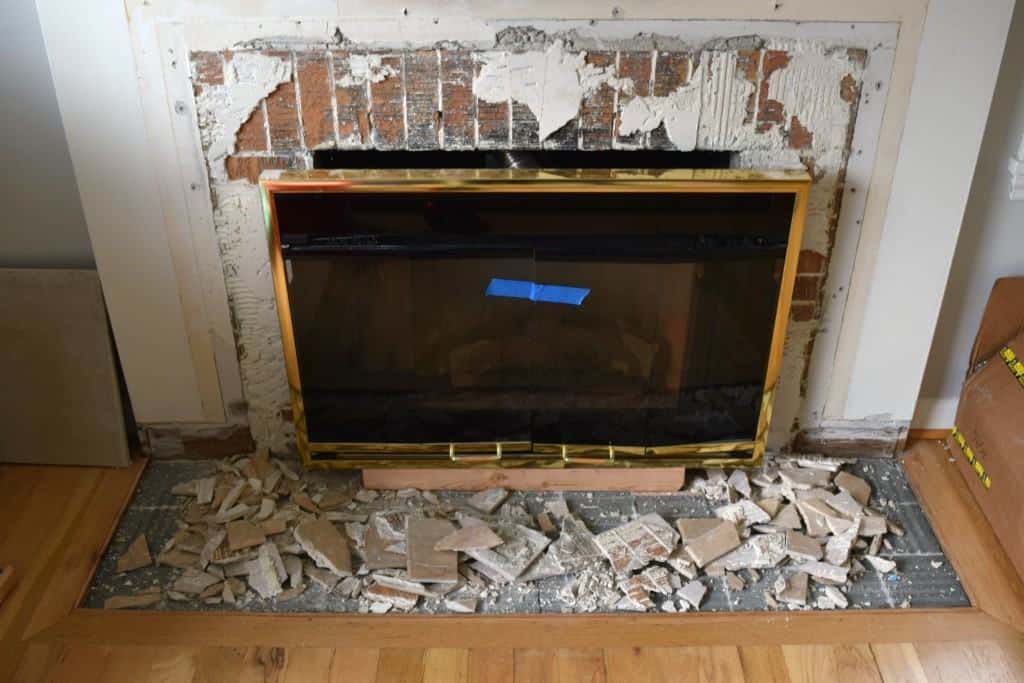

I don't know if I'm getting better at wielding a hammer and chisel, or if this project is just easier than I expected. Either way, I'm relieved all the ugly is gone!

Obviously, I've got some cleaning up to do before I can make this space beautiful. But, let's check out my progress so far!
Remove the Wallpaper
I debated painting over the wallpaper, but ultimately decided to rip it off instead. I started by removing all the fixtures from the walls. After I took the heating vent cover off, I noticed that the excess wallpaper was folded into it.
Just out of curiosity, I gave it a tug...and it came off in one whole sheet!
Well, that was easy! I thought maybe the heat from the vent loosened the glue over the years. After reading all the horror stories about removing wallpaper, there's no way the rest of the wall will go that smoothly, right?
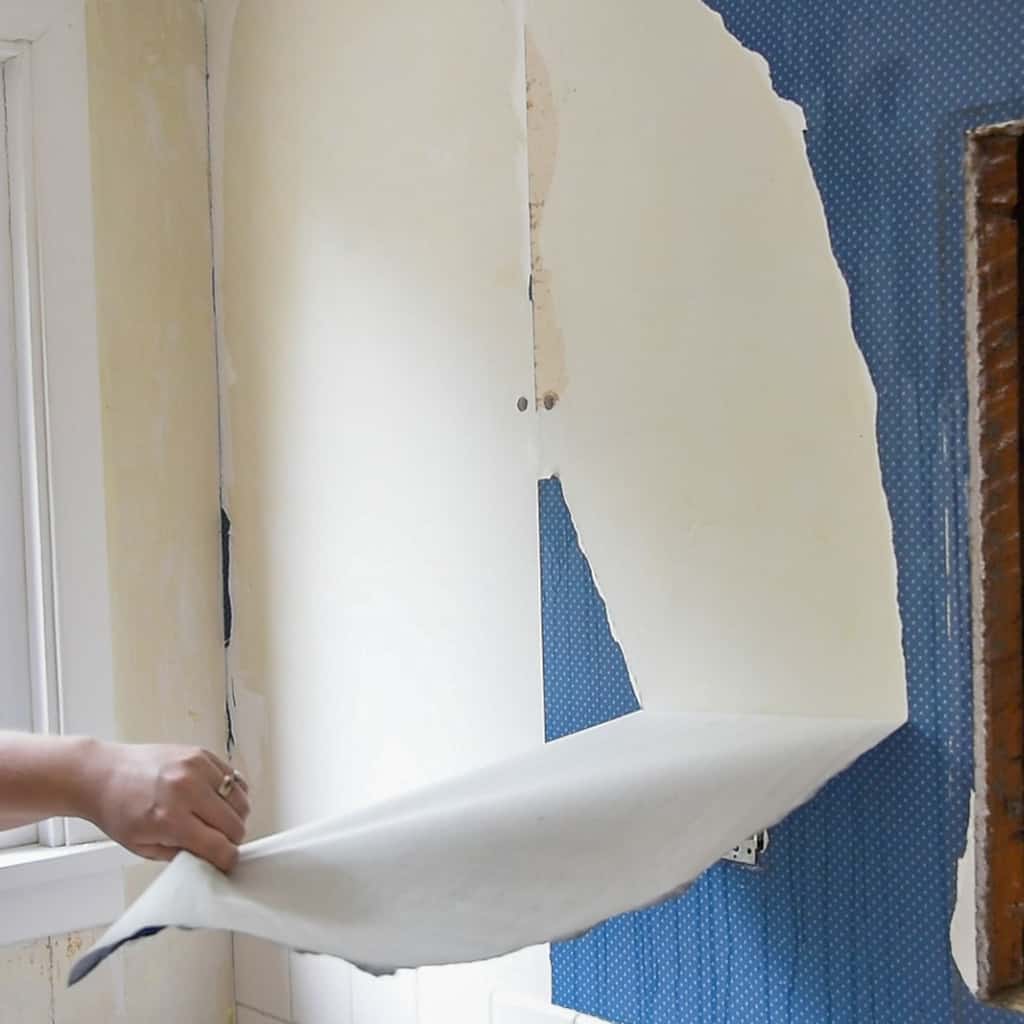

The whole bathroom was wallpaper free in less than two hours! I don't know how I managed to win the wallpaper removal lottery, but I'll take it!
Remove the Medicine Cabinet
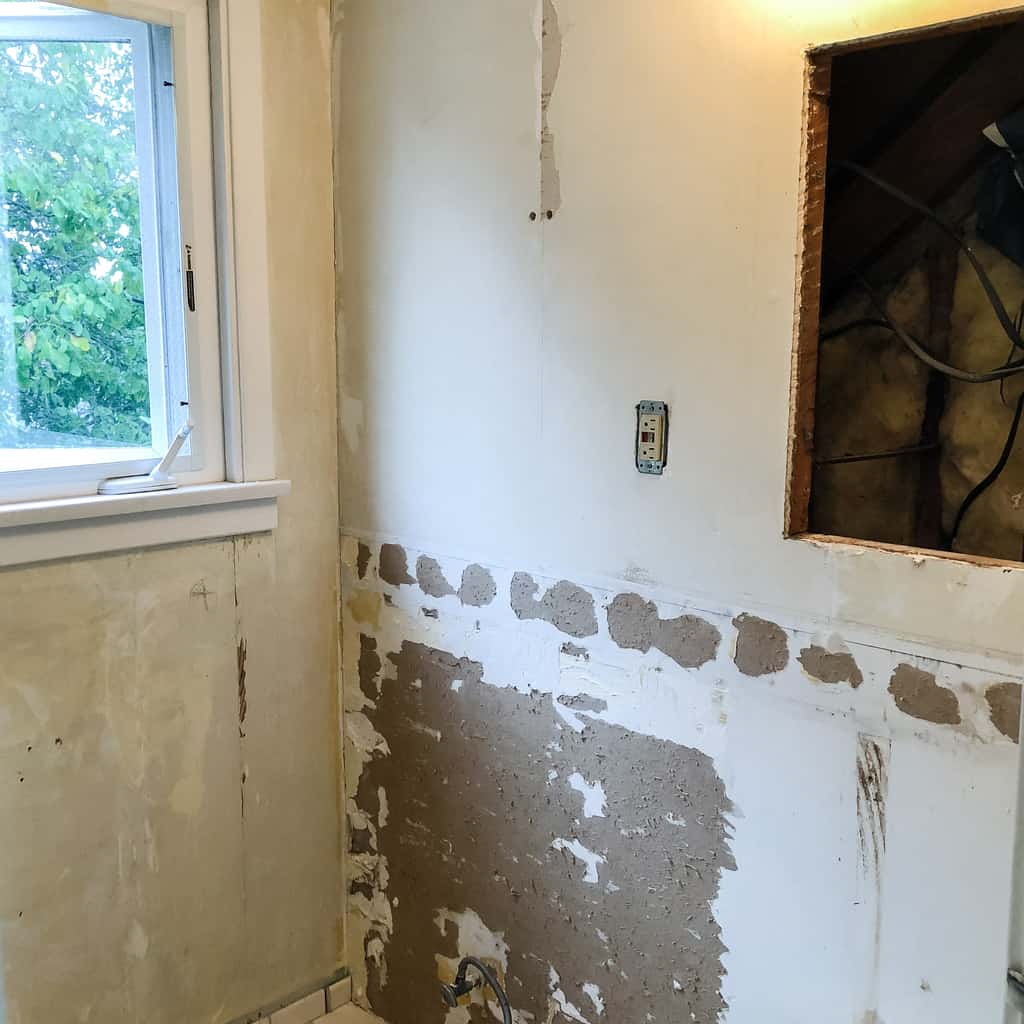
I was always curious about what was behind this wall. When you look at the dormer from the outside, the window is centered, right? (And yes, I need to clean my gutters!)

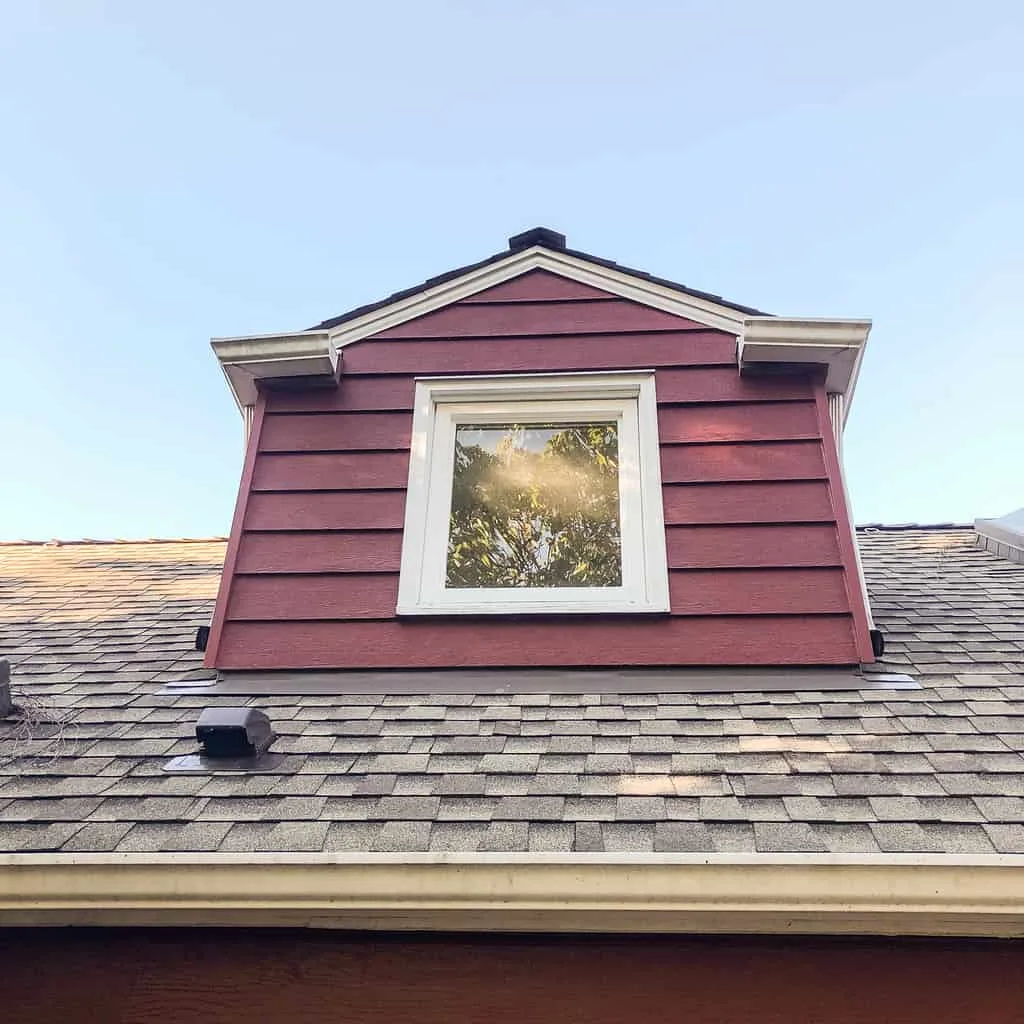
But look at it from the inside. See how the window isn't centered on the wall? Why is the right side pushed so far in? What's it hiding . . . treasure? Dead bodies? Hm, maybe I don't want to know!

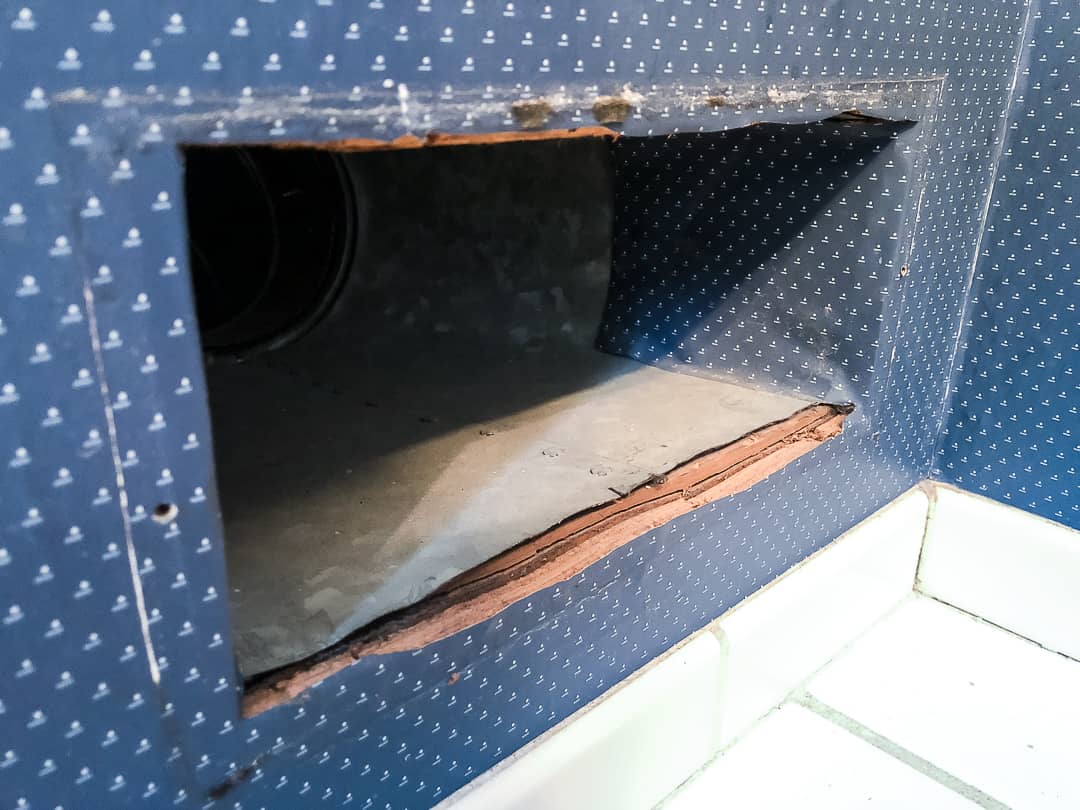
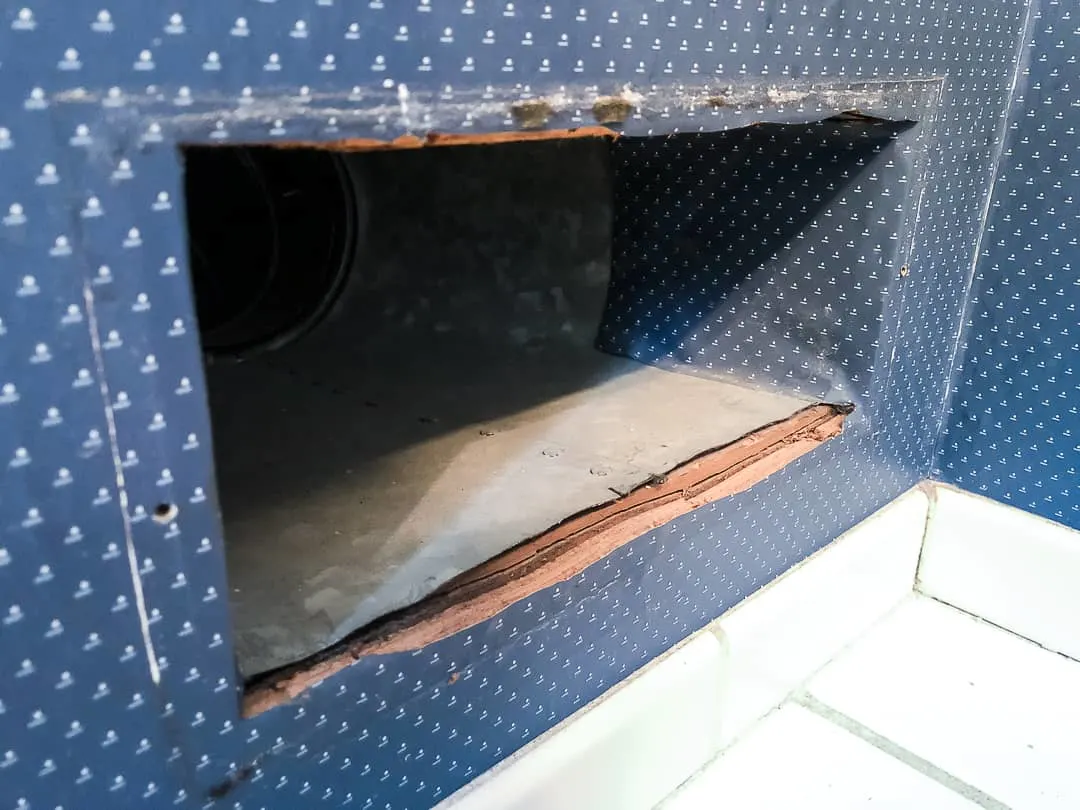
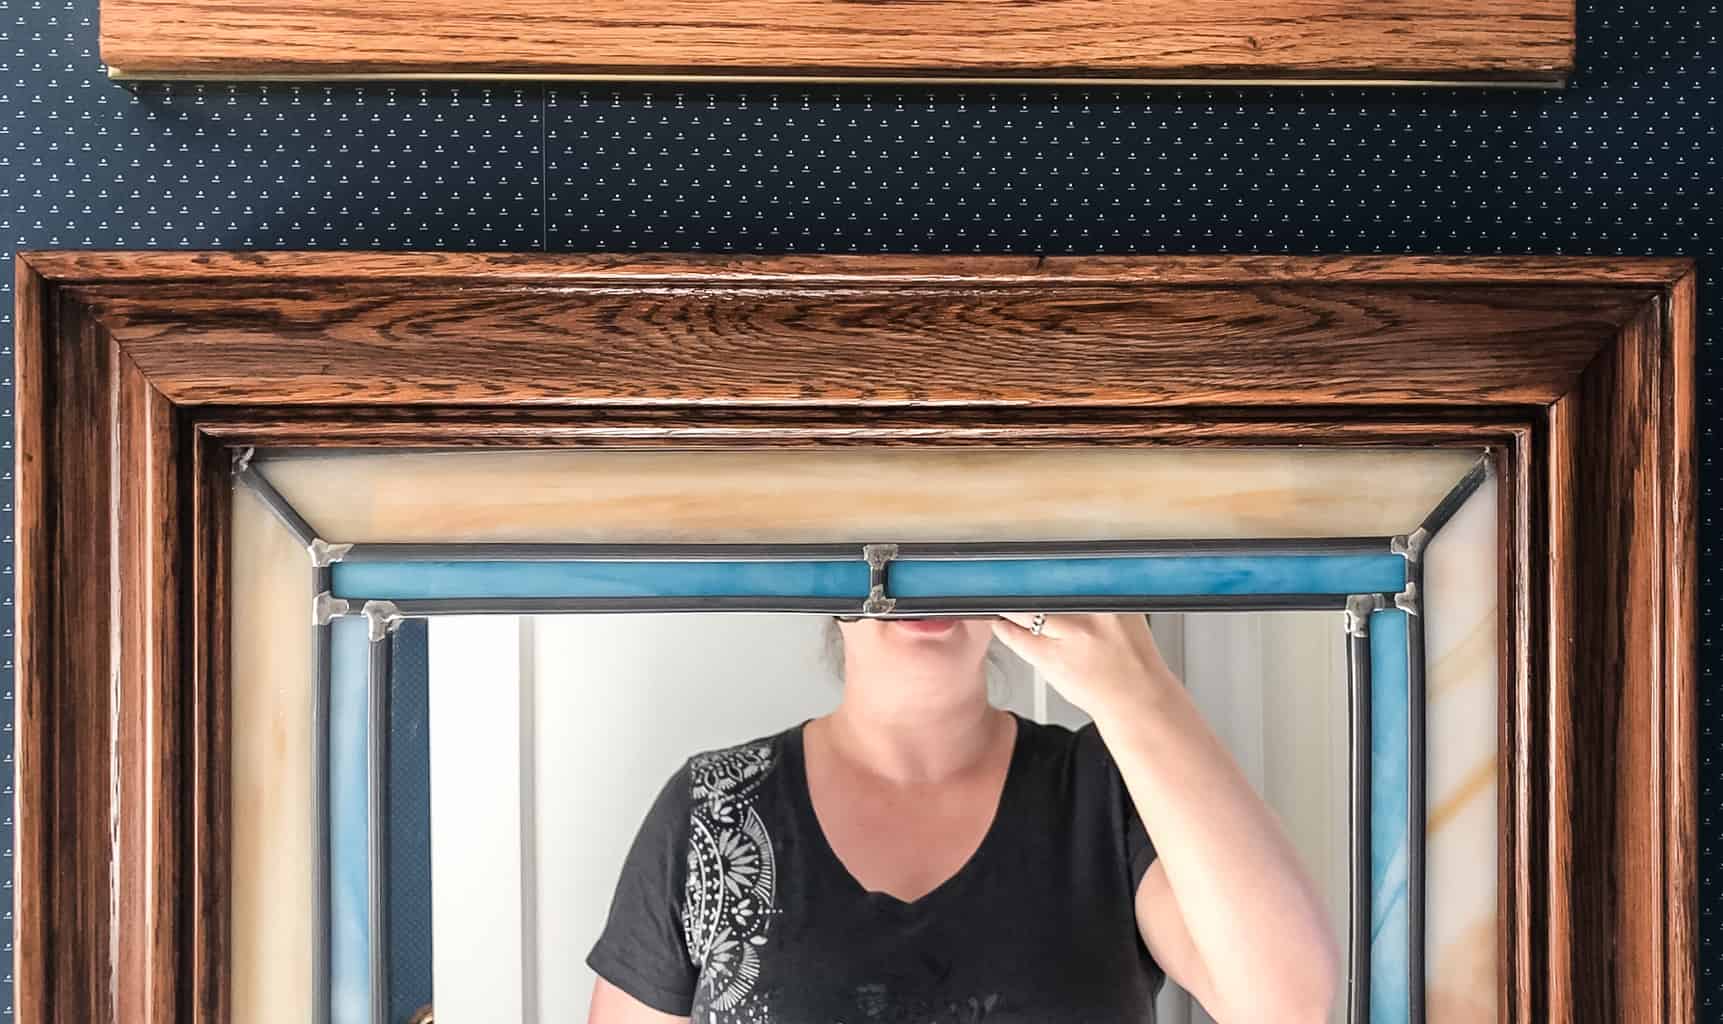
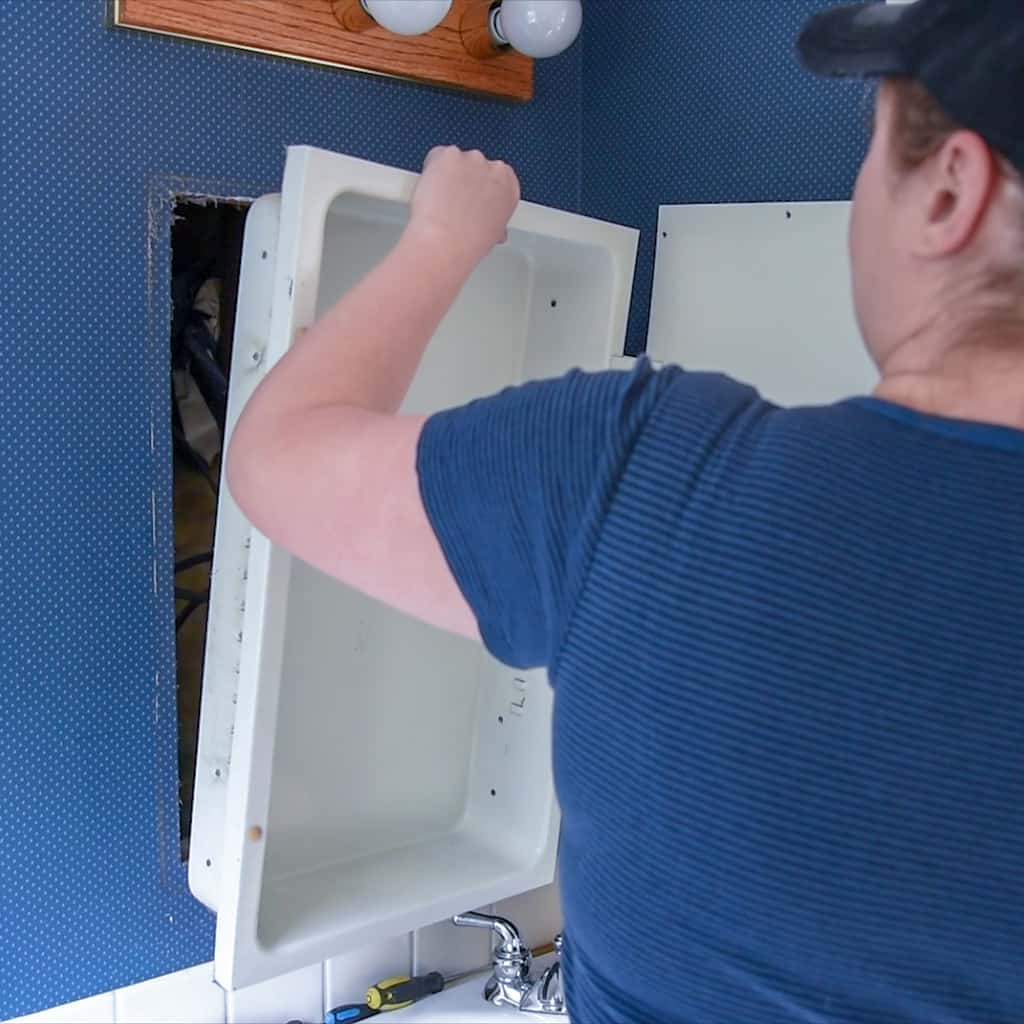
I needed to remove the medicine cabinet so it could be positioned higher on the wall. It's so low, you can't see the top of your head in the mirror! This was my chance to take a peek behind the wall!

It was a pretty simple process of just removing lots of screws. First, the ones on the medicine cabinet door that held the mirror to the hinged flap. Then the screws on the inside (which were a combination of Philips head and flat head screws, grrr).
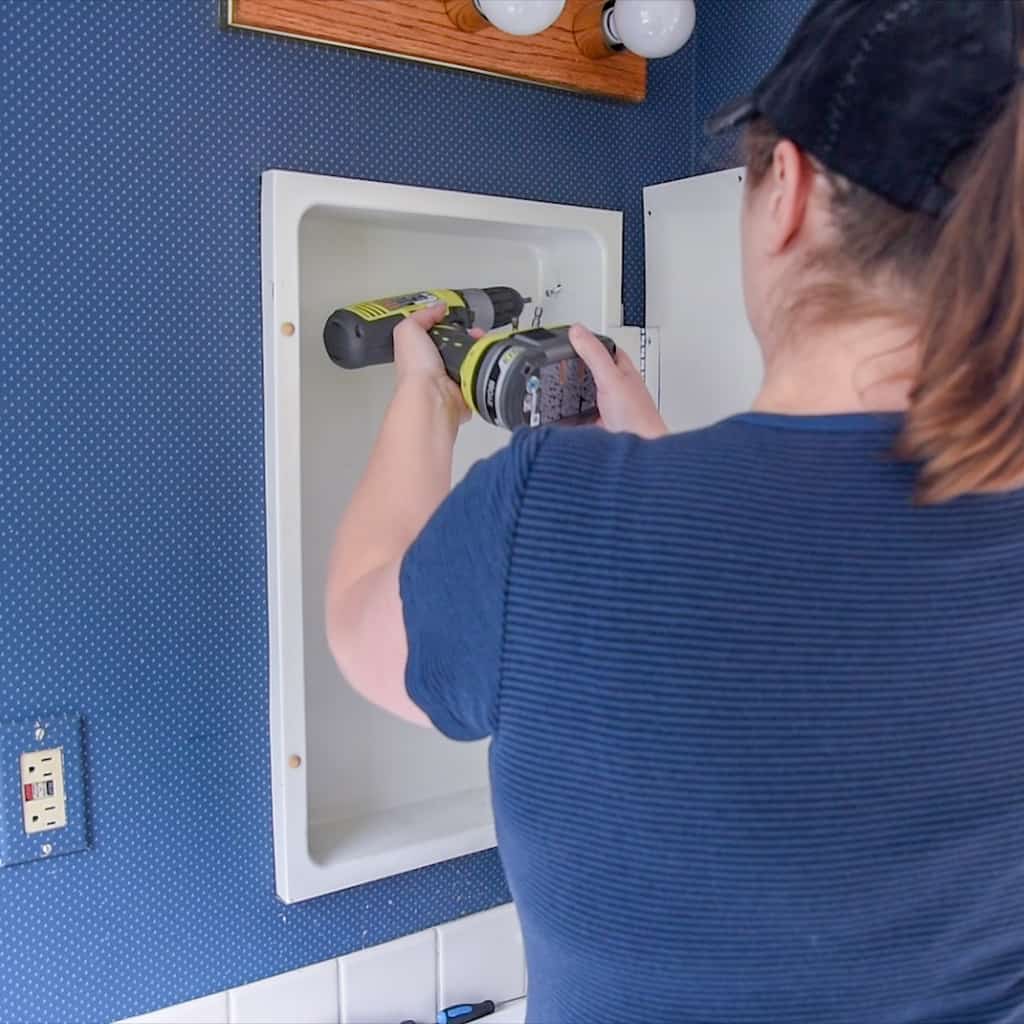
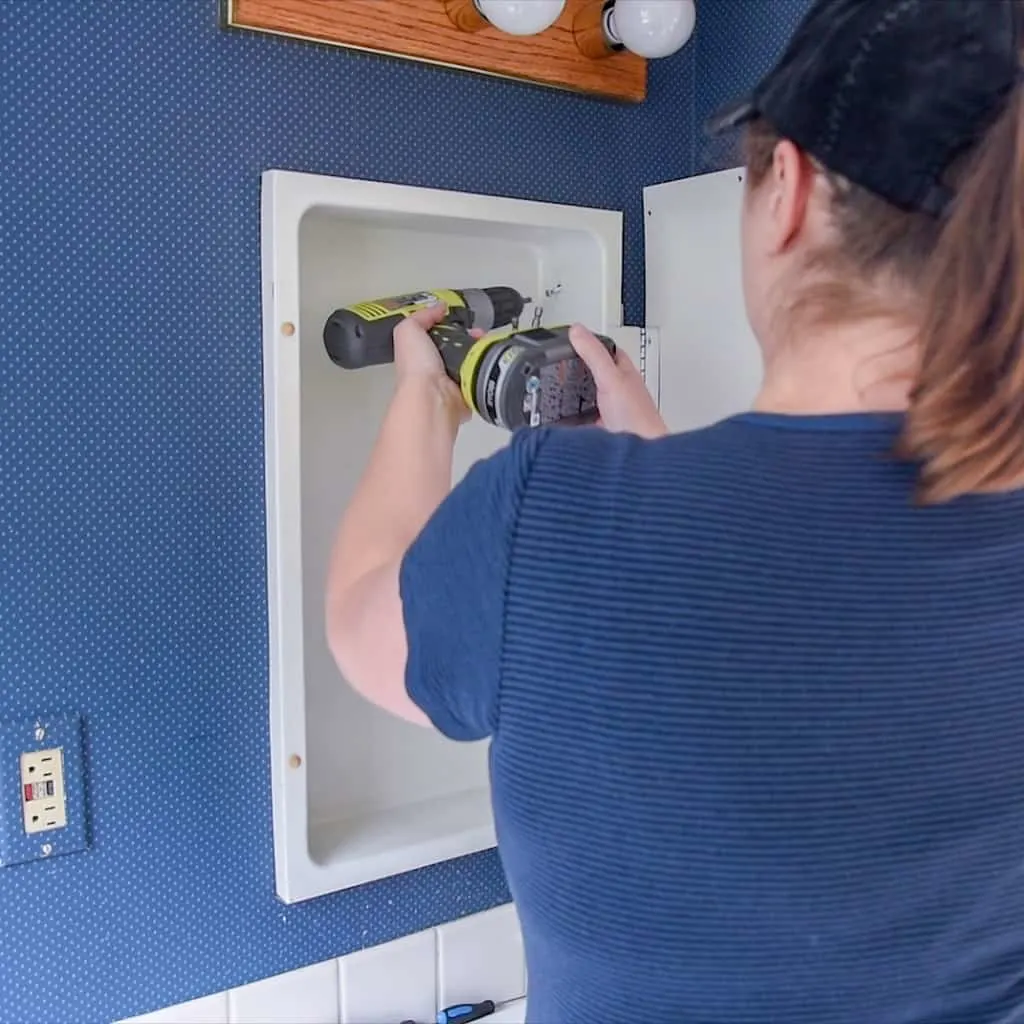
Finally, the screws holding the medicine cabinet to the wall (which were a third type of screw with a square hole!)

Inside was . . . nothing! Just a wadded up ball of wallpaper stuffed between the studs and about 8 inches of open space. So weird!

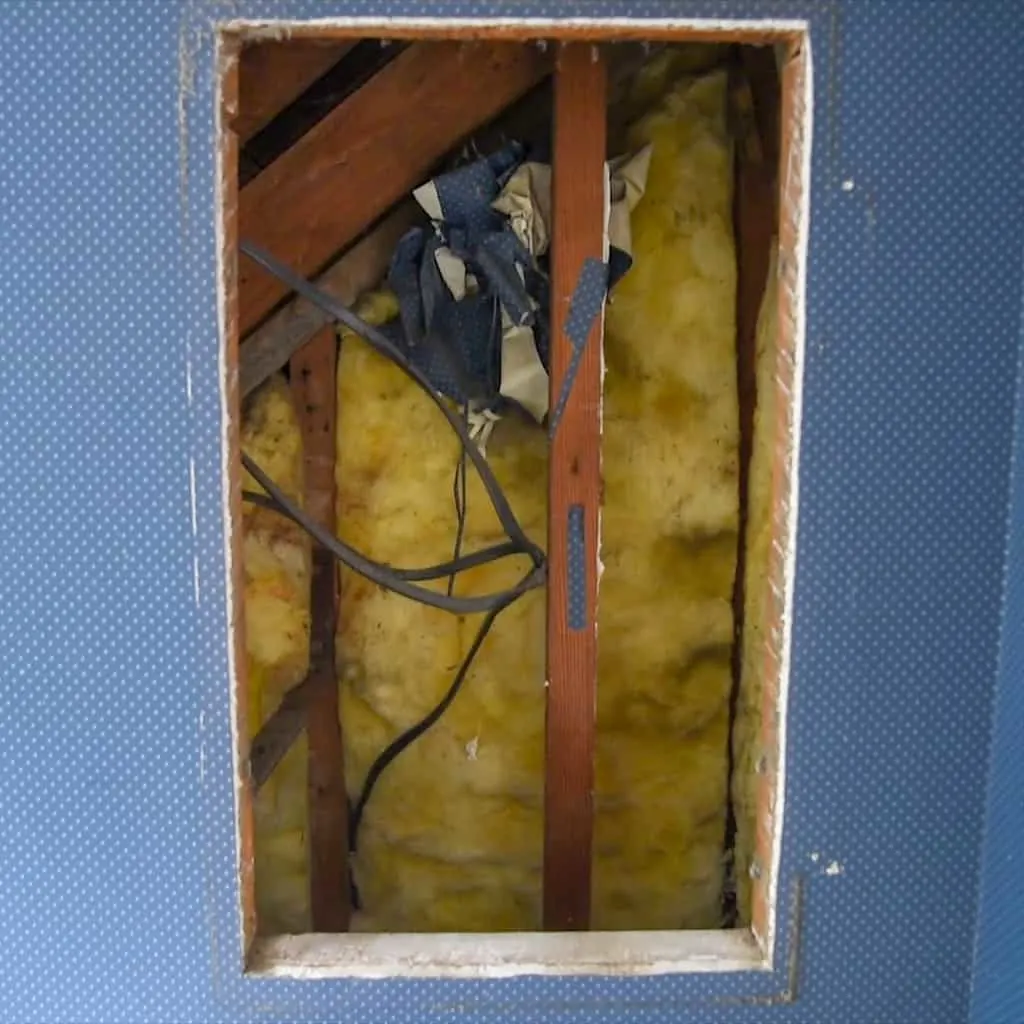
I have to do a bit more investigating to see if I can remove the framing at the top of the hole and move the medicine cabinet up a few inches. If not, I'll just drywall over it and hang a mirror instead.
Remove the Vanity
I took the vanity doors off first to give myself more room to work. The hinges will be saved for a future project, but the rest of the cabinet isn't really salvageable.
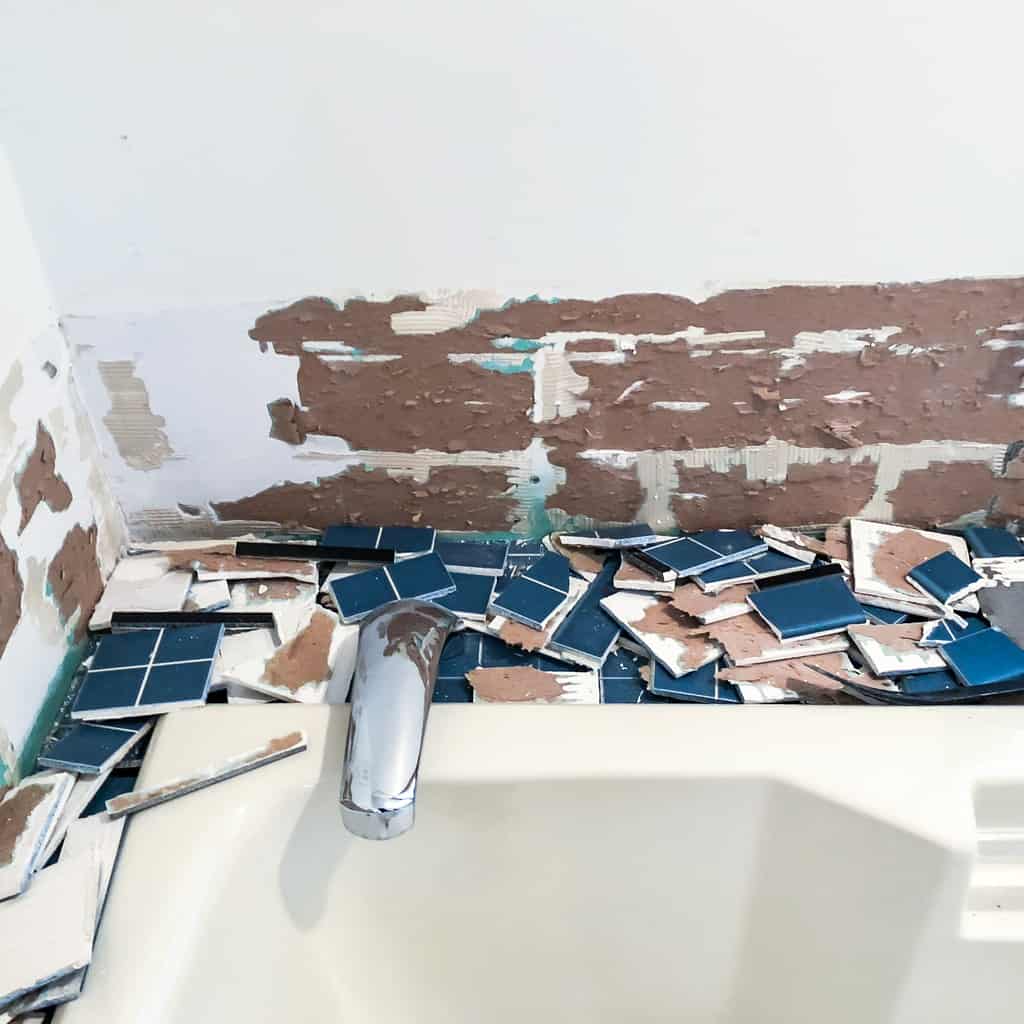
After disconnecting the water and drain pipe, I unscrewed the sink top from the base of the vanity. The wall tiles were installed around the top, so I pried them off first.

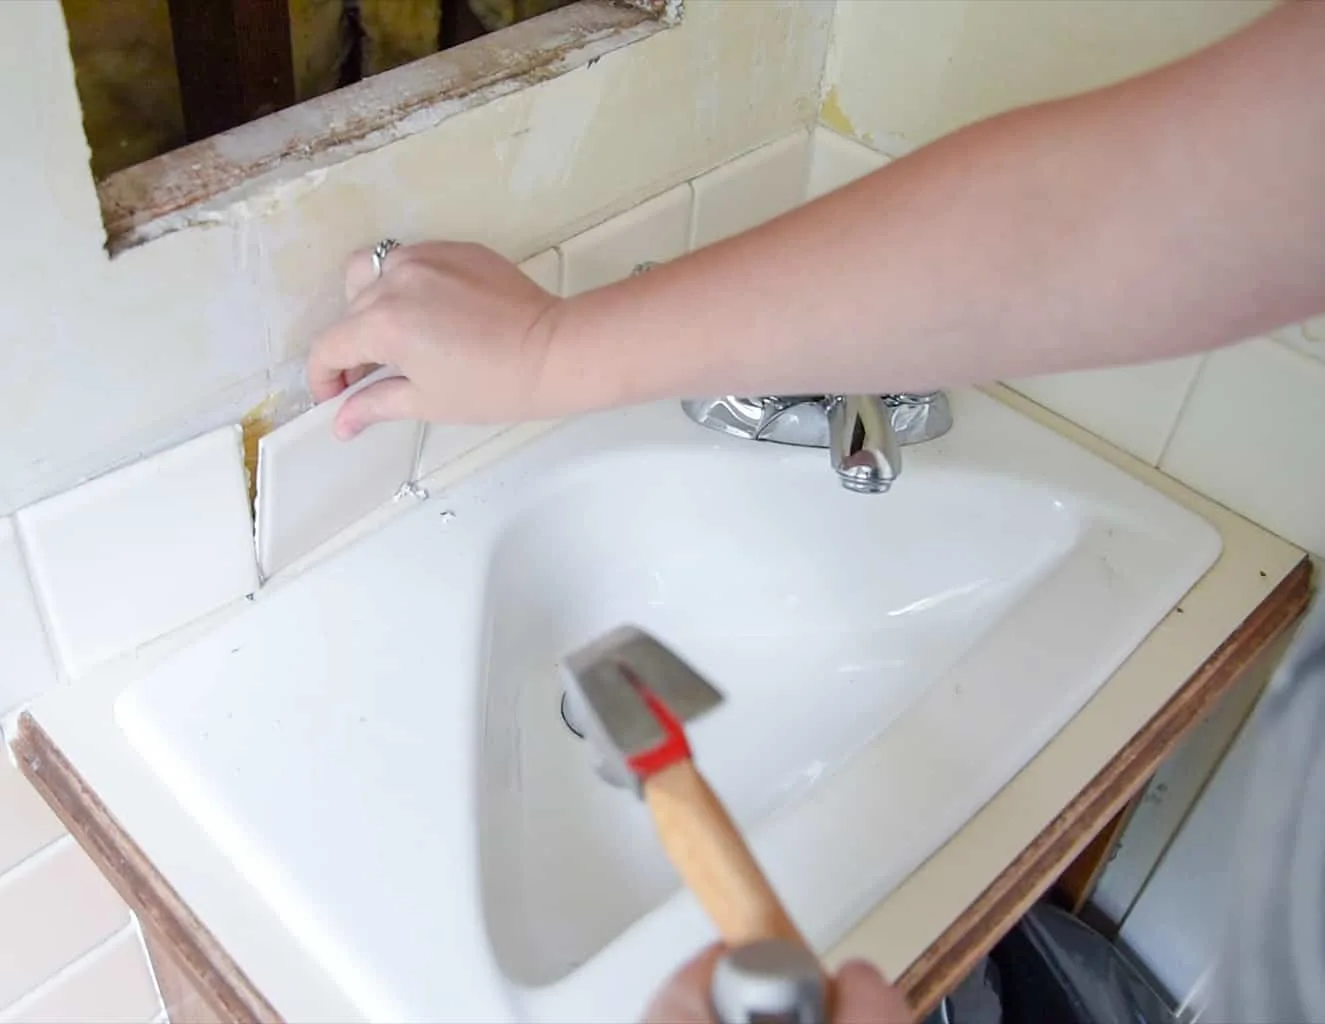
The countertop and sink are so small, I had no problem pulling the whole thing off myself!
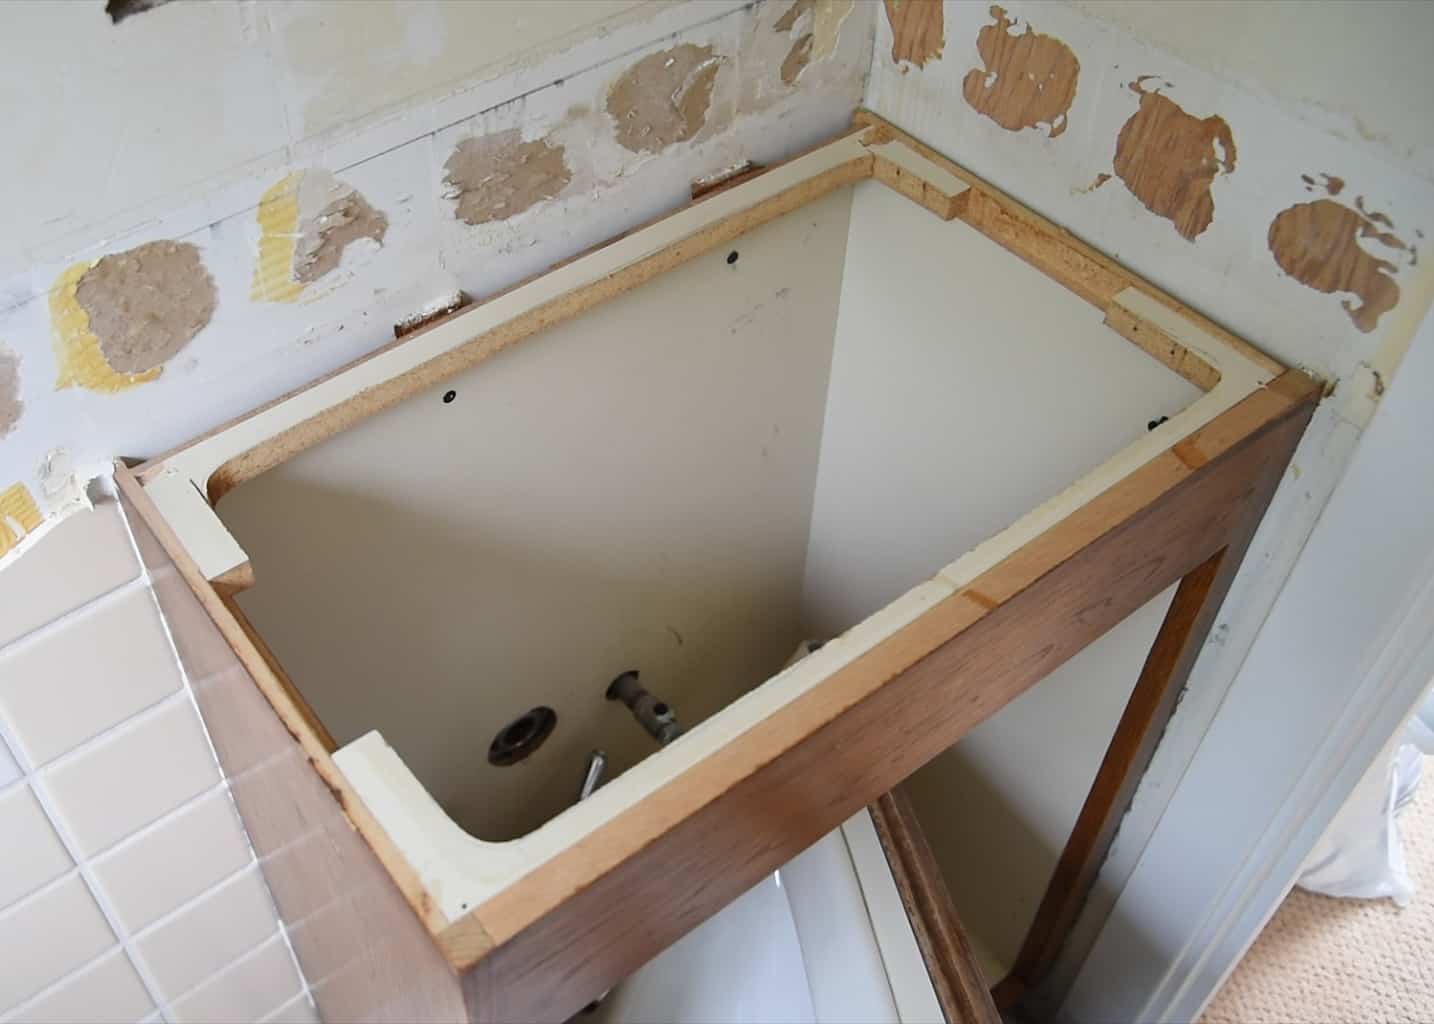

The vanity base was held to the wall with these insanely long screws. This thing wasn't going anywhere without a fight!

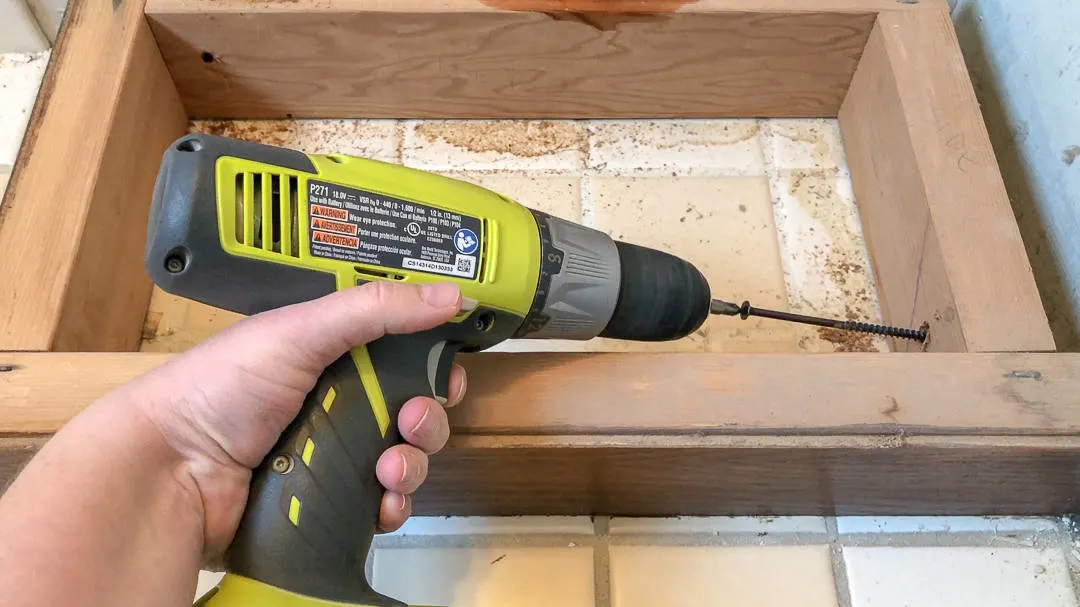
I was relieved to see that the tile extended all the way under the vanity to the wall. That wasn't the case when I removed the old kitchen cabinets to install new ones! The new vanity has feet instead of a solid base, and I was worried that there was just a plywood floor underneath. Whew!
Remove the Toilet
For the final stage of this DIY bathroom demolition, I tackled the wall tile. Luckily, there isn't much! But it's mostly behind the toilet, so that needed to be moved.
I'm a total germaphobe, so moving toilets is just about the most unpleasant task I ever have to do! I sanitize the heck out of it first, then wear gloves to grab it. 🙂
Dropping the toilet into a mortar mixing tub keeps all the grossness contained, and makes it easier to move around. I can just slide it out into the hall when I need more space!

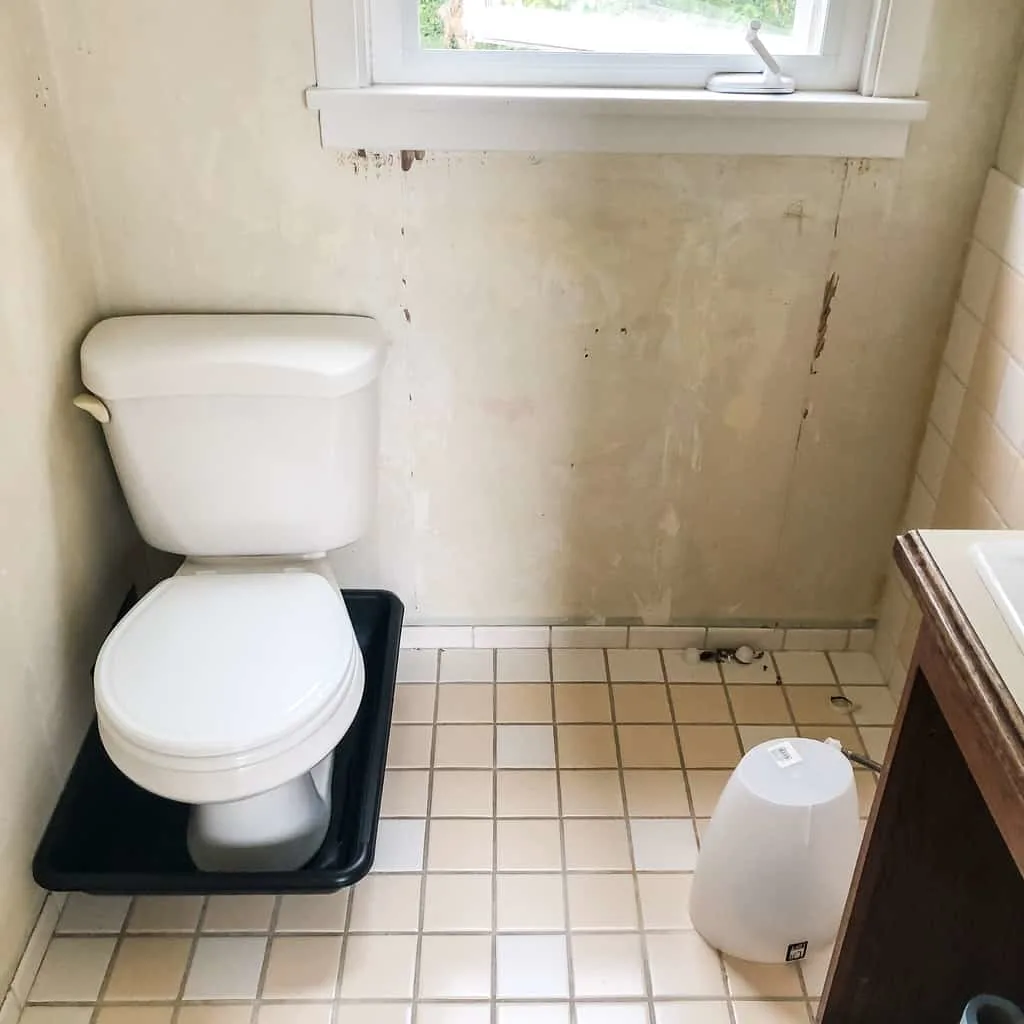
A small plastic trash can is placed upside down over the hole in the floor. This prevents any gases from escaping into the room, and prevents me from accidentally touching the germ-infested toilet ring!
Remove the Wall Tile
Finally, it's smashing time! Even though this entire wall will be covered with new tile, I tried not to damage the wall too much. Sometimes that's easier said than done!
Armed with my trusty chisel scraper and a hammer, I got to work. Just place the chisel scraper along the edge of the tile and give it a few taps with the hammer.
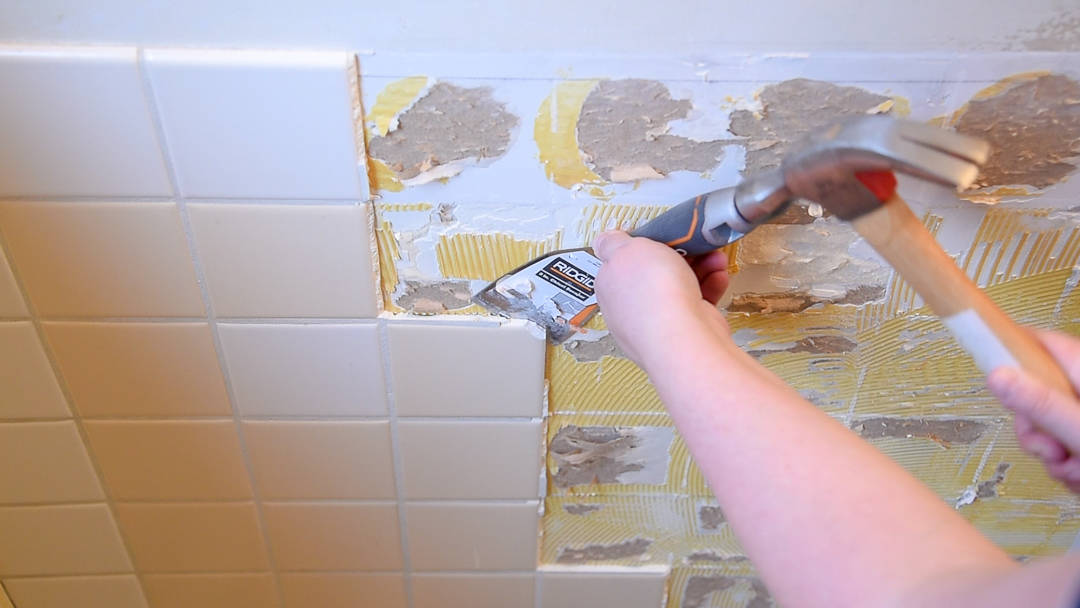

With any luck, the tile will fall off cleanly from the wall! These popped off pretty easily, but there's still a mess of adhesive left on the wall.
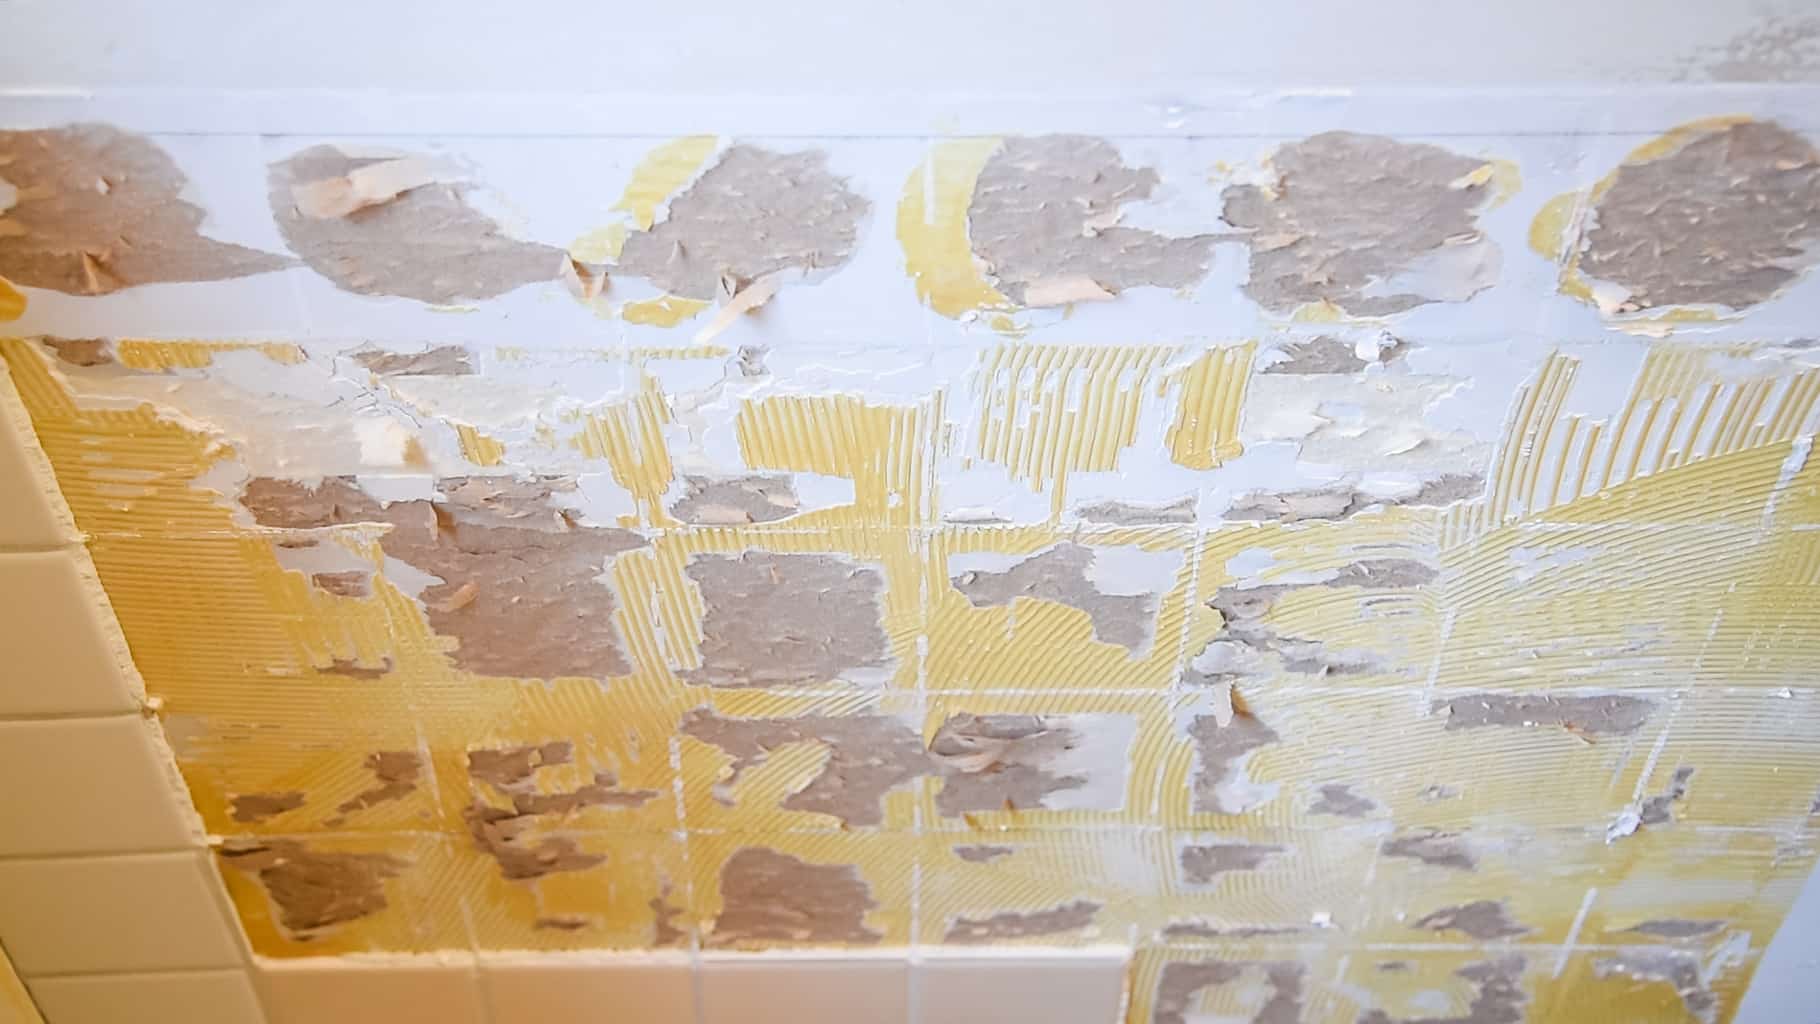

I used a wall scraper to remove the leftover adhesive.
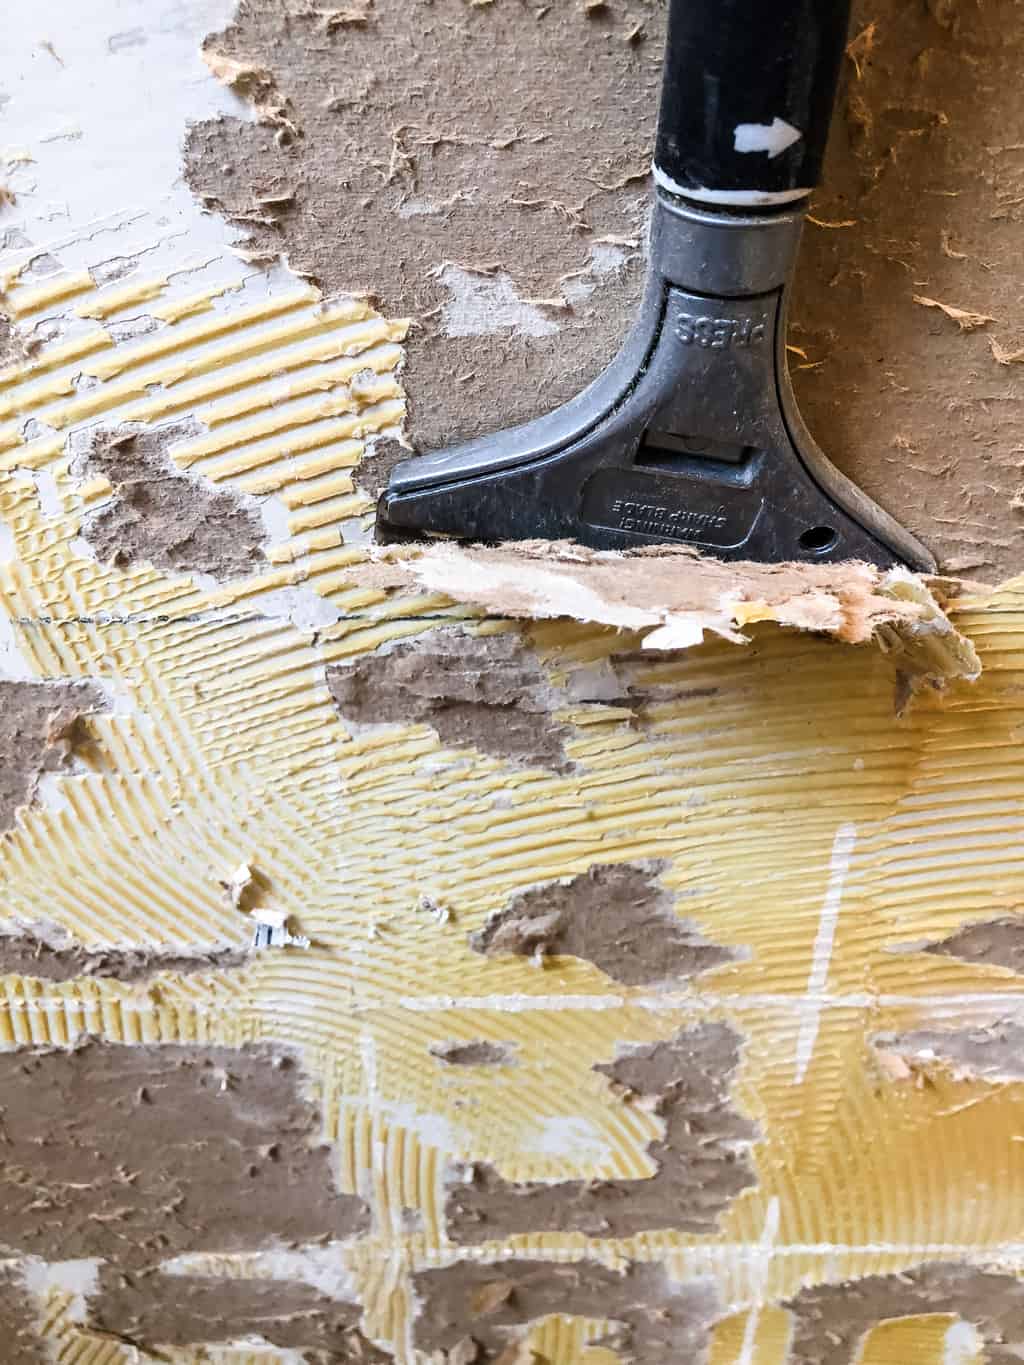

I'll repair the torn drywall paper with Zinsser Gardz Problem Surface Sealer so it will be ready for the new tile to be installed soon!
Whew! What a week! I'm relieved this DIY bathroom demolition didn't take nearly as long as I expected. That means I can start making it pretty much sooner!
Check out the rest of this bathroom makeover!
Desiree
Tuesday 4th of December 2018
Oh this post has given me some great ideas for our new bathroom, it’s next on the list after our bedroom. Thanks for your great info.
Donna @ Modern on Monticello
Tuesday 30th of October 2018
Updating a bathroom is lots of work but so worth it in the end. Good luck with your project and I can't wait to see the final reveal. #HomeMattersParty
Sherry
Monday 29th of October 2018
Such a great improvement to update a bathroom! Thanks for sharing at Home Sweet Home!
Virginia
Monday 29th of October 2018
Wow! So much work! Looks great so far! Virginia | More to Mrs. E
Christine
Monday 15th of October 2018
Tear it up girl! Shocking the wall paper was that easy to take off. I love seeing makeovers in small spaces. Can't wait to see the new tile in there! Following along... :)