You find grout and caulk in similar places, but they're not the same thing. Learn the difference between grout vs caulk and where to use them!
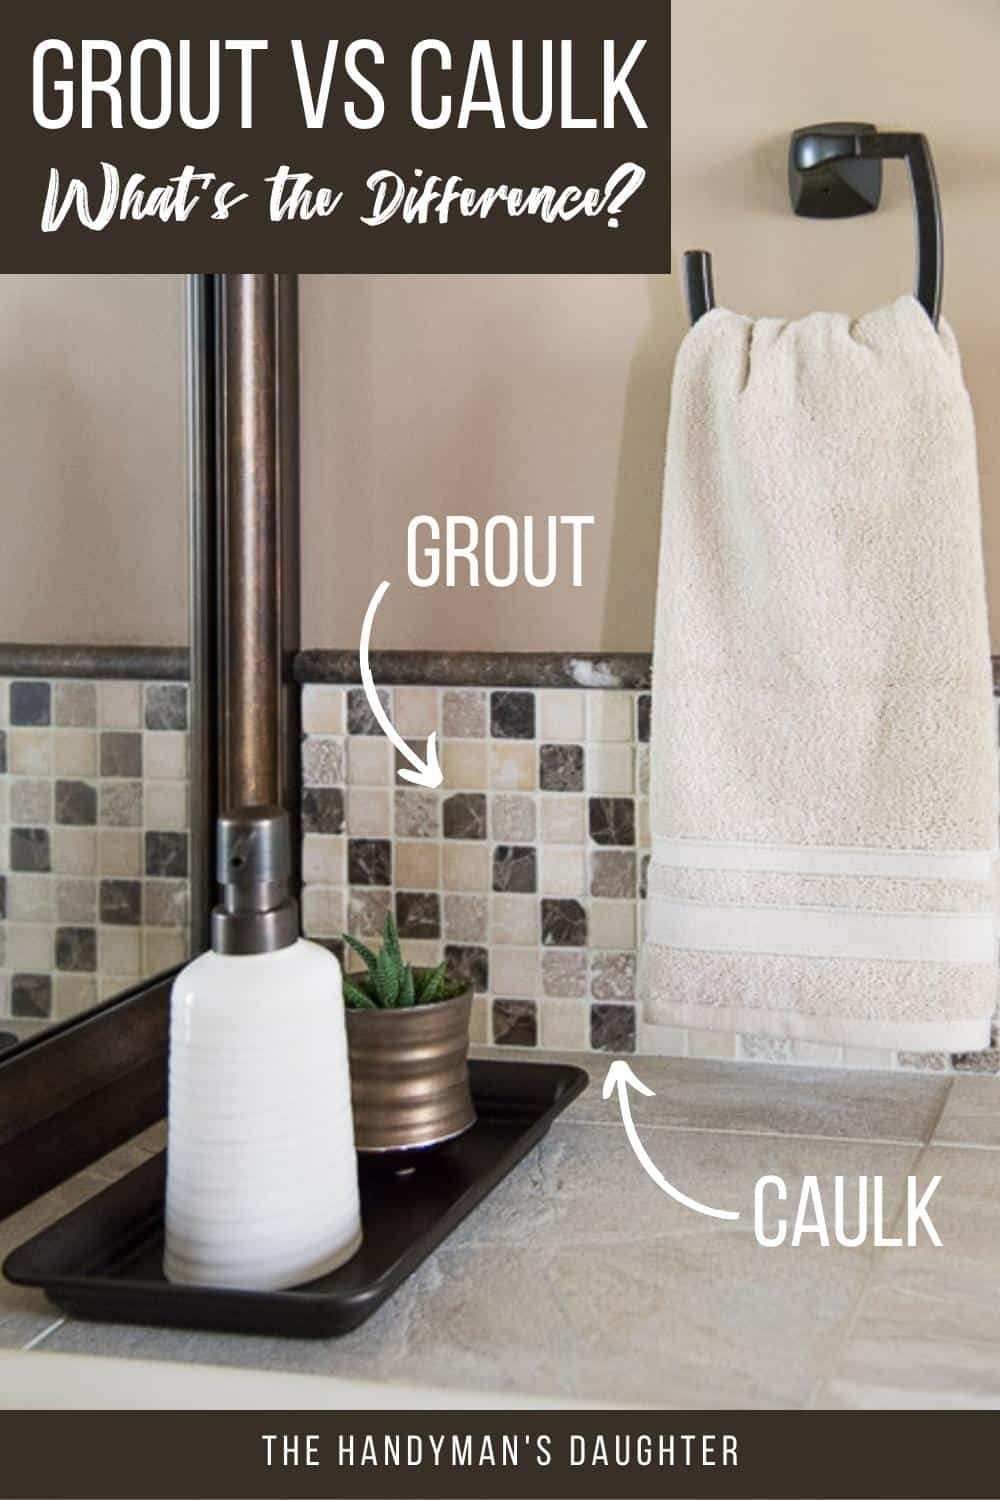

Grout is a cement-like material for filling the joints between tiles. Caulk is more flexible and is used to fill gaps where tiles meet a wall, tub or countertop. Usually, you'll need both products for successful tile projects.
While both grout and caulk are used to fill gaps, they do so with different purposes. Grout dries rock hard, so the tiles don't shift. Caulk remains flexible, so it can stretch without cracking.
As we examine caulk vs grout, we'll discuss how they differ, and what you should know about each product.
This post contains affiliate links for your convenience. Purchases made through these links may earn me a small commission at no additional cost to you. Please visit my disclosures page for more information.
What is grout?
Grout is a cement-like compound used to fill space between the edges of tiles. It can come in a variety of different colors, allowing you to customize the look. Some grout is premixed, but most of the time it comes in powder form, requiring you to mix it yourself.
There are two common types - sanded and unsanded grout. Sanded grout has sand as one of the primary ingredients, and it's used when the gap between tiles is greater than ⅛ inches.
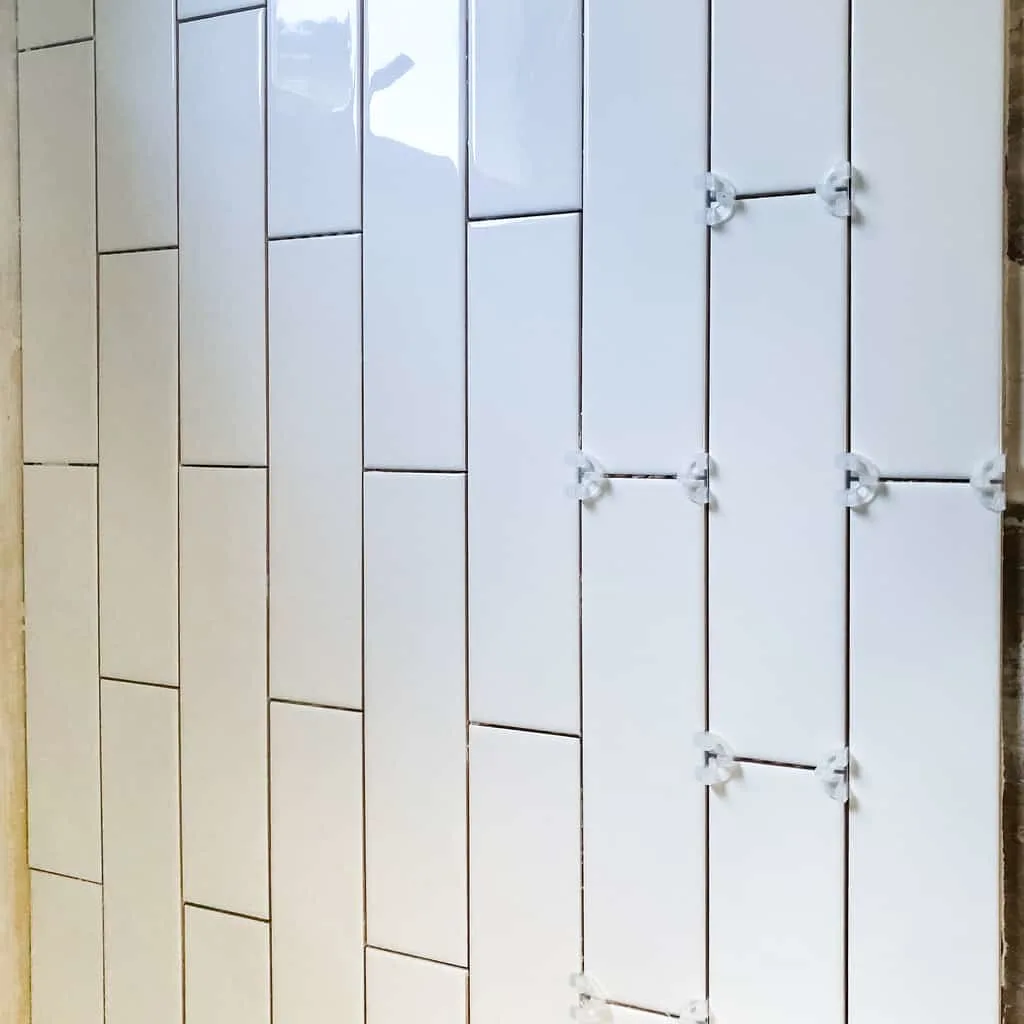
Unsanded grout does not use sand, which gives it a smoother appearance. It is used when you want to avoid scratching a high gloss or glass tile, and for gaps less than ⅛ of an inch.
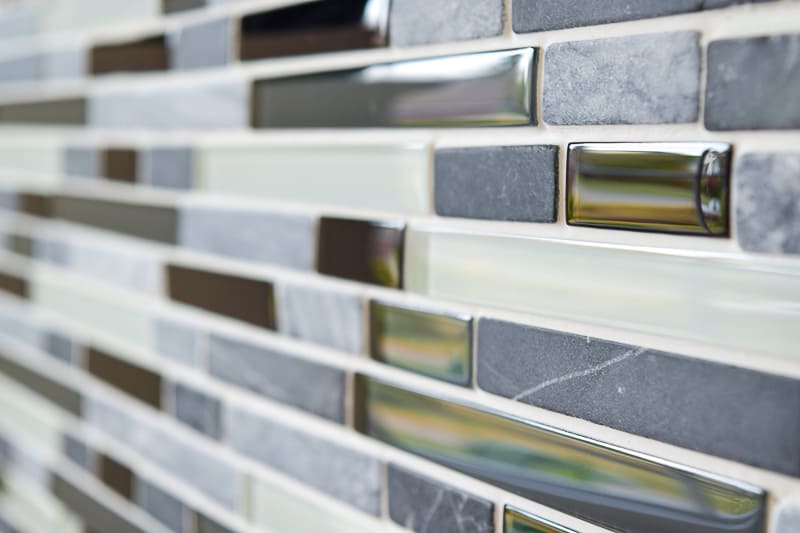

I used unsanded grout for my tile fireplace, because it had glass tiles in the mosaic pattern. As you can see in the photo above, it comes out super smooth and didn't scratch the glass when it was applied.
When should you use grout?
You should use grout after your tile is installed and the mortar has dried. It will fill in all the joints between the tiles and prevent water from getting underneath. Grout also helps to prevent the tiles from shifting and sagging over time.

Do not use grout in the corners between two tile walls, or where the shower wall meets the tub. These joints can move slightly from the house settling or the weight of the water inside. Grout in these joints will crack, but caulk is flexible and will stretch.
How do you use grout?
Grouting is a messy job, but is fairly easy to do. It doesn't require as much precision as caulking, because the tile edges guide the grout into place. I'll have a full tutorial on how to apply grout soon, but here's the basic steps.
Mix the grout
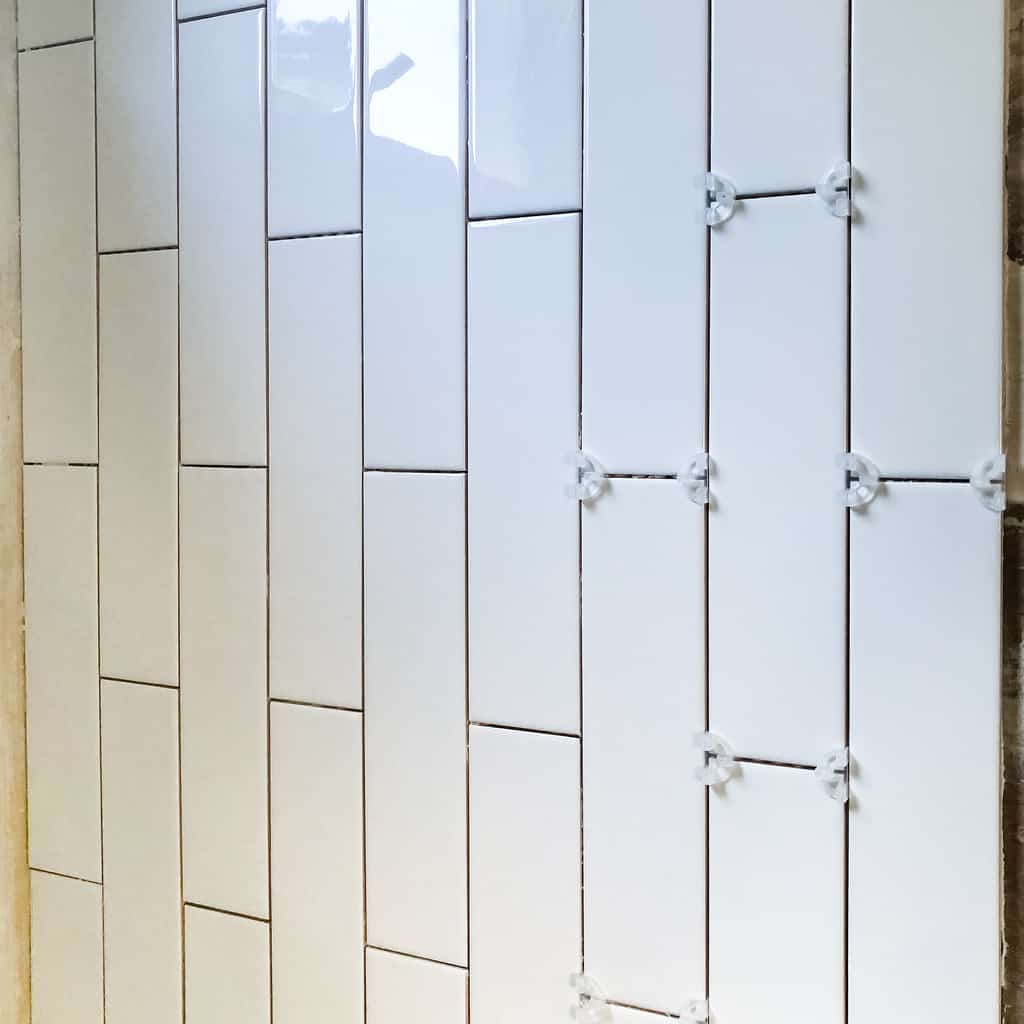
If you used tile spacers during installation, remove them before you start mixing the grout. You'll only have about half an hour before it starts to harden, so finish any prep work first so it doesn't set up prematurely.
While you're removing the spacers, check to make sure that the gaps are clean. The grout needs to adhere to the backer board for the best results. You can usually pick out any dried mortar with a utility knife.
If your grout is in powder form, you need to mix it with water according to the instructions on the package. Try for peanut butter-like consistency. If it's too soupy, it will ooze out of the gaps. However, if it's too dry, it will become difficult to work with.
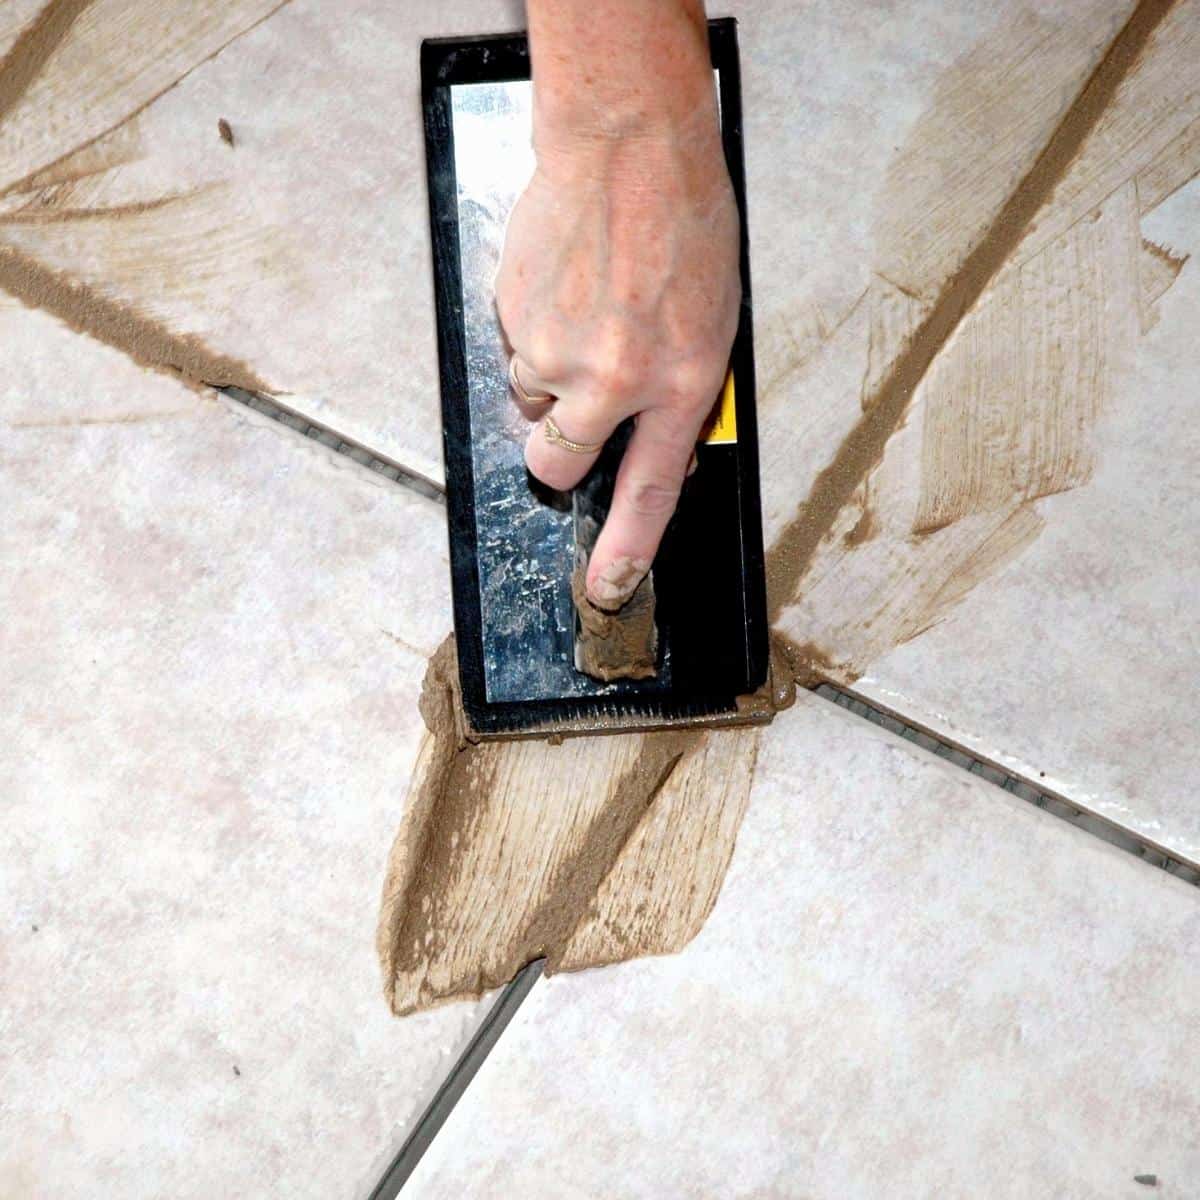
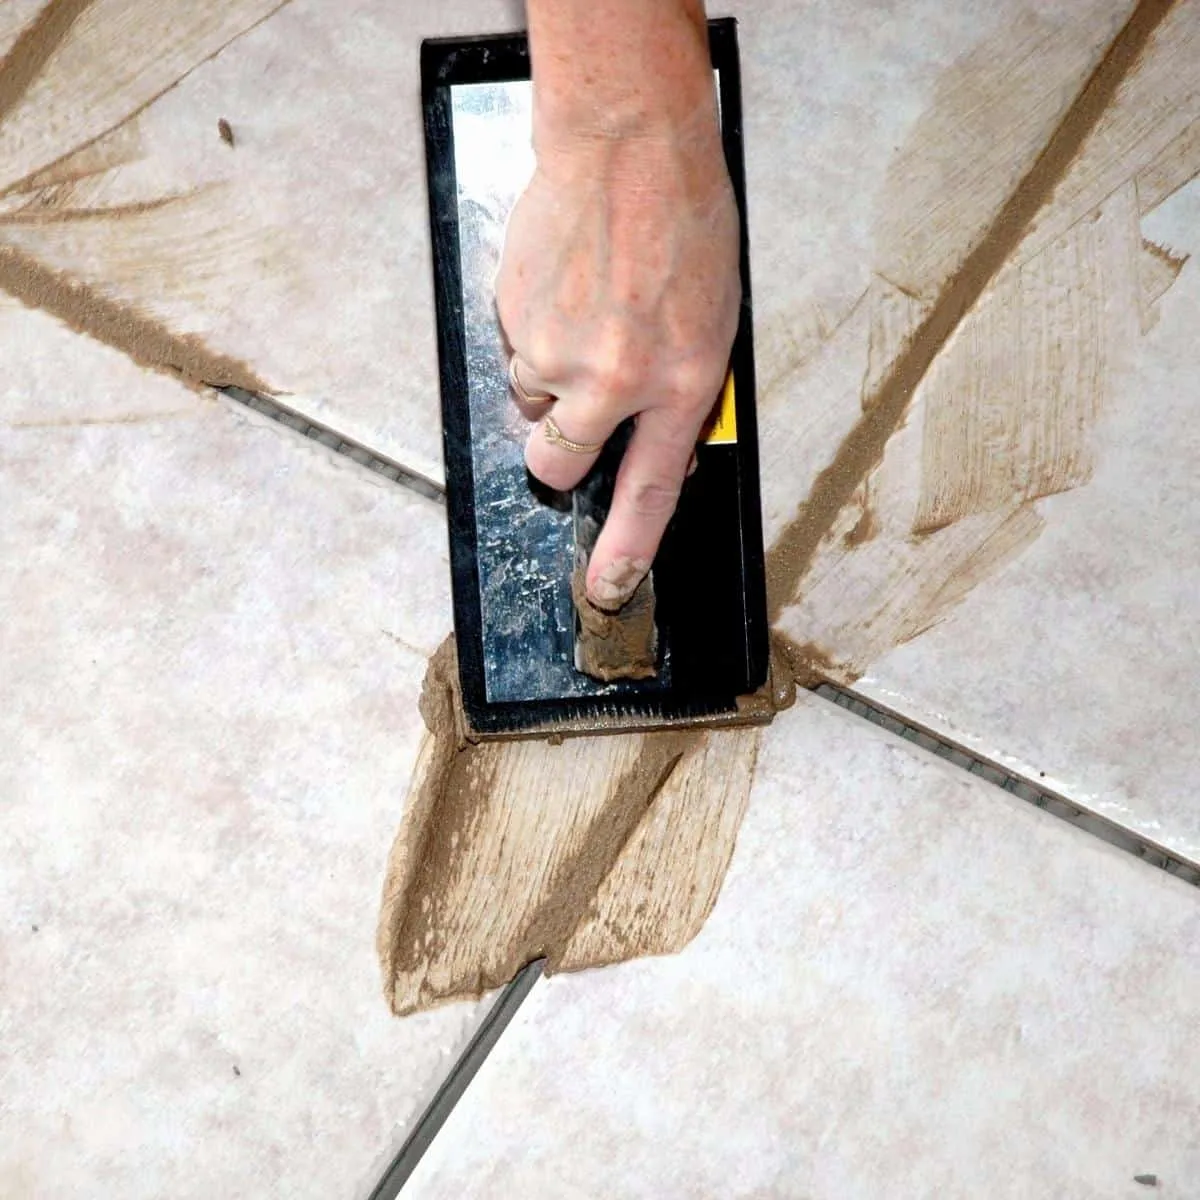
Use a grout float to spread it on
A grout float is a rubbery hand tool that is used to spread grout over the tiles and into the joints to the backer board. Use the float to pull the grout into the gaps using a diagonal motion. This will prevent accidentally pulling it back out and creating air pockets.
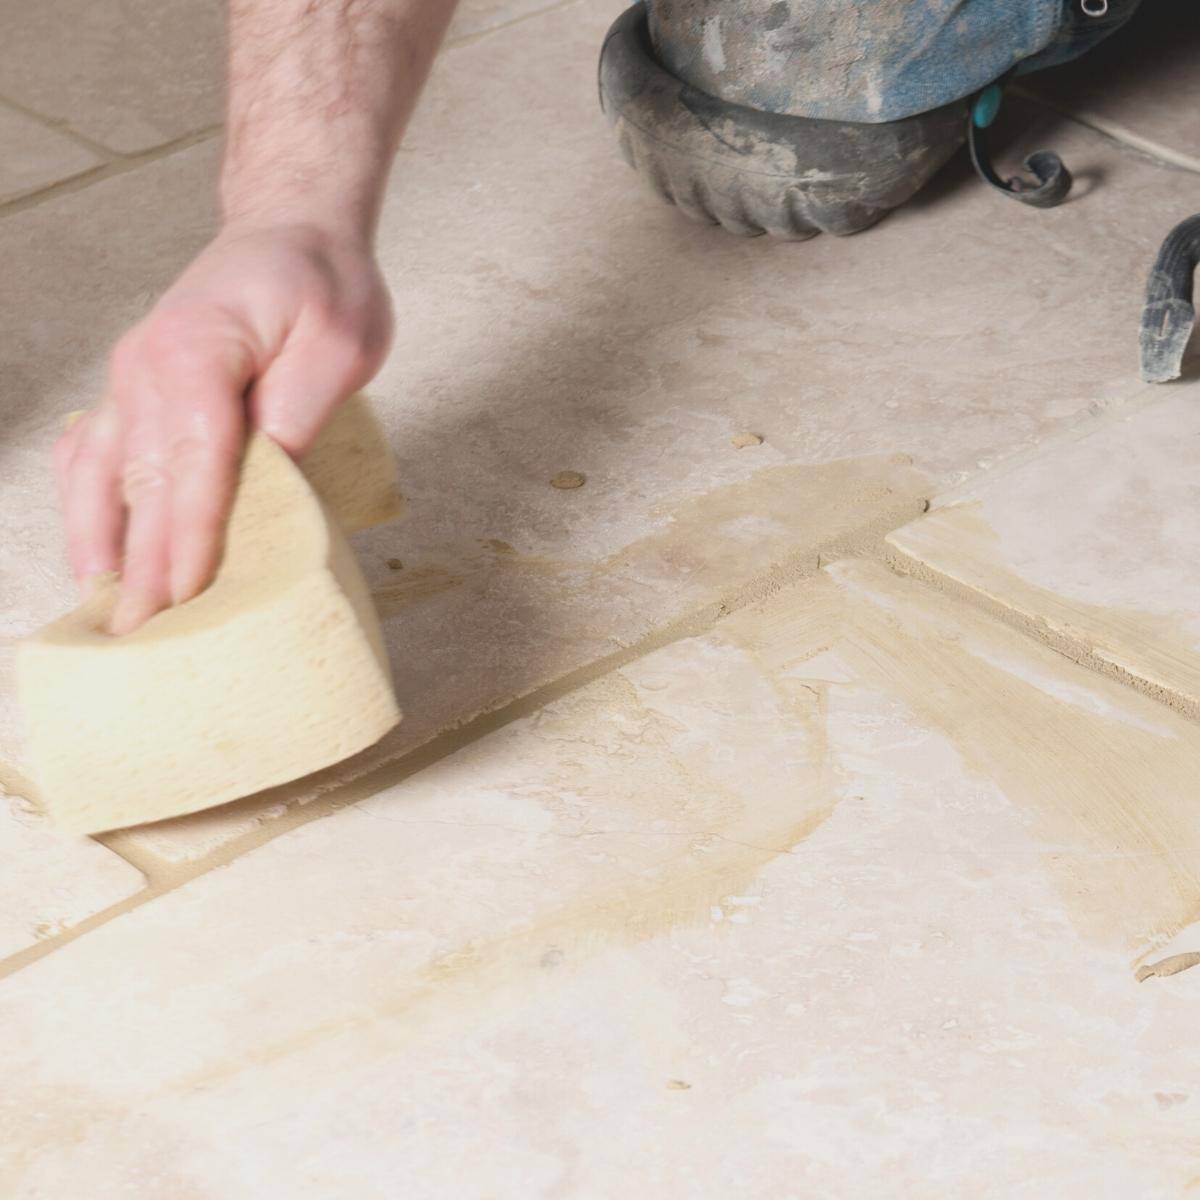
Clean off the excess and remove grout haze
After smearing all that grout around, the surface of your tiles will look a bit messy. That's ok! Allow the grout to dry just enough so that it is no longer sticky.
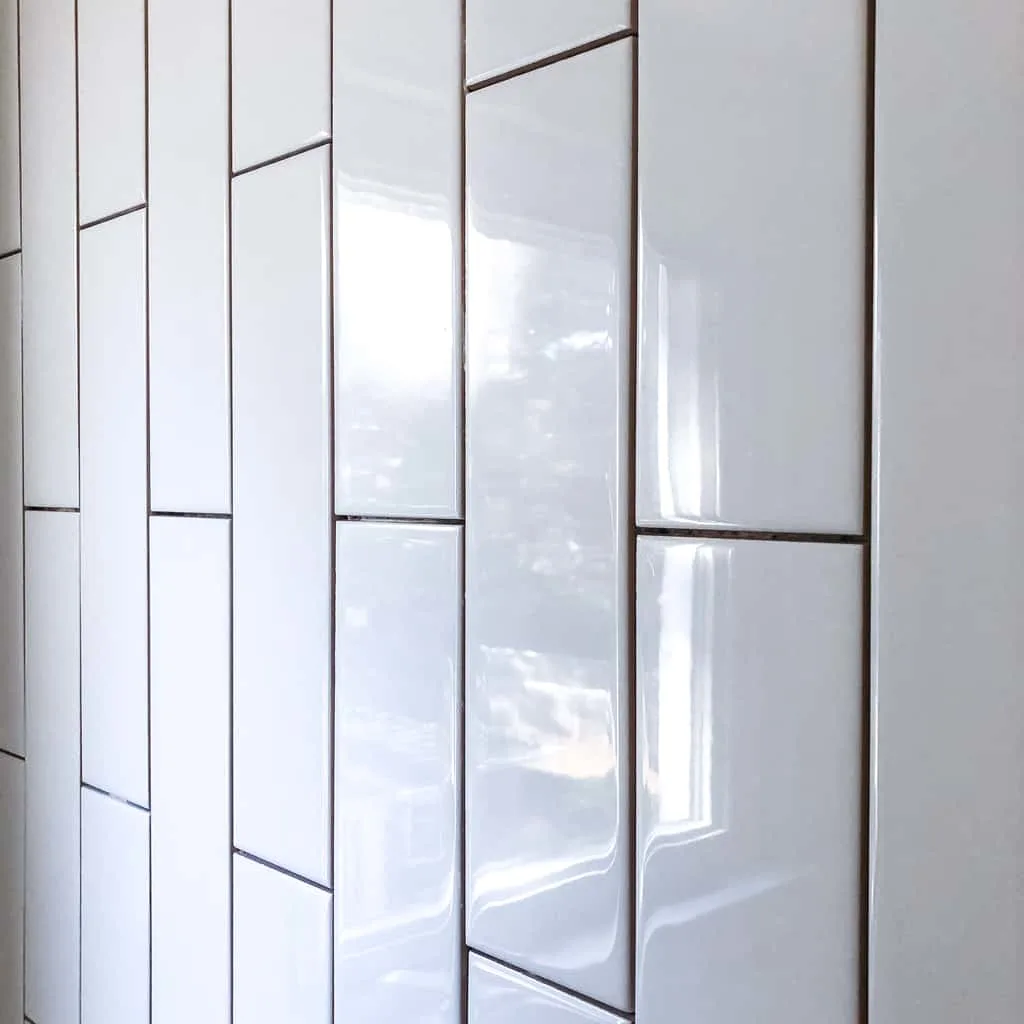
Then, use a large wet sponge to remove excess grout, clean the tile surfaces and smooth out the lines. Wipe in a diagonal direction across the joints, not up and down along them.

After this, you'll need to wait for the grout to dry until you can no longer dent it with a finger. The final step is to wash with clean water to remove the haze left on the tile surface. You may need to come back a second time with a damp microfiber cloth for a quick polish.
For a more in-depth look at how this process works, check out the video below.
Seal the grout
If you're installing tile in an area that will be exposed to water, it's important to apply a waterproof sealant. This will help prevent ugly stains, as well as prevent water penetration. Ensure that you wait the appropriate amount of time for the grout to dry before applying, and then wait again before allowing water contact.
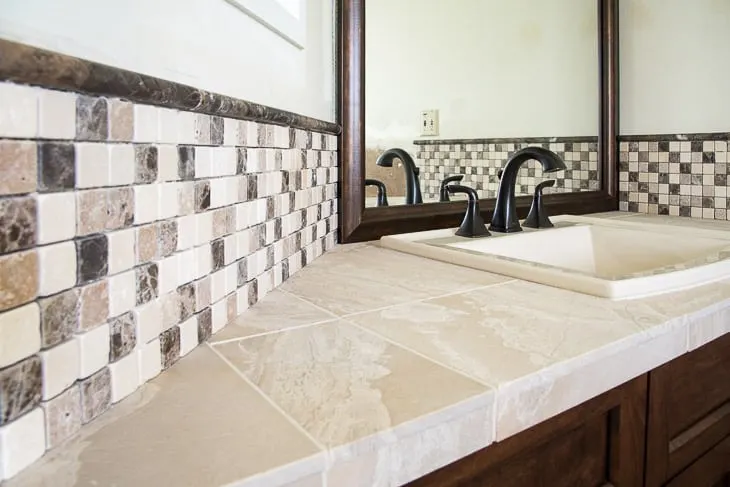
What is caulk?
Caulk is used to fill in the gaps between tile and fixtures (such as a bathtub or sink) or the floor and wall. Unlike grout, caulk is not used between the tiles, except where a vertical and horizontal tile surface meet, such as between a tile shower floor and tiled walls.

When should you use caulk?
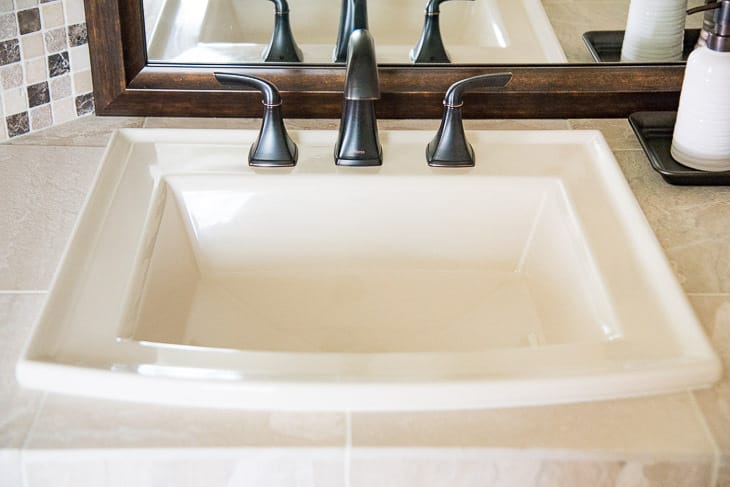
Waterproof silicone caulk should be used in the corner of a shower wall or where the tile meets the floor. It should also be applied where the sink meets the countertop or the tub meets the tile to create a waterproof seal.

You can usually find caulk grout, which is just caulk that matches your grout color from the same manufacturer. This allows you to keep a consistent look throughout your project while still getting the benefits of caulk over grout.
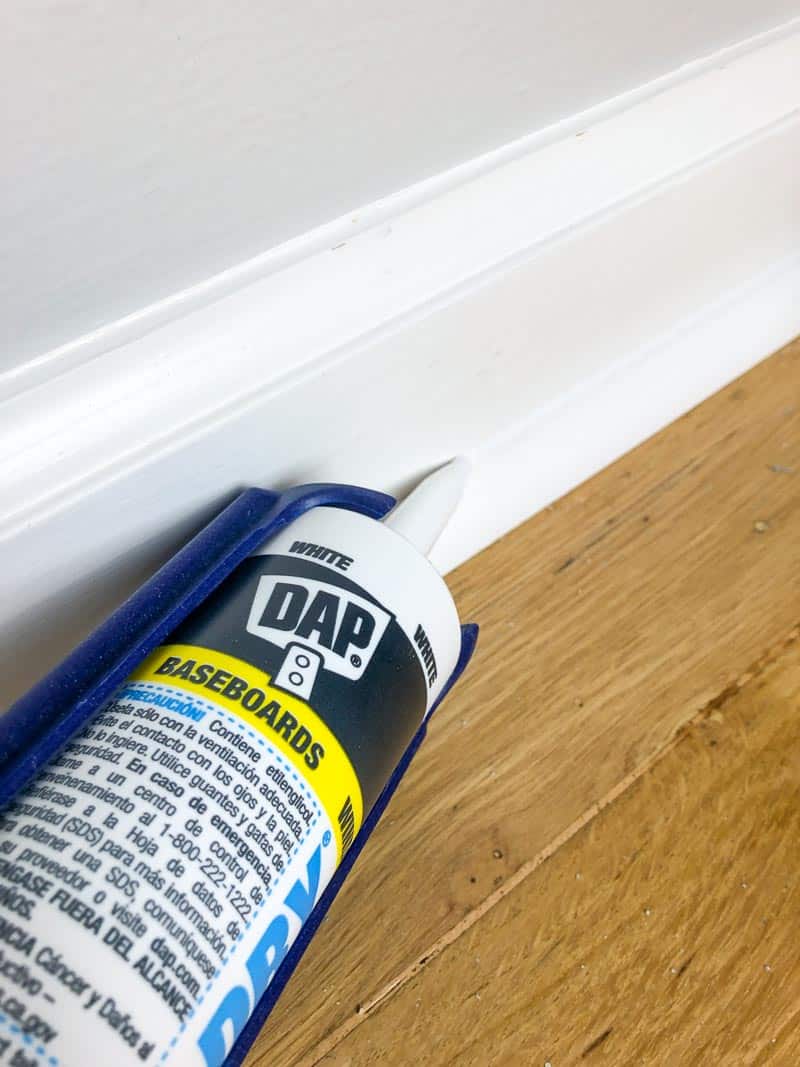
There is also caulk for use around trim, such as baseboards and plinth blocks. In these situations, the caulk is more decorative than functional, and is just used to fill the gaps and make it look more finished.
How do you use caulk?
Caulk comes in a tube, and you'll need a caulking gun to apply it along the joint in a thin bead. For a more in-depth tutorial and tips, check out my guide on how to use a caulk gun. Here's a quick rundown of the steps involved.
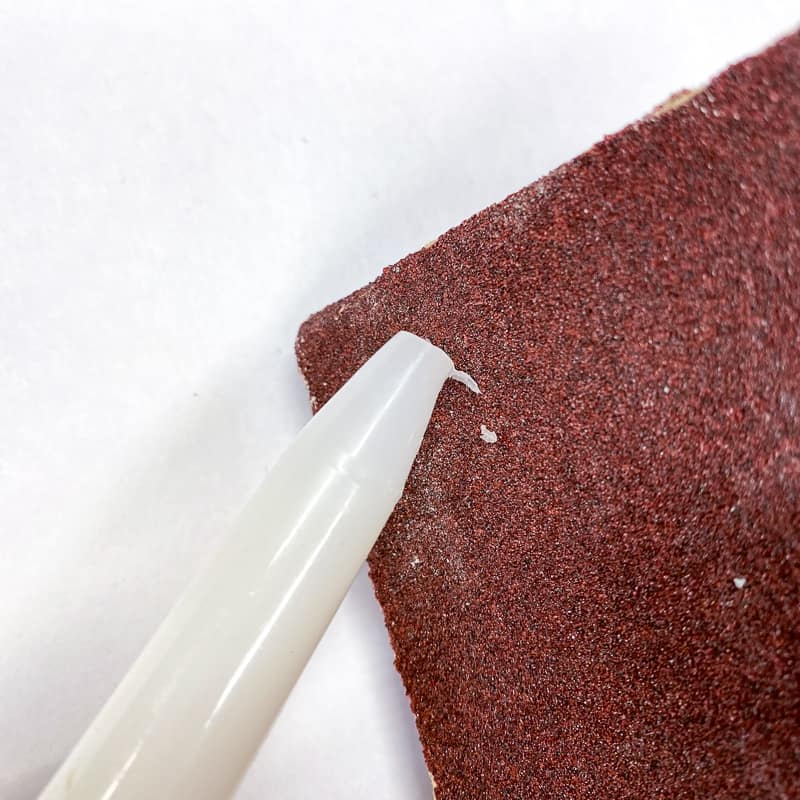
Prepare the nozzle
Cut the end of the caulk tube at a 45-degree angle. Then, take some sandpaper and smooth any rough edges.

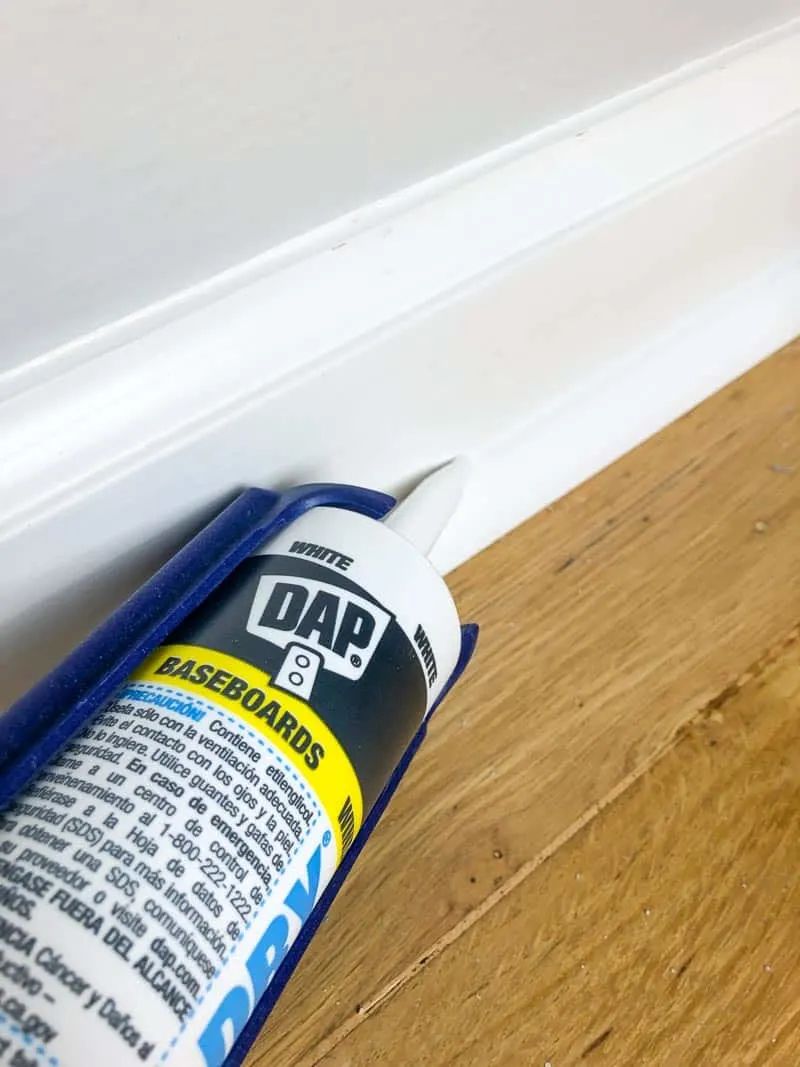
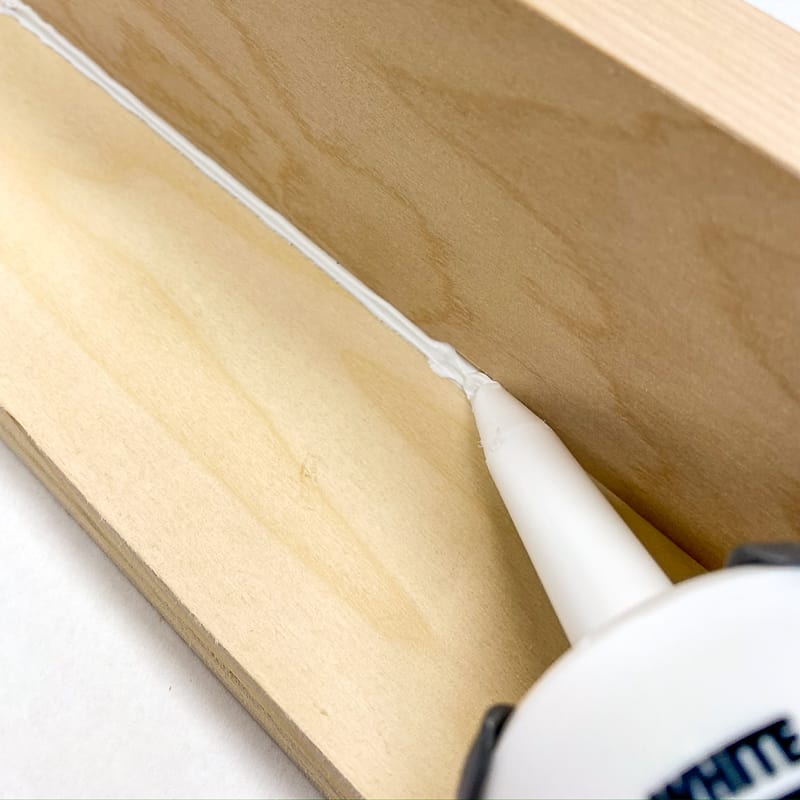
Pull the tip along the seam
Squeeze the trigger as you pull the caulk tube toward you with the point pressing into the joint. Use an even motion and avoid squeezing out too much at once. It's better to go over it a couple of times with thin layers than to create a huge mess.

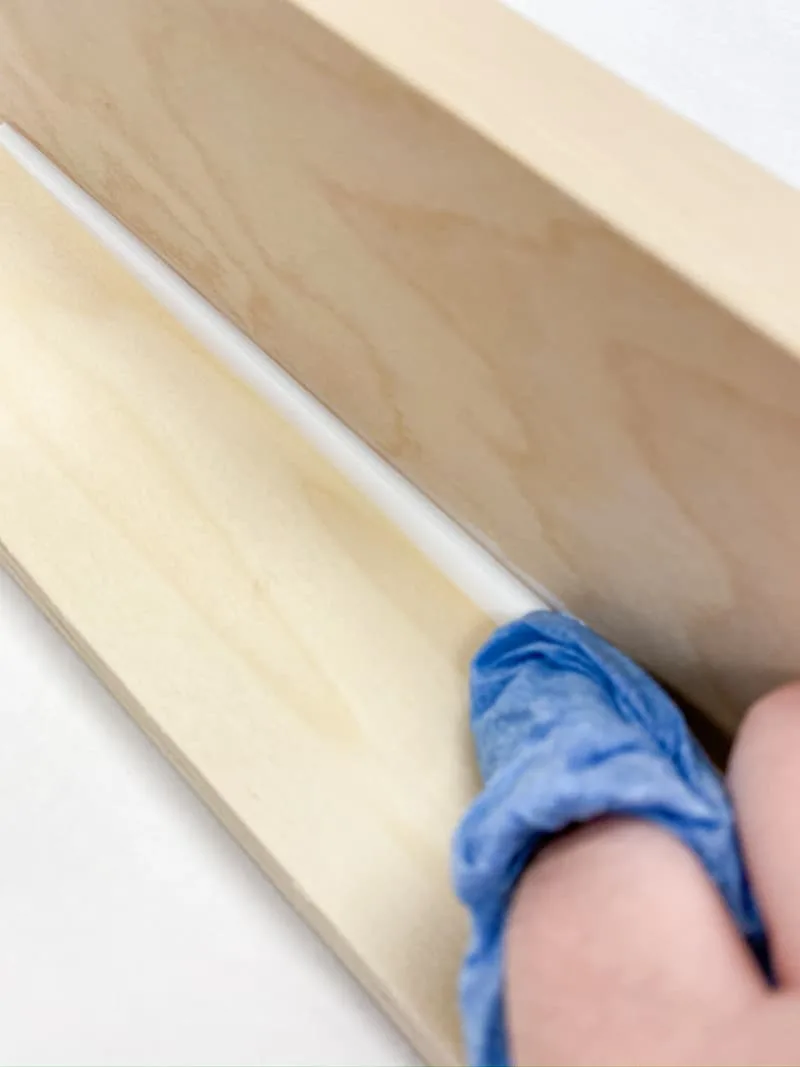
Smooth out the caulk bead
There are several different ways to smooth out a gloppy bead of caulk. I prefer to wrap my finger in a damp paper towel and run it along the joint. But there are also caulking tools that can give you the same effect without getting messy.

Hopefully this article cleared up any confusion you might have about caulk vs grout! If you have any questions, feel free to ask in the comments below!
Check out these other home improvement articles!