This step-by-step tutorial will show you how to change a kitchen faucet yourself in less than an hour with just a few simple tools!
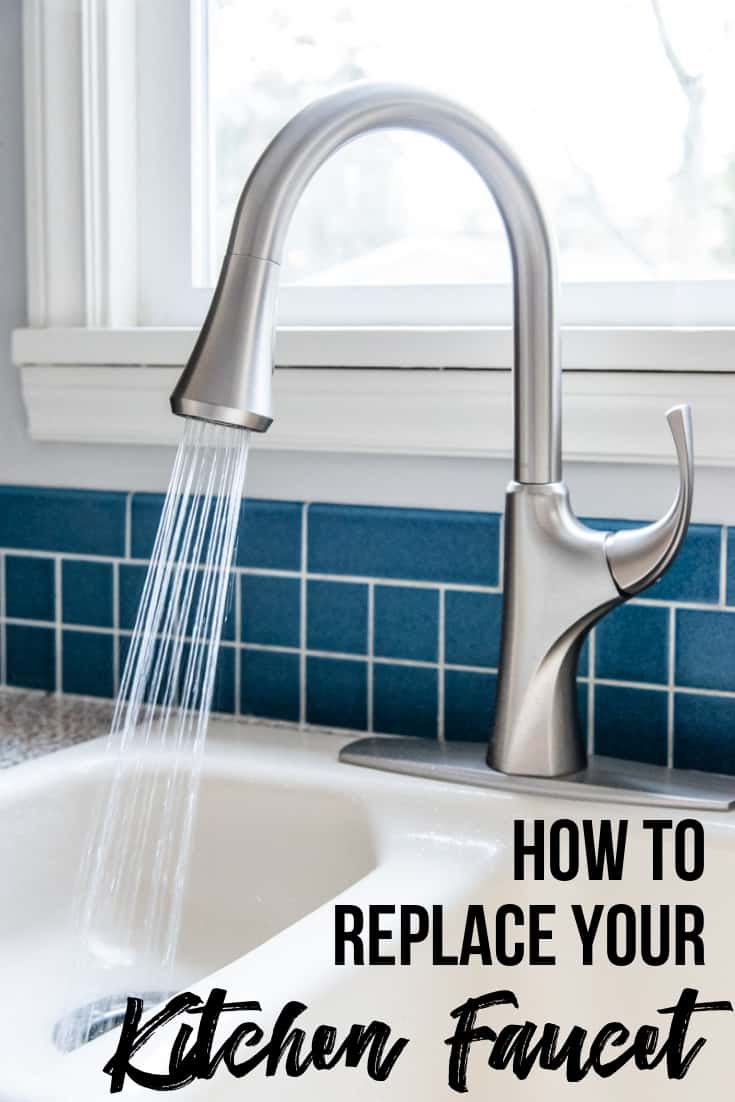
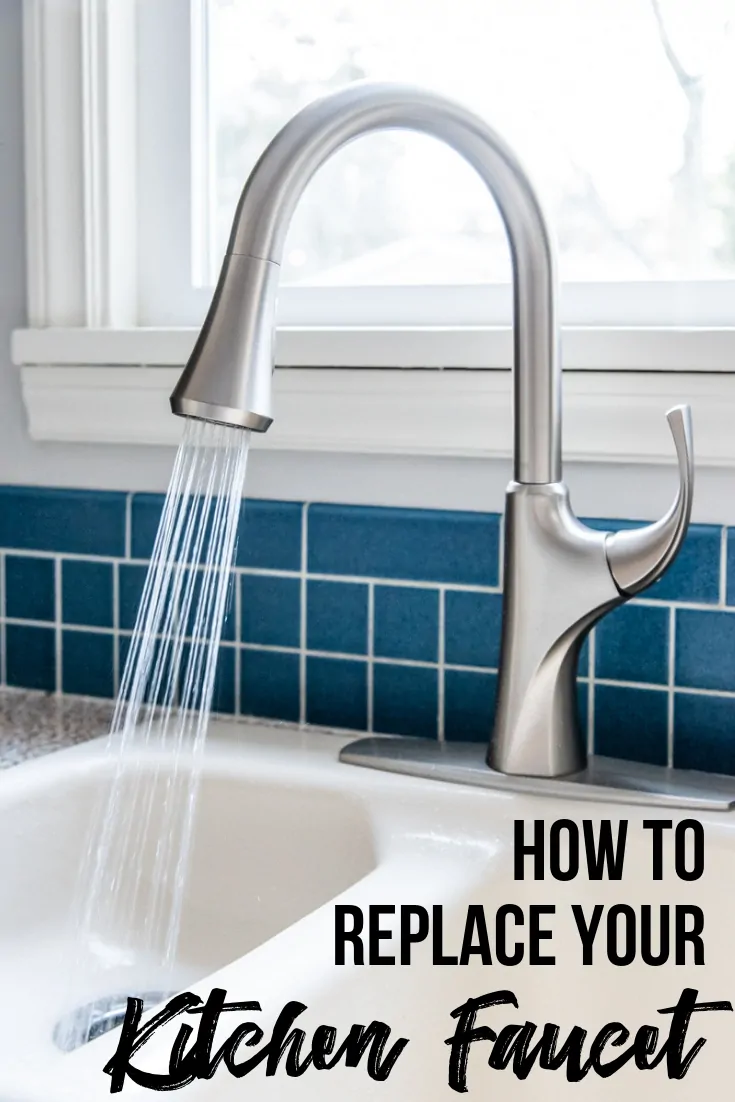
Updating our 80's kitchen has been an ongoing process, from painting the kitchen cabinets to covering the countertops with contact paper. Now I'm finally switching out the faucet! In this tutorial, I'll show you how to change a kitchen faucet to give your sink a whole new look!
This post contains affiliate links for your convenience. Purchases made through these links may earn me a small commission at no additional cost to you. I received free product from Spectrum Brands for this post, but all opinions are my own.
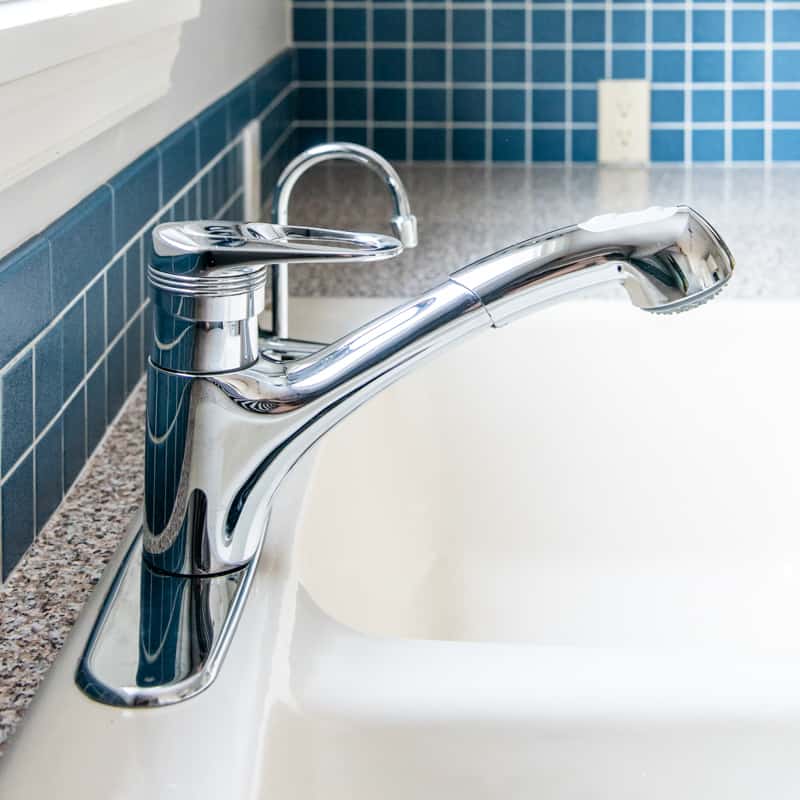
Our old sink faucet was really short, making it difficult to fill a big pot when there were any dishes in the sink. And the soap dispenser has been broken since the day we moved in!

When Pfister asked if I would like to try out their brand new Miri faucet with above-the-sink installation, I jumped for joy! The less time I have to spend contorted under the sink, the better!
How to Remove a Kitchen Faucet
Before you install your shiny new faucet, you need to wrestle out the old one. Here's how!
Clear Out Under the Sink
You're going to be spending some time laying on your back inside the sink cabinet, so clear out everything inside first. I took this opportunity to get rid of a lot of cleaning supplies that we had duplicates of, or that we didn't really need. Then lay an old towel over the bottom of the cabinet so you're not laying in chemical residue while you work!
Turn Off the Water and Disconnect the Hose
The first thing you need to do is turn off the water. There should be two pipes coming out of the wall for hot and cold water with shut off valves on the front or top. The right one is usually cold and the left one is hot.
If you have one pipe with a splitter like this one, it sends cold water both to the faucet and another location like a refrigerator. You only have to turn off the one that goes to the faucet, so trace the destination of each pipe to figure out the correct one. Turn the knobs clockwise until they're tightly closed.


Once the water is shut off, disconnect the hose that runs to the faucet. Be sure to have a bucket handy to catch any water that leaks out!
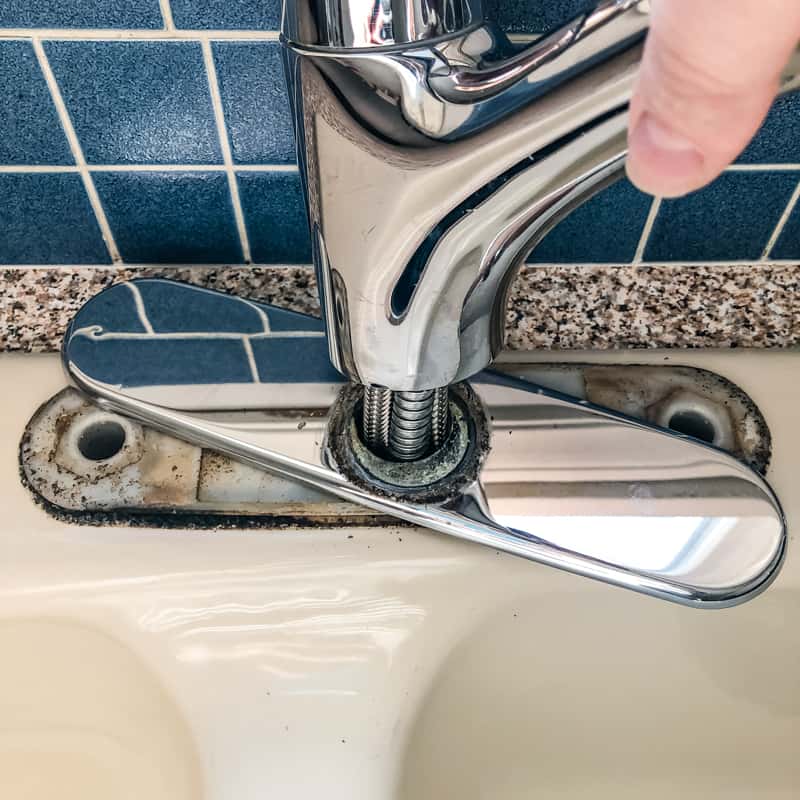
Loosen the Nut under the Faucet
Take a look at the underside of your sink where the faucet is connected. There should be a nut that holds a U shaped brace against the sink. Before you try wrestling it off, give it a quick squirt of Liquid Wrench penetrating oil first. This will help loosen the nut, so you won't struggle with it for hours!
Most guides say to use a basin wrench to unscrew the nut, but I've never had great luck with them. They tend to slip, and it's so hard to get it into the right position! Instead, I use this handy faucet wrench tool. It may be a little more expensive, but it makes the job so.much.easier!
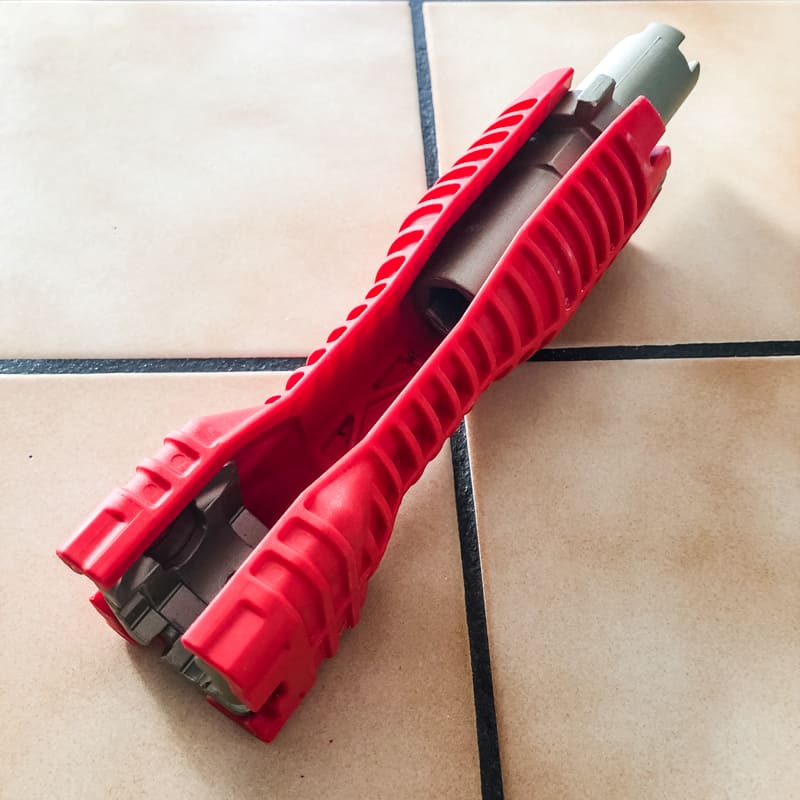

The beauty of this tool is that it allows you to unscrew the nut straight on, instead of from the side. The hollow body fits around all the faucet tubing so you can get right up to the nut to unscrew it.
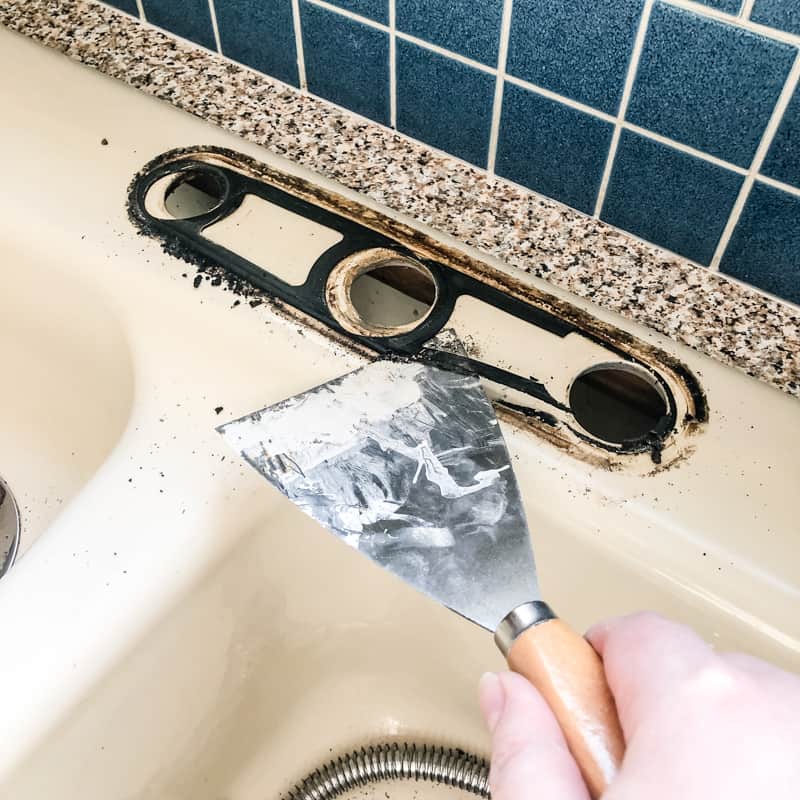
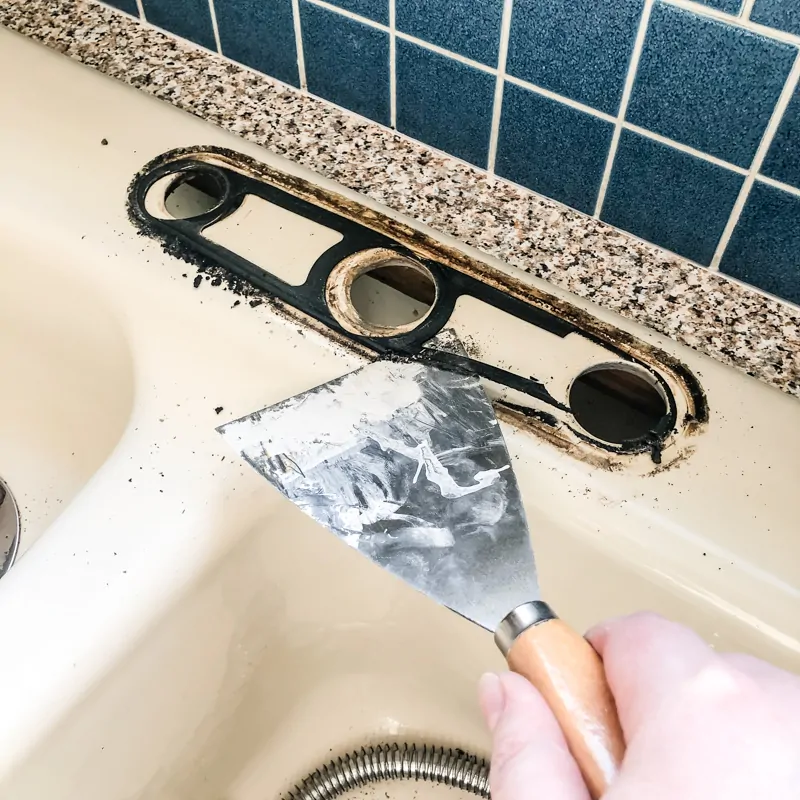
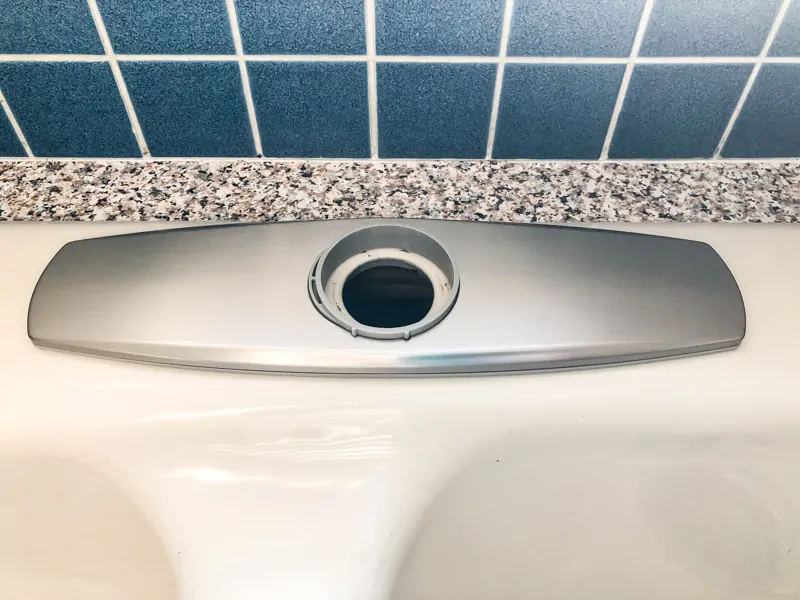
Clean the Holes in the Sink
Once you've removed that stubborn nut, pull out the faucet from the top. Be prepared to be grossed out by all the gunk underneath! Don't worry, that's a black foam seal that has disintegrated, not mold!

The old foam seal was stuck to the sink, but I carefully scraped it away with a putty knife. A Magic Eraser took care of the rest.
With the sink holes cleaned up, it's time to install the new kitchen faucet!


How to Install a Kitchen Faucet
After all the hassle of removing the old faucet, installing the new one couldn't have been easier! This kit comes with everything you need, and it's ready to go in just a few minutes.
Install the Deck Plate (optional)
Some faucets can be used with either a three hole or a single hole kitchen sink. The included deckplate covers up the extra holes, which are typically used for separate hot and cold temperature knobs. If you have a single hole sink, you don't need this piece.
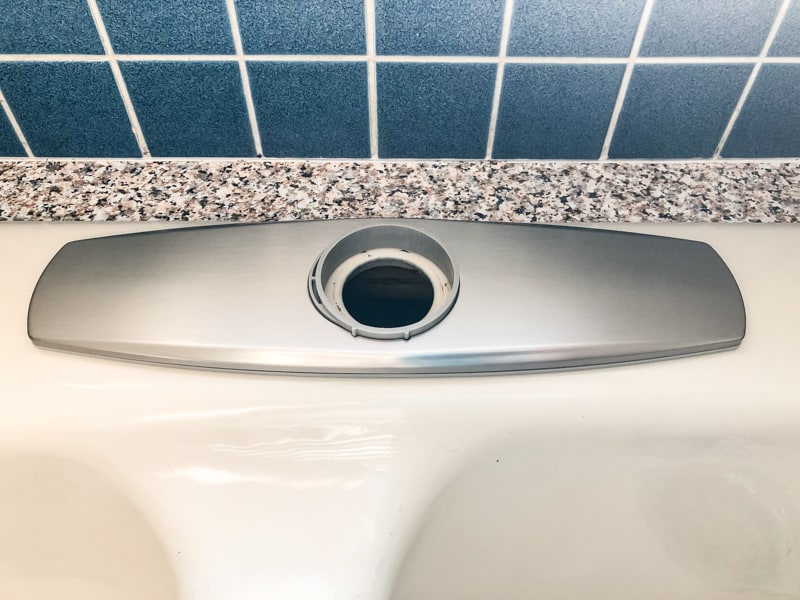
The TiteSeal deckplate has a built-in seal, so you don't have to mess with putty or silicone! It may be loose now, but once the faucet is in place, the entire unit becomes watertight.
Drop the Faucet Tubes through the Hole
Gather all the tubes hanging down from the bottom of the spout body, and drop everything down through the center hole. Make sure the metal bracket you can see on the left side is vertical.

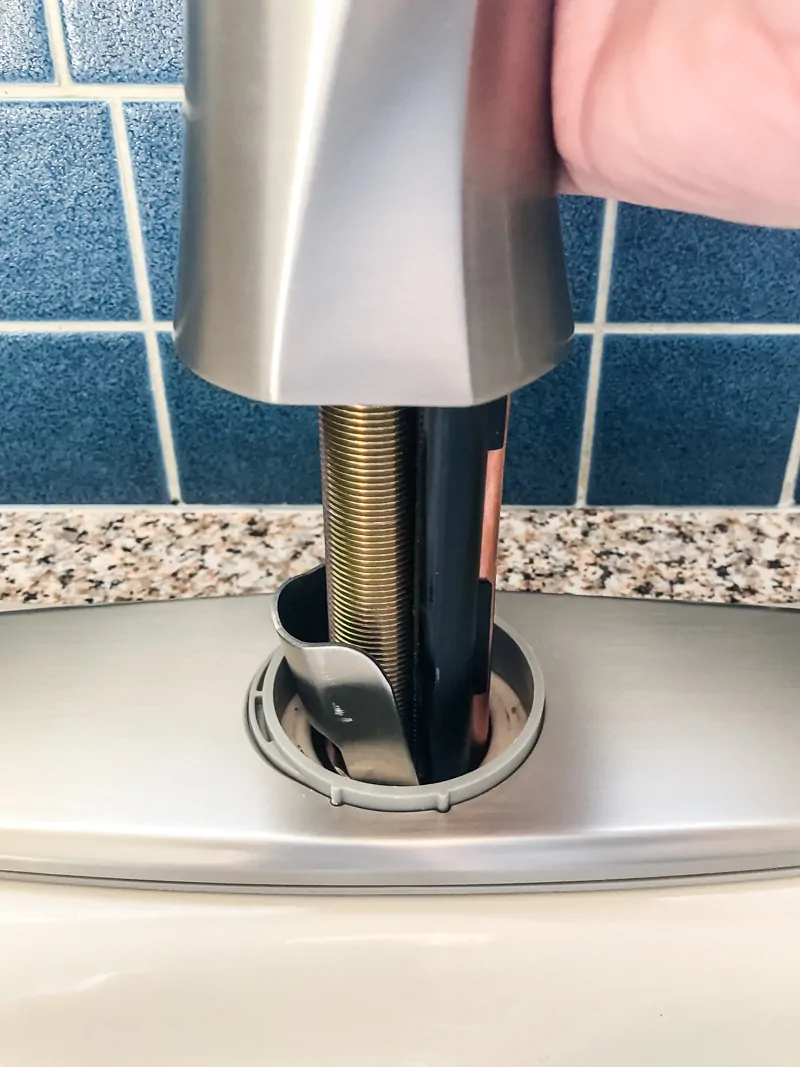
Secure the Faucet to the Sink
Once everything is through the hole, check under your sink to make sure the bracket is now horizontal.
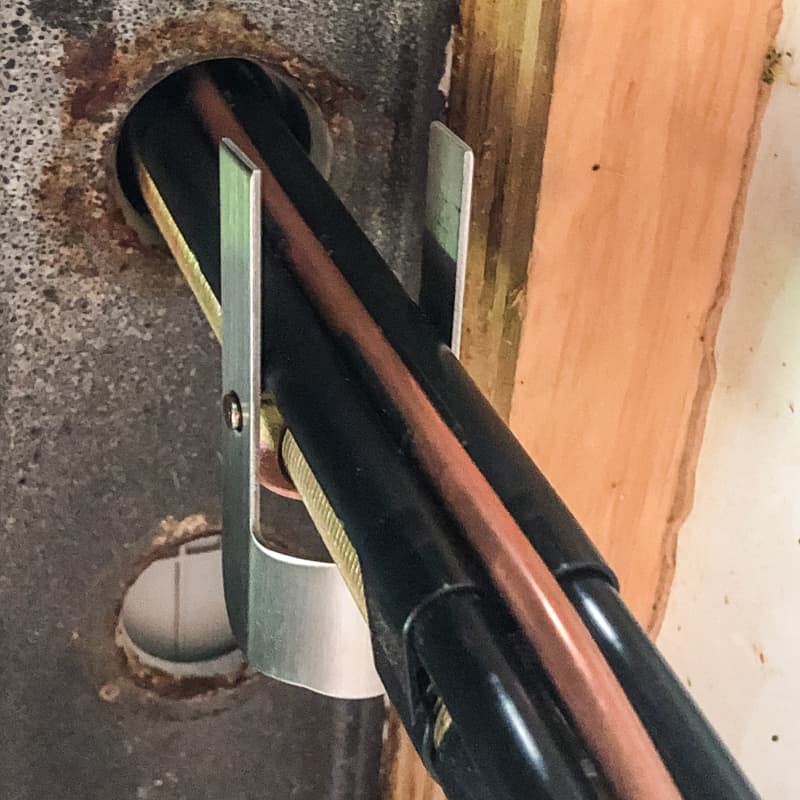

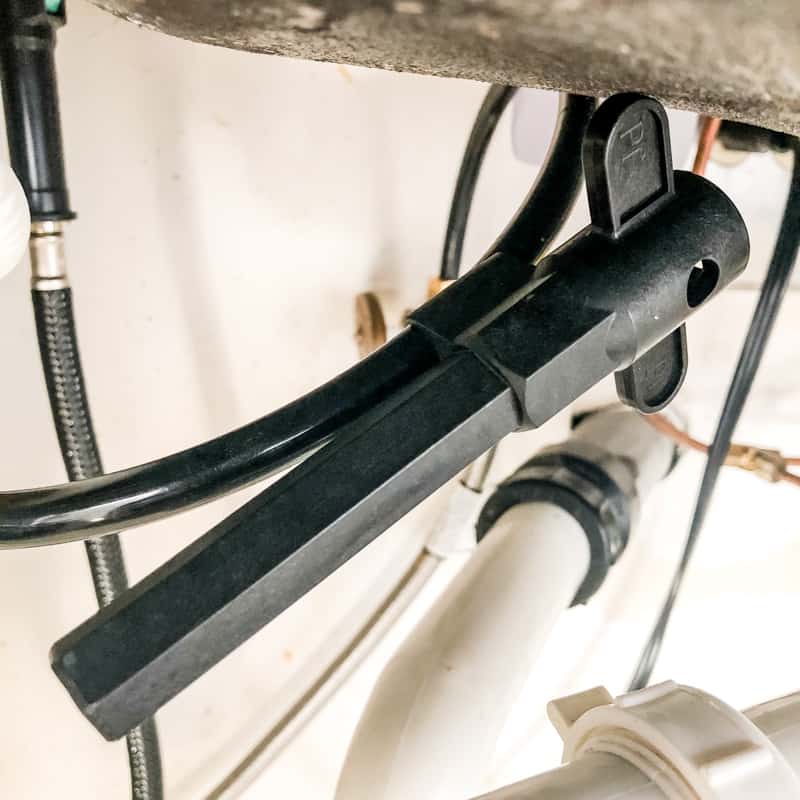
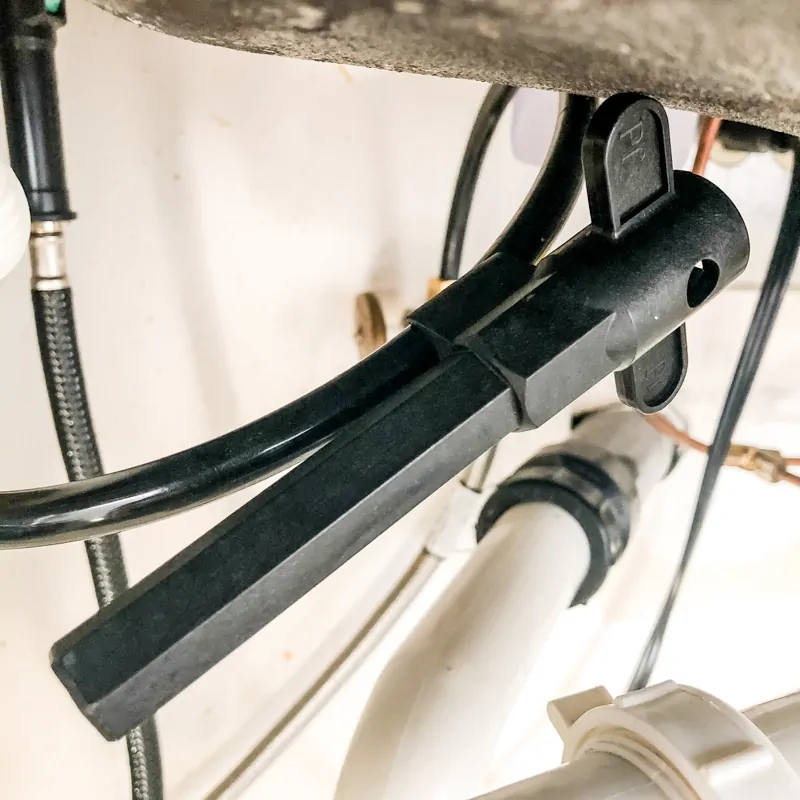
Now here's the cool part: Instead of struggling with a basin wrench or faucet wrench tool, this model tightens from above! Insert the Pfister Top Pfit tool into the faucet body and start turning clockwise. It takes a minute or so to crank that horizontal brace all the way up to the underside of the sink. You'll know you're close when you start to feel tension.
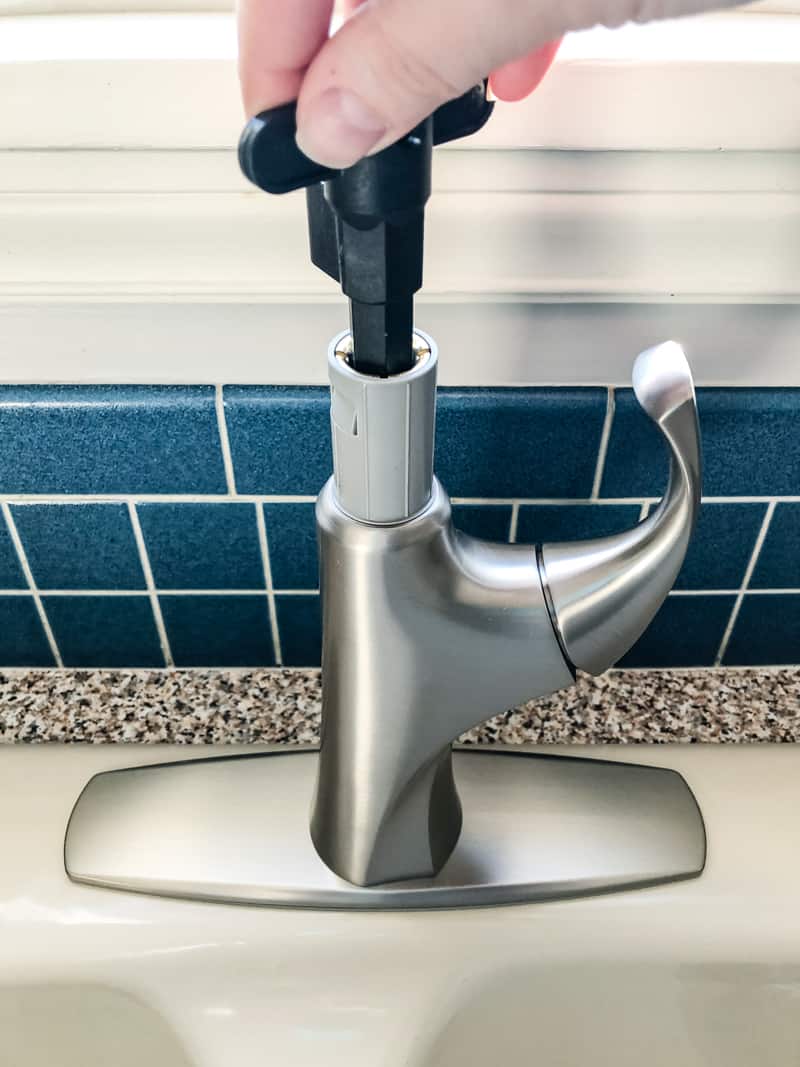

Once the tool can't turn anymore, remove it from the faucet base. Then drop the hose from the faucet neck down through the faucet body, then click the neck into place.

Connect the Faucet Supply Lines
All the water lines are included with the Miri faucet, so you don't have to reuse the ones you removed earlier.
Connect the red supply line to the hot water line on the left, and the black one to the cold water line on the right. I recommend wrapping the threads with Teflon tape before using an adjustable wrench to tighten the connections. The video below shows you how to apply Teflon tape correctly for a secure fit.
Connect the Spray Head Line
The braided spray head line combines the hot and cold water together and delivers it to the faucet. Before you connect it, thread the end through the donut shaped weight first. This weight pulls the sprayer head back into position when you're done using it!
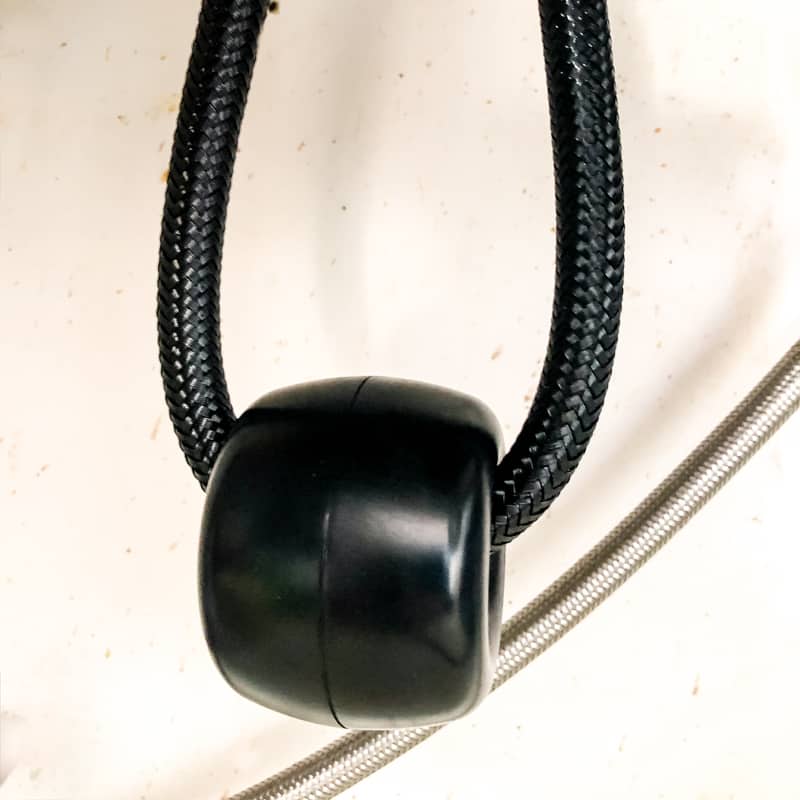

Connect the braided spray head line together with a click, then tighten the nut. You can clip the Top Pfit tool to the sprayer line or cold water line so you have it on hand if you ever need to tighten or remove the faucet.
Test for Leaks
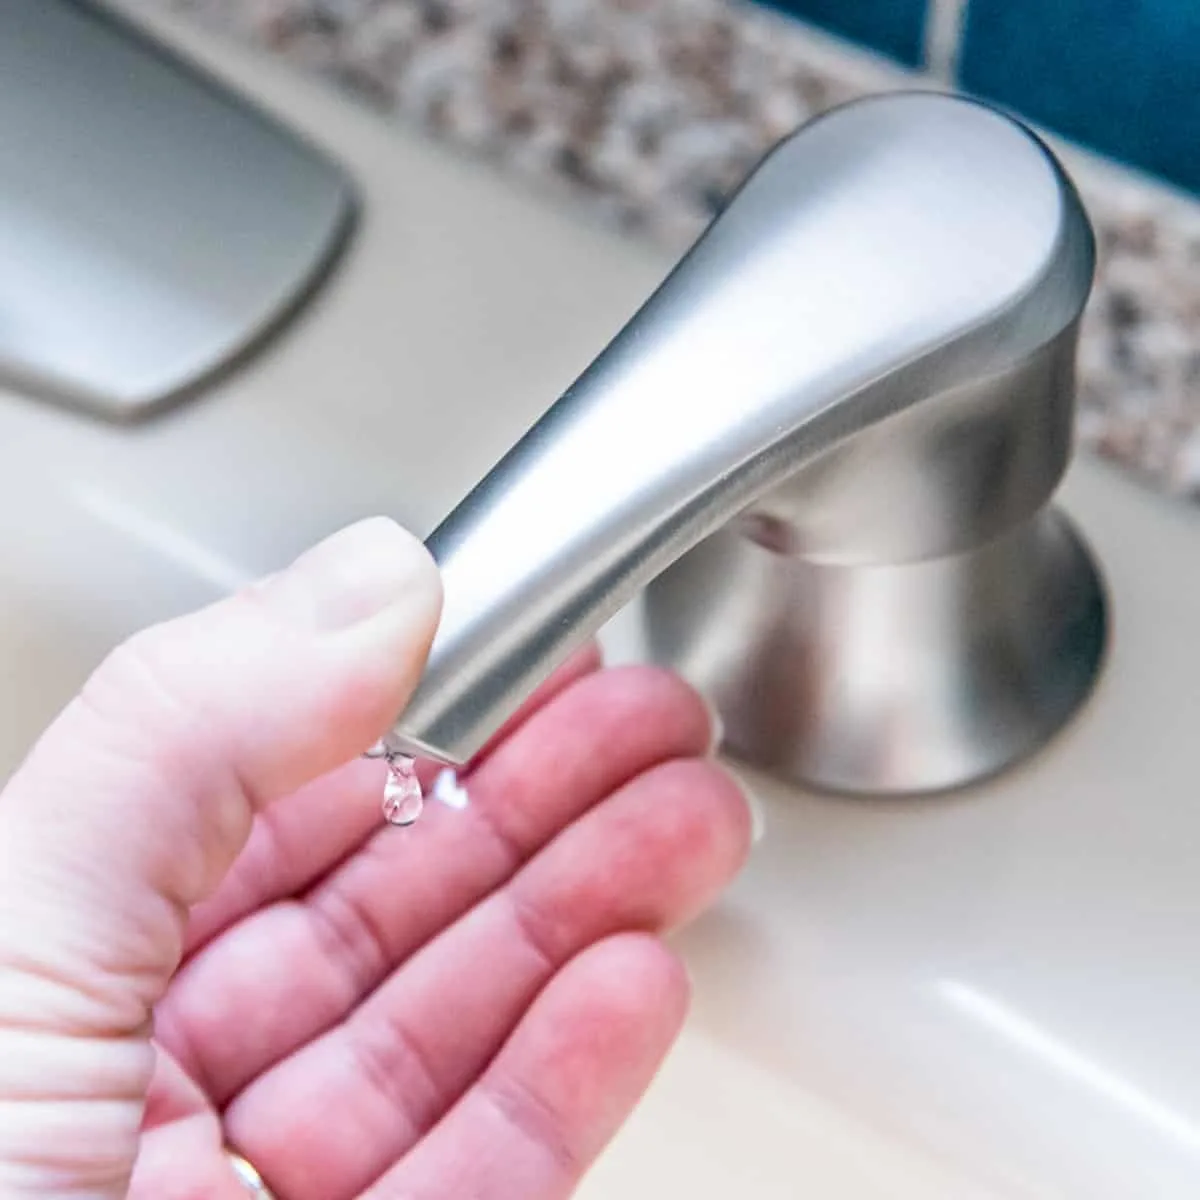
Turn on the faucet and allow it to run for a minute or so to test for leaks. Feel around all the connections to see if any water is seeping out, and tighten if necessary. Check again a few times over the next 48 hours to make sure everything is working properly. If it's all dry, you're done!
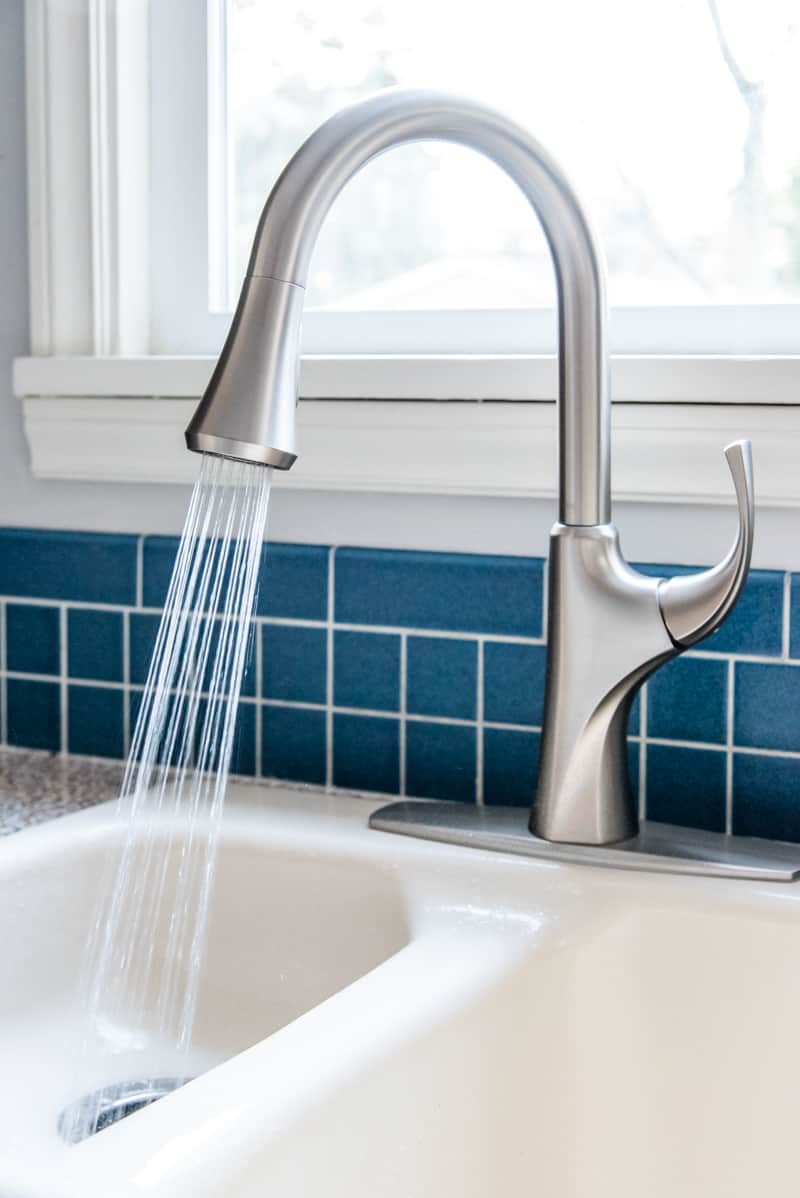
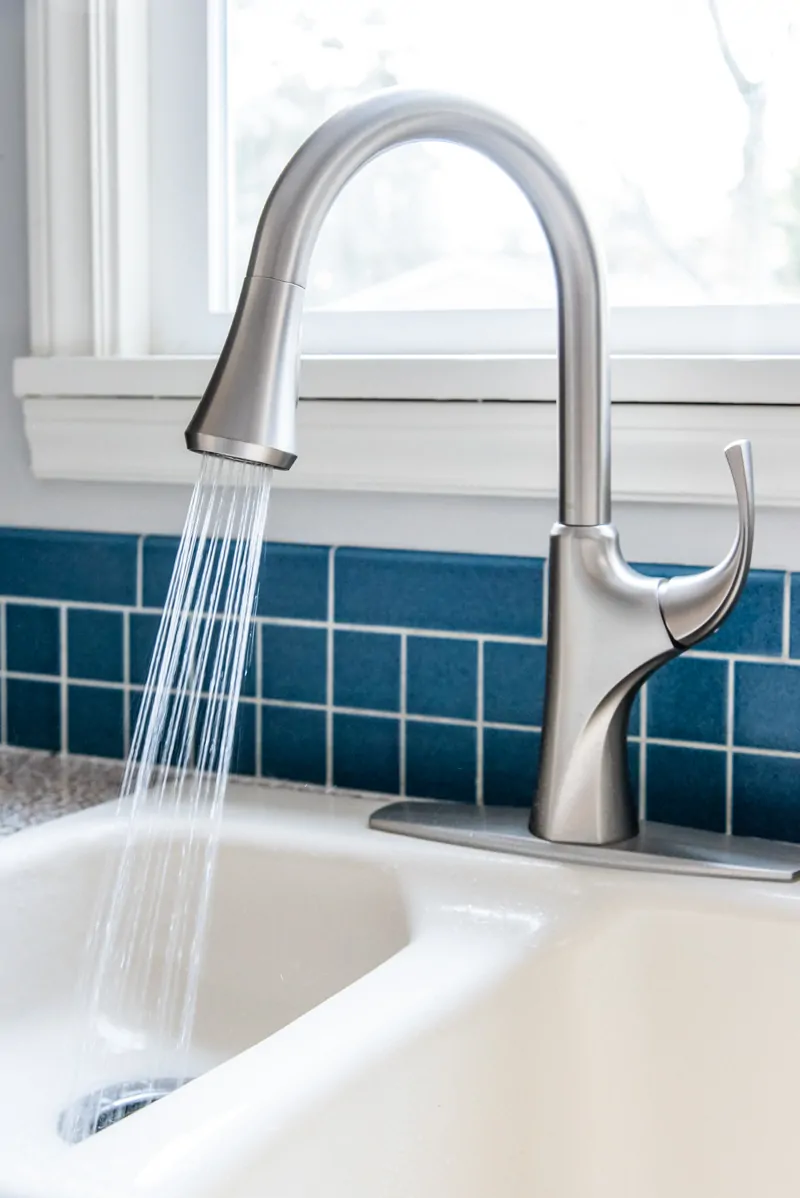
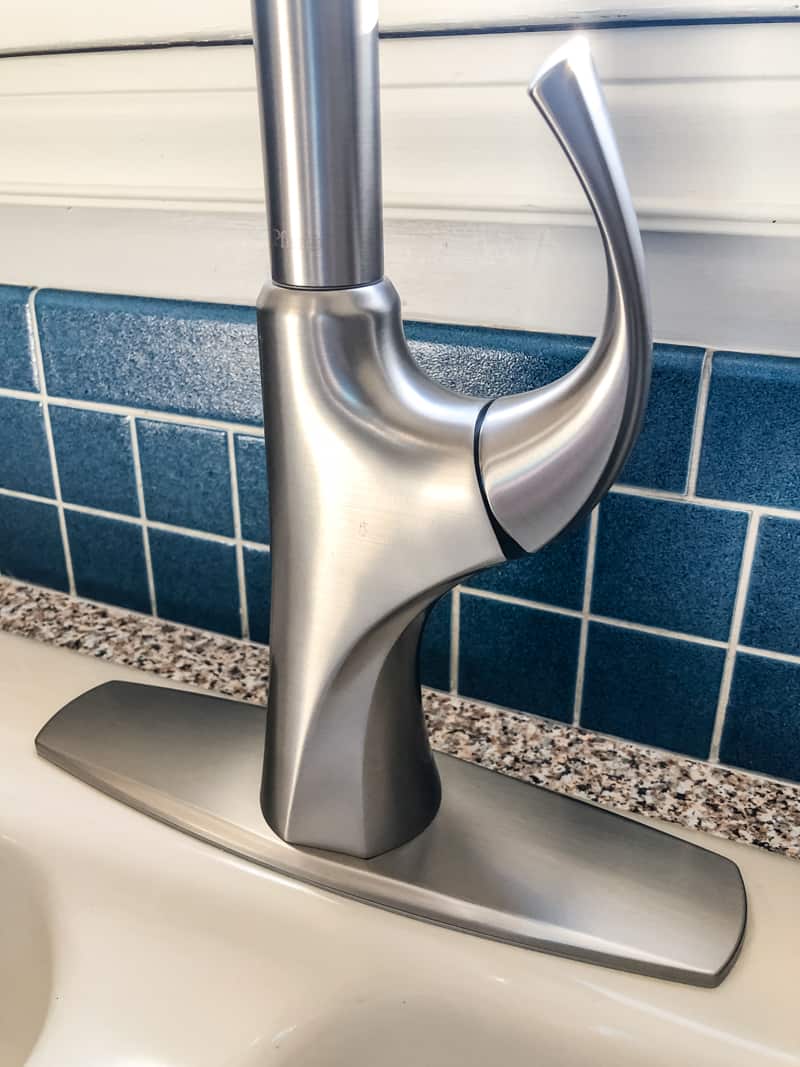
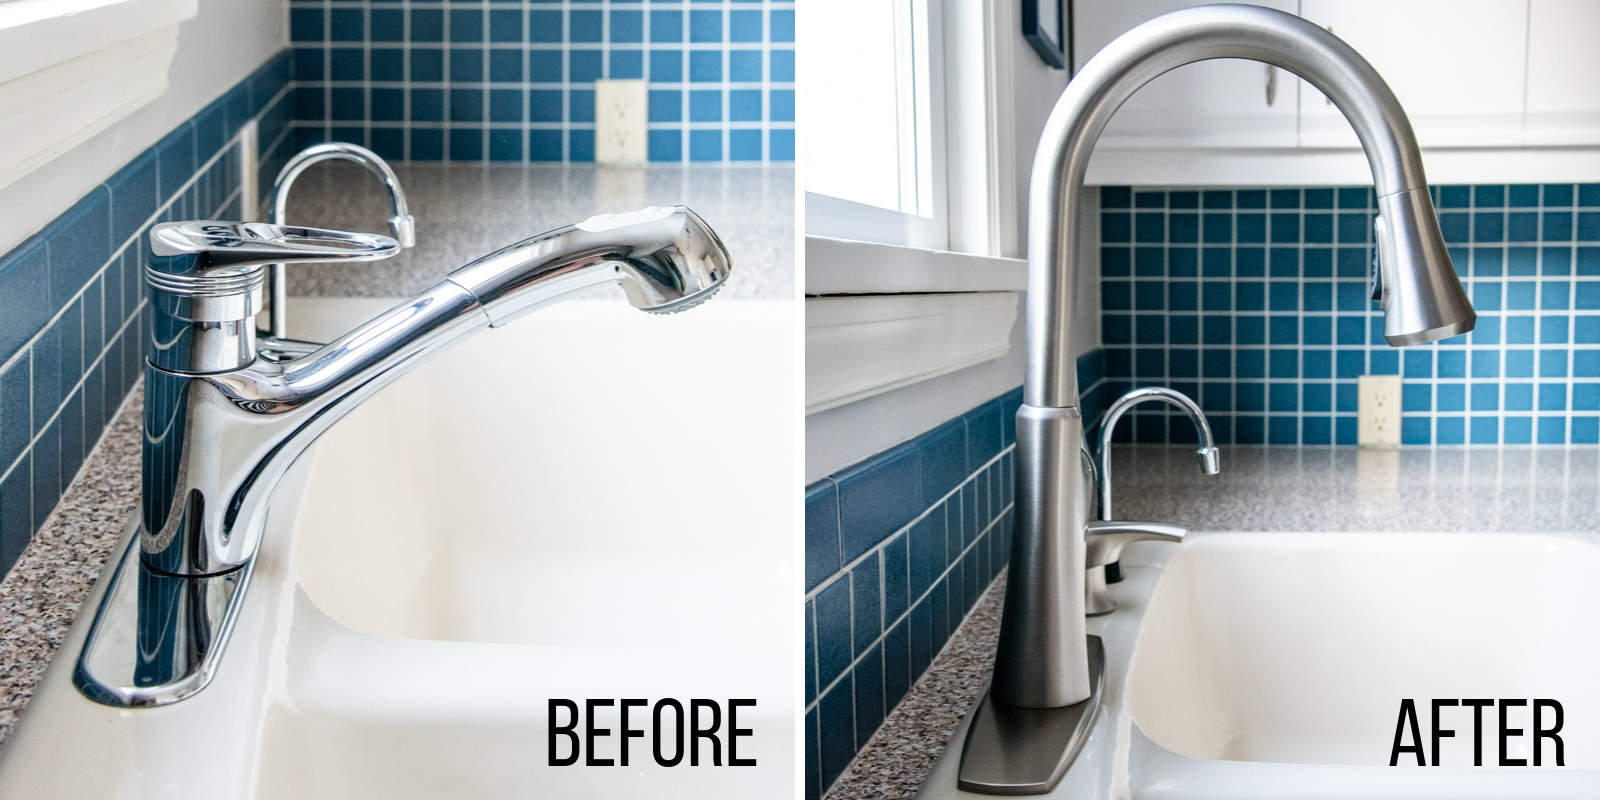
As you can see, it's not hard to replace a kitchen faucet yourself! With the money you save by not hiring it out, you can buy a gorgeous kitchen faucet like this one instead!

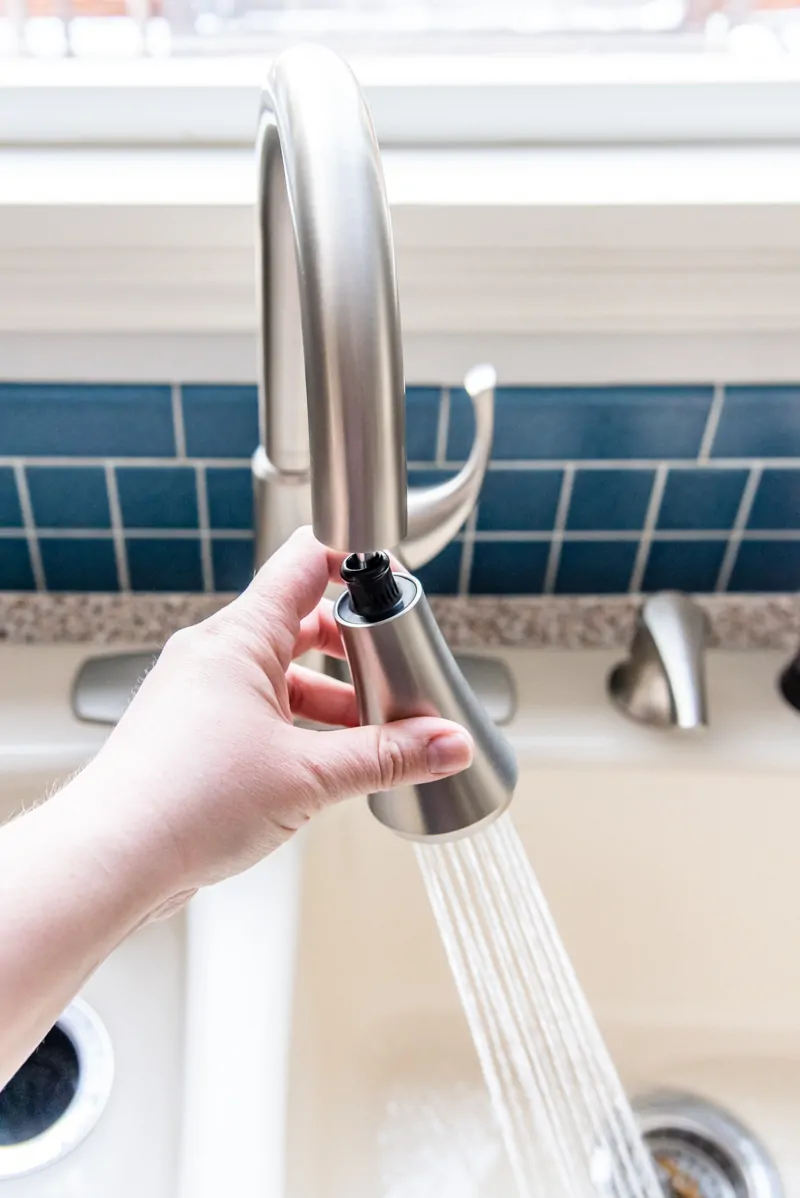
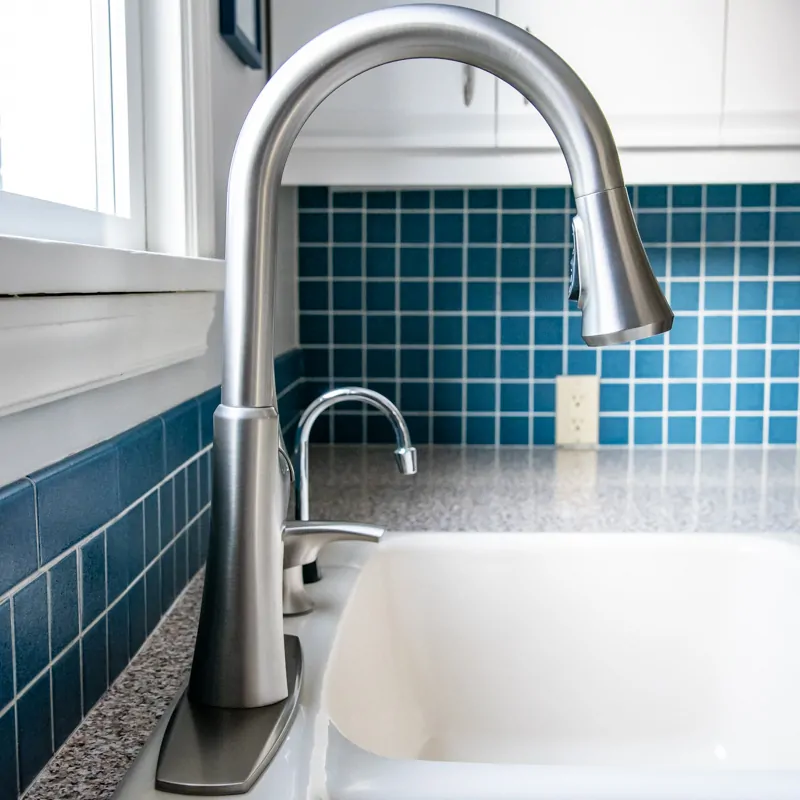
The pull-out nozzle makes cleaning up easy, and it clicks back into place firmly so it doesn't fall out when you're not using it!

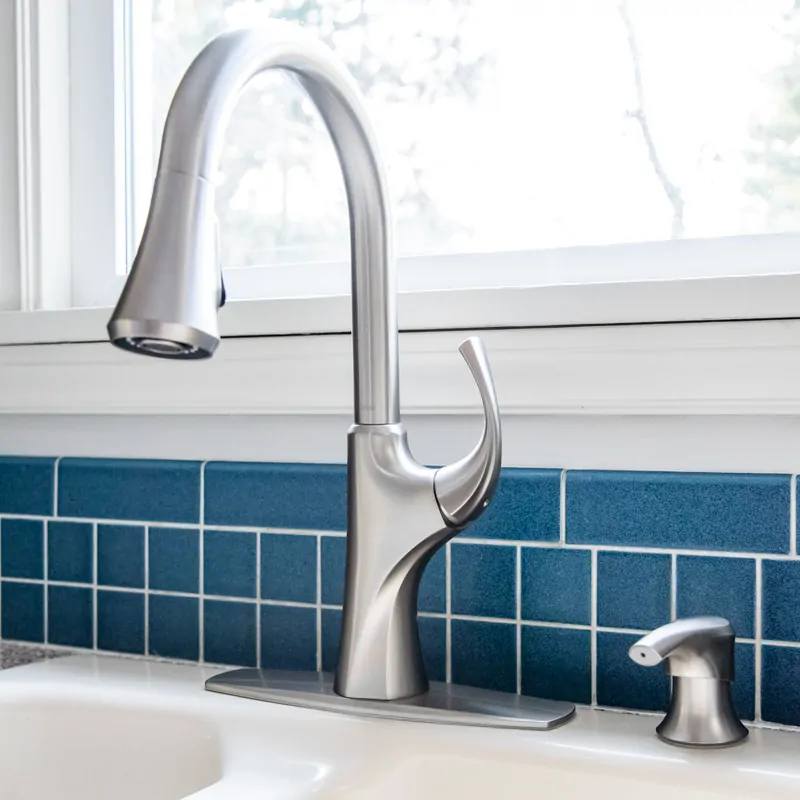
I didn't even realize until I took this picture that the instant hot water spout matches the curve of the new faucet exactly!

Replacing your faucet doesn't have to be a big chore, and it can make a HUGE difference in your kitchen!

If you have an extra hole in your sink, consider installing a kitchen sink soap dispenser while you're at it! It's a quick and easy project, especially if you already have the tools on hand from replacing the faucet.

Frequently Asked Questions
Do I Need to Hire a Plumber to Replace a Faucet?
Nope! You can replace a faucet yourself without having to hire a plumber. It should take you less than an hour with a few basic tools, such as a basin wrench. The same techniques apply to both kitchen and bathroom faucets.
If you truly feel uncomfortable installing the faucet yourself, a plumber will typically charge $150 or more to complete the task. If there is additional plumbing work that needs to be done, such as rerouting or reworking the pipes under the sink, plan on spending more for the parts and labor involved.
A general handyman should be able to remove the old faucet and install a new one for you as well. Typically, a handyman will be less expensive than a licensed plumber.
How do I Choose the Right Faucet?
There are a few things to consider when choosing the right faucet for your kitchen or bathroom.
Height
The lower height of my old kitchen faucet drove me nuts! It was too short to fit a large pot underneath, so filling or washing them was quite the chore. A taller kitchen faucet gives you more clearance for these larger items.
But in our upstairs bathroom, I had the opposite problem! The medicine cabinet couldn't open with a tall faucet in place, so I had to search for something much shorter than the standard height.
Finish
Consider the metal finish of the rest of the room when choosing a finish for your new faucet. Look at the door and drawer handles on the cabinets, and choose a complementary color.
You may also want to think about how the faucet finish will handle water spots and fingerprints. Some feature a spot resistant coating, so the faucet stays looking clean longer!
Number of Holes in the Sink Deck
Take a look under your sink before you shop for a new faucet. If there's a deck plate installed under the faucet neck, there's a good chance there's more than one hole hidden underneath. It's better to know what you're dealing with now to avoid any surprises during installation.
You can use a single hole faucet in a three hole sink, but you can't use a three hole faucet in a single hole sink. Three hole faucets will have separate hot and cold handles to adjust the temperature. Single hole faucets will have a handle on the side of the faucet neck to turn on the water and mix the hot and cold water.
Check out these other easy home improvement projects!


Joan
Thursday 14th of March 2019
Love the post--did run into a few stumbling blocks, Plumbing under sink did not work with supply lines for new faucet, and when I turned the water back on, the old valves leaked. I wound up calling in a plumber to replace the under-sink plumbing with new valves and supply line connections. It also turns out the the nut securing the old faucet would NOT come off no matter how much Liquid Wrench was applied. The plumber was able to get it loosened up enough to partially unthread it and then used his Sawz-all to cut it off from up top. So one of those projects where I did need to call in a pro. But your post got me inspired to get the new faucet ordered (wound up with a Kohler Trielle since I couldn't score a Miri, it looks very similar) and now it is installed and is gorgeous! I did get the soap dispenser installed all by myself :). Wish I could post a picture! Am now inspired to put in the lid storage racks you have in another post.
Vineta
Friday 15th of March 2019
Oh no, I'm sorry you had so much trouble! Getting the old faucet out of my sink was definitely much harder than getting the new one in. Enjoy your new faucet! :)
Kate
Tuesday 5th of March 2019
I'm inspired to try this! Have ordered the faucet and it's being delivered today. Fingers crossed it is as easy as you make it look. :)
Love your blog - keep up the great content!
Vineta
Wednesday 6th of March 2019
Thank you so much, Kate! I'm sure you'll have it installed in no time!