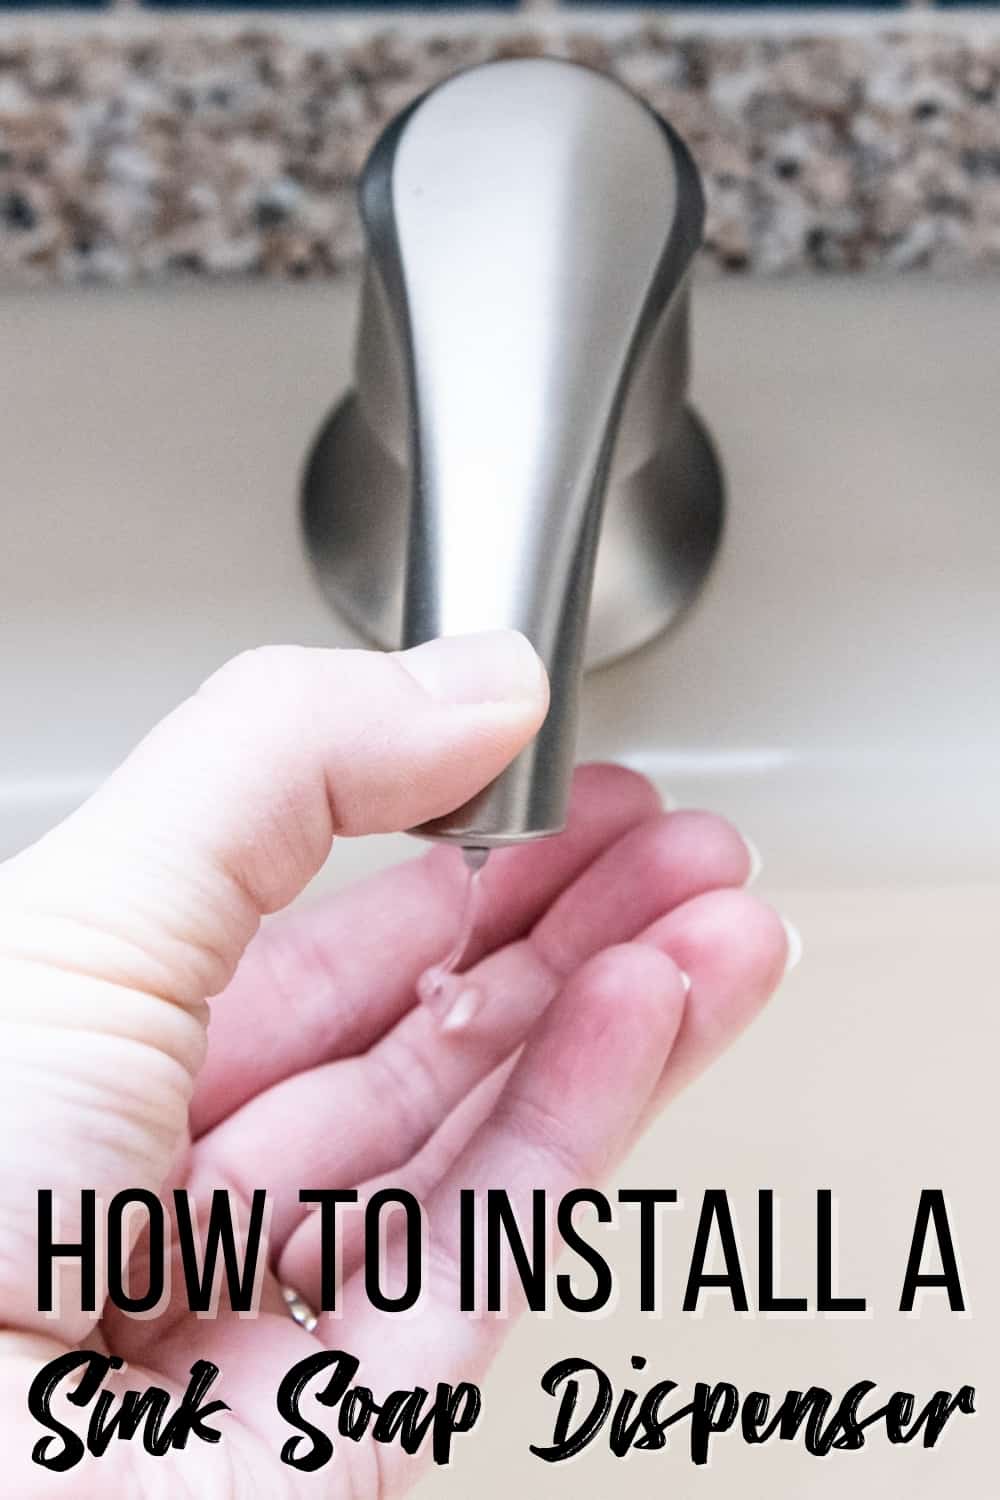
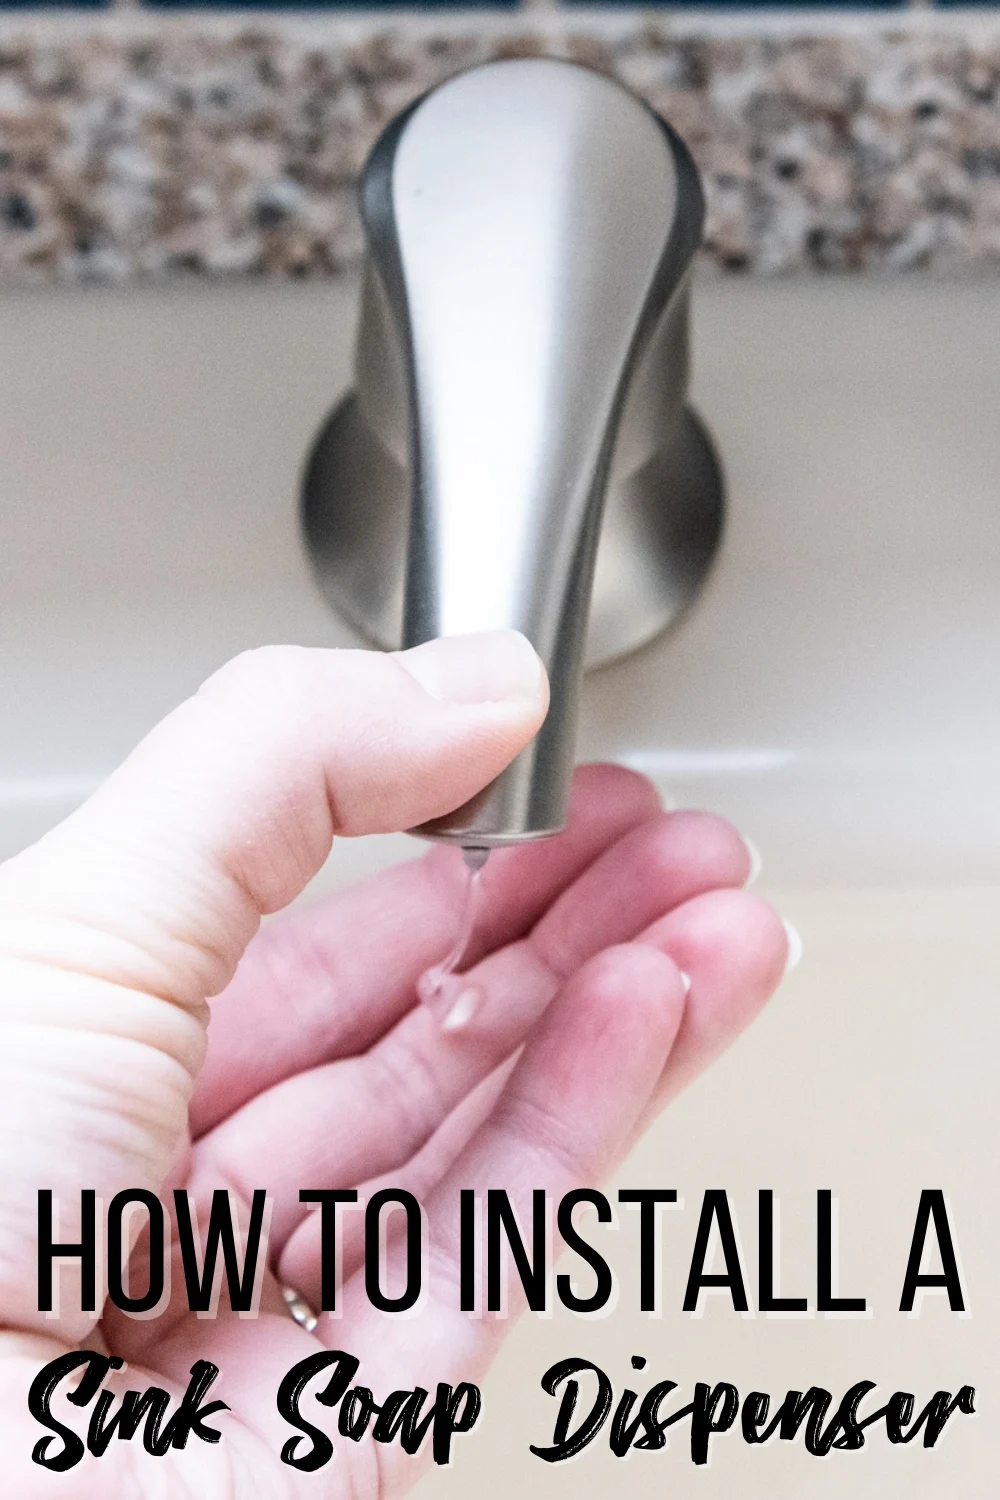
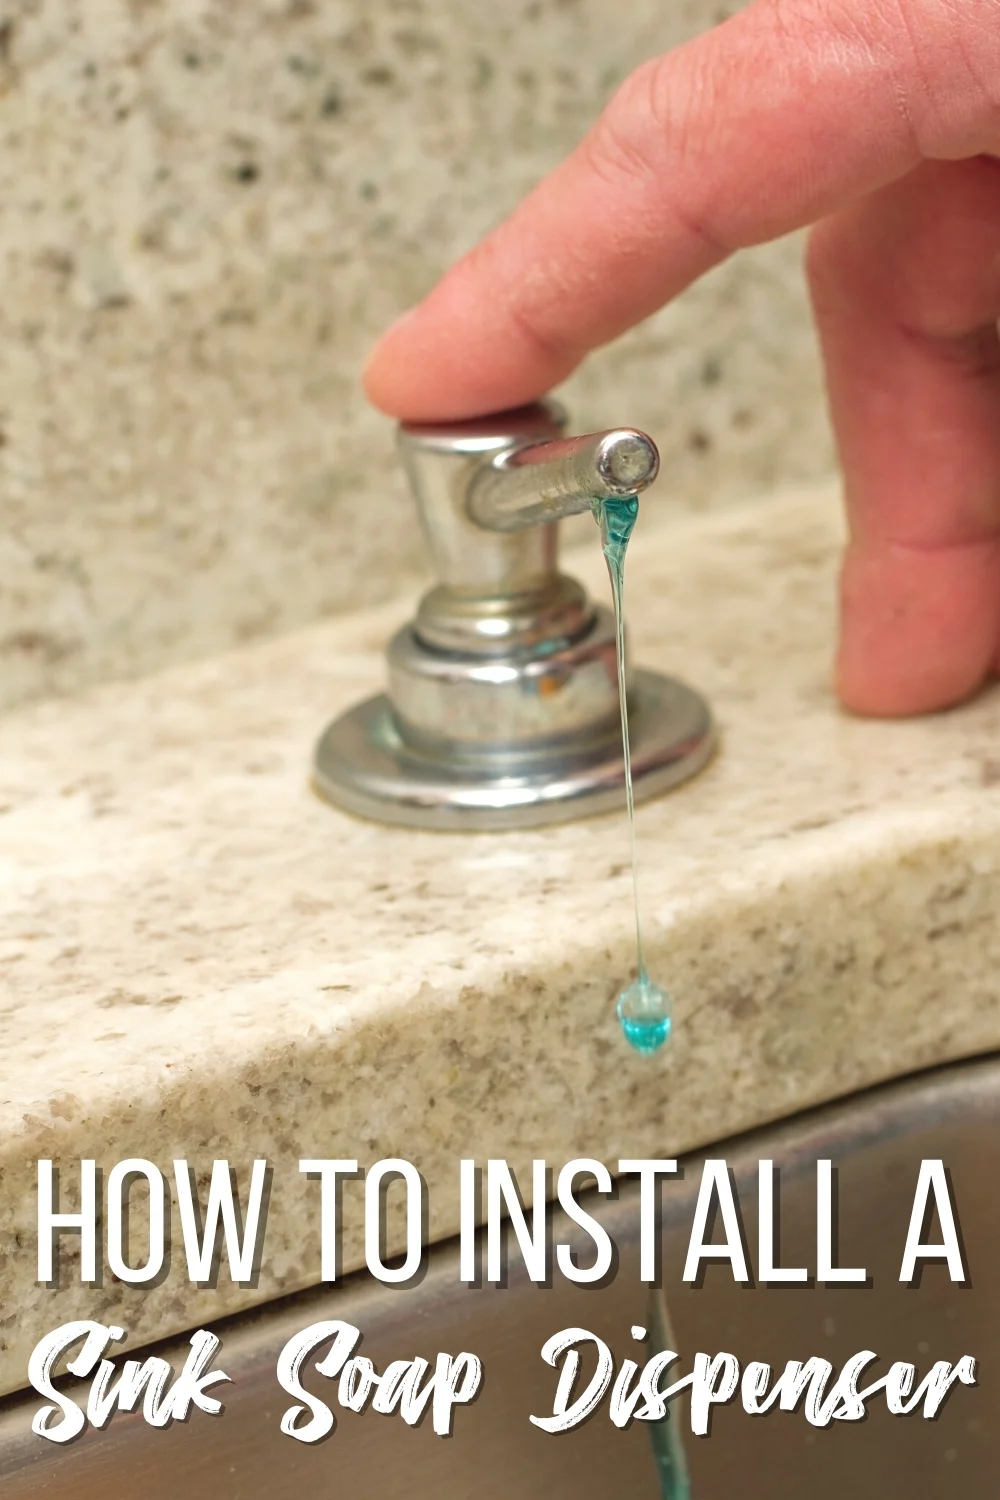
Clear countertop clutter with a built in soap dispenser! This quick tutorial shows how to install a kitchen sink soap dispenser in minutes.
Our kitchen sink soap dispenser has been broken for years, so we had a big bottle cluttering up the countertop instead. But replacing a built-in soap dispenser was easier than I thought, and I wish I had done it sooner!
I installed the soap dispenser when I replaced the kitchen faucet, so I already had the tools and supplies I needed on hand. Since you're already going to be crawling into the cabinet under the sink, now's a great time to tackle this project if you've been wanting to upgrade!
This post was sponsored by Pfister and contains affiliate links for your convenience. Purchases made through these links may earn me a small commission at no additional cost to you. You can read more about how this site earns money on my disclosures page.
How to Remove a Kitchen Sink Soap Dispenser
Over time, the pump on an old soap dispenser can break. Or maybe you just want to switch out the color or style. Here's how to remove it so you can install a new one!
Clear Out Under the Sink
You're going to be laying on your back inside the sink cabinet, so clear out everything inside first. Then lay an old towel over the bottom of the cabinet so you're not laying in sticky drips while you work!
Unscrew the Old Bottle
Reach up behind the sink and grab the bottle. You should be able to unscrew it from the pump just like a regular soap dispenser. If it keeps spinning in place, have someone hold the part above the sink steady while you unscrew it from underneath.
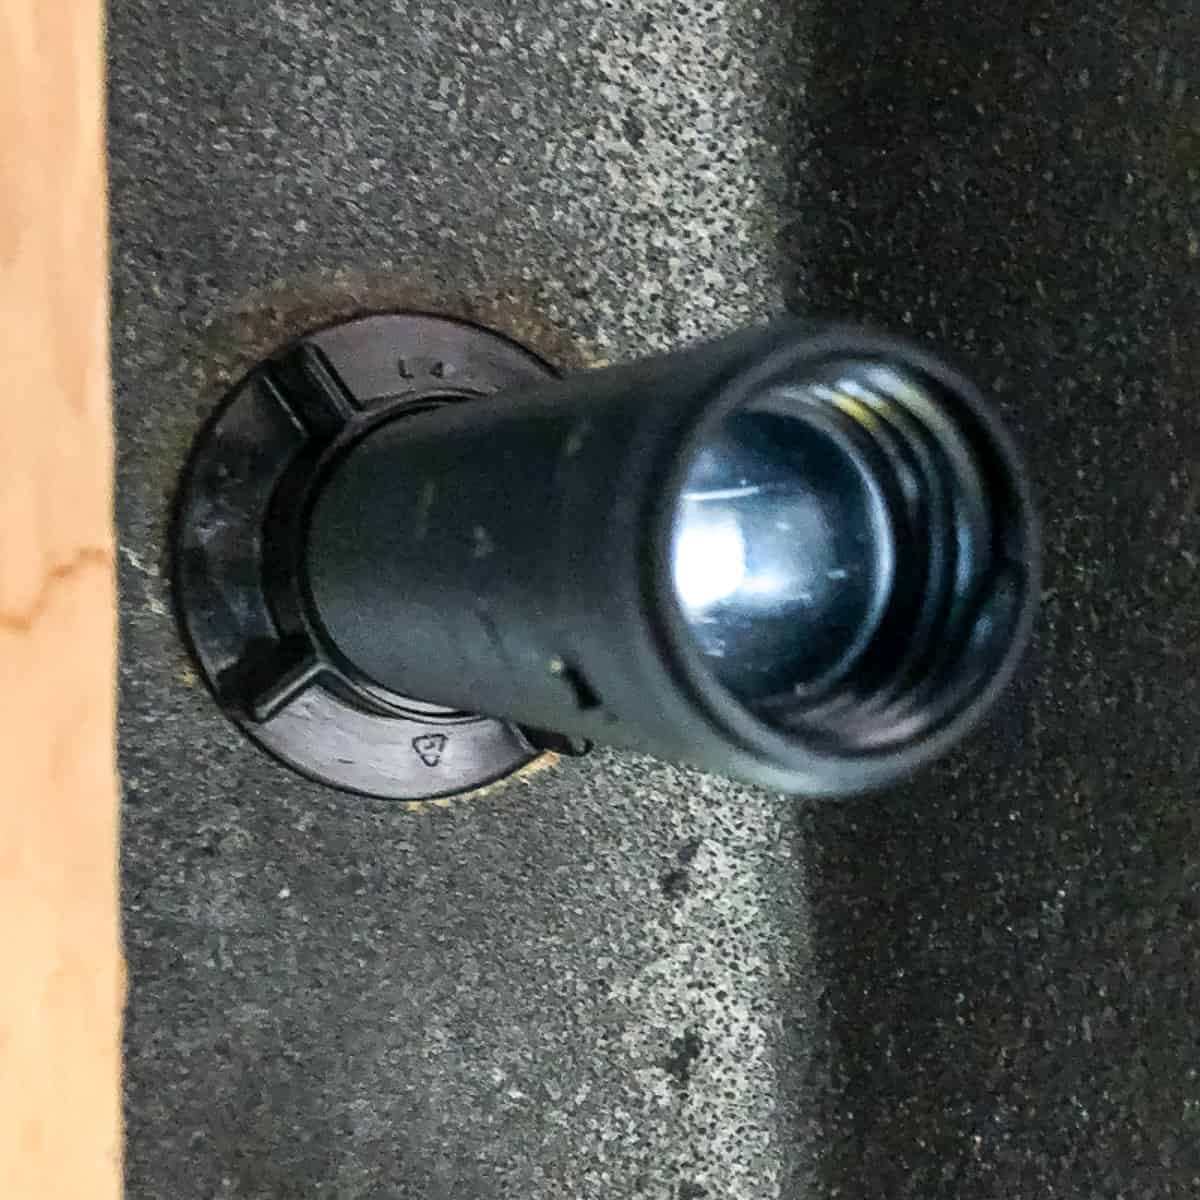
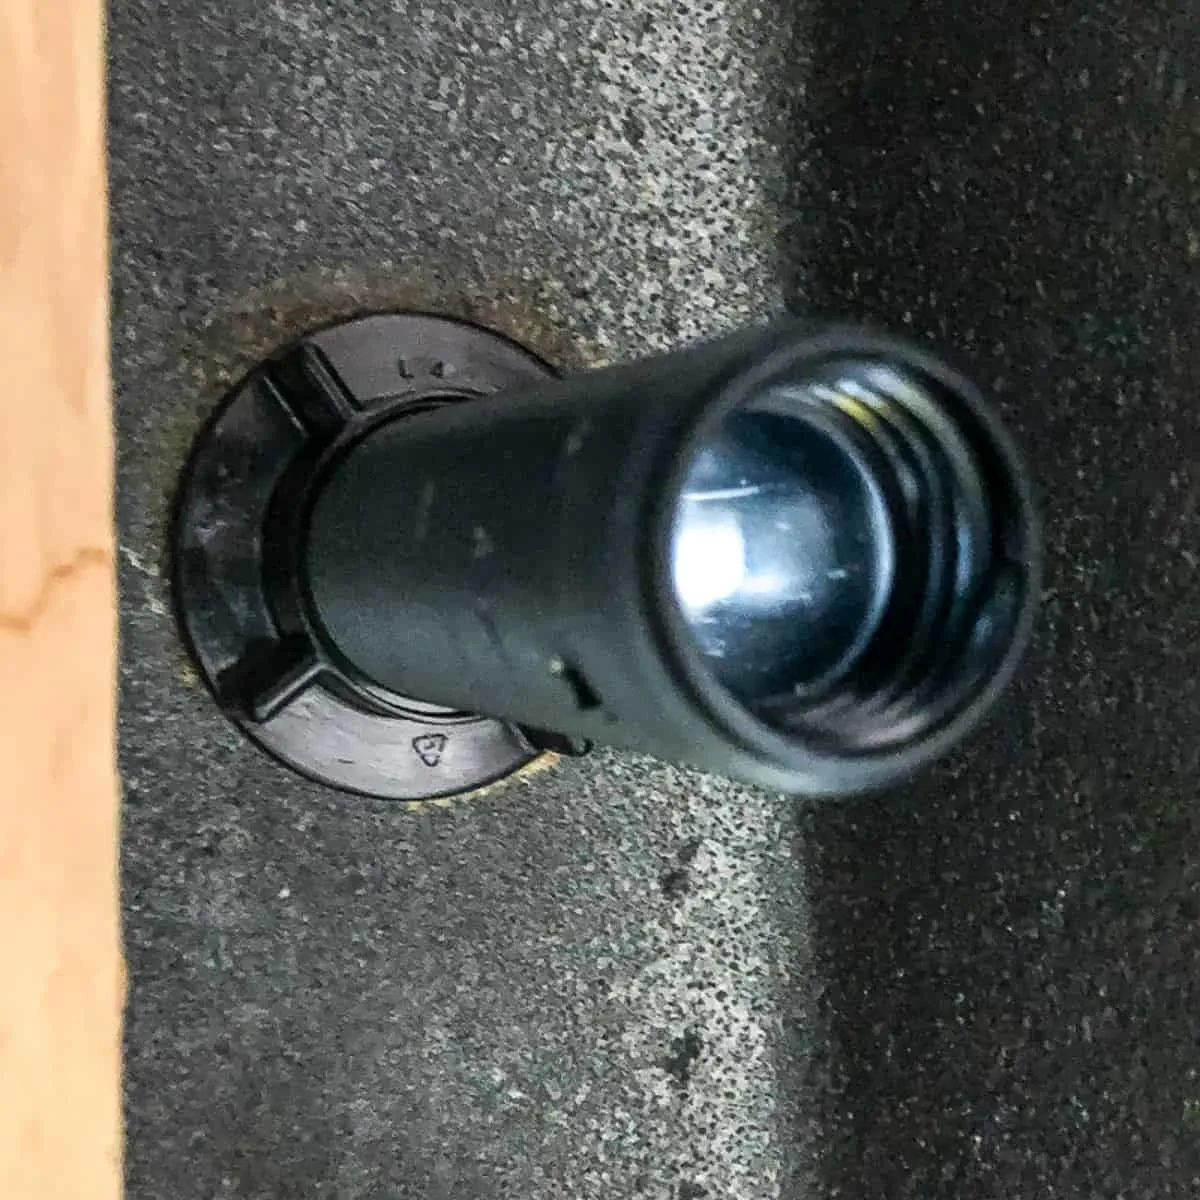
Remove the Nut
There's usually a plastic or metal nut holding the pump securely to the underside of the sink. You can use a basin wrench or an adjustable wrench to loosen the nut, then unscrew it. I'm using the same faucet wrench tool that I had on hand from replacing the faucet, and it worked like a charm!


Again, you may need someone to hold the top part steady while you unscrew the nut. Once it's out, clean up the sink surface to remove any residue and gunk.
How to Install a Soap Dispenser in a Kitchen Sink
Installing a soap dispenser is super easy! Most models will come with instructions, but they all follow a similar method to the one shown below.
Assemble the Pieces
Find the wide tube with threads, as well as the decorative hole cover (it's called an escutcheon) and the sealing gasket or washer. Drop the threaded tube through the escutcheon and sealing gasket so it seats inside snugly. Then drop the entire assembly over the hole in the sink.


Seal the Hole (optional)
If your soap dispenser kit didn't come with a gasket or rubber washer like mine did, you'll need to use plumber's putty to seal the hole. This will prevent drips and leaks that can damage your cabinet.
Just roll the putty between your hands to make a long snake (just like a kid with Play-Doh!) and press it to the underside of the escutcheon.
Then center the assembly over the hole and drop it into place. Don't worry if there's excess putty oozing out the sides. It's easy to clean up once everything is screwed into place.
Attach the Mounting Nut
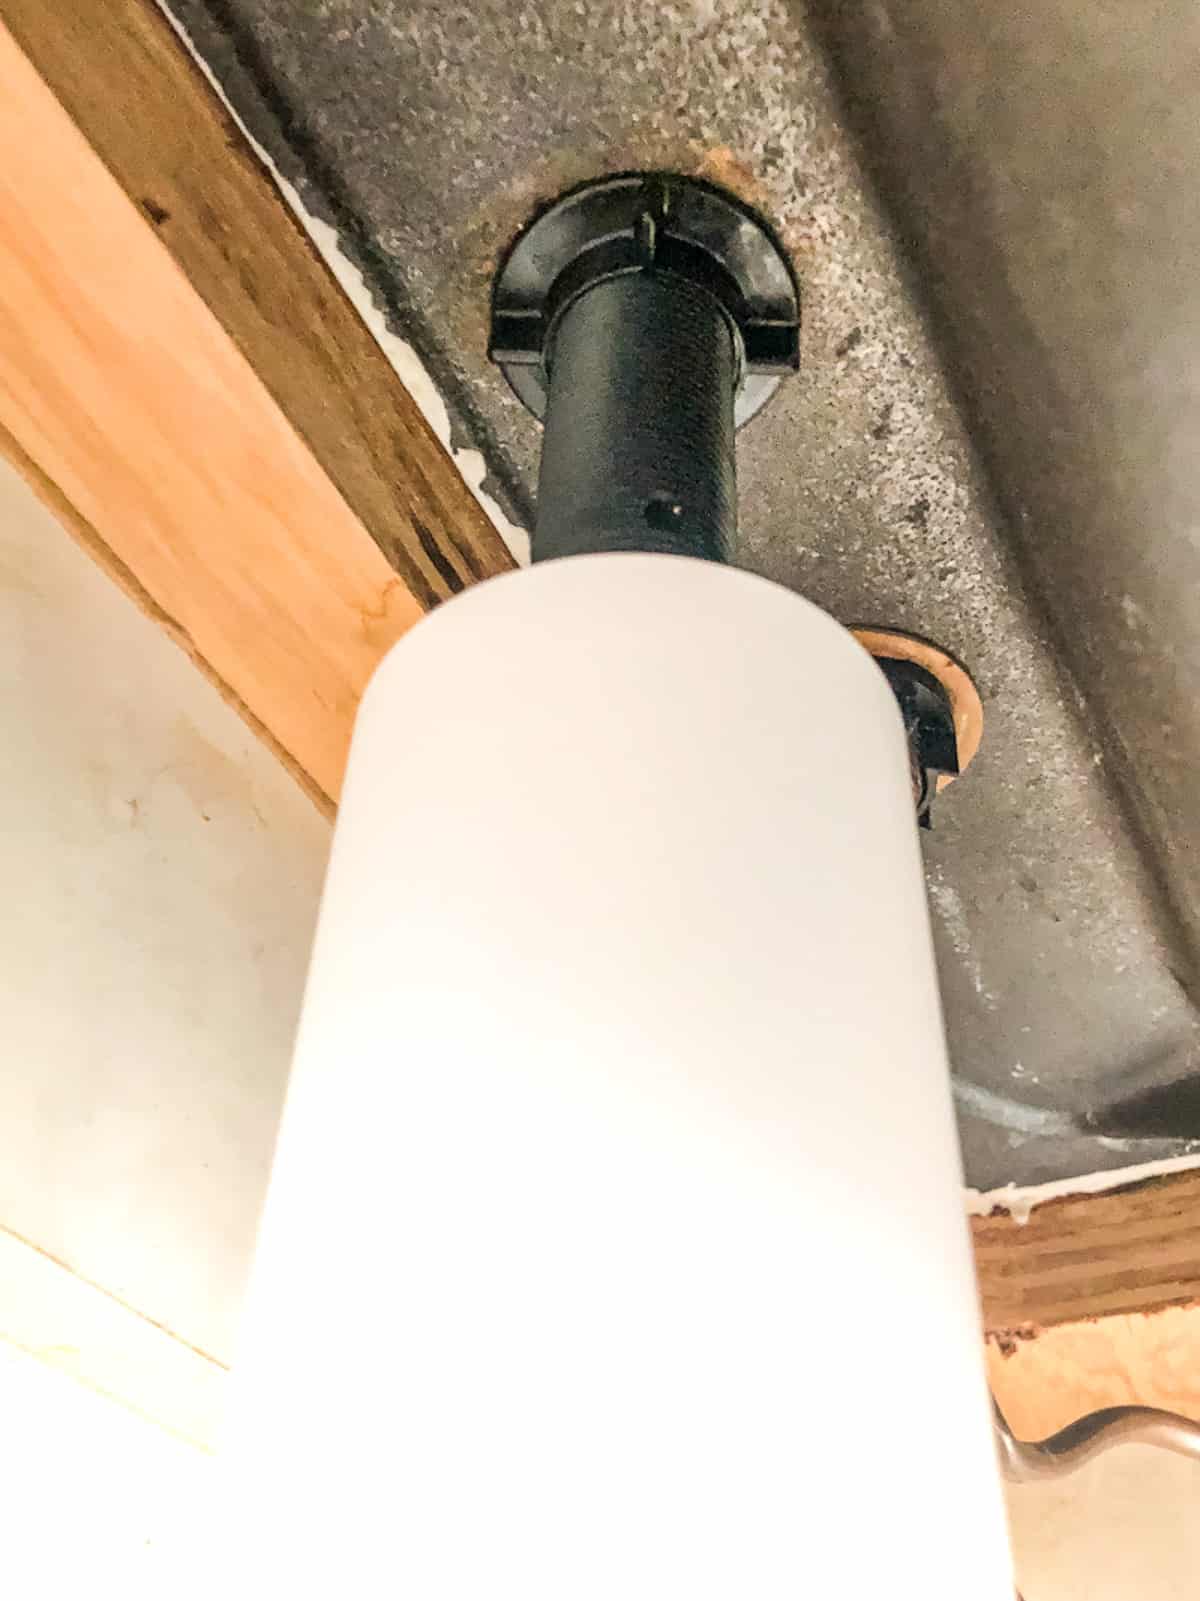
Lay on your back inside the cabinet below the sink so you can see the hole. Thread the mounting nut onto the bottom of the soap dispenser tube until it's secure against the underside of the sink. You can use the faucet wrench tool to get a better grip on it if it's too difficult to get your hand up there.
Check the position of the soap dispenser over the hole from the top to make sure it's centered and there aren't any gaps. Then tighten the nut down.
Attach the Soap Bottle and Fill
Screw the plastic soap container to the end of the dispenser tube. Make sure it's on there securely so it doesn't fall off and leak soap all over the cabinet (ask me how I know!) 😉

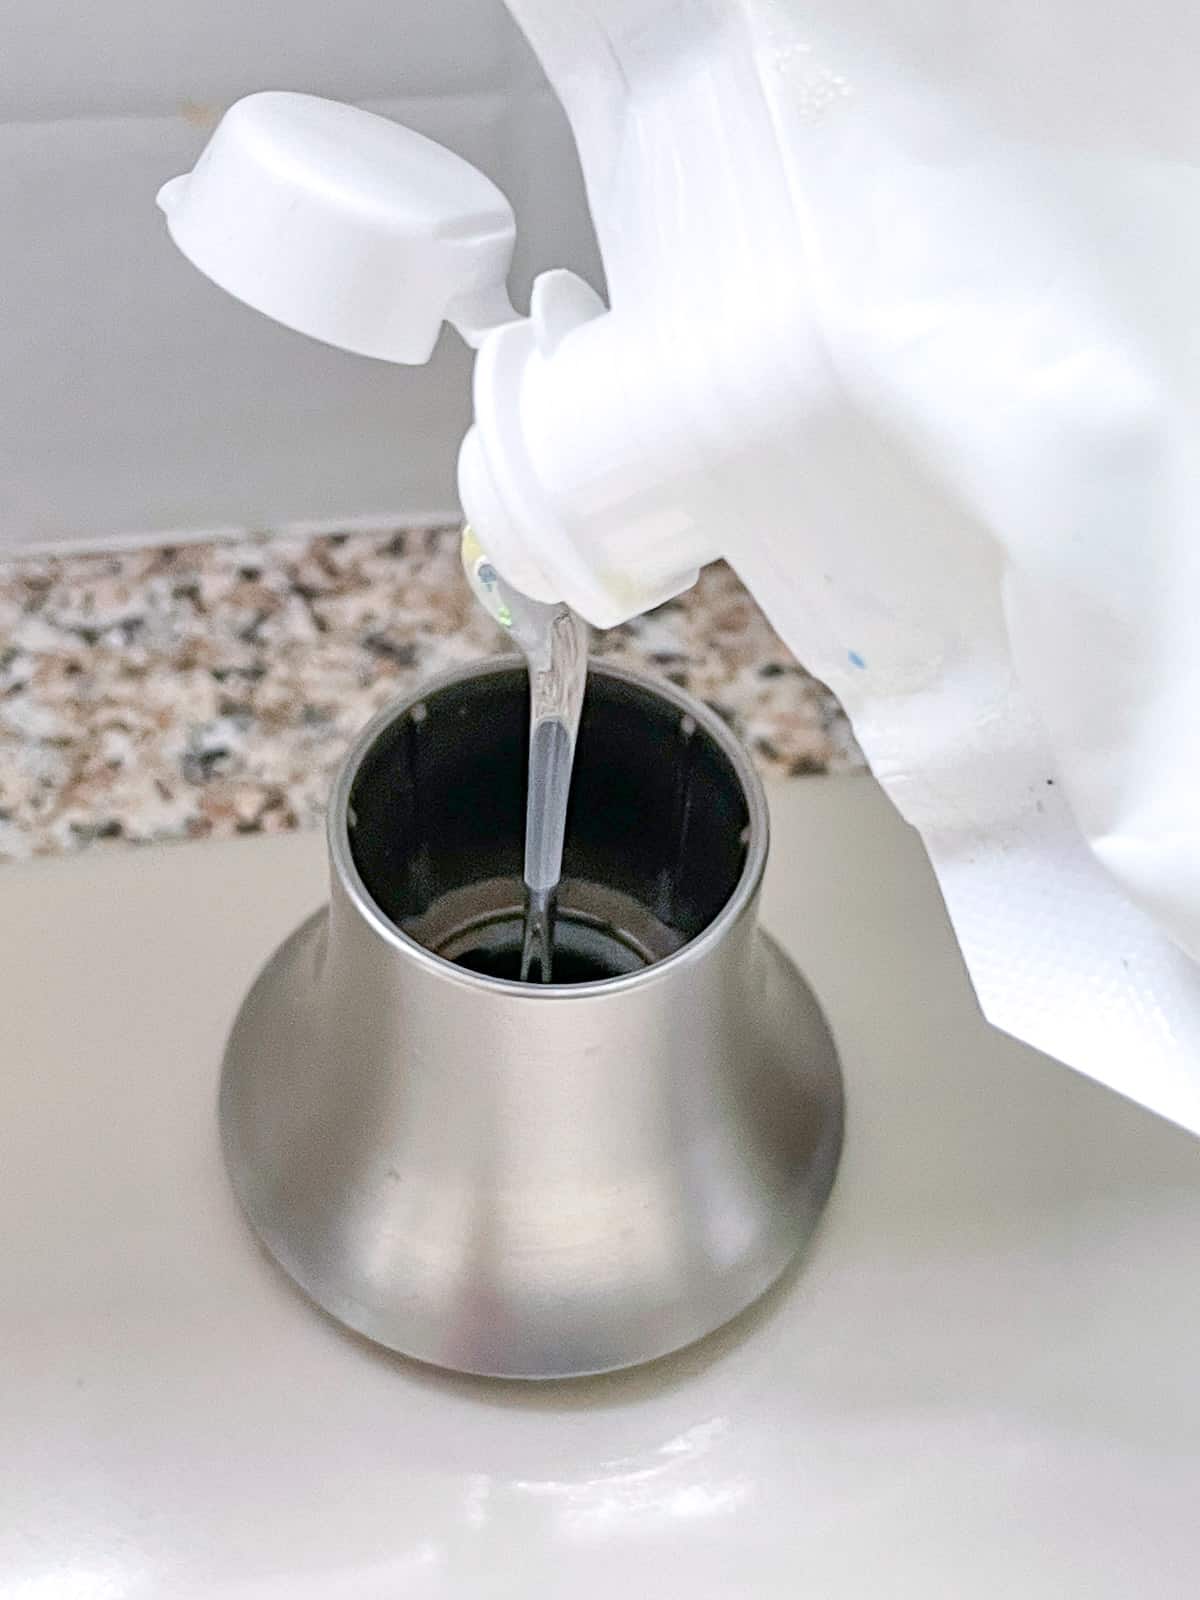
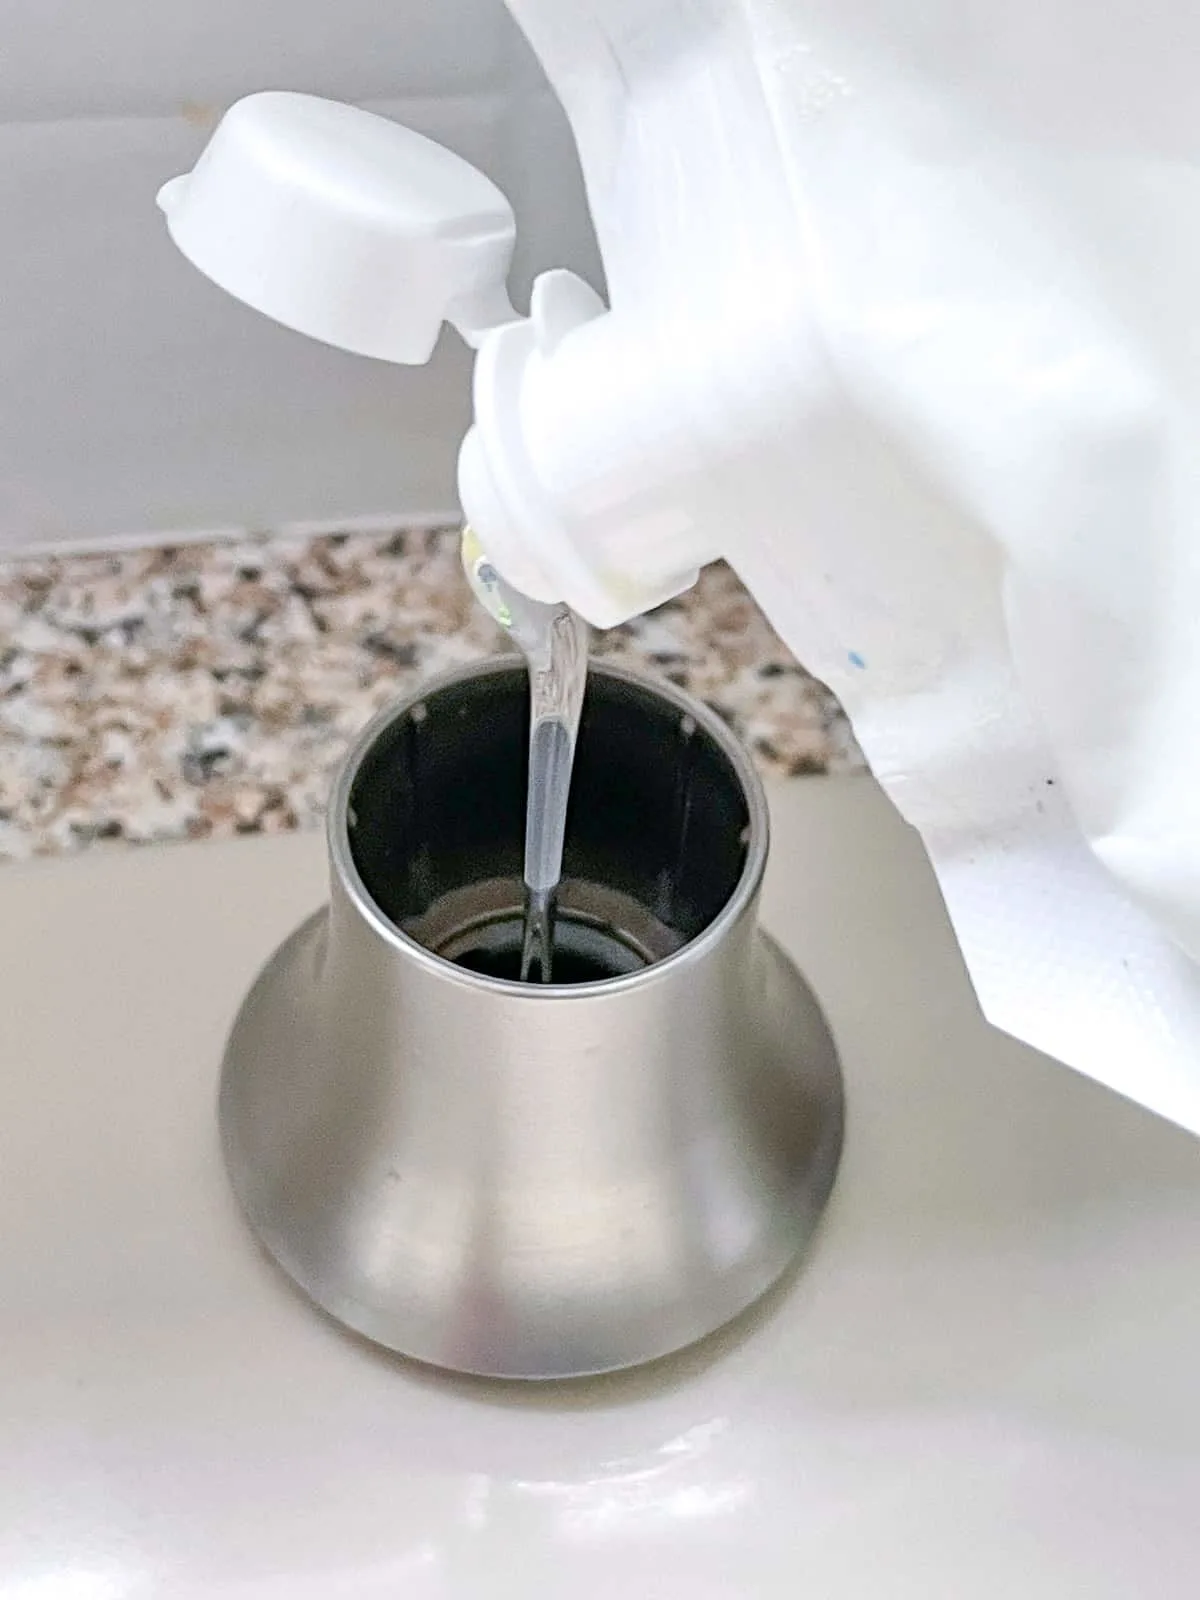
Now you can fill the reservoir from above through the escutcheon. If you tend to make a mess filling it up, you can pop a small collapsible funnel into the hole to make it easier.
Insert the Pump Handle
Attach the long, thin tube to the hole in the underside of the pump. This is what draws the soap up from the reservoir to the handle.
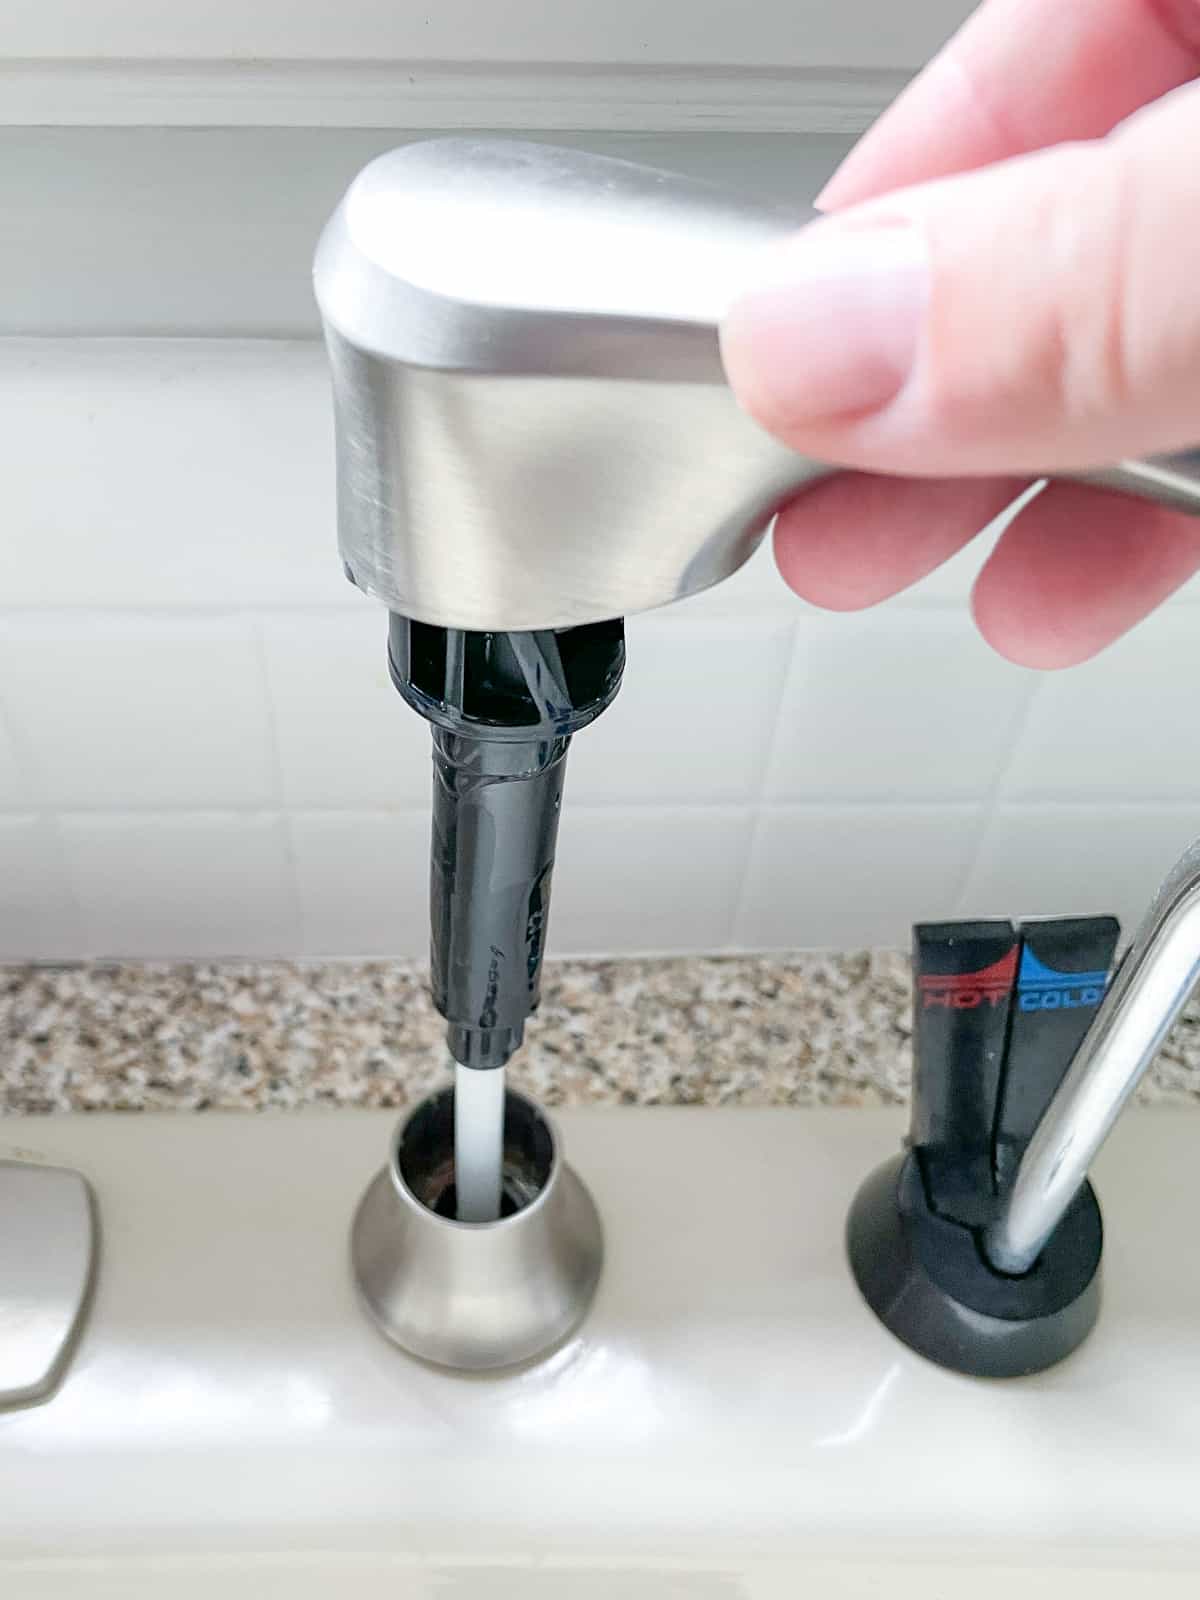

Then just pop the tube with the pump attached down into the hole! You might need to screw it into place, depending on your model. My version just sits on top of the escutcheon, so it's super quick and easy to refill the reservoir.
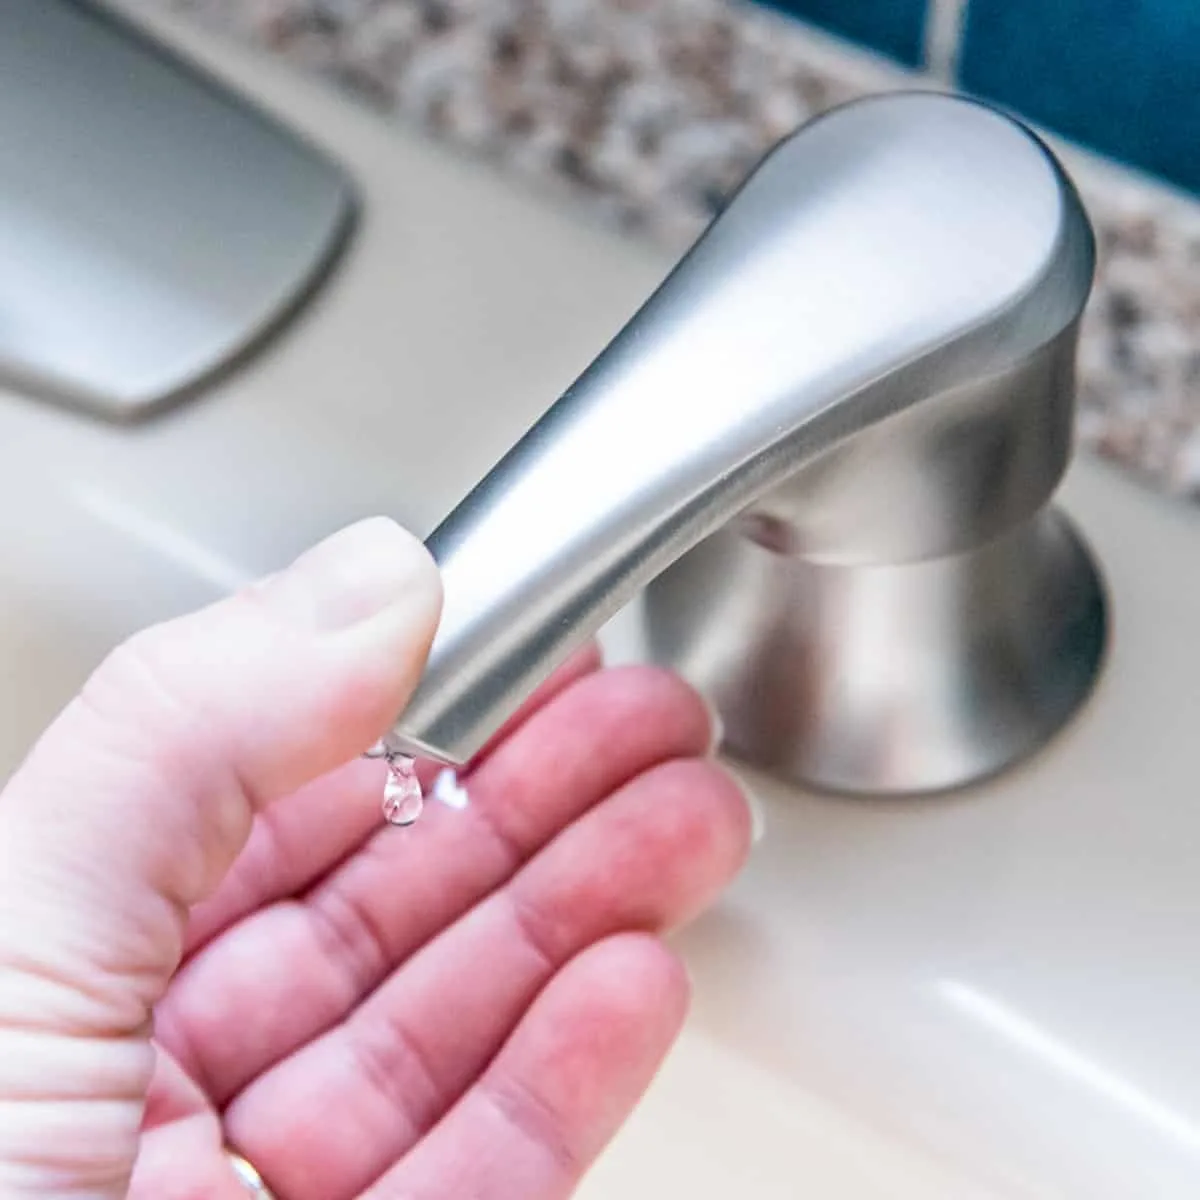
It may take a couple of pumps to draw the soap up into the tube and through the pump. This Pfister soap dispenser works by pressing down on the front of the nozzle with just one finger. Other versions require you to pump with one hand while holding the other underneath to catch the soap.

Frequently Asked Questions
Which Side of the Sink Should the Soap Dispenser Go On?
There's no hard and fast rule for where the soap dispenser should be installed. But in general, most people install the soap dispenser on the right side of the sink.
Unless you're planning to drill them yourself, you're probably limited to the existing holes or knockouts in the sink or countertop. You'll want to center the faucet over the sink bowl, so you may only be left with one hole on the side for the soap dispenser.
Can I Replace a Sprayer with a Soap Dispenser?
Yes! If your new kitchen faucet has a built-in sprayer, you'll need to remove the separate sprayer to avoid confusion. This empty hole is the perfect spot for a soap dispenser!
Top Fill vs Under Sink Fill
When the soap runs out, there are two ways to refill it. Some models simply require you to pull out the pump and pour the soap into the bottle mounted to the sink below. Others have a long tube running to a larger bottle stored in the cabinet underneath.
The benefit of the top fill method is that you can refill the soap quickly and get back to cleaning. But the smaller bottle means you'll be refilling it more often, and it can get messy if you accidentally overfill. A funnel can make this task a little easier!
If you have a large household (or just wash your hands a lot like I do!), you may find that the extension tube that connects directly to a giant bottle of soap is more efficient. You can buy bottles in bulk, and you'll only need to change it out when it runs dry. But if the bottle is buried in the back of the cabinet, it can be a hassle to pull it out and replace it.
If you're not sure which type you'd rather have, you can find models like this one that have both options so you can see which one works best for you!
Can I Use the Kitchen Sink Soap Dispenser for Dish Soap or Lotion?
Yes! If you already have a countertop soap dispenser you love, you can use this spot for dish soap or even hand lotion. If you have extra holes in your sink, you can even have two dispensers for different products!

Check out these other easy home improvement tutorials!

Jenn
Monday 14th of June 2021
I have a hole in my counter left from a water filter spigot that was removed. I'd love to add one of these but unsure what I should use to enlarge the hole to make it big enough for the soap dispenser. I have a cheap old laminate countertop Any suggestions on if this is doable and what type of drill bit to use to drill out the hole? A forsyth bit?
Vineta Jackson
Tuesday 15th of June 2021
You could absolutely add a soap dispenser to the water filter hole in your sink! I'd buy the soap dispenser first to see how big to make the hole. It doesn't need to be huge, so the current hole might work. If the hole is too small, you can enlarge it with a Forstner bit or a hole saw. Check out my tutorial on how to use a hole saw, including how to enlarge an existing hole!