Learn how to install cabinet hinges so the door fits perfectly! I'll show you how to measure, drill and install concealed hinges step by step!
Concealed hinges, also known as European hinges, are a great option for your kitchen or bathroom. They can be used in both face frame and frameless cabinets, with options like soft close to prevent slamming cabinet doors.
Concealed cabinet hinges are also really easy to adjust to get the right spacing around your cabinet opening. Even if your hinge installation is slightly off, you can tweak the position of the door with the turn of a screw!
In this tutorial, I'll show you how to install cabinet hinges so they work perfectly on the first try!
This post contains affiliate links for your convenience. Purchases made through these links may earn me a small commission at no additional cost to you. Please visit my disclosures page for more information.
Tools required
- Drill
- Concealed hinge jig
- Hinge plate jig
- 1/16" drill bit
- Pozidriv screwdriver (optional, but highly recommended)
- Concealed hinges for your style of cabinet
- Tape measure
- Clamps
How to choose the right cabinet hinge
When you arrive in the hardware section of the home improvement store, you might be overwhelmed by all the different cabinet hinge types. Here's how to choose the right one for your needs.
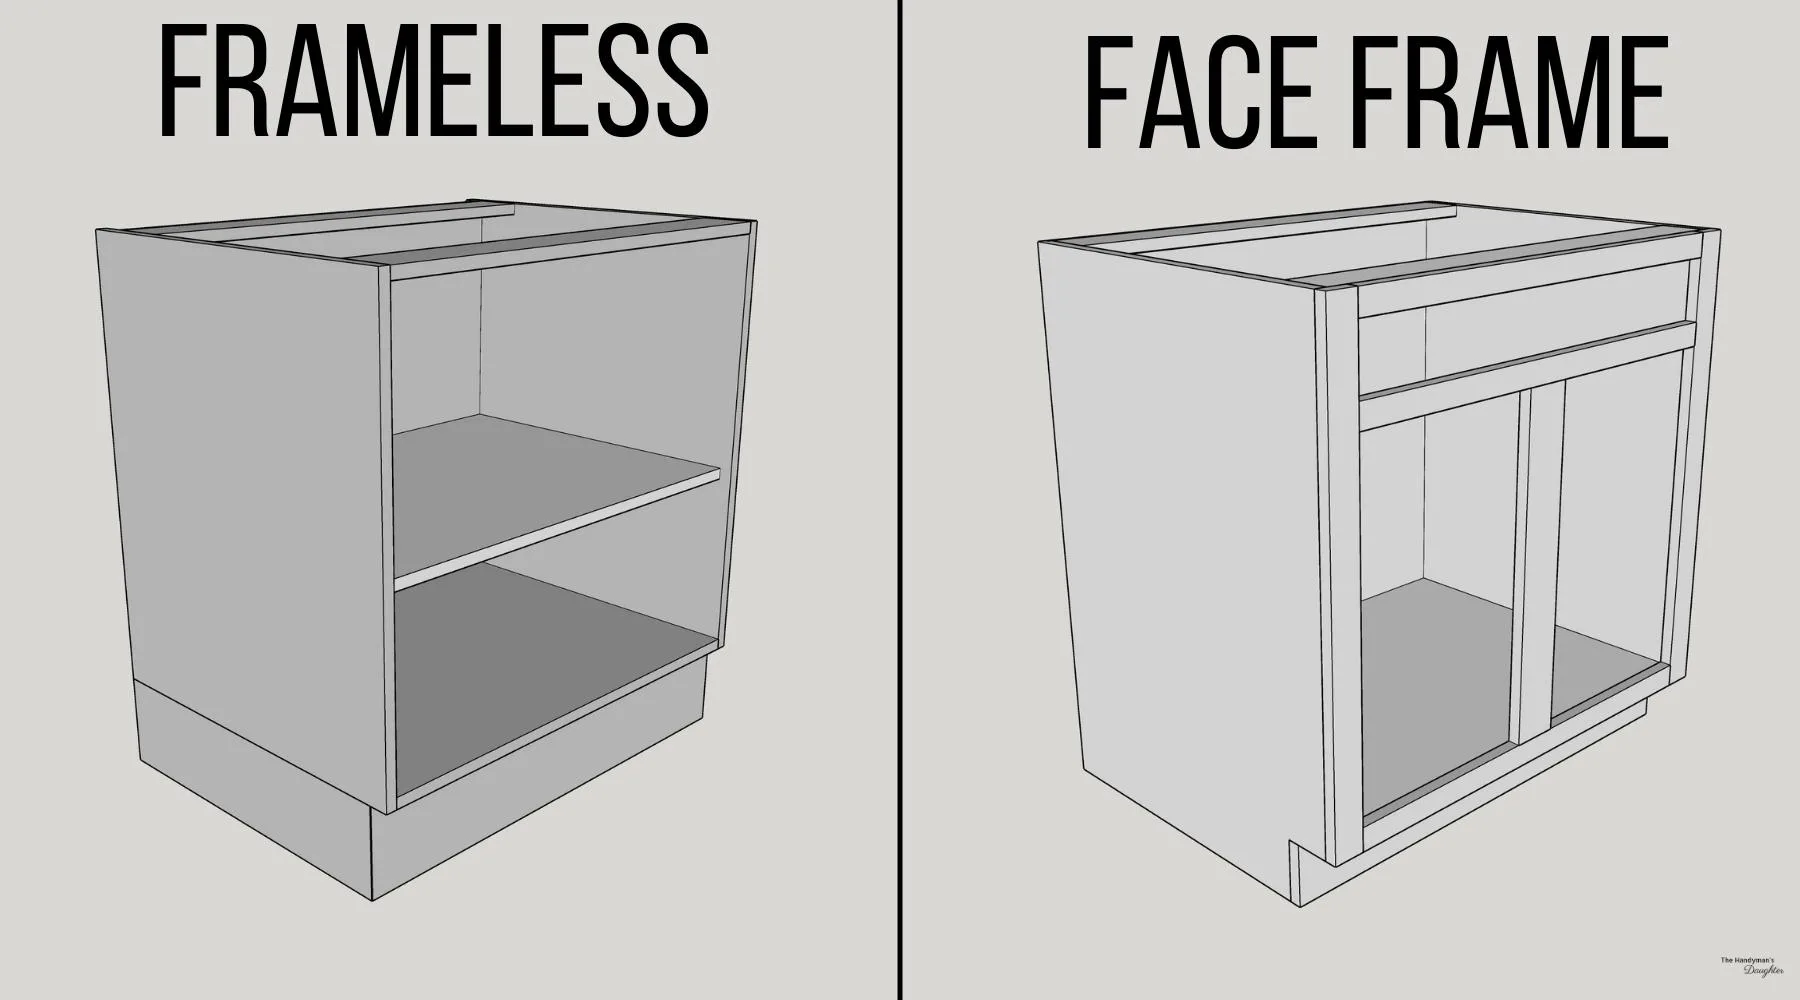
Frameless vs face frame cabinet construction
First, you'll want to check your cabinet's construction. Refer to my guide on the parts of a cabinet if you're not sure.
Face frame cabinets have a wooden border attached to the front edge of the cabinet opening. Frameless cabinets, like the ones I'm building for my kitchen, are just a box with exposed plywood edges that are covered with edge banding.

Make sure you choose the correct concealed hinges for the type of cabinet you have. Frameless cabinet hinges will be mounted directly to the inside of the cabinet box. Face frame hinges are attached to the edge of the face frame.
Full vs half overlay hinges
If you have frameless cabinets, you have two choices: full or half overlay. Both types will hide the exposed edge of the cabinet box with small gaps between the doors (called the reveal).
Full overlay hinges are used to cover the entire edge of the frameless cabinet box, minus the reveal. These are the ones I used throughout my entire kitchen, and I'll show how to install this style in the tutorial below.
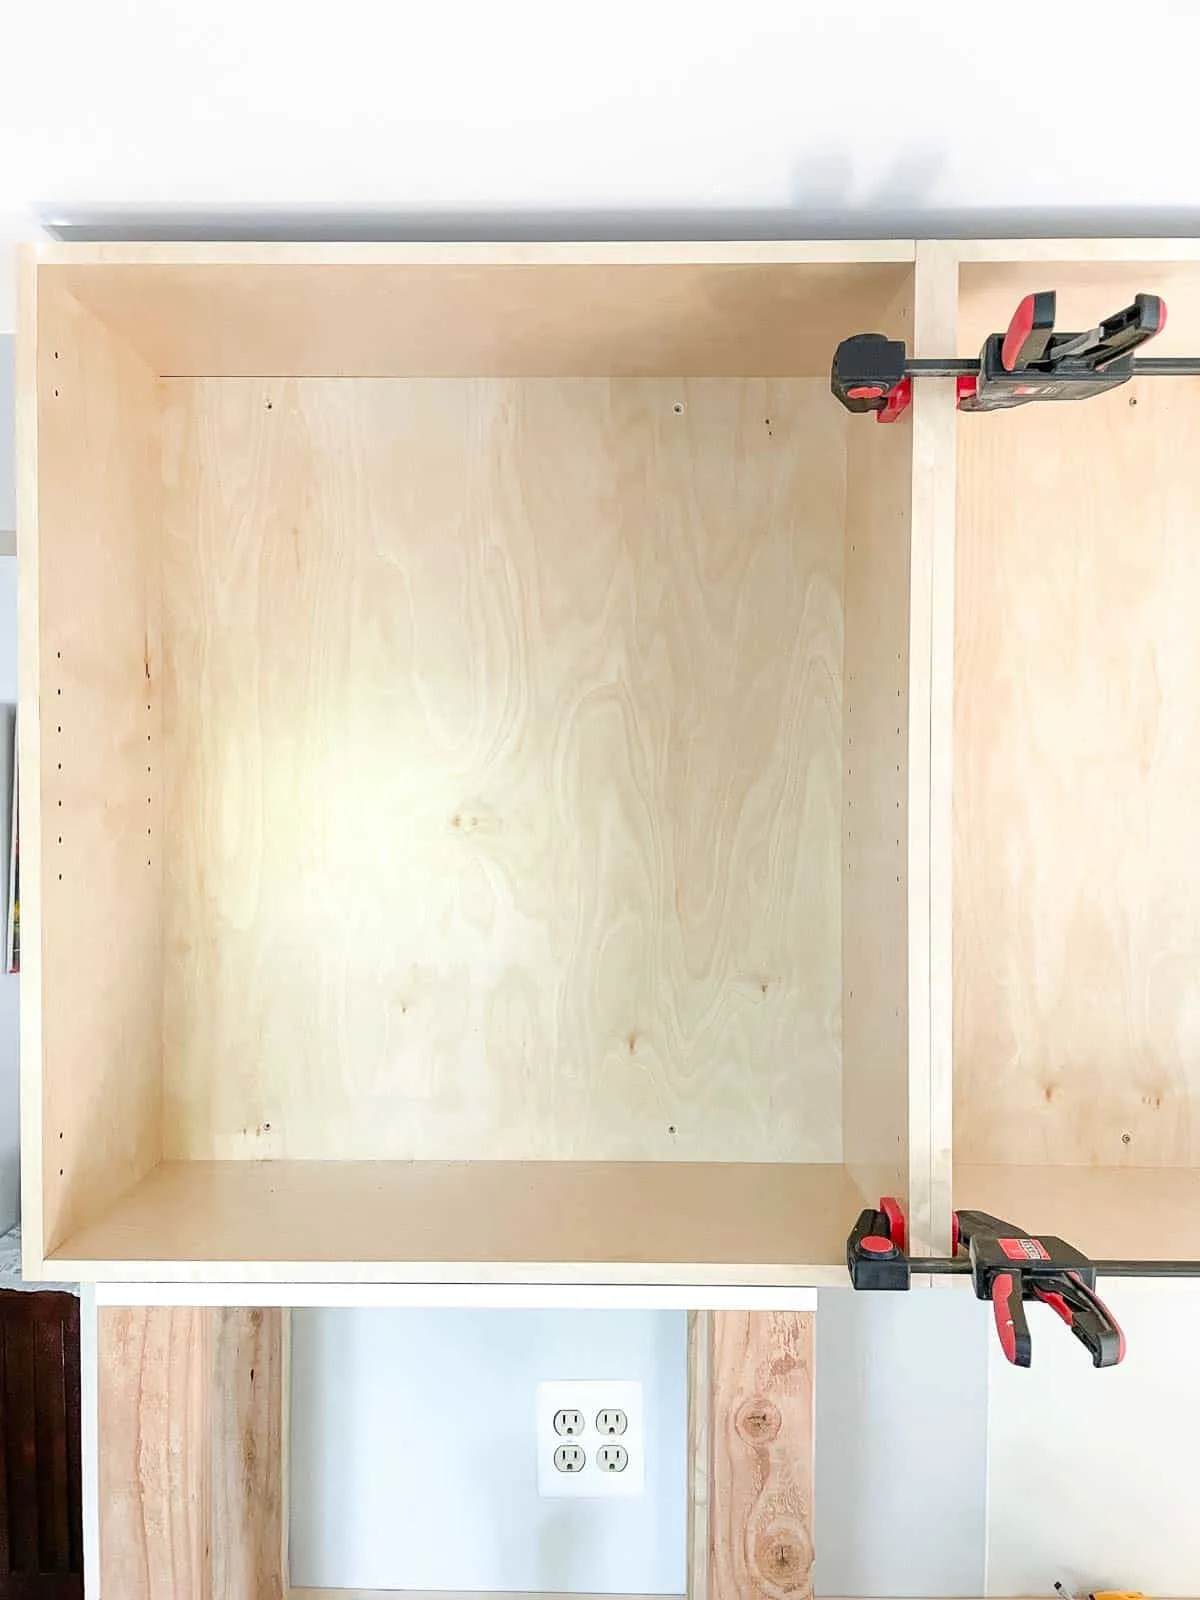
Half overlay hinges cover half of a single ¾" divider with ⅛" spacing between the doors. These are only used if two cabinet boxes share a side panel. If your cabinet boxes each have their own side panels like the ones shown below, you'll want full overlay hinges instead.

Overlay vs inset hinges
With face frame cabinets, you have a few more options for concealed hinges. You can have the door sit on top of the face frame (overlay doors), or it can be mounted within the frame (inset doors).
You can find overlay hinges that cover up the face frame as little as ⅜" and as much as 1 ½". Face frames are typically 1 ½" to 2" wide, so the larger the overlay, the less the face frame will be visible.
Inset hinges hold the door within the face frame, instead of in front of it. Typically, you'll need to install a stop behind the door so it stays flush with the outside edge when it's closed.
Concealed hinge parts
Now that you've decided on the type of hinge you'll be using, you'll need to prepare the cabinet door and box. In this tutorial, I'll install overlay hinges for frameless cabinets, since these are the most popular type.
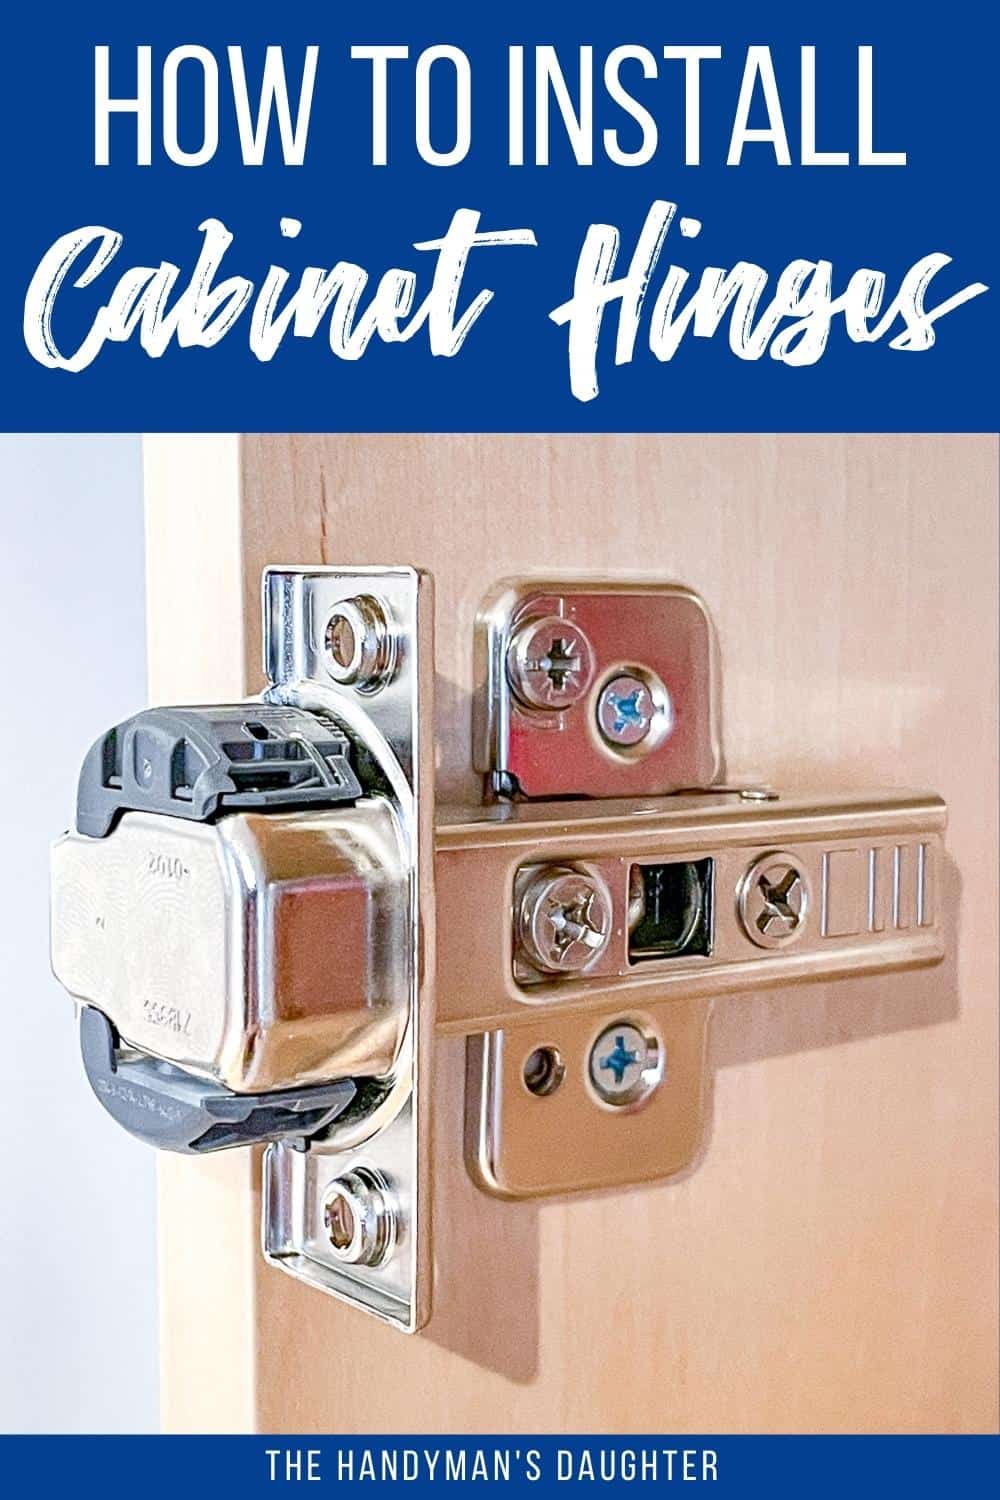
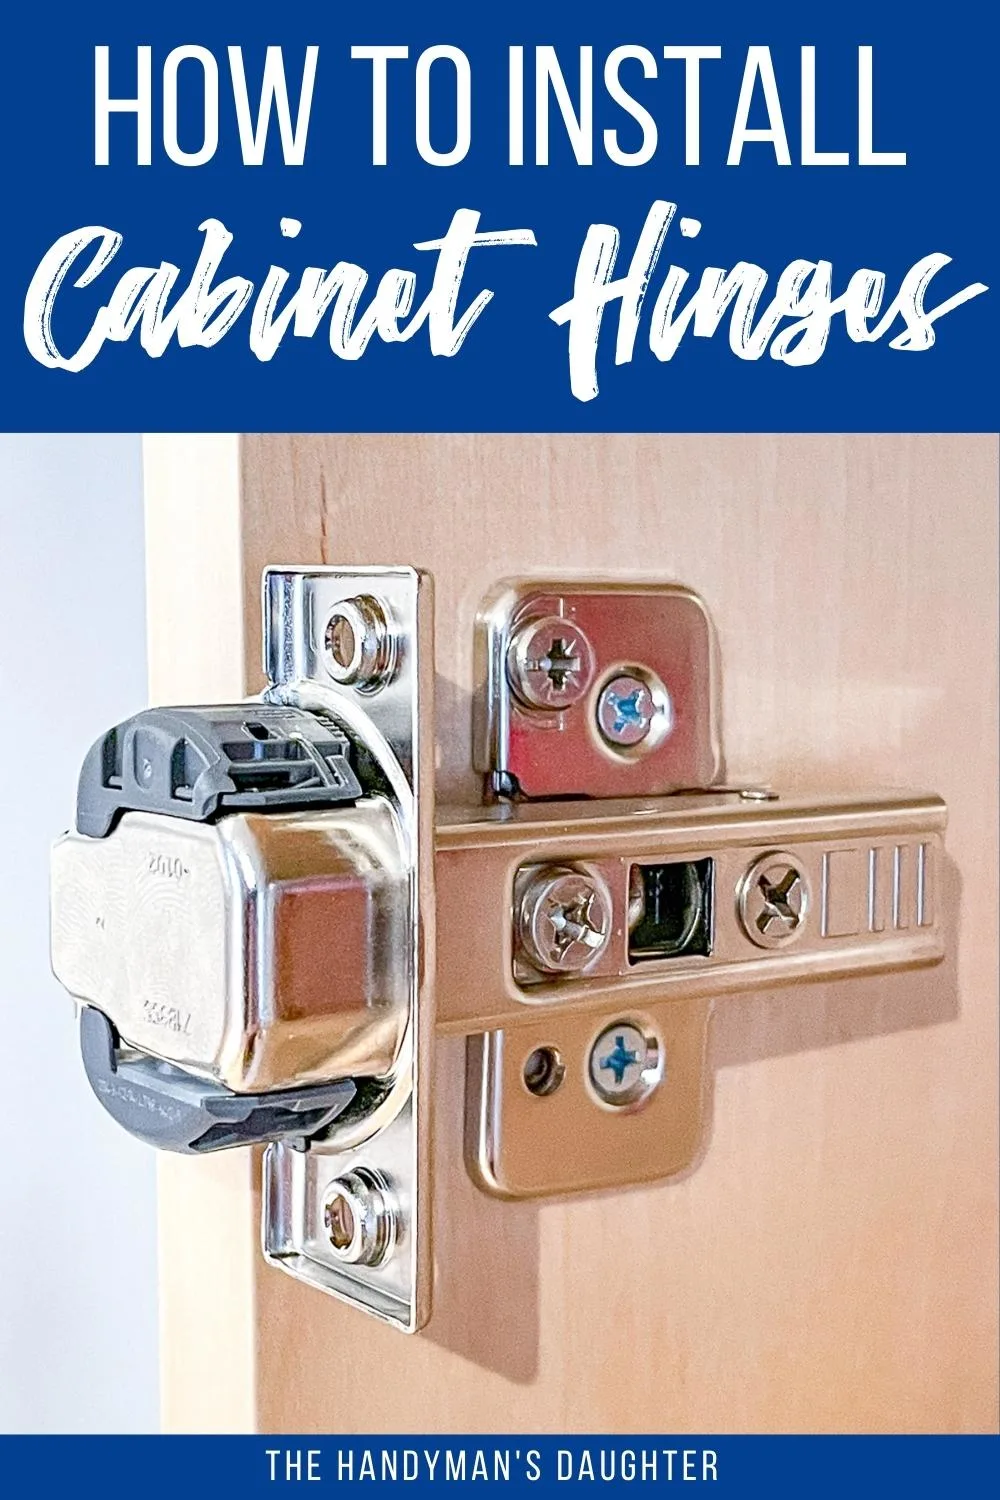
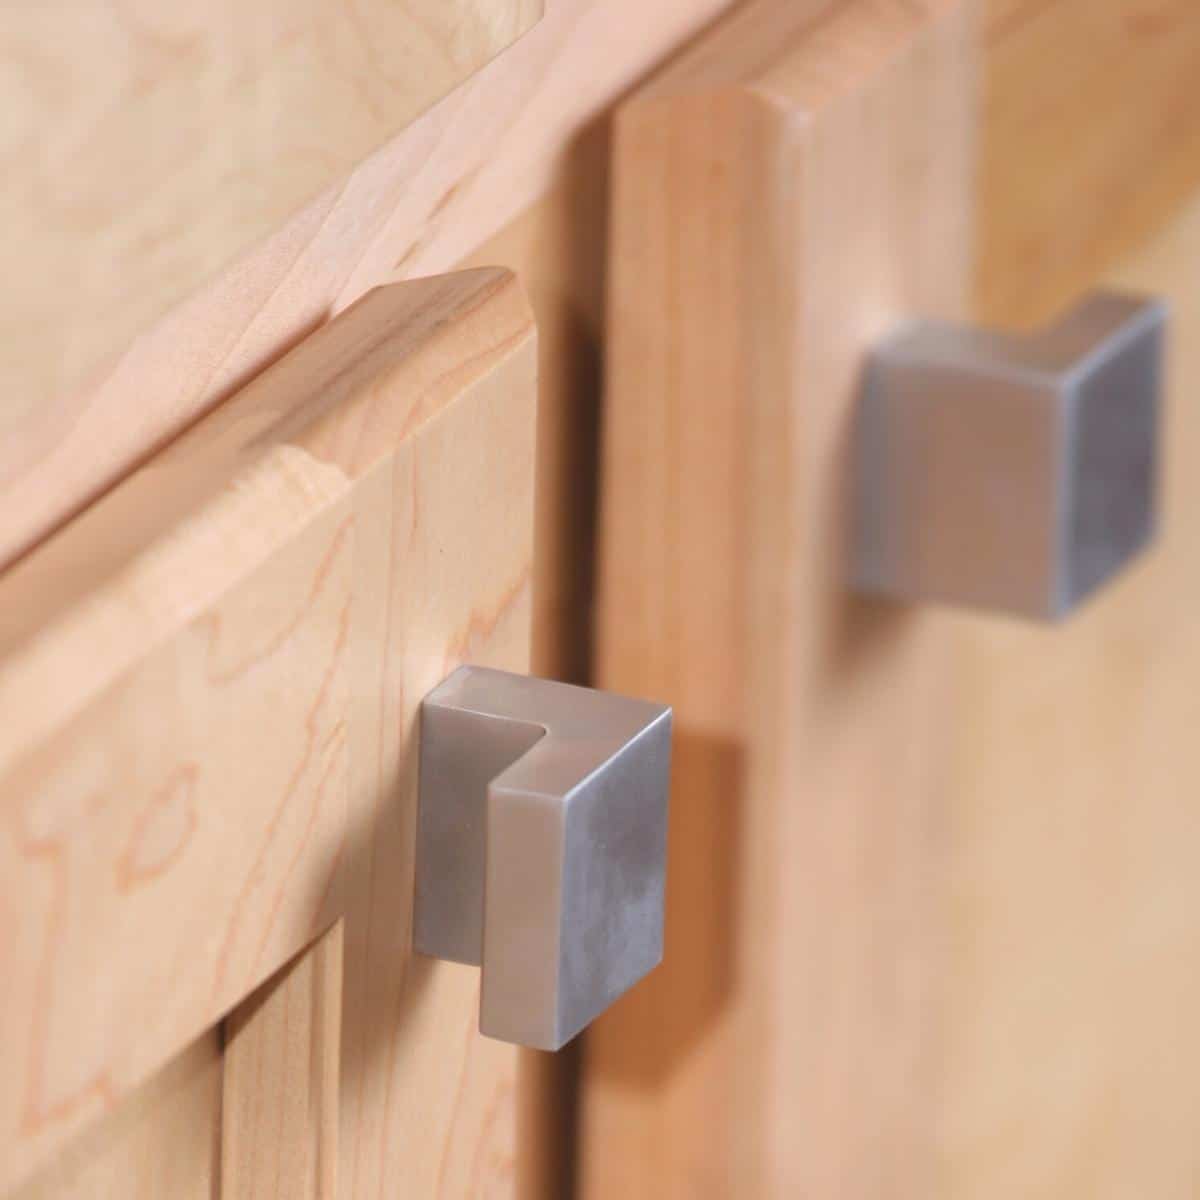
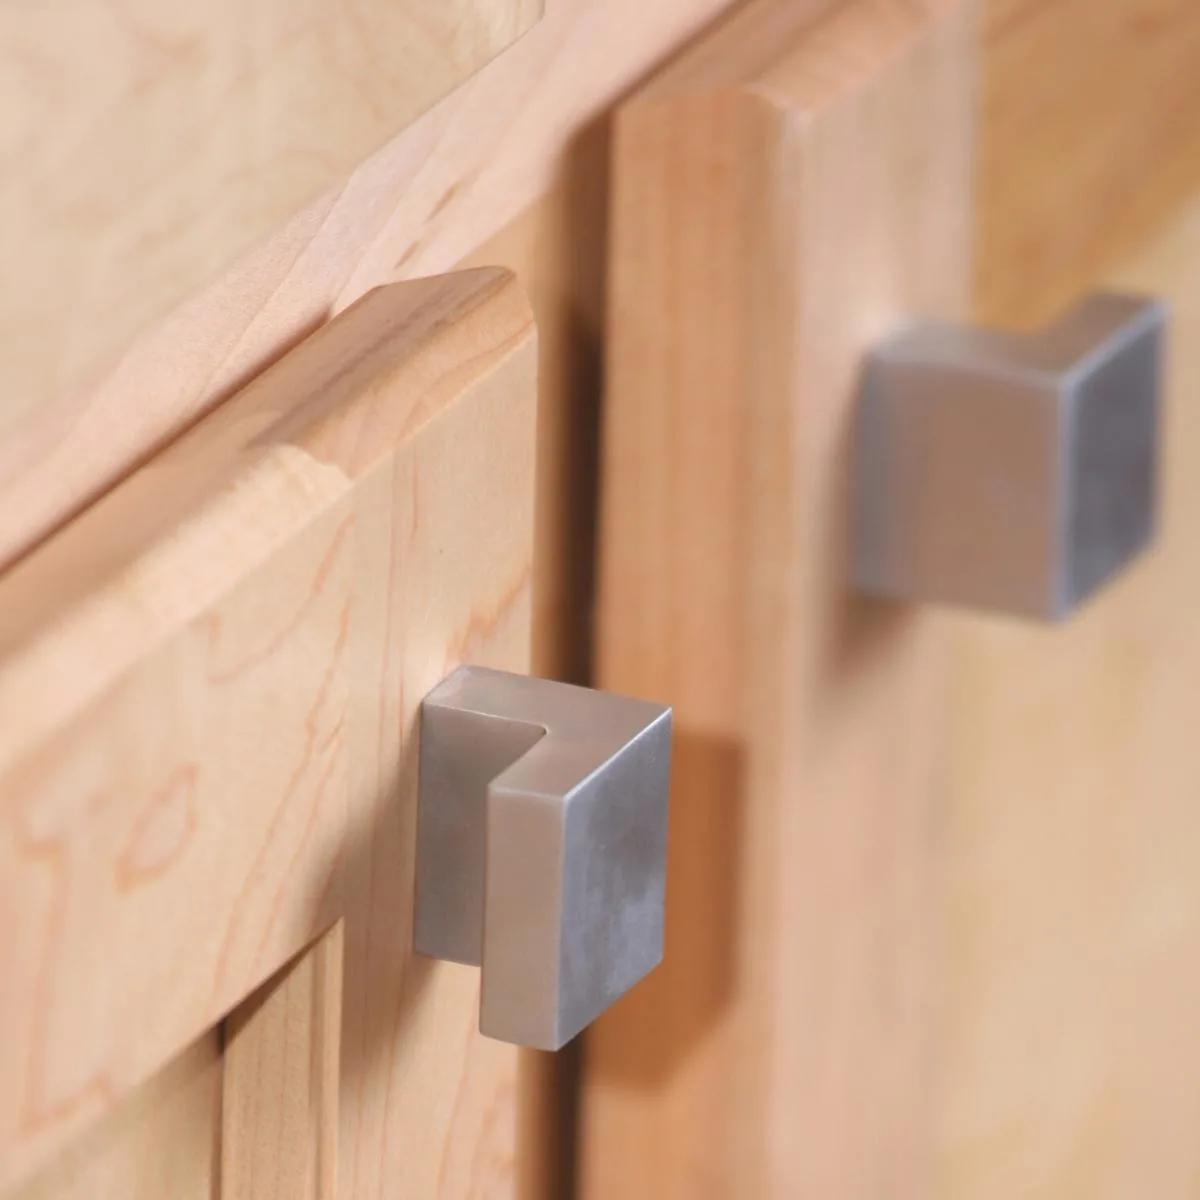
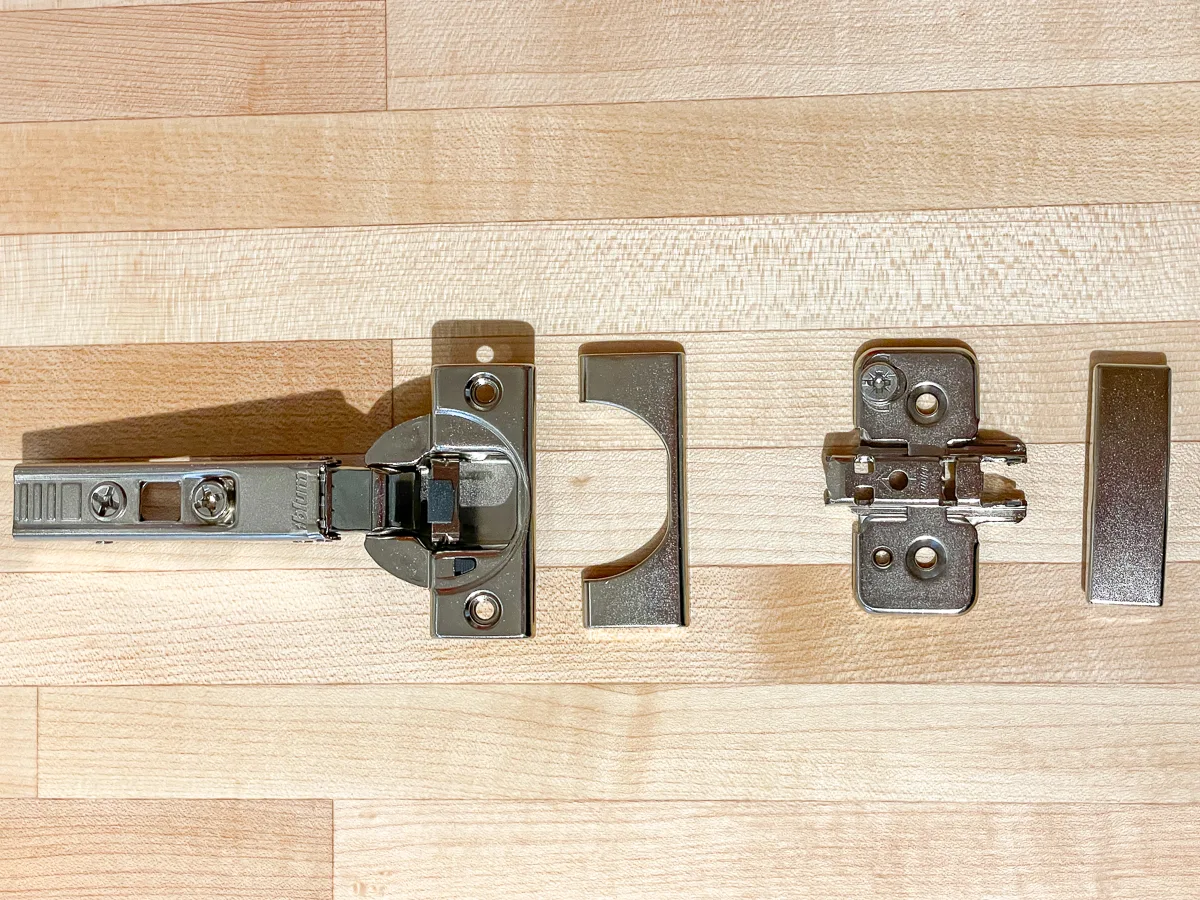
Typically, a concealed hinge comes in two main parts: a cup attached to an arm, and the mounting plate. There may also be a cover for each part to hide the screws after the hinge is installed.

The cup is recessed into the back of the cabinet door. Its placement determines where the mounting plate is attached to the cabinet, so let's deal with that part first.
How to drill hinge cup holes
I built my own Shaker style cabinet doors, so I had to drill holes for the hinge cups myself. If you buy them, like I did with my replacement bathroom vanity doors, you can opt to have pre-drilled. It saves you a step, although they usually charge a fee for this service.
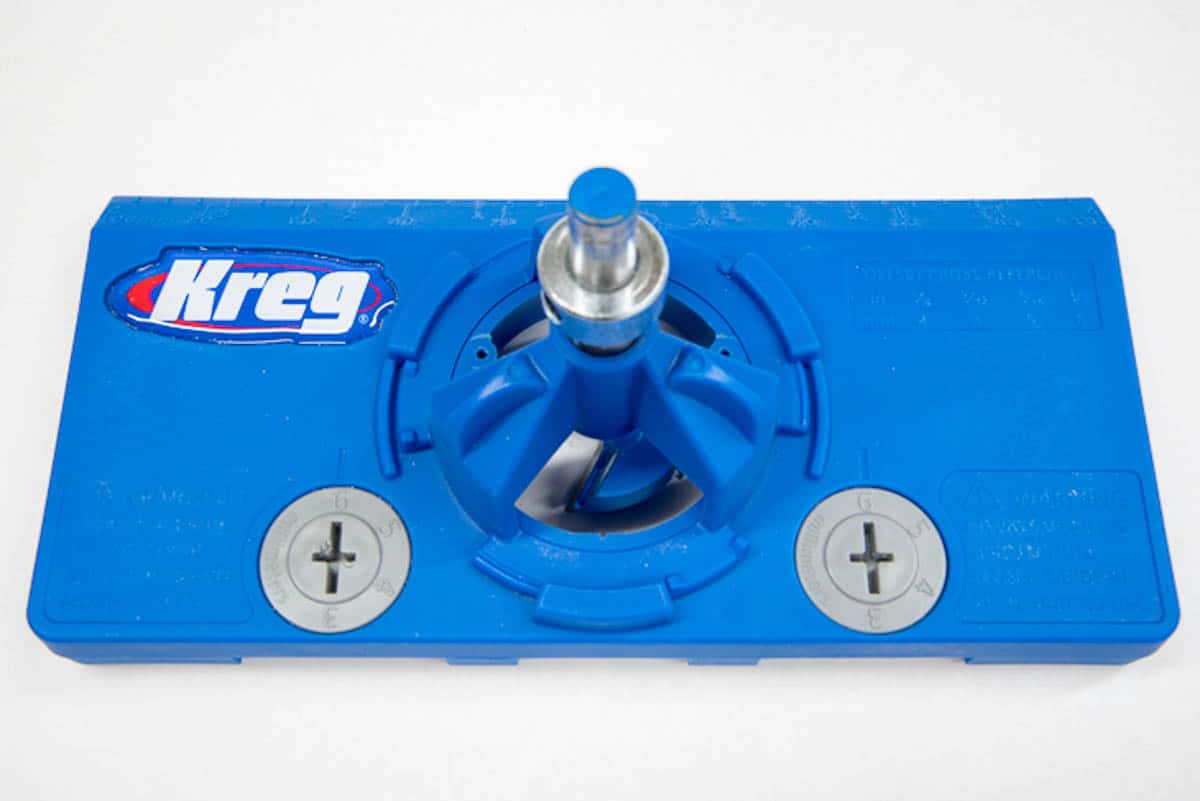
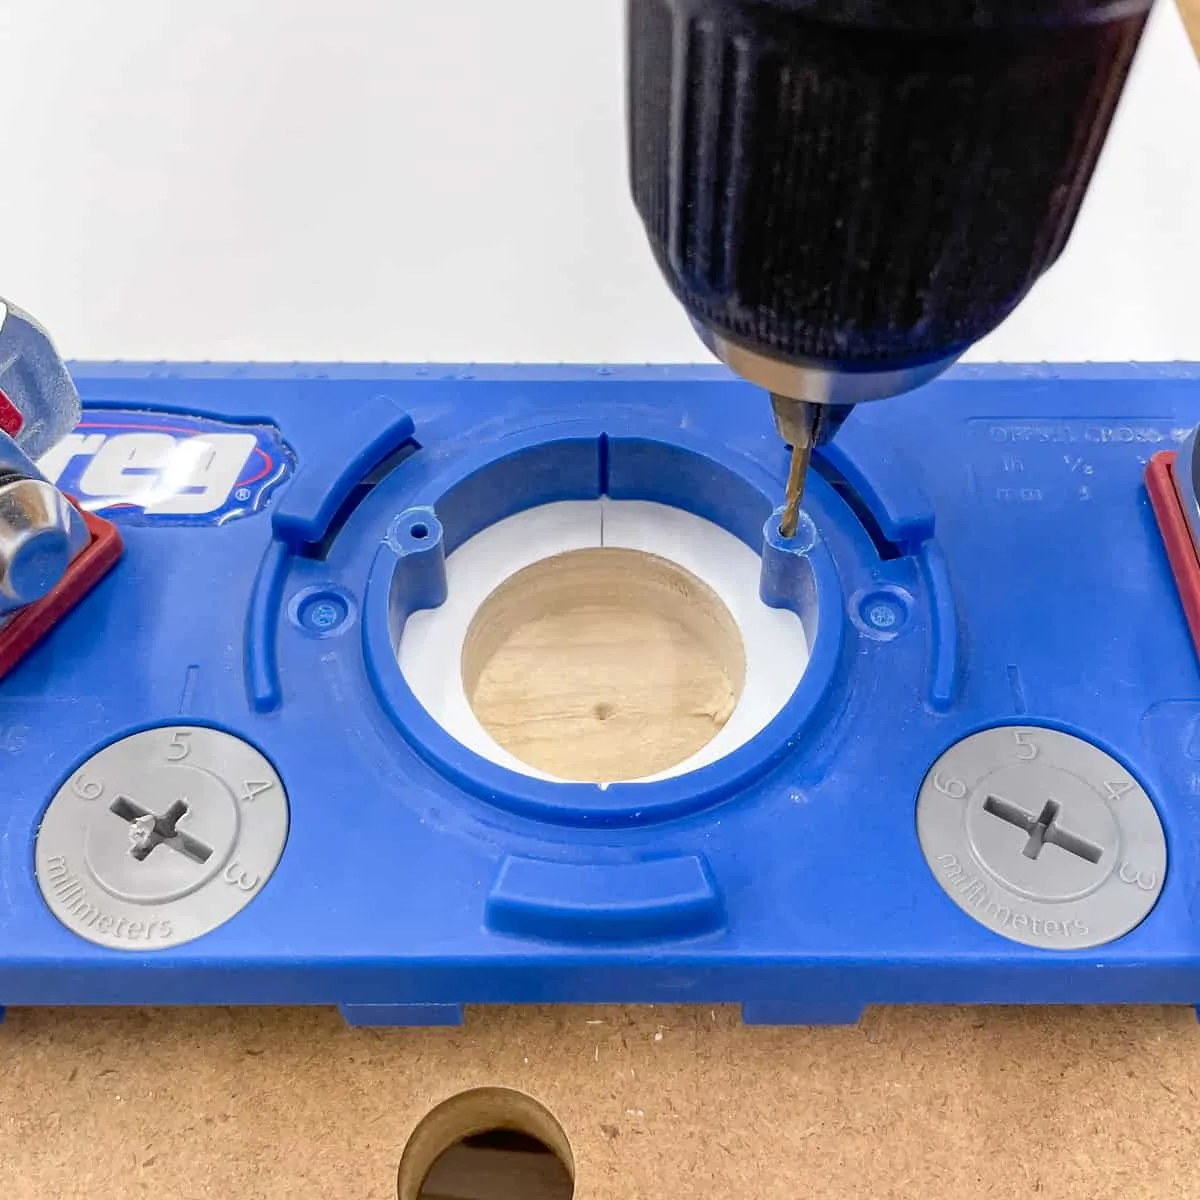
The easiest way to drill hinge cup holes is with a 35mm euro hinge drilling jig. It includes the bit you'll need, and you can set both the boring depth and distance for easily repeatable holes. I have a detailed tutorial on how to use a concealed hinge jig, but here are the basic steps.
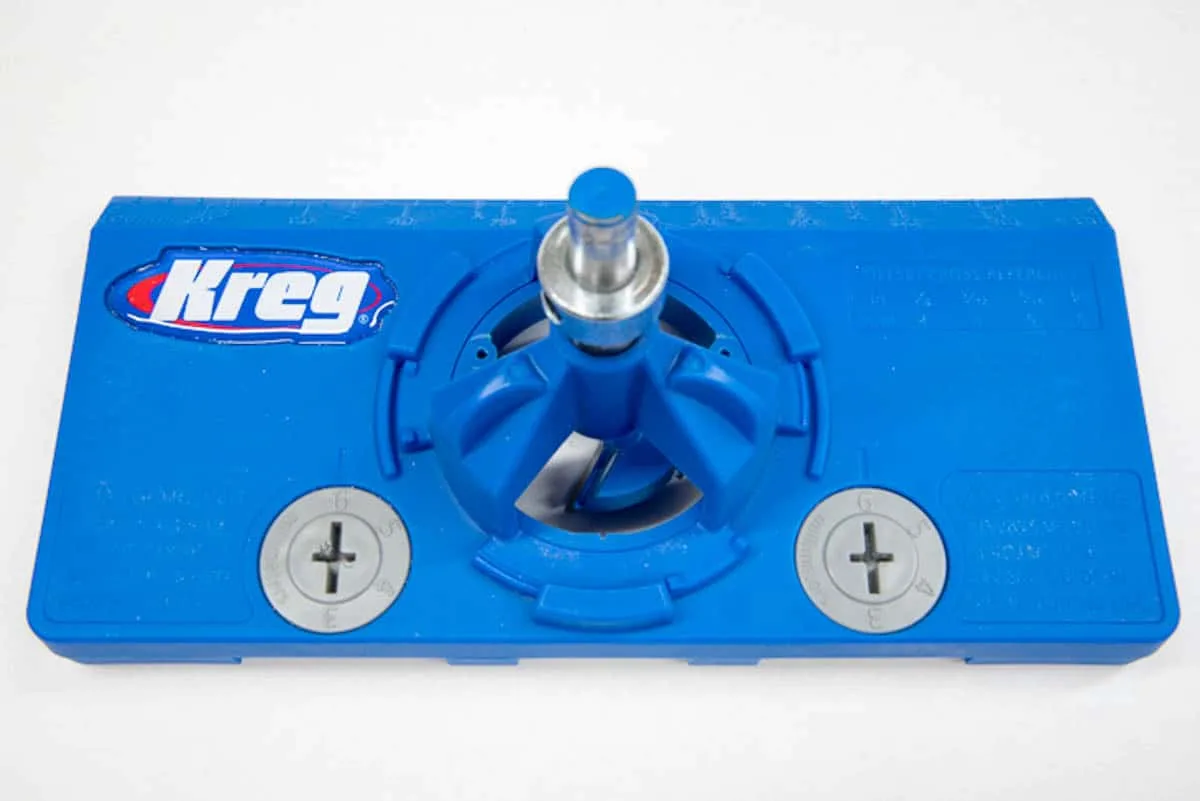
Consult the hinge manufacturer's website or instruction manual for the recommended boring distance. You can usually find a chart that indicates how far back from the edge you should drill the hole, depending on the thickness of the material used. In my case, it's 5mm, so I set the two dials on the jig for that distance.

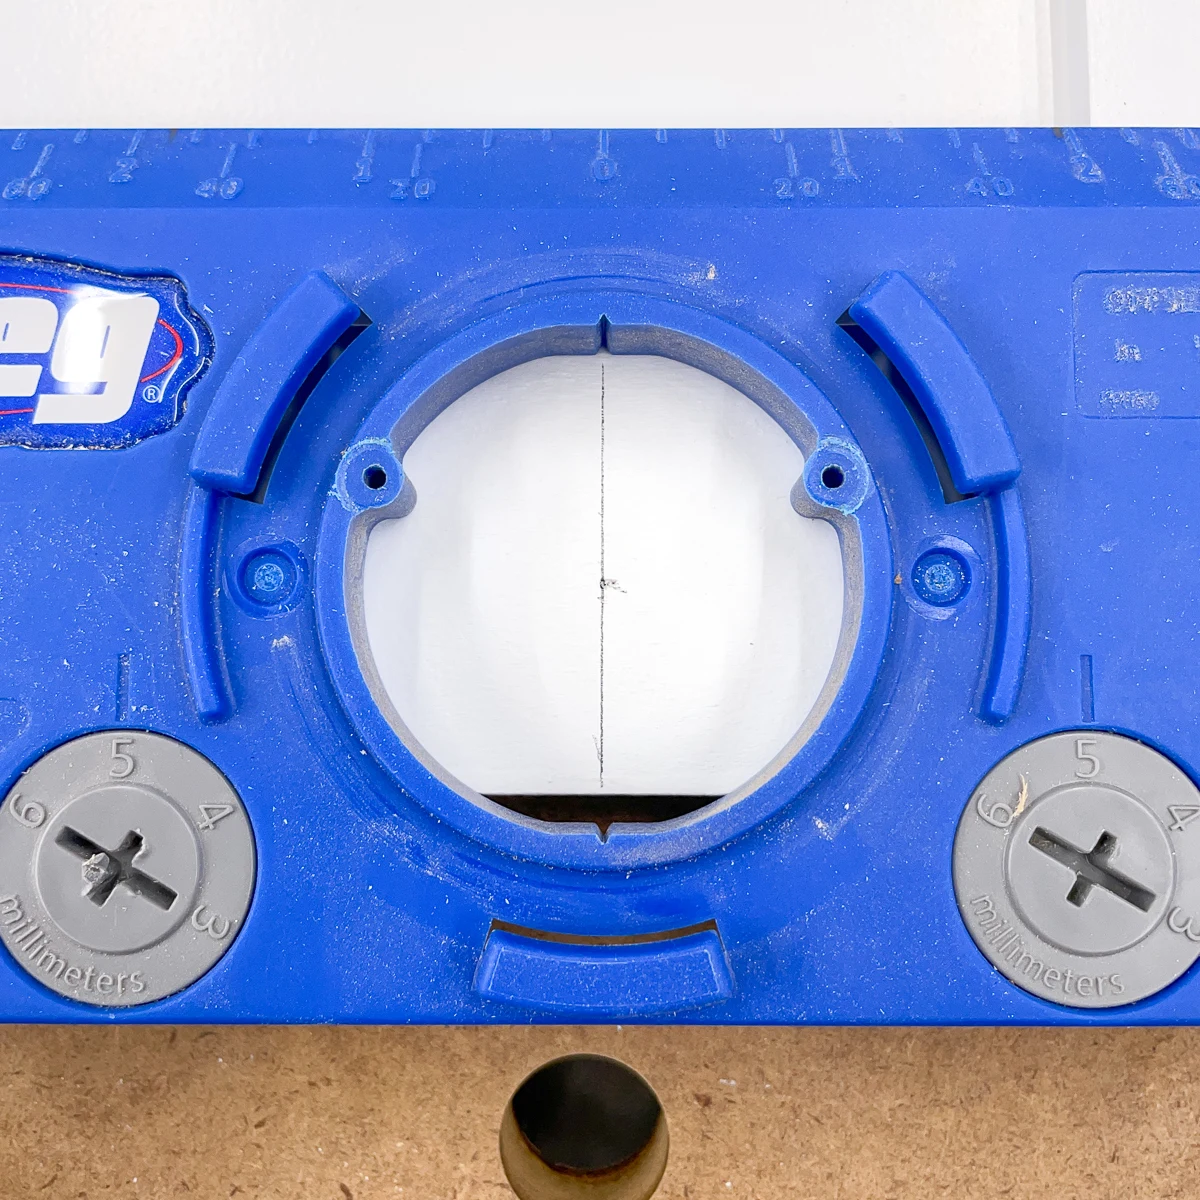
Next, decide how far from the top and bottom edge of the door to drill your holes for the hinge cups. This placement can be anywhere from 2 ½ to 4 inches. Be sure to make a note of whatever distance you choose, because you'll need it later on when you install the mounting plate!
I prefer my cabinet door hinges to be a little bit higher up from the bottom, so I set mine for 4 inches (which also happens to be the outside edge of the jig). Clamp it to the cabinet door so it doesn't move while you drill.

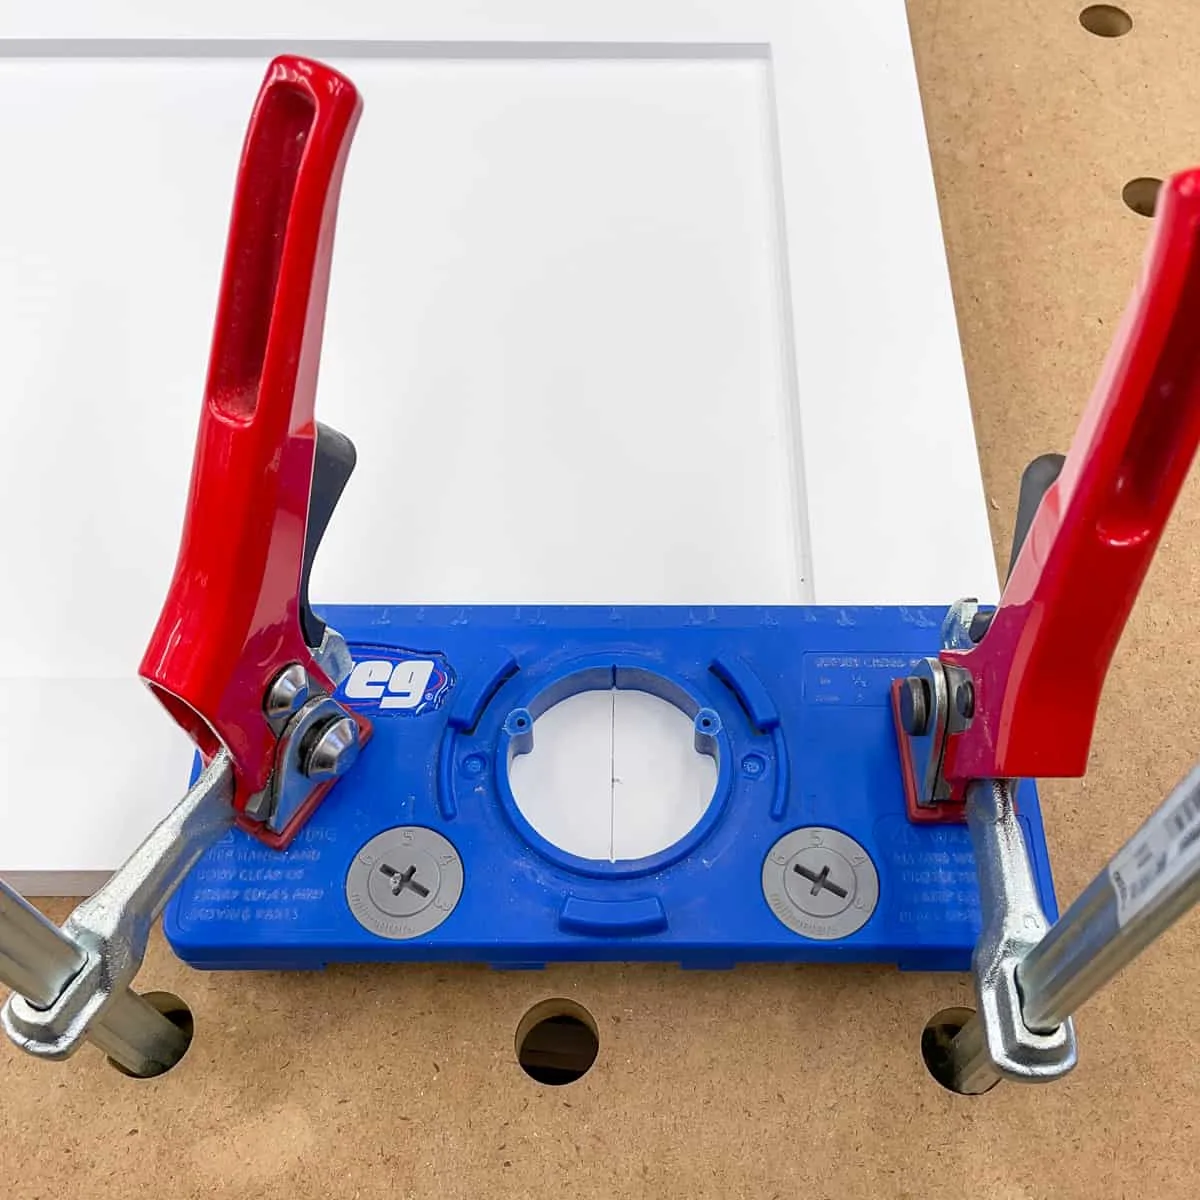
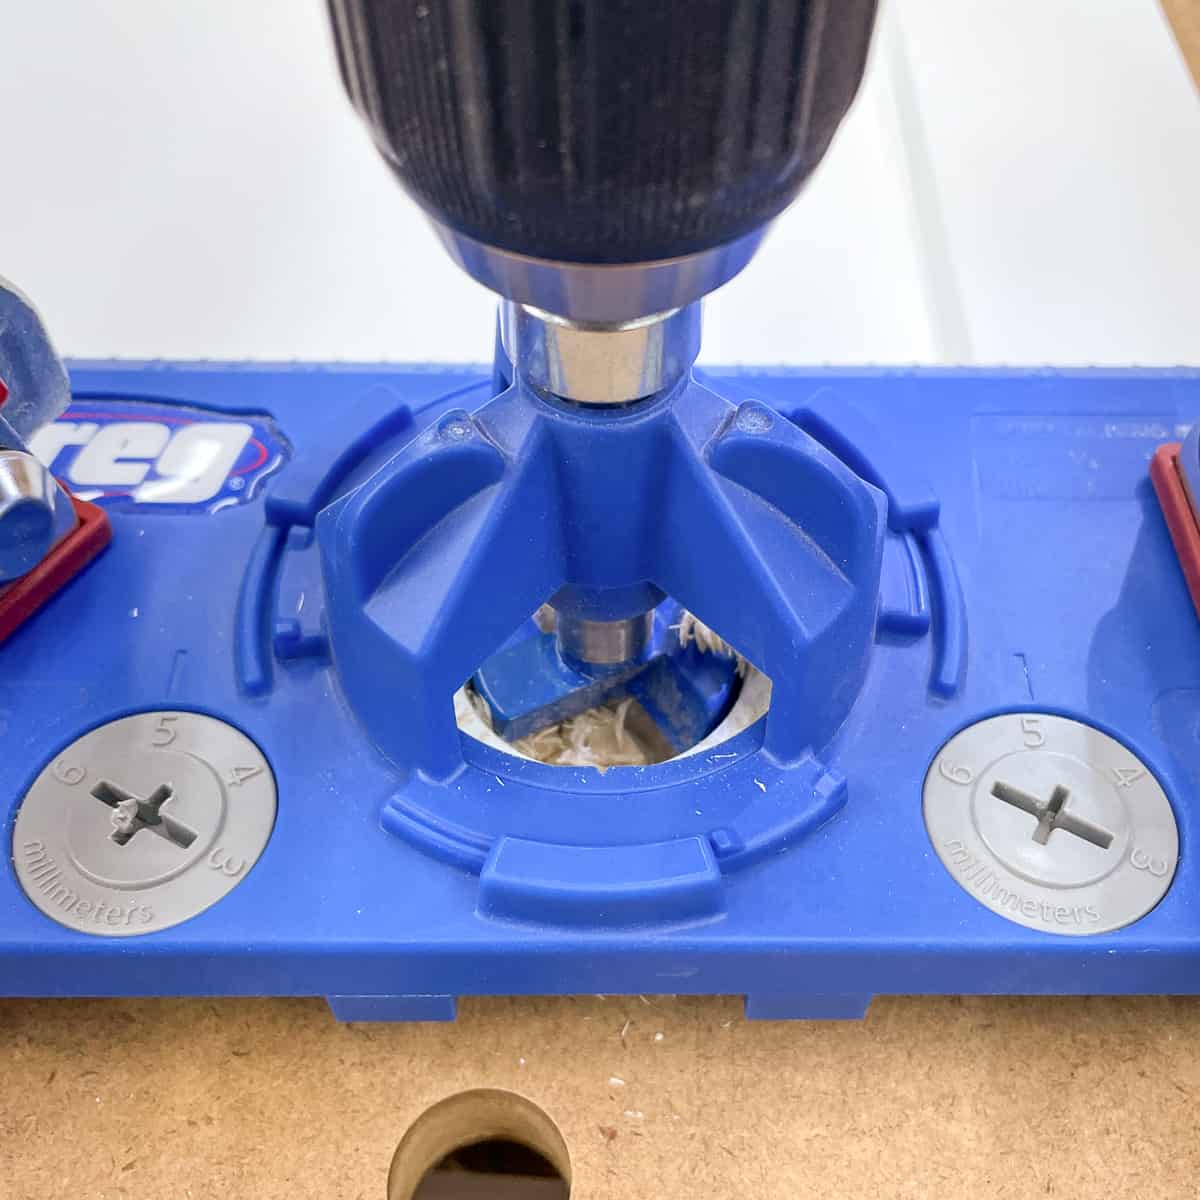
The drill bit has a collar that is pre-set to the correct depth, so you won't accidentally bore too far. Lock it into the jig and start drilling!

Clear away the sawdust, then use a 1/16" bit to drill pilot holes for the screws. This will prevent them from splitting the wood and ensures proper placement.

Now you can just pop in the hinge cup and screw it into place! Use a square to make sure that it's perpendicular to the edge.

How to install the hinge mounting plate
Now that you have the hinge installed on the door, it's time to mount the plate that holds it to the cabinet box.
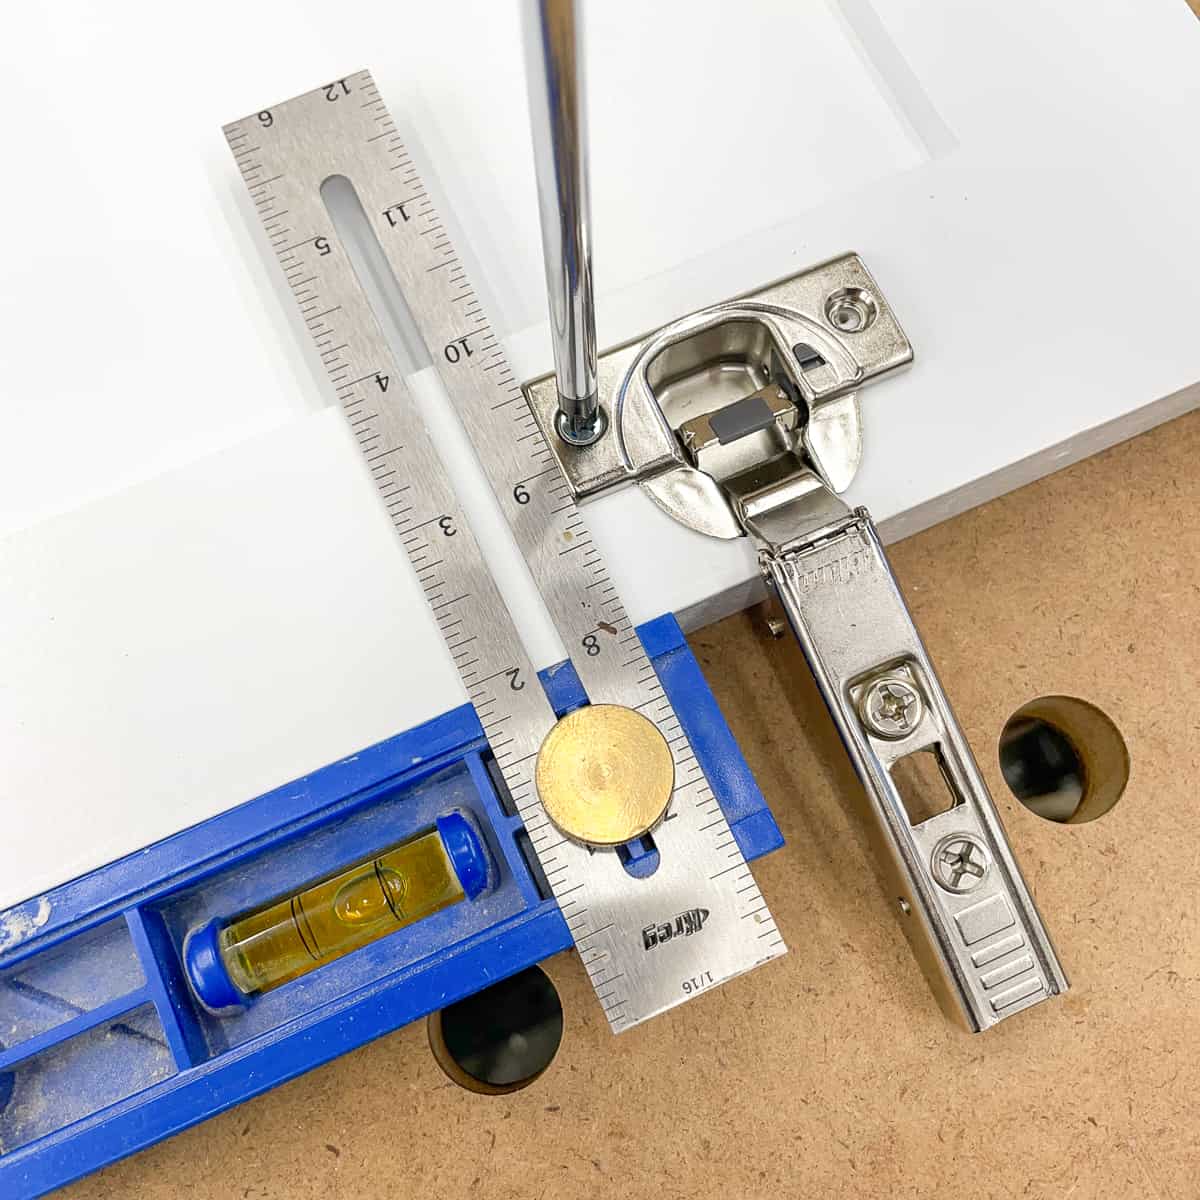
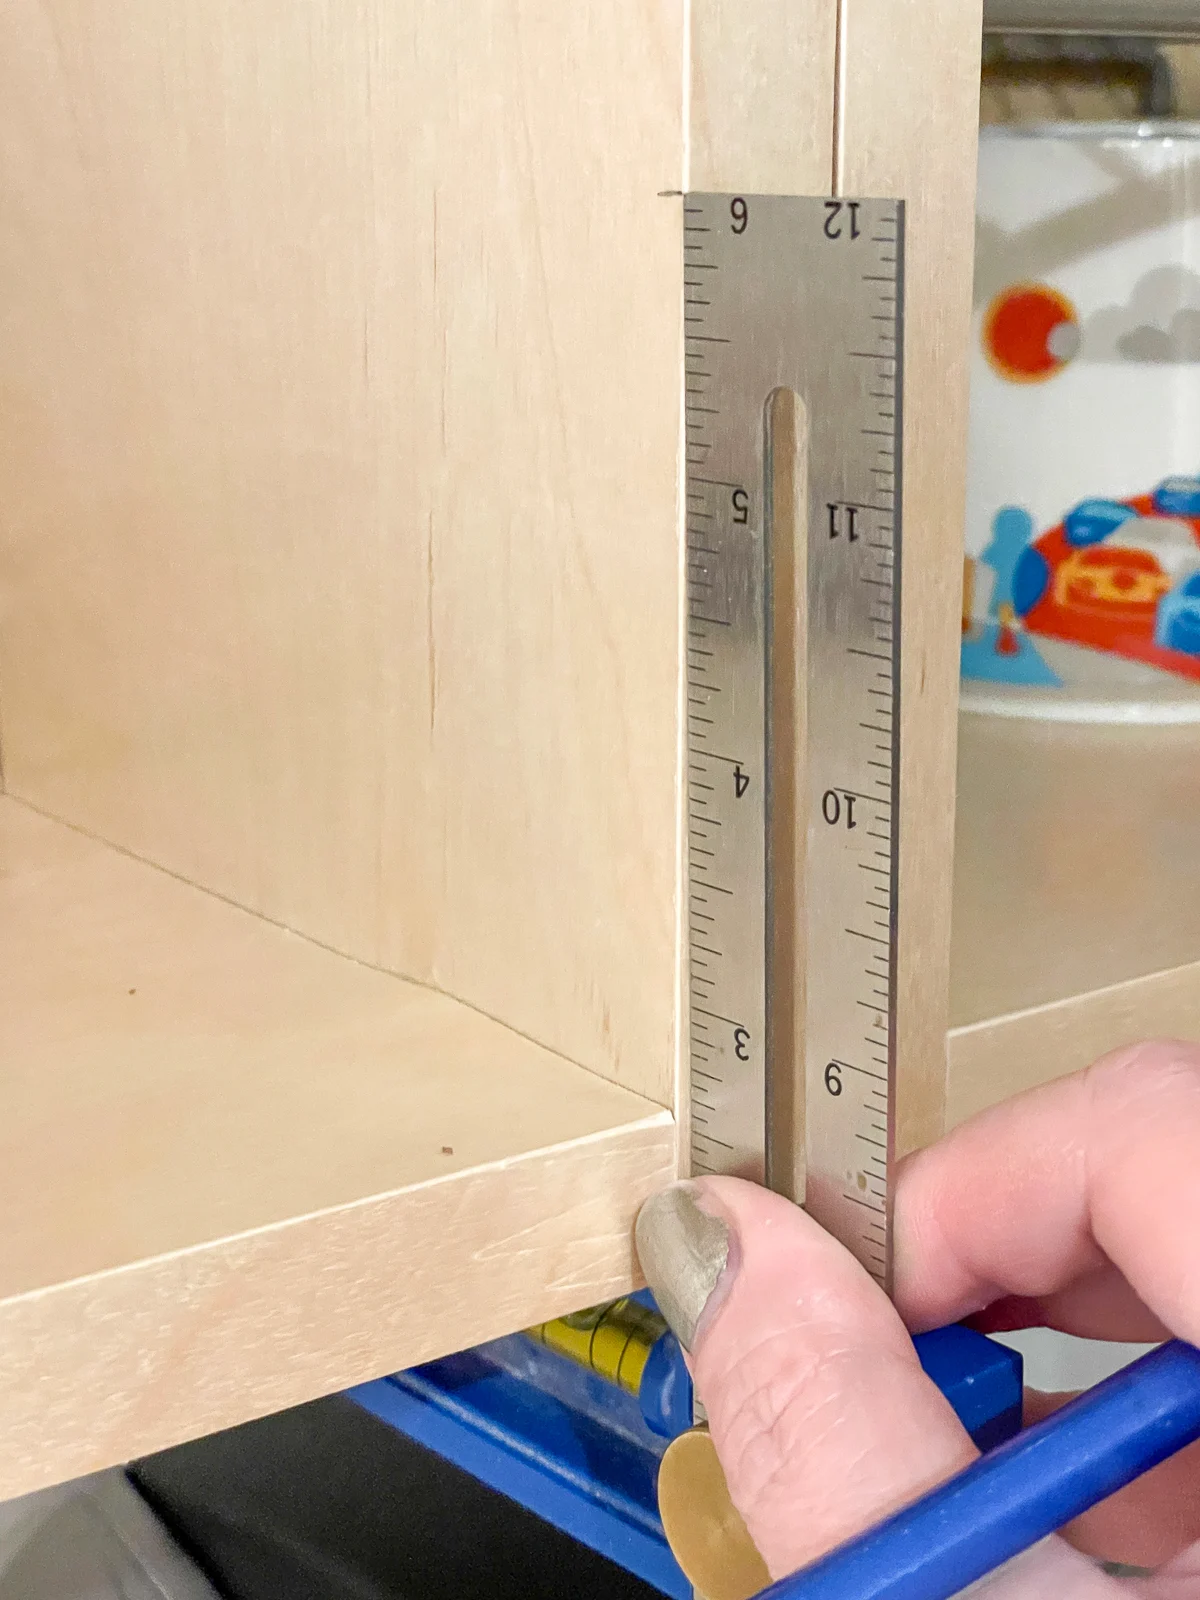
Remember the distance you drilled the holes from the top and bottom of the cabinet door? Add the reveal (typically 1/16") to that measurement. You can learn more about how to measure for cabinet doors and reveals in this tutorial.
Measure from the bottom of the cabinet up and the top of the cabinet down, marking the front edge with a pencil. In my case, it was 4 1/16".

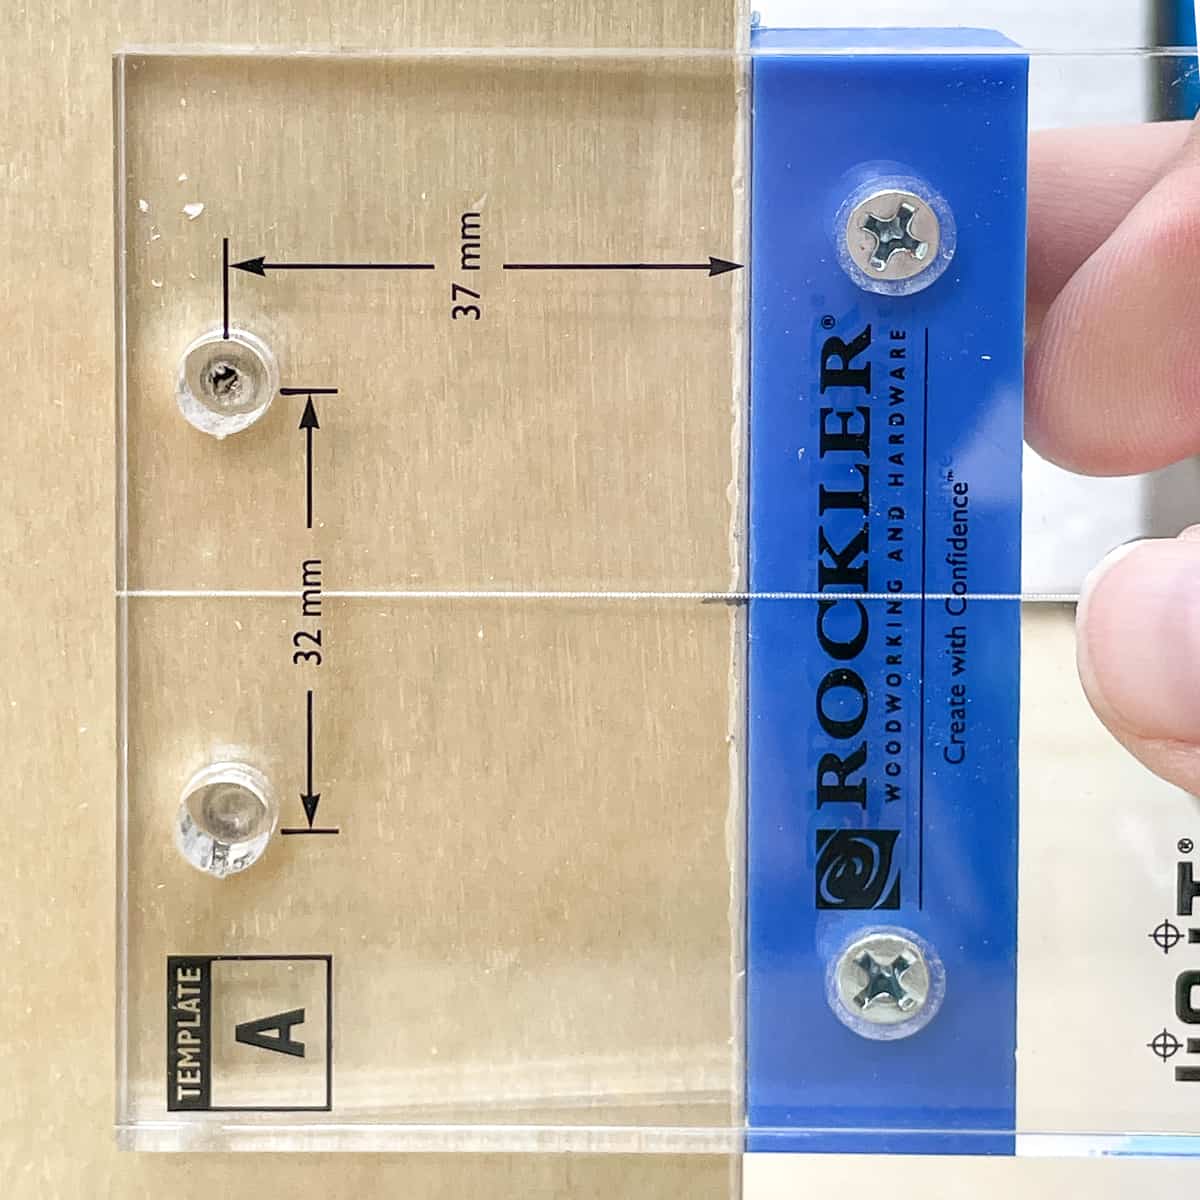
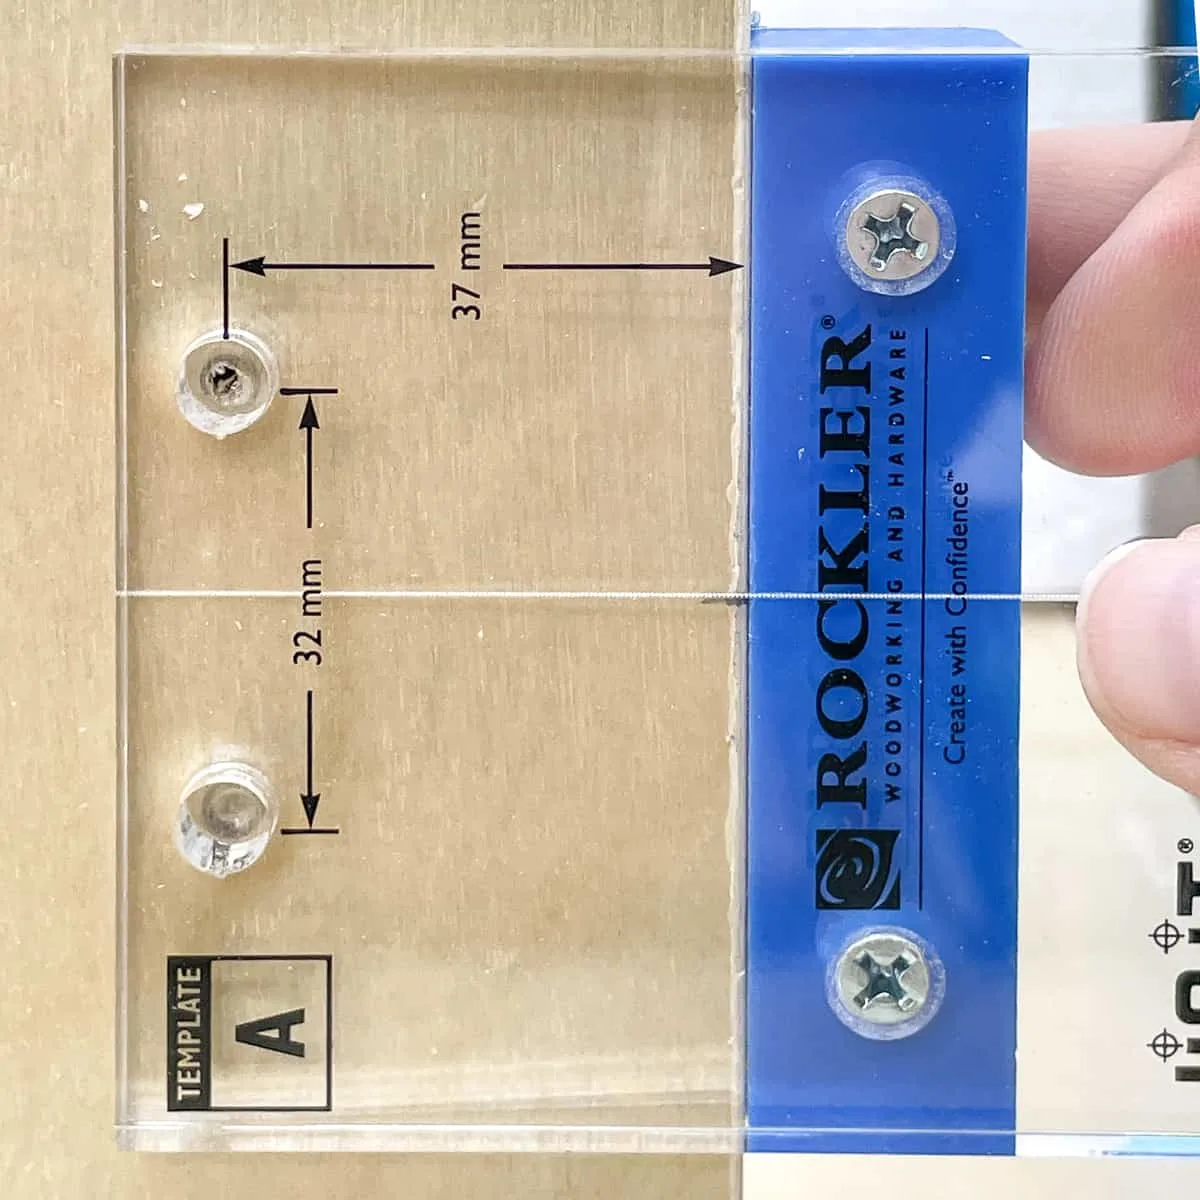
Different hinge manufacturers require different spacing between the plate screws and between the plate and the front edge of the cabinet. The popular Blum hinges require the holes to be 37mm from the front edge and 32mm apart.
You can skip all that measuring altogether and get a jig that makes it really quick and easy. This jig has the spacing for a variety of manufacturers, but I already had Rockler's Blum hinge plate jig, so I used that instead.
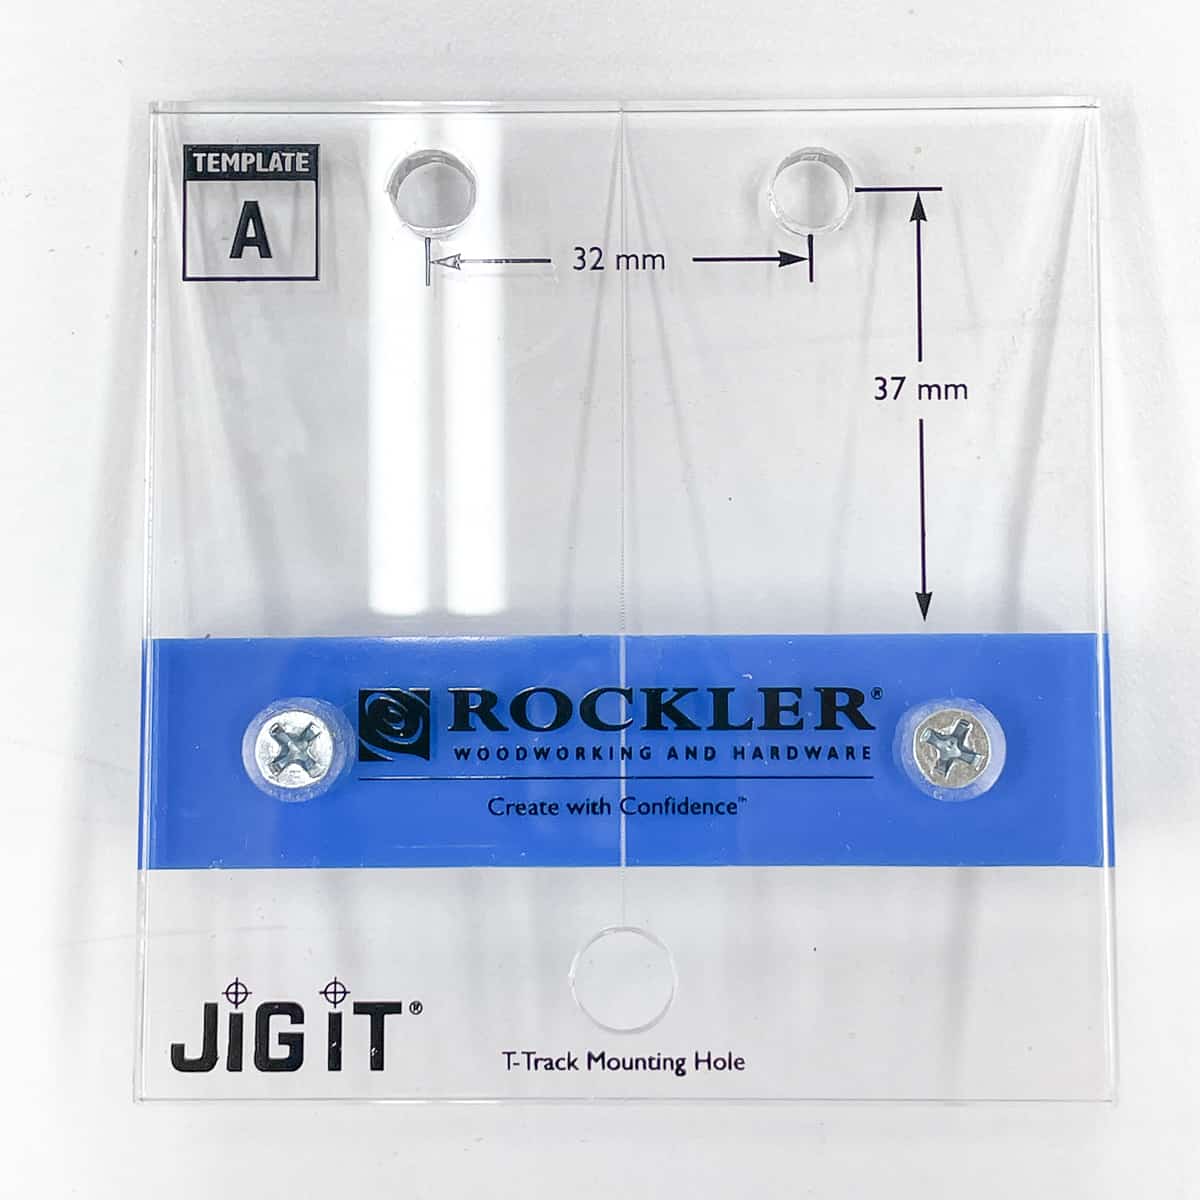

Align the center line of the jig with your mark on the outside of the cabinet box. Then mark the screw hole positions with a pencil or an awl. I like to use this center punch because it creates a little indent in the wood so my drill bit won't slide around.
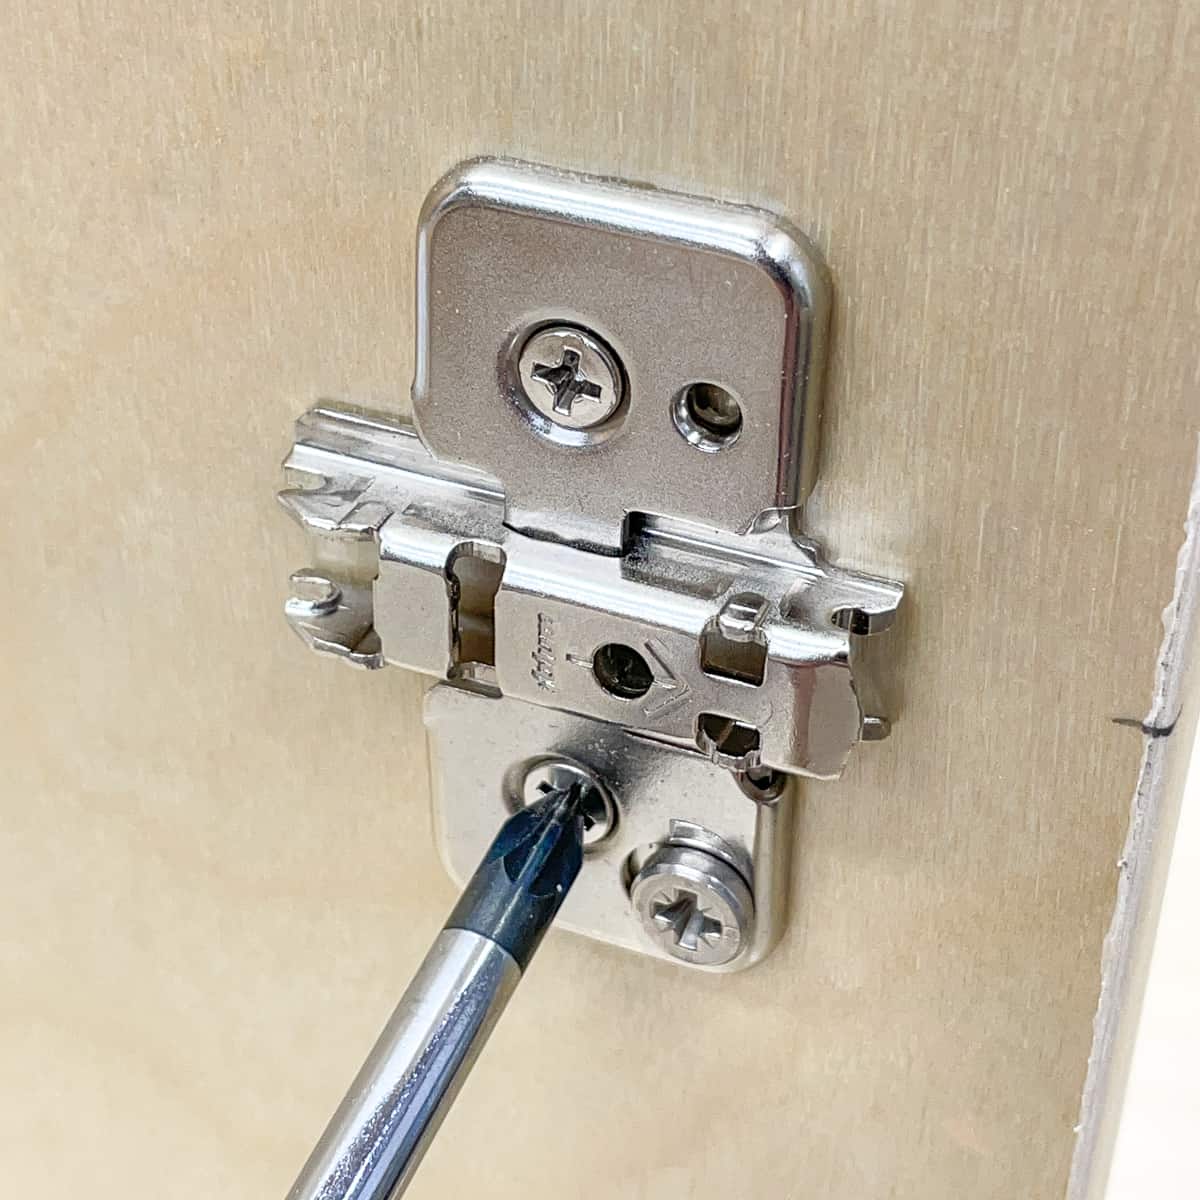
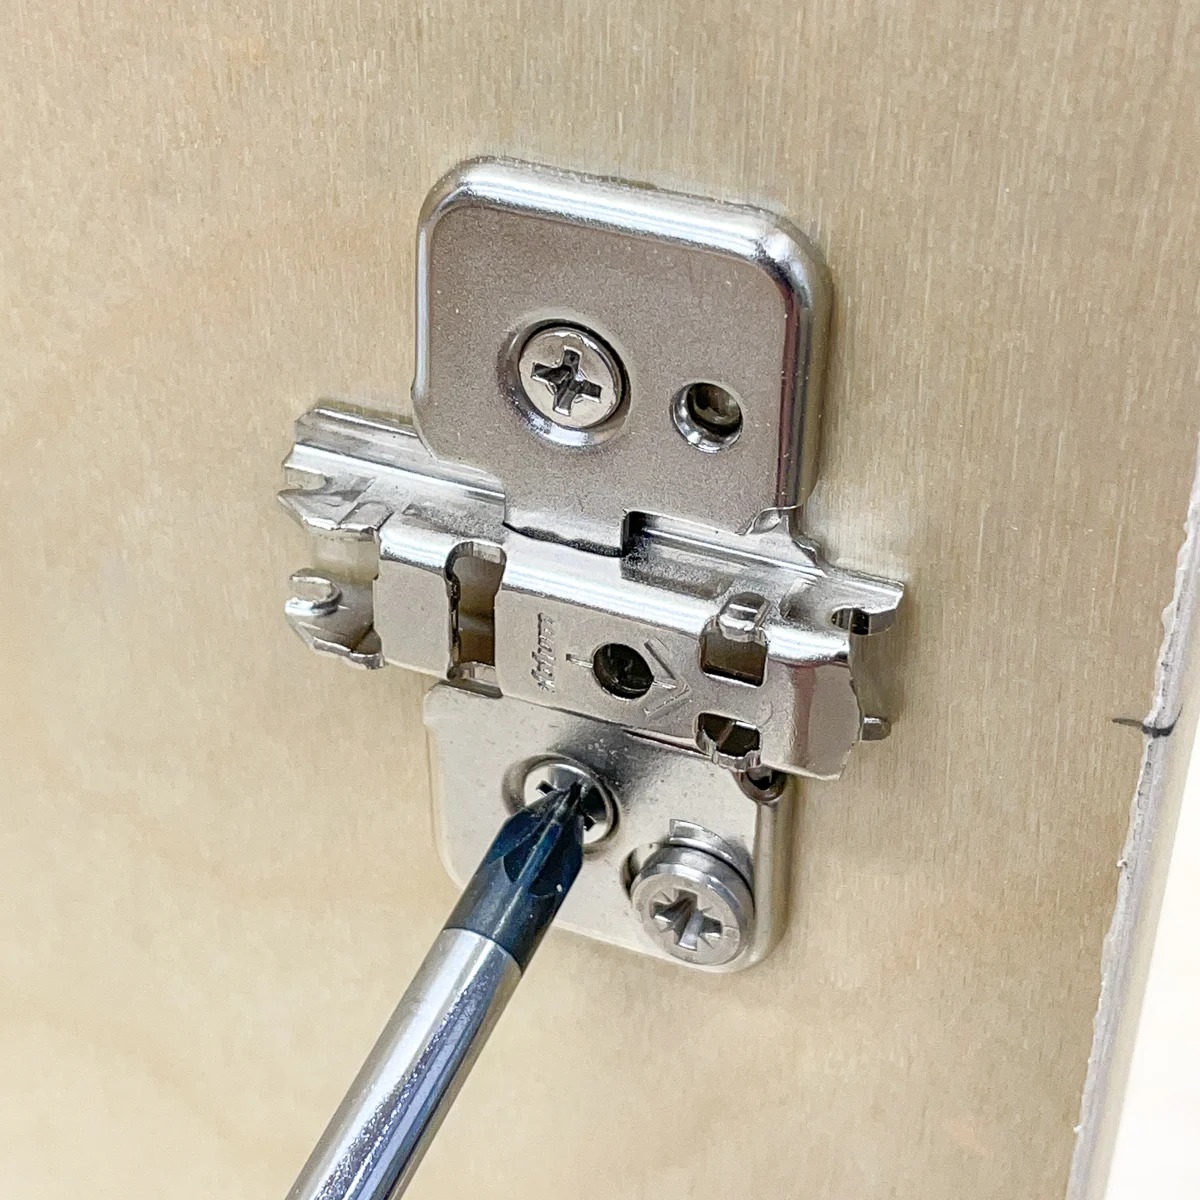
Use a 1/16" bit to drill pilot holes for the screws. Then, use a screwdriver to attach the hinge mounting plates to the inside of the cabinet side with the arrow on the plate facing out. I prefer to use a screwdriver instead of a drill for this step so I don't accidentally strip the screws.
How to clip the hinge arm onto the mounting plate
Now that you've installed both halves of the cabinet hinge, it's time to put them together! If you measured everything correctly, they should just snap together.
Extend the hinge arms from the cabinet door. Starting with the top hinge, slot the end closest to the door into the front of the mounting plate. I've removed the door to make it easier to see what's going on.
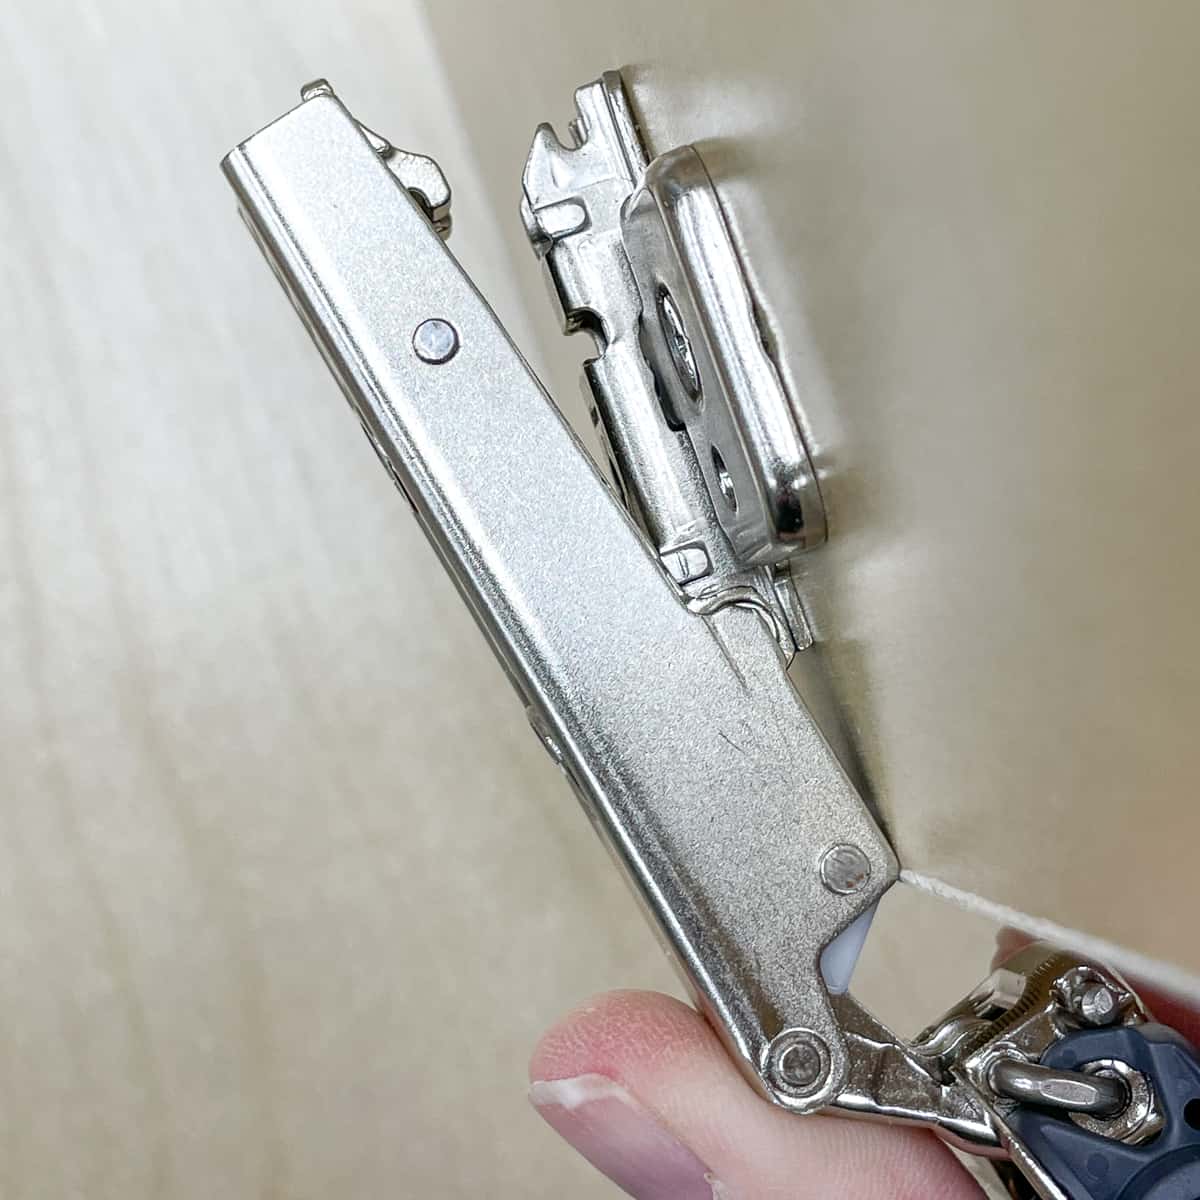
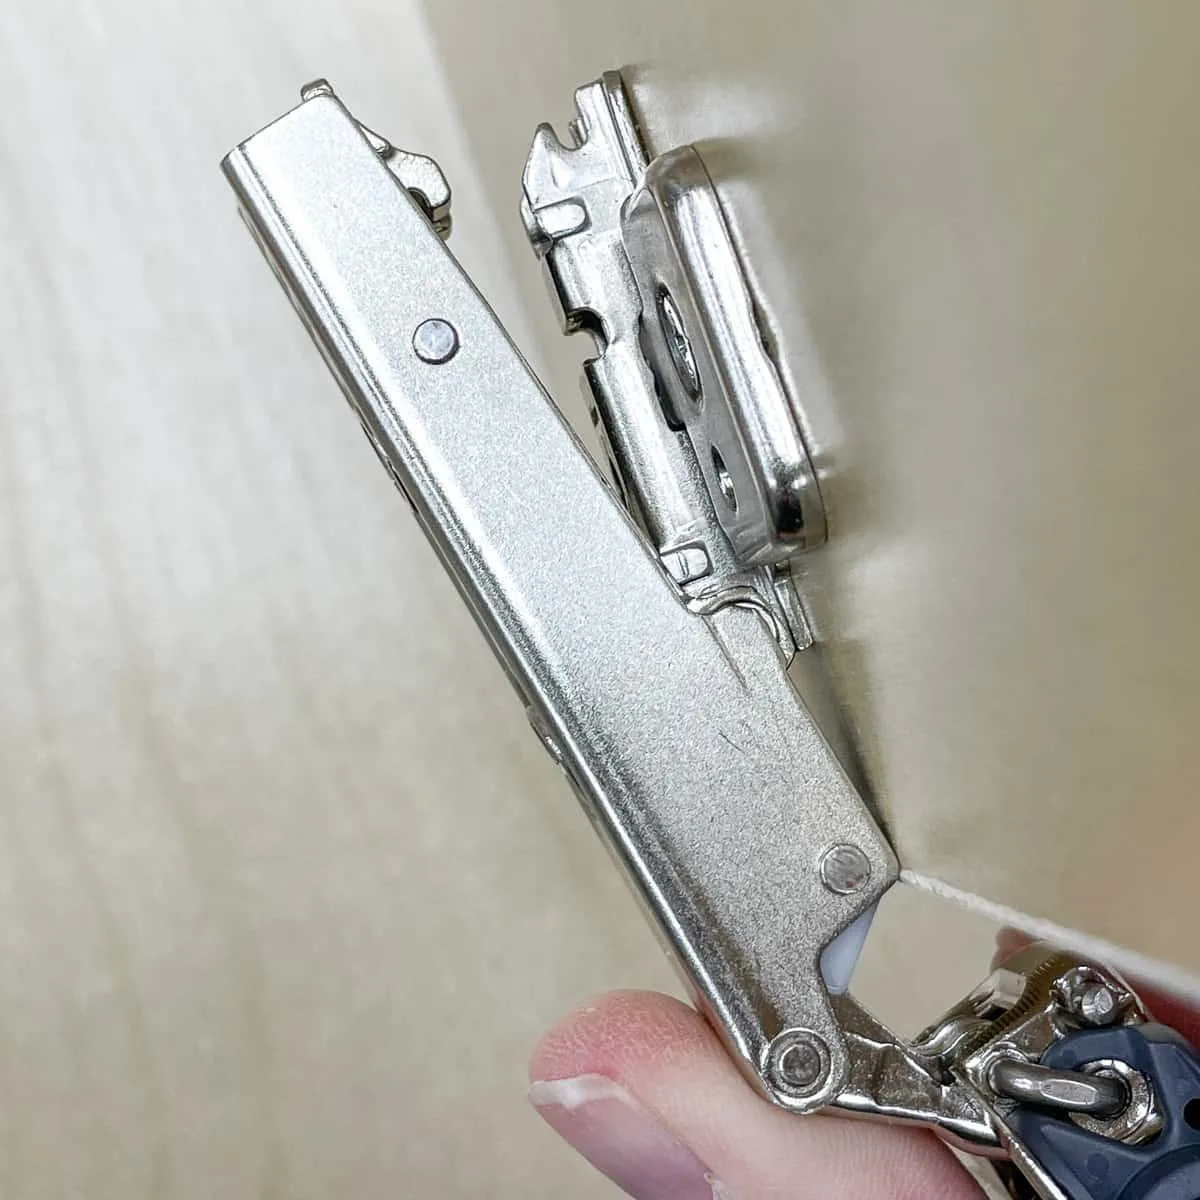
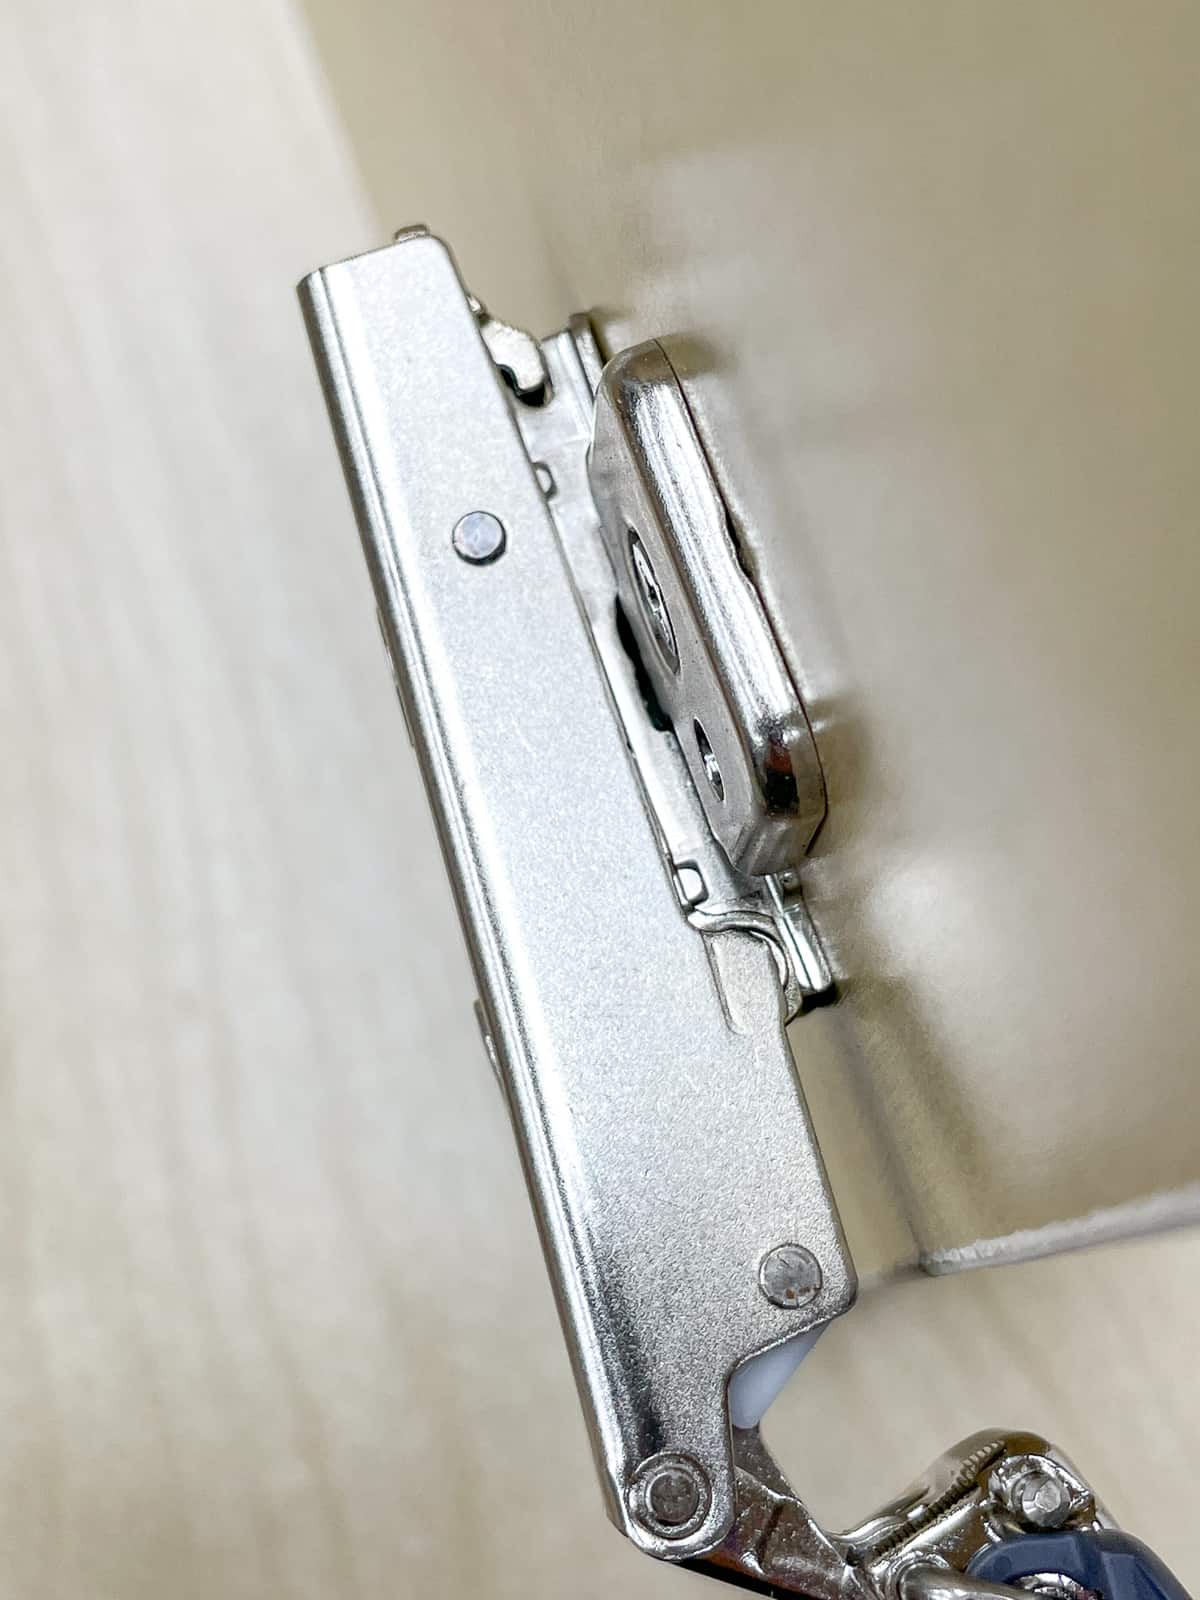
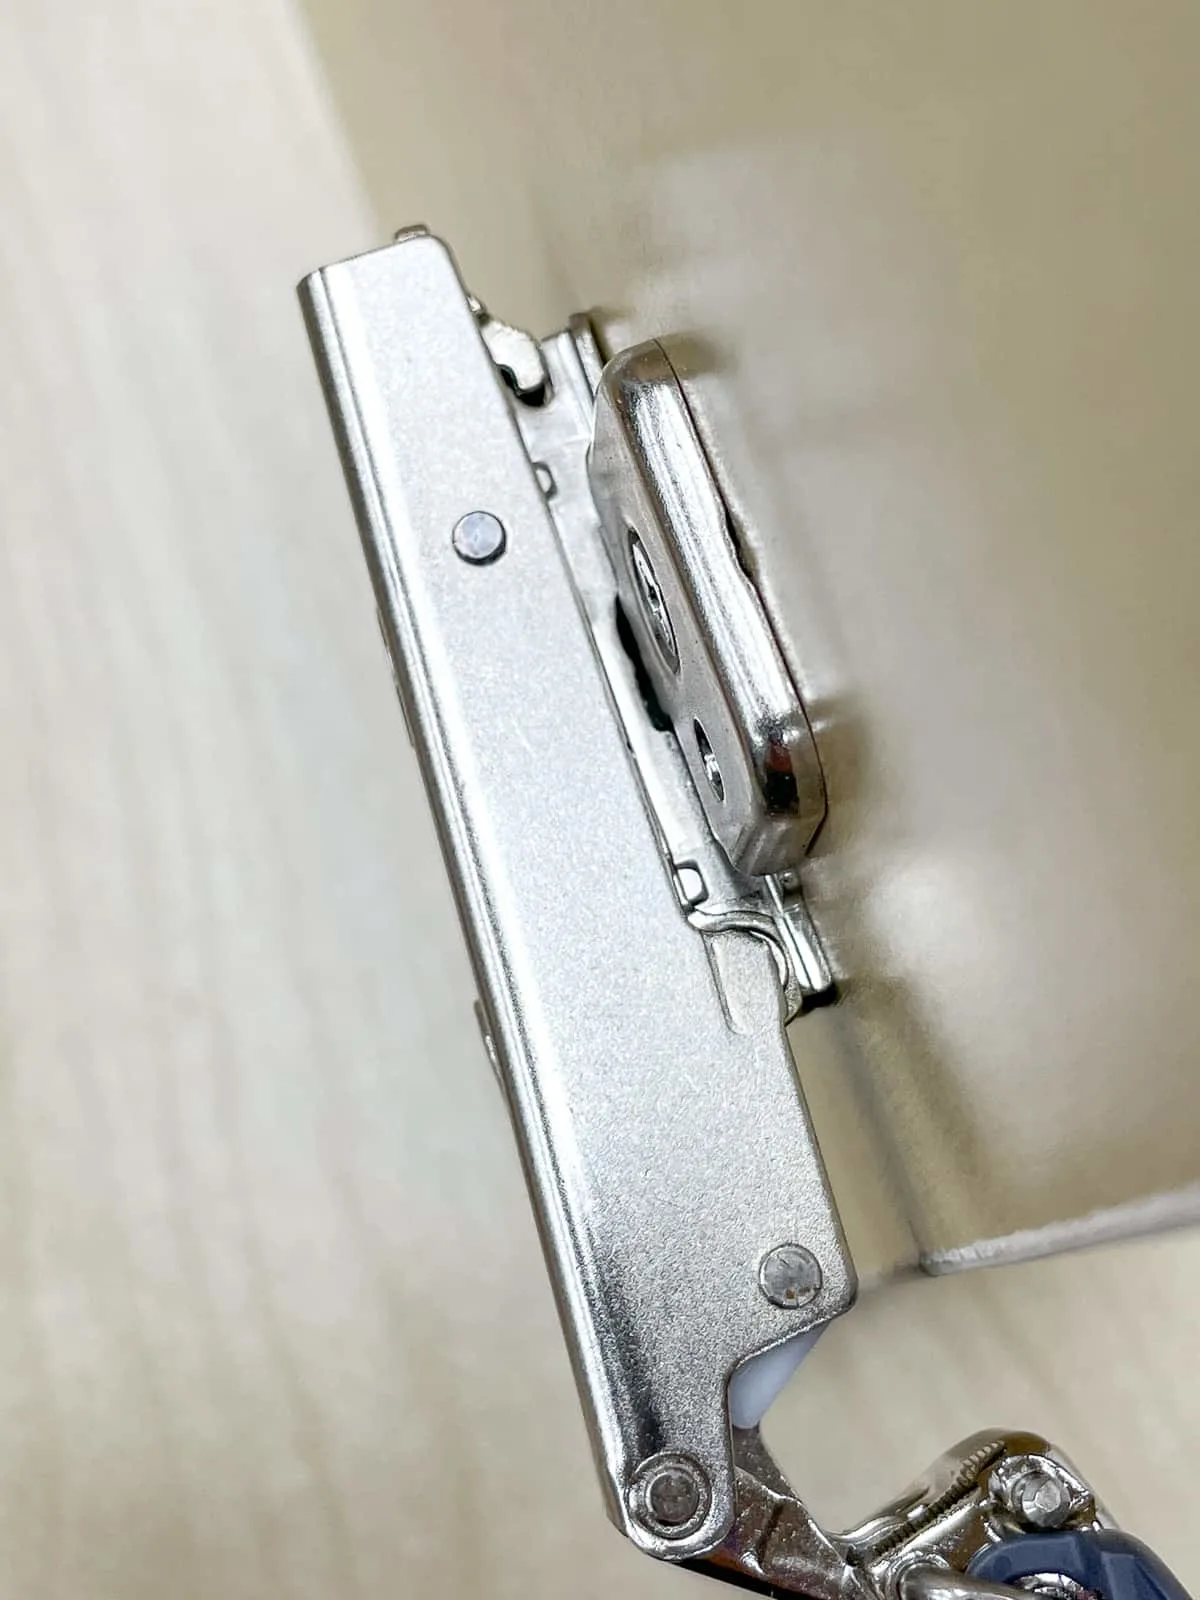
Now push on the end of the arm until the hook snaps onto the back of the mounting plate. It may take a bit of force to get them to lock together, but you'll hear a click when they're connected.
If it seems like they're out of alignment vertically, you can adjust the height of the mounting plate with the set screw. Usually the factory sets this screw in the center, but sometimes it can be a little off and won't line up with the hinge arm properly.
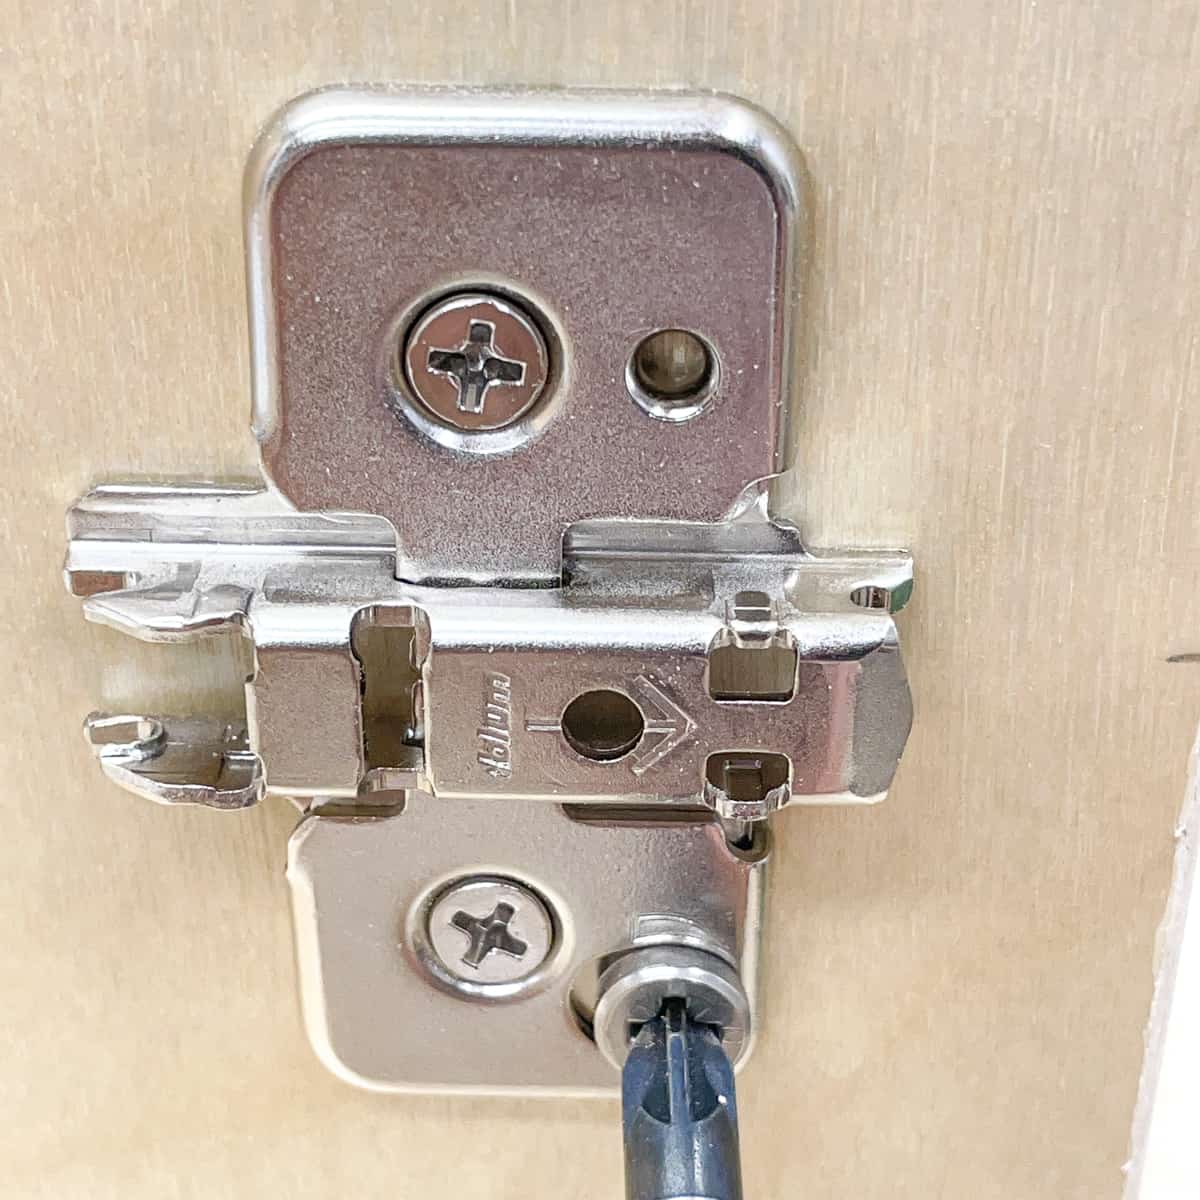
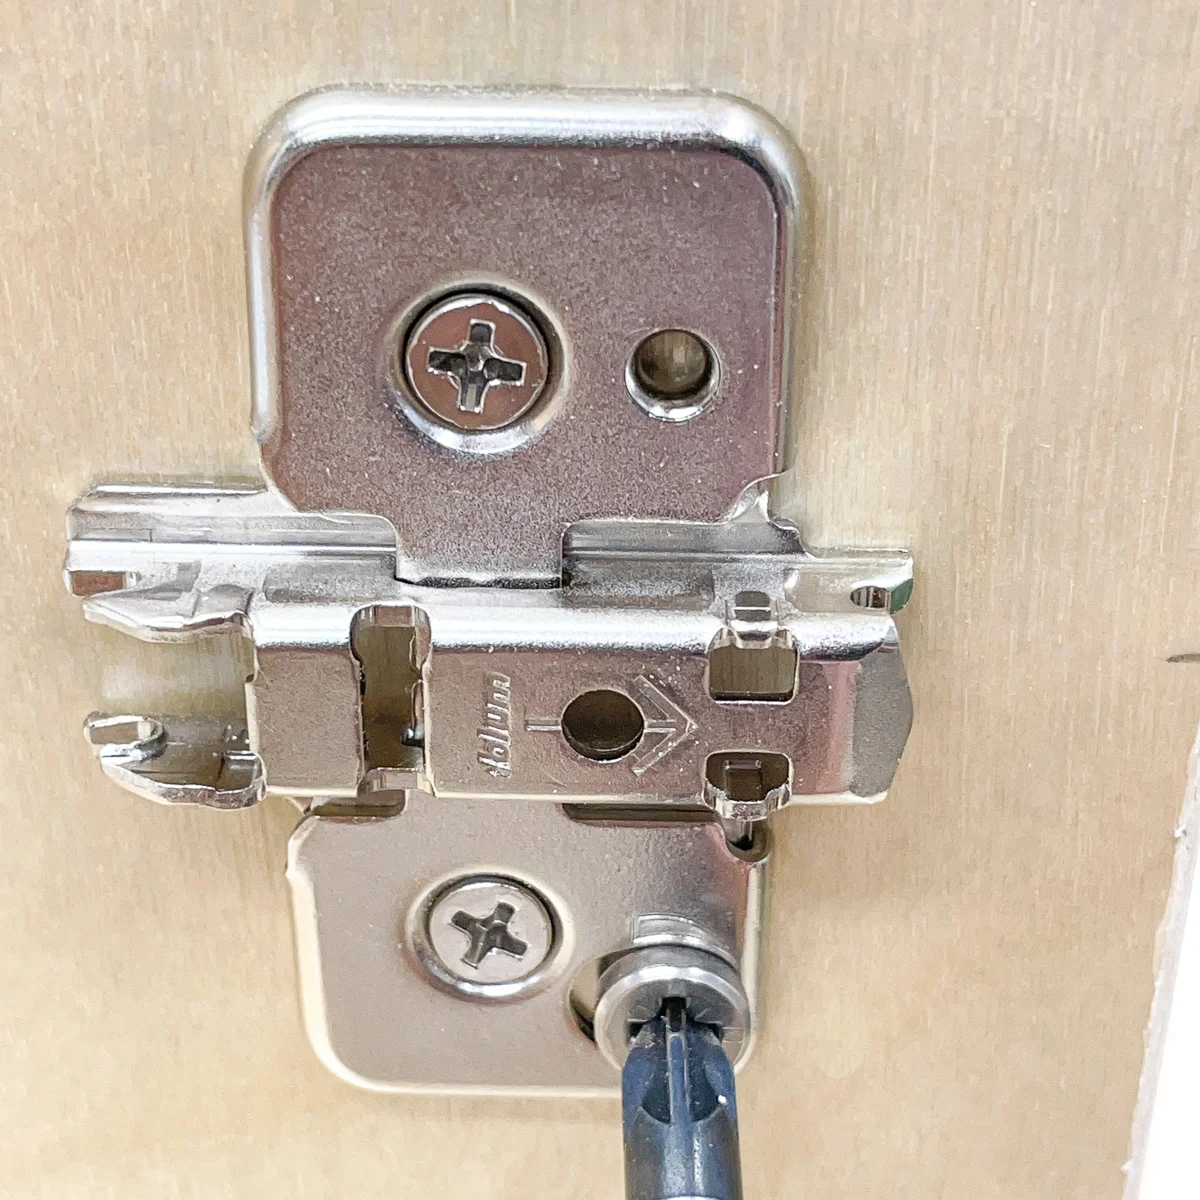
With the cabinet door in place, you might find that it's a little askew. Next week, I'll have a tutorial on how to adjust cabinet hinges to fix it! Stay tuned!
Check out these other cabinetry tutorials!