Hanging upper cabinets may seem like a two or three person job, but I'll show you how to install wall cabinets by yourself with this easy solution!
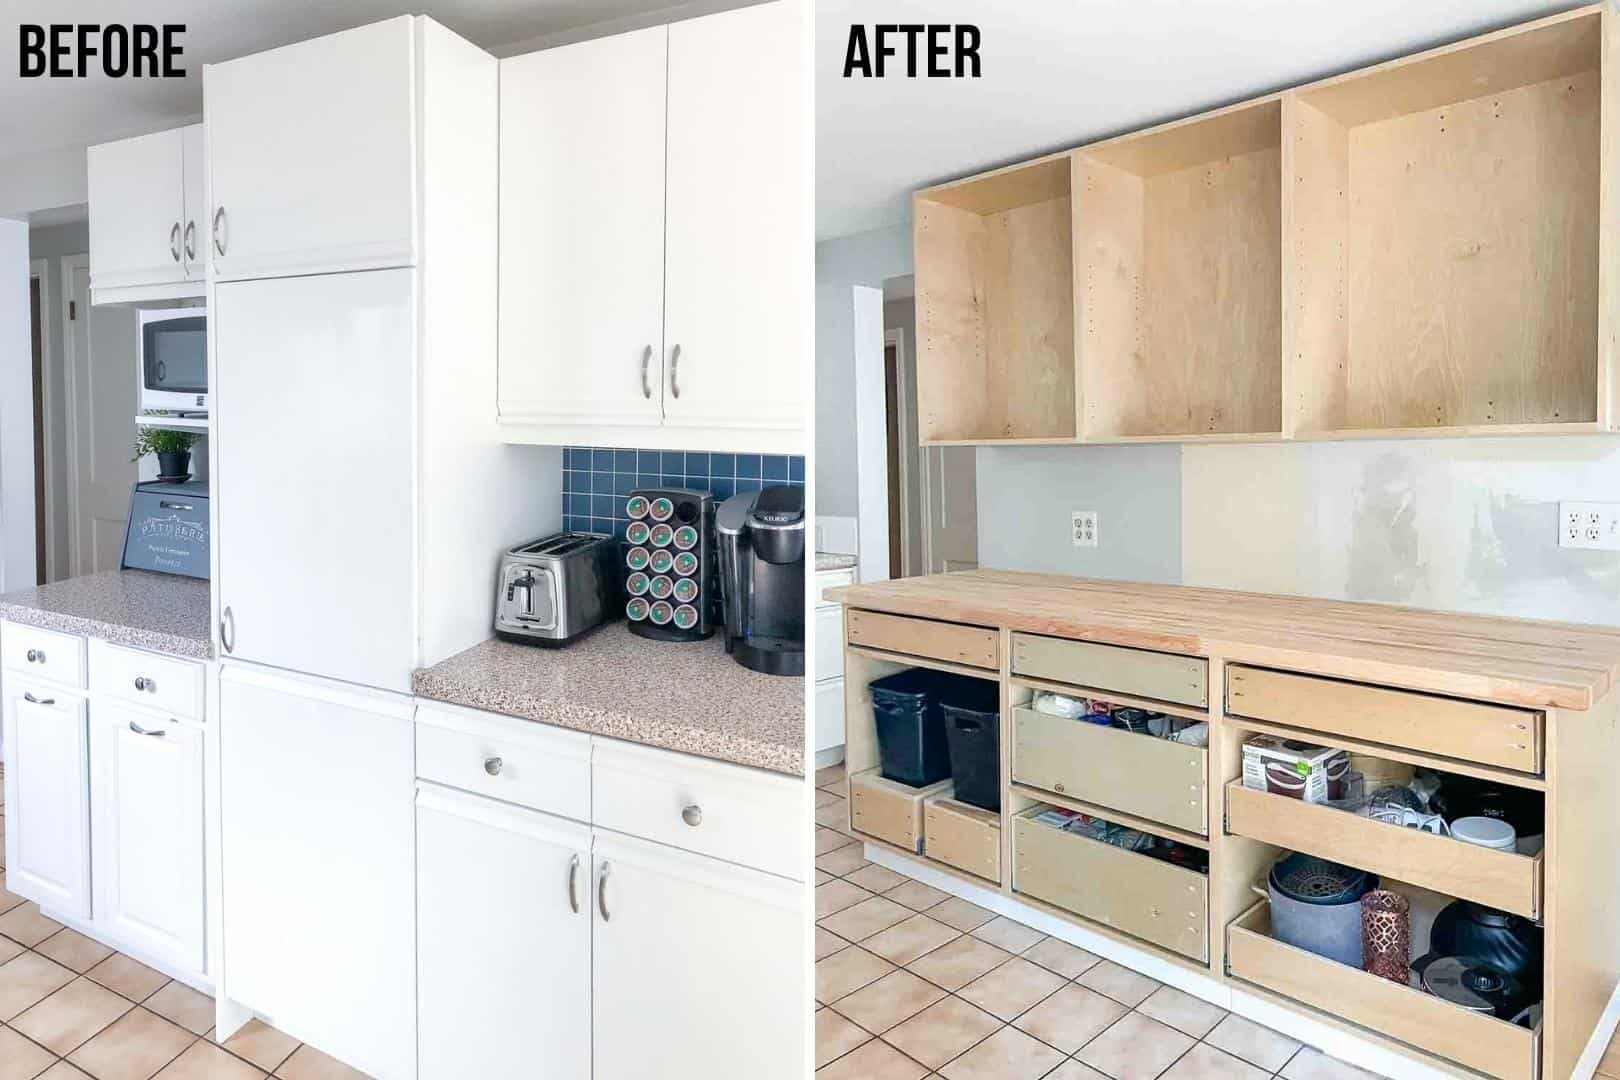
I've been busy building the wall cabinets for my kitchen, and I couldn't wait to install them! But my husband was out of town that week and my son isn't quite strong enough to hold these huge boxes up himself. How do you hang wall cabinets by yourself?
Luckily, there's a simple solution! I built a basic platform that holds the cabinet at exactly the right height, so you can keep your hands free to shim and screw it into place!
This post contains affiliate links for your convenience. Purchases made through these links may earn me a small commission at no additional cost to you. Please visit my disclosures page for more information.
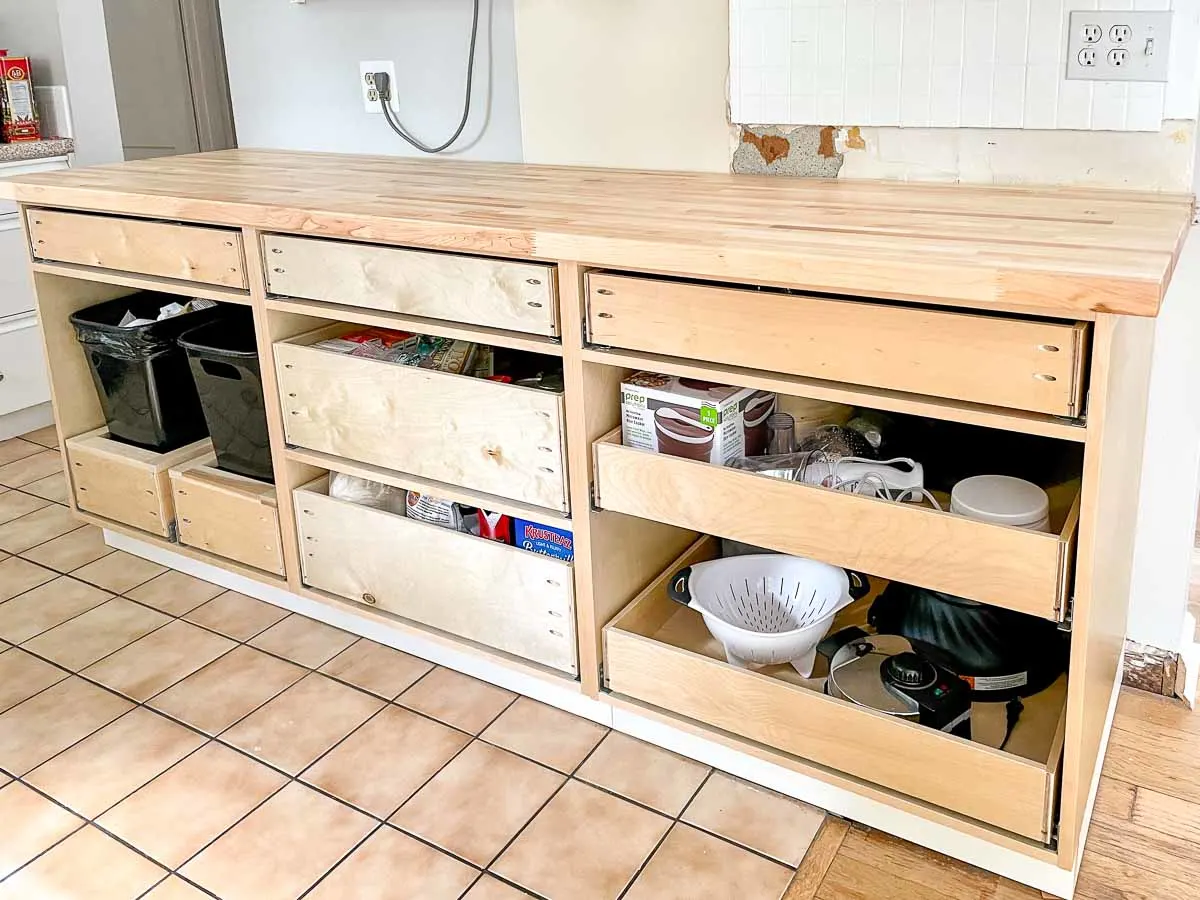
Install the base cabinets and countertop first
In order to use this cabinet lift, you have to install the base cabinets and countertop first. This may contradict many tutorials that recommend installing the upper cabinets first. This is just to avoid leaning over the deeper base cabinets to screw the wall cabinets in place.
However, when you're working by yourself, you can use that flat countertop to your advantage! It serves as a level reference surface as well as a spot to place the temporary platform.
When you install base cabinets, make sure they're perfectly level both front to back and side to side. You can adjust the angle with shims until it's level in all directions.
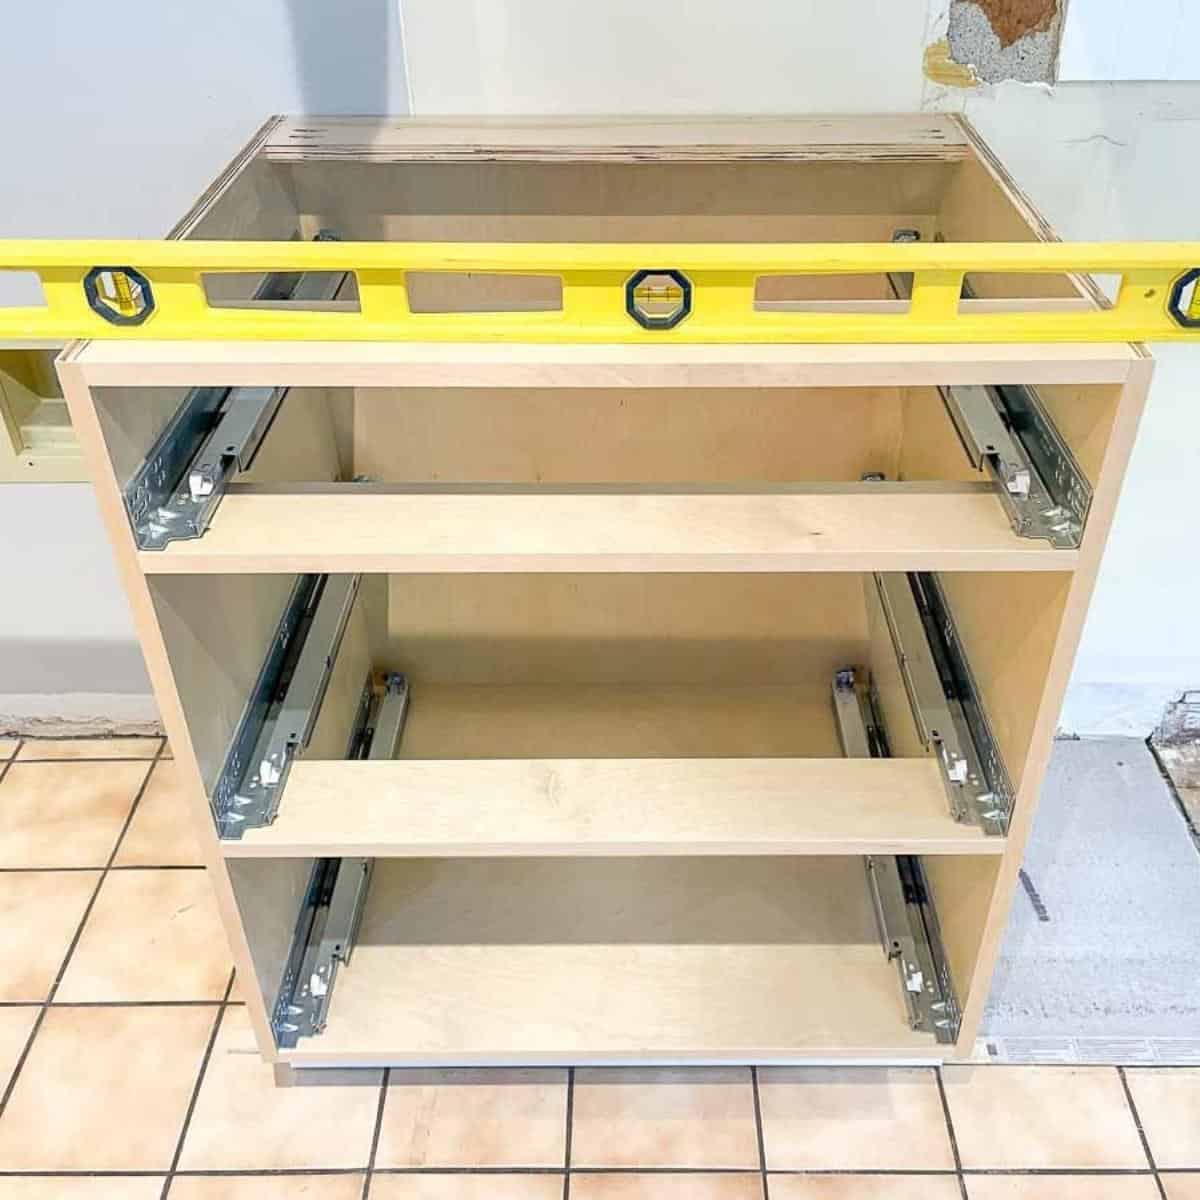

If the base cabinets are installed properly, the countertop shouldn't require any shimming to get level. I installed a butcher block countertop myself, and attached it to the cabinets with screws through the underside.

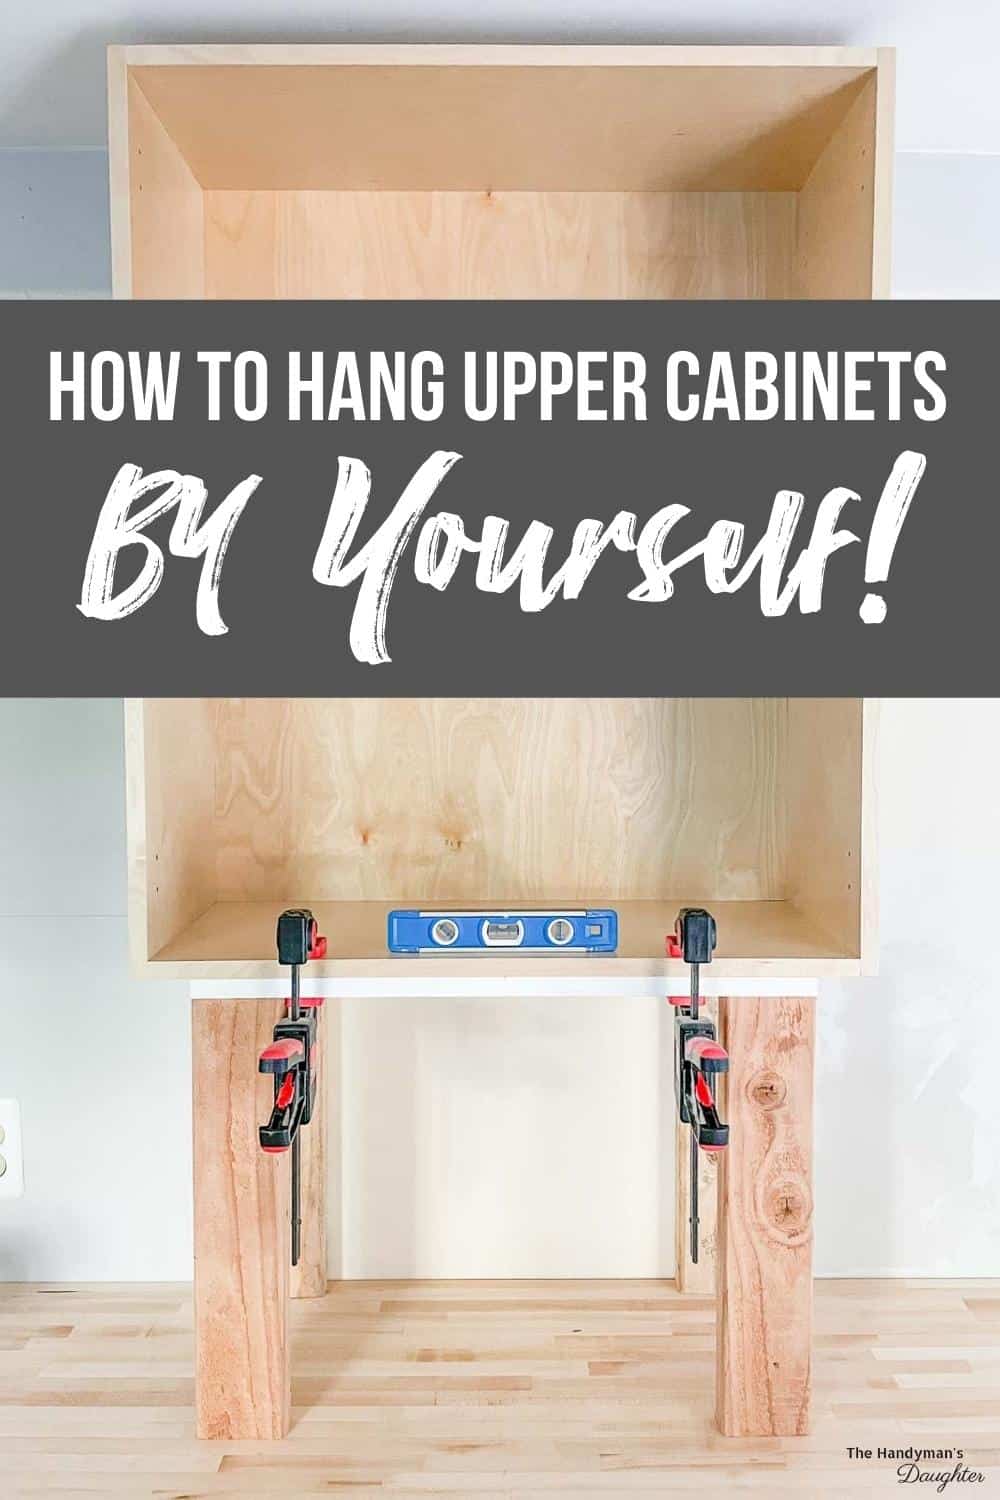
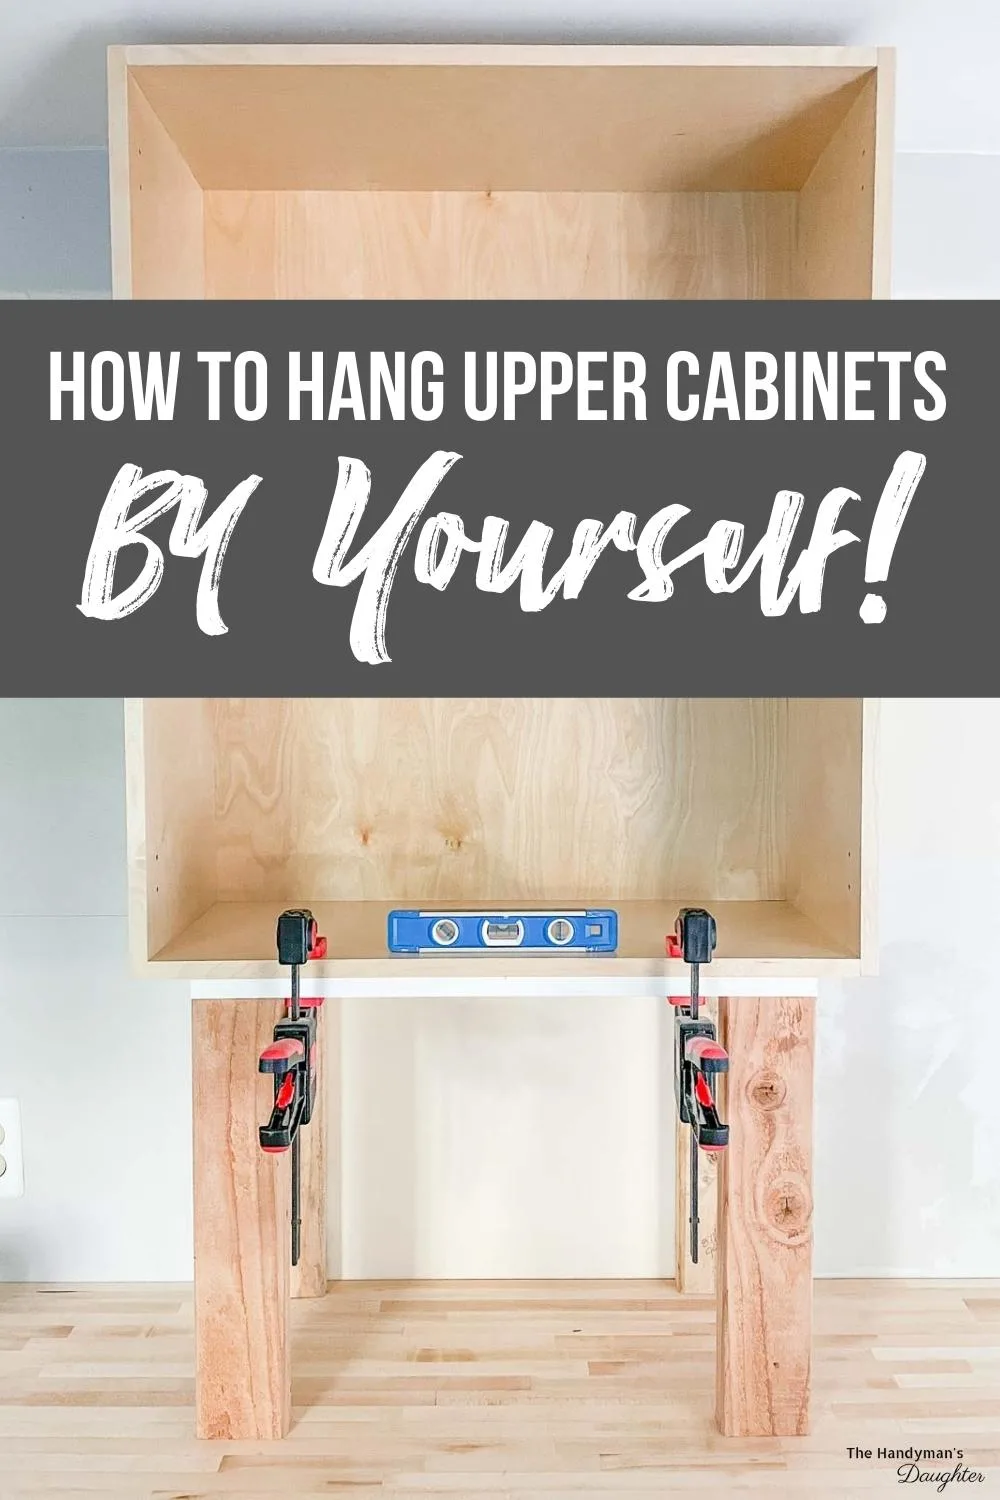
Build or buy a cabinet support
The key to hanging upper cabinets by yourself is to support them from underneath. You can attach a ledger board to the wall to prop up the back edge, but this still requires two people to hold and screw the cabinet into place. Plus, you have to patch the holes left behind when you remove the ledger board!
I prefer to use a freestanding cabinet support instead. You can either buy a cabinet jack like this one, or you can build one yourself. I have a TON of scrap wood in my workshop, so I was able to build this little platform for free!

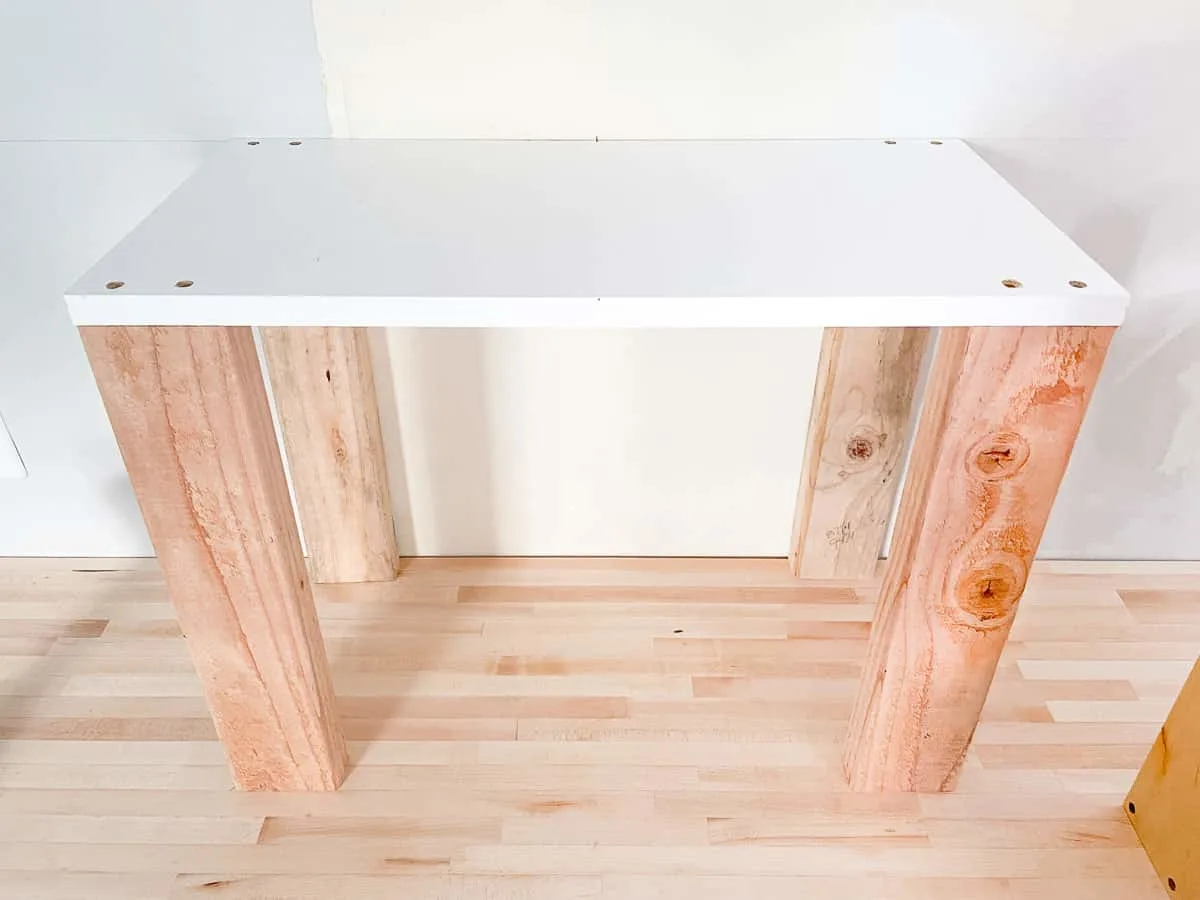
The standard height for upper kitchen cabinets is 18 inches above the countertop. This cabinet lift uses a ¾" thick shelf that I salvaged from the old cabinets for the top, and 17 ¼" long 2x4 boards for the legs underneath.
I predrilled countersink holes through the top of the shelf, then attached the legs with 2" long wood screws. Make sure the screw heads are completely below the surface of the shelf.
Double check that your cabinet support stand is completely level before you start installing your wall cabinets. There shouldn't be any wobble when it's placed on the countertop!
Measure and mark the wall
As an added precaution, measure 18" above the countertop in several spots, then use a long level to draw a line on the wall. The bottoms of all the upper cabinets should align with this mark.
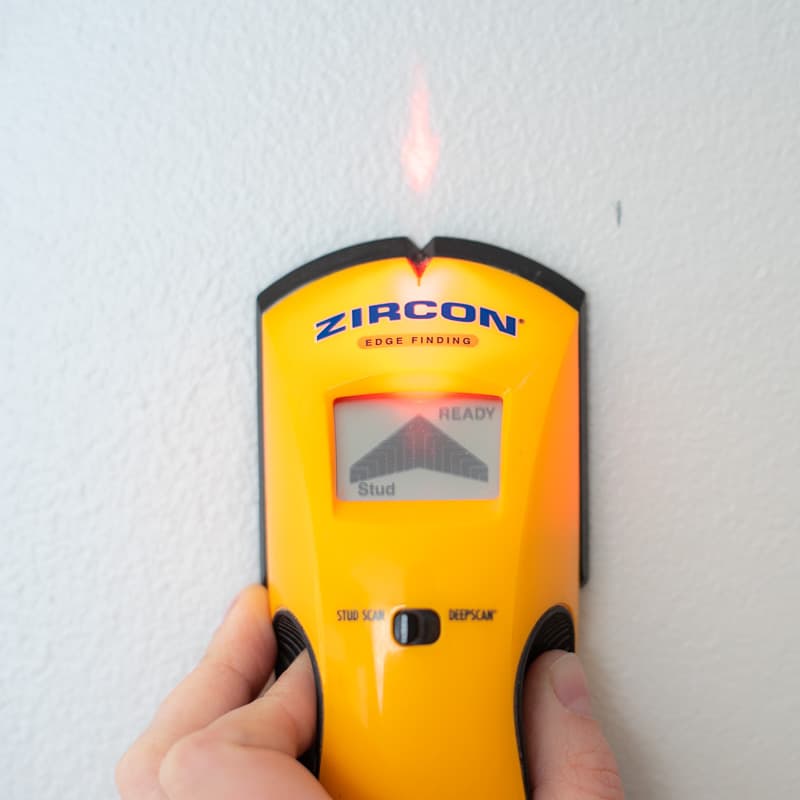
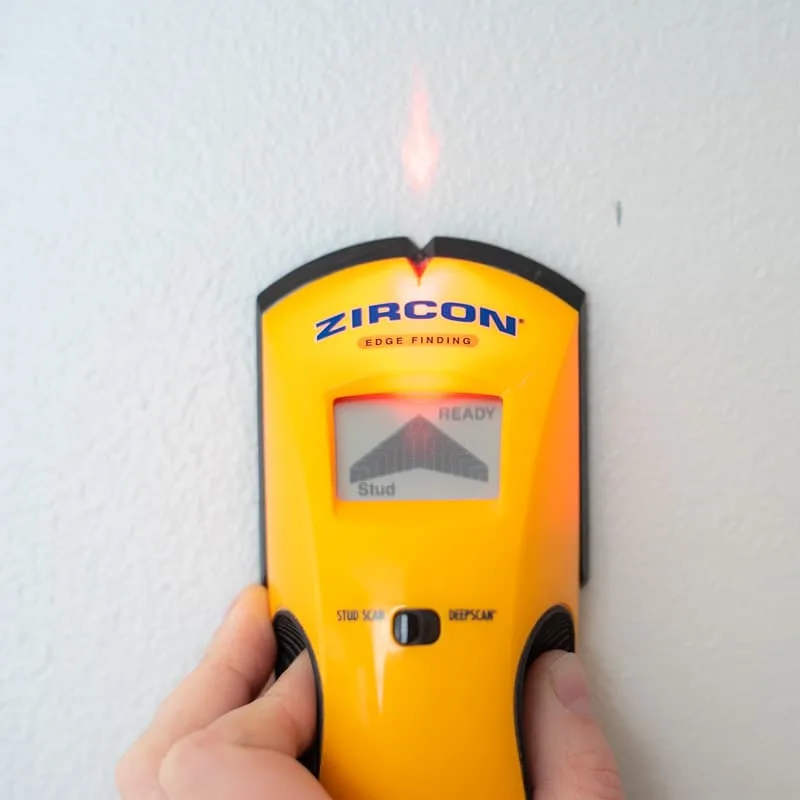
Locate and mark the location of all the studs in the wall using a stud finder. Make sure your marks are below the 18" line, so you can see them even with the cabinet in place. I plan to tile the backsplash later on, but you can use painter's tape if you don't want to write all over your walls.
Choose your starting point
Where you install your first wall cabinet matters! All the other cabinets will attach to each other, so getting the first one right is essential.
If your cabinets will span between two walls, start at one wall and work your way across. If you're buying standard cabinets that don't perfectly fit between the walls, split the difference and install filler strips between the cabinets and the wall later on.
If the cabinets form an L shape, start at the corner. Typically the corner cabinet is shaped like a baseball diamond with the point in the back tucked into the corner of the wall. Check out my article on how to install a corner cabinet for tips!

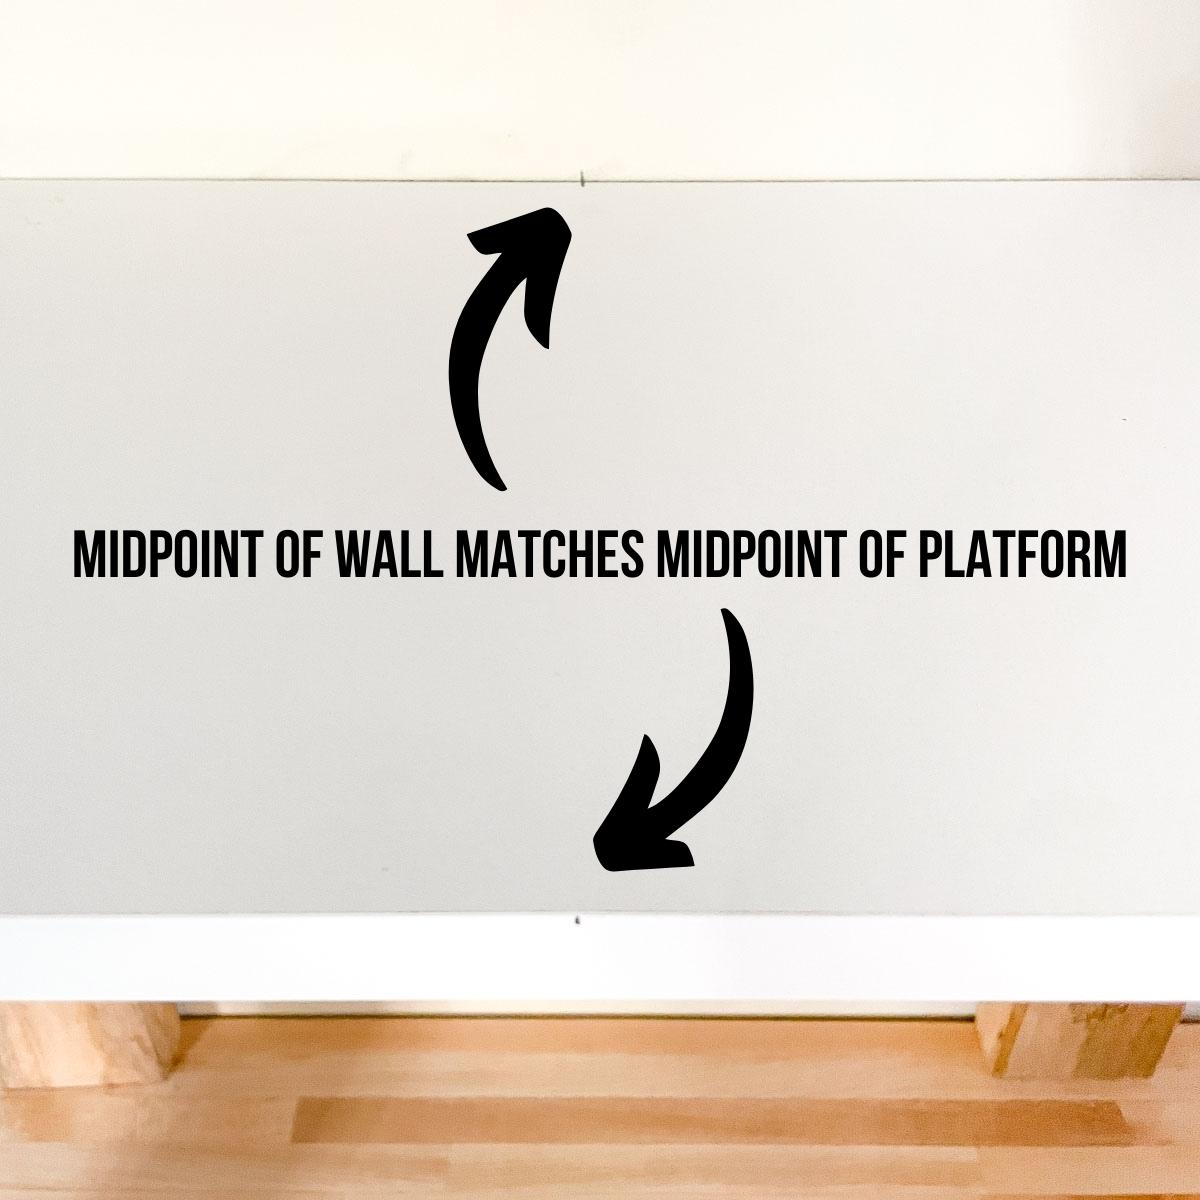
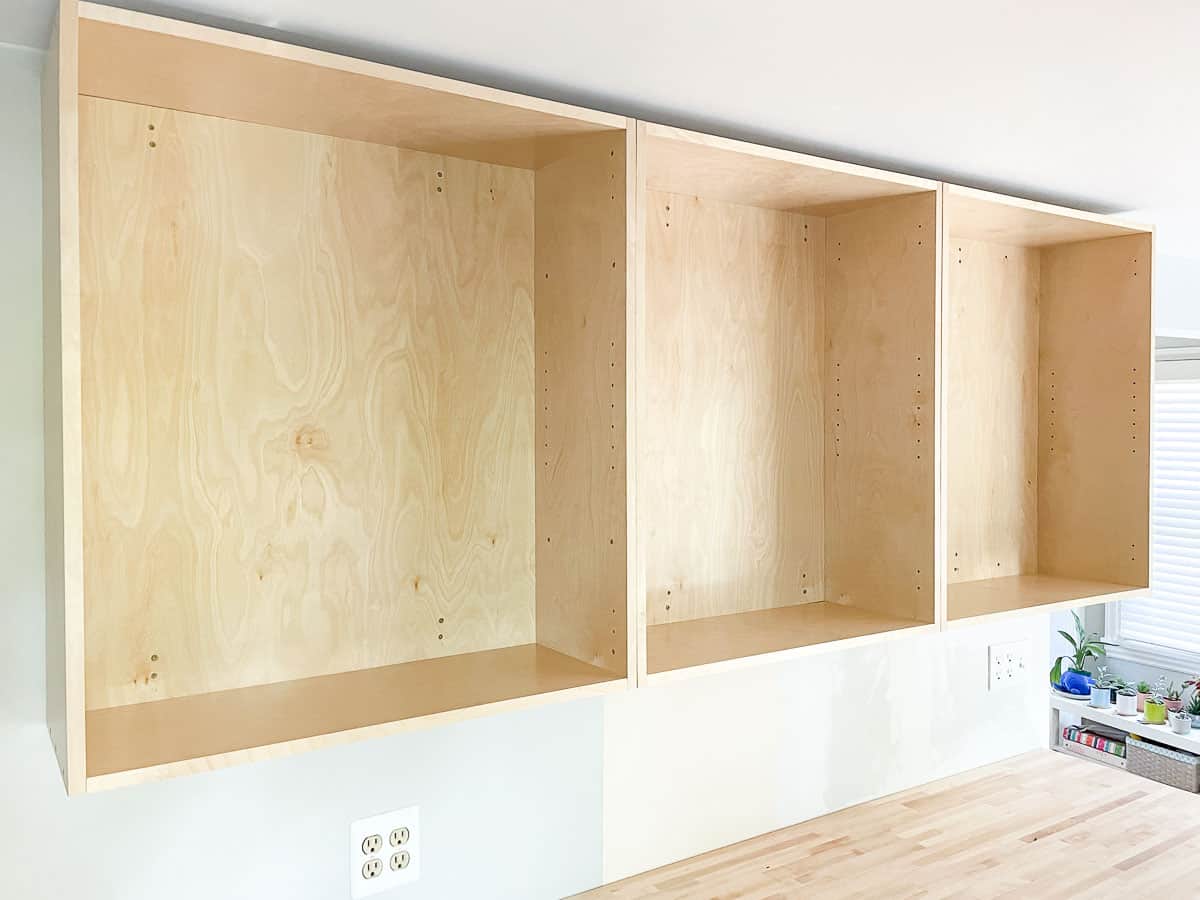
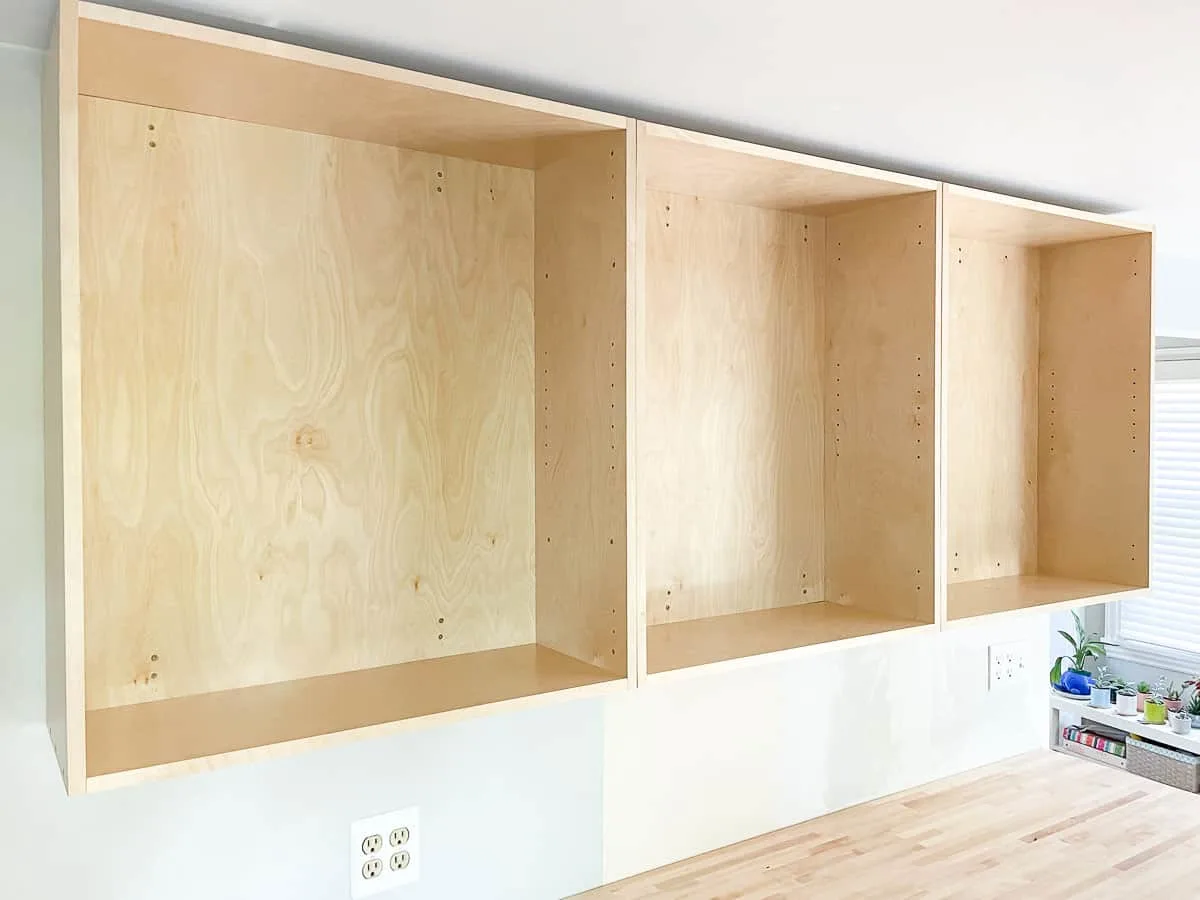
My bank of cabinets is on a wall with openings on either side, so I marked the midpoint of the wall and started with the middle cabinet. The right and left cabinets are exactly the same width, so this will ensure that the space on either end is equal.
I also marked the center of the platform on both the front and the back as well as the cabinet itself. Then I matched up the midpoint of the platform with the midpoint on the wall.

Transfer the stud location marks to the back of the cabinet box. I just measured from the center point to the studs on the wall, and duplicated those measurements inside.
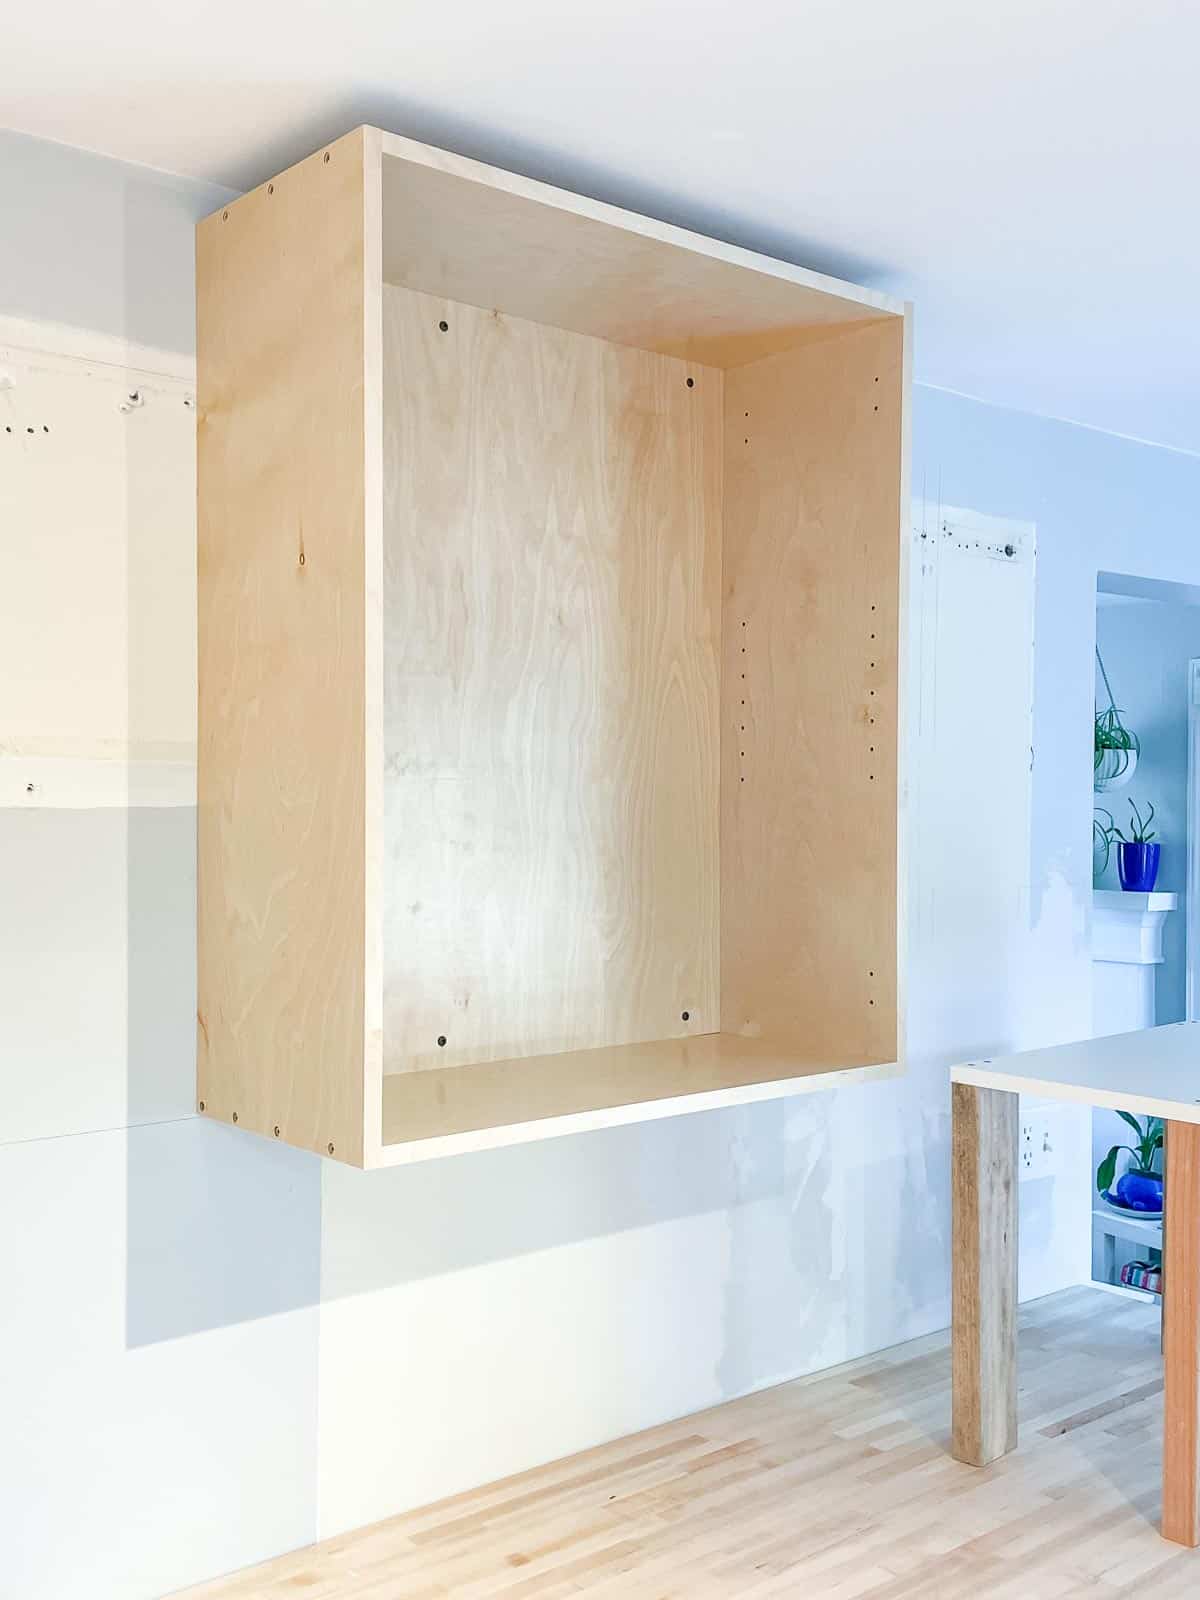
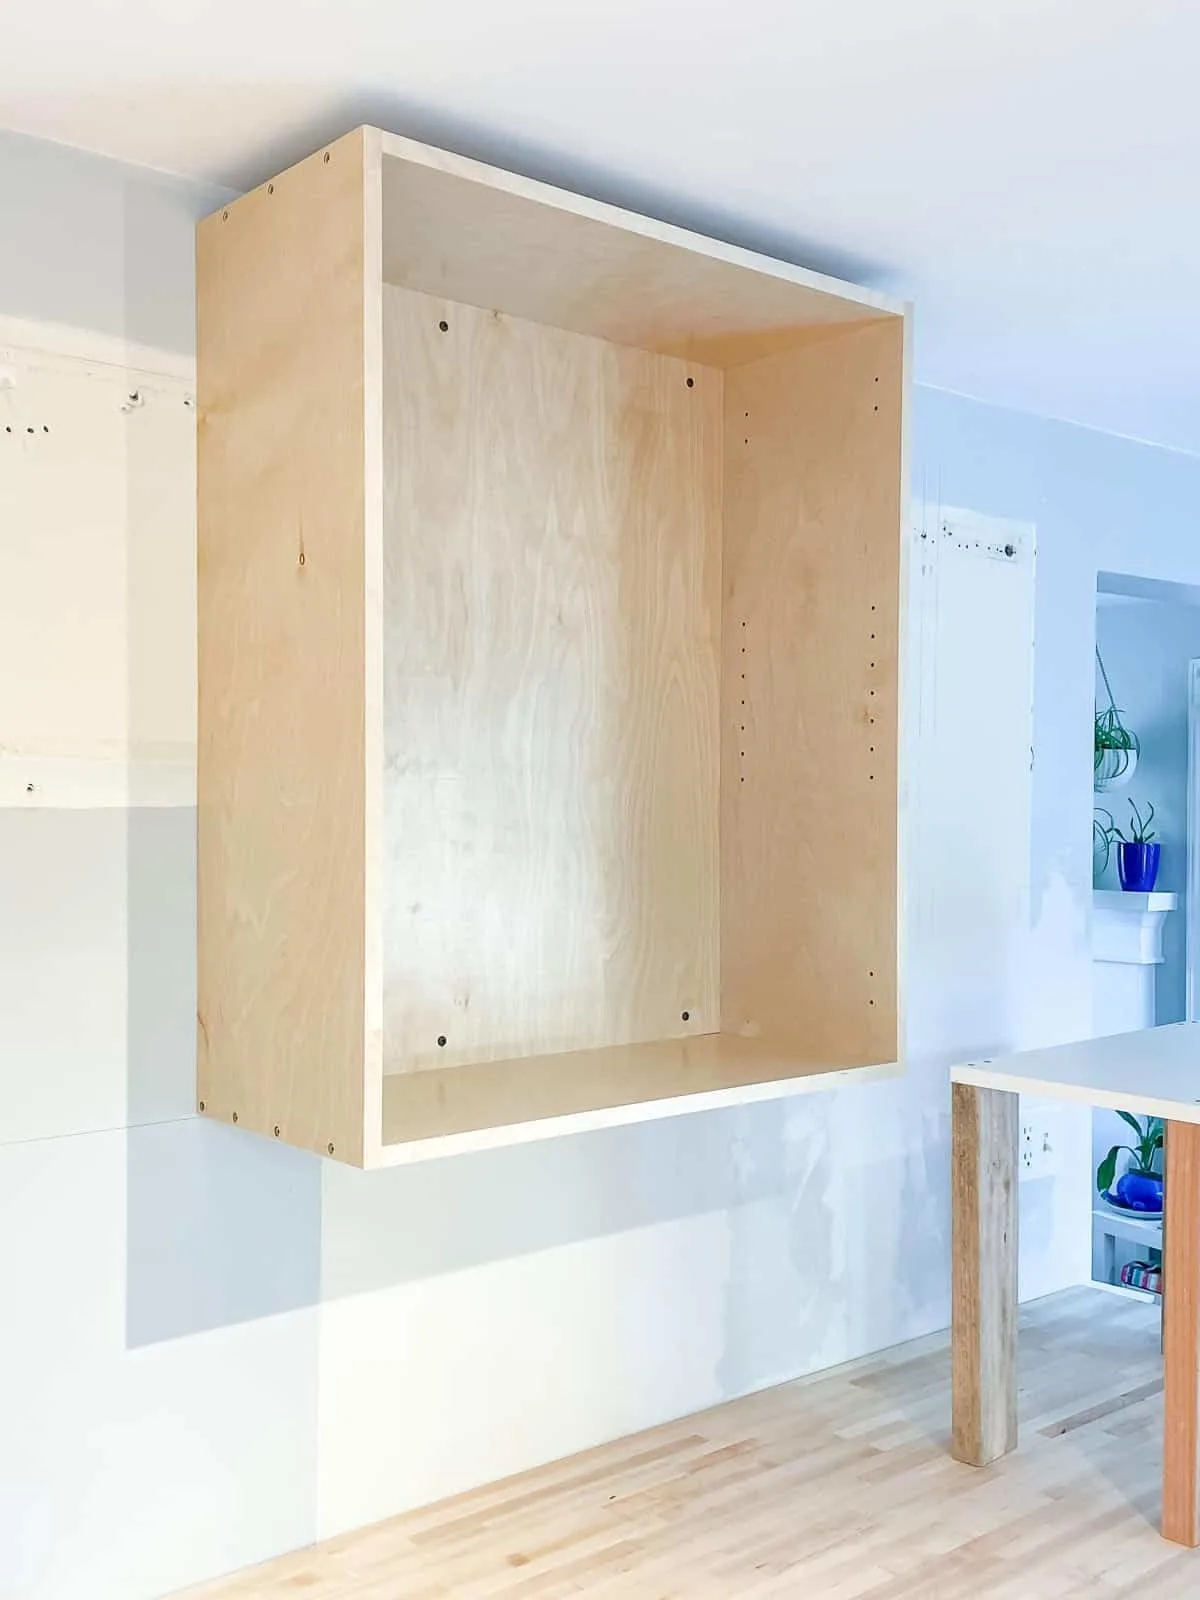
Install the first wall cabinet
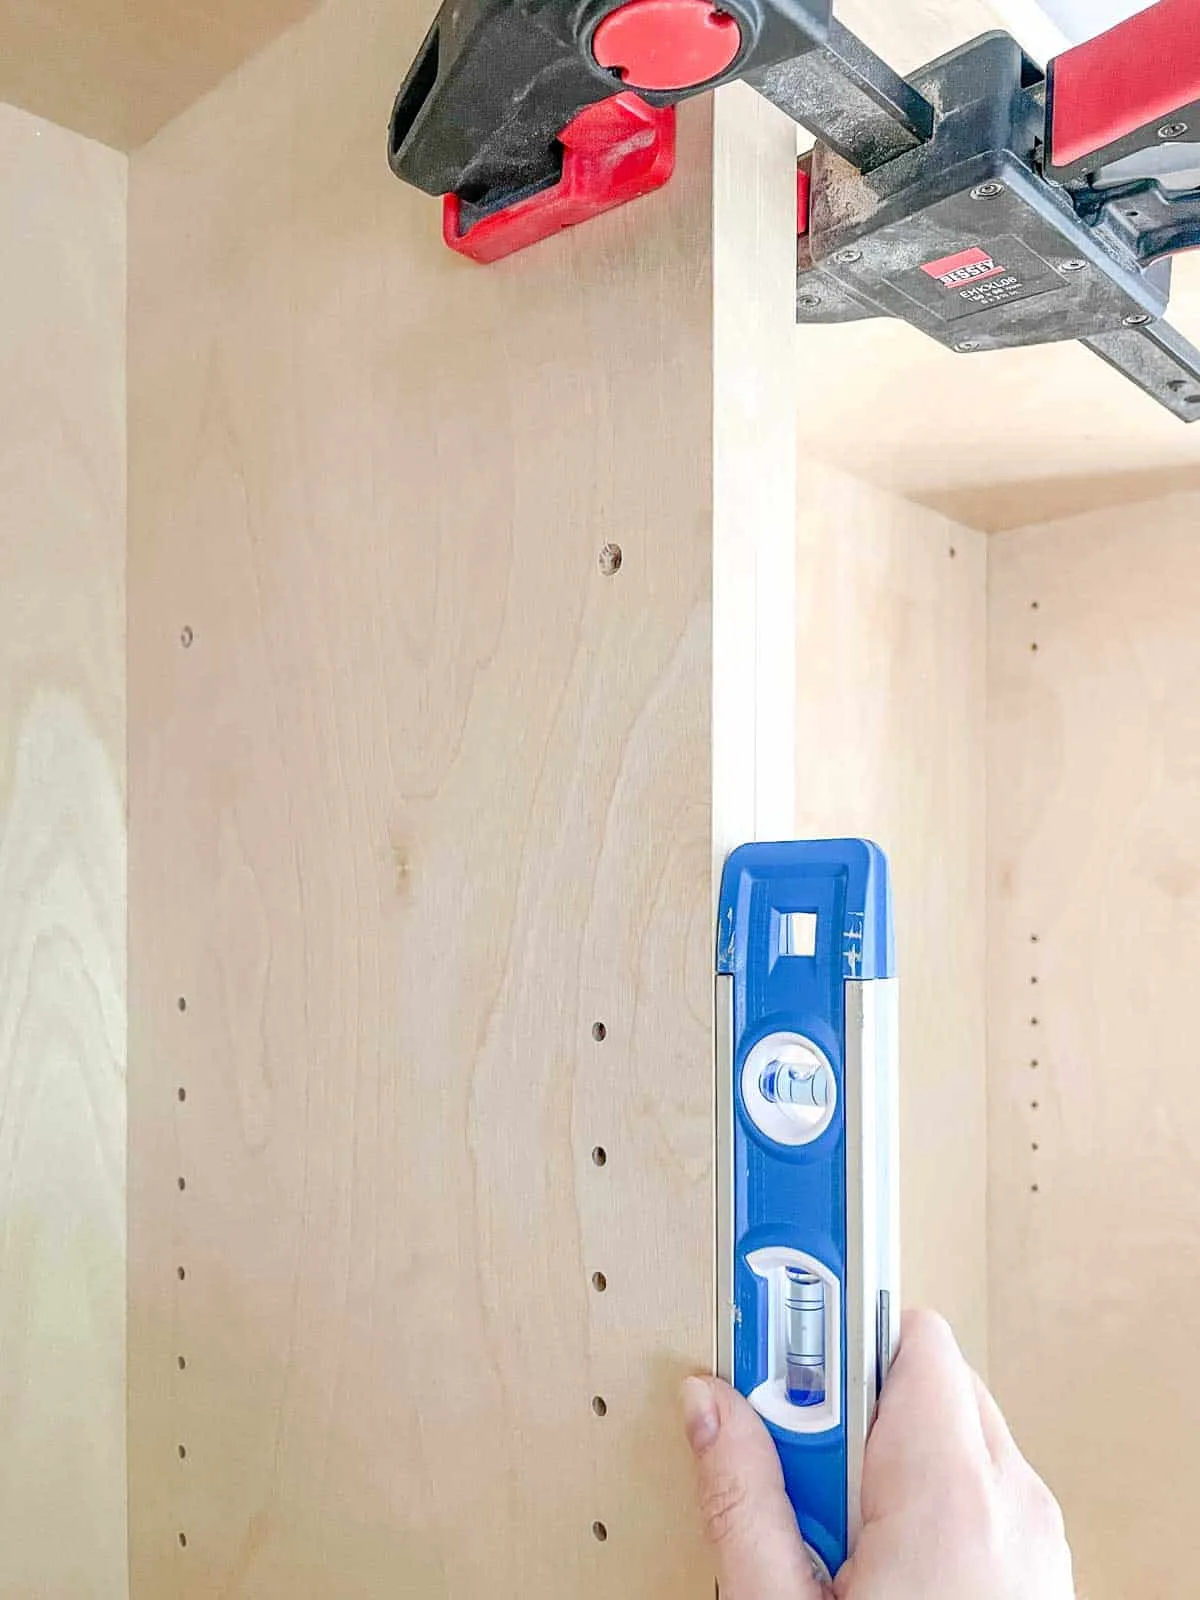
Place the cabinet lift on top of the countertop against the wall, and double check that it is level in all directions. Then place the first cabinet on top and line up the marks if necessary. I had to be careful not to shift anything and mess up my centered platform!
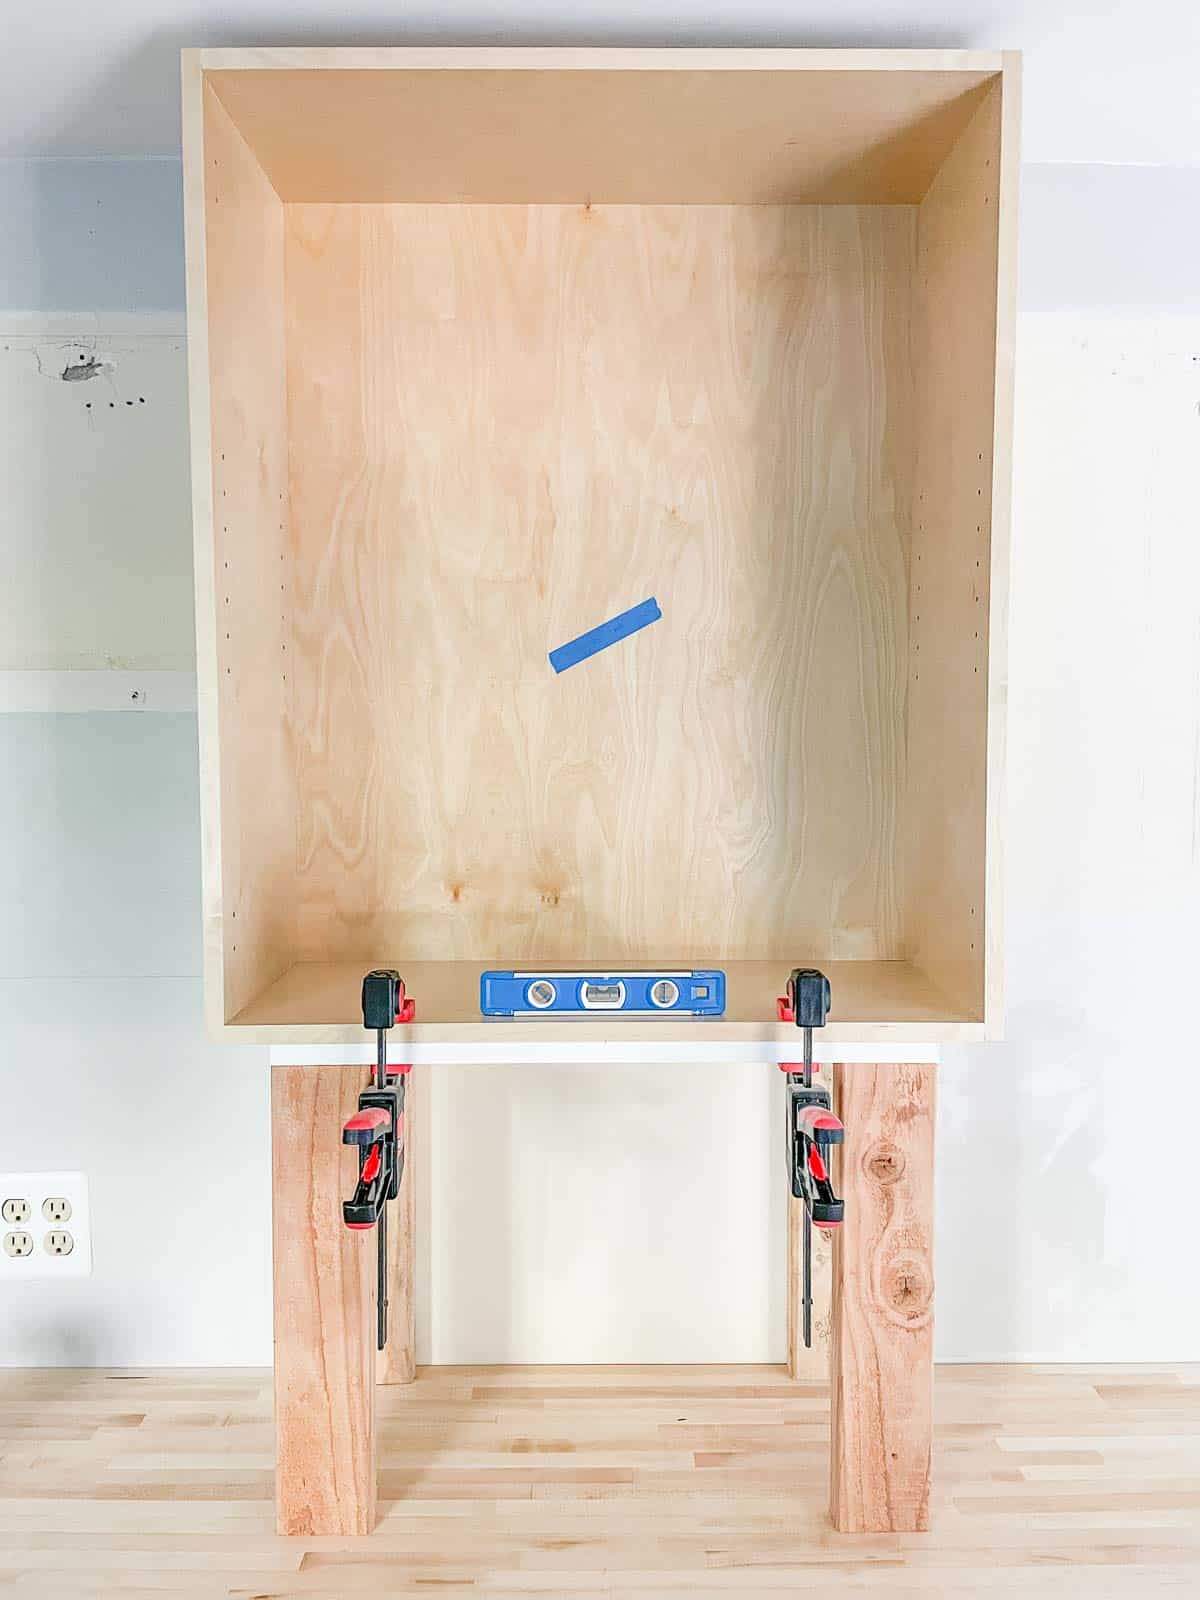
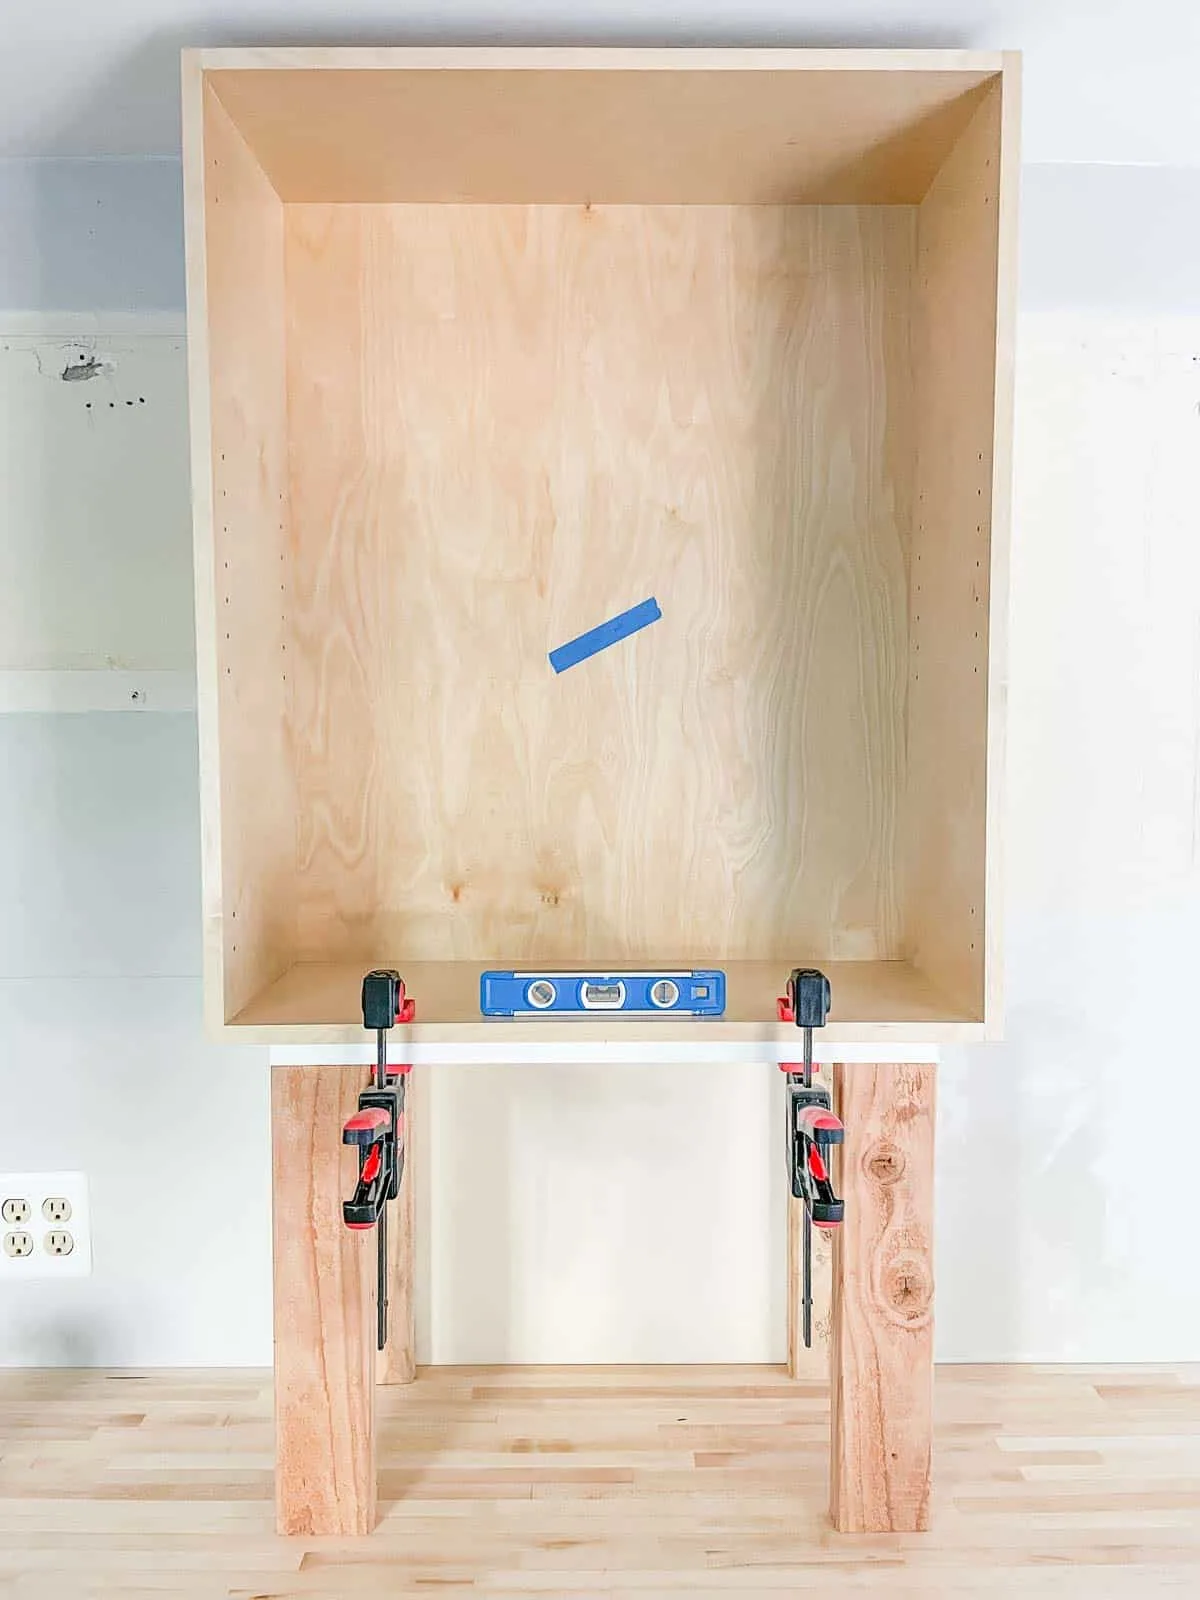
Use clamps to hold the cabinet on the platform while you make any necessary adjustments. If your wall isn't straight, insert shims behind the cabinet at the nailer strips to fill the void. Then use 3" long cabinet screws to secure it in place.

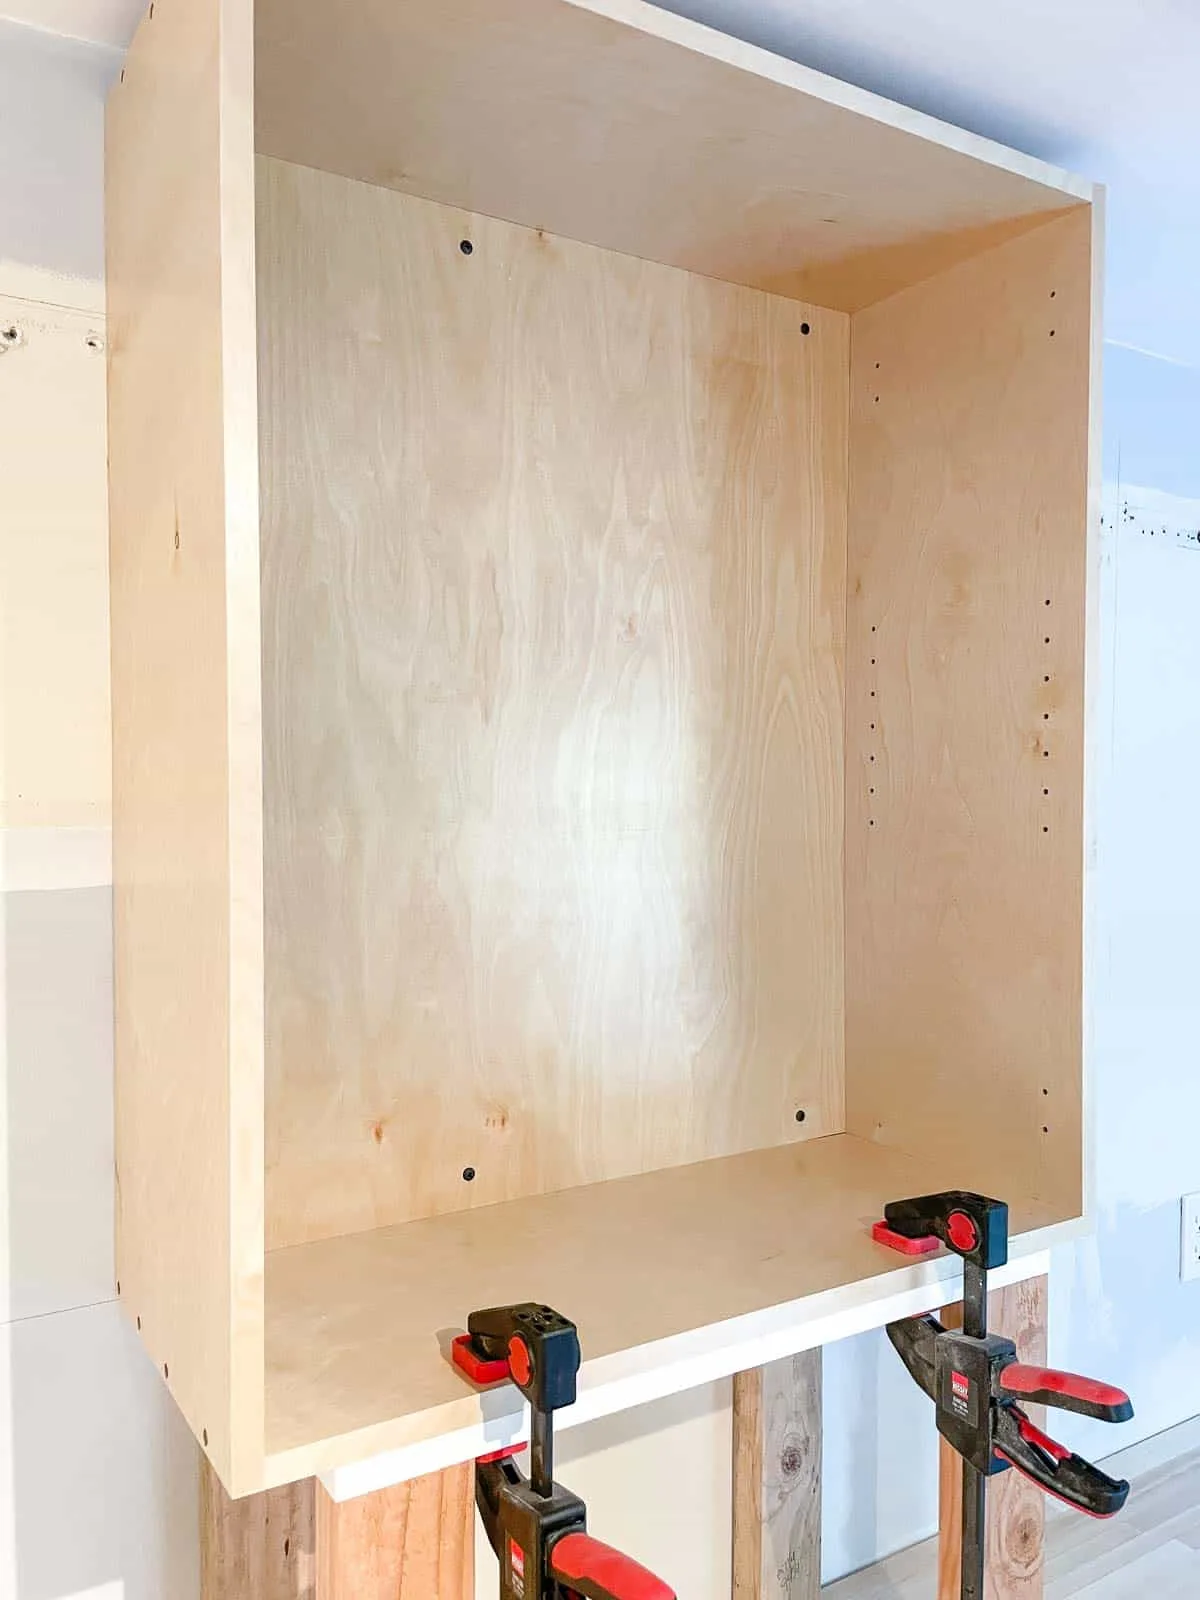
Now comes the moment of truth! Carefully slide the platform out from under the cabinet and breathe a sigh of relief that it's still on the wall! 🙂
Whew! On to the next cabinet!
Install the adjacent wall cabinets
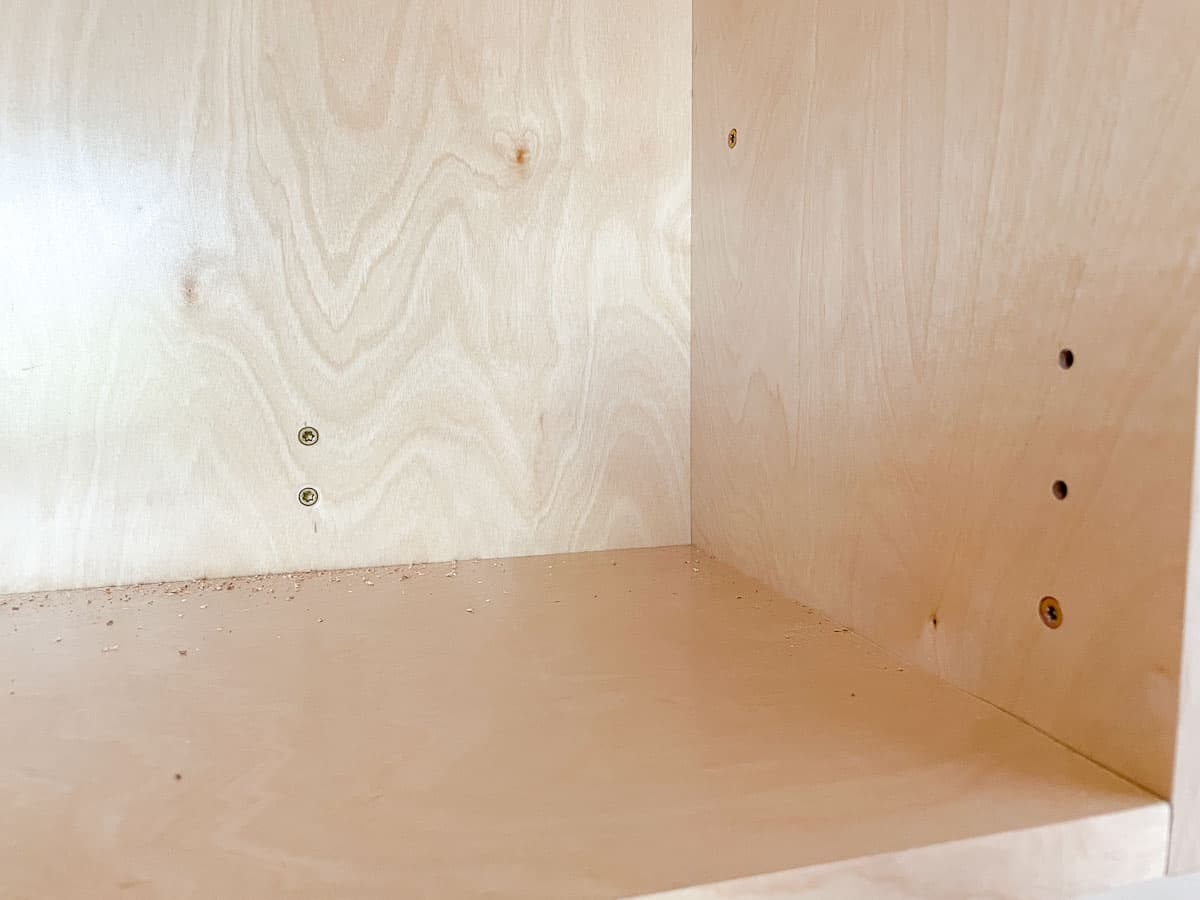
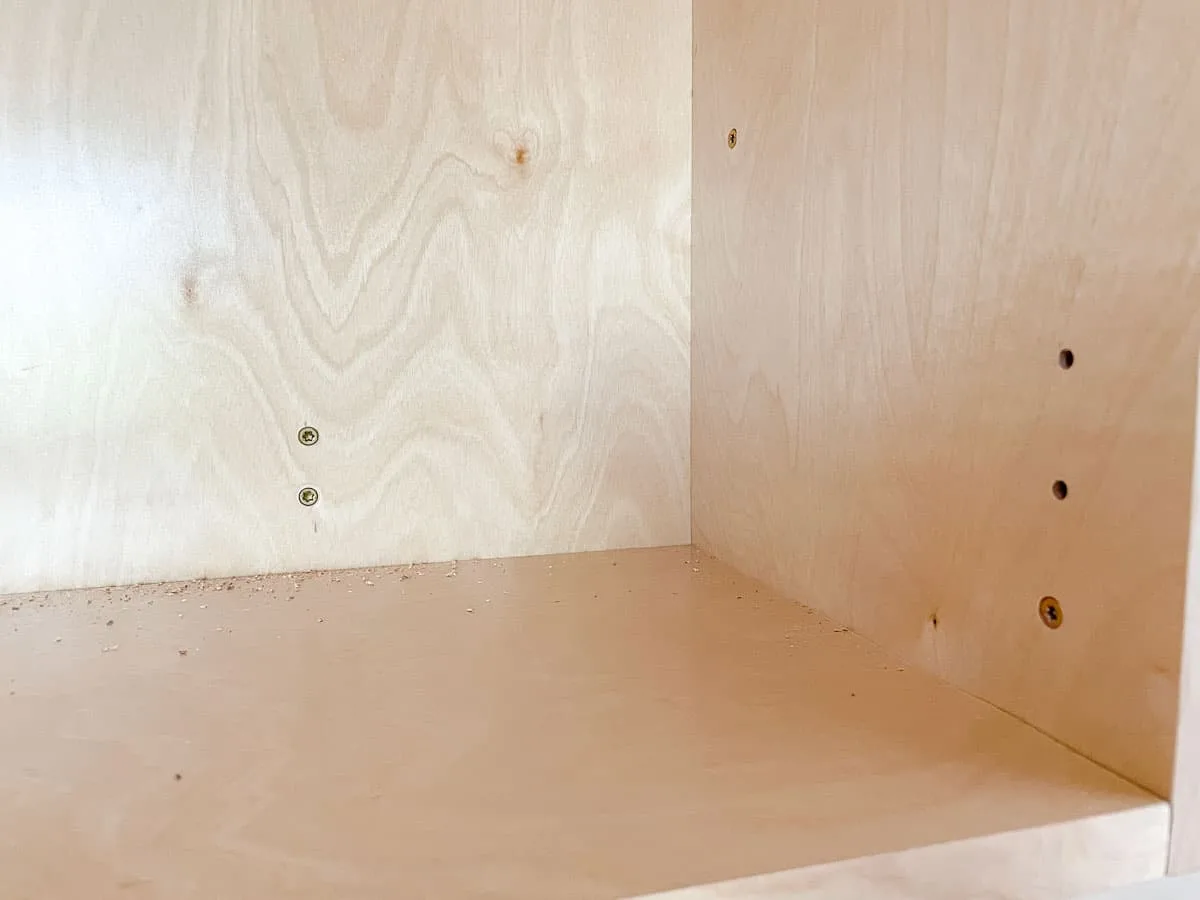
Once the first wall cabinet is installed, the rest will align with its bottom and front edges. Place the next cabinet on top of the platform and transfer the stud locations to the back panel. I predrilled these holes to make it easier to install and to prevent tear out.
Adjust the box as necessary until the fronts are perfectly flush with each other. Clamp them tightly together, then shim behind the cabinet if necessary to fill the gaps.

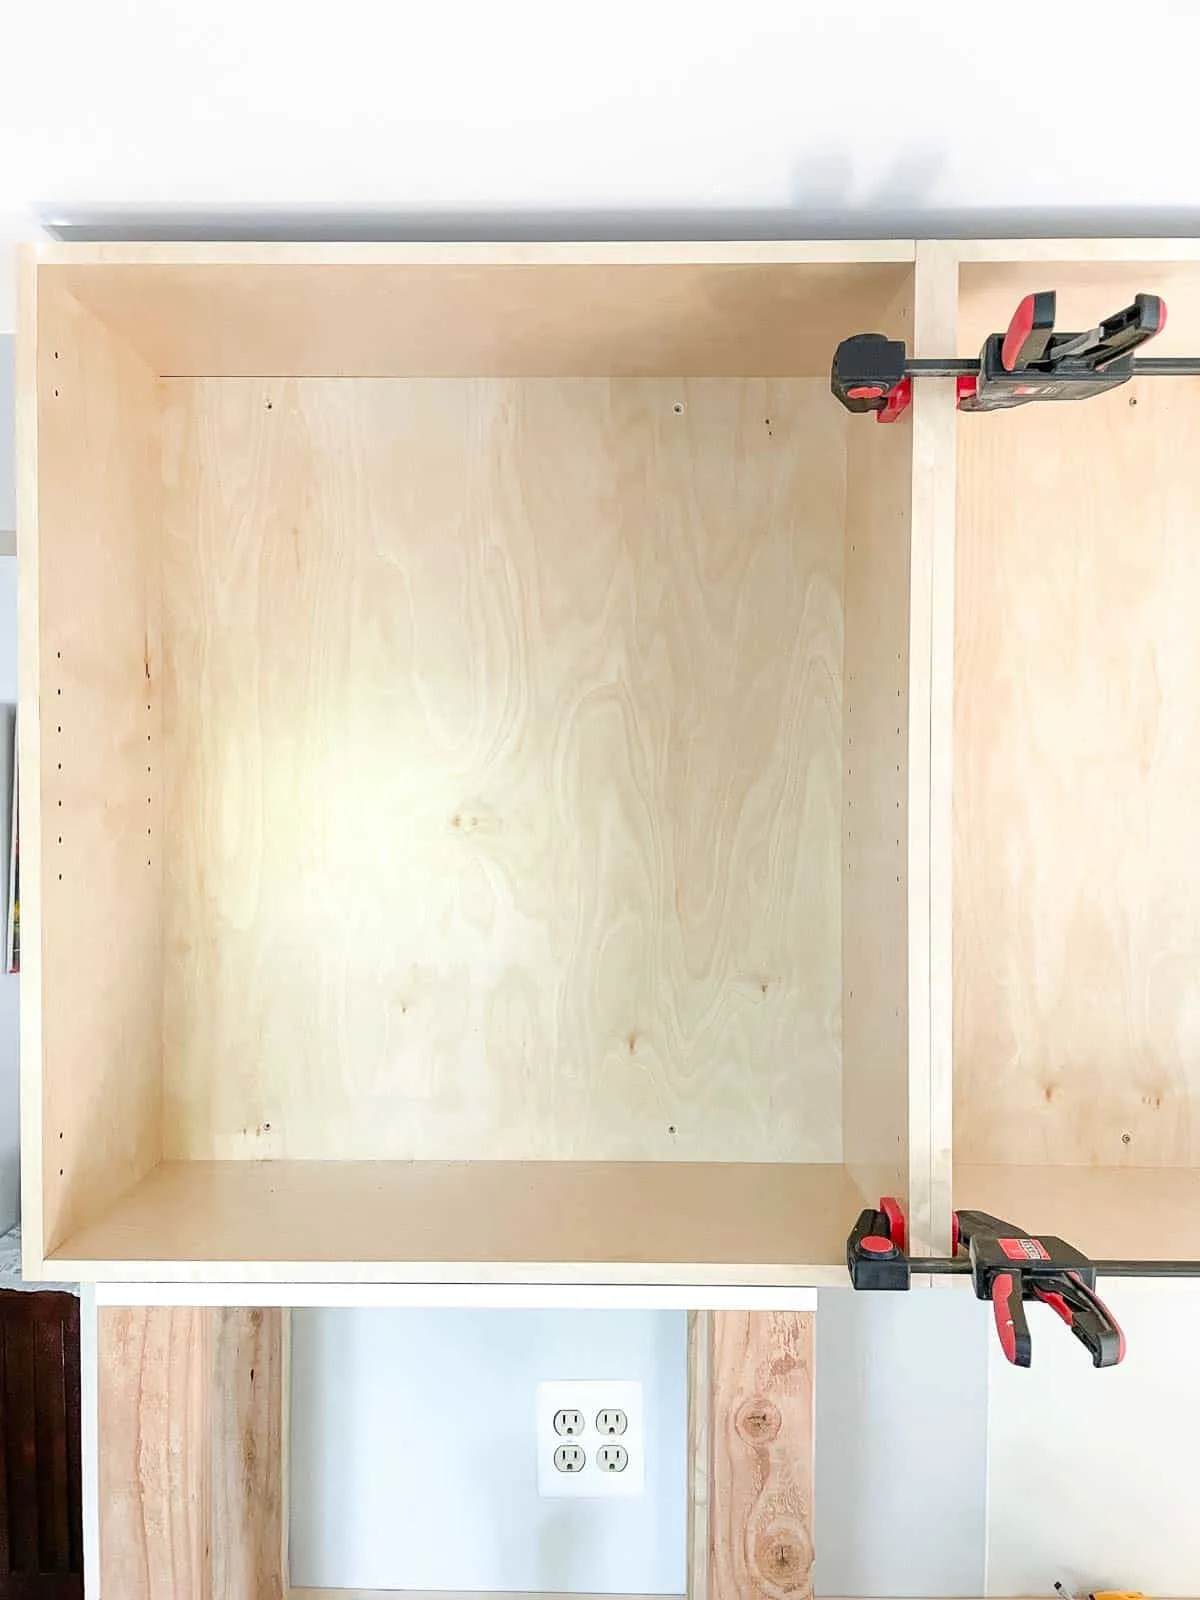
This wall bumps out slightly in the middle and tapers back at the ends. The shims prevent the screws from pulling the cabinet out of alignment when they're tightened.

Double check that the cabinet is level and plumb.

When everything looks good, attach the cabinets to each other first with 1 ¼" screws. Then screw the cabinet into the wall at the studs with 3" screws.
Continue the same process for the entire bank of upper cabinets.
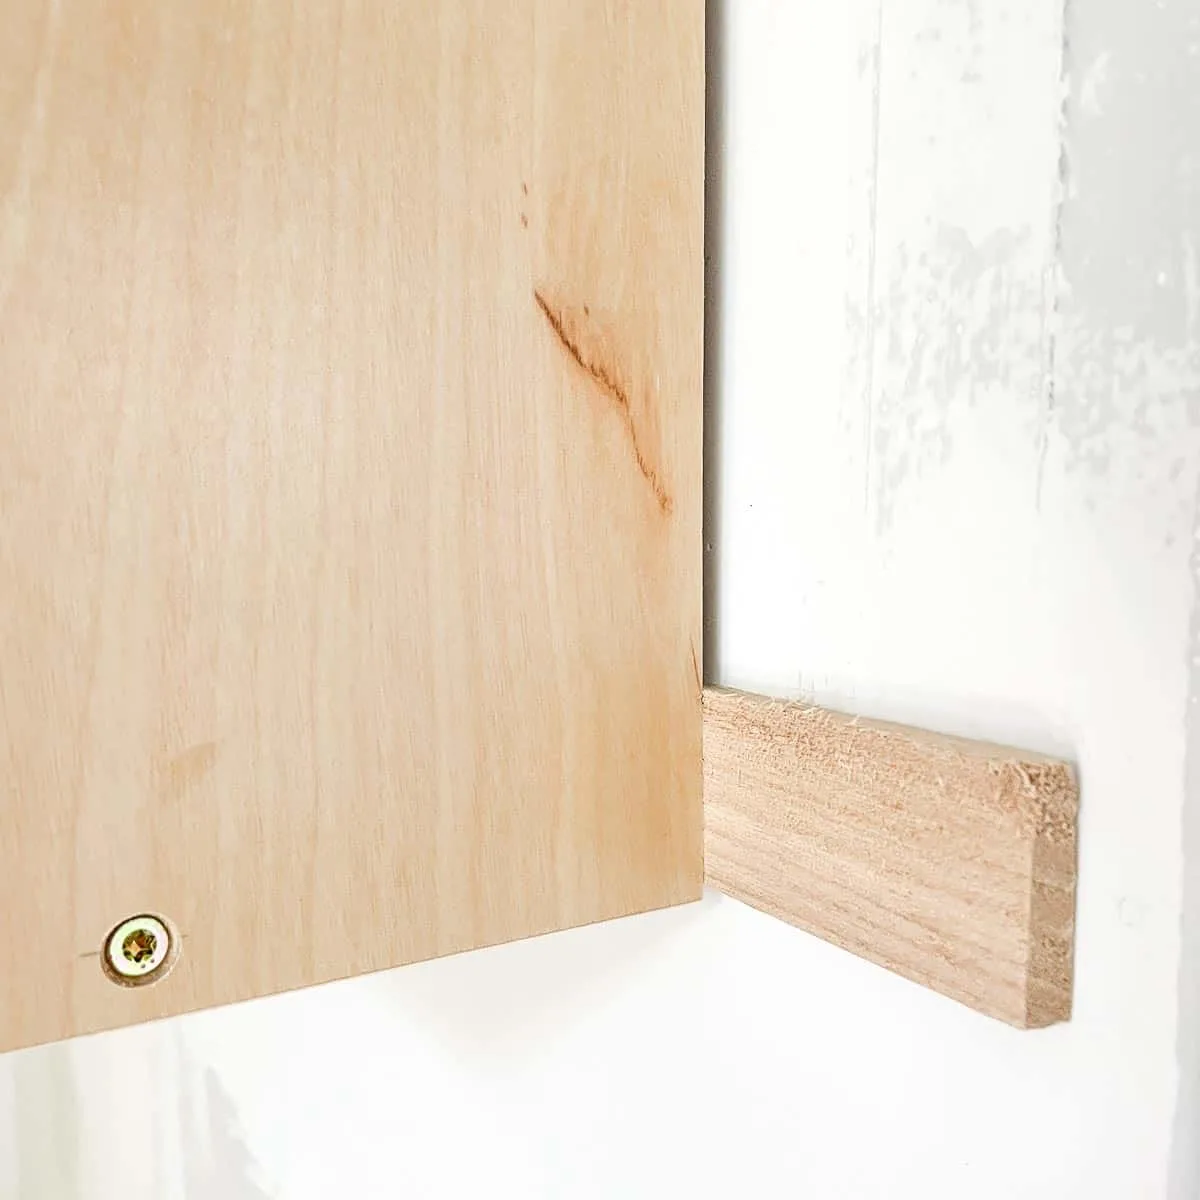
Score a line with a utility knife and then snap the shims flush with the sides of the cabinets. I'll be installing cabinet end panels to cover up the gaps later on.
Add filler strips if necessary
If you're using standard size cabinets from the store, chances are they don't fit perfectly between two walls. The gaps at the ends should be covered up with filler strips to create a seamless row of cabinets.
Since I'm building my own kitchen cabinets, I won't need to use any filler strips. Each box is custom sized to fit the space exactly! The video below shows you how to scribe and cut the filler strips to match the wall and get a snug fit.
I'm really happy with how this kitchen renovation is turning out so far! Even though it's far from finished, it already gives us so much more usable storage space!

Next, I'm building the cabinet doors! Check out the tutorial for how to make Shaker cabinet doors here!
Check out these other kitchen cabinet tutorials!
Grover Garber
Tuesday 11th of January 2022
I saw your cabinets were flush all around, easy to use your cabinet lifts. My cabinets were purchased at a big box store and have an inset bottom. I plan on making my own cabinet lifts which will fit inside the sides, back, front, and make them a little short of the 18" needed so I can then shim between the lifts and the cabinets to get them perfectly level and plumb. I decided on this based on advice from talking to my brother who has installed cabinets in many high end homes, with correspondingly customers who demand perfection.