There are three ways to attach a cabinet back panel, each with their own pros and cons. Find out which one is right for your project here!


The back panel is one of the crucial parts of a cabinet box, but it's frequently an afterthought in the building process. If you don't plan ahead, you could easily forget a step and get stuck using a less optimal method.
This post contains affiliate links for your convenience. Purchases made through these links may earn me a small commission at no additional cost to you. Please visit my disclosures page for more information.
Why do you need a cabinet back panel?
Some cabinet builders argue that you don't need a cabinet back panel at all! Why bother when it's never seen, and it just adds more work, weight and cost? Here are some things to consider before you decide to skip this step.
Stability
A cabinet back panel helps keep the box square and prevents it from getting pushed out of alignment (also known as racking). It functions as cross bracing from corner to corner. The back also gives base cabinets extra support for heavy stone countertops.
Durability
Plywood panels are more durable than the drywall behind the cabinet, and will hold up better to everyday wear and tear. It's also much easier to replace a plywood backing than a section of drywall.
Sink cabinets usually don't have a back for easy access to the plumbing. Take a peek inside yours and you'll probably see a mess of scratches and drips on the drywall!
Appearance
Most drywall behind a cabinet is unpainted and has marks and notations written on it from the cabinet installation. The back hides the drywall behind it, and looks more professional.
Safety
If you live in an older home, you may have holes in the drywall that provide easy access for insects or rodents. A cabinet back blocks their secret entrance and protects your food.
Also keep in mind that your home's walls may be less than straight. Shims help to straighten the cabinets during installation, but they can leave gaps between the cabinet and the wall. You could lose small items in the gaps between the wall and the cabinet, never to be seen again!
How to Attach a Cabinet Back Panel
There are a few different ways to attach the back panel to the cabinet box. Each method has their own pros and cons, so choose the one that works best for you and your skill set.
Staple or nail the back onto the cabinet box
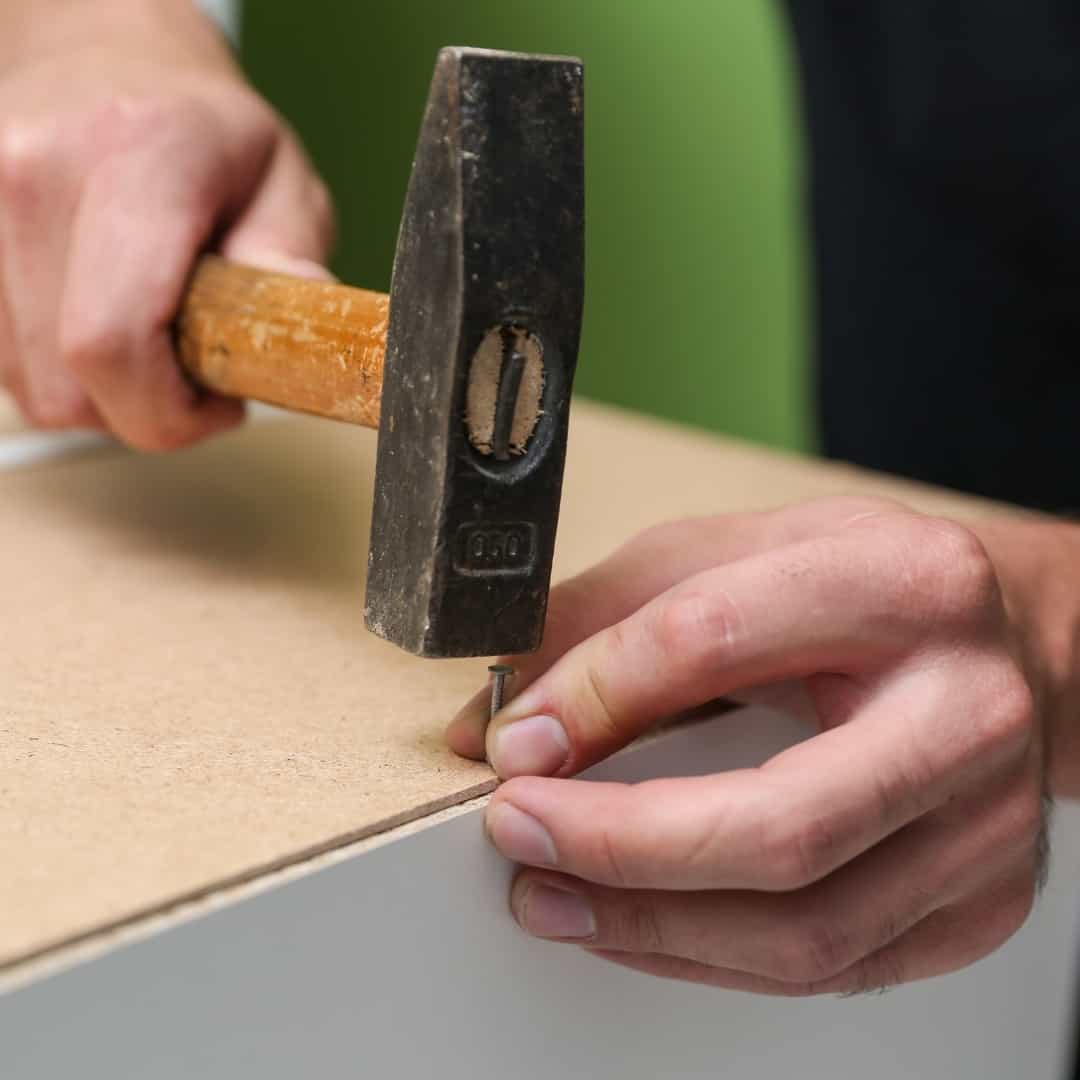
By far the easiest method is just to staple or nail the panel onto the back of the cabinet. Just cut a piece of ¼" plywood large enough to cover the edges of the box and tack it into place every 8-10 inches. If you integrated the toe kick into the sides, the back panel can extend all the way to the floor.
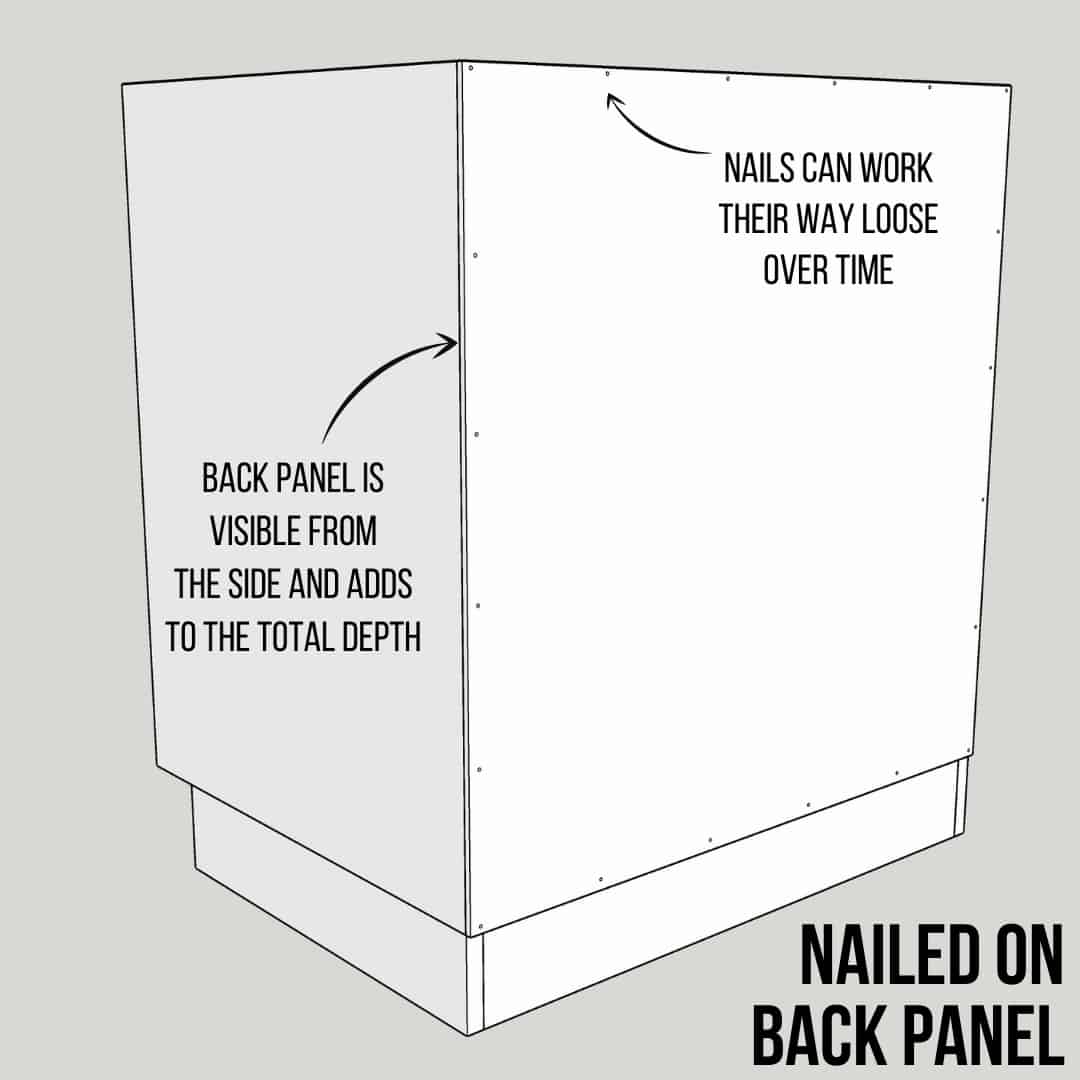
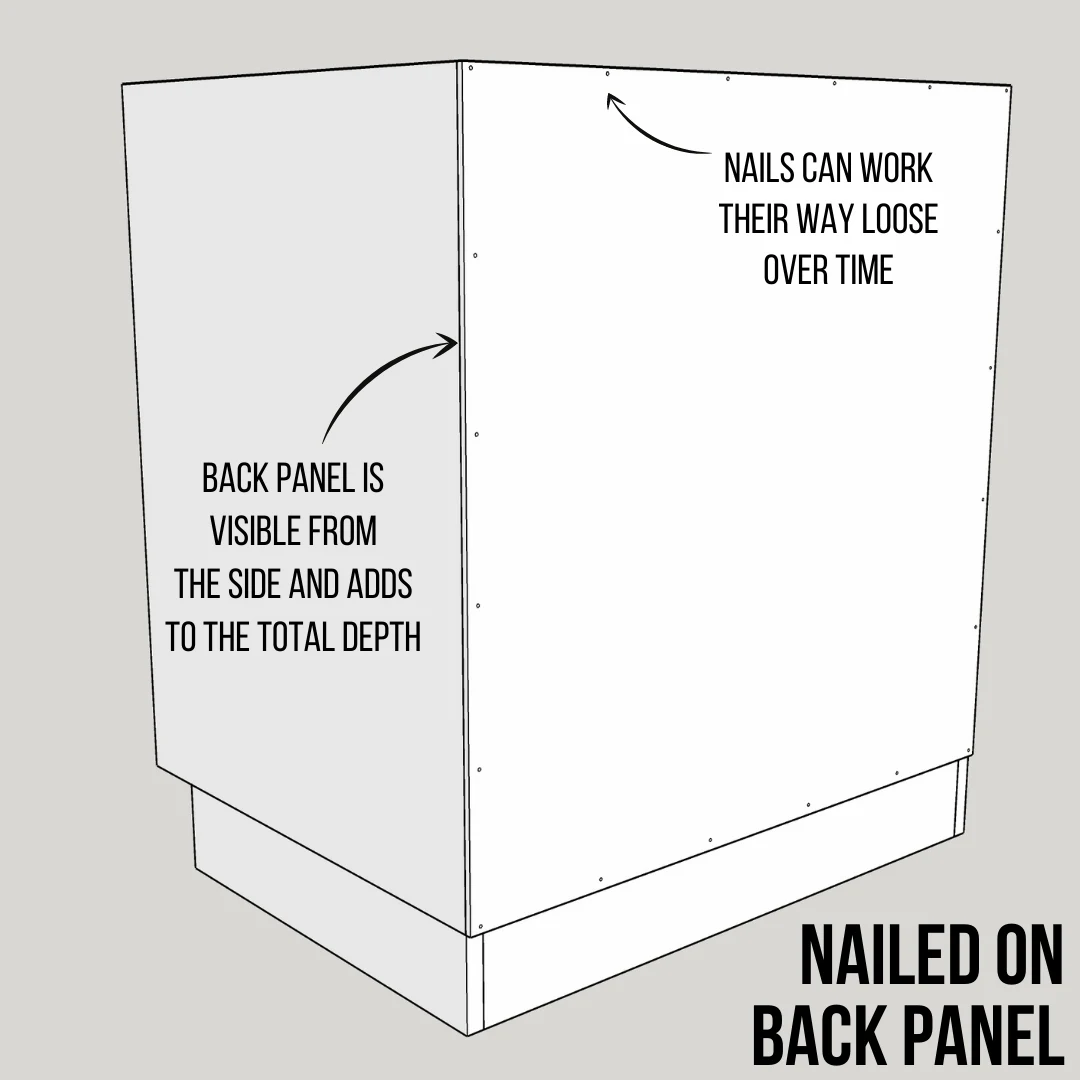
You can use staples or panel nails for this task. Staples are quicker, especially if you have a pneumatic or battery powered stapler. Panel nails have wide, flat heads and threads along the shaft that prevent them from slipping loose over time.
This is the fastest and easiest method for attaching a cabinet back panel. If you've ever put together a cheap bookcase from IKEA, you've probably done this before. The hardest part is making sure all your corners are square, and not hitting your fingers with the hammer. 🙂
Attaching the back with this method isn't the sturdiest option, because the nails or staples can work their way out of the wood over time. You'll still need to attach a nailing strip inside the cabinet, because the thin plywood backing isn't strong enough to hold up the weight by itself.
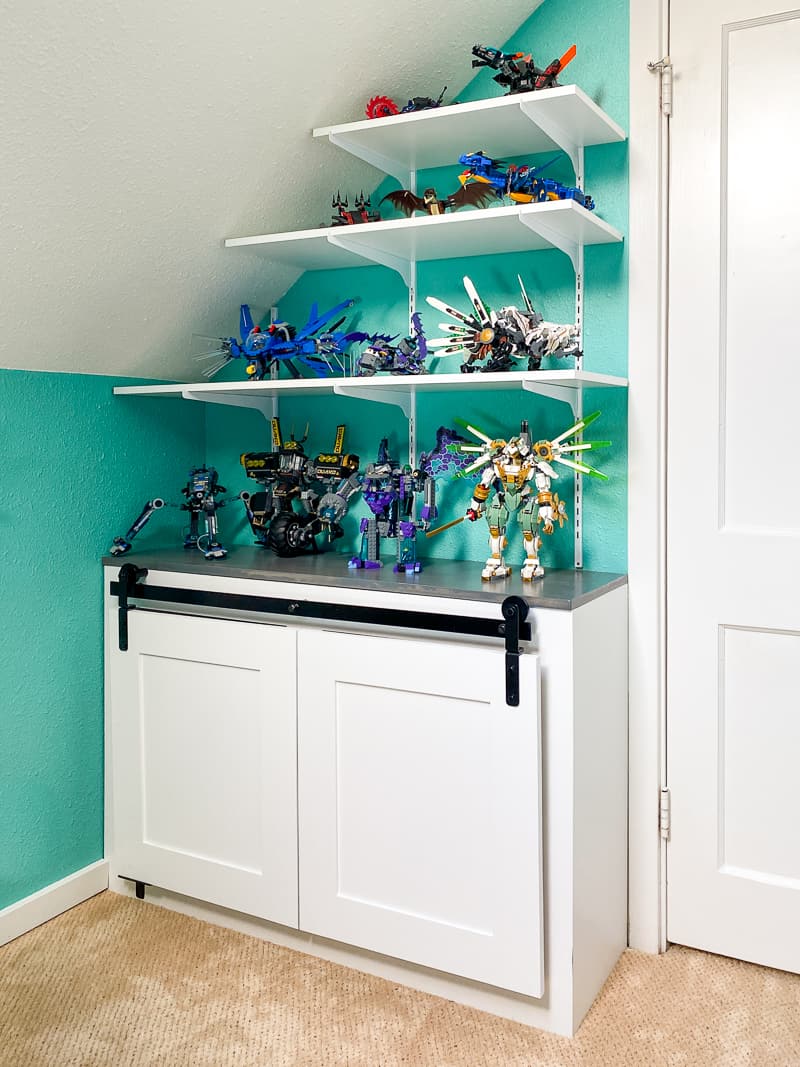
The nailed-on panel also adds ¼" to the depth of the cabinet, and the exposed plywood edges can be seen when viewing it from the side. However, if the sides will be hidden between walls or door trim like this cabinet I built for my son's room, it's not as much of an issue and can save a lot of time.

Cut a rabbet along the back edge of the box
Another method for attaching a cabinet back panel is to cut a rabbet along the back edge of all the cabinet pieces. The back panel fits snugly inside the recess.

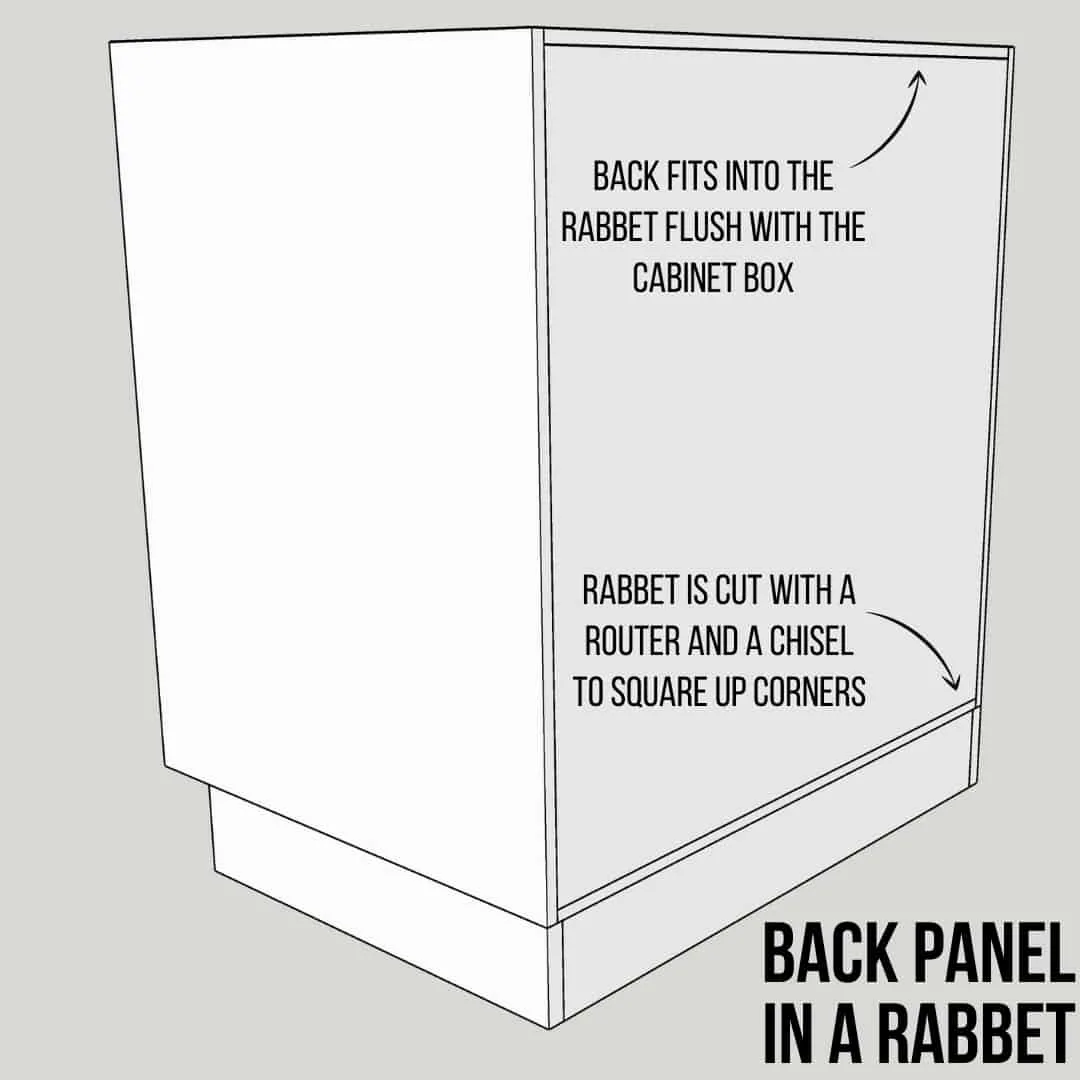
This method makes for a very clean looking assembly, and helps to keep your cabinet square. However, there's a lot of extra work involved!
Typically, you use a router with a rabbeting bit to cut the recess after the cabinet box has been assembled. You can see this technique in the video below.
However, the router bit leaves curves in the corners. You can either trim the back panel to fit the curves, or square up the corners with a chisel. When you have a bunch of kitchen cabinets to install, this can be really time consuming!
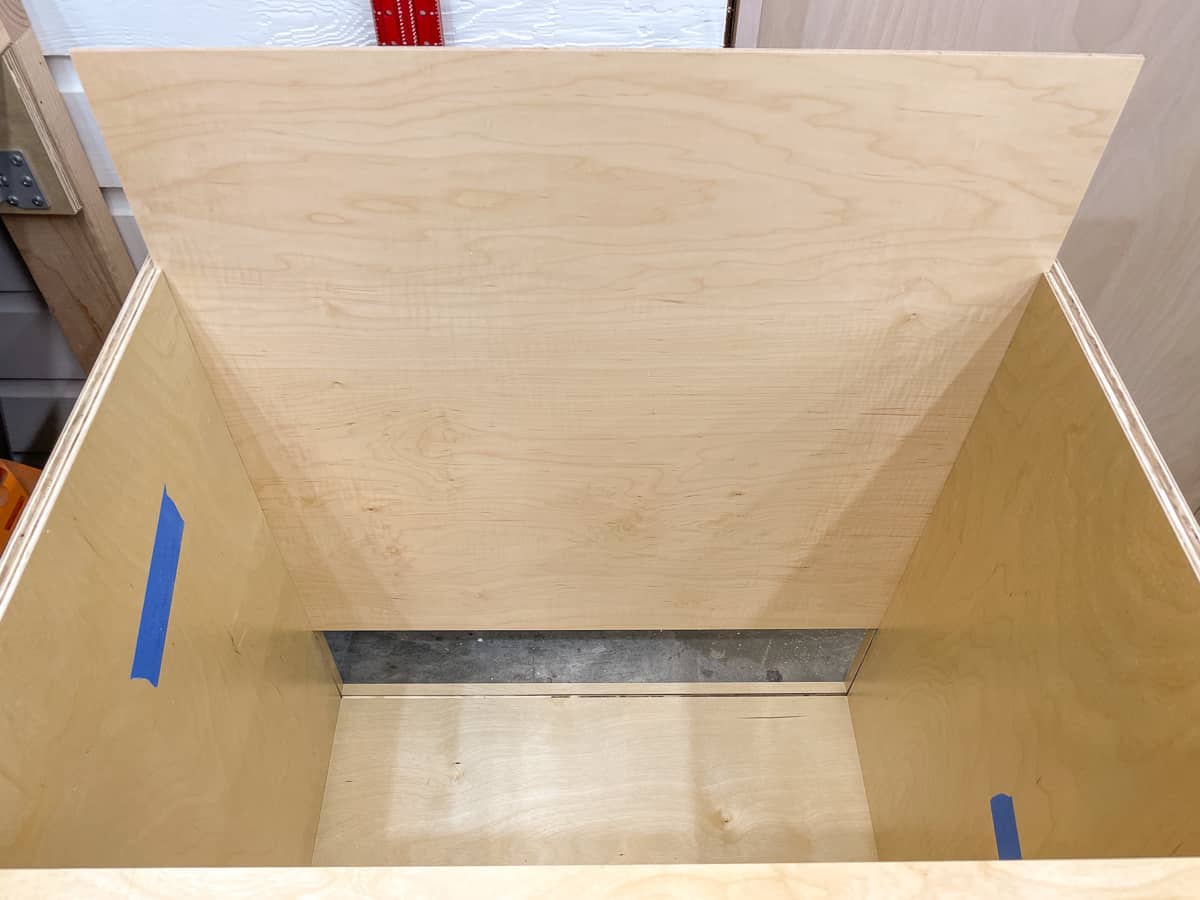
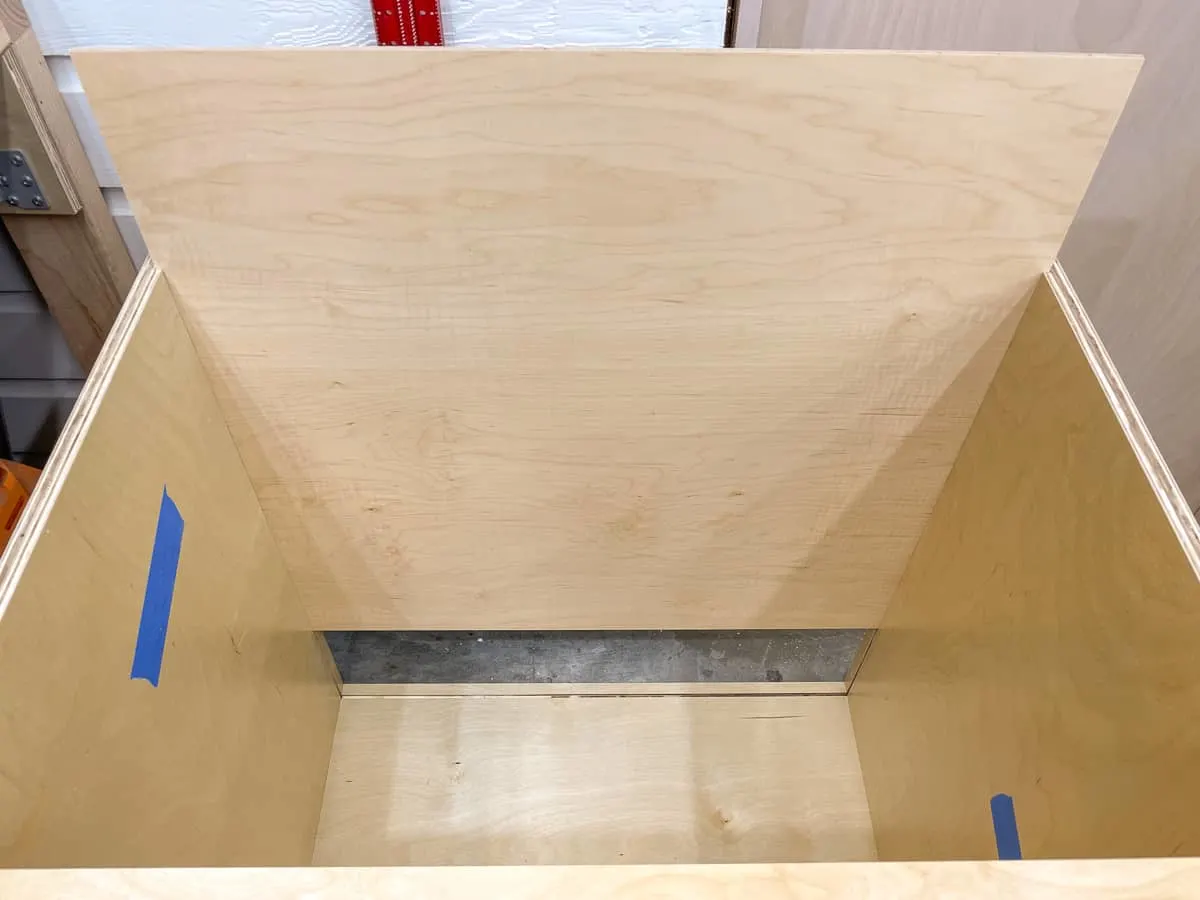
One way to avoid cutting out the rabbet is to build the back panel into the cabinet box during assembly. I decided to go this route with my tall pantry cabinet, because the narrow box needed extra stability. With this method, I was able to screw through the back directly into the studs and avoid a nailer strip altogether.

But using ¾" plywood for the back can be expensive, and adds a lot of unnecessary weight.
Cut a groove for the cabinet back panel to slide into
My preferred method, and the one many professionals use, is to cut a groove for the ¼" back panel to slide into. It's quick and easy to do while you're cutting out the pieces at the table saw. I used this method when building the wall cabinets and the base cabinets in my kitchen.
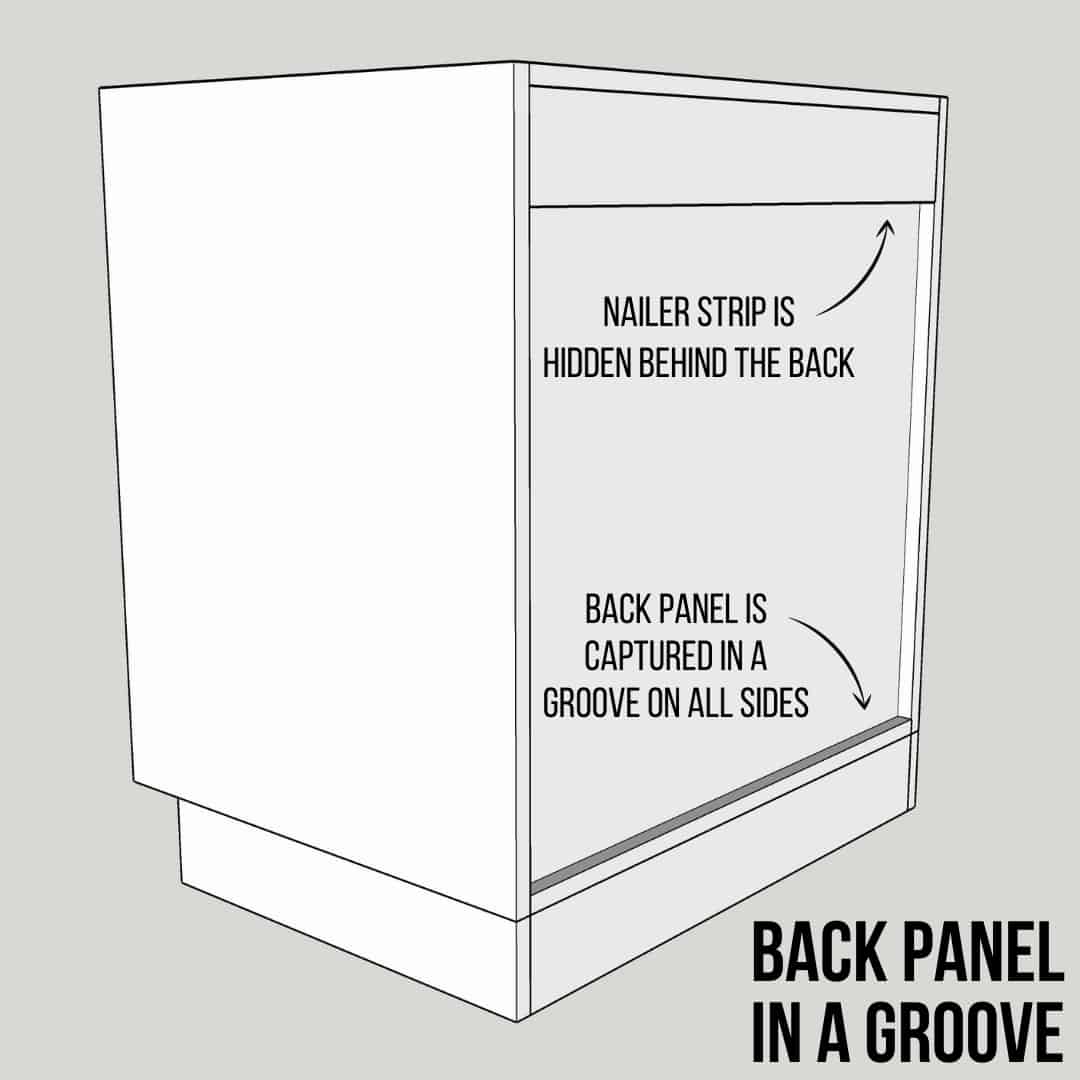
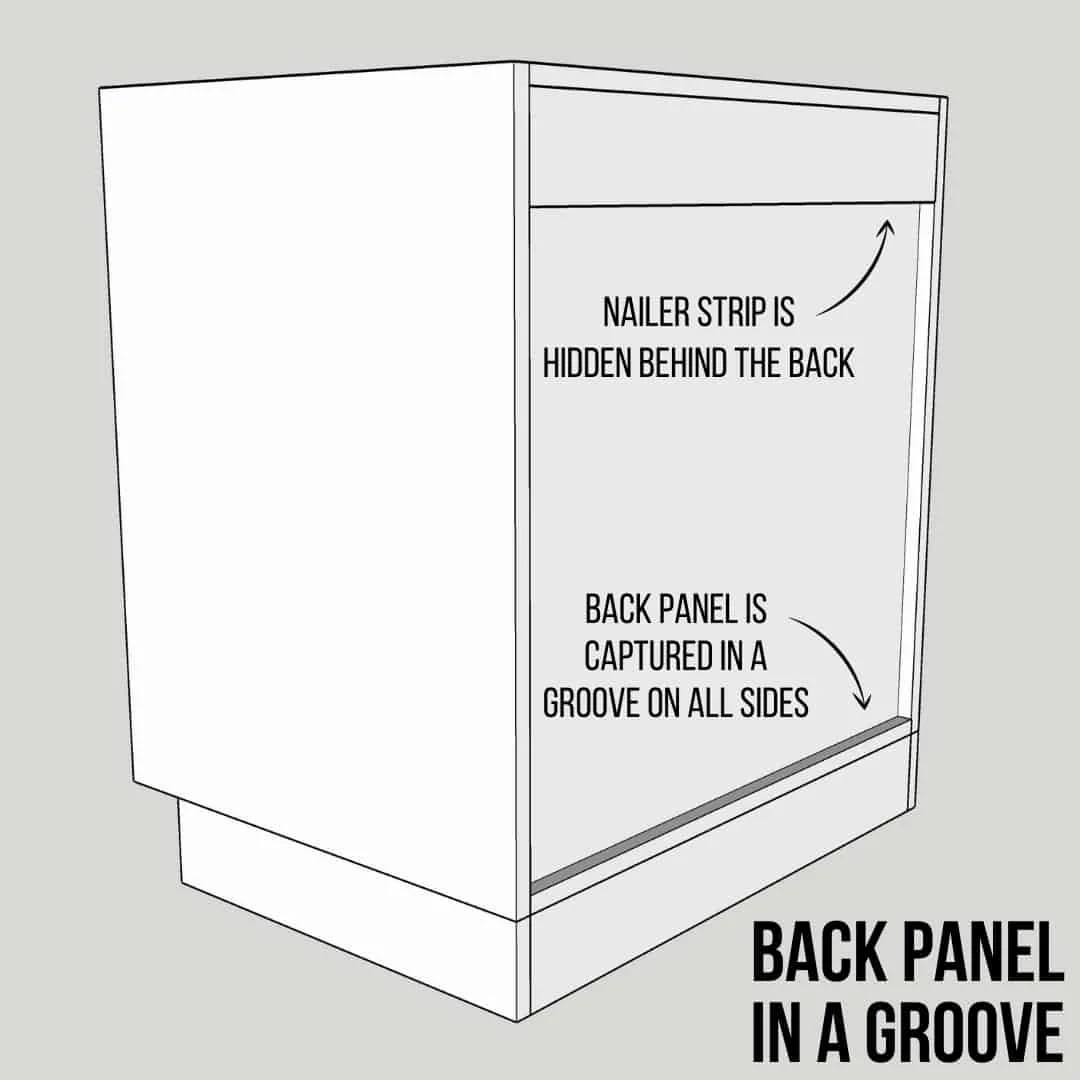
The end result is a clean appearance on the inside of the cabinet box, because the nailing strip is hidden between the back and the wall. However, this method requires a bit of pre-planning. You'll need to cut the groove in the sides, bottom and back stretcher before assembly.
I go into this technique in more detail in this tutorial about how to build a basic cabinet box. I use a table saw with a regular blade for this step, but you could also use a dado blade or a router table with a straight bit.
I hope this article took some of the mystery out of this step in the cabinet building process! Everyone seems to do it a little bit differently, but it's important to know why one method might be better than another for a specific project. Which way do you attach your cabinet back panel? Let me know in the comments below!
Check out these other cabinet articles!