Finish off the exposed sides of your kitchen or bathroom cabinet with these DIY cabinet end panels! Leave it flat or add decorative trim for a custom look!

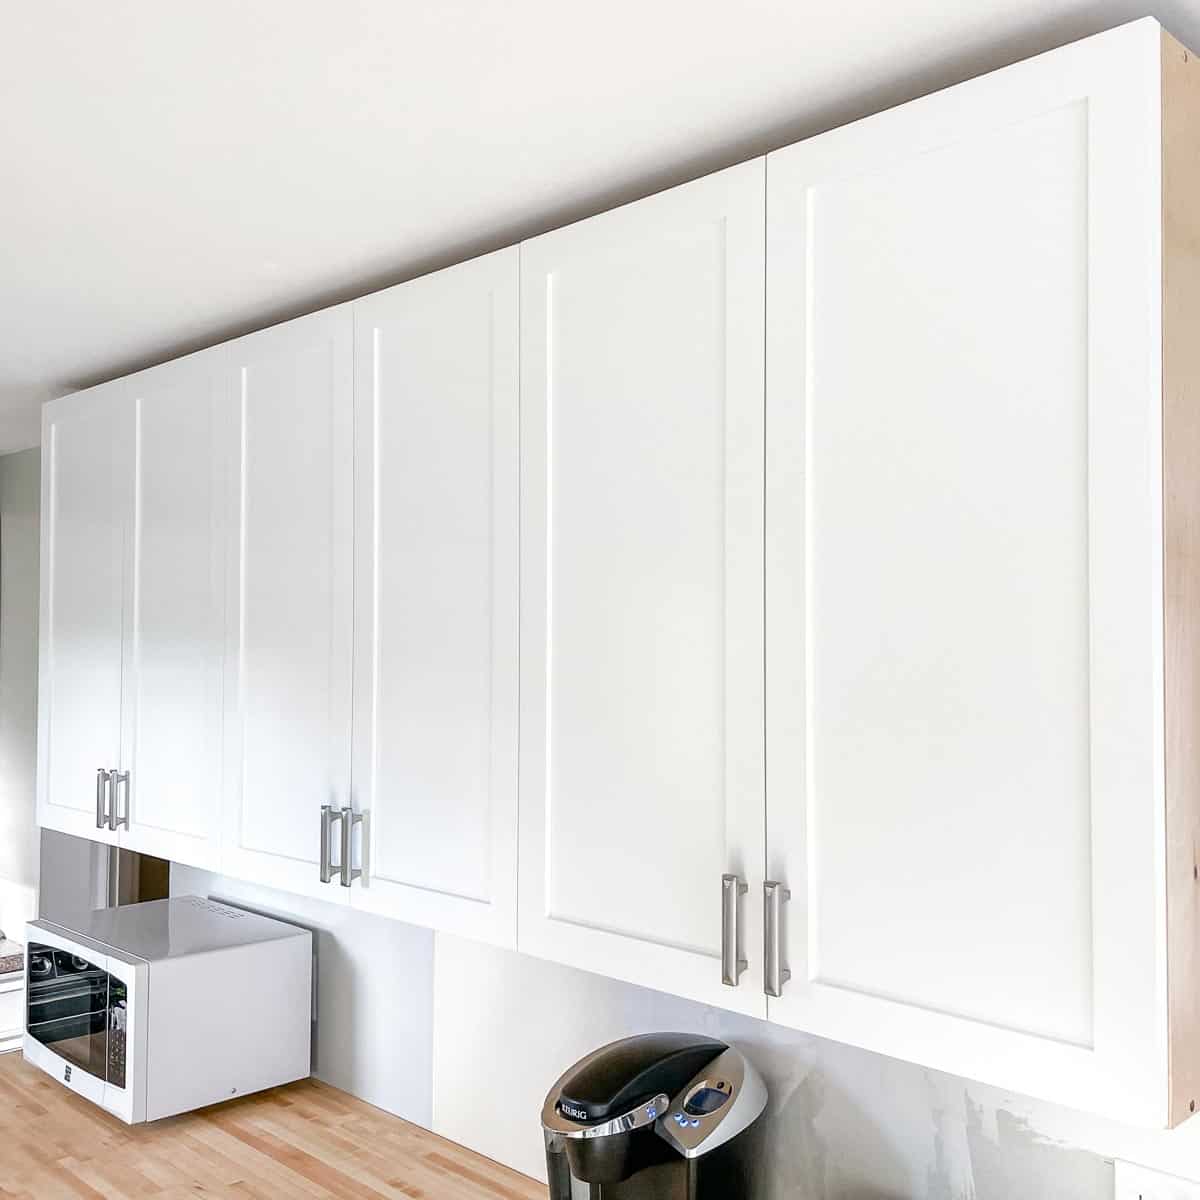
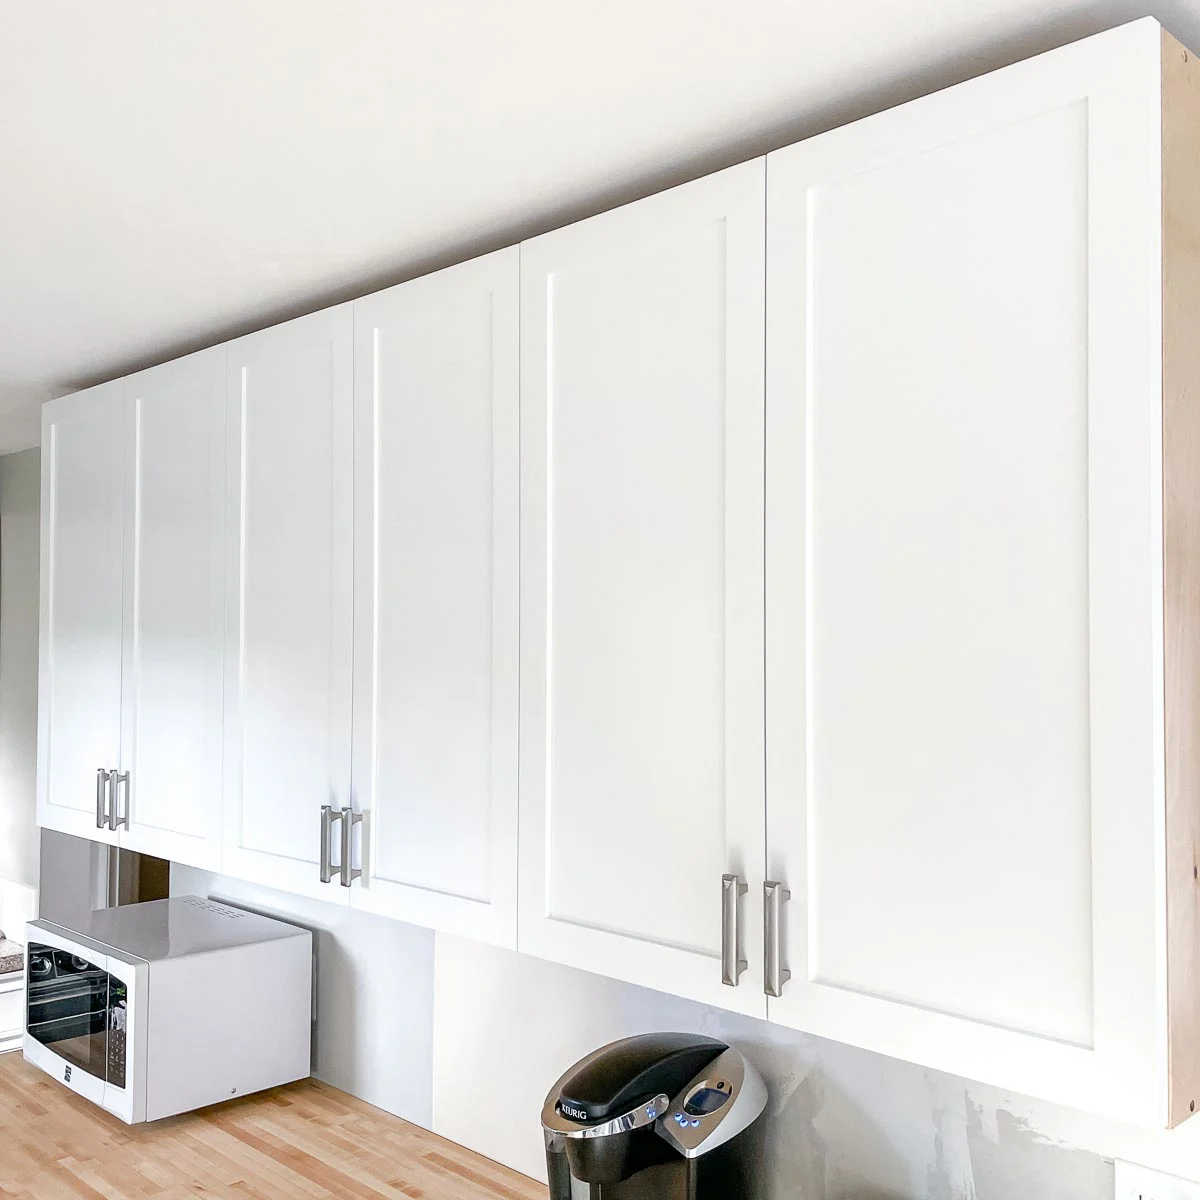
I'm slowly wrapping up my kitchen renovation, and one of those little details is the cabinet end panels. This bank of cabinets is exposed on both sides, so you could see the screw holes and shims behind the boxes.
This wall was pretty wonky, so there's a ¼" gap at the bottom and the cabinet touches the wall at the top. It was quite the chore to install these wall cabinets myself and get them level, but it turned out great!
For the finishing touch, I'm installing DIY cabinet end panels to hide the gaps and screws. They'll be painted the same color as the Shaker cabinet doors, but they'll be flat instead of having a decorative inset panel.
Here's how to make cabinet end panels yourself out of basic plywood!
This post contains affiliate links for your convenience. Purchases made through these links may earn me a small commission at no additional cost to you. Please visit my disclosures page for more information.
How to Scribe an End Panel
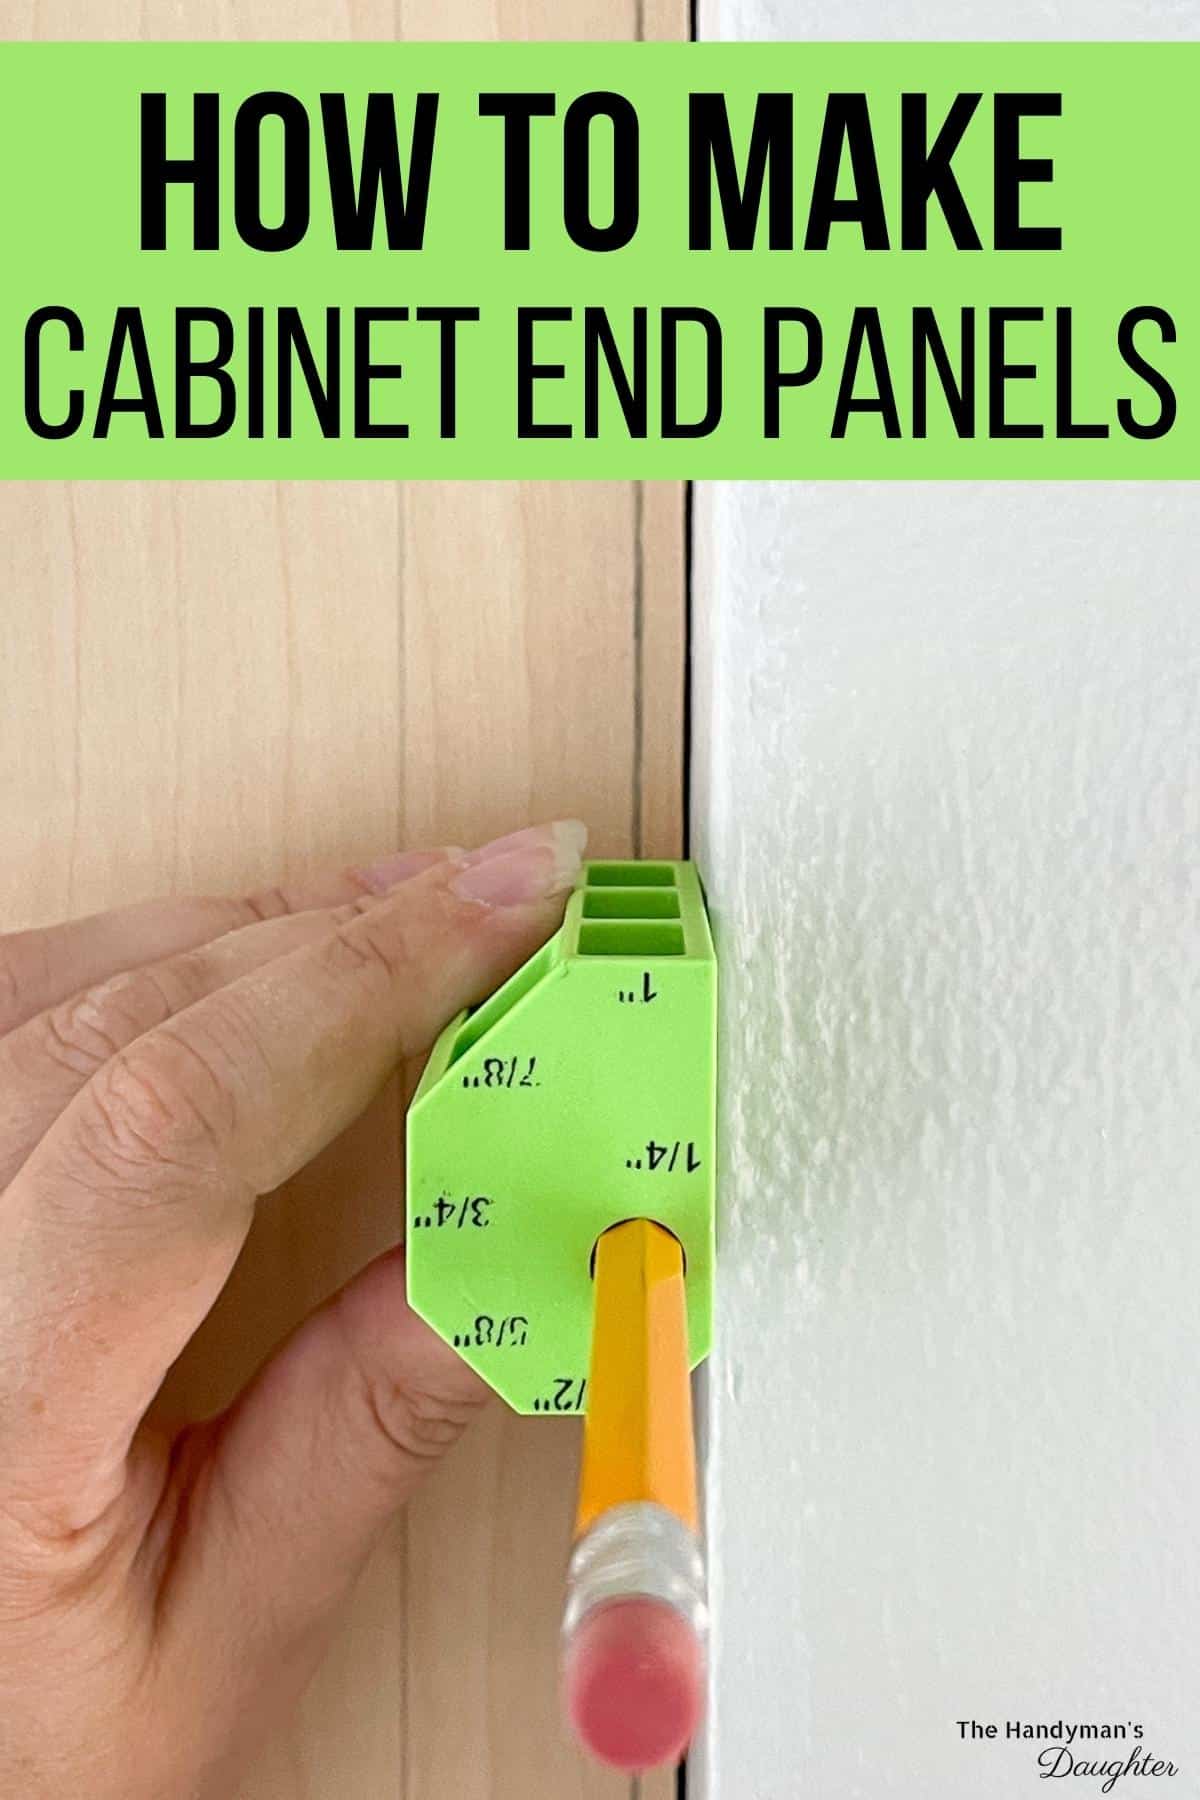
In order for the end panel to sit flush with the edges of the cabinet and the wall, you'll need to scribe the contours of the wall first. There are several scribing tools on the market to help mark every bump and divot, or you can make your own.
The video below shows you to scribe an uneven wall, using a variety of different tools.
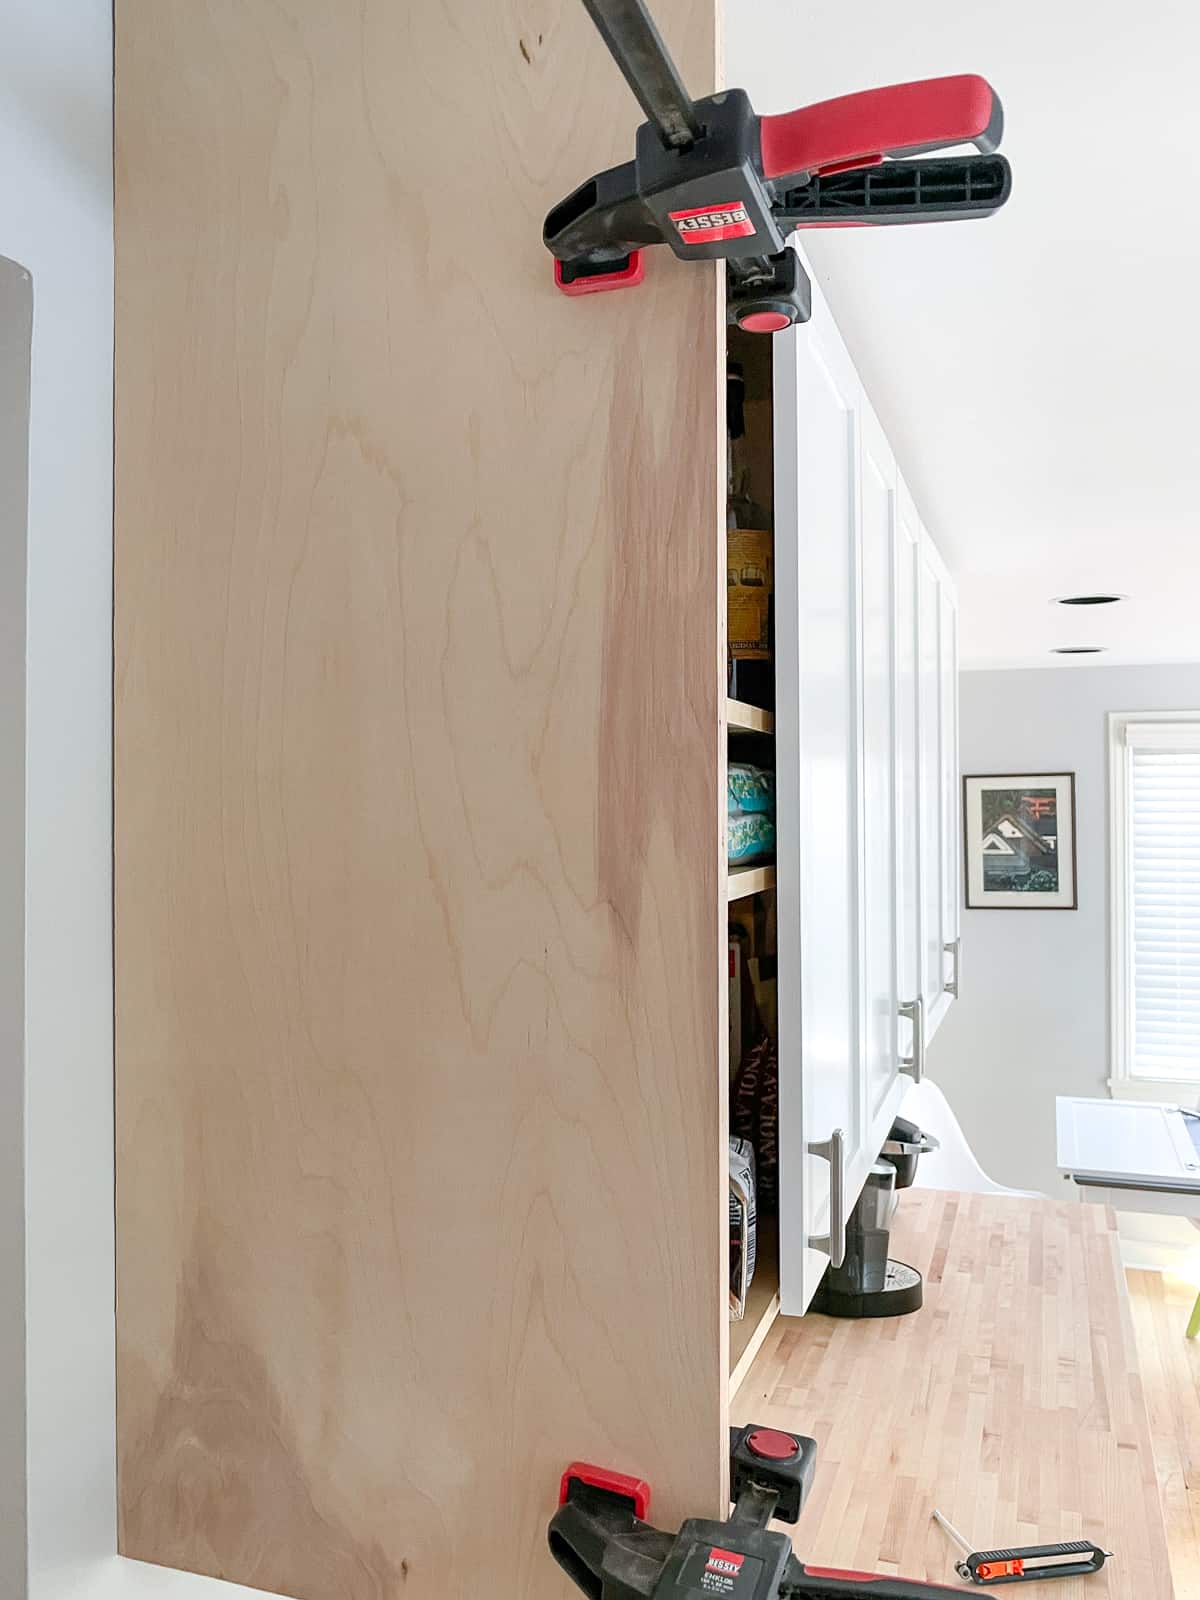
Start by cutting the end panel a few inches larger than the area you need to cover. I used ¾" birch plywood, which I cut 2" wider and 2" longer than the side of the cabinet (including the doors).
Clamp the end panel to the side of the cabinet box with an inch or so hanging off the bottom. You can see where the end panel is tight against the wall in some spots and gaps in others.

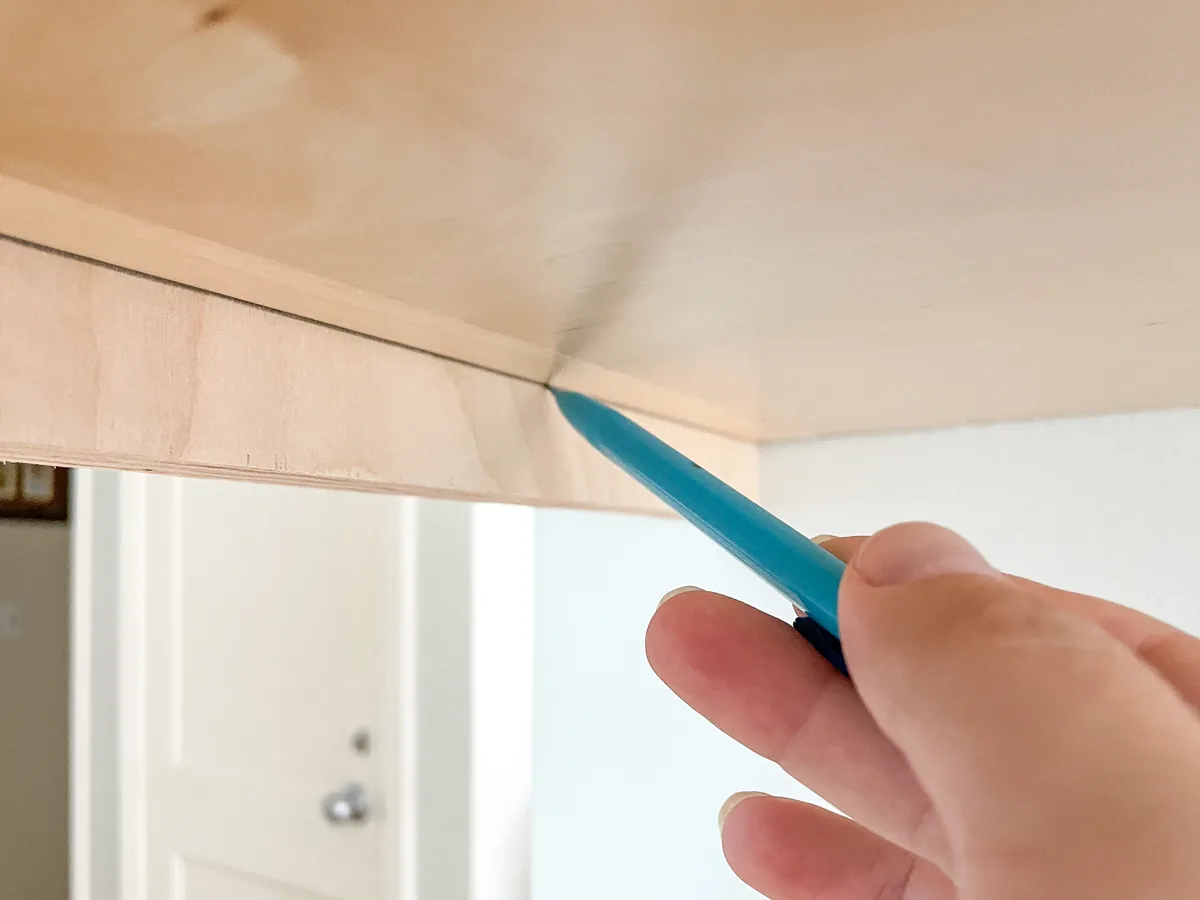
First, I scribed the underside and the top edge by tracing where the cabinet meets the end panel.

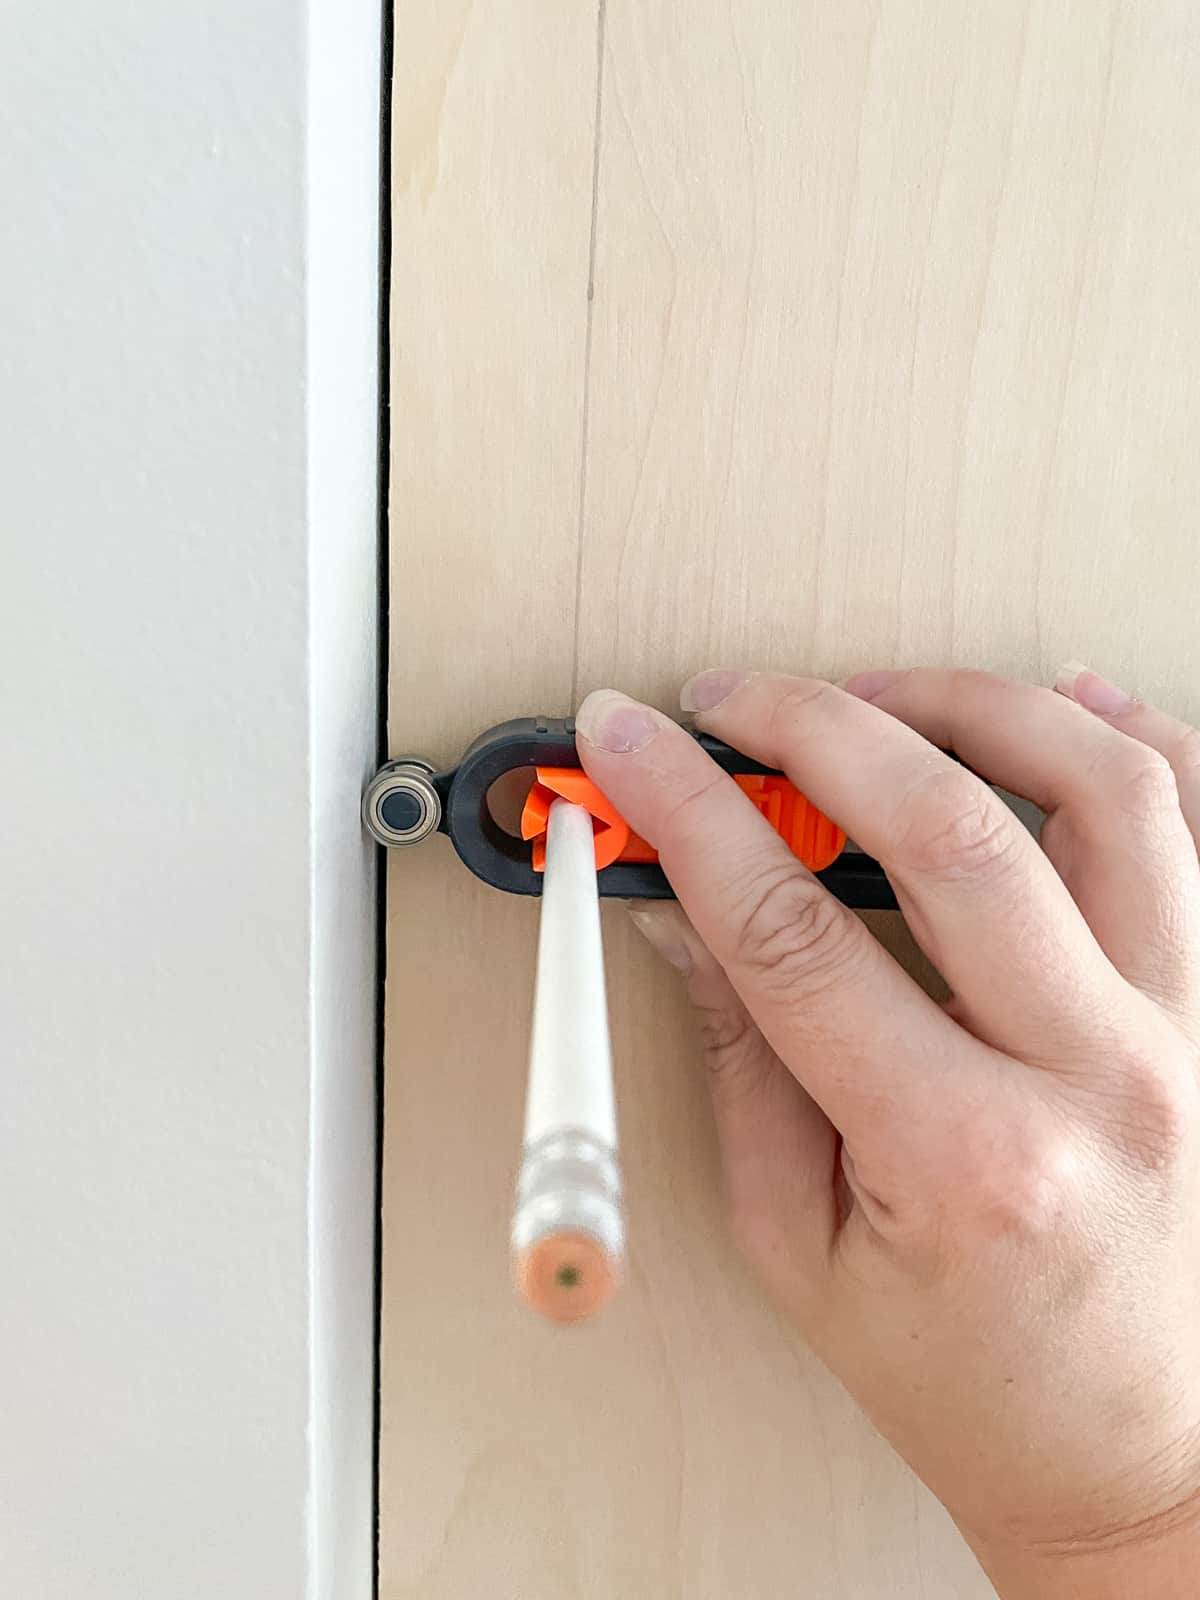
I tried out two different scribing tools for this project. I found that this simple scribing tool was easier to use, and doesn't waste as much material. This one is better suited for scribing brick, trim or other irregular shapes.
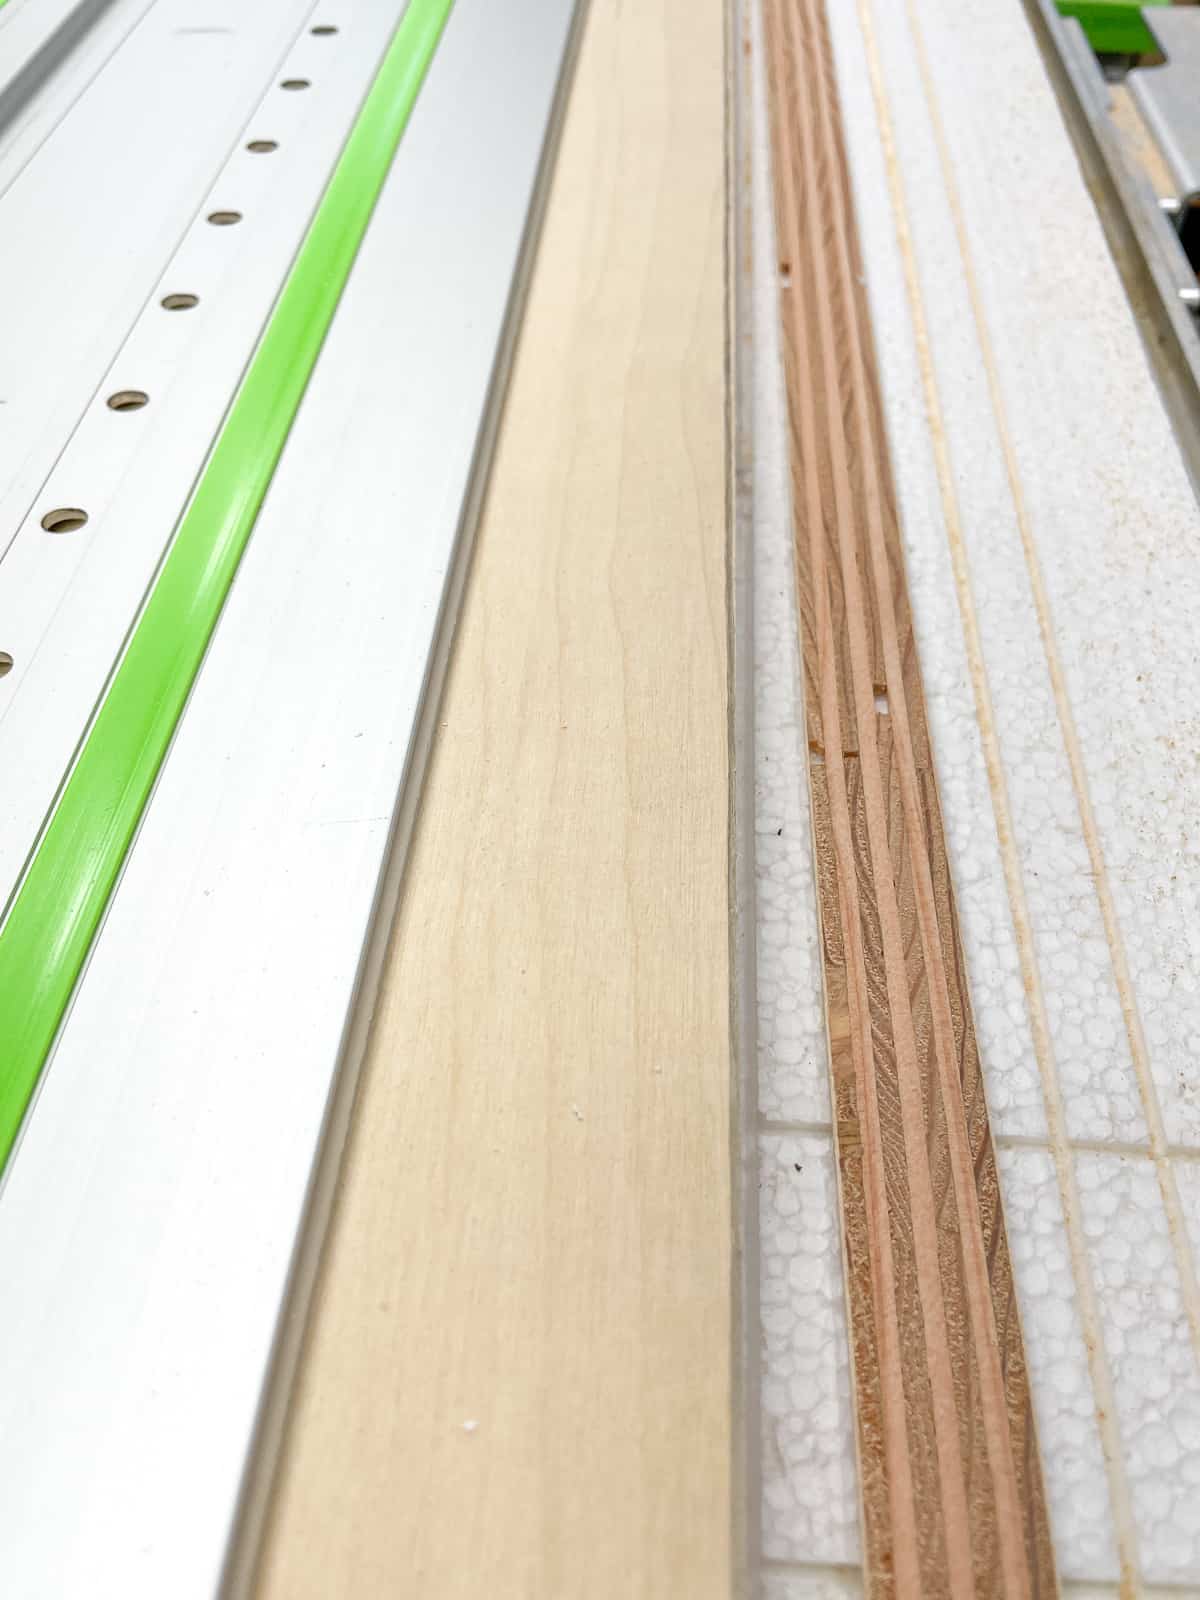
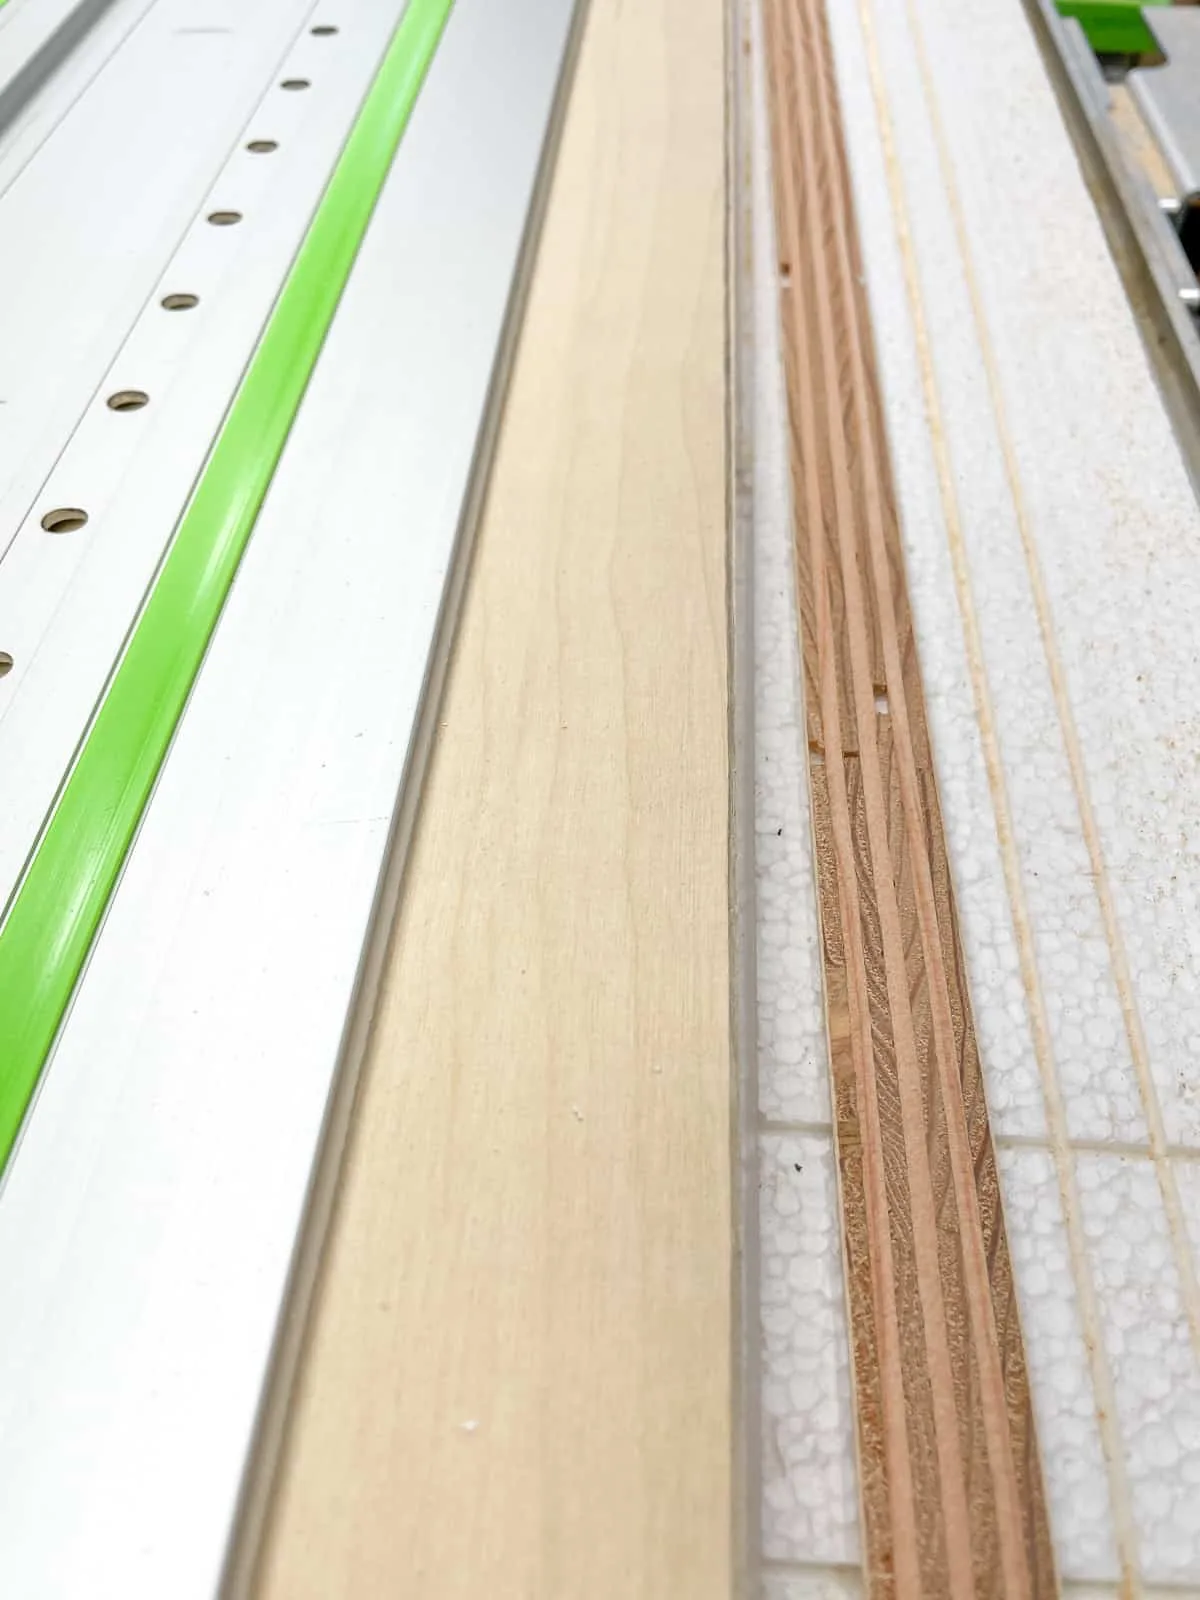
Run the scribing tool along the wall while drawing the same contours onto the front of the plywood. I tested out the Profiler+ on the left end panel...
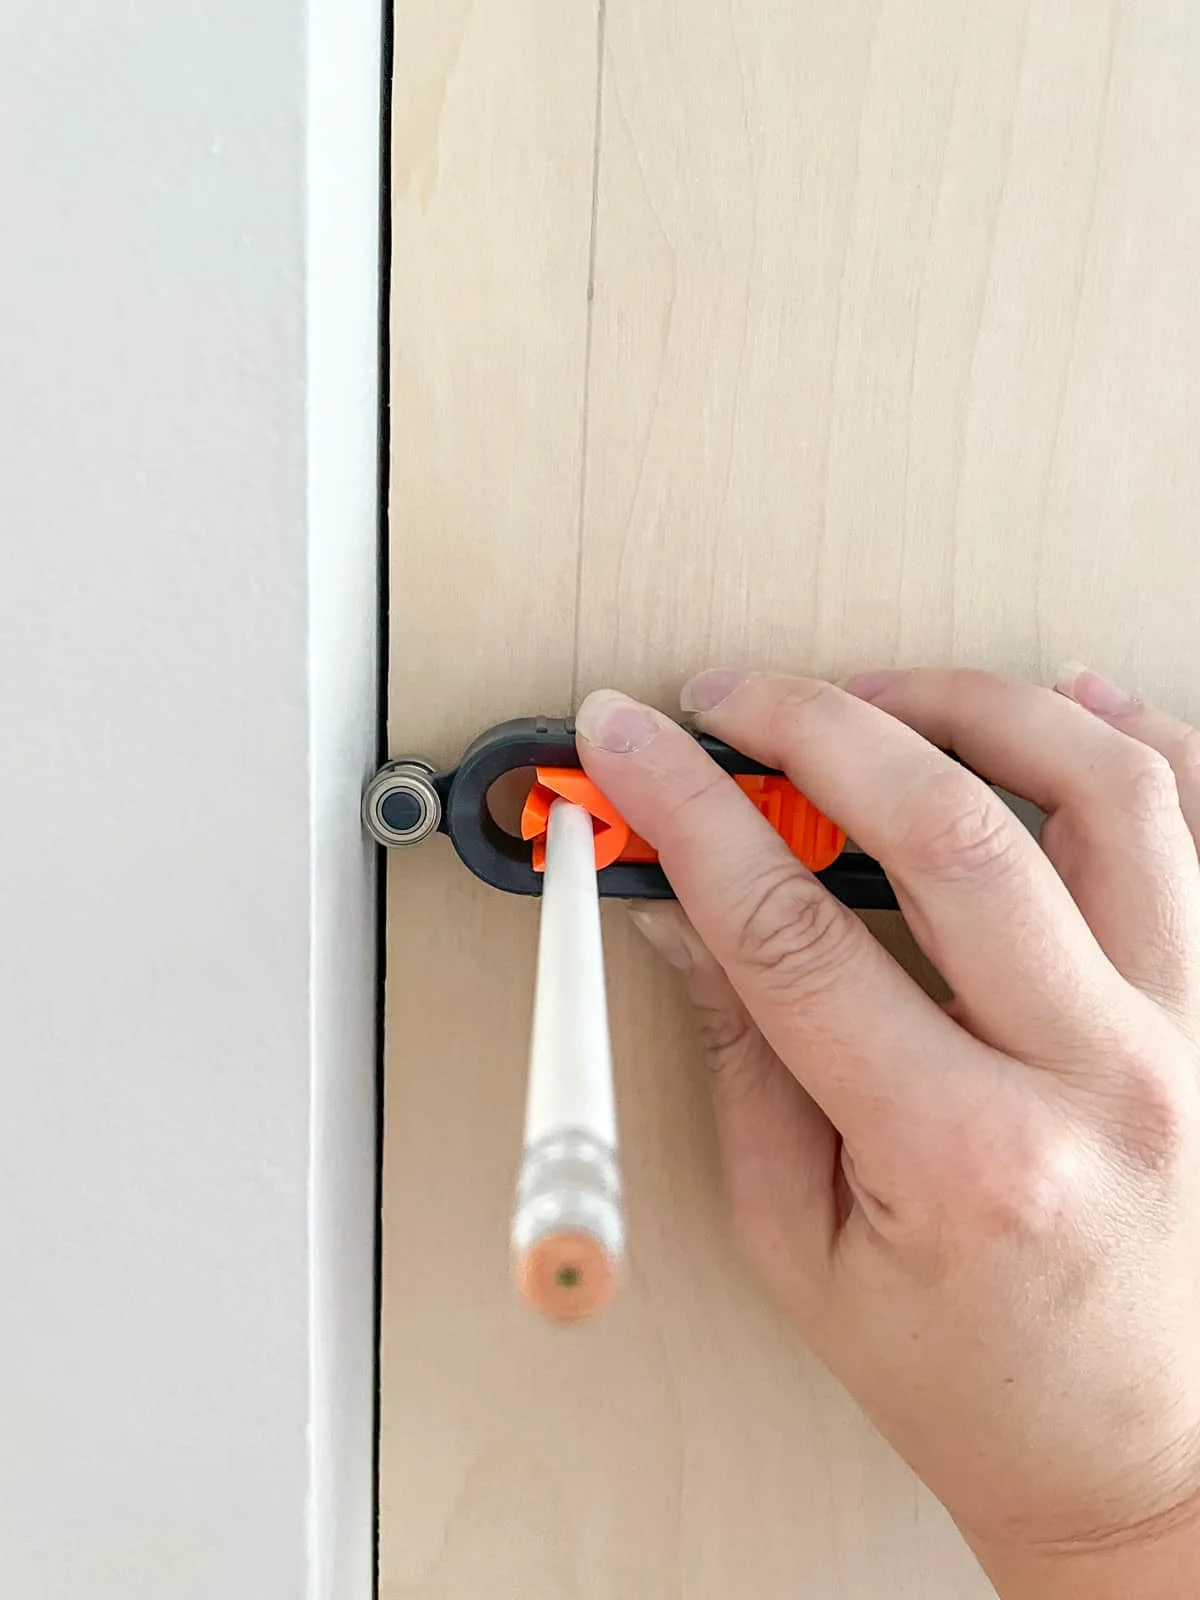
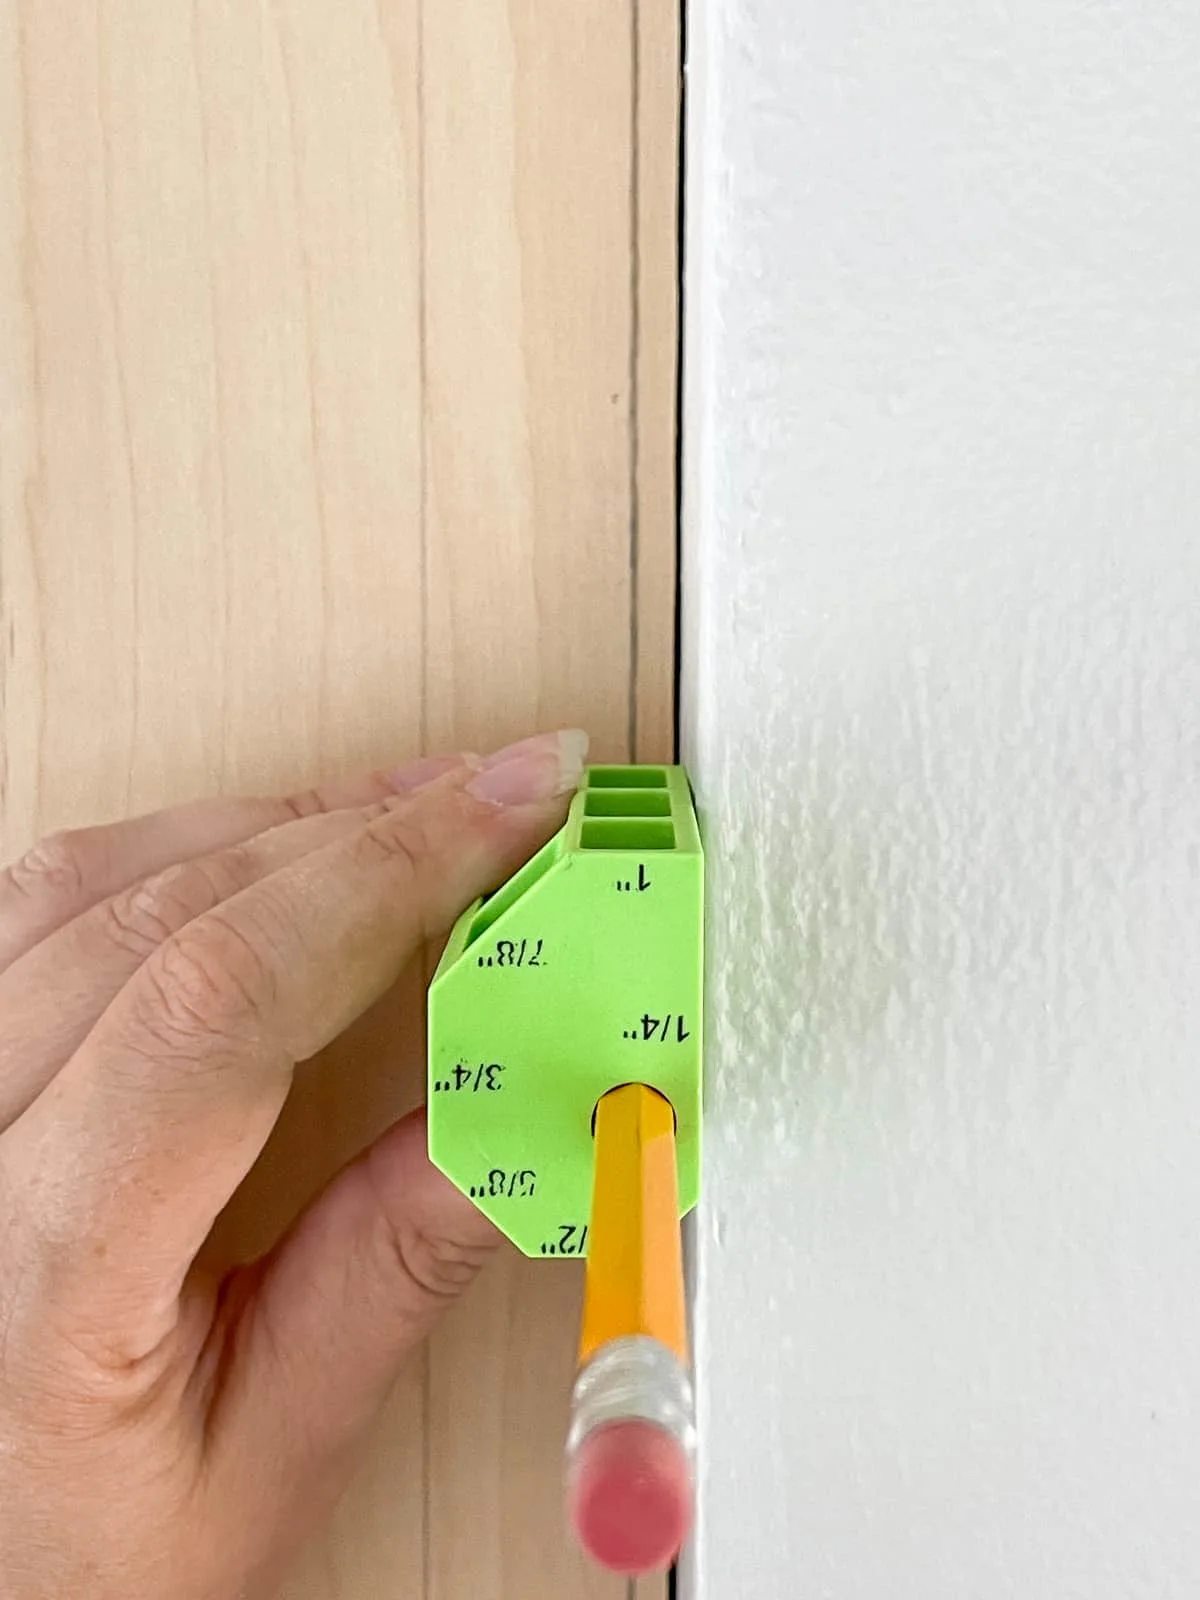
and the Simple Scribe on the right. The Simple Scribe was much easier to keep flat against the wall, and I didn't waste as much plywood cutting to the line.

For the base cabinets, I scribed to the floor as well. Don't mark the top of the cabinet box until the floor side has been cut to fit, or the top might turn out crooked.
Cut and Sand to the Scribe Line
Now that we know the contours of the wall, we need to cut the end panel to fit. I cut the top and bottom edges first, then worked on the wonky wall side.
I lined up my track saw rail with the high points, making sure it didn't cross the line anywhere, and trimmed off the excess. You can see how it cut very close to the line at the bottom, but further away at the top.
You could also use a circular saw straight cut jig for this step, or a jigsaw. Also consider setting the blade at a 5 degree angle to undercut the panel slightly. This will leave just the very edge touching the wall, which makes it easier to fit.
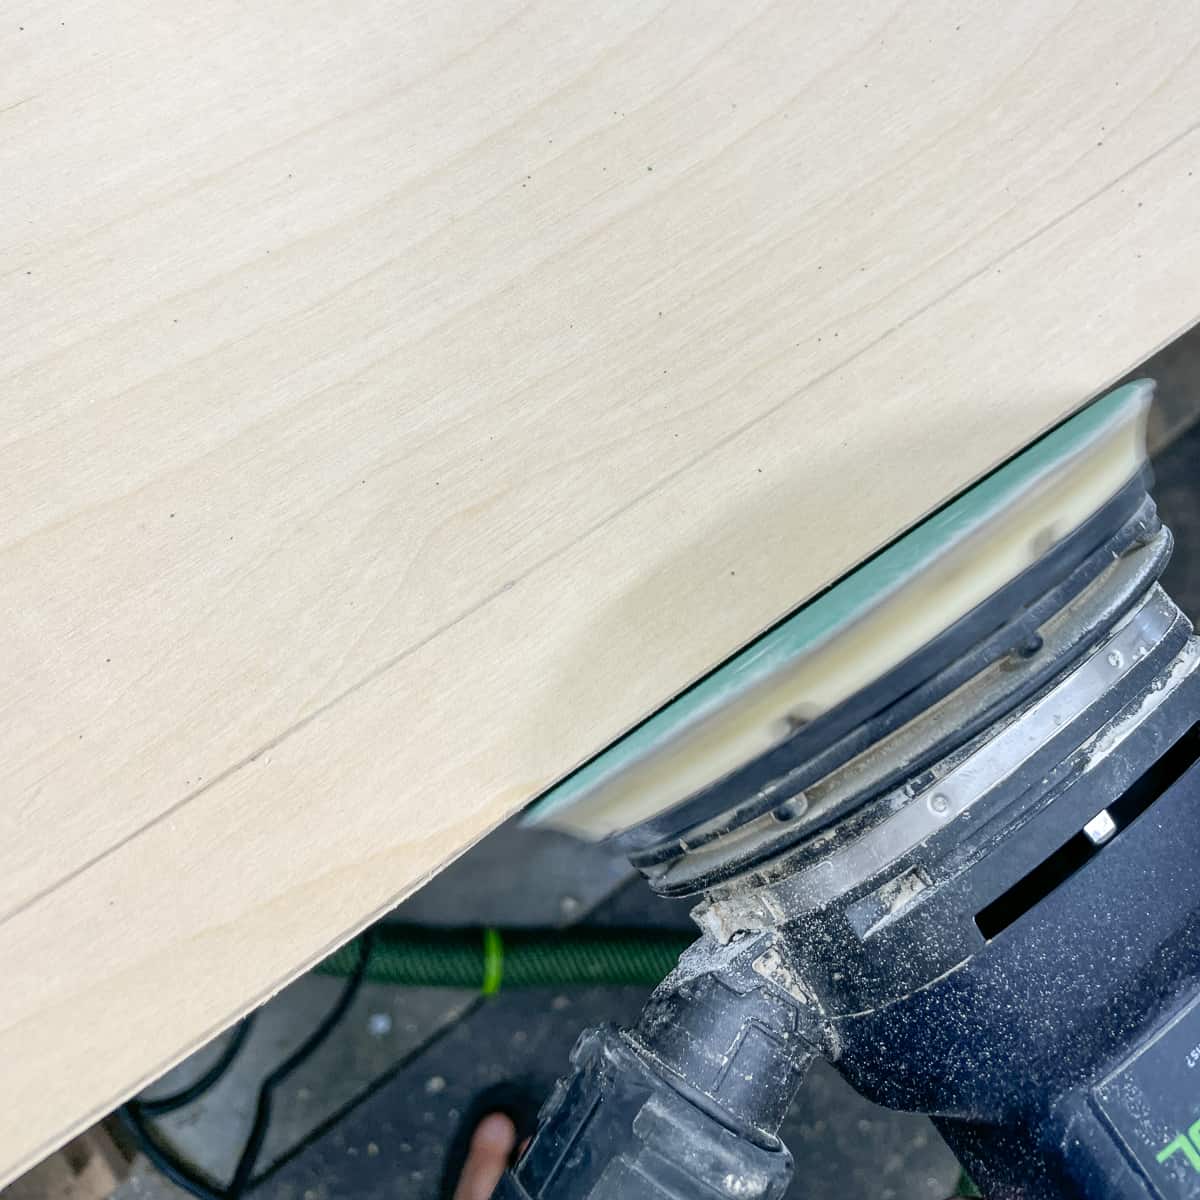
Sand right up to the line along the entire length. The contours of my walls were fairly gradual, so I was able to use a random orbit sander. If you have smaller bumps, you may need to hand sand those areas to get a tight fit.

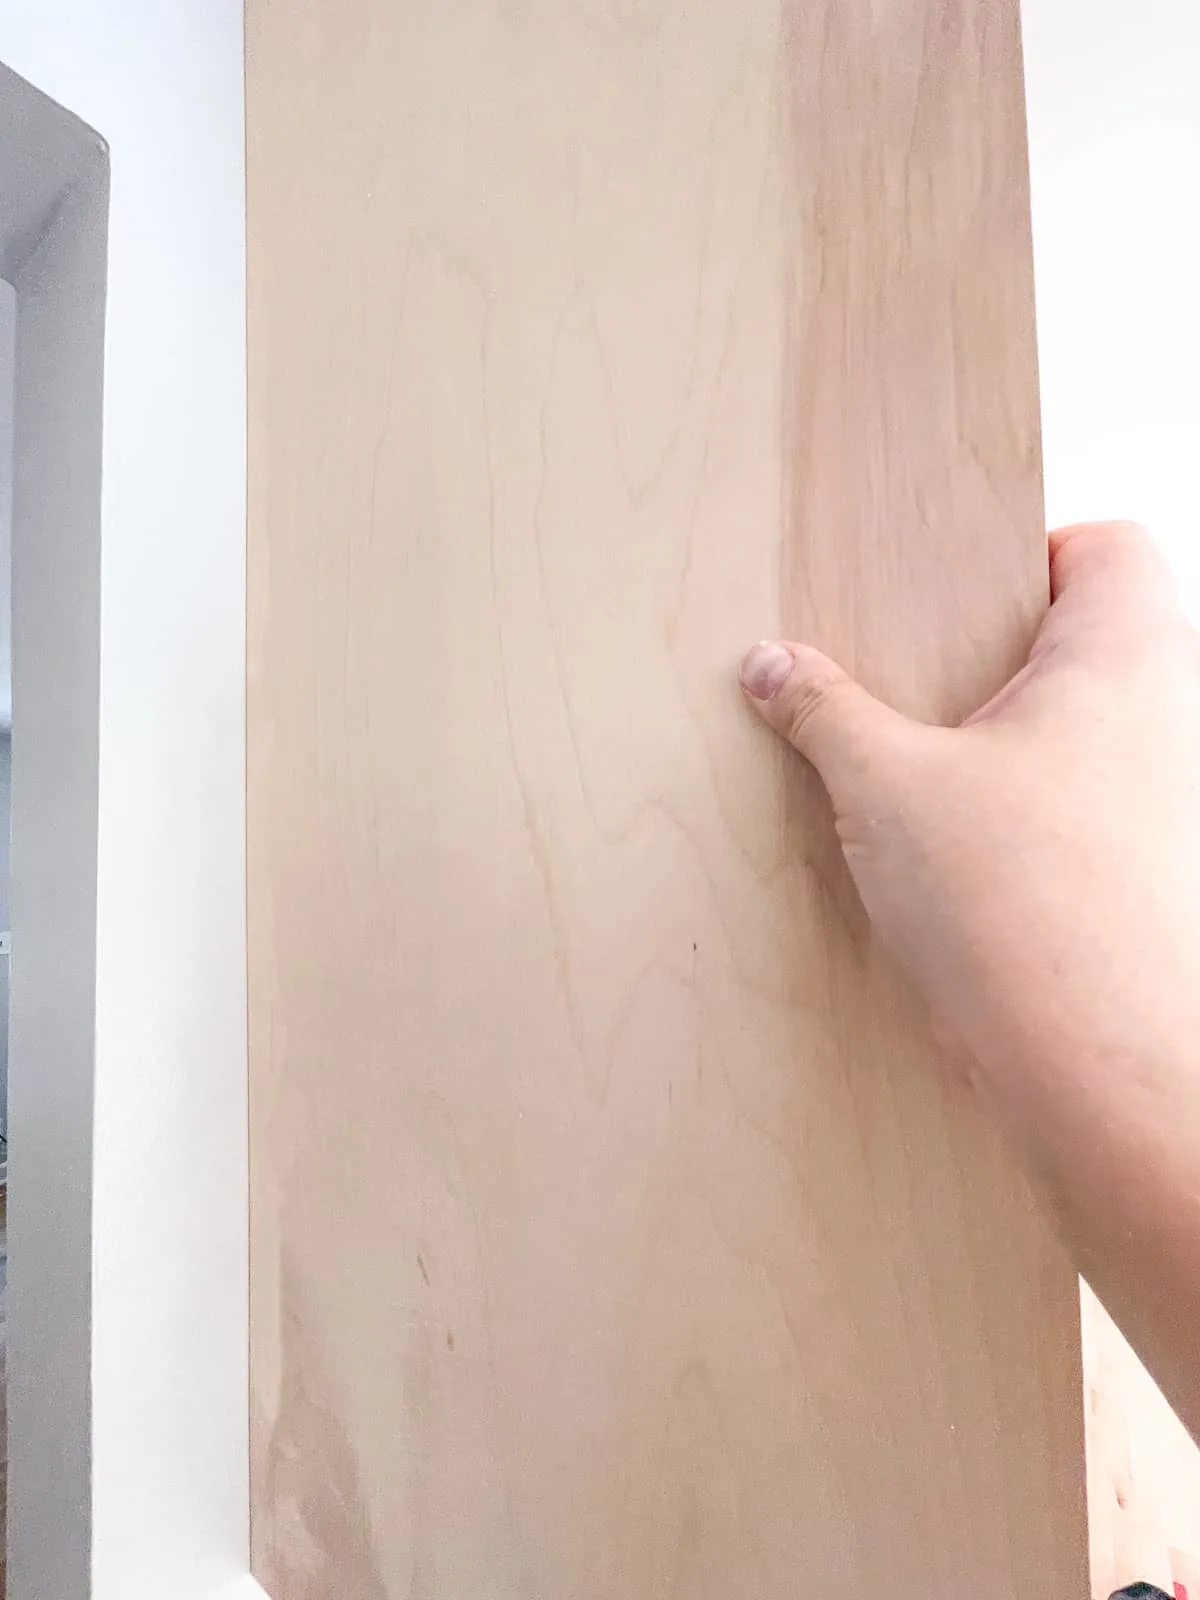
It took a few tries, but eventually I had a perfect fit! Just keep checking your progress against the cabinet, making sure the bottom of the end panel is flush with the bottom of the cabinet box.

Once you have it perfect, scribe the front edge where the end panel meets the cabinet door, and cut it to fit. If you're planning to apply edge banding, take the thickness of the banding into account when cutting this line!
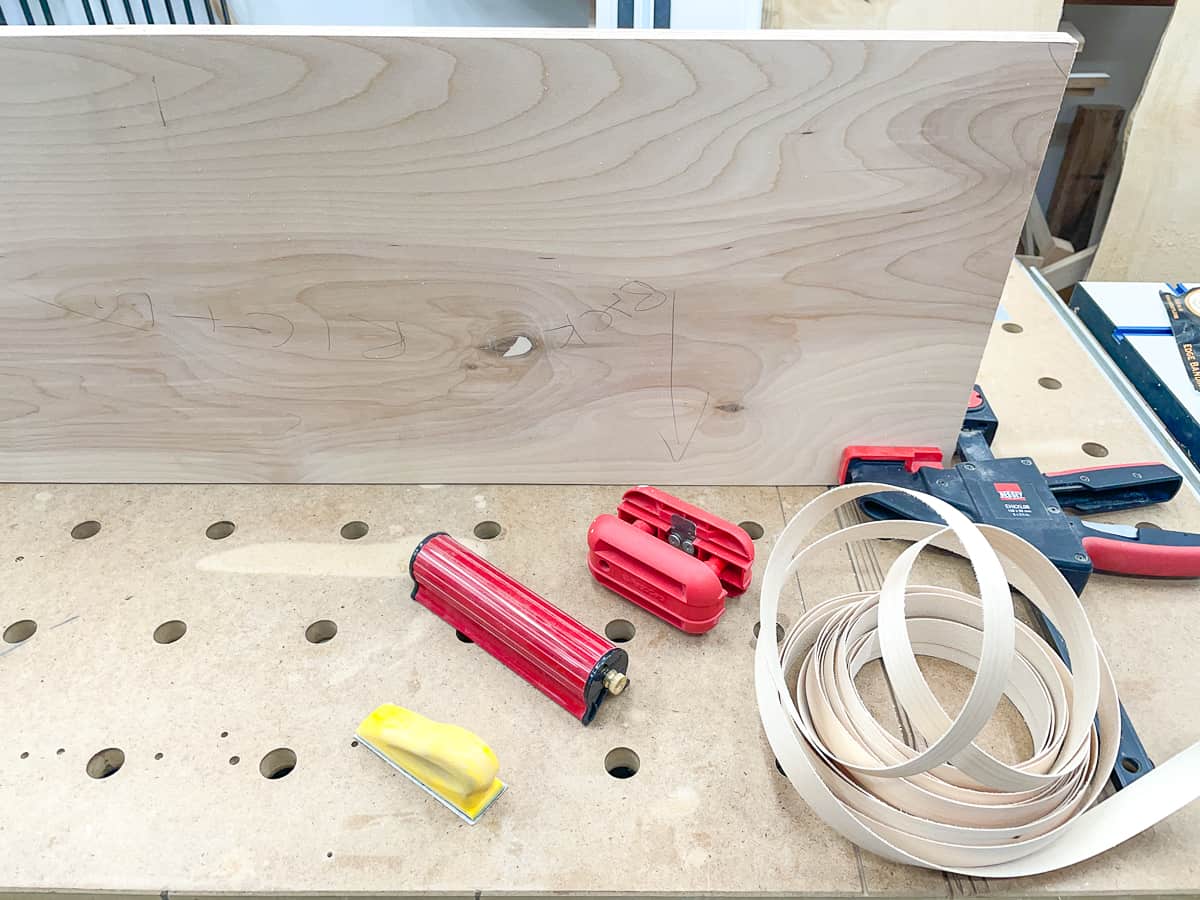
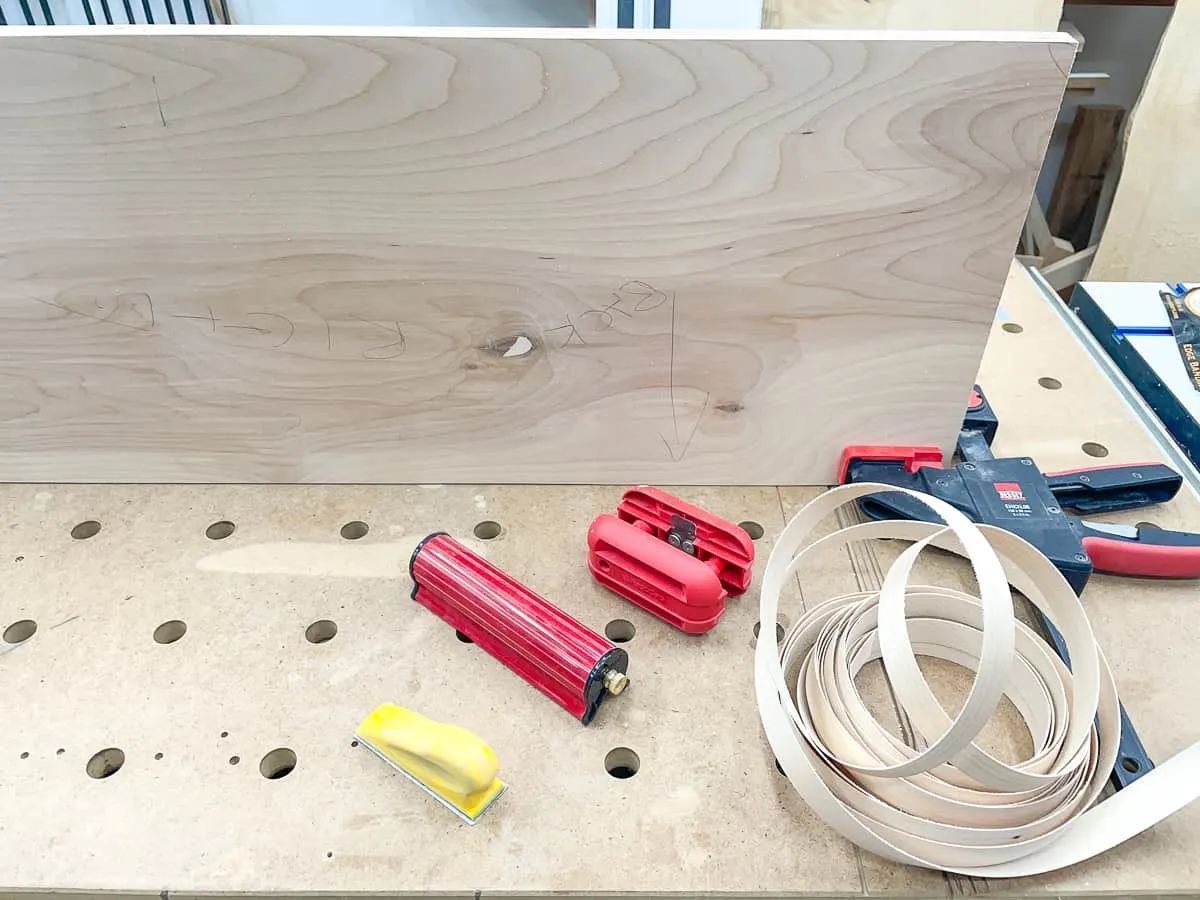
Apply Edge Banding
If you're working with multiple end panels at once, make sure to label them! I wrote LEFT or RIGHT on the back of each one, as well as arrows to indicate which side goes against the wall and up to the ceiling. This made it much easier to know which sides needed edge banding (in this case, the front and bottom).
I have a full tutorial on how to apply plywood edge banding, so I won't get into specifics here. Basically, you just iron it on, then trim off the excess.
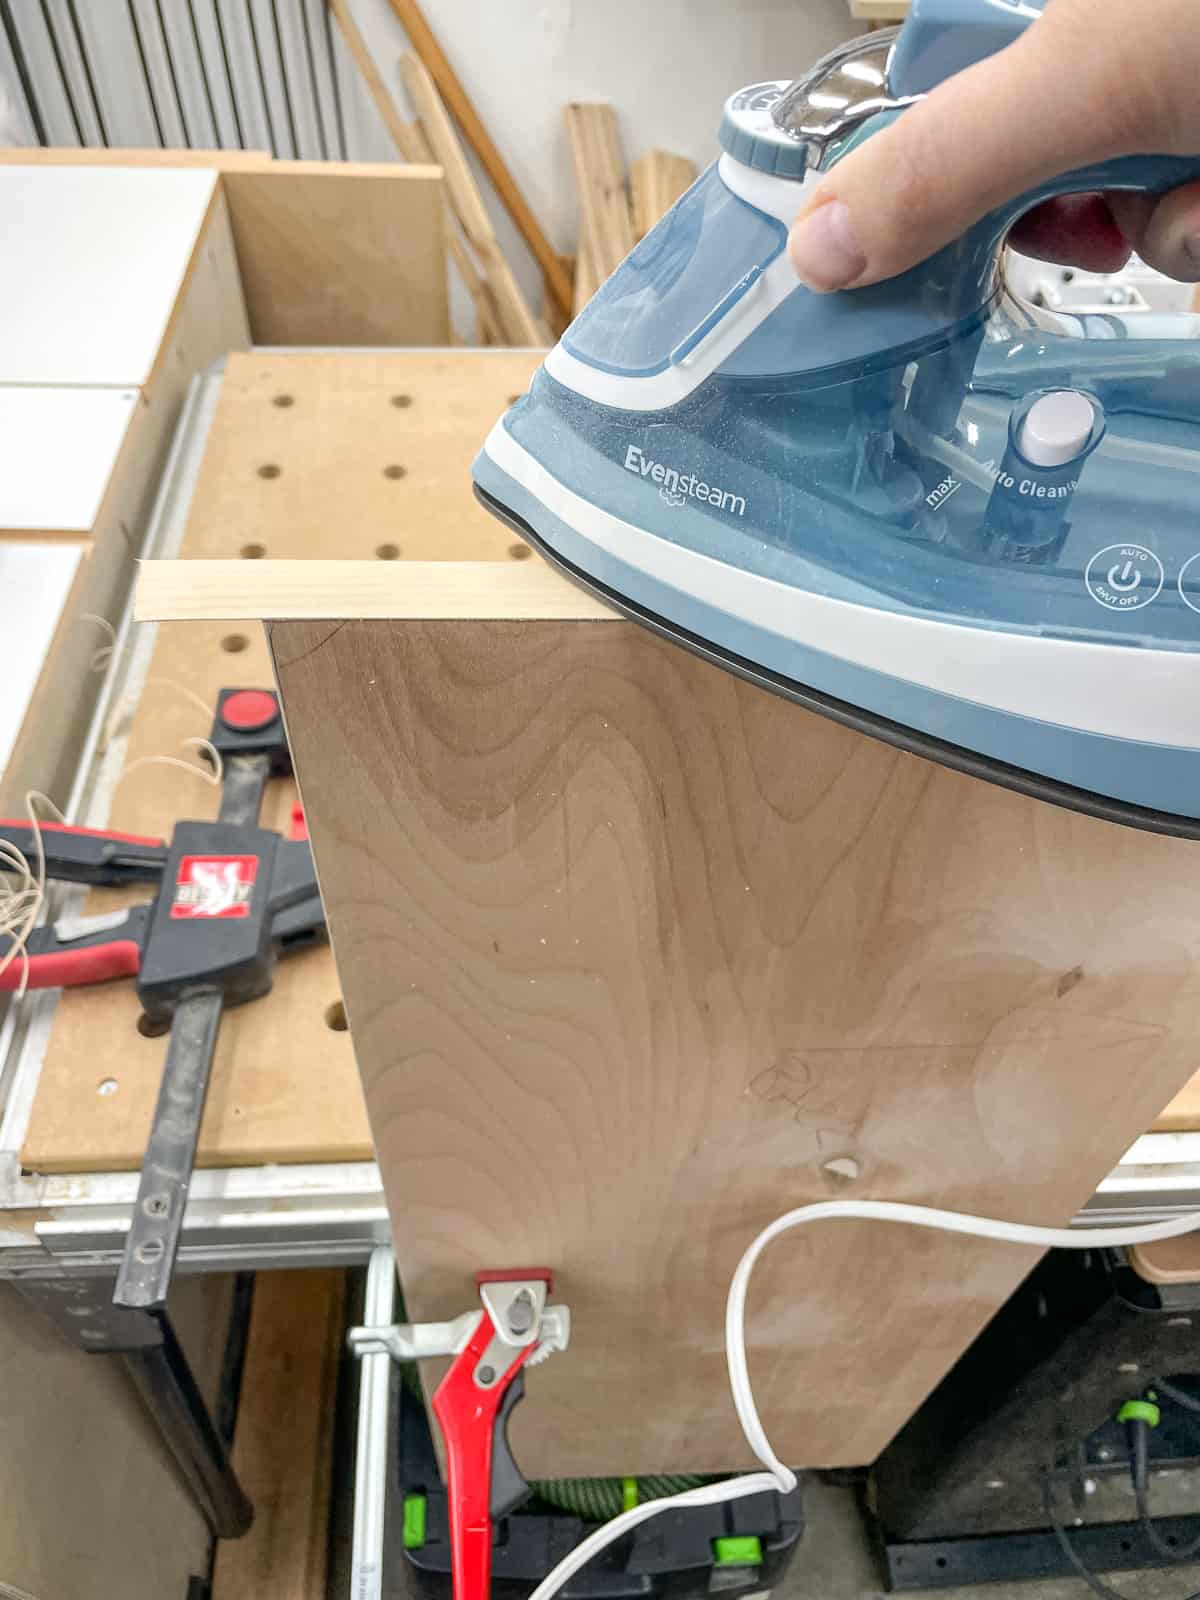

I only applied edge banding to the front edge of the base cabinet end panels, since the top will be covered up by the butcher block countertop.
At this point, you can add any decorative trim you like to dress it up. You could do something as simple as ¼" MDF strips around the outside edge to match your Shaker cabinet doors, or add more decorative profiles. I prefer a cleaner look, so I left it flat.
Paint or Stain the End Panels
One benefit to making your own cabinets, doors and end panels is that you can ensure that the colors match exactly! I used Cabinet Coat paint in Decorator's White for my entire kitchen and it went on beautifully without using a sprayer!
Remember that the back of the end panel will be visible when the cabinet door is open, so start by painting a few inches of the back first. I applied the paint with a brush first, then smoothed it out with a foam roller.
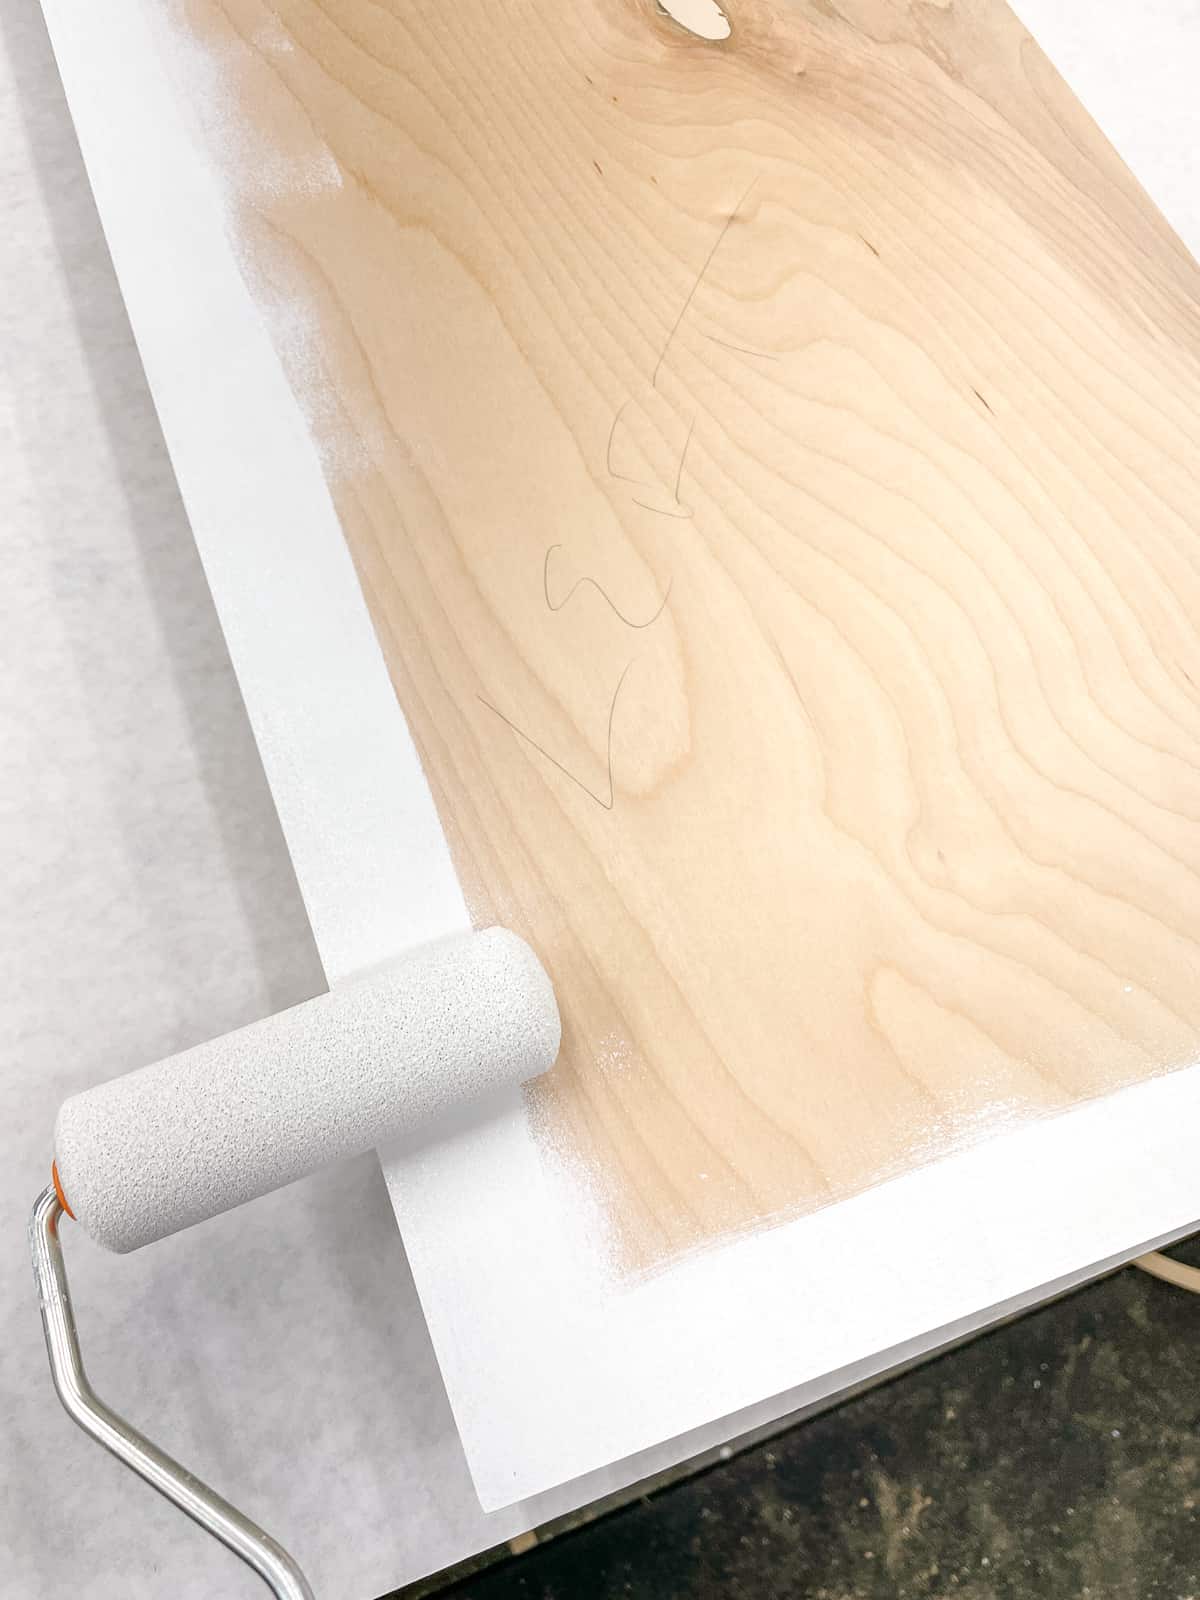

Elevate the end panel with bench cookies or painter's pyramids so both sides can dry at the same time. I carefully flipped the panel over and placed it on top, making sure not to touch the wet paint. Then I painted the edges and front, and let it dry overnight.
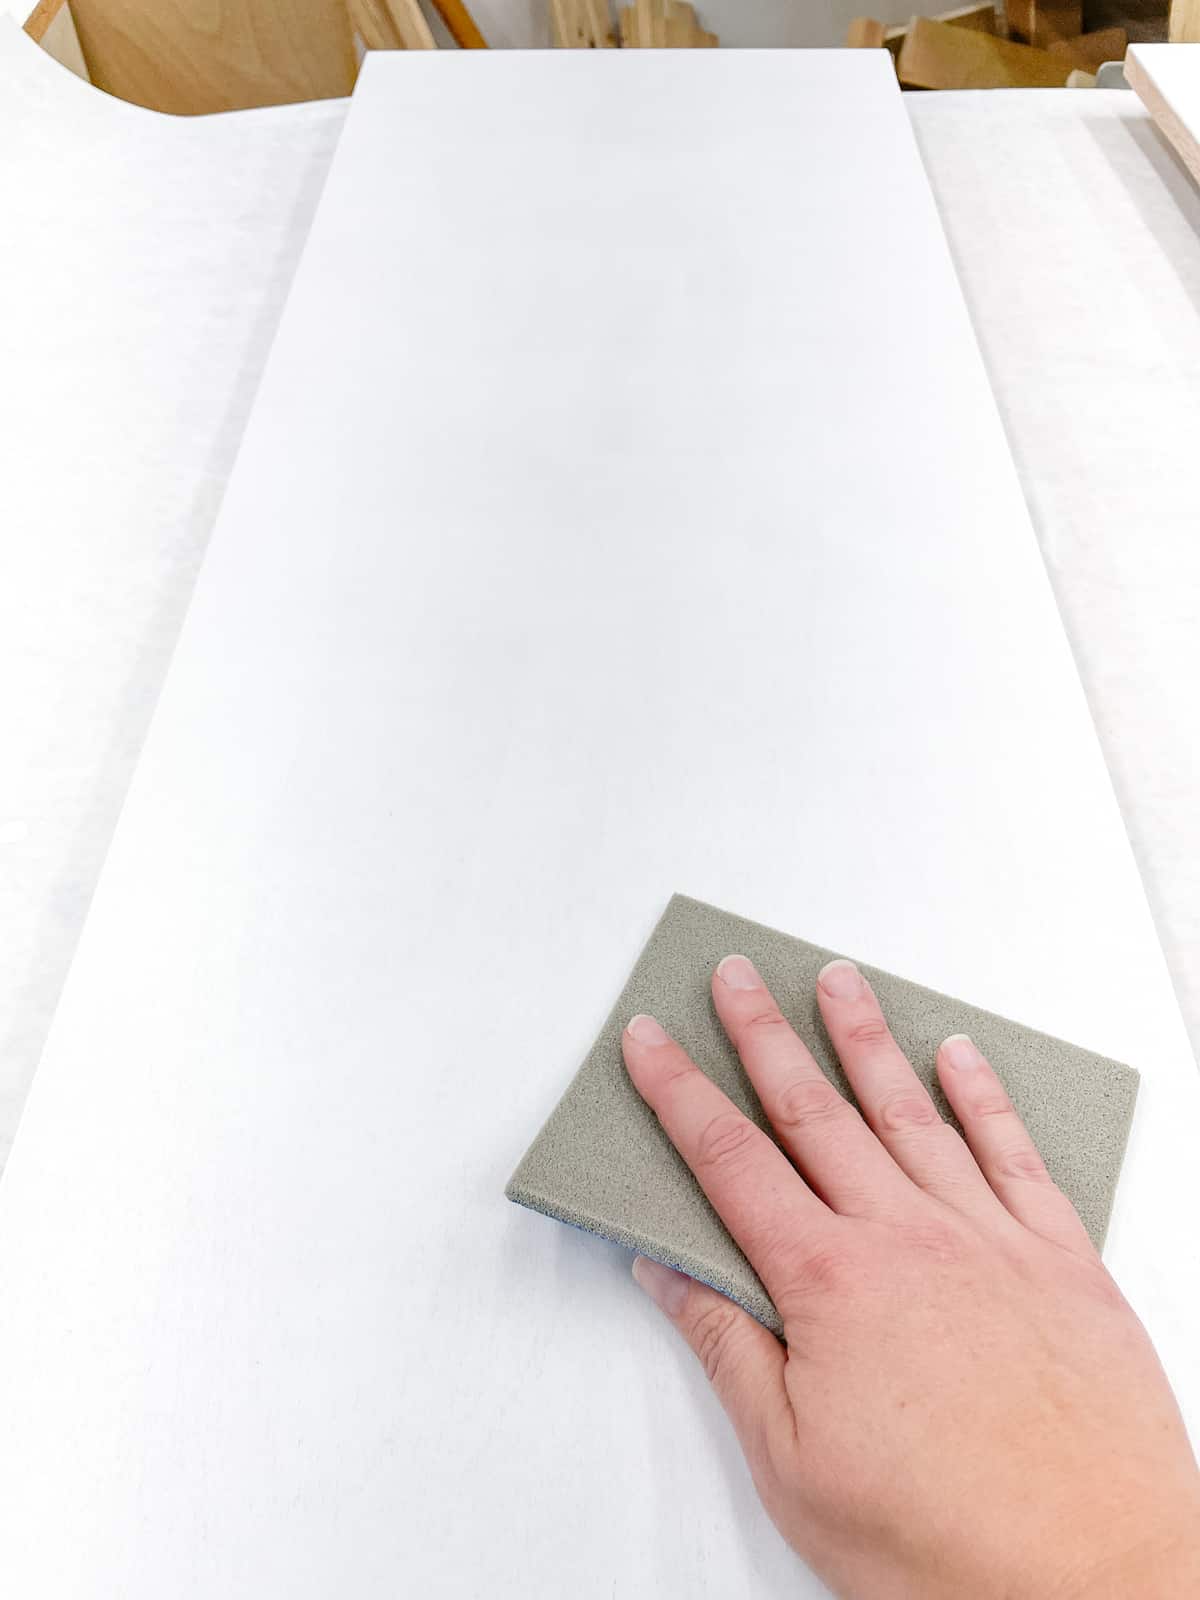
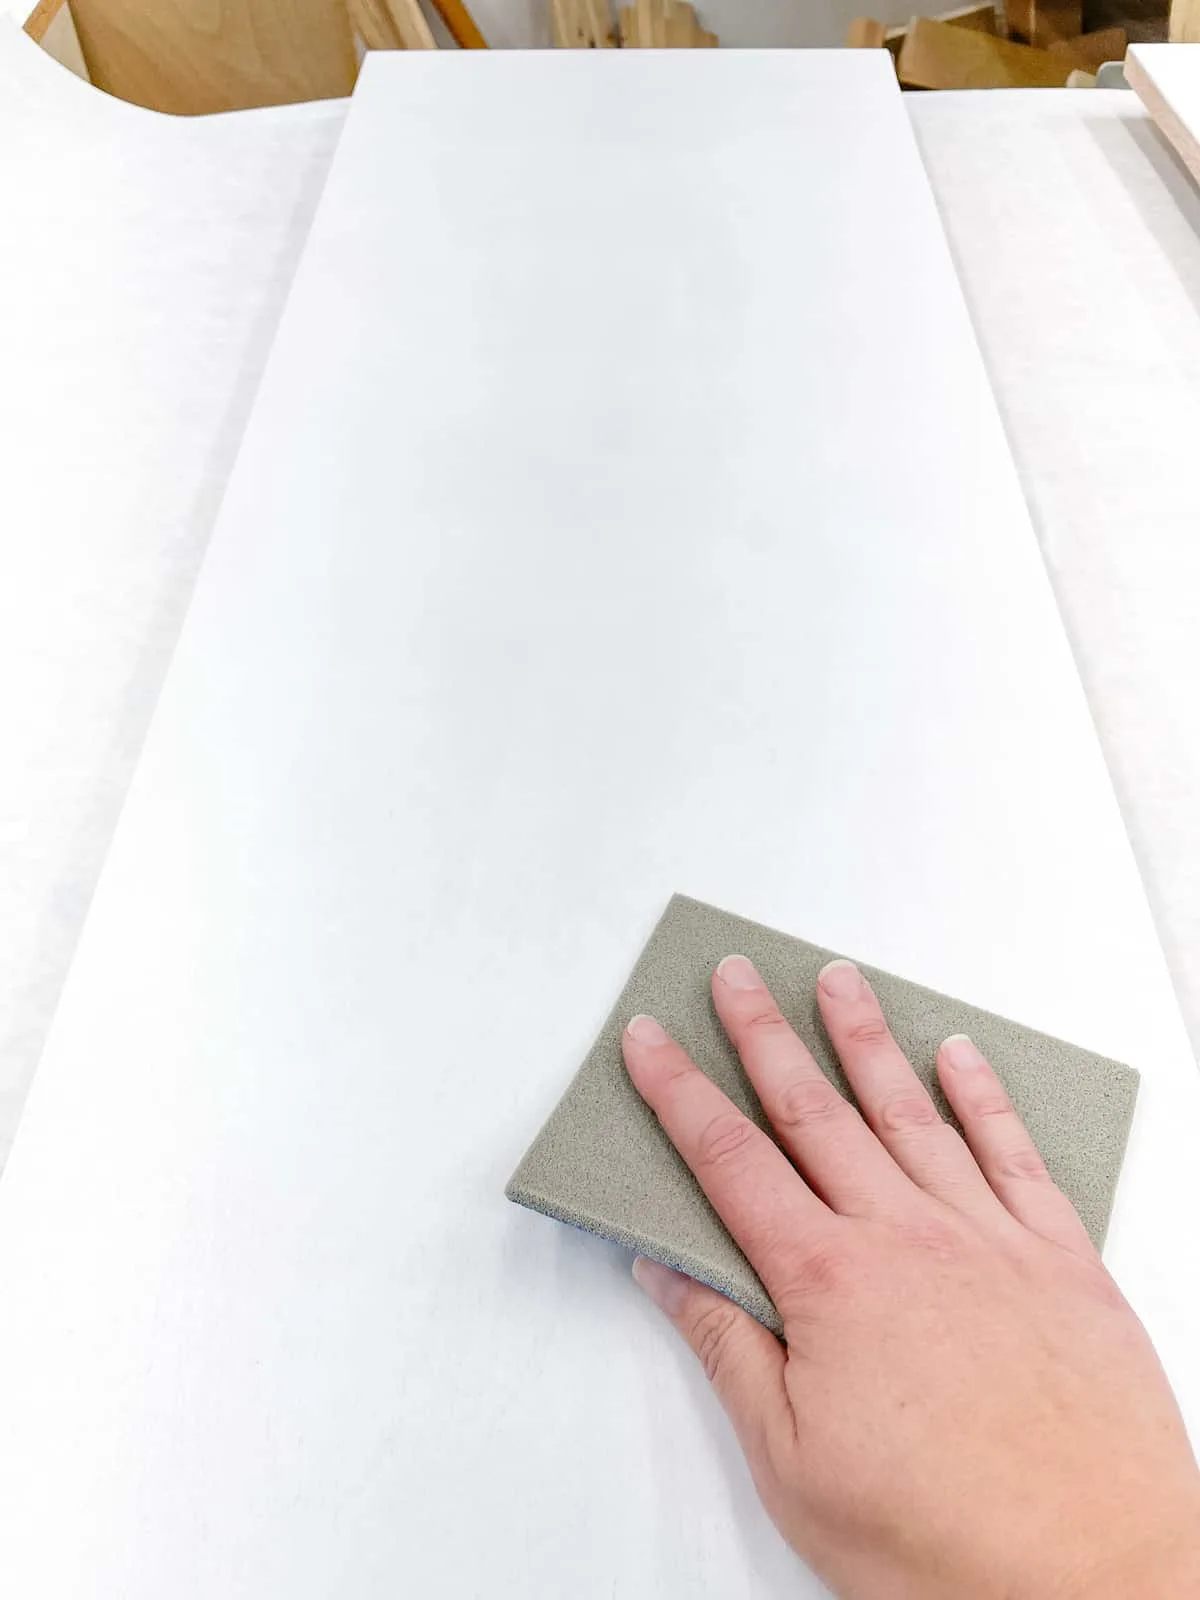
The first coat always raises the grain and leaves it feeling rough, so I knocked back the fuzzies with a 320 grit sanding pad before applying two more coats.
Attach the End Panel to the Cabinet Box
After allowing the paint to cure for a few days, it was time to attach the end panels to the cabinet boxes! Remove the cabinet doors first so you have plenty of room to work.
Some people like to glue their end panels on, but I prefer to screw mine on instead. It makes it easier to replace if they get scratched or damaged (especially those lower panels). Plus, my cabinet boxes are made from pre-finished plywood and glue won't stick to them!
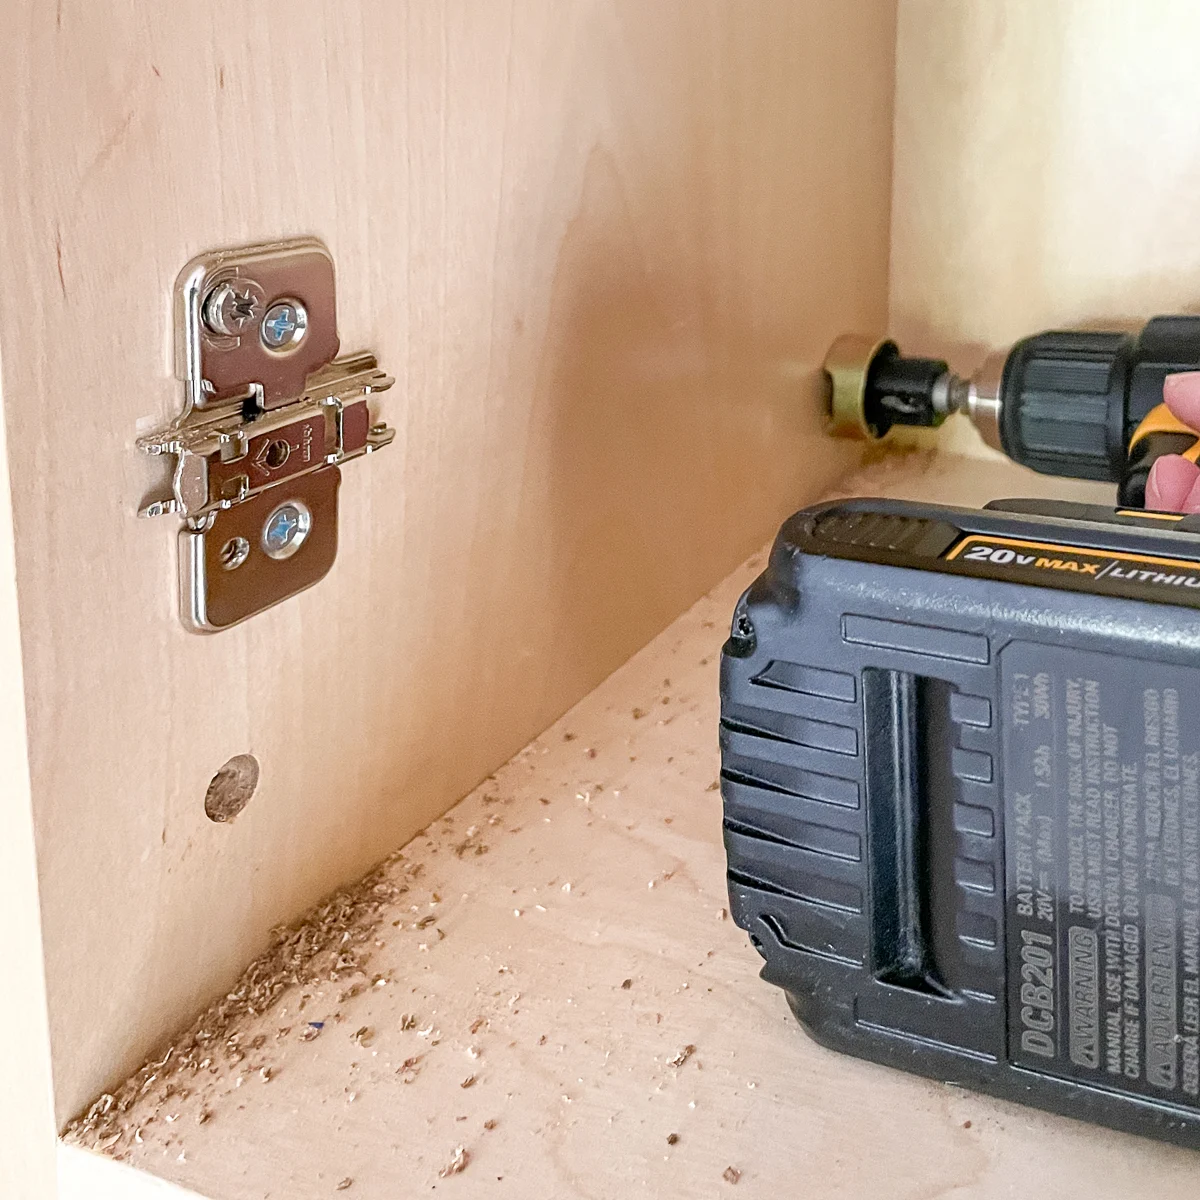
Drill countersink holes at the top and bottom of the inside of the cabinet box. This bit makes really nice, clean holes in plywood with a depth stop so you don't bust through to the other side and cause a bunch of tear out.

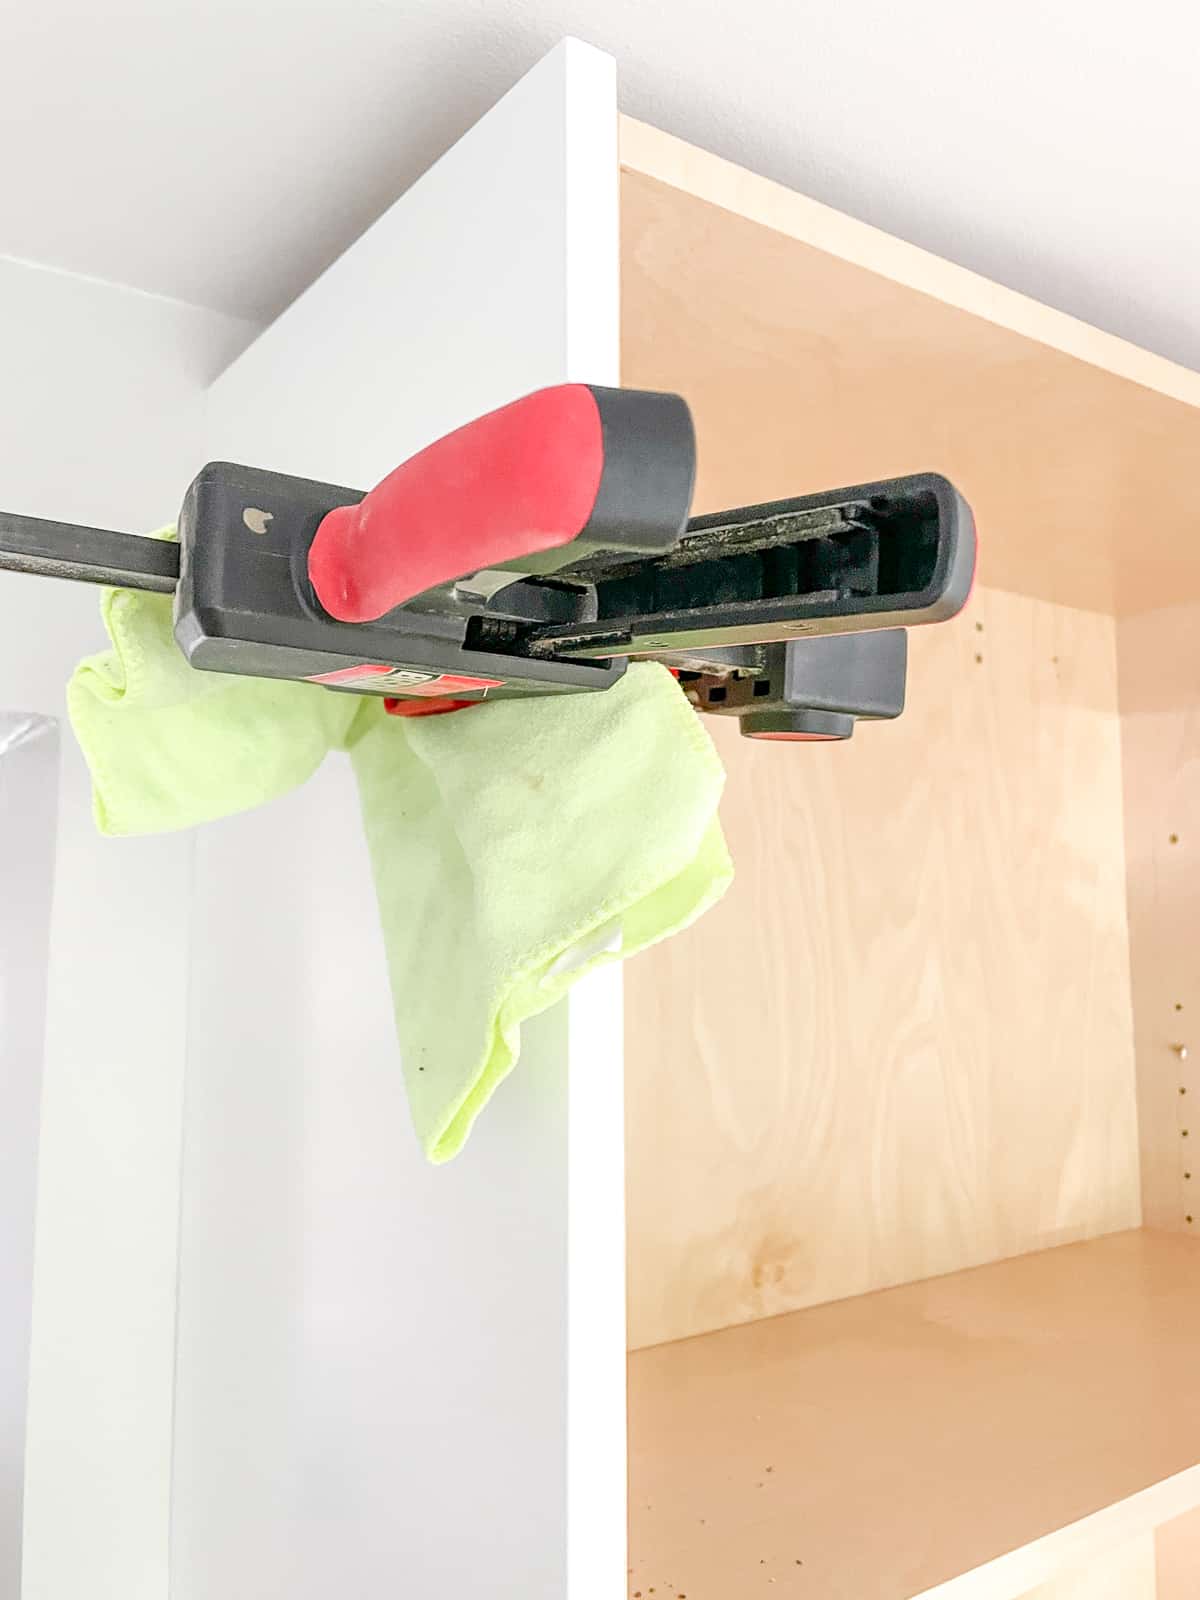
Paint can take weeks to fully cure, so to prevent the clamps from imprinting into the soft paint, I placed a rag in between. Make sure the bottom is aligned before clamping it into place.

Choose screws that are long enough to bite into the end panel without going all the way through. I used 1 ¼" trim head wood screws and a low setting on my drill to make sure I didn't ruin my new DIY cabinet end panels by poking through the other side!

You can see a tiny gap still remains, which I think was caused by a bit of paint dripping onto the back edge. I plan to caulk that seam when the rest of the kitchen trim is installed, so it will just disappear!
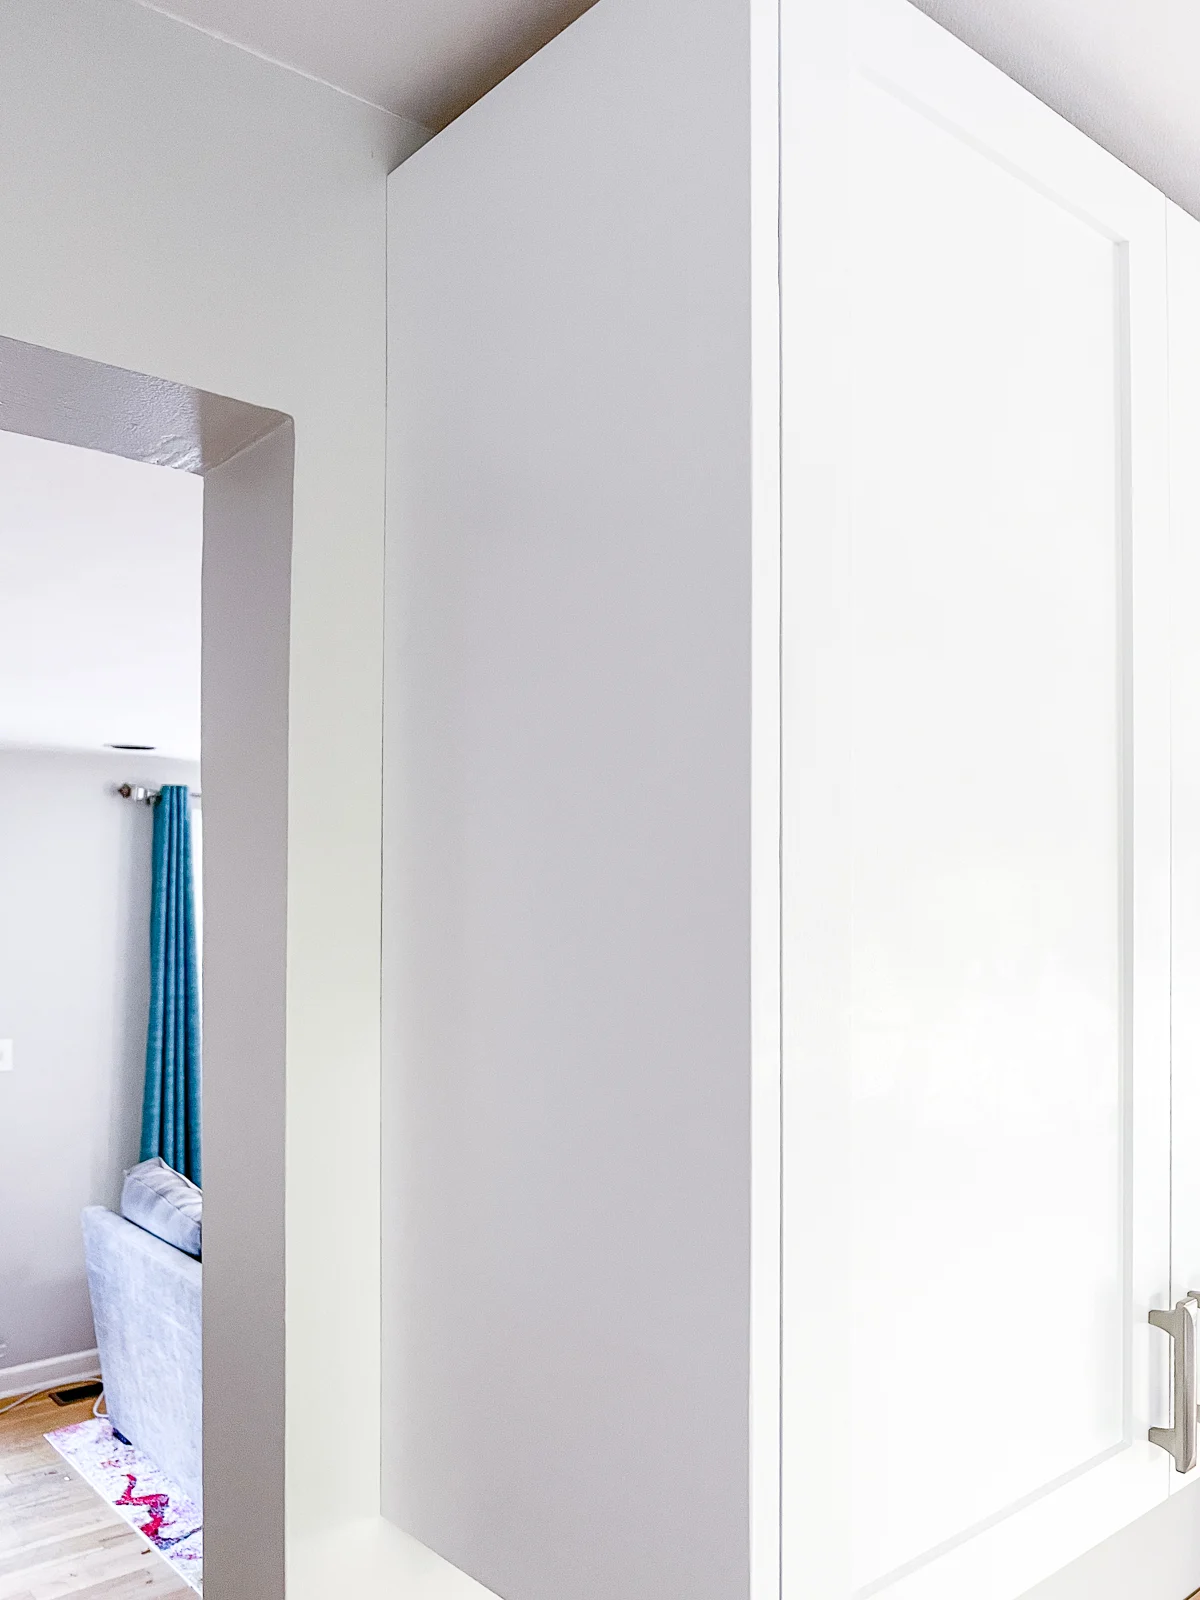
These DIY cabinet end panels nicely finish off this long bank of cabinets! The kitchen remodel is almost complete, and I can't wait to share the transformation with you soon!
Check out these other kitchen remodel projects!
Jennifer
Wednesday 1st of February 2023
I really appreciate this thorough tutorial with all of the little tips along the way! Thank you so much! Now I feel more confident about starting to finish my cabinets.