Give your standalone bathtub a new look! I'll show you how to tile a bathtub surround, so you can create that relaxing, spa-like retreat you deserve!
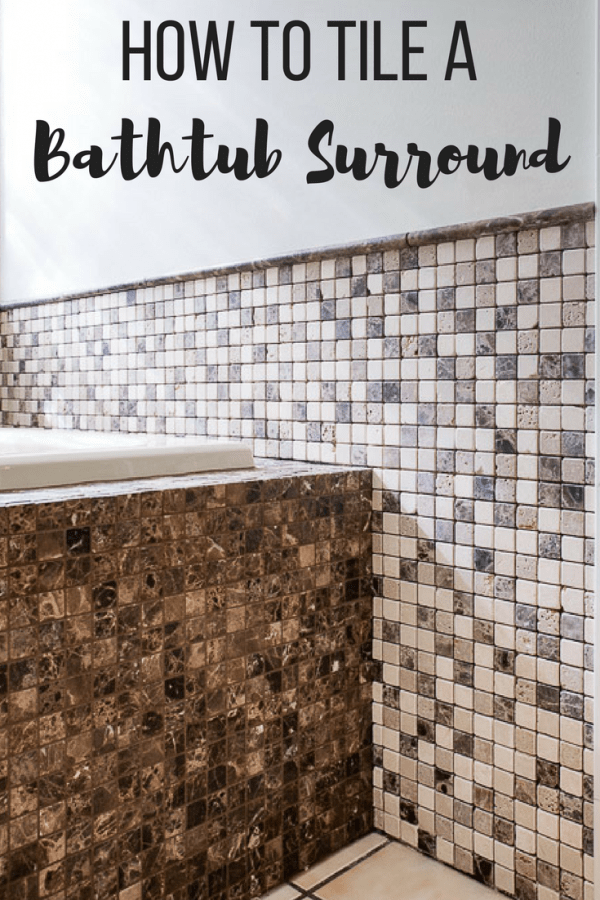
It's almost the end of my bathroom remodel, and I'm finally finished tiling around our jetted tub. The bathtub surround has two different types of tile, which I hope will bring the entire room together and create a relaxing, spa-like feel.
This post is sponsored by Jeffrey Court, and contains affiliate links for your convenience. Purchases made through these links may earn me a small commission at no additional cost to you.
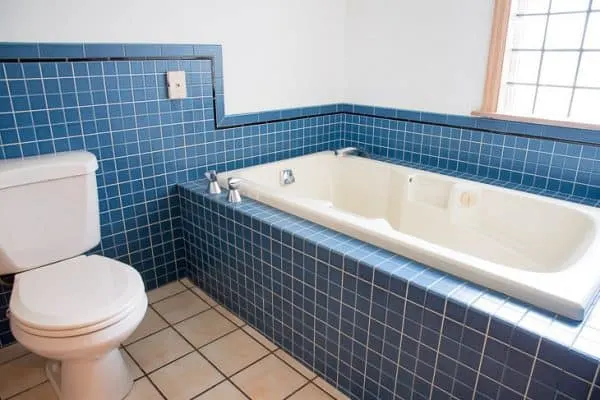
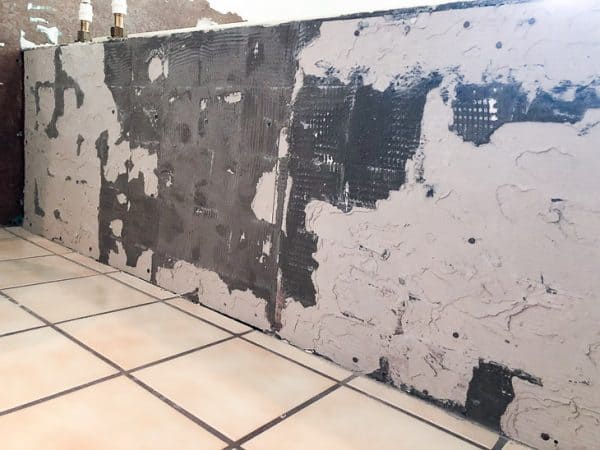
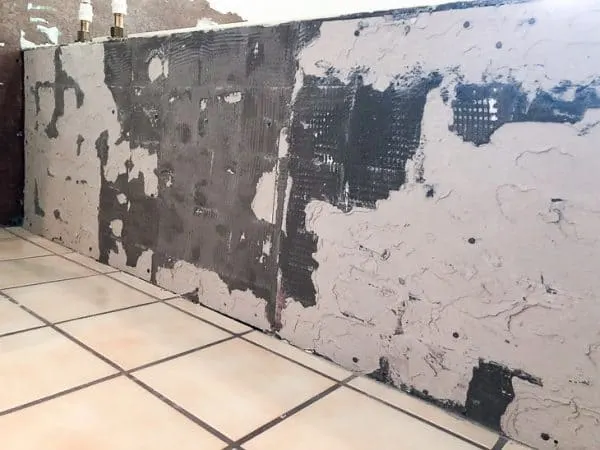
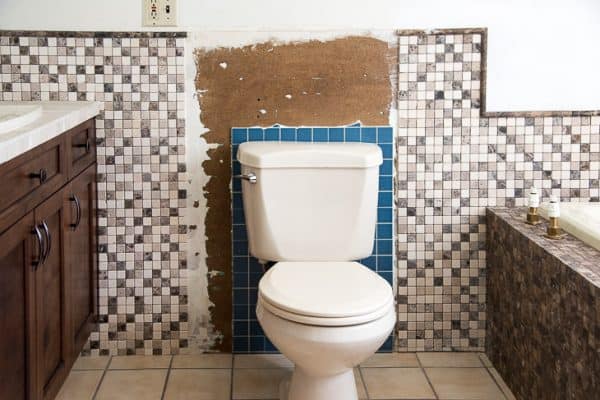
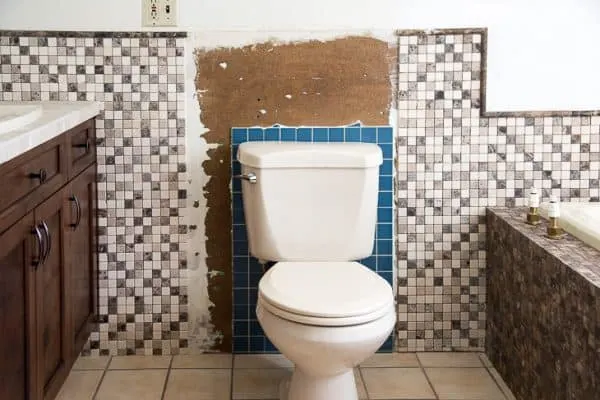
In case you missed the hideous before pictures, here's what the tub side of the bathroom looked like before.

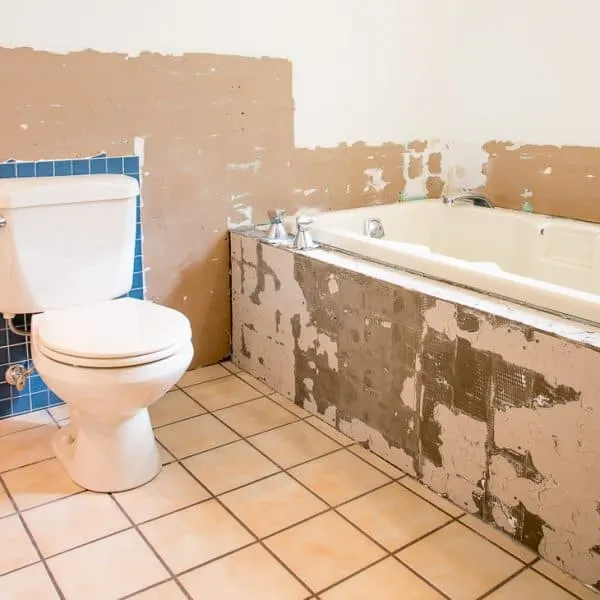
It was a bit of a mess after removing the wall tiles.

Now it's time to make it pretty!
Materials Needed
- Tile
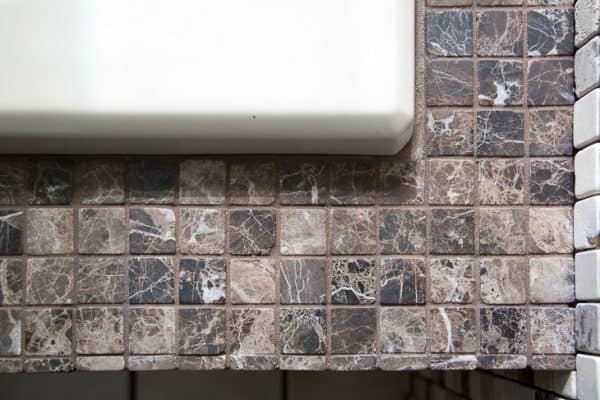
- I used Jeffrey Court Emperador Mosaic tile for the tub deck and front, and Emperador Mix Mosaic for the walls. The dark tiles are the same in both styles.
- The wall tile is capped with Jeffrey Court Emperador Dome trim tile. I wanted to create a nice transition between the tile and the wall, and this trim tile ties everything together beautifully!
- Thinset mortar or tile adhesive
- I used Omnigrip Tile Adhesive, which comes premixed and does a great job holding those small mosaic tiles in place without sagging.
- Notched trowel
- For small tiles like this mosaic, use a trowel with very small notches. This will keep the tiles from looking lumpy and uneven. I used a trowel with 3/16" V notches, and it worked great!
- Tile saw
- Tile spacers
- These ones are sooooo much better than those tiny little crosses that get stuck or fall out constantly. And they're reusable!
- Grout
- I used Tobacco Brown grout for the darker tiles on the tub deck. I'll put Alabaster grout on the walls later.
- Grout float
- Grout sponge
- Microfiber cloth
How to Tile Around a Jetted Tub
Tiling around a Jacuzzi tub is a little different from a regular tub. The sides are typically covered up with cement hardboard to hide the pipes that connect to the jets. The tub deck surrounds the top edge.
Even Out Surfaces
After chiseling, scraping and chiseling some more, I managed to get the majority of the old mortar off the tub deck top. But the front of the bathtub surround was a different story.
Large patches refused to come off, even when taking aggressive measures like the rigid scraper blade on my multi-tool.
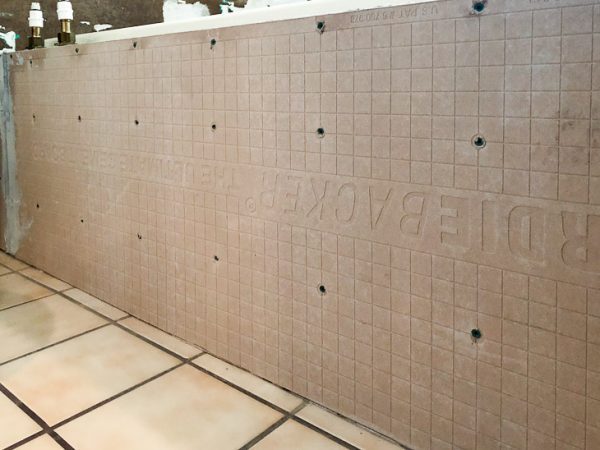
Any lumpy surfaces will make the mosaic tile uneven, so I decided to just start fresh. I picked up a sheet of ¼" cement backer board and cut it to fit the front of the tub. Then I attached it with thinset mortar and 1 ¼" backer board screws.
Much better!

Dry Fit the Tile Layout
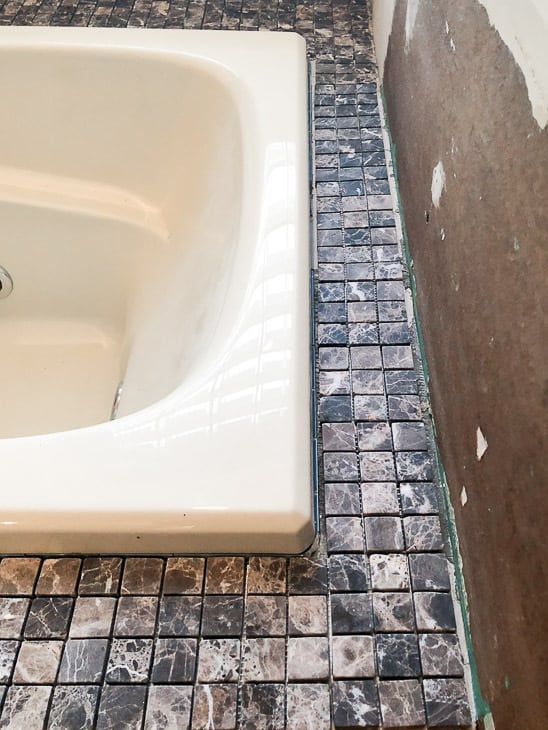
Plan out your tile layout before you start. I wanted to avoid cutting any tiles on the top of the tub deck for a cleaner look. Of course, that didn't quite work out as planned! There was about a half inch gap left on the sides of the tub.

But the front and back sections fit whole tiles perfectly, and I didn't want to mess that up! So I decided to fudge the spacing a bit instead.
The spacing between each row of mosaic tiles in a sheet is 1/16". By cutting apart each row, and spacing them very slightly more than 1/16", I was able to fill in that ½" gap. You can barely notice the difference!

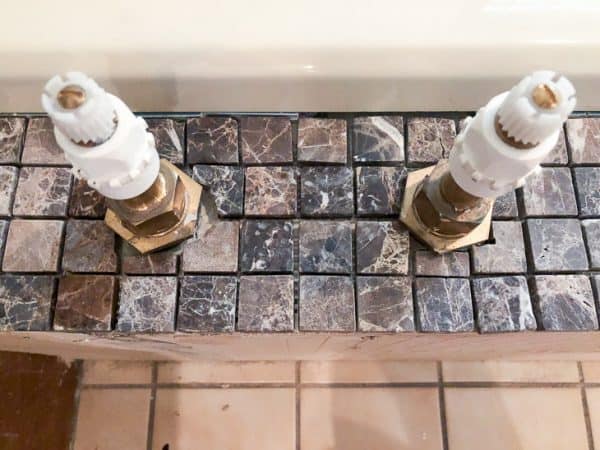
With all the tiles laid out, now is a good time to make the cuts you'll need to go around the deck mounted faucet handles and spout. It doesn't have to be exact. Just make sure that any gaps will be covered up by the bathtub fixtures later.

Spread Thinset in Small Sections and Apply Tile
I started with the top of the tub deck, which determined the height of the front tiles. I used two different methods for tiling the bathtub surround, depending on the situation.
For the top, I found it easiest to remove a few sheets of the dry fit tiles at a time. Then I spread the thinset over the cleared area before laying the tiles back in place. (I was so busy tiling, I forgot to take a picture! Sorry!)
With small mosaic tiles like this, it's important to keep all the lines straight and even. By keeping the dry fit tiles in place, I could keep them aligned easier.
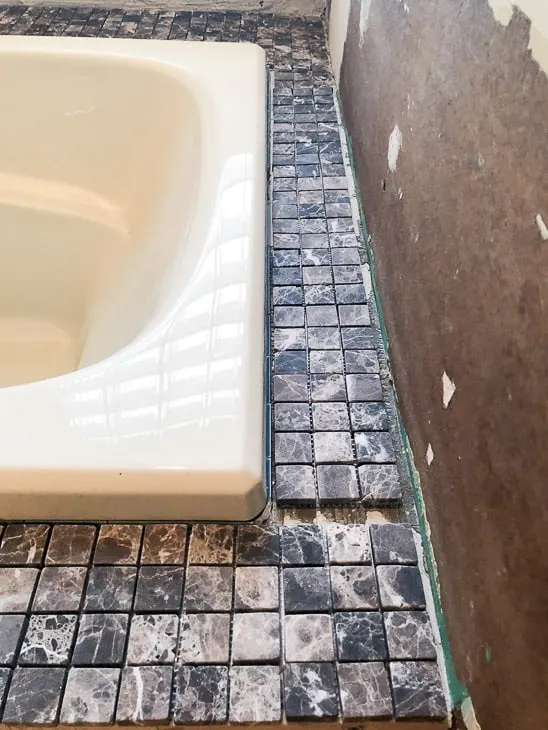
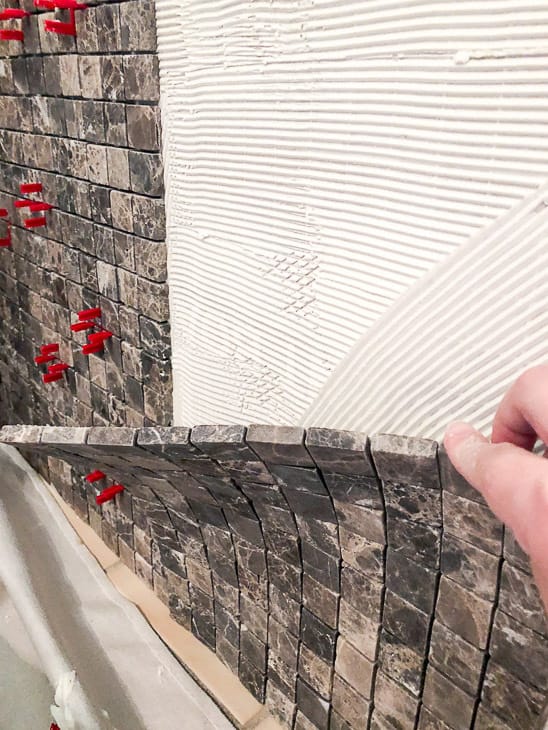
On the front, I just spread the thinset over larger sections and stuck the tiles in place. The top tiles are even with the tiles on the top of the tub deck. The bottom row needed just the slightest trim in order to fit.

Clean Up Grout Lines
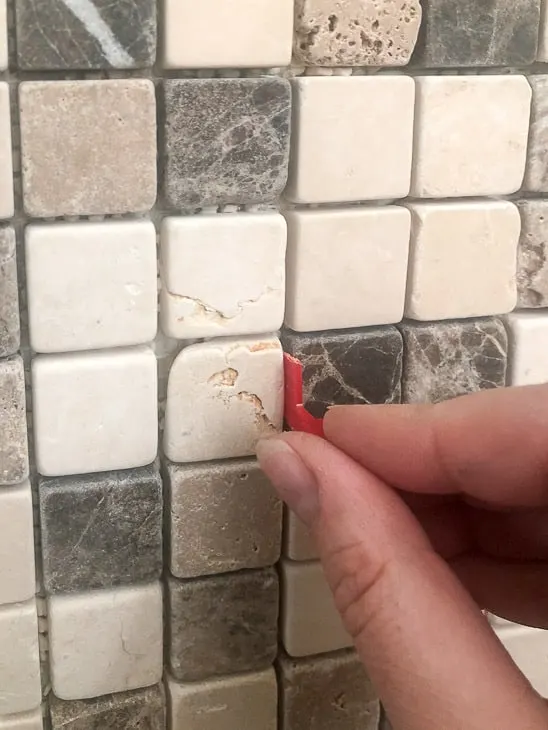
Even with a small notch in the trowel, there were still spots where excess thinset squeezed out. One nice feature of the OmniGrip adhesive is that it's flexible and dries slowly. After a few hours, it dries to the consistency of Play-Doh, which makes it much easier to remove.
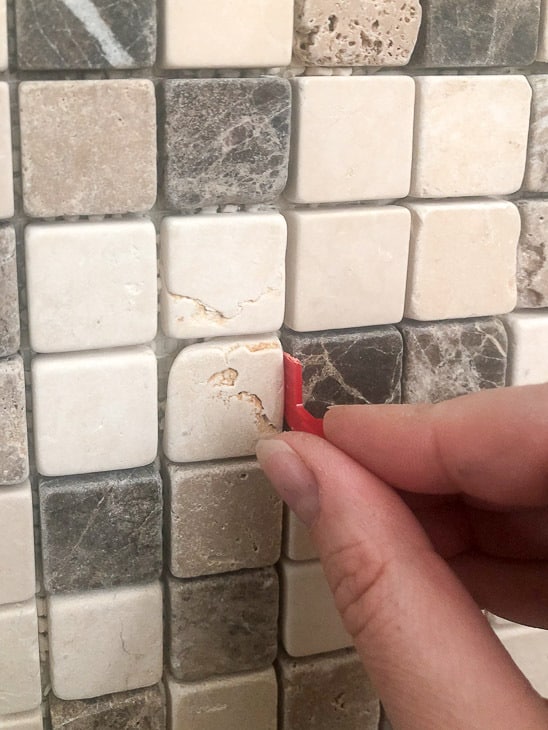
After allowing the tiles to set, I inspected it for squeeze out. Anything poking through could easily be cut out with a utility knife, or pushed back in with one of the tile spacers.
Grout the Entire Surface
Originally, I was thinking I would grout all the tile with the same light color. But as soon as I started spreading it over the darker Emperador tiles, I realized my mistake. It looked horrible and emphasized every uneven grout line!
I quickly cleaned out as much of the grout as I could with a putty knife and grout brush, then rushed to the store. Luckily, they had pre-mixed unsanded grout in a perfectly matching shade of dark brown!
I hurried back home and filled in the cleaned area with new grout. Luckily, nothing dried too hard while I was gone, and it covered up easily. Crisis averted!
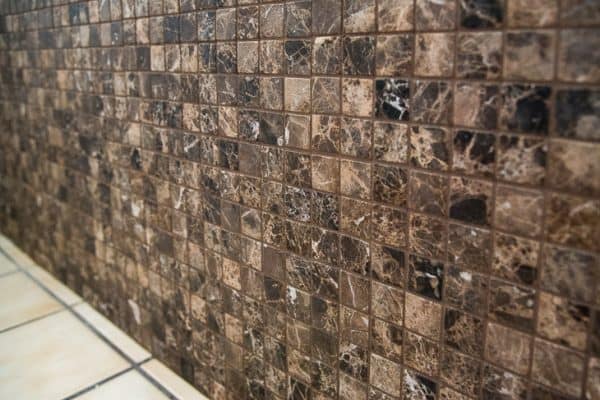
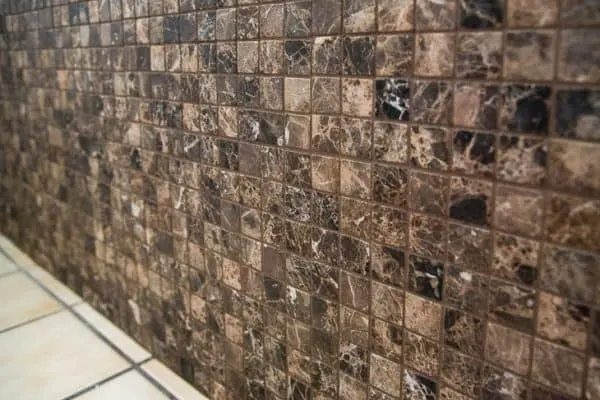
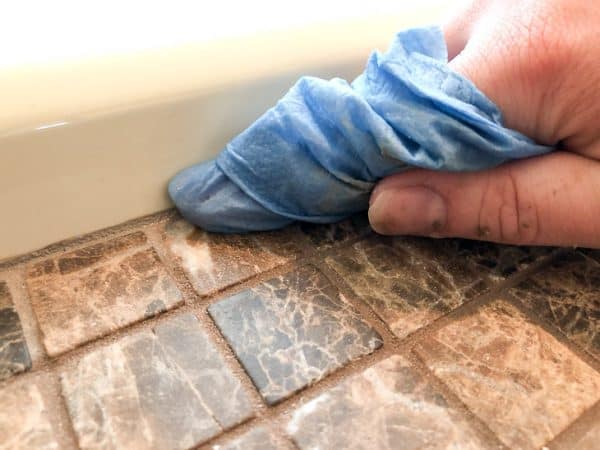
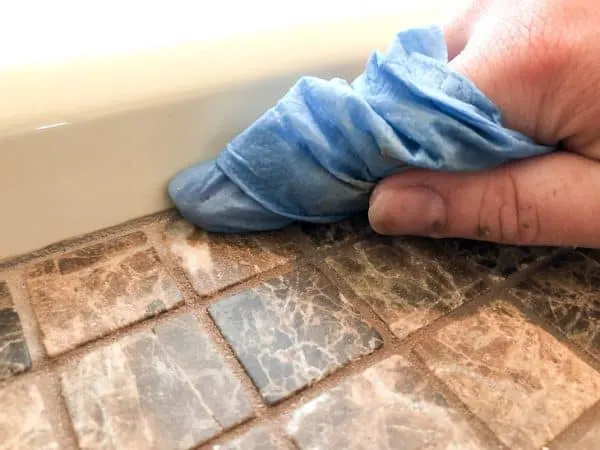
Make sure to go back over the entire surface of the tile with a microfiber cloth to remove any grout haze and polish the stone. You'll notice that the mosaic wall tiles look dull in comparison with the darker tub tiles. Once they're grouted and buffed, they'll take on a deeper, richer color!
Caulk Around the Bathtub Edge
Grout isn't flexible, which is a problem when your bathtub is constantly changing with the weight of the water inside it! Apply matching caulk instead of grout to the outside edge of the tub to keep water out of the gap.
Load the caulk into a caulk gun, then cut the tip to the desired diameter. Run a bead along one side, then wipe it smooth with a damp cloth.
Allow everything to dry for at least a day or two before relaxing in your newly tiled bathtub!
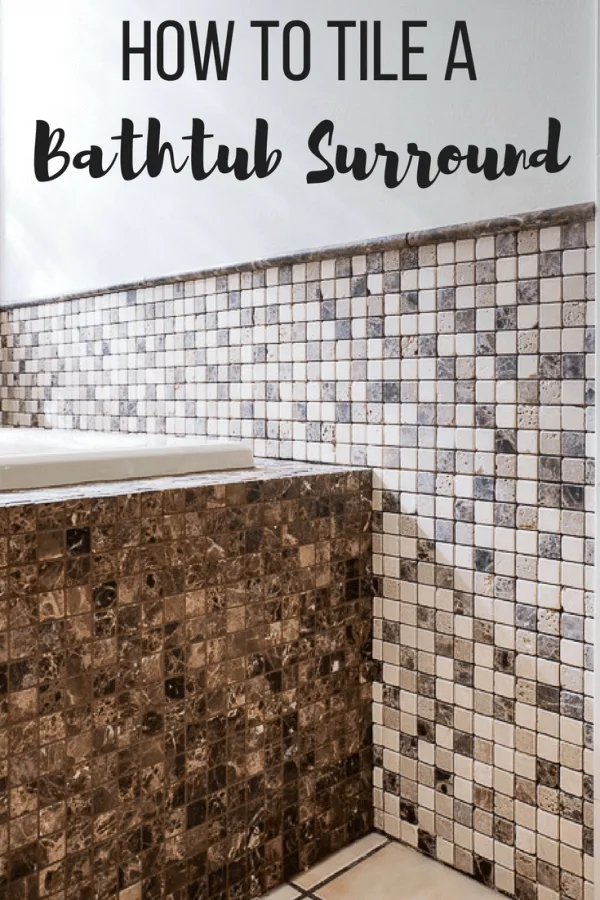
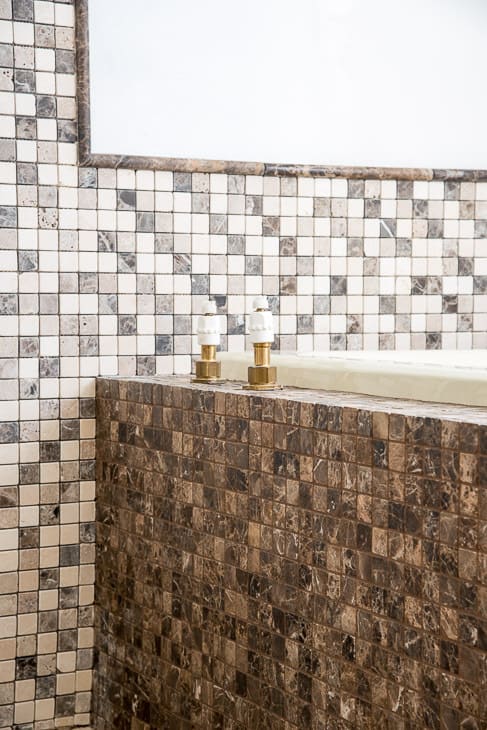
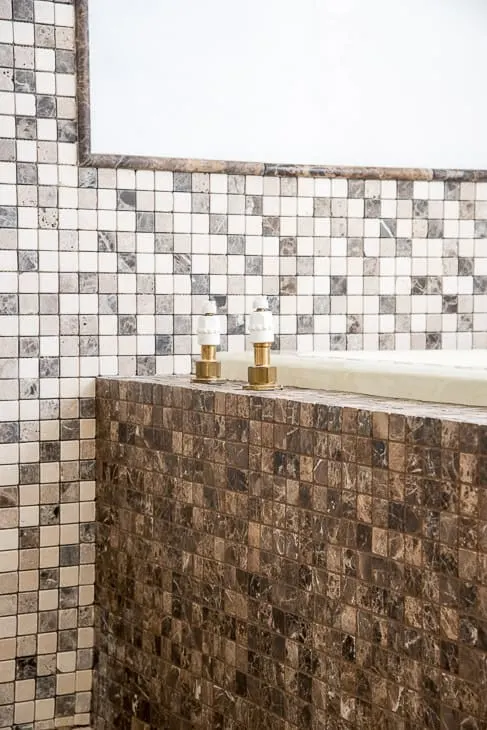
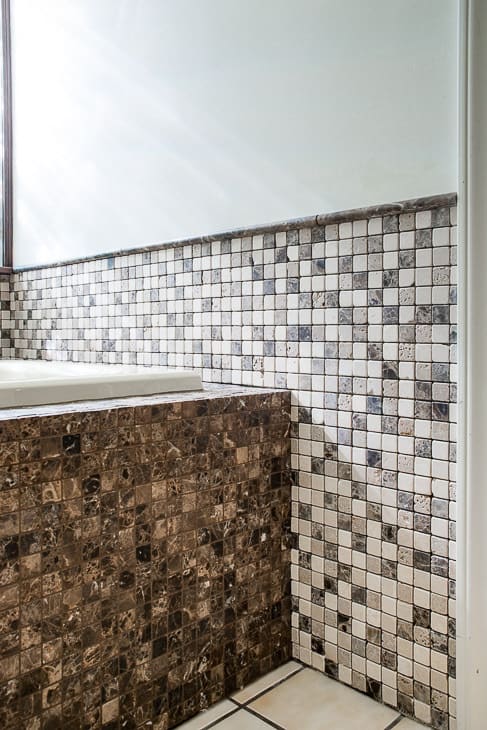
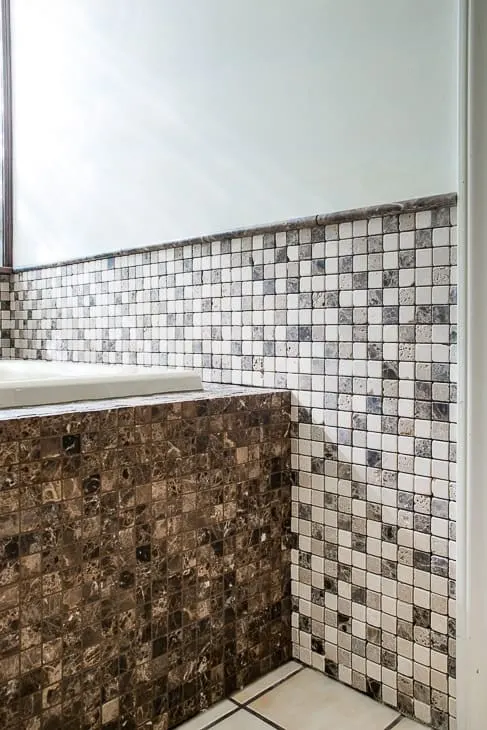
I still have a lot of work to do in this bathroom. But luckily, the majority of the tiling was completed this week. Not only did I finish the bathtub surround, but I also got the tile up on the walls too. The darker squares in the wall tiles and trim match the bathtub tile, bringing the whole color scheme together!
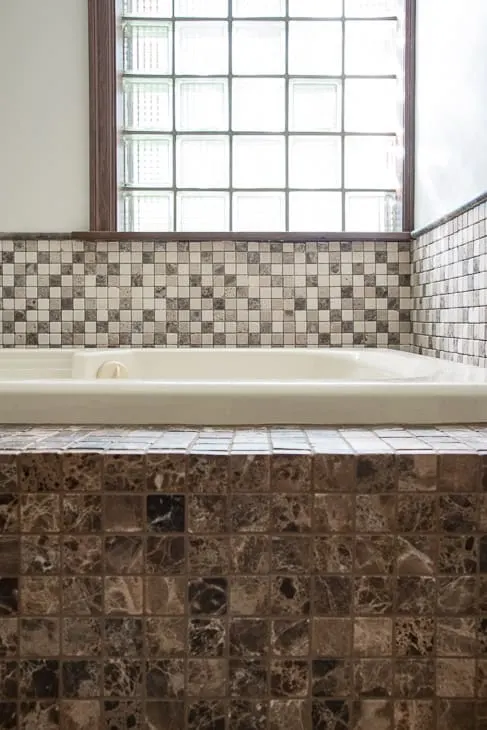
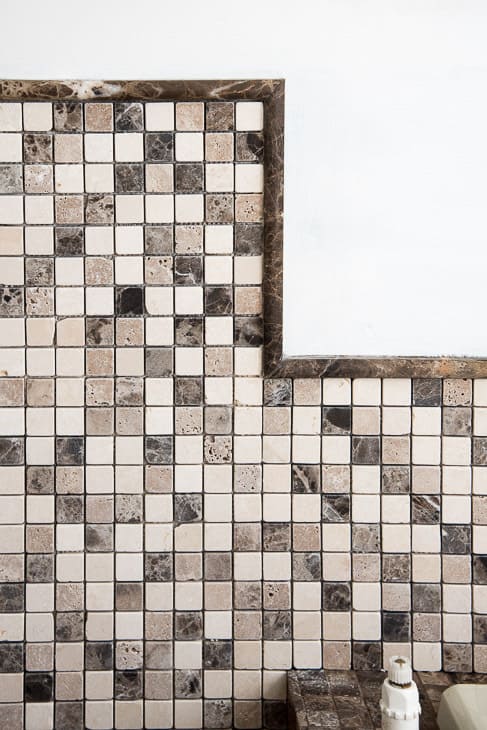
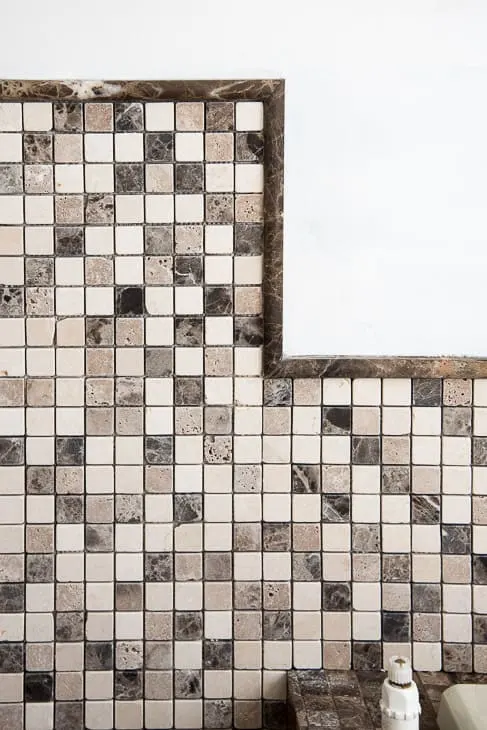
It was a happy accident that the trim tile matched up perfectly with the windowsill! I love how it extends that line visually around the entire tub area.

There's no shower in this tub, so the wall tile only goes up a foot in this area to protect the drywall from splashes.
On the other side, it raises up another foot at the edge of the tub, then continues behind the toilet to meet up with the vanity backsplash on the other side of the bathroom.
This transition took far too much brainpower to figure out, with all those mitered trim pieces to cut. Thank goodness for all my woodworking experience! I did a little happy dance when everything was square and level. 🙂
I've been dreading moving the toilet, but this week I've gotta suck it up and do it so I can finish the tile.
Then I'll grout all the wall tile and paint! It's getting close to the finish line now!

Check out the rest of the bathroom makeover!
Jann Olson
Monday 14th of May 2018
Beautifully done! Thanks for sharing with SYC. hugs, Jann
Danielle
Wednesday 9th of May 2018
We are looking to do something similar to this on our next bathroom project! I will for sure be checking back here.
Danielle
clarkandaldine.com
Danielle @ clark + aldine
Wednesday 9th of May 2018
We are looking to do something similar to this on our next bathroom project! I will for sure be checking back here.
Danielle
clarkandaldine.com
Debrashoppeno5
Tuesday 8th of May 2018
This looks great. The tile is so pretty.
Susanne
Monday 7th of May 2018
Fill that baby up with bubbles and grab a glass a of wine!! You deserve it, it looks beautiful!!! I can't wait to see the final reveal!!