Stumped on how to build a fireplace hearth? I'll show you how to make a hearth using cement backer board for the perfect tile base and gorgeous marble tile.

Welcome back to part two of my fireplace makeover! You can find all the posts for my fireplace remodel series here. Last week, I smashed the old fireplace to smithereens. Now I'll show you how to build a fireplace hearth to replace the one I demolished.
I uncovered a few surprises during demo, so I had to change the way I approached this part of the project. After a few brainstorming sessions with my handy dad, I think I'm on the right track!
This post contains affiliate links for your convenience. Purchases made through these links may earn me a small commission at no additional cost to you. Please visit my disclosures page for more information.
Materials Needed to Build a Fireplace Hearth
- Self-leveling floor patch
- Tile trowel
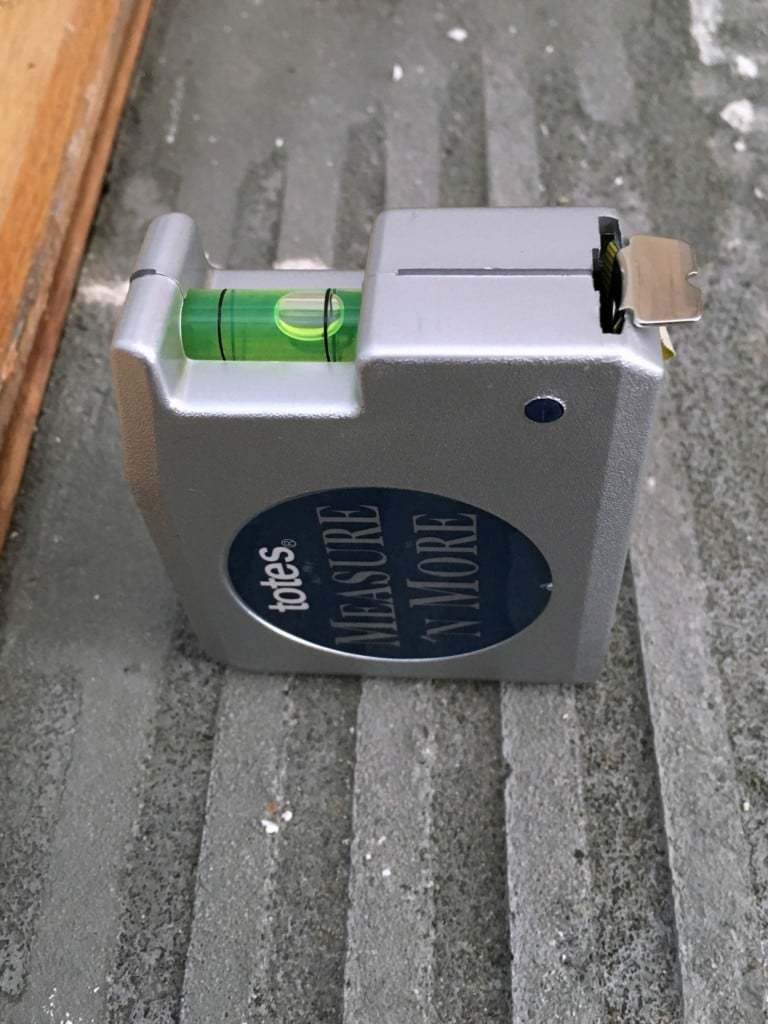
- Level
- Wire brush
- Cement backer board
- Backer board scoring tool
- Thin set mortar
- Backer board seam tape
- Backer board screws
How to Build a Fireplace Hearth
Prep the Fireplace Hearth Floor
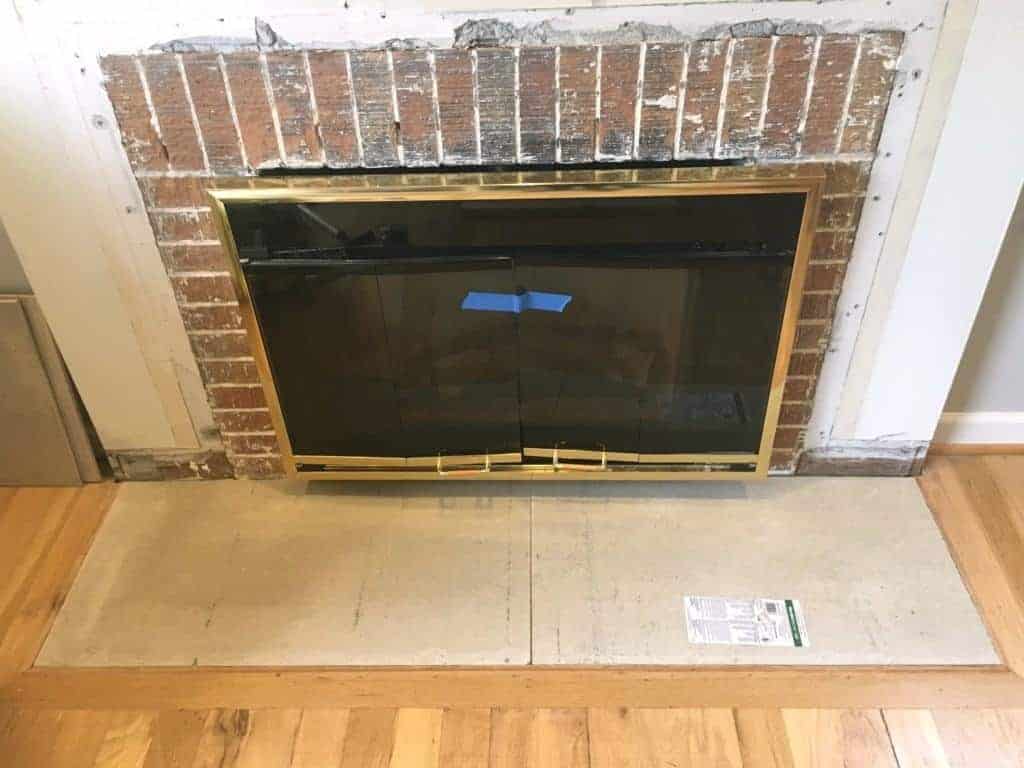
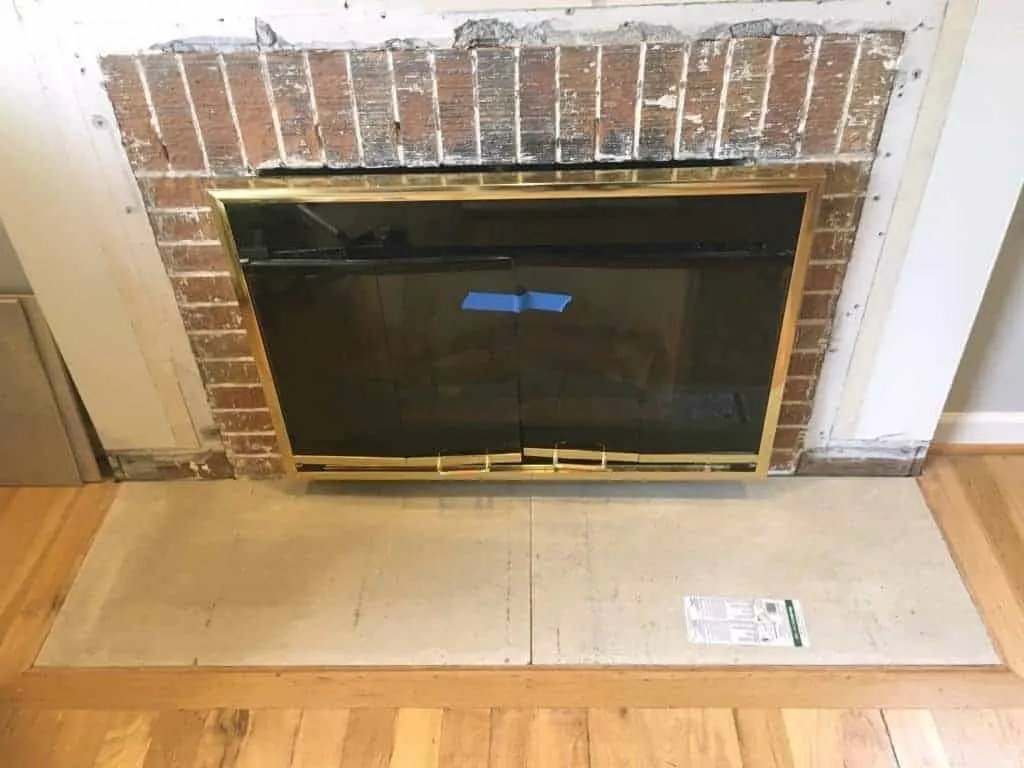
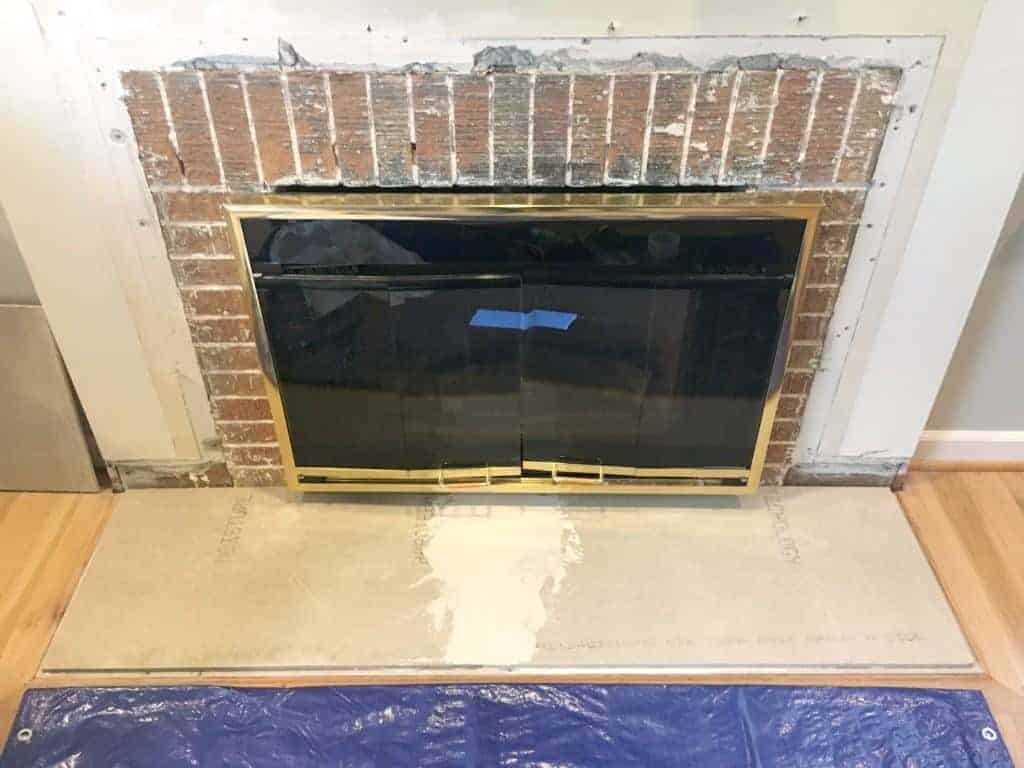
This is the fireplace hearth now that the ugly pinkish marble tile has been cleared away. The old thin-set was in great shape for its age, so I decided to leave it in place.
However, it wasn't exactly level. Nothing in a house built 70 years ago is! One corner was a good ¼" higher than the other, and there were a few dips in the center as well.

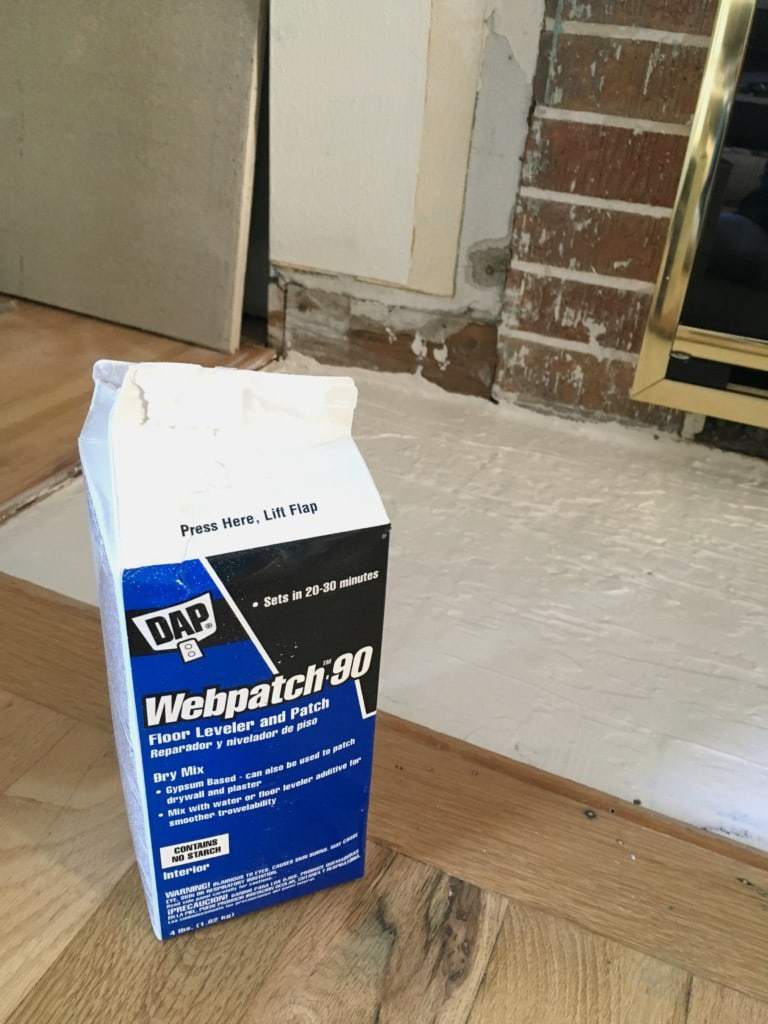
I picked up a box of this self-leveling floor patch at my local hardware store, after consulting with a helpful employee about which one to choose. After making sure the surface was free of dust, I mixed up a batch and poured it on the low side of the hearth. I used the flat side of the tile trowel to smooth it out.

It set up pretty quickly, and worked perfectly! I used the scraper on the end of my wire brush to get rid of any bumps on the surface. Now the floor is level and ready for the next step.
Build a Fireplace Hearth with Backer Board
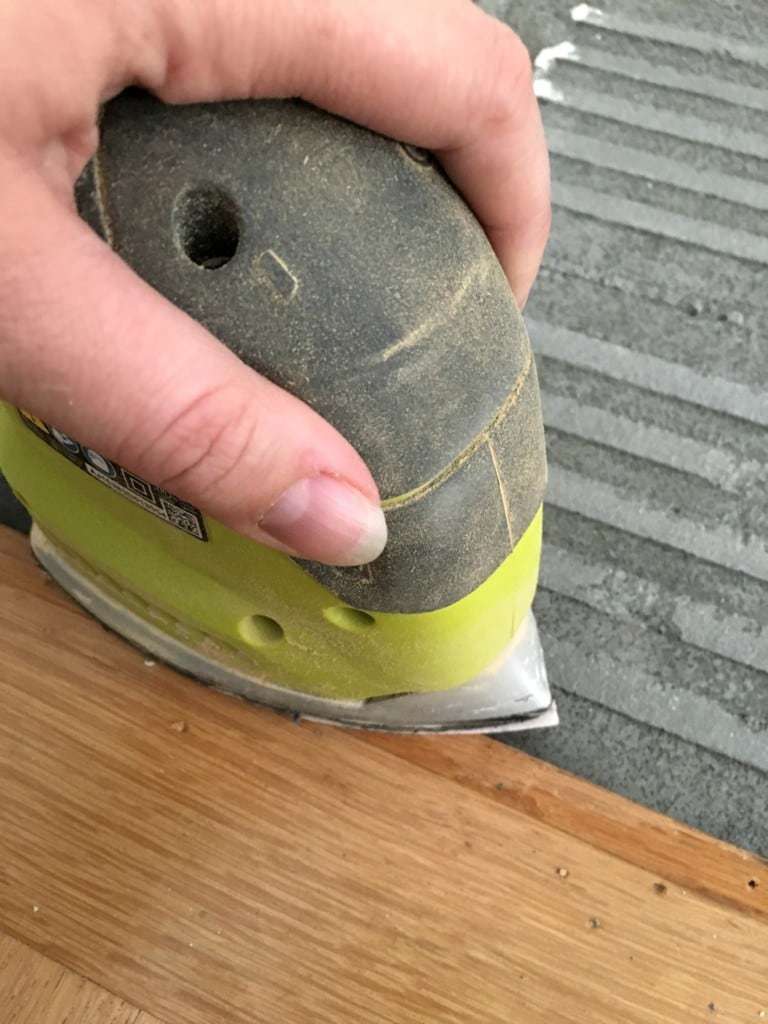
I could have just inlaid the tile into the floor and called it a day. But the edges of the hardwood floors aren't in the best shape from the old wood quarter round trim. They're also a different color from the rest of the floor from the last time the hardwoods were refinished. I tried sanding them down, but it didn't change much.

I have a solution to cover up the edge of the hardwood floor, which I'll reveal later. But first, I need to build a raised fireplace hearth that will be able to withstand the weight of my new tile.
I bought two sheets of 3' x 5' cement backer board in the ½" size. Using a backer board scoring tool, I cut two pieces to fit into the void in the hearth.
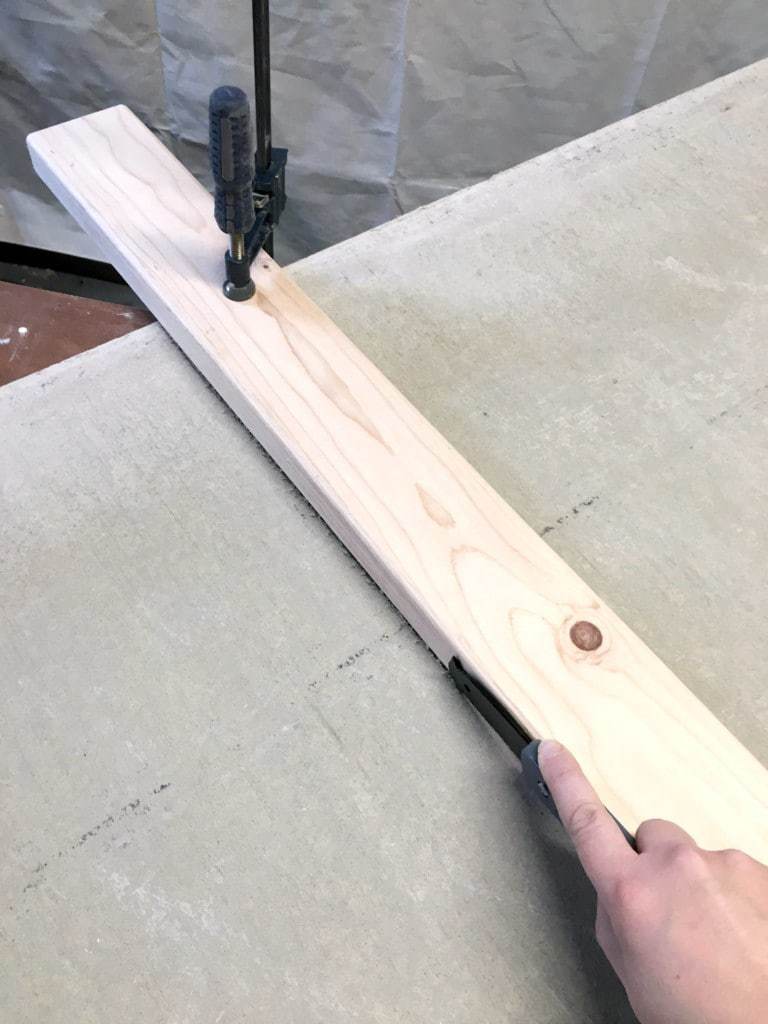
This was much easier than I thought it would be! I just clamped a straight 2 x 4 to the backer board at the line I wanted to cut, then ran the scoring tool along the edge until it was about halfway through.
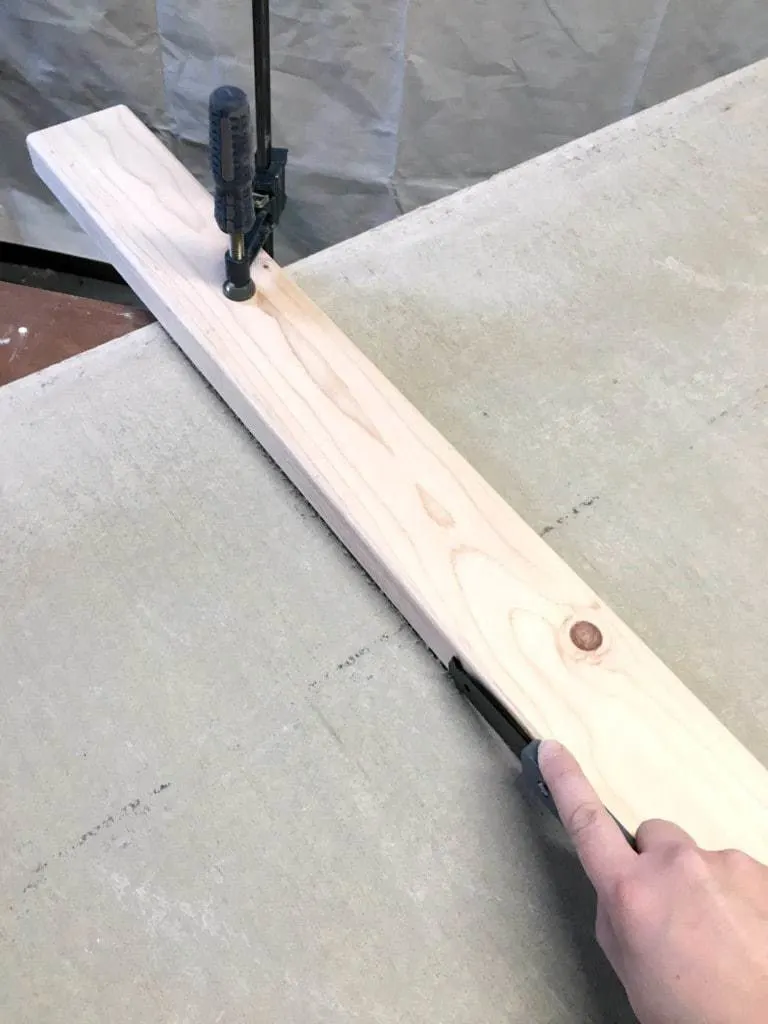
Then I moved the backer board until the line I cut was just past the edge of my worktable, clamped the other end, and bent it down. I used the scoring tool again to finish off the cut.


The fireplace hearth wasn't exactly square, so I custom cut each side. I used the factory cut edges and corners for the outside edge and left about ¼" of space at the wall. A perfect fit!
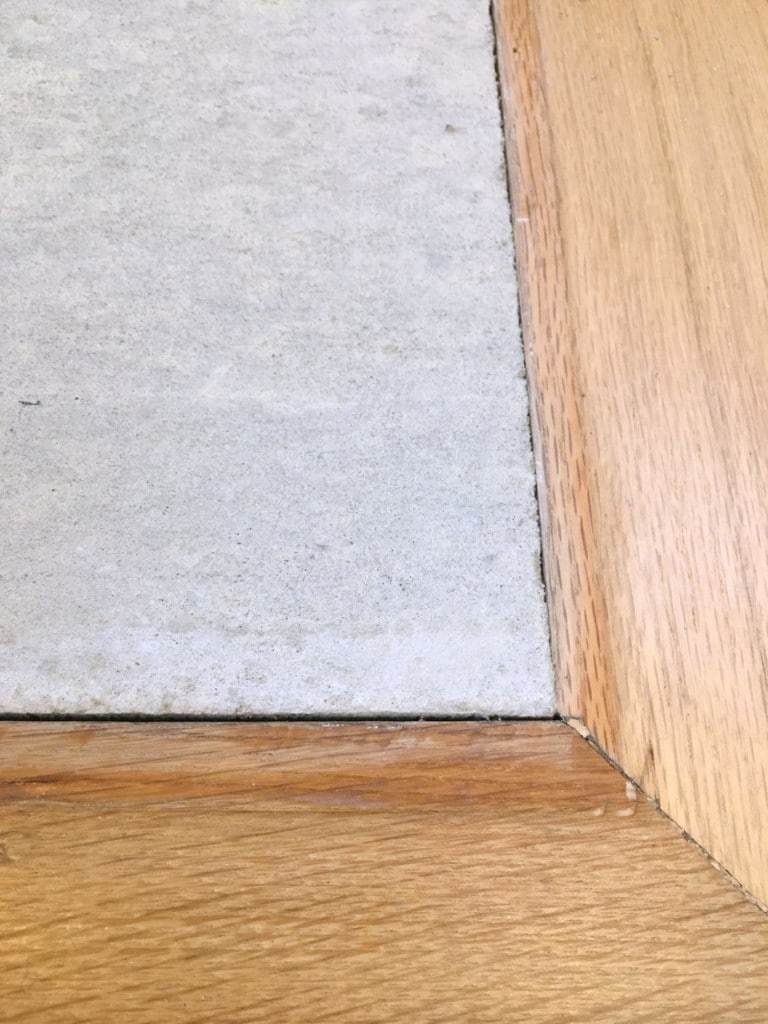
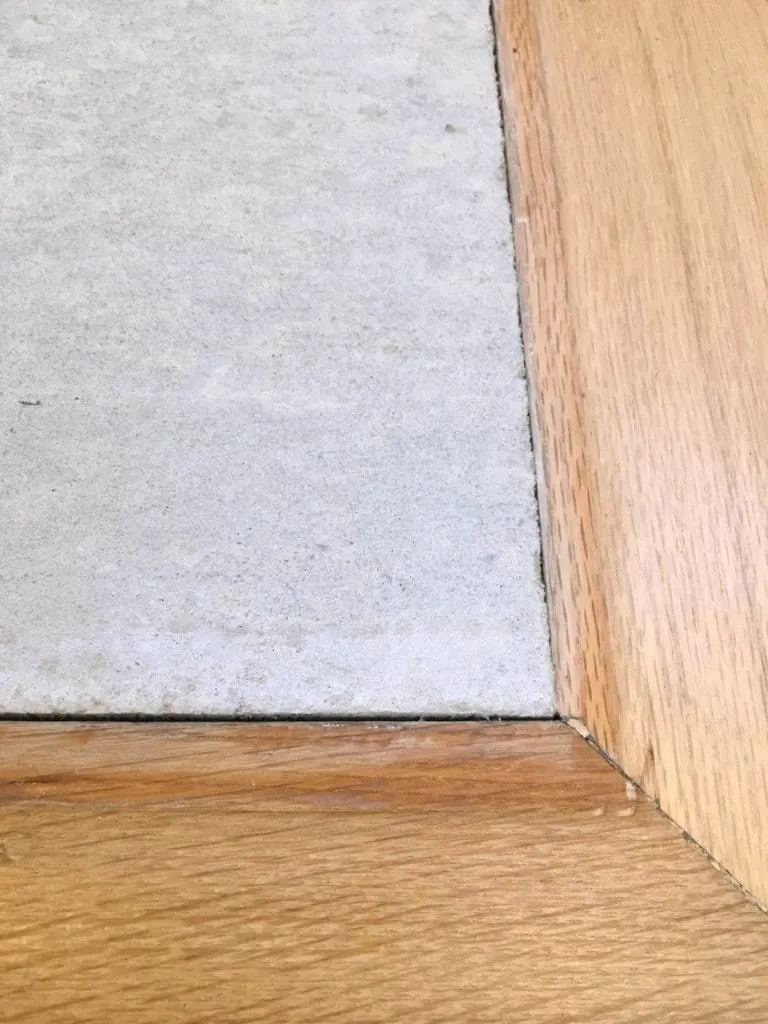
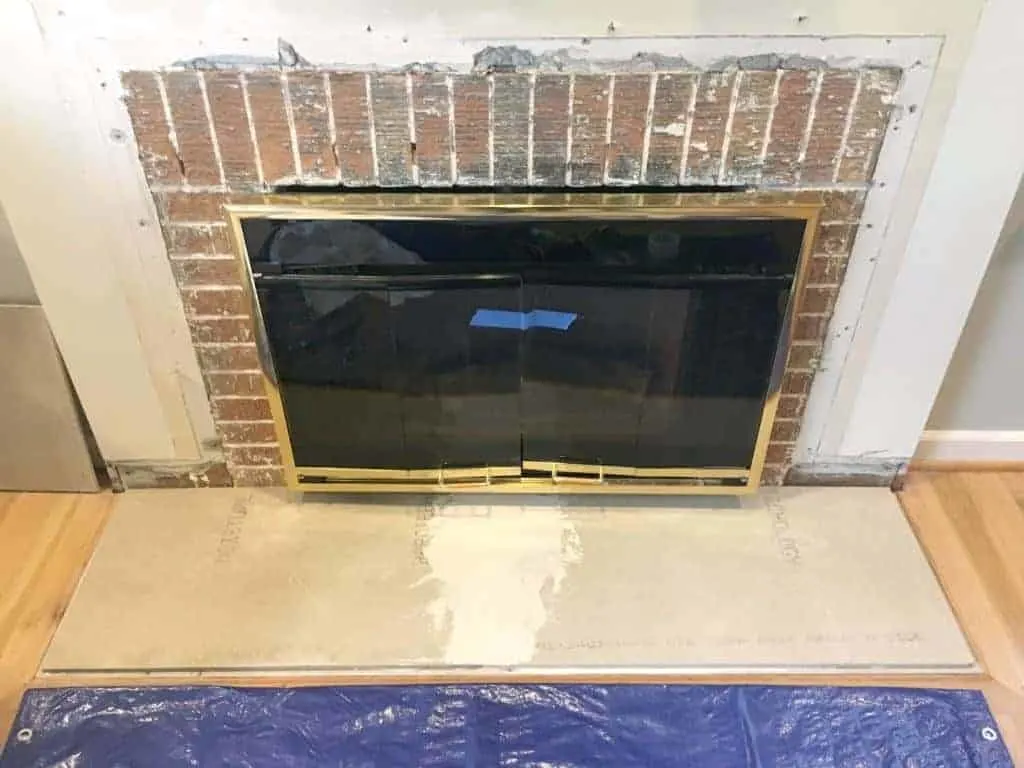
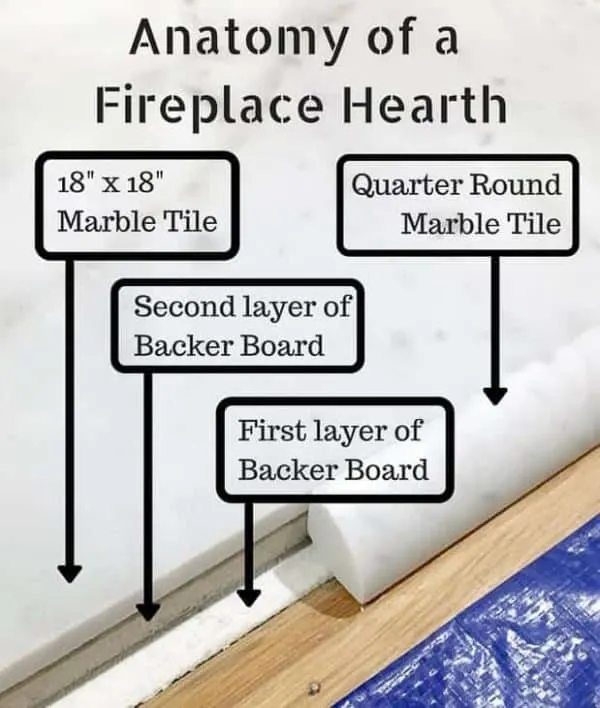
The first layer of backer board brought the hearth level with the hardwood floors.
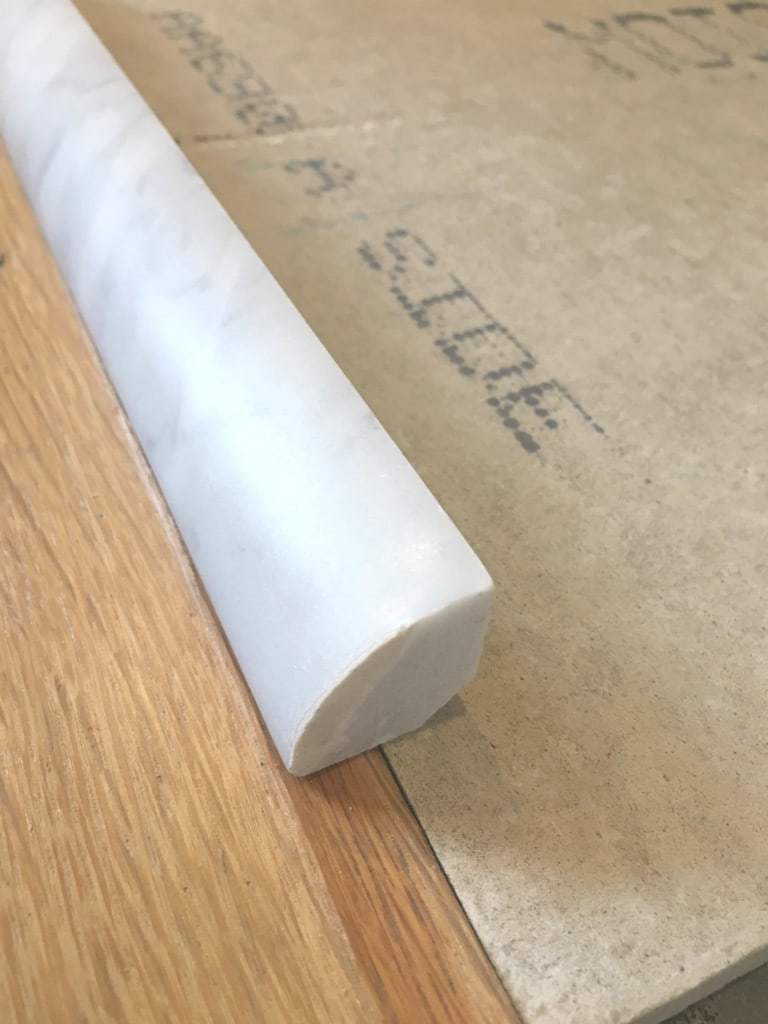
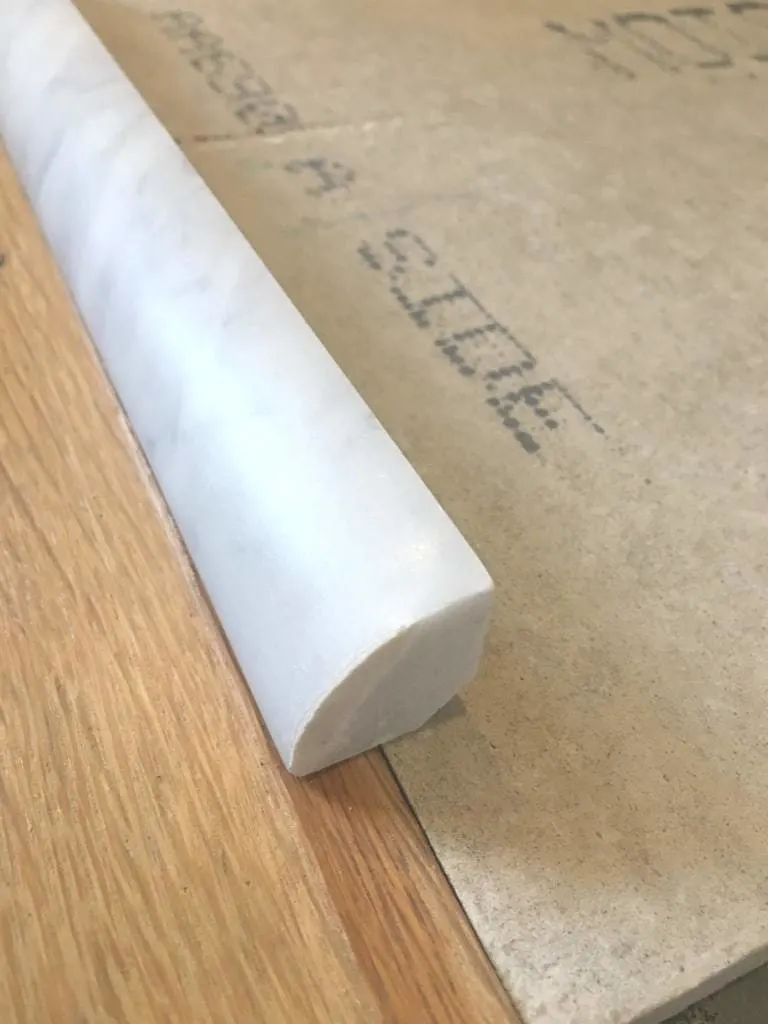
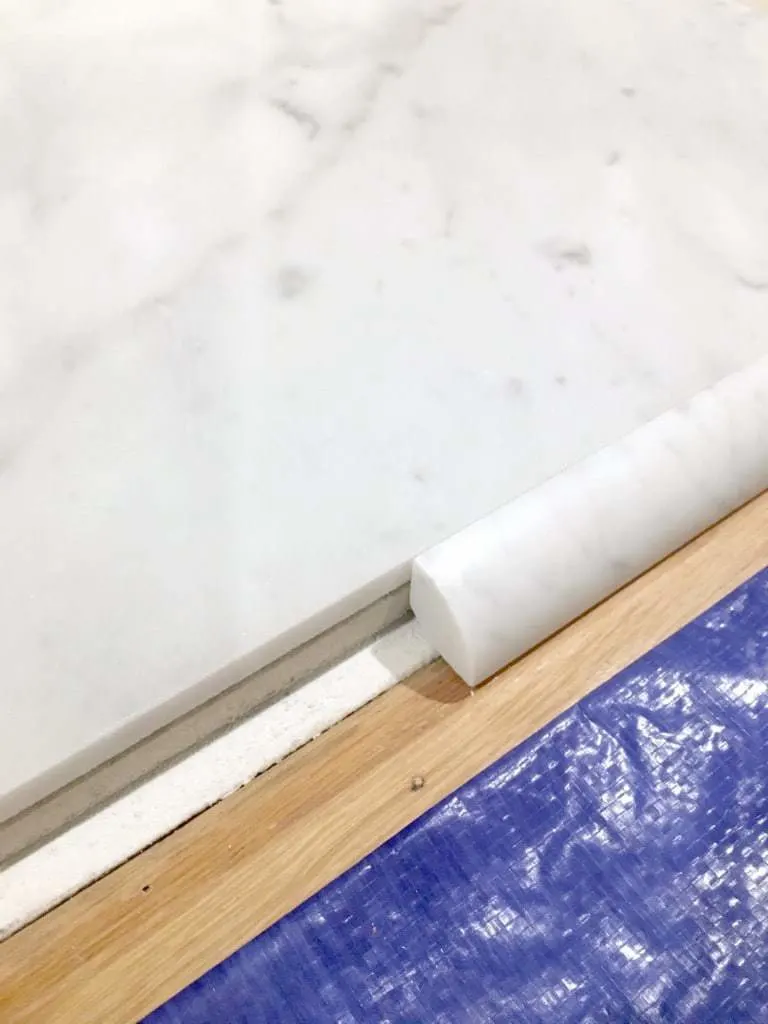
I was so excited when it all fit into place! You see, my plan is to use this marble quarter-round trim to cover up the damaged hardwood and the exposed edges of tile. I needed the first level of backer board to line up with the floors, so I could straddle the gap with the quarter-round.
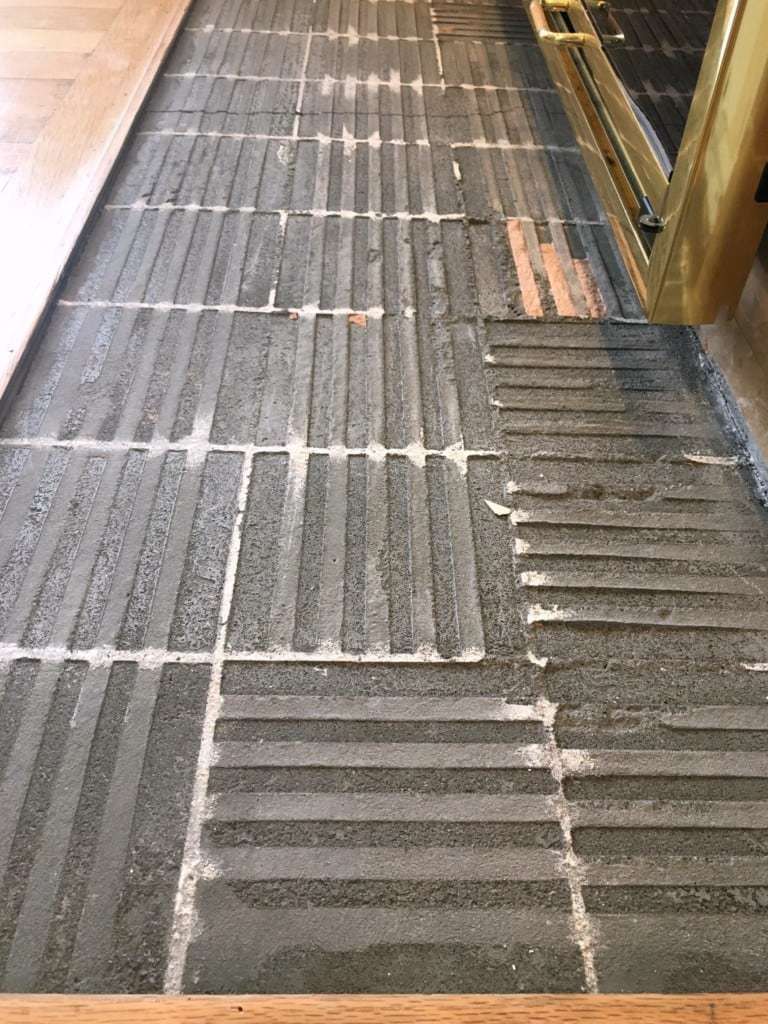
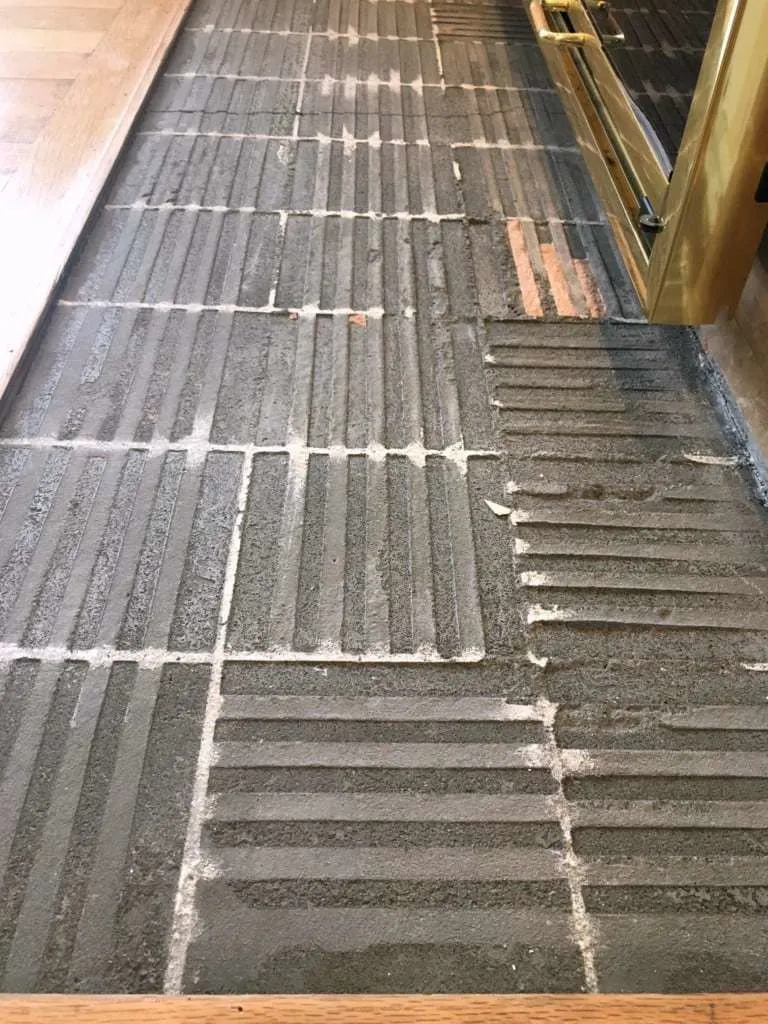
I added a second layer of backer board, cut ½" shorter on three sides, on top. This layer was mortared to the first with thin-set. I sealed the joint with backer board seam tape and more thin-set.
You should also attach the backer board to the subfloor with backer board screws. I found 2 ¼" ones in the same aisle as the backer board, which are long enough to go through both layers and into the floor.
I have a few steps to go before I'm ready to lay the tile, but I'm glad I was able to build a fireplace hearth without too much drama! Here's a sneak peek of what it will look like.

My next steps are to paint the brass on the fireplace insert, smooth out the brick with thin-set before tiling, and add ¼" plywood to the surround. You can read about how I prepped the brick for tile, or how the tile turned out here.

Check out the rest of the fireplace remodel!
Jodie Fitz
Tuesday 9th of October 2018
It looks great. One of my goals = learn to use power tools! Thanks for sharing at last week's RTT Party. Look forward to seeing you at this week's party
Jann Olson
Monday 8th of October 2018
Can't wait to see it all finished! Thanks for sharing with SYC. hugs, Jann
Sheri
Monday 8th of October 2018
Nice work! Thanks for sharing at To Grandma's House We Go DIY, Crafts, Recipes and More Wednesday Link Party. I pinned this! Hope to have you join again next week!
Donna Reidland
Thursday 4th of October 2018
Thanks for sharing these instructions.
Grandmas House DIY
Tuesday 22nd of November 2016
This is going to look absolutely beautiful! Thank you for sharing with us at the To Grandma's house we go link party! Hope to see you tomorrow when the next party starts!