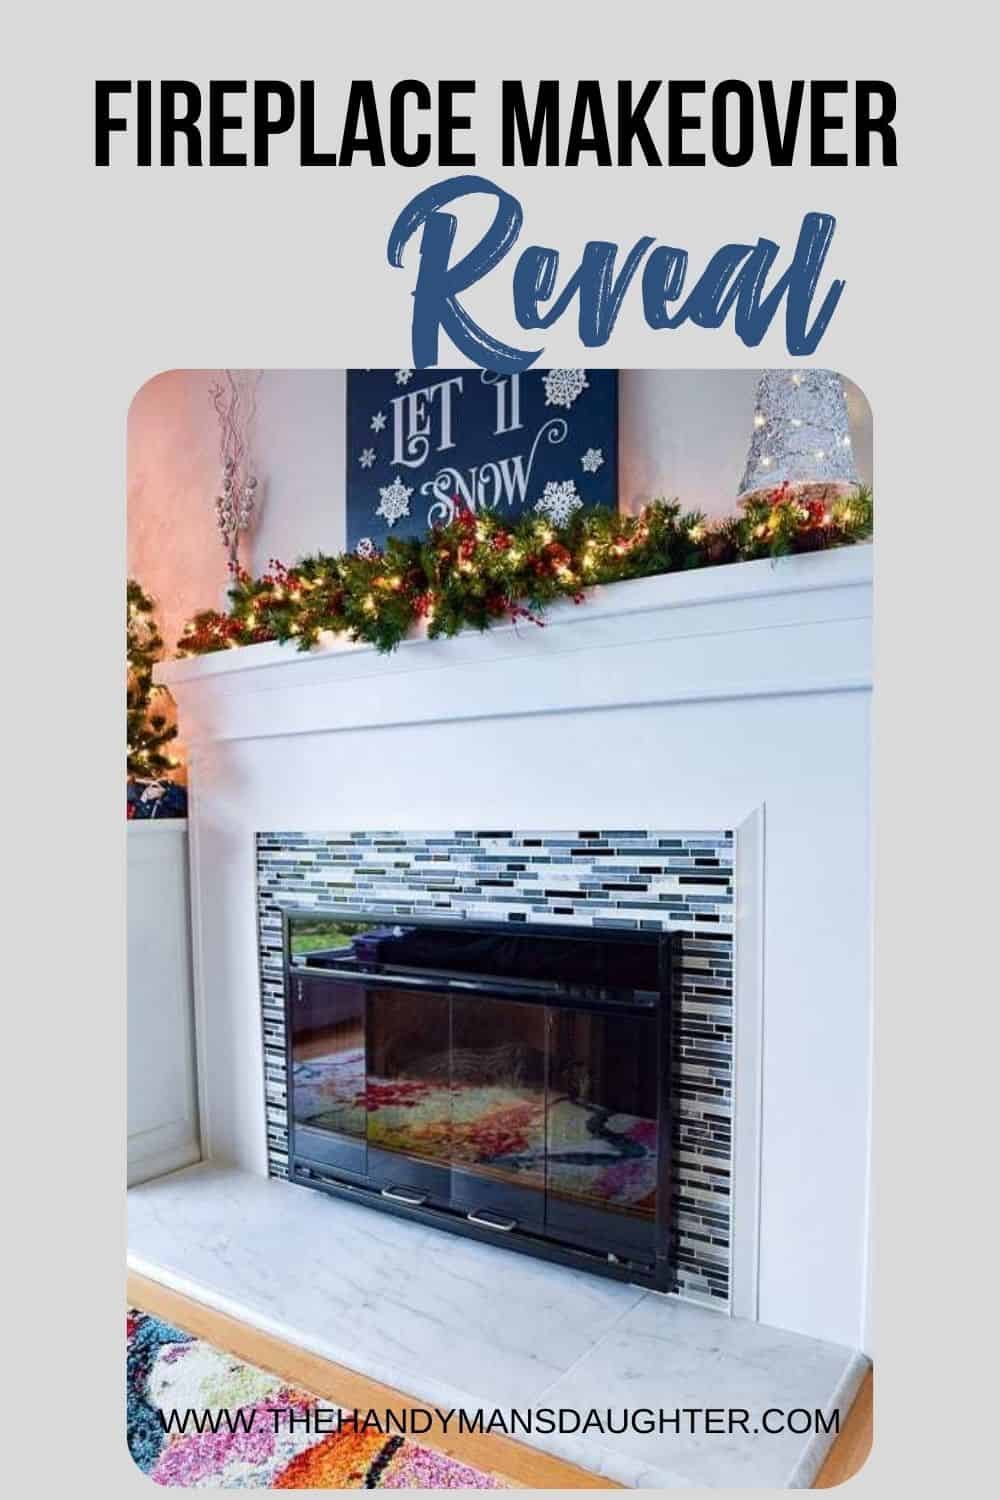
Our fireplace remodel is finally complete! See the amazing before and after photos and get links to every tutorial from beginning to end.

What a journey this fireplace remodel has been! From demolition to the final coat of paint, this project really put my DIY skills to the test. But I'm so glad I did it all myself, because there is no better feeling than seeing our former eyesore transform into the gorgeous focal point it is now.
Before I unveil the final reveal photos, let's see all the steps I took to get us there.
This post contains affiliate links for your convenience. Purchases made through these links may earn me a small commission at no additional cost to you. Please visit my disclosures page for more information.
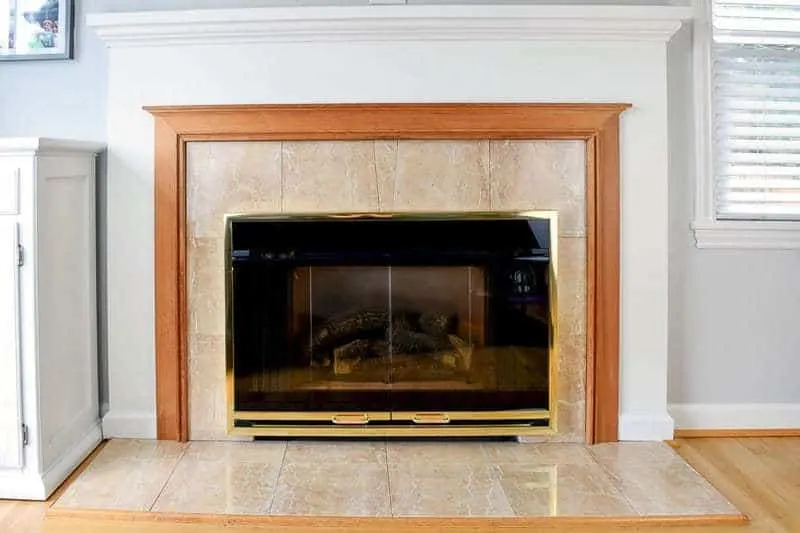
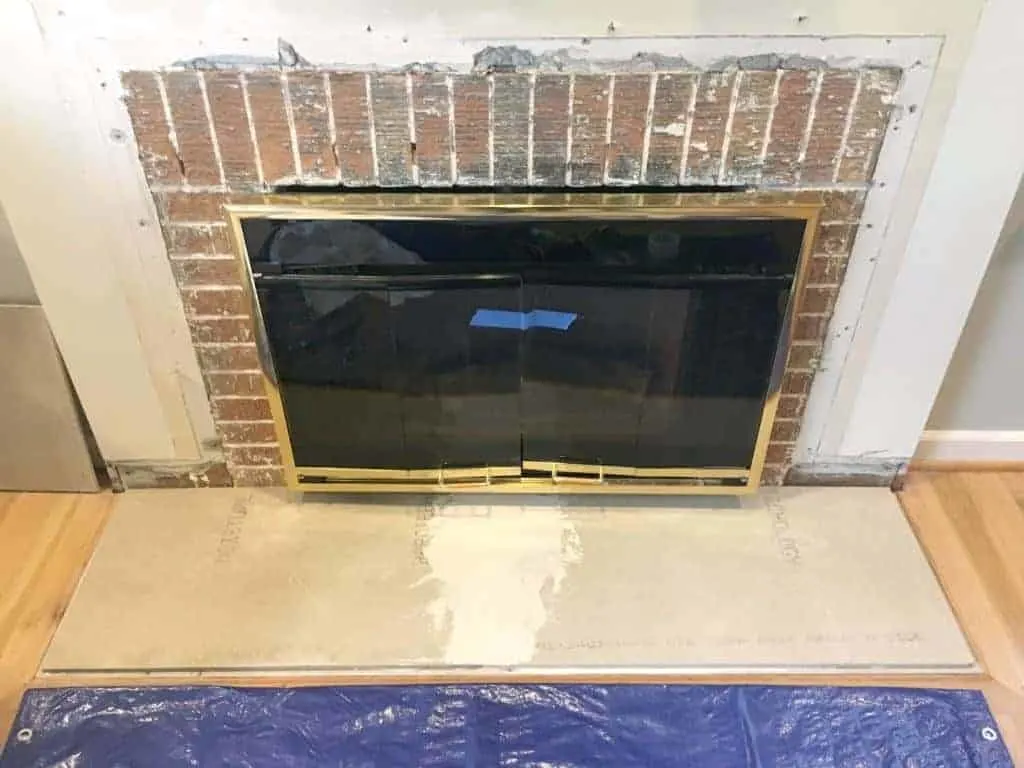
Fireplace before
When I look at the pictures of our fireplace before the remodel, I can't help but cringe! It was one of the first projects on my to-do list, but it always got pushed to the back burner in favor of things that made the house more functional. But last month, it finally made its way to the top of the list!

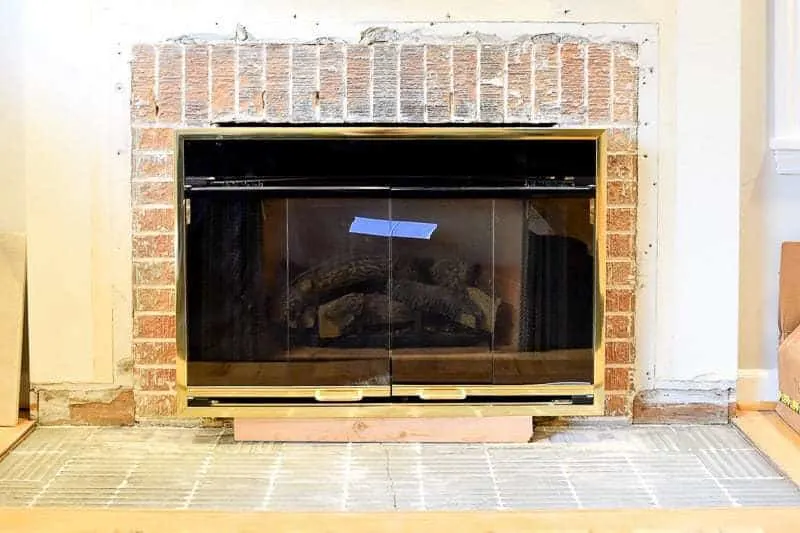
Fireplace demolition
Tearing apart the old fireplace had a few surprises and challenges. I discovered that the raised hearth was created by two layers of ugly tile that needed to be removed, and the tile surround was hiding the original brick.

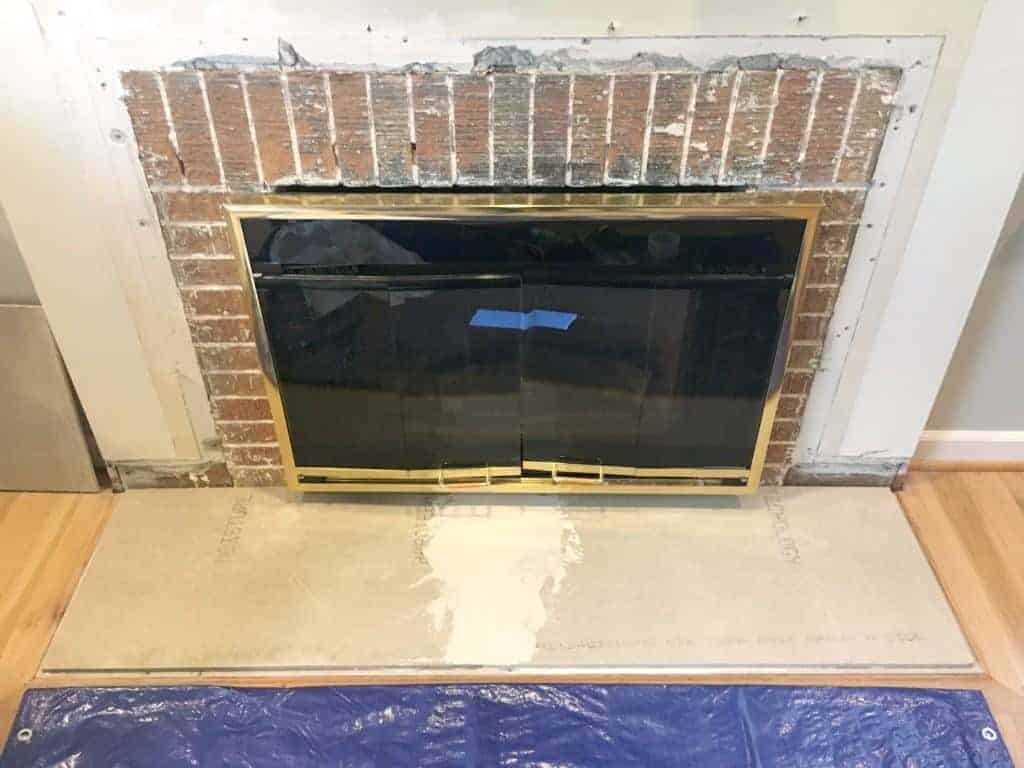
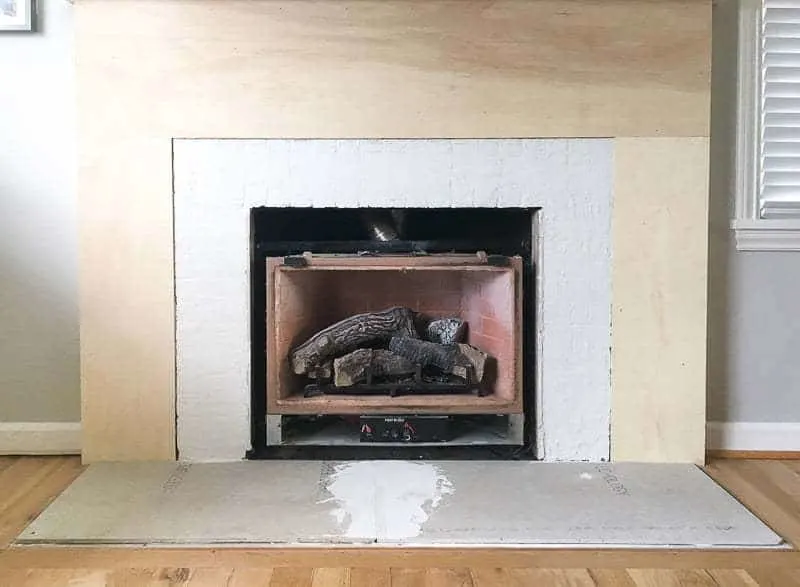
Building the fireplace hearth
My plans hadn't accounted for the second layer of tile, so I had to come up with a way to build a new fireplace hearth.
I leveled the floor, then used cement backer board to bring it even with the floor. Another layer of backer board cut half an inch smaller was added on top.
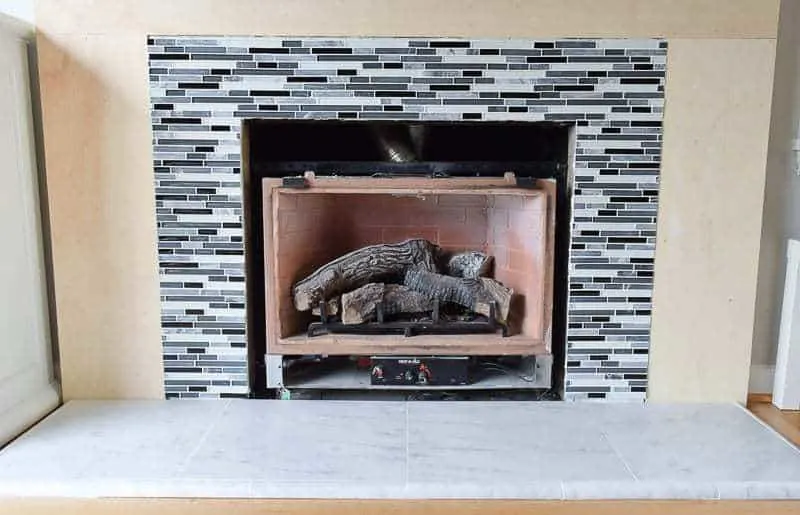
Tiling over the brick fireplace surround
The crumbling drywall was shored up with ¼" plywood, and the chipped brick received a coat of thin-set to level it out.

With everything prepped, it was time to add the tile! Huge 18" x 18" Carrera marble tiles were installed on the hearth, with matching quarter round trim around the edges. Mosaic glass and stone tile was added to the fireplace surround.

Install new fireplace trim
Finally, gorgeous new fireplace trim brought the entire project together! The shiny brass fireplace insert surround was painted with Rustoleum's black high heat spray paint, and new handles were added.
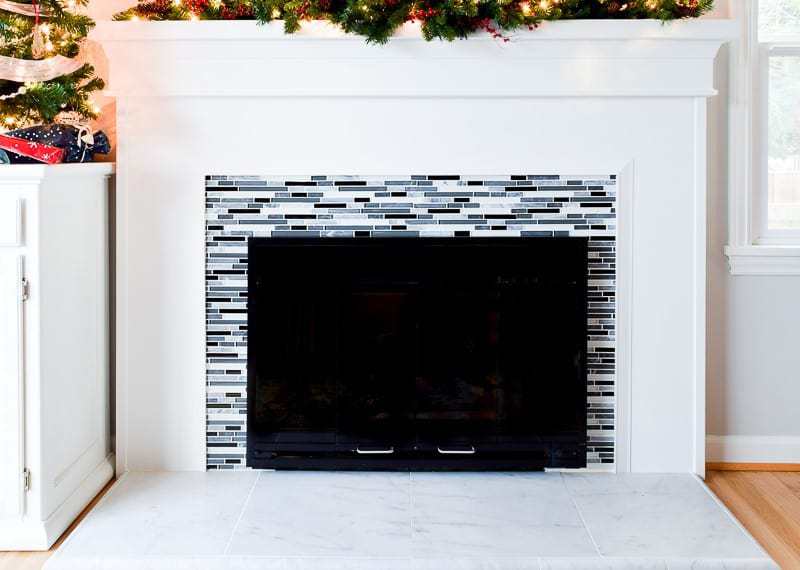

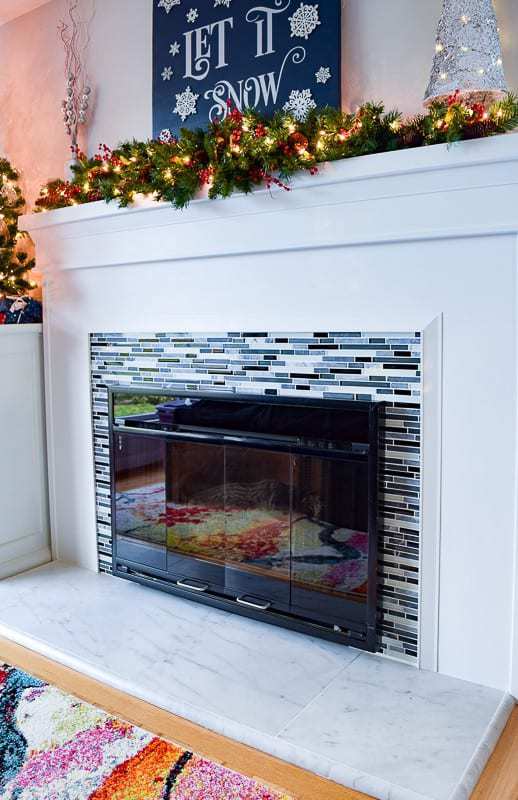
Fireplace remodel after
The fireplace remodel was finished just before Christmas, and I was so happy to be able to decorate our new mantle for the holidays!
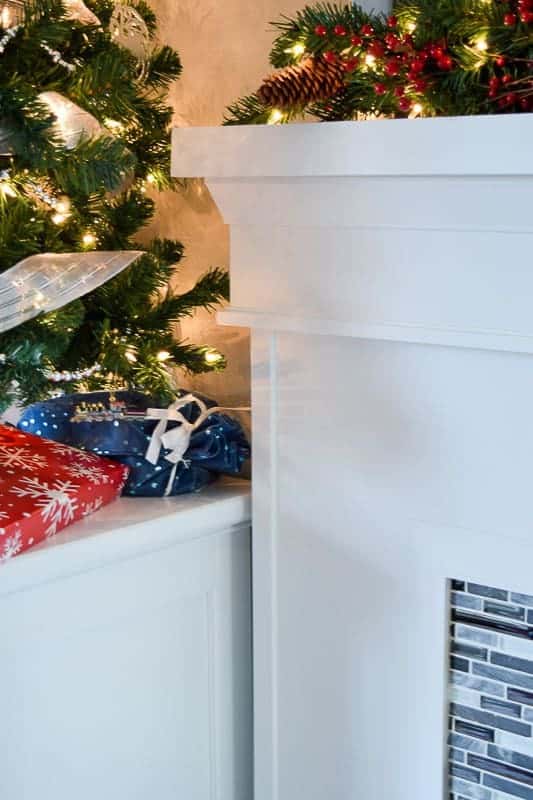
I moved the cabinet back next to the fireplace where it belonged. It's been sitting in the middle of the living room for weeks! Now it coordinates with the white paint of the fireplace and is the perfect spot to perch our mini Christmas tree.

The mantel is now wide enough to hold the entire Christmas garland without rigging it in place. There's also plenty of room for my Let it Snow sign behind it.

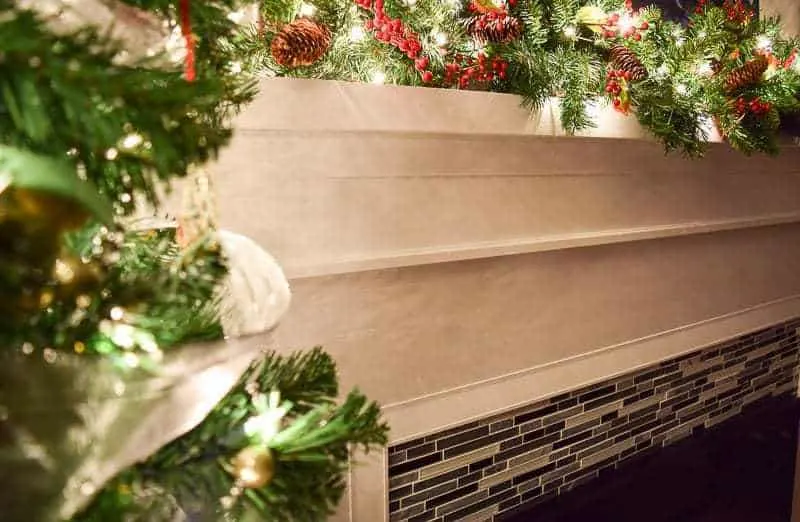
But the best view is at night! I love how the Christmas lights dance over all the angles and surfaces of the new fireplace.

If you've been following along with my fireplace remodel this entire time, thank you for sticking with me! I usually don't ramble on about one thing for quite so long. I'm looking forward to a few quick and easy palette-cleansing projects that won't take a month and a half to complete!
Lynette Leplat
Saturday 1st of April 2017
What an incredible beauty you have created! An absolute jewel for your home
Mary@Swimming Pool
Sunday 15th of January 2017
Good stuff. Great ideas for when I'm gonna remodelling my house. Thank you :)
Grandmas House DIY
Tuesday 27th of December 2016
I've been following along with your progress and am so excited to see it finished! It turned out beautiful! Thank you for sharing with us at the To grandma's house we go link party last week, you will be featured in tomorrow's party, hope to see you there!
Vineta
Tuesday 27th of December 2016
Thank you so much!
Toni | Small Home Soul
Thursday 22nd of December 2016
Oh my gosh it's so beatiful. You did a great job and it looks professionally done, which I think is the highest compliment anyone can get ?
Vineta
Thursday 22nd of December 2016
Aw, thanks so much, Toni! That is quite the compliment!
Sheri
Thursday 22nd of December 2016
Looks awesome! nice work!
Vineta
Thursday 22nd of December 2016
Thanks Sheri!