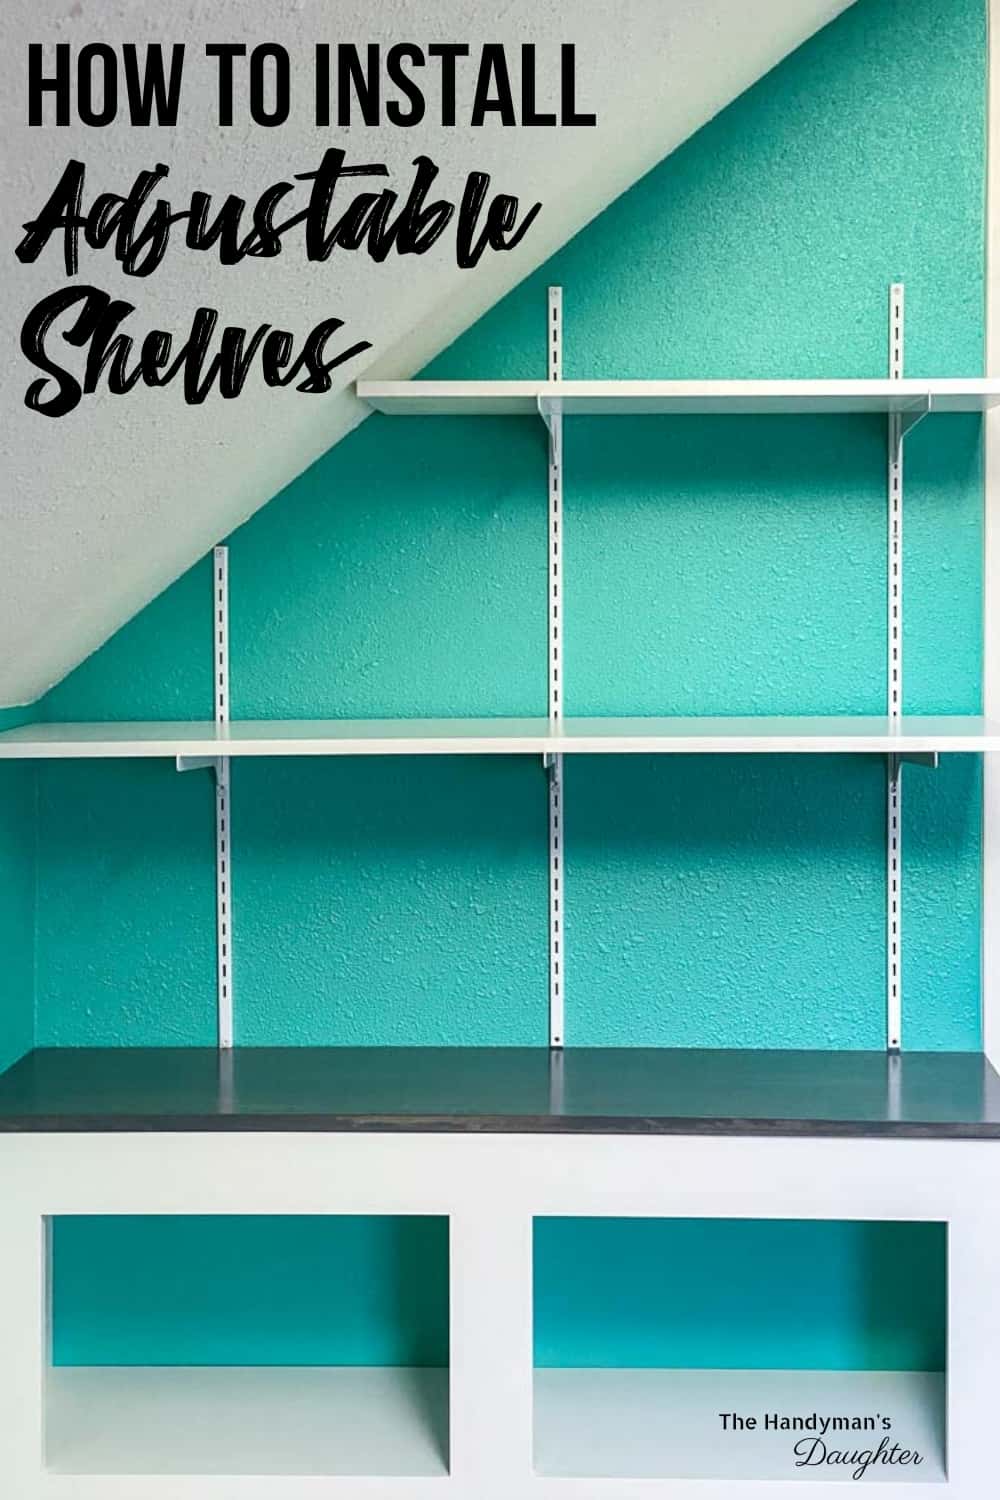
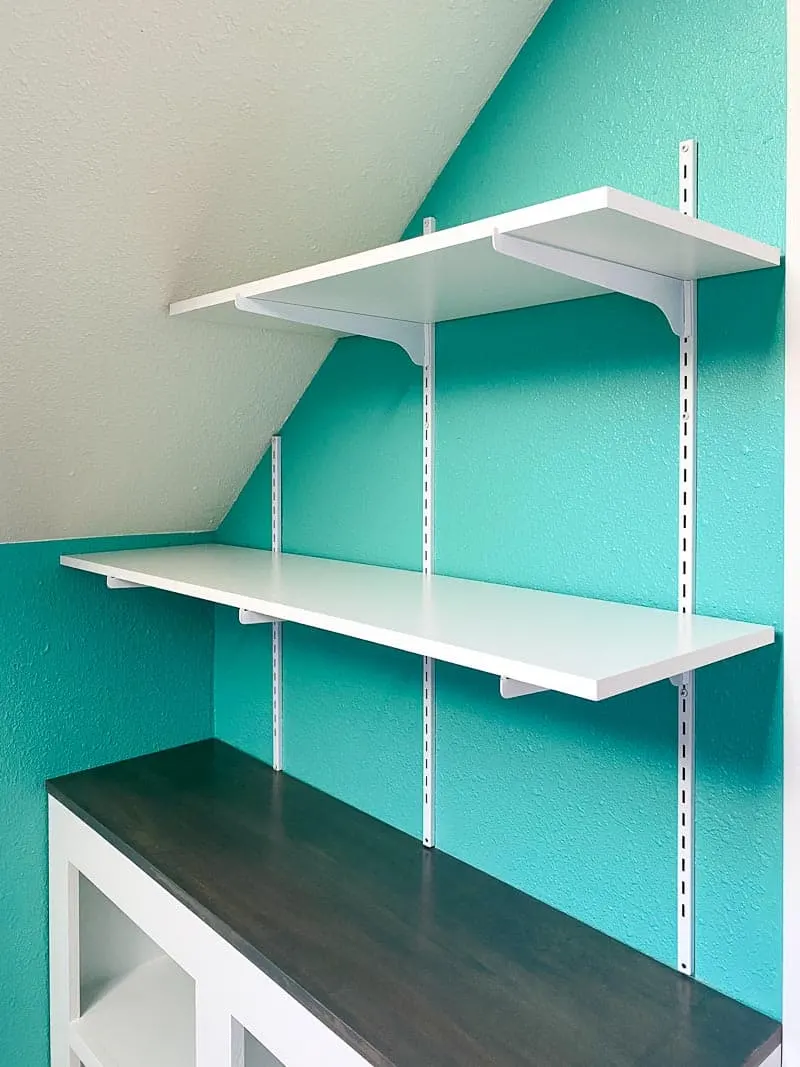
This tutorial shows you how to build wall shelves in minutes! These simple wall mounted brackets allow you to add shelves anywhere!

The angled ceilings of my son's playroom have always perplexed me. It's one of the largest rooms in the house, yet it feels so small because there's only a few feet of headroom down the center. You can see just how low the walls get in his Lego building area.
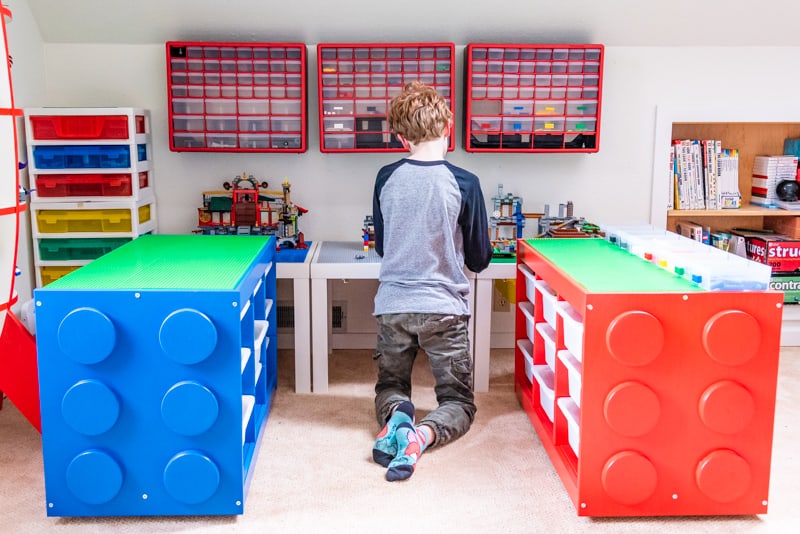
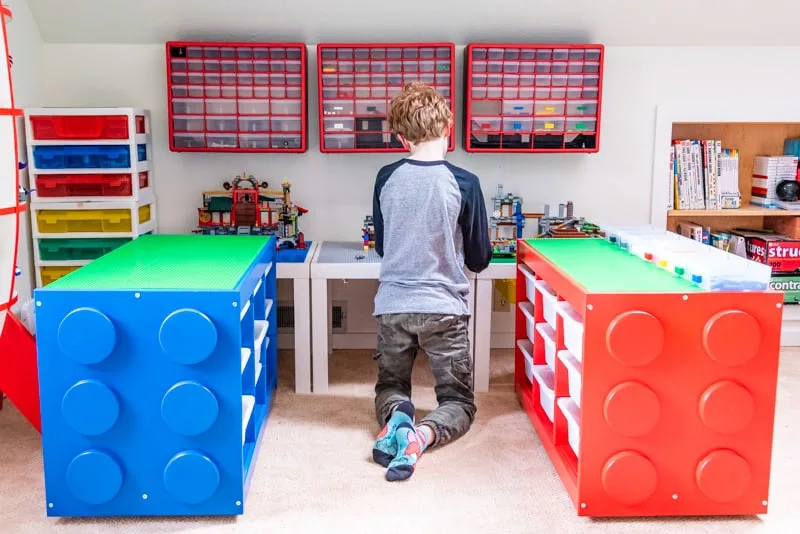
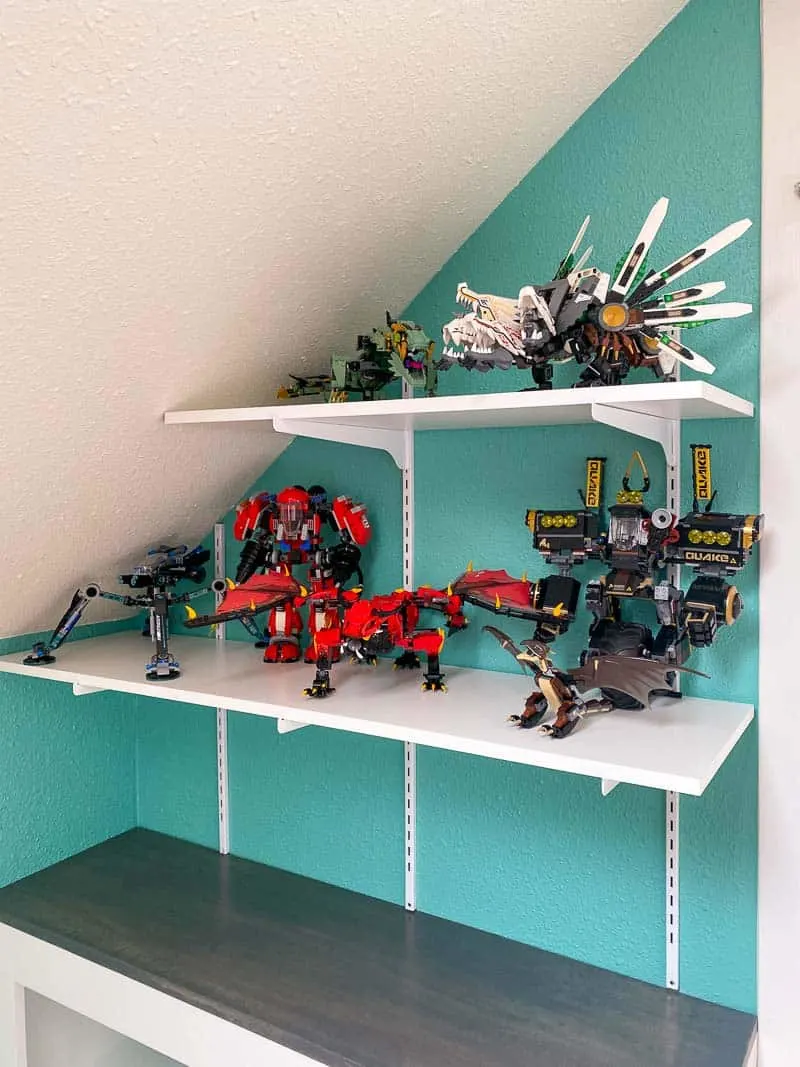
All the Lego creations strewn everywhere doesn't help! I've built a ton of storage for all the loose pieces, like these IKEA Lego tables and minifigure display case. But he doesn't have a good place to display all his dragons, mechs and other builds.
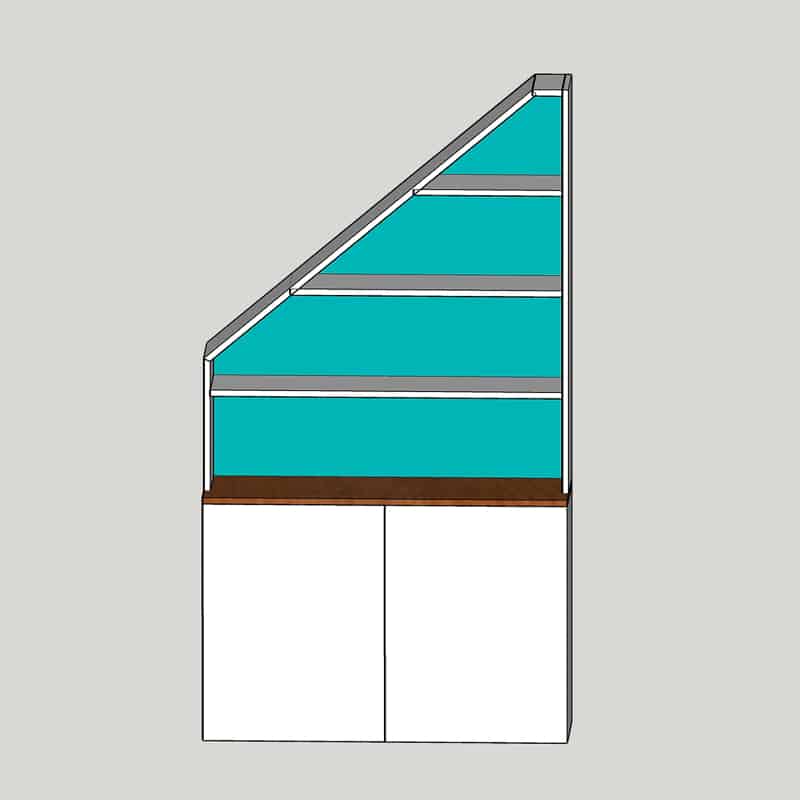
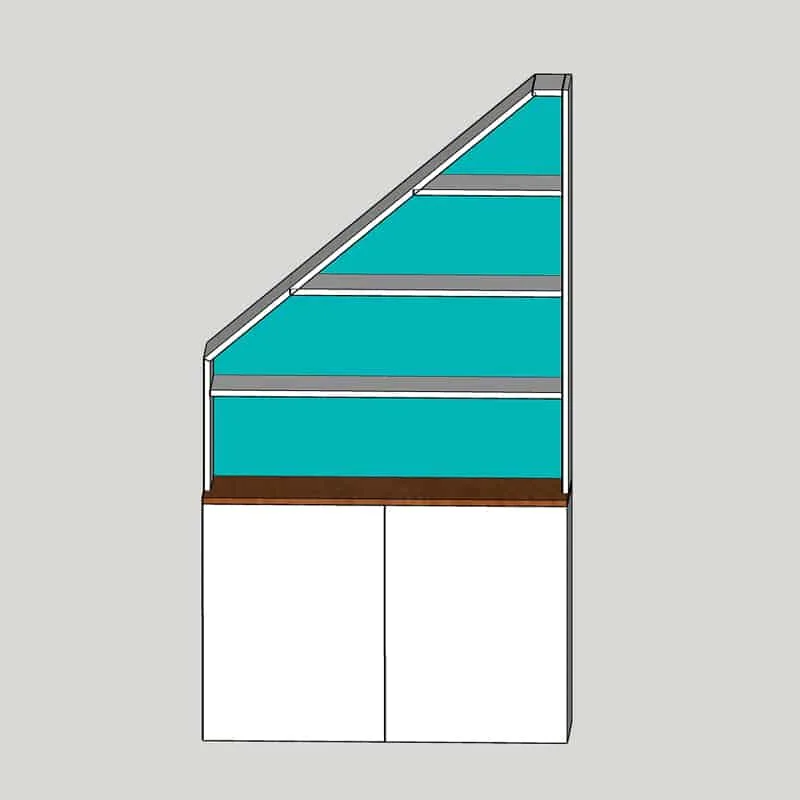
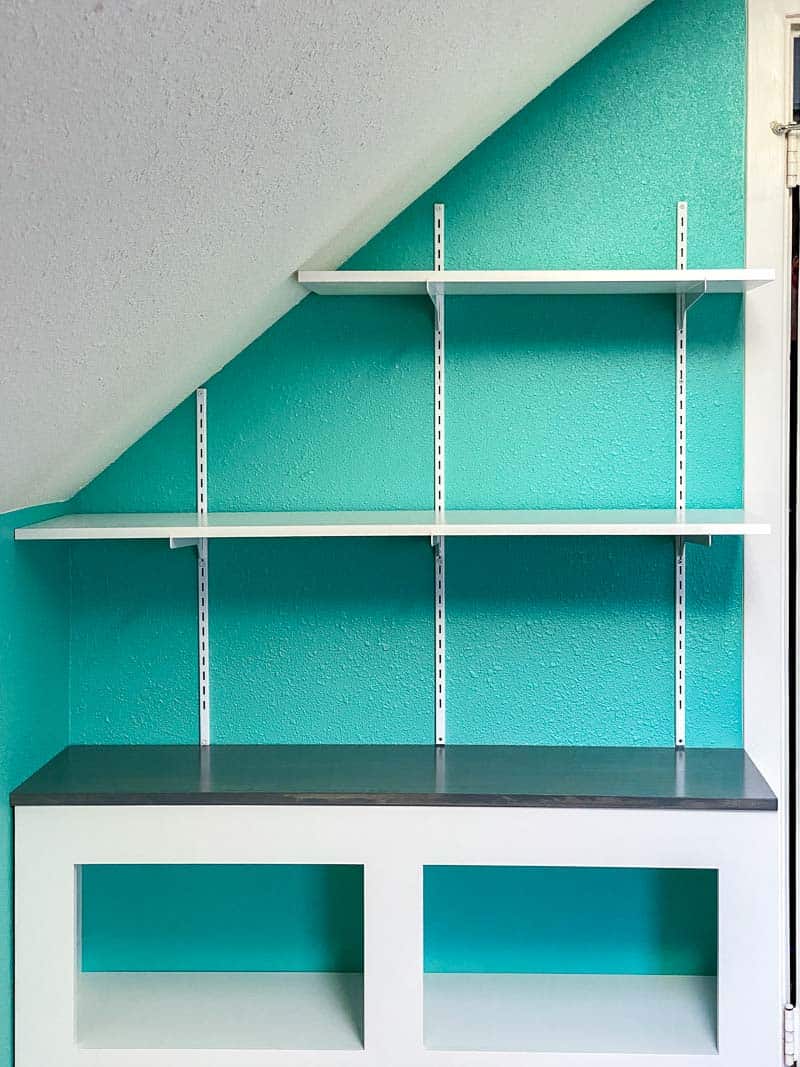
I made this built-in cabinet with bifold doors behind the door to the playroom, and the angled wall above it is perfect for some shelves. I drew up the plans for a built-in bookcase, but all those angles hurt my brain! Plus, adjustable wall shelves would be more useful for his ever-changing collection.
I dug out the vertical standards I had removed from the wall when I built these DIY garage shelves last year. While they're not the most attractive solution, they fit in this awkward space perfectly and they were free! Here's how to install them!
This post contains affiliate links for your convenience. Purchases made through these links may earn me a small commission at no additional cost to you. Please visit my disclosures page for more information.
Materials Needed
- Vertical shelf supports (aka standards)
- I used these, but you can find a variety of different styles at places like the Container Store or Home Depot.
- Shelf brackets
- These come in different sizes depending on the depth of your shelves. I used 12" shelf brackets, but I've also seen 16" ones for larger shelves.
- Wood or melamine board
- This should be the same depth as the shelf brackets. You can buy prefinished melamine shelves like these in a variety of colors and finishes.
- 3" wood screws
- Stud finder
- Level (magnetic ones work great!)
- Drill
How to Build Wall Shelves
Paint the wall behind the shelves (Optional)
It's much easier to paint the walls now, rather than taping off around the shelves later. Obviously you can skip this step if you already have the color you want!
I recently built a climbing wall on the other side of this room, and painted it the same color as my son's favorite climbing gym walls. So I extended the color to the rest of the space (even his closet!)
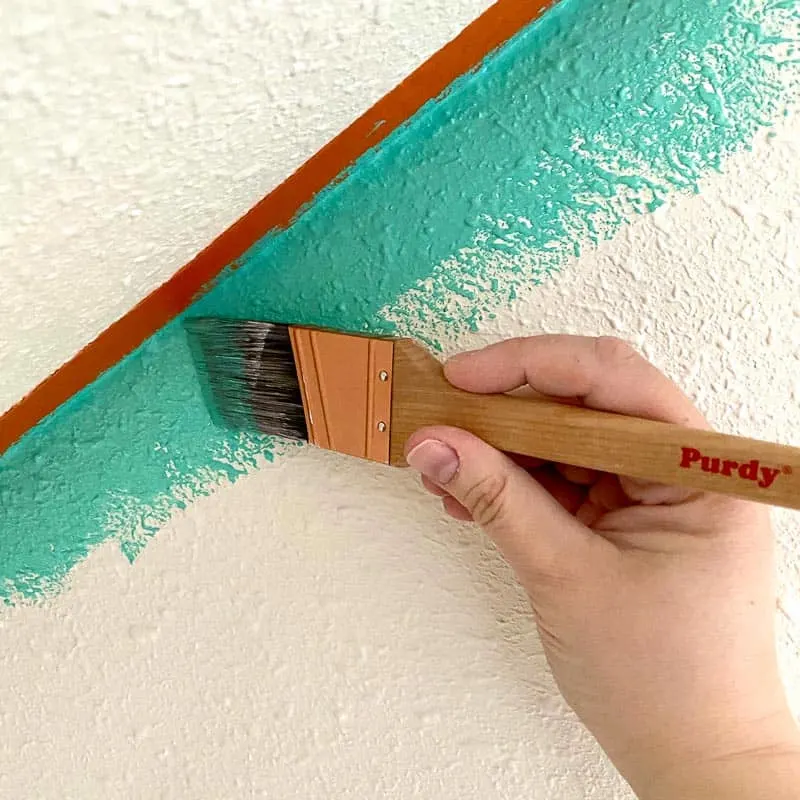
These walls have a crazy amount of texture, so getting crisp lines is a challenge. You can read all my tips on how to paint textured walls here. My tricks worked pretty well on this sloped wall, with just a tiny bit of touch up on the biggest bumps.

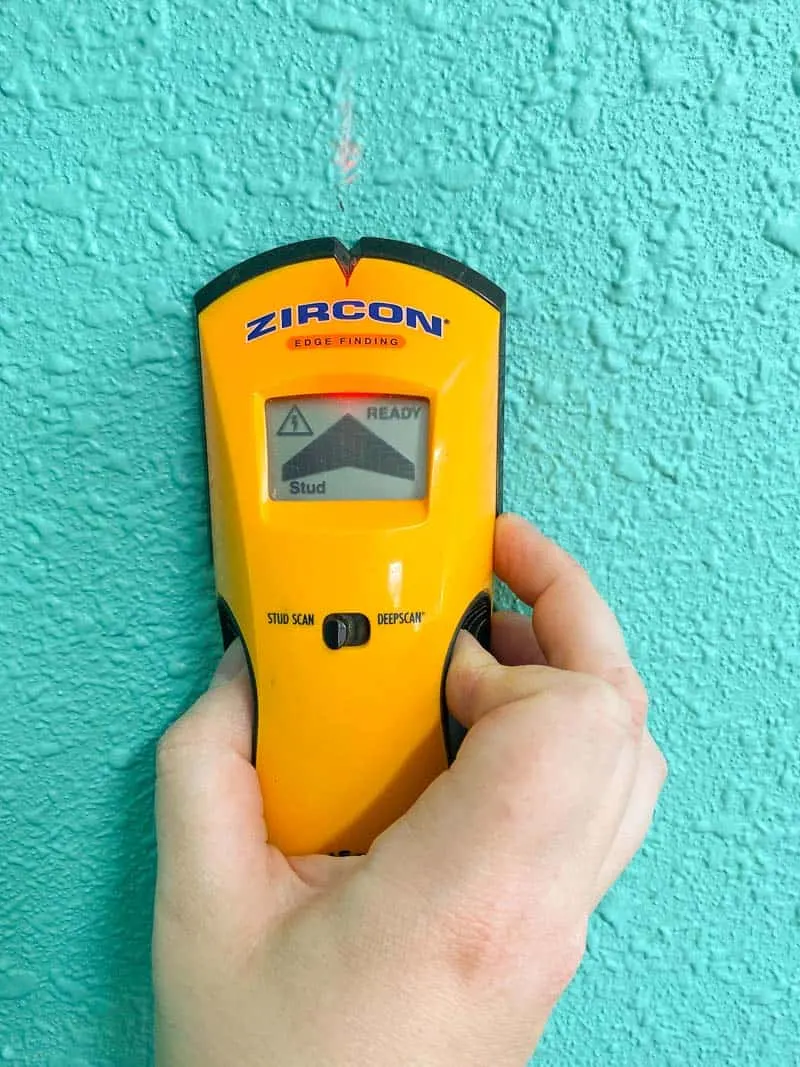
Find and mark the studs
The vertical standards should be attached to studs in order to support all the weight on the wall shelves. Use a stud finder to locate the studs (or one of these methods for finding a stud without one) and mark the edges with a pencil.

If there are no studs at the location you want, you can use hollow wall anchors to attach the shelves to the drywall. Make sure that the anchors are weight rated for the items you plan to place on the shelves. I recommend toggle bolts or molly bolts for the most strength.
Line up the bottom of the brackets
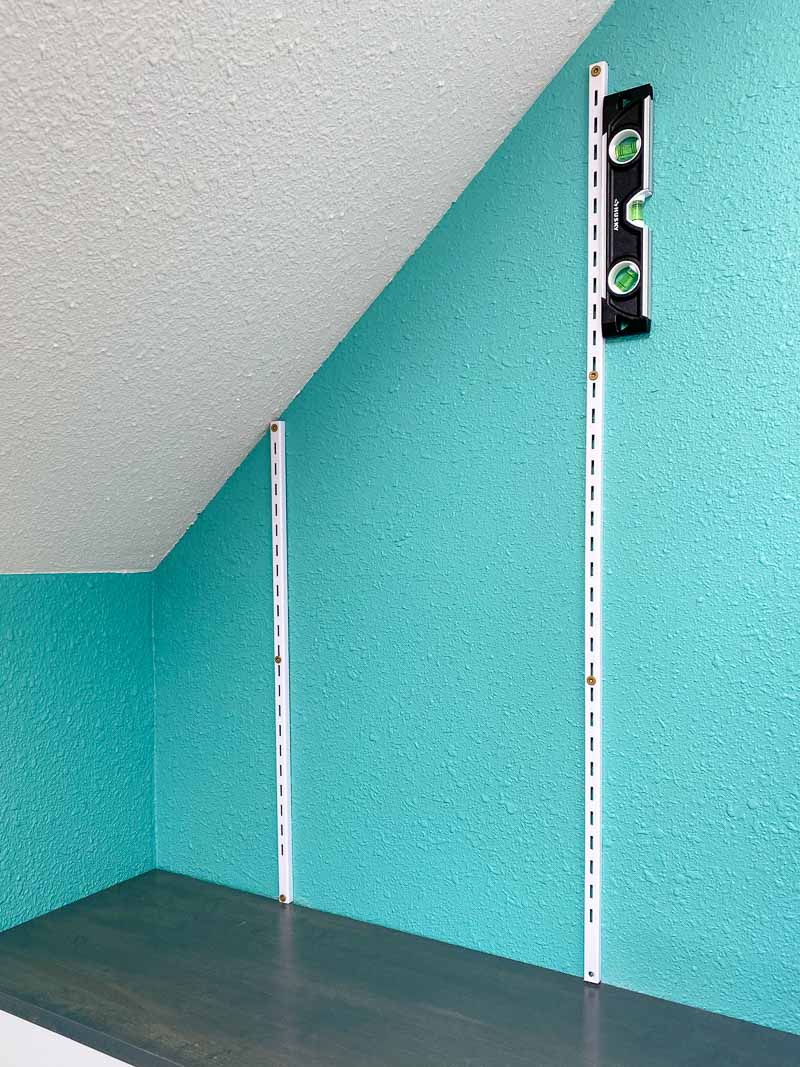
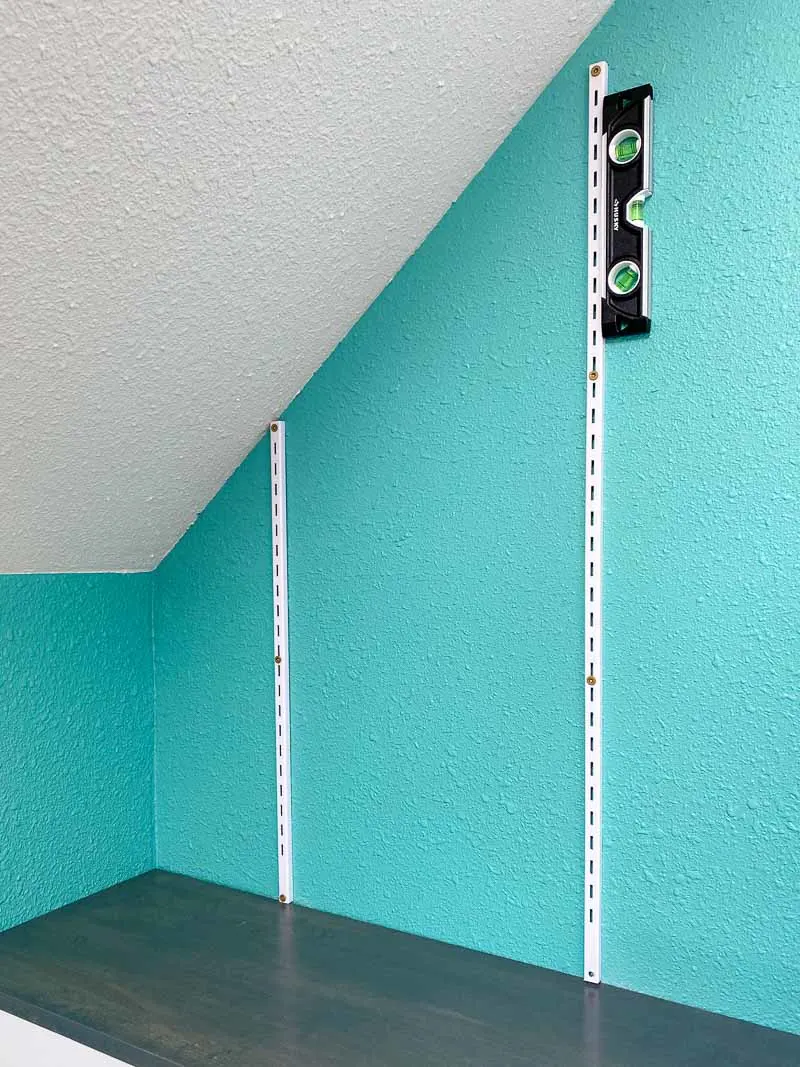
All the vertical brackets should be mounted at the same height so the holes for the shelf brackets are level. I'm working with a sloped wall, so all my standards are different lengths.
To keep them all at a consistent height, I lined them up with the top of the cabinet. But you can also use a long level to draw a pencil line along the wall where the vertical standards should start.
Screw the vertical brackets to the studs or anchors
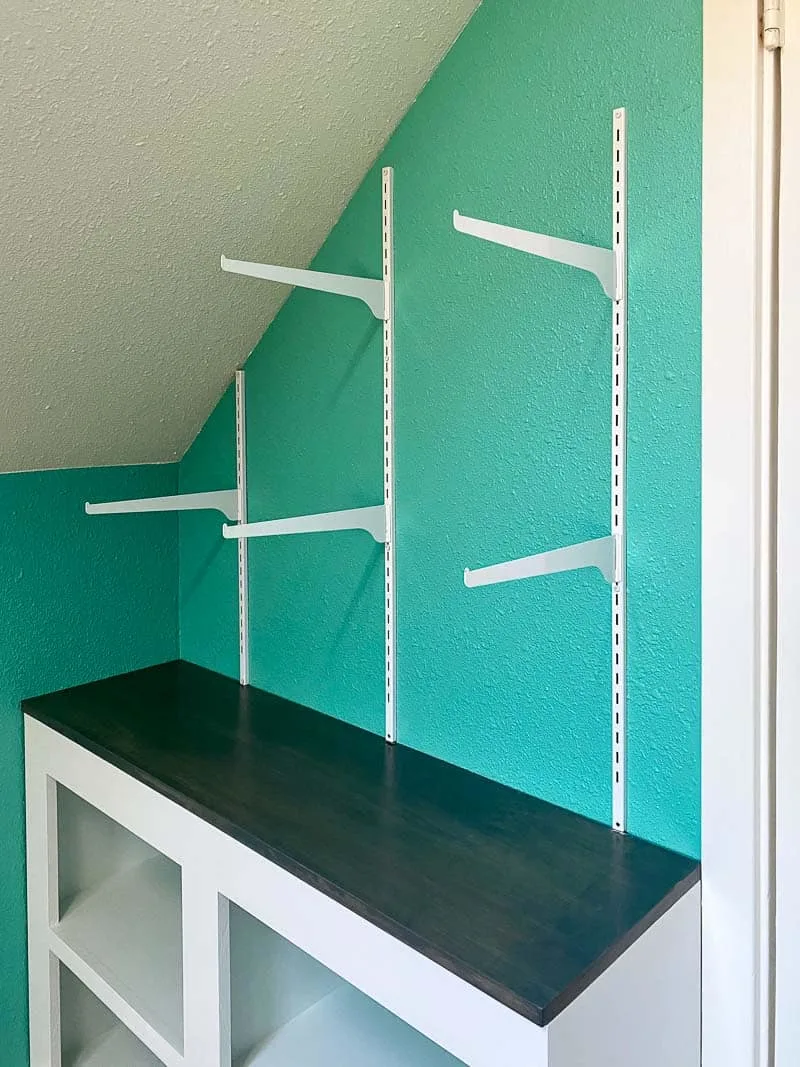
I'm using a 24" standard for the short side of the wall, and two 36" standards on the taller end. This will allow me to have one long shelf along the bottom, and a shorter one at the top.
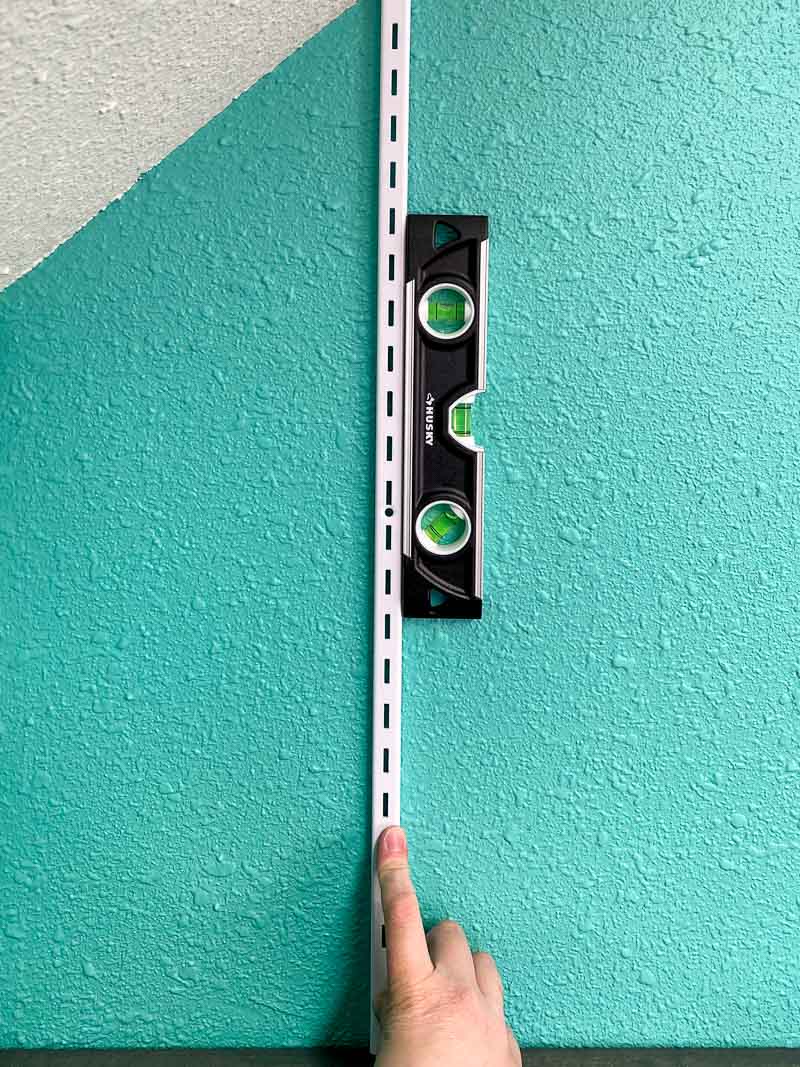
Hold the first standard on a stud aligned with your bottom line. Use a drill to screw a 3" screw through the bottom hole in the standard and into the stud.
Next, use the level to make sure the standard is perfectly straight. A magnetic level like this one is super useful, because you can just snap it to the side of the metal standard and use two hands to screw it into place!

Repeat the process for the other standards. You'll only need two for shorter wall shelves, but three works better for anything over three feet wide. Otherwise, the middle of the shelf will start to sag.
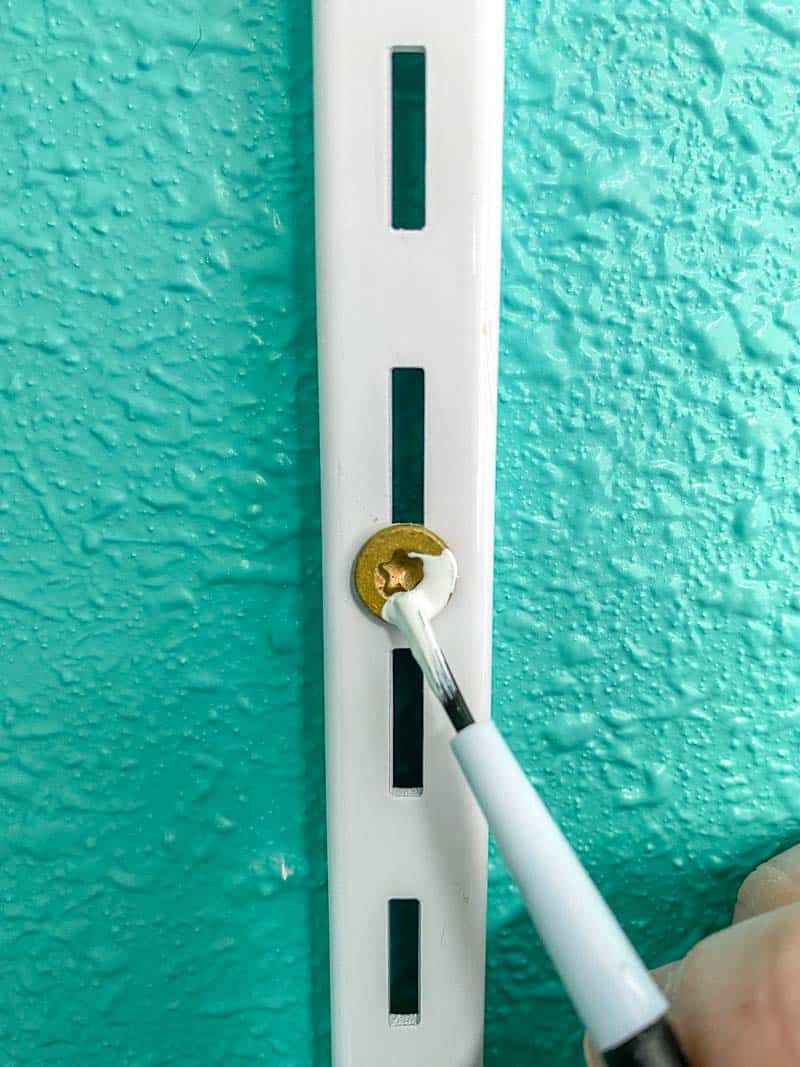
The only screws I had on hand were tan colored and really stood out against the white standards. I used a small brush and painted them white so they would blend in better. You can also paint the entire standard to match the wall!

Install the shelf brackets
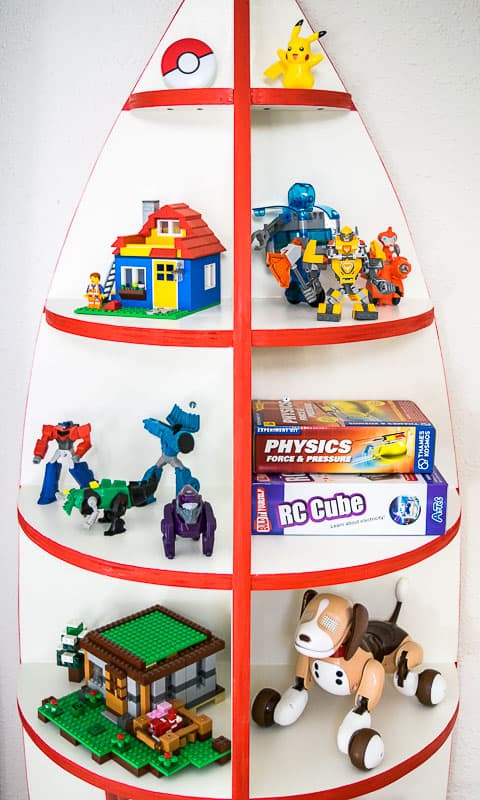
The best part about adjustable wall shelves like these is that you can move the brackets around to fit your needs. I spaced these shelves about a foot apart to fit his larger Lego creations, and moved the smaller ones to his rocket bookshelf.

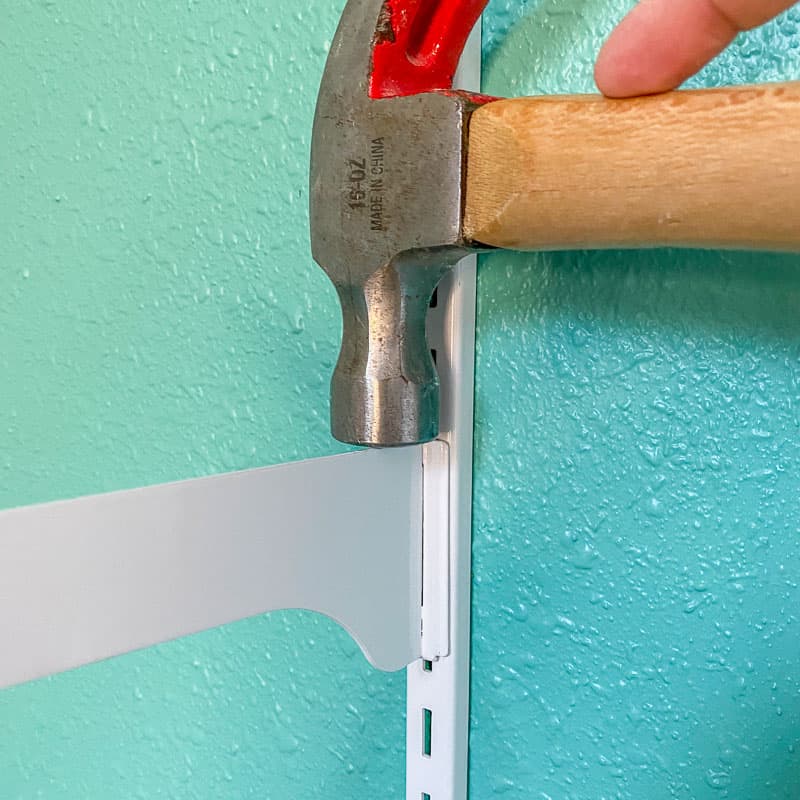
Simply insert the shelf bracket into the holes in the standard with the point on the end facing up. Use a hammer to tap them into place and lock them in tight. Otherwise, they can fall out really easily!

Make sure the brackets are at the same height on each of the standards. I just count down from the top or the nearest screw to check that they're even.

Cut the shelves to fit
If you're using prefinished shelves like these, you can skip this step! But if your space requires a shelf length that isn't evenly divisible by 12, you'll probably have to cut your shelves to fit.
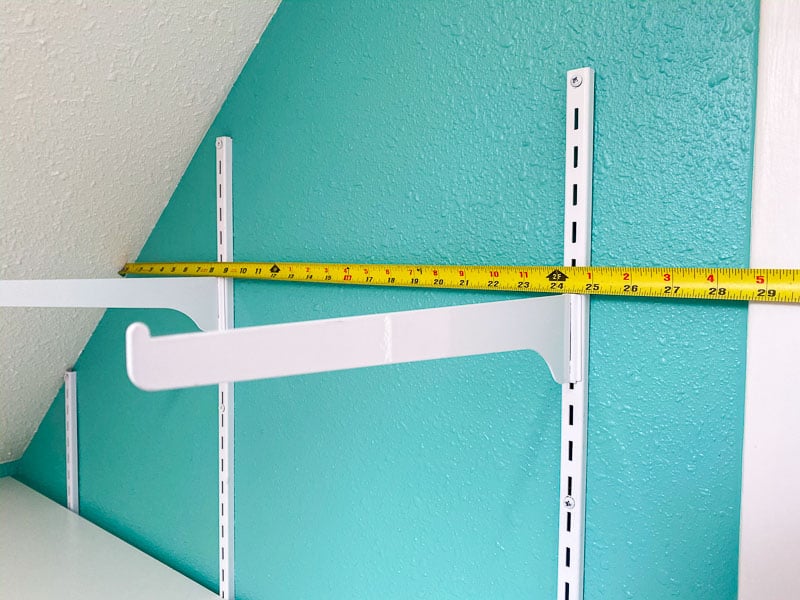
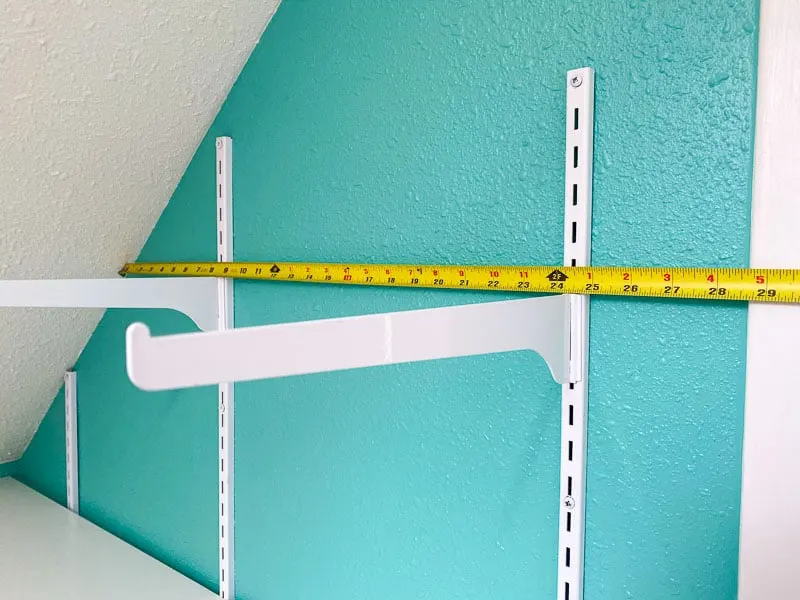
Measure the span of the wall you want to cover. You can have some overhang, but don't put anything too heavy on the ends or the shelves will tip!
My top shelf meets the sloped ceiling on one end and the door trim on the other. To get an accurate measurement, I placed the tape across the brackets and read the measurement at the top of the tape measure.
Use a miter saw or circular saw to cut the shelves to fit. A circular saw jig like this one will help keep your cut line straight. You may need to add edge banding to the end of the shelf to hide the particleboard interior.
I could have cut a bevel to match the slope, but it would look weird if we ever moved the shelf down a notch. Plus, I didn't want to figure out the exact angle of the ceiling! 🙂
Place the shelves on the brackets
Test the fit of the shelves on the brackets. If all the standards were installed at the correct height, the shelf should sit securely in the brackets without tipping.

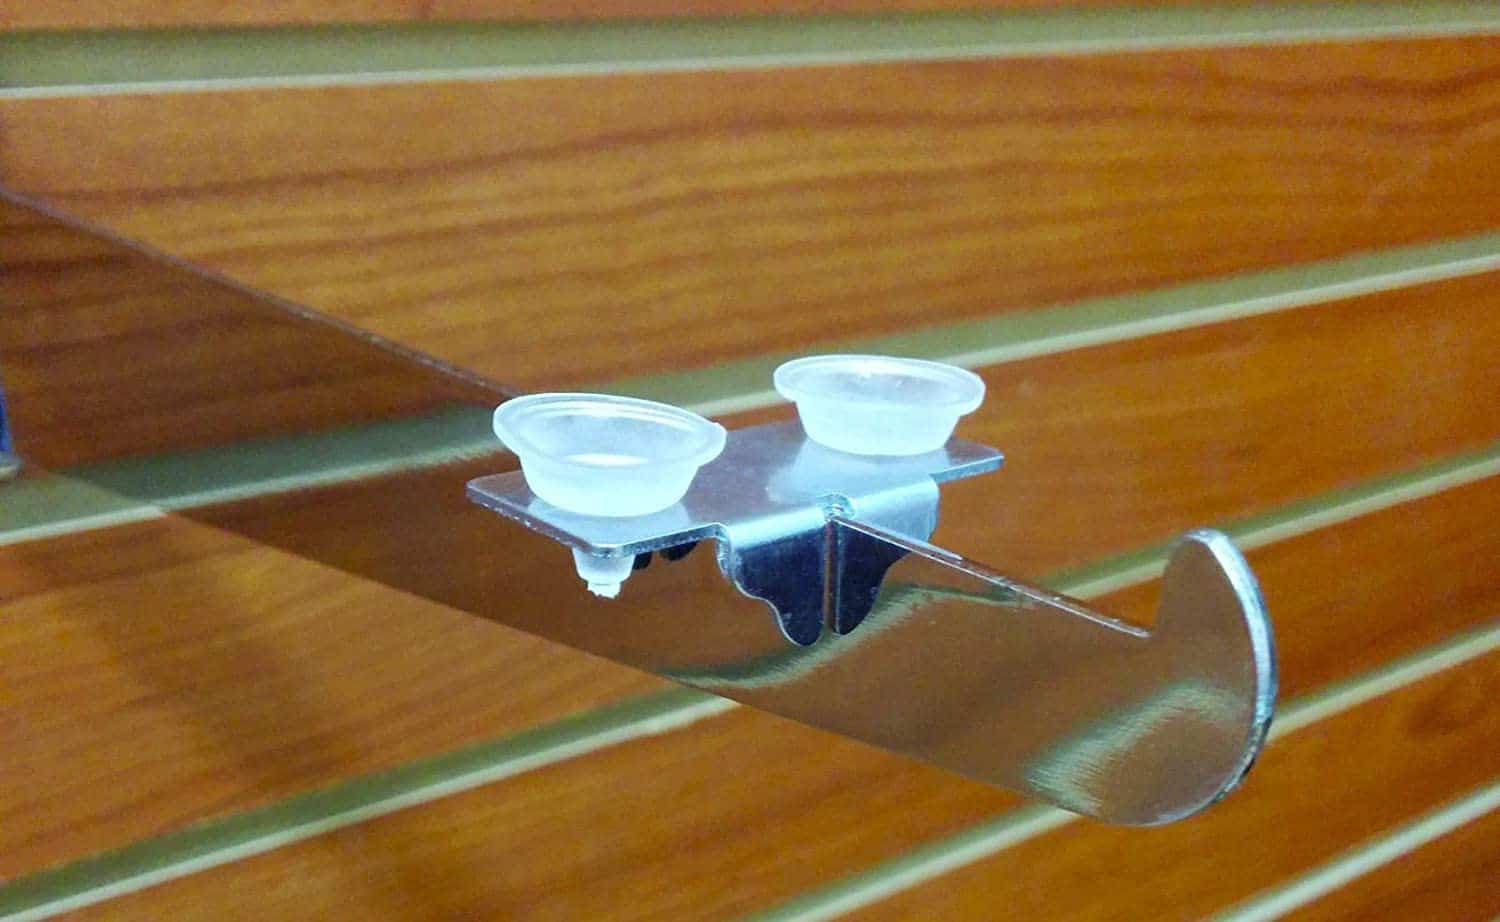
How to prevent the shelves from shifting
One downside to these adjustable wall shelves is that the boards can shift pretty easily. It's not a problem when there's a wall on one end holding them in place, but they can move out of alignment when the ends get bumped.
These little shelf clips straddle the bracket and have rubber feet to hold the shelf in place with friction. You can also remove the feet and screw them directly into the shelf for a more permanent solution.

You can also cut small grooves in the underside of the shelves like this blogger did. The brackets fit into the grooves and prevent the shelves from moving around.
I'm so glad I decided to build these adjustable wall shelves for my son's room instead of making a custom bookshelf! I was able to install it in minutes instead of the days it would take to cut, assemble, sand and paint a built-in unit.

Now he has a ton of new storage for all his toys! The hard part is getting him to put them all away when he's finished playing!

Check out these other DIY shelf ideas!
Chris @ bluespringshandyman.com
Thursday 26th of March 2020
These are great for storage! I had to use some Vertical Double Slotted Standards in my tanning salon in order to support the extra weight of the product. Singles would be great for a project like this one. I never thought of using this set-up in a play room. I think I'll add some to my kiddo's room as well. I feel they give a better appearance than just another shelf. Thank you for the idea, keep it up!