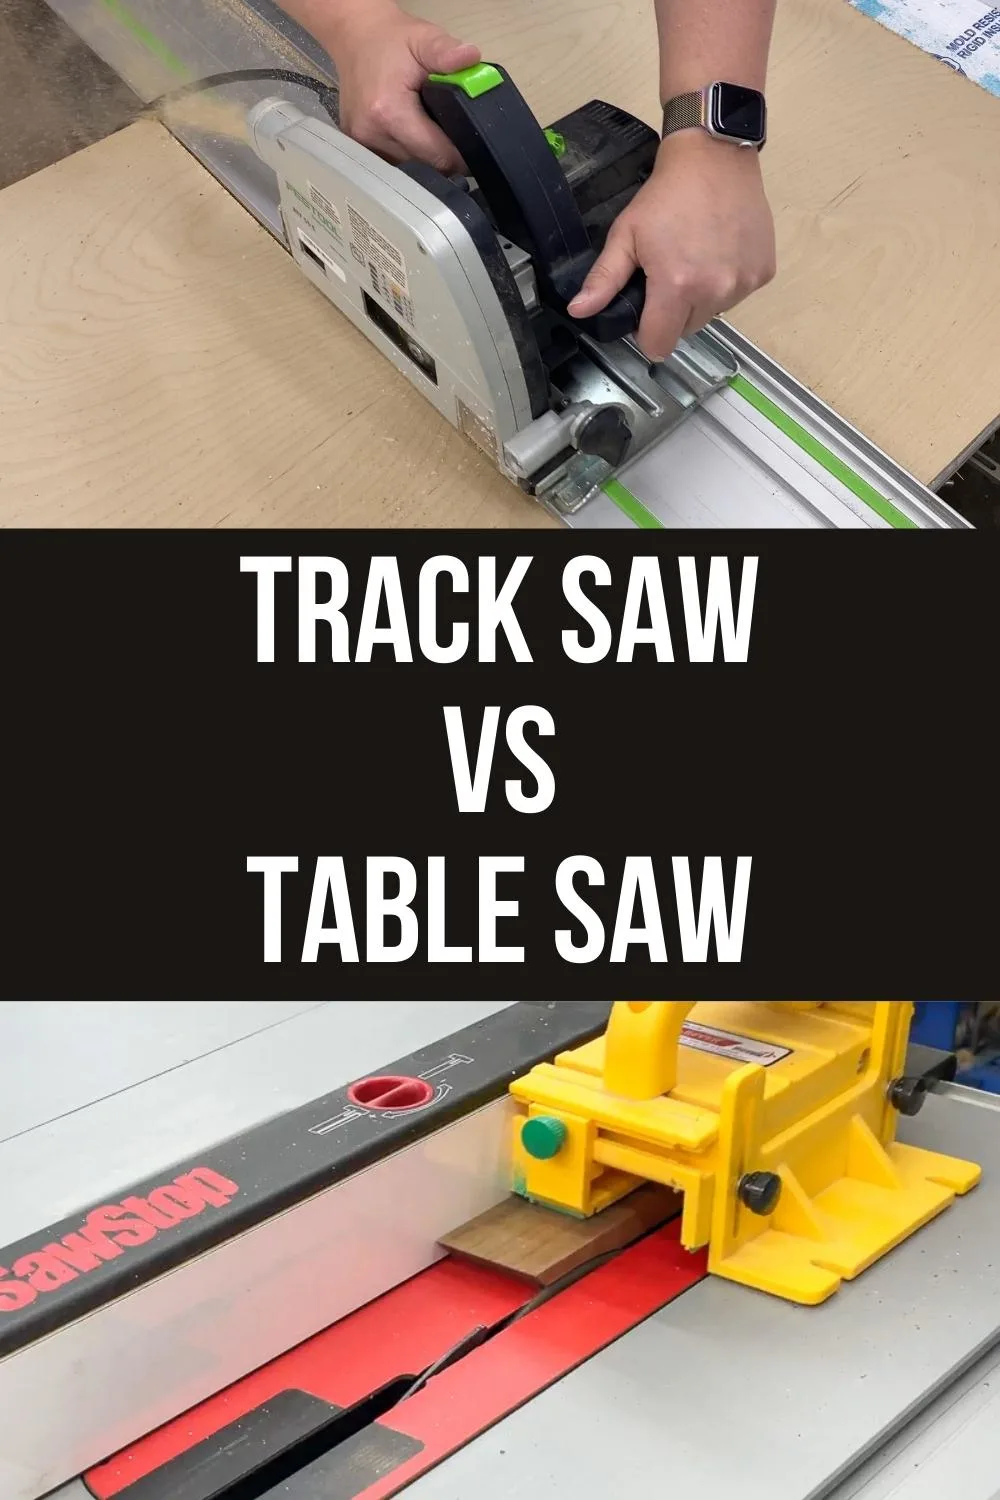
Trying to choose between a track saw vs table saw? Can a track saw replace a table saw in the workshop? Find out here!

The best way to cut large sheets of plywood or other materials is with a table saw, right?
A table saw does have its place in the workshop, but it can be dangerous and difficult to use.
A track saw is safer and easier to use than a table saw. It can be more accurate too!
So which one do you choose? I'll go over the pros and cons of each tool so you can decide which one (or both!) is right for your workshop.
This post contains affiliate links for your convenience. Purchases made through these links may earn me a small commission at no additional cost to you. Please visit my disclosures page for more information.
What's the difference between a track saw vs table saw?
Here's a quick list of the main differences between the two tools:
- Track saws are portable, while table saws are typically stationary.
- Track saws are much safer than table saws.
- Table saws are more powerful than track saws.
- Track saws allow you to cut large sheet goods that may be difficult to handle on a table saw.
- Table saws allow easy repeatability when making rip cuts.
- Track saws can make splinter-free cut edges with the track's splinter guard.
Can a track saw replace a table saw?
This question gets asked a lot! A track saw can accomplish most of the same tasks as a table saw, sometimes even better! But can it replace a table saw entirely? Here are a few instances where I'll reach for my track saw first.
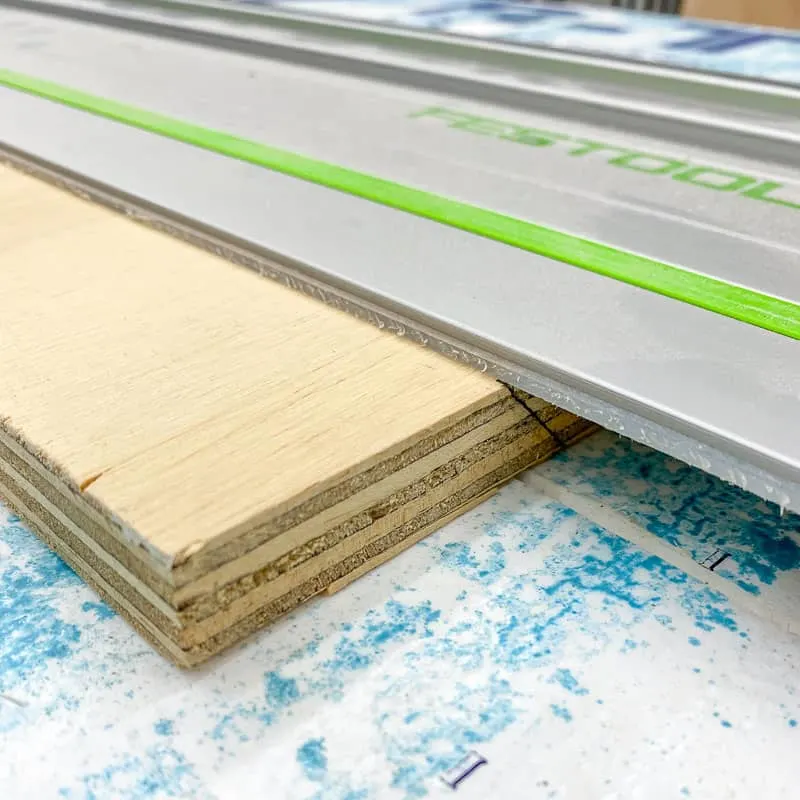
Splinter-free edges
One of the best features of a track saw is its ability to cut splinter-free. Plywood cut on the cross grain at the table saw can leave jagged, splintered edges that are hard to hide. If you're struggling with burning along the cut, you might need to clean your saw blade!
The magic happens with that little rubbery bit on the edge of the track. It holds those wood fibers in place while you make the cut, resulting in a perfectly smooth edge!

On my Festool track saw, you can achieve splinter-free cuts on both sides of the blade with the splinter guard that extends down from the side of the saw. This presses against the wood surface on the waste side, so you can use that edge on your next piece!
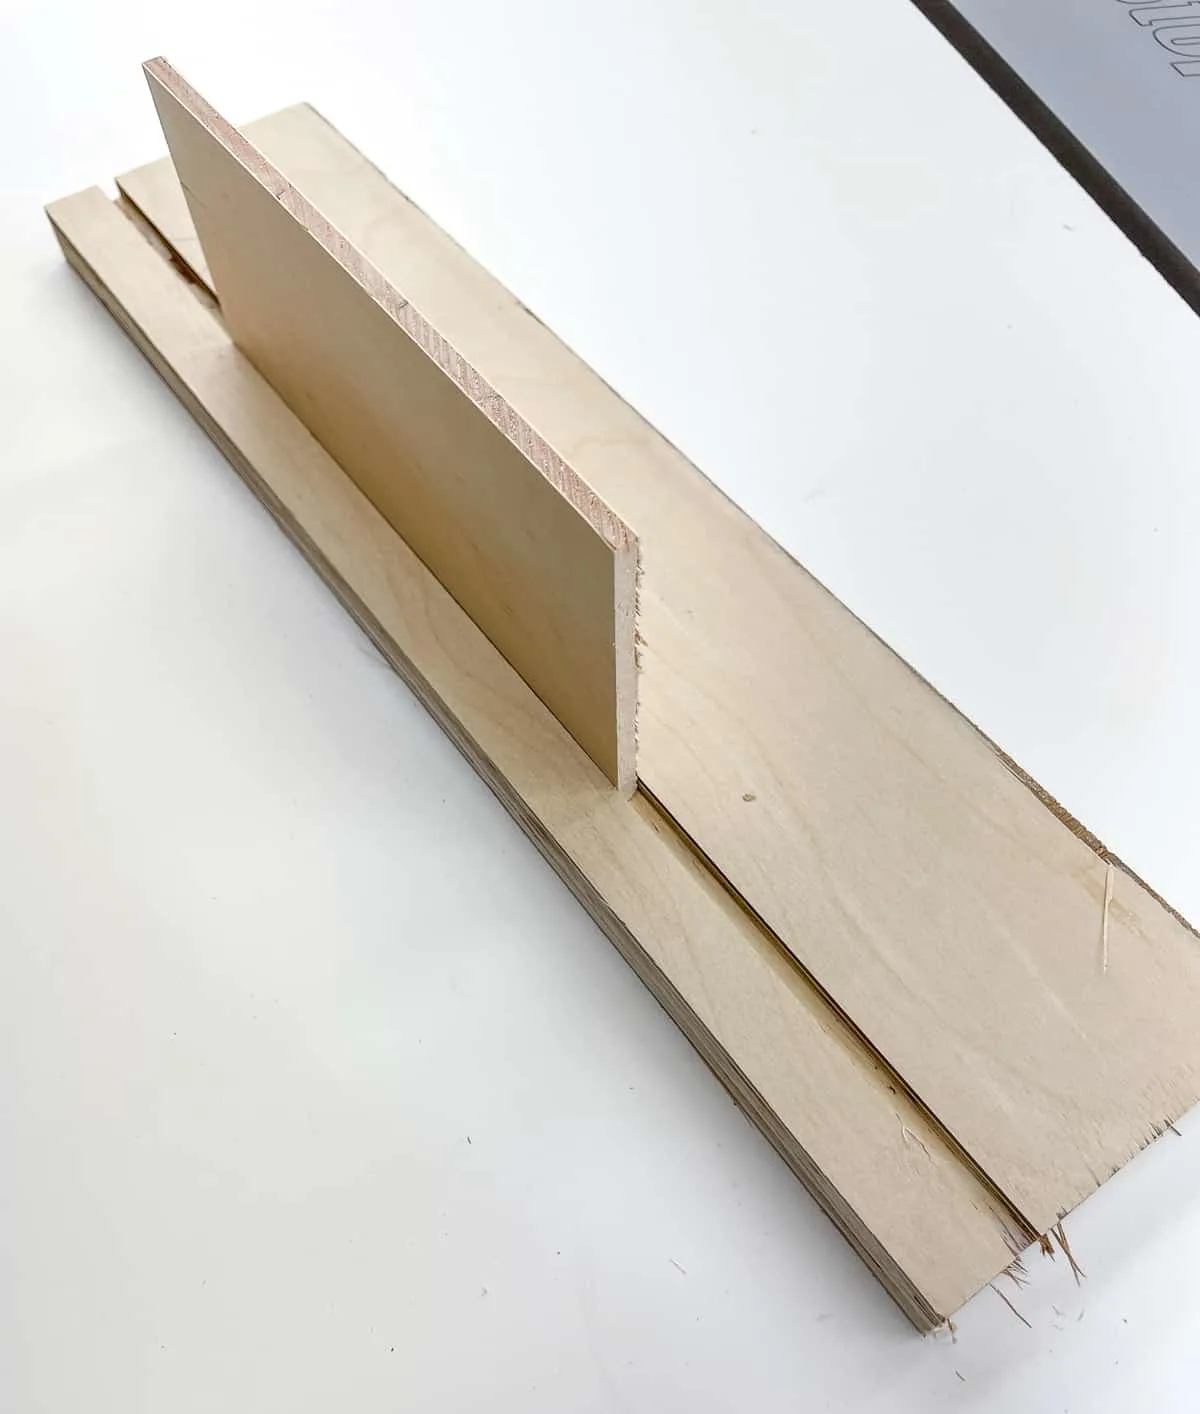
Long angled cuts
Instead of setting up a complicated jig or sled at the table saw, just place the track wherever you want the cut! I would have great difficulty cutting the angle on my kids bookcase at the table saw.

Wider plywood cuts
One drawback to a jobsite table saw is the limited cutting capacity. I can only extend my fence out 28", so I need to get creative to cut a wider piece. But there's no limitation with a track saw!

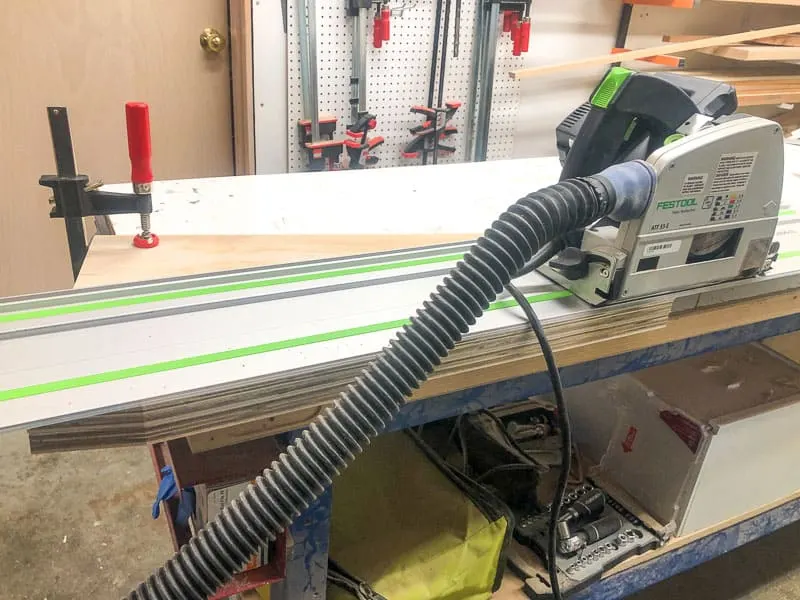
Extra long cuts
Need to rip the factory edge off a 4'x8' sheet of plywood? You'll need more than 16 feet of space to do that with a table saw (and a second person to help!) I don't have that kind of room in my one car garage workshop.
With a track saw, this task is simple to do by yourself. I have an 8 foot length of track just for this purpose! It stores away on my workshop ceiling with these handy rail clips.

Cutting irregular edges
At the table saw, you always have to reference a straight edge against the fence or miter gauge. With a track saw, the track is your straight edge, so you can cut anywhere! This is especially helpful when dealing with live edge lumber like these floating shelves, which require a flat back against the wall.
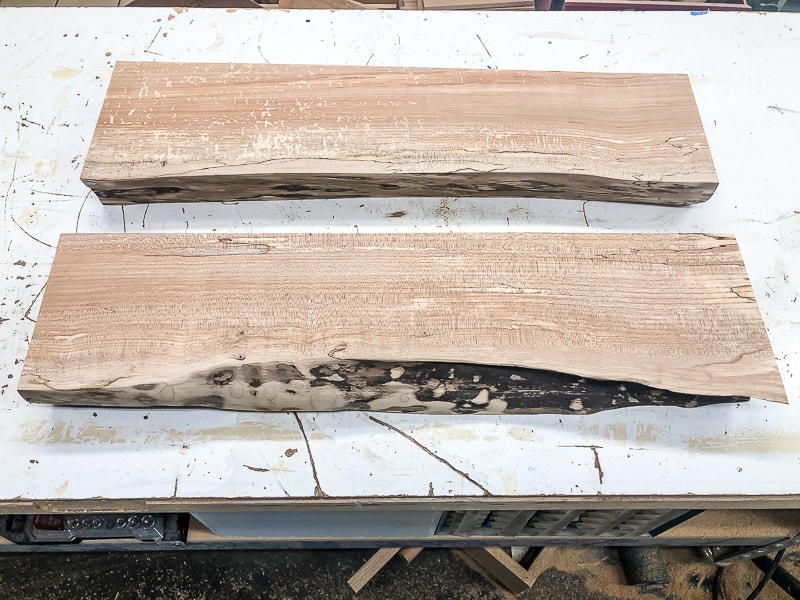

You can also use the track saw as a makeshift jointer for milling rough lumber. It creates a square edge that can then be used against the table saw fence to cut to the final width.
Drawbacks of the track saw
While I love my track saw, there are plenty of times where the table saw is the better option. Here are some of the tasks that are more difficult (but not impossible!) to do with a track saw.
- Repeat cuts are easier with a table saw, because you just set the fence once. Parallel guides can make the process quicker, but it's still faster to do this at the table saw.
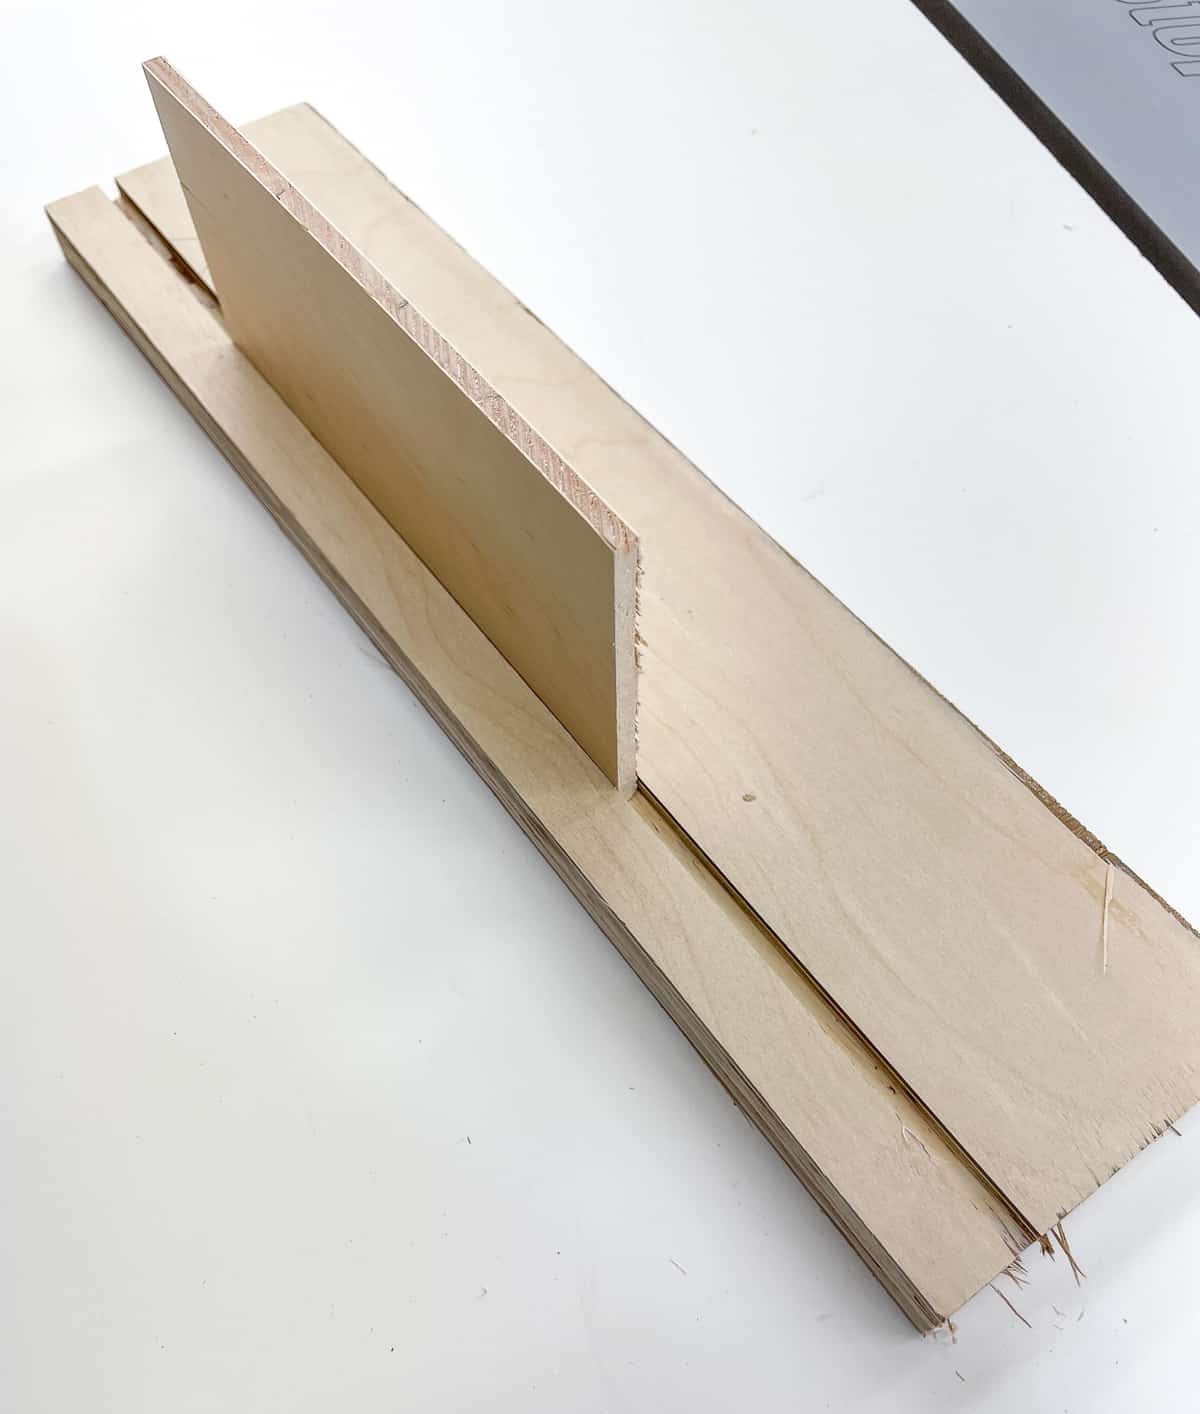
- Narrow boards is harder to rip on a track saw because the track can tip. You have to add scrap wood underneath to hold the track at the same level as the work piece.
- Specialized tasks, such as cutting splines or dados, would be very difficult to accomplish with a track saw.
- The track saw cutting depth is usually limited to about 2", whereas the table saw can typically cut about 3". If you're making chunky table legs, you'd have to make two passes and hope they line up in the middle.
- You have to check that the track is square to the front edge when making a 90 degree cut, instead of relying on the table saw fence that's already calibrated. Track saw squares can take the guesswork out of this task, but they don't come with the saw itself.
What is a track saw?
A track saw is similar to a circular saw. However, the track saw has a fully enclosed blade and operates in conjunction with a corresponding track. You can find out more about the difference between a track saw and a circular saw in this article.

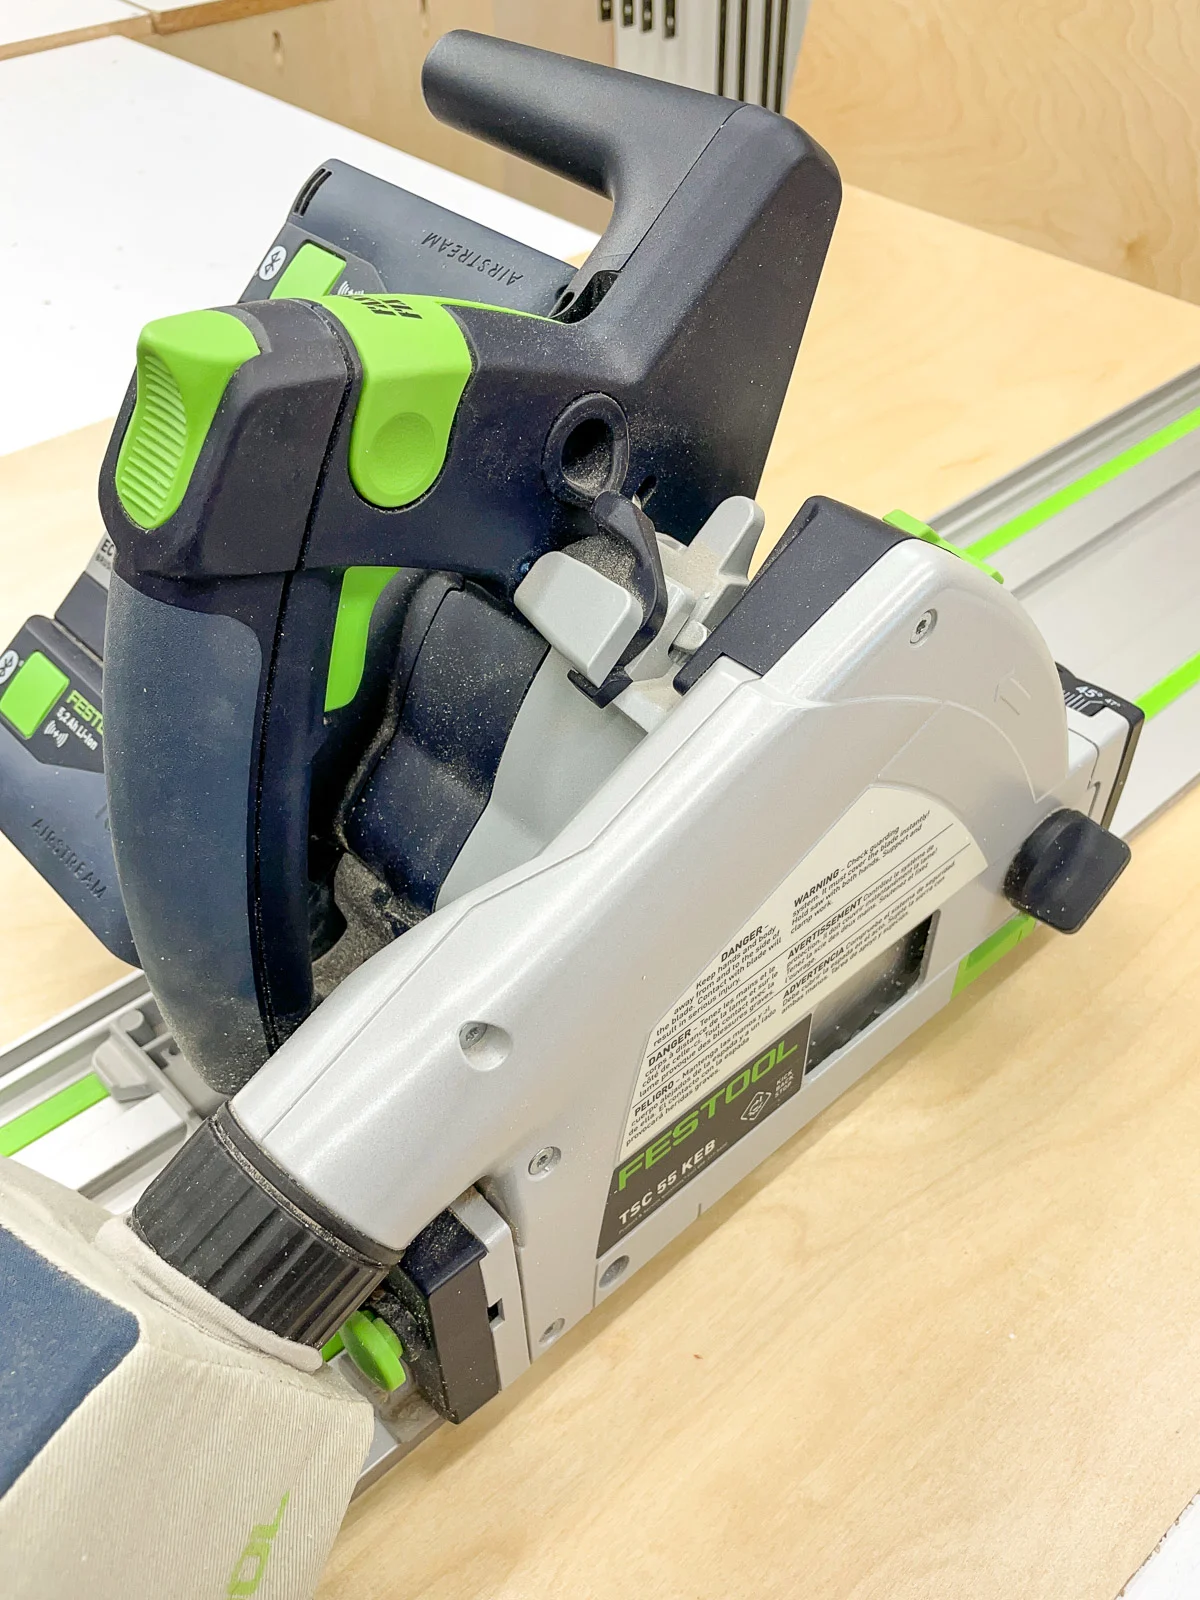
The main parts of a track saw:
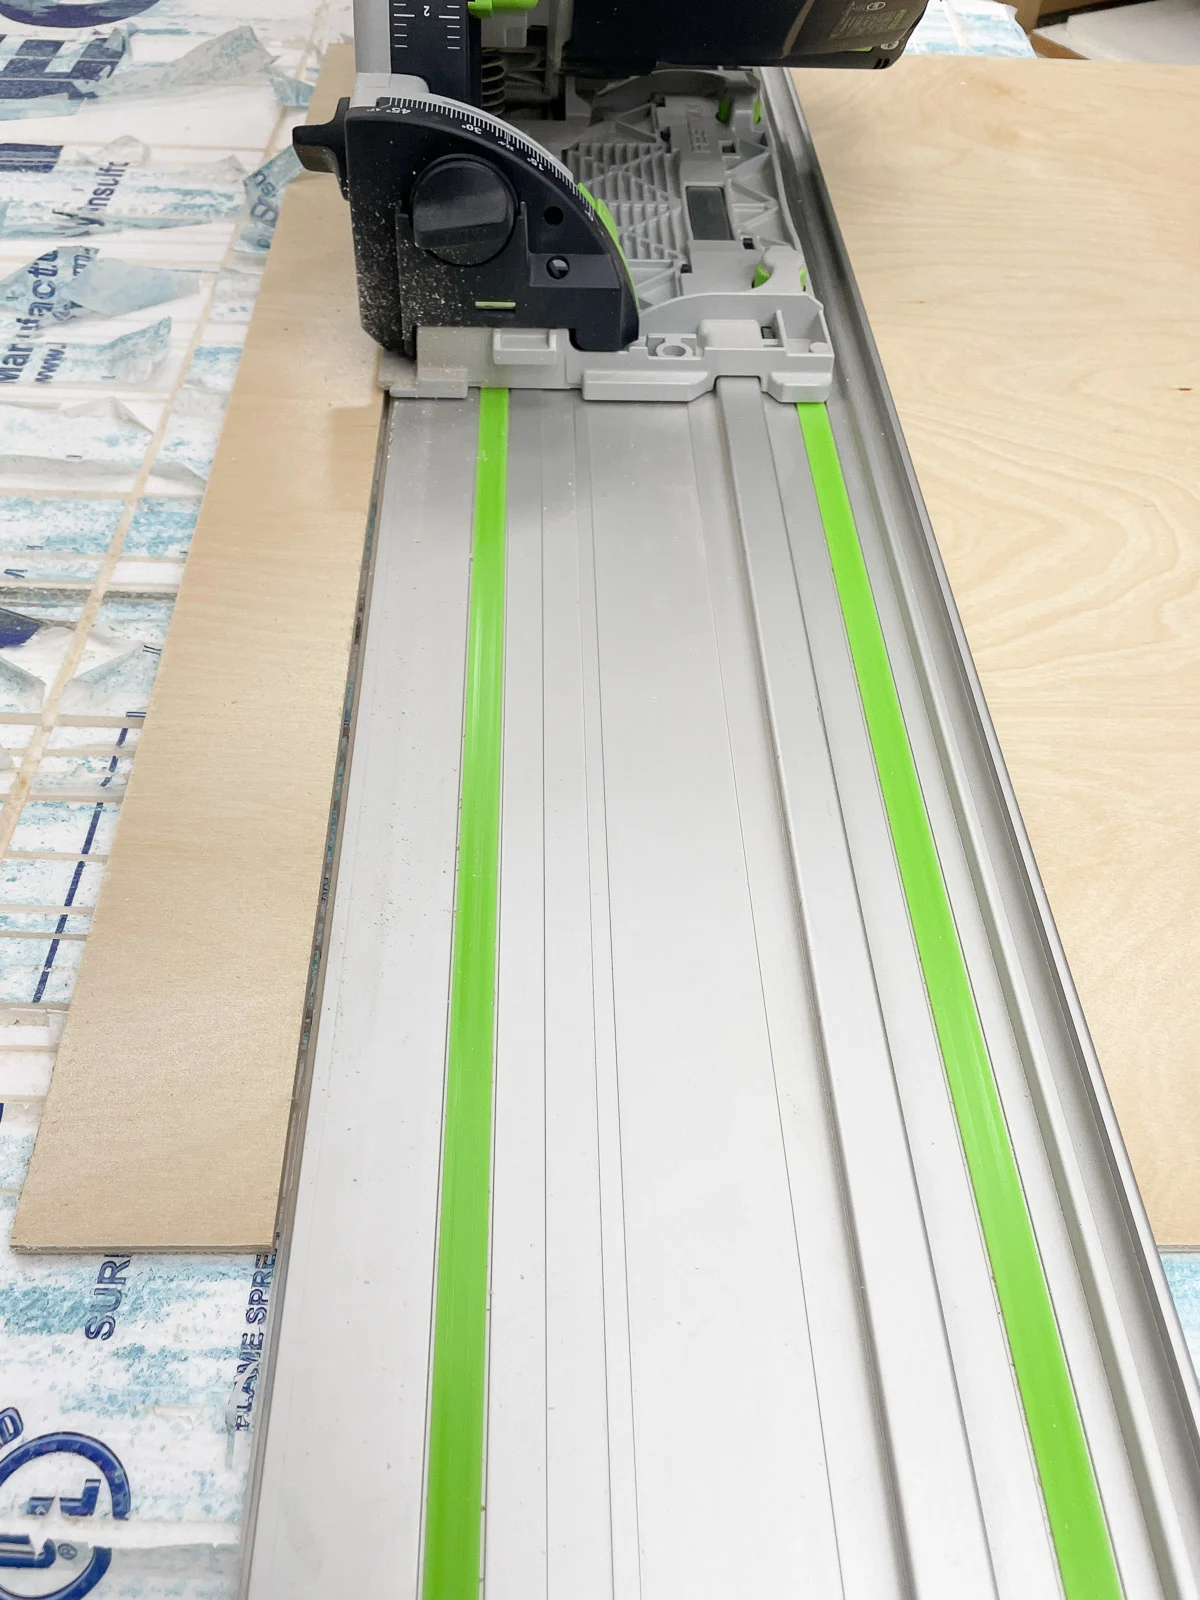
- Blade: Most track saws sport a 6.5-inch diameter blade; however, larger sizes are available.
- Bevel adjustment: Like a circular saw, you can adjust the track saw to make bevel cuts up to 45 degrees.
- Speed adjustment: Many track saws allow you to adjust the speed of your blade. This comes in handy if you're worried about burn marks on a particular species of wood.
- Vacuum port: Track saws typically have great dust collection. The enclosed blade allows a shop vacuum to keep your work area clean.
- Track: The track saw uses an aluminum track with grooves that keeps the saw cutting straight. You can buy these in different lengths or join two together to create a longer track.
When should I use a track saw?
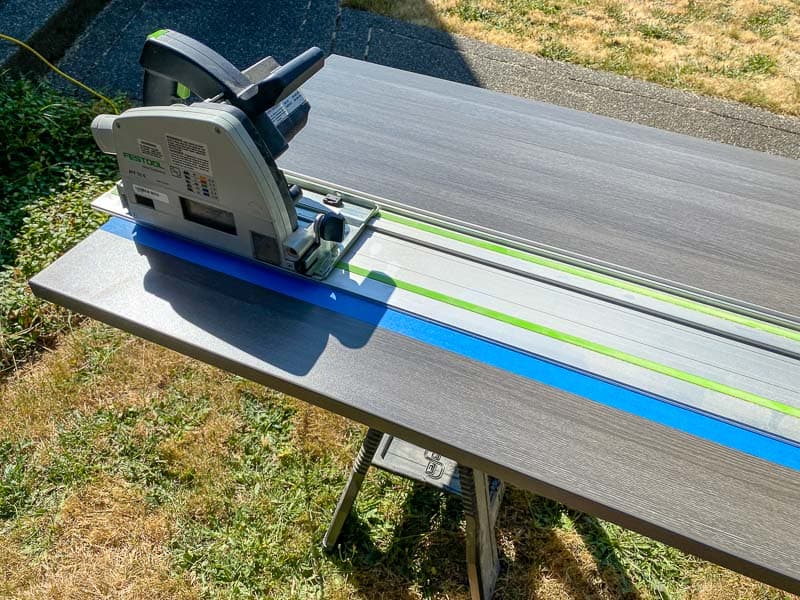
Track saws are great for breaking down large sheet goods like plywood. You can keep the plywood flat on the work surface and pass the saw over it instead of pushing a huge sheet through the table saw.
The track saw can also be handy for making perfectly straight cuts on a job site, as these tools can easily make shorter cuts. Track saws can also make safe plunge cuts (unlike circular saws, where your fingers need to lift the blade guard).
Track saws are perfect for small workshops that don't have a lot of room for an infeed and outfeed at the table saw. You can accomplish many of the same tasks as a table saw in a much smaller footprint!
How do I use a track saw?
Each track saw will operate in different ways, so consult your owner's manual! Below, we cover some general guidelines for using a track saw.
- Safety - Remember your hearing and eye protection!
- Choose the right blade - If you're making rip cuts (with the grain), use a ripping blade with a lower tooth count. For cross-cutting (across the grain), choose a blade with a higher tooth count.
- Protect the work surface - You don't want to be cutting into your workbench, right? I like to use sheets of rigid foam insulation underneath the board, and it can take hundreds of cuts before it starts wearing out.
- Set the cut depth - Make sure the blade will cut all the way through the board without sticking out too far on the other side. There should be a depth gauge on the saw, both for use with a track and without. I prefer to set mine one click past the actual depth of the wood.
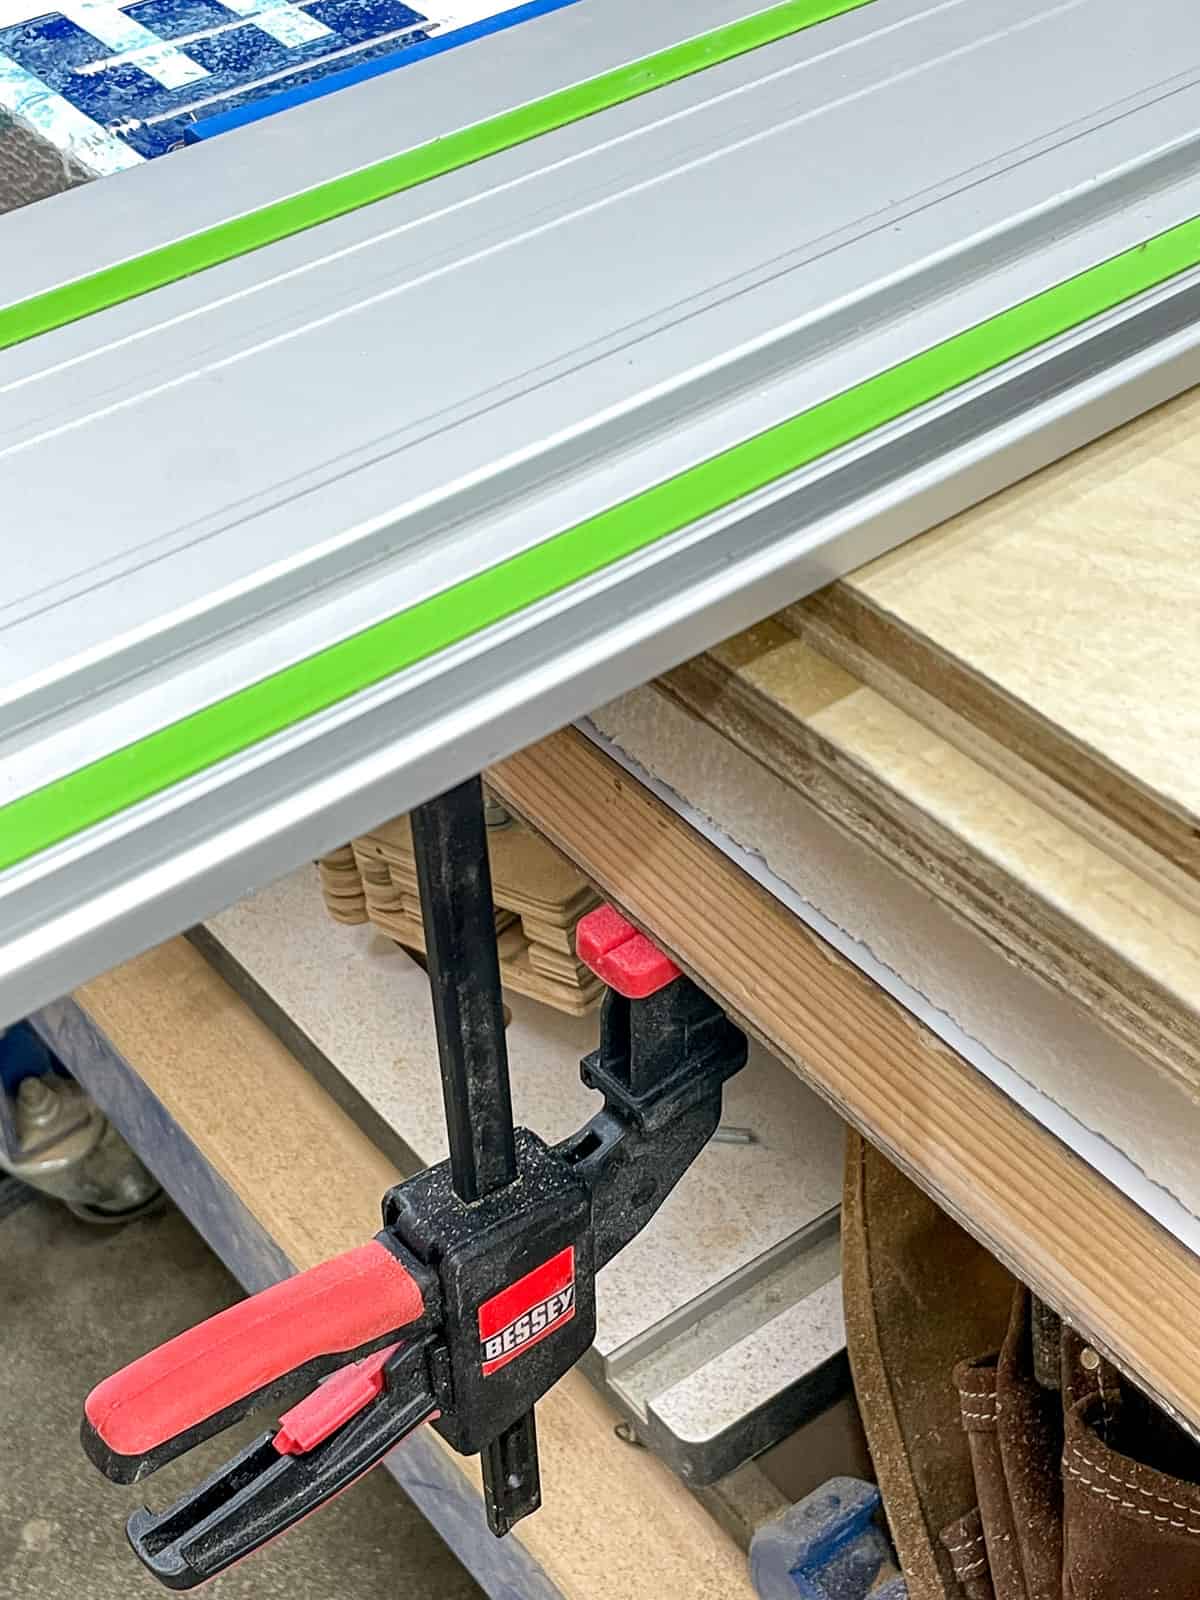
- Place your track - Line up the edge of the track with your cutting line. Ensure that your track grips the project, and clamp it down if it's slipping (such as when using prefinished plywood).
- Make your cut - For softwoods, you can use higher speeds. For hardwoods, consider slowing your saw down. After you plunge the blade into the material, ensure you push directly in line with the track - if you inadvertently force the saw to either side, you could mess up your perfect edge. Let the saw do the work!
Here's a good video explaining some tips for using a track saw.
Frequently Asked Questions
Can a circular saw be used as a track saw?
There are some products like the Kreg Accu-cut that allows you to use a circular saw similar to a track saw. However, the track saw has several features the circular saw lacks, including dust collection, a splinter-free cut edge, and easy integration with a track. If you're curious about the differences between these tools, read my article on track saws vs circular saws.
How does a track saw stay in place?
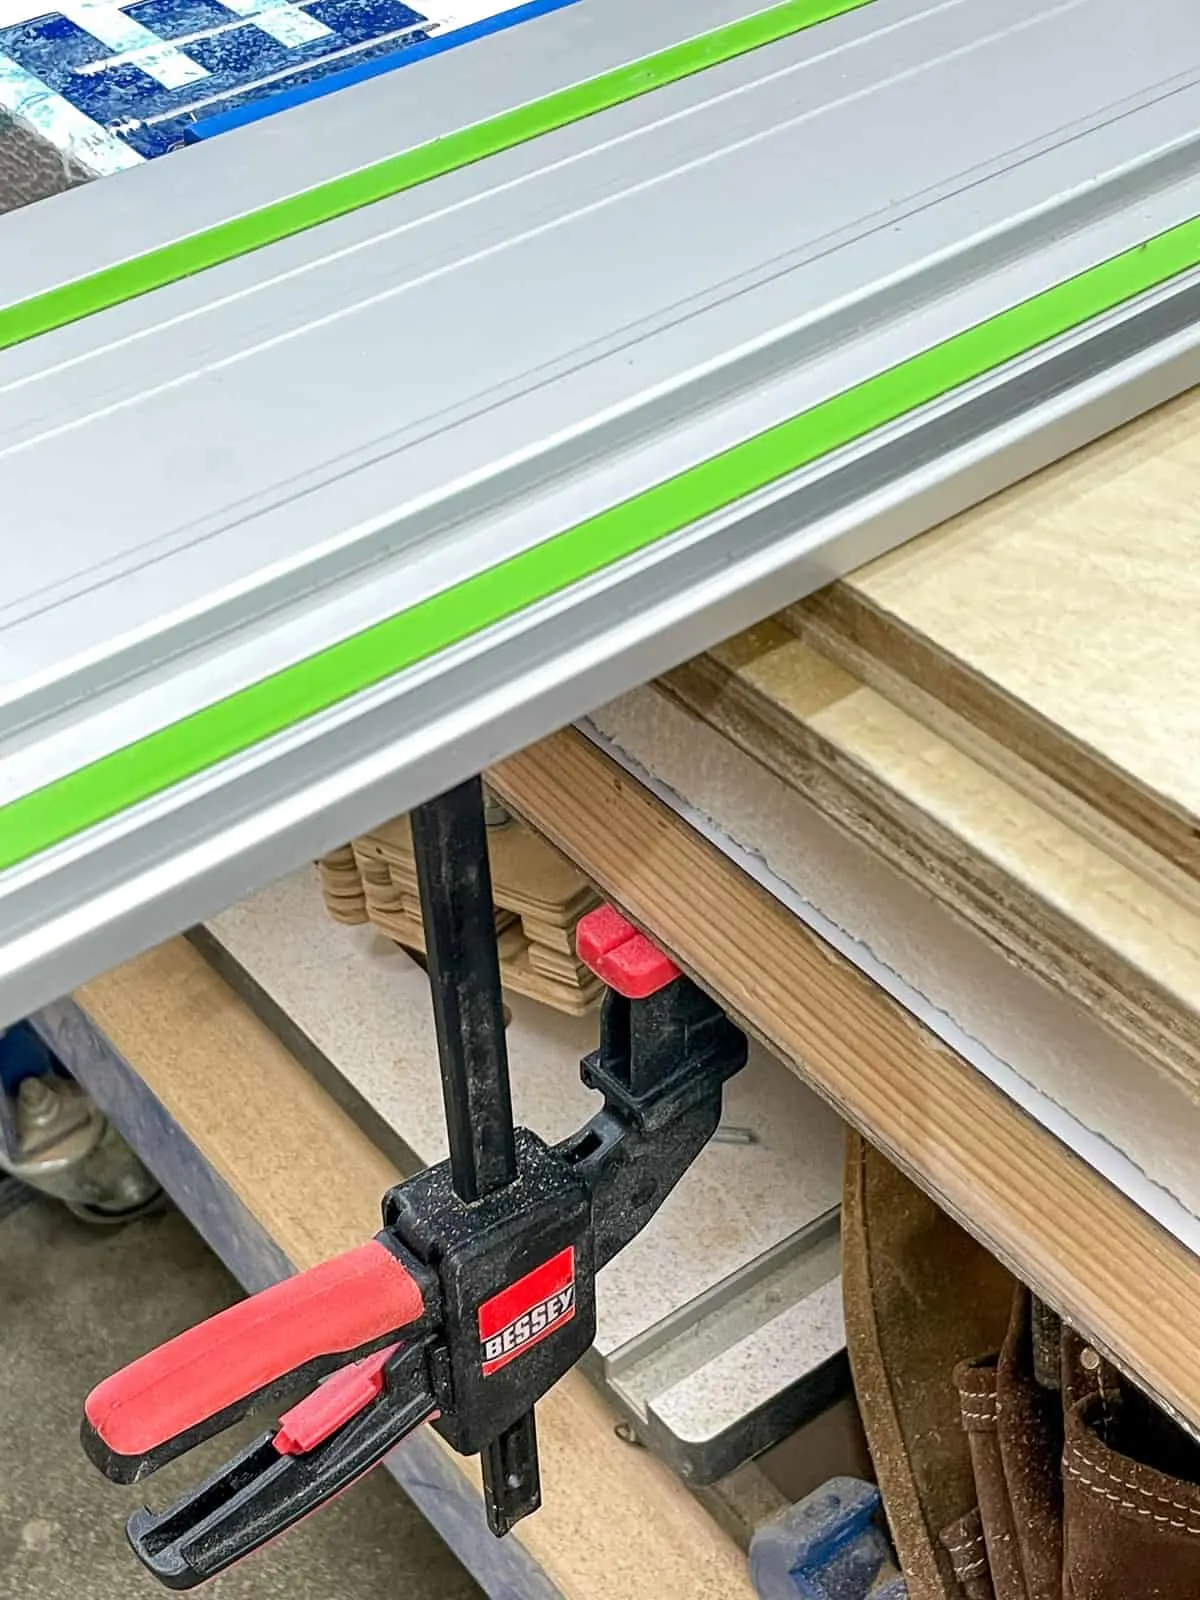
The aluminum track has non-slip rubber grips along the bottom. These grips keep the track in place without marring the wood.
You can also slide special clamps into the grooves underneath the track to hold it in place securely. When I was building my kitchen cabinets out of prefinished plywood, I used these Bessey track saw clamps to keep it from sliding on the slippery surface.
Do I need a track saw?
If you frequently travel between job sites, you'll find a lot of use for a track saw. Also, if you have a small workshop, or don't have the budget for a full table saw, you can accomplish many of the same tasks with a track saw. Many woodworkers and builders say they didn't realize what they were missing until they purchased a good track saw!
What is a table saw?
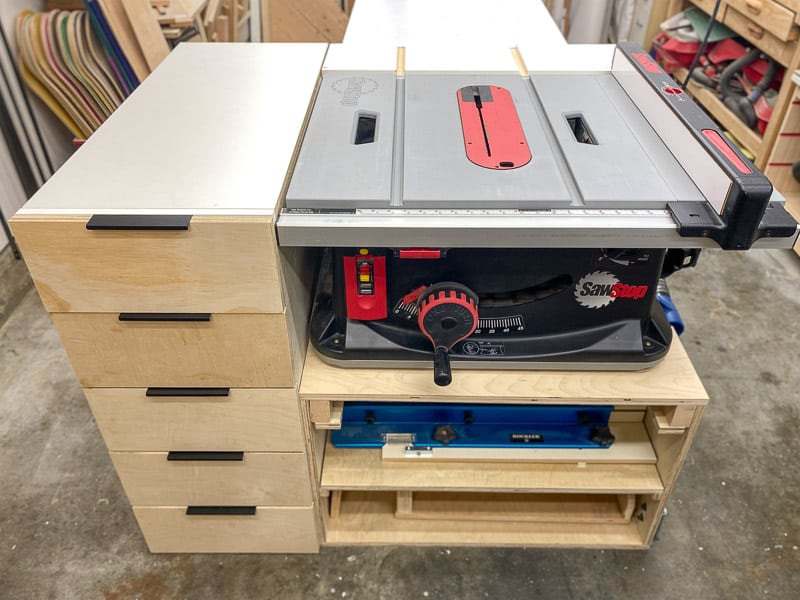
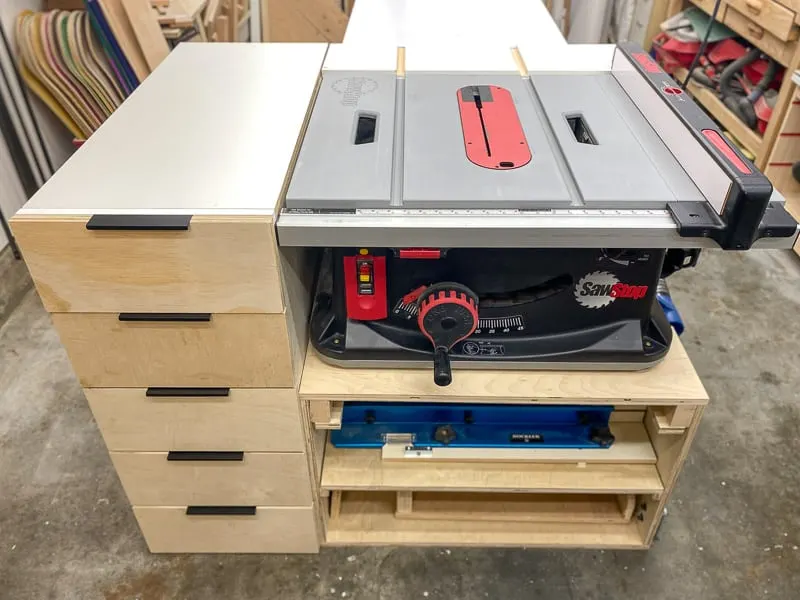
The table saw comes in two main forms: a stationary saw, commonly called a cabinet saw, and a more mobile saw, often referred to as a contractor or jobsite saw. I have a small workshop, so I built this table saw stand with loads of storage to increase the cutting capacity of my SawStop jobsite table saw.
Both the stationary and semi-portable table saws function in the same way. However, the cabinet saw can easily handle larger tasks with power and precision.
Here are several parts of the table saw:
- Blade: A table saw blade is usually 10-inches in diameter. Like many saws, you can install different types of blades (high and low tooth counts).
- Blade guard: The blade guard helps ensure you keep your hand away from the blade. For beginners, it's a good idea to leave this in place. However, advanced woodworkers usually choose to remove their blade guards to make some tasks easier.
- Riving knife: The riving knife sits behind the table saw blade - do not remove this! The riving knife helps prevent kickback by preventing the wood from pinching together after the cut.
- Rip fence: The rip fence runs parallel to the blade and slides back and forth to dial in the width of the cut.
- Height and bevel adjustment: This is the crank wheel on the front of the saw that raises and lowers the blade. Some models use the same wheel to tilt the blade at an angle for bevel cuts.
- Power button: The power button is usually located on the front of the table saw. Typically, the power button is set up so you can turn off the saw with your knee quickly.
- Push stick: Not exactly part of the table saw, but very important! Use a push stick to move material through the blade, keeping your hand away from the blade!
When should I use a table saw?
The table saw is one of the most useful tools in my workshop, and I use it for almost every woodworking project. Where the table saw shines is with repeated cuts. Set the fence once and all your cuts will be the exact same size.
You can also use it to make cuts that only go partway through the board. These grooves or dados are useful for cabinet back panels or drawer bottoms.
How do I use a table saw?
Safety. That's the key with table saws. Though you don't want to be timid while operating a table saw, you should approach this tool with a healthy fear. Table saws can inadvertently pull your hands into the blade, especially when the saw is misused. Do your research before you even plug in the saw.
Here are several steps to using a table saw:
- Safety: Wear ear and eye protection, and inspect your saw before use. Make sure all safety features are in place.
- Set your blade: Typically, set your blade so it just clears the material. You don't need a lot of extra blade protruding from the surface.
- Set your fence: Make sure your rip fence is secure and double-check your dimensions.
- Start the saw: Make sure you're ready before starting the saw. Have supports in place so the board doesn't fall off the side and verify that your push stick within reach.
- Keep pressure against the table and fence: As you begin pushing the wood through the saw, keep the wood pressed against the fence and down on the table - this ensures your hand doesn't slip toward the blade and also mitigates the risk of kickback.
- Use a push stick: Use a push stick to prevent your hand from creeping dangerously close to the blade. This is especially important on thinner boards where there's not much room between the blade and the fence.
- Support large boards: If you're cutting a large piece of wood, set up outfeed and side support. You don't want the wood falling off the table, causing excessive pressure on the blade.
Here's a great video on how to use a table saw to get you started.
Frequently Asked Questions
How Much Does a Good Table Saw Cost?
For a portable contractor table saw, you're looking at about $500 to buy a decent tool. Cabinet table saws can cost thousands more. Don't buy the cheapest table saw you can find, because they tend to be less safe and less accurate.
How Do I Choose a Table Saw?
Do you have a large workshop? Are you a professional or semi-professional carpenter? Will you use the table saw daily? If yes, consider purchasing a stationary table saw.
Are you always on the move? More of a DIY woodworker? Don't have a huge budget? If so, you'll be happy with a less expensive, portable table saw.
I hope this article helped clear up any confusion about the difference between a track saw and a table saw. You can complete almost any woodworking project with just one or the other, but sometimes it helps to have both! Let me know which tool you prefer in the comments below.
Check out these other tool comparison articles!