This DIY kids bookshelf does double duty! It features storage for both toys and books, and it's easy to make with plywood. Get the woodworking plans and start building!


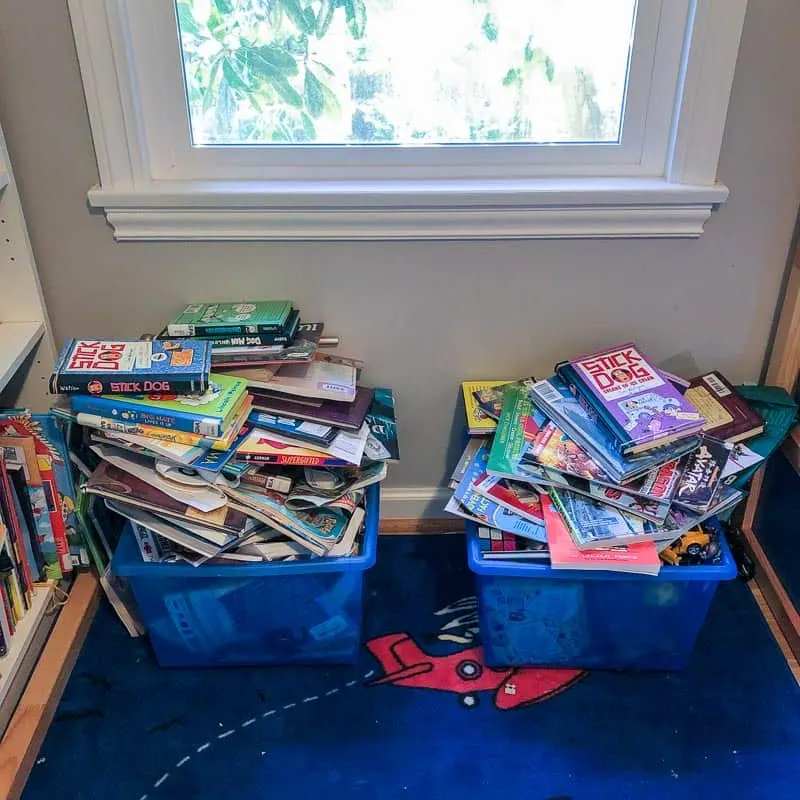
My son loves to curl up in bed at night with a flashlight and read (sometimes WAY past his bedtime!) He has a long row of bookcases along one wall of his room, but somehow all the books end up dumped into these two rolling plastic bins instead.

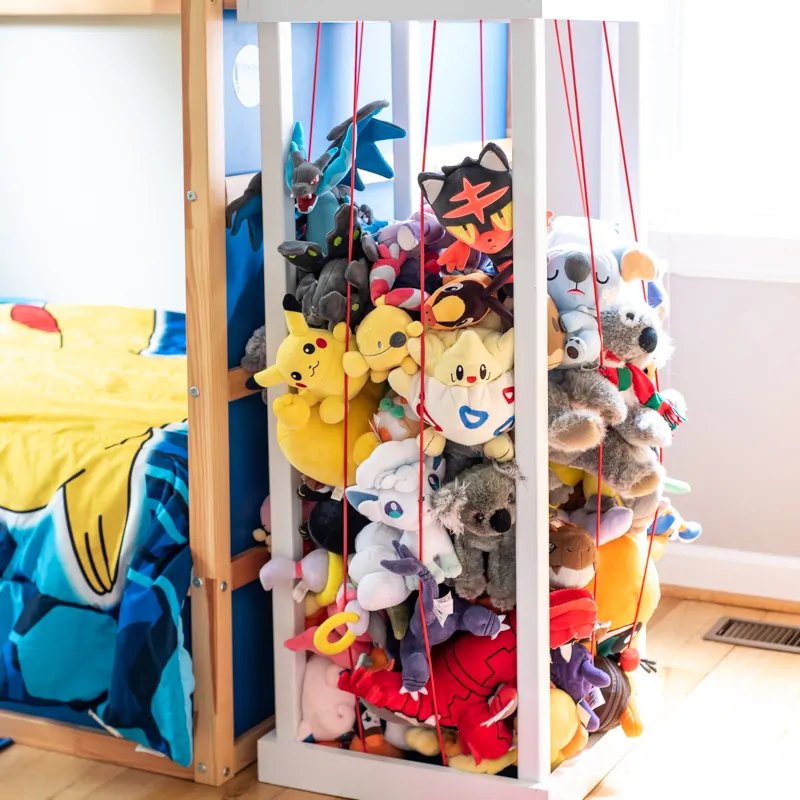
I wanted to give him a spot close to the bed for his favorite books, as well as some stuffed animal storage. His stuffed animal zoo is overflowing, and he barely has room to sleep with his fuzzy friends all over the bed!

This bookcase is perfect under a window, and fits a surprising number of toys! You can find more DIY toy storage ideas for small spaces here!
This post contains affiliate links for your convenience. Purchases made through these links may earn me a small commission at no additional cost to you. Please visit my disclosures page for more information.
Materials Required
- One sheet of ¾" plywood (you'll only need about ⅔ of a full sheet)
- Clamps
- Wood glue
- Square
- Edge banding
- 1 ¼" pocket hole screws
- Pocket hole jig
- Brad nailer and 1 ¼" brad nails
- You could also use a countersink bit and 1 ¼" screws.
- Circular saw or track saw
- Wood filler
- Caulk
- Paint
How to Make a Toy Box with Bookshelf
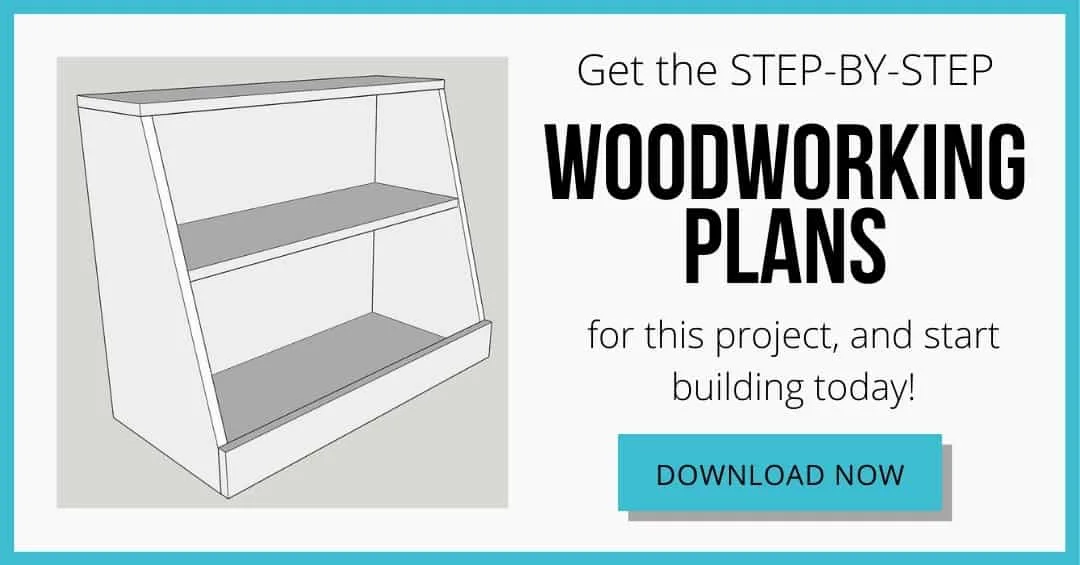
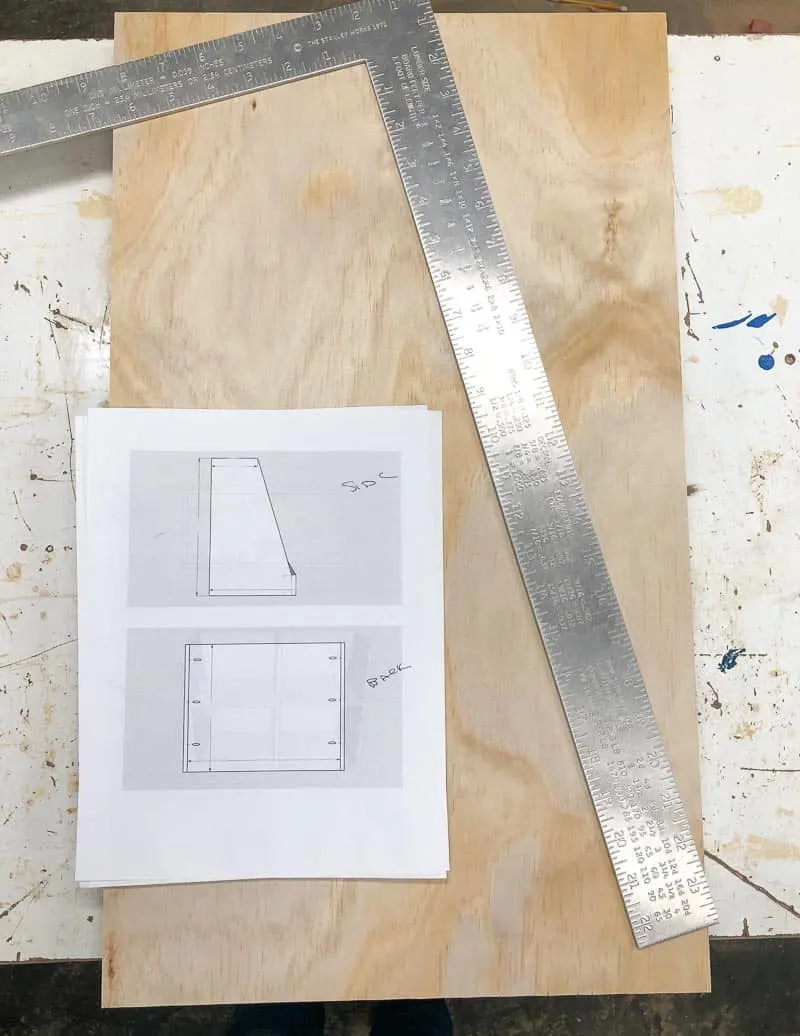
Download the Woodworking Plans
Before you begin, download the woodworking plans by clicking the button below. It gives you all the dimensions you need, plus a handy plywood cut diagram, in a printable PDF!

Cut the Plywood Pieces
This project takes about ⅔ of a sheet of plywood. I usually have a full sheet cut down into slightly oversized strips that I can fit into my car, then cut it down to the final size at home. The cut diagram in the plans shows you the best configuration with the least amount of waste.
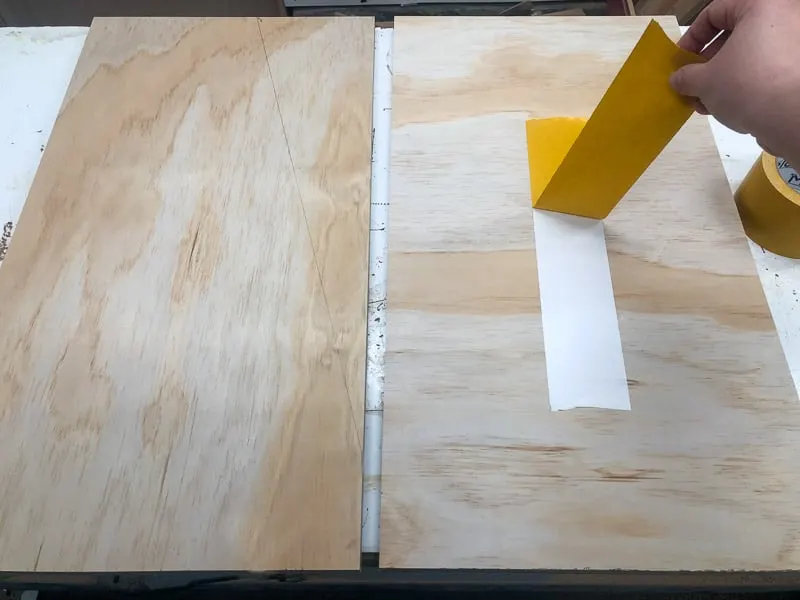
The angled sides are the only tricky bit. Once you have the rectangular side pieces cut out, lay them on the workbench with the short edge facing you.
Measure up from the bottom right corner and over from the top left corner according to the plans. Use a straight edge to connect those two points and draw a line.
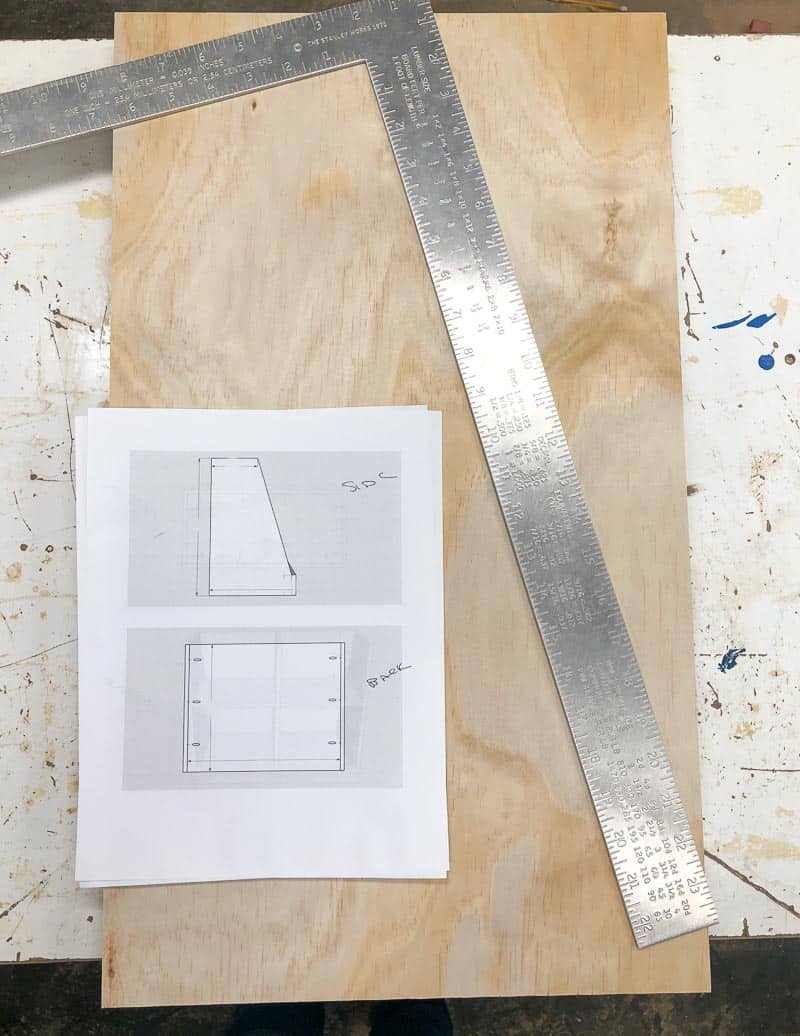
Use double sided tape to stick the two side pieces together. This prevents them from shifting when you cut them both at the same time, so you end up with identical sides.

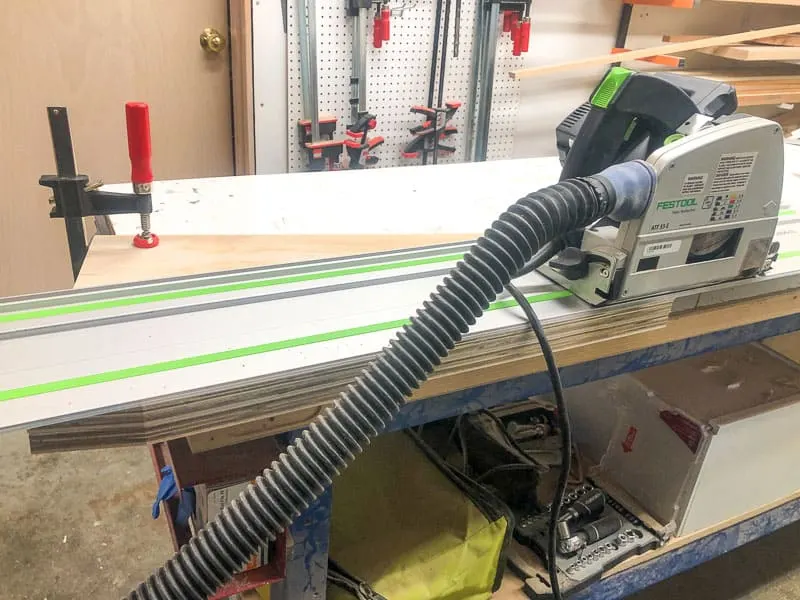
I used a track saw to cut off the corner, but you could use a circular saw and this DIY jig to do the same thing.

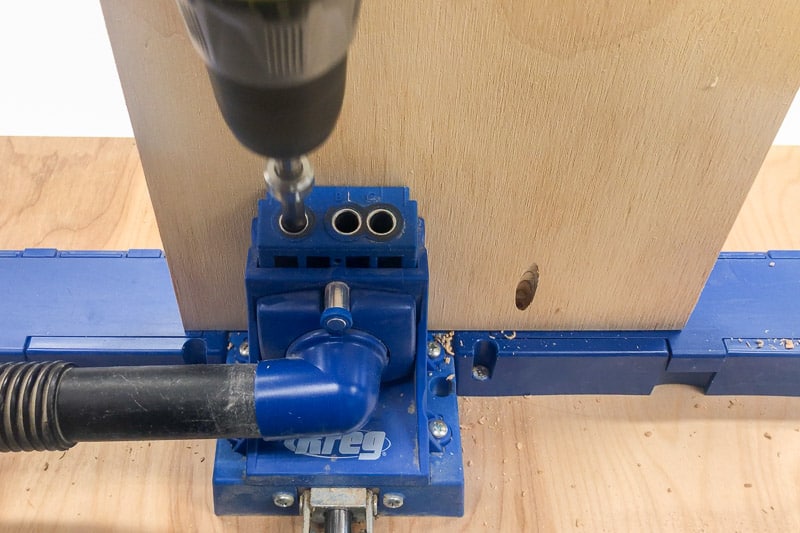
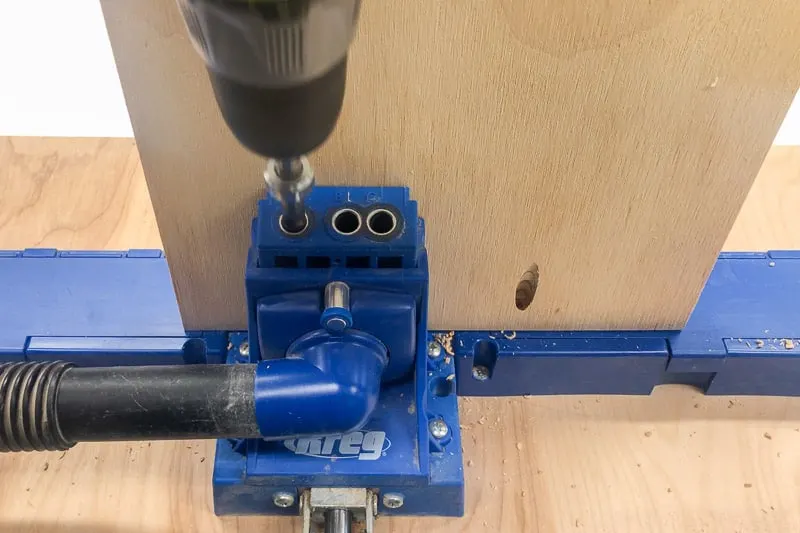
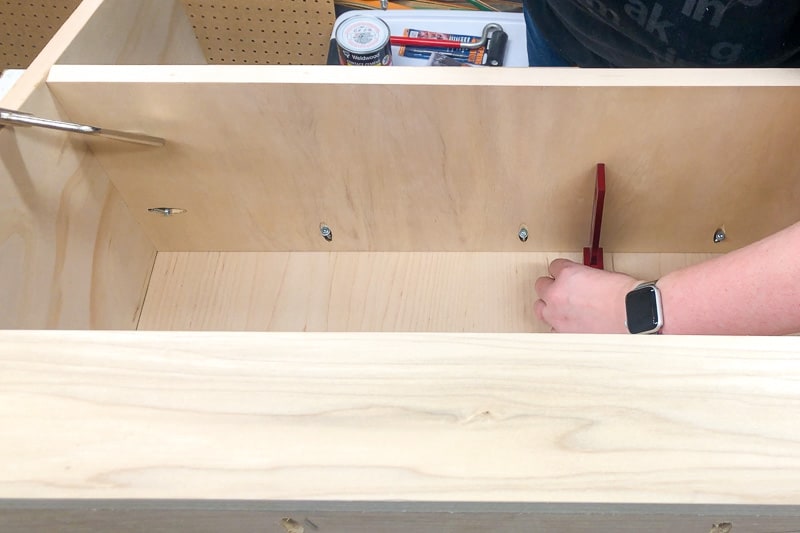
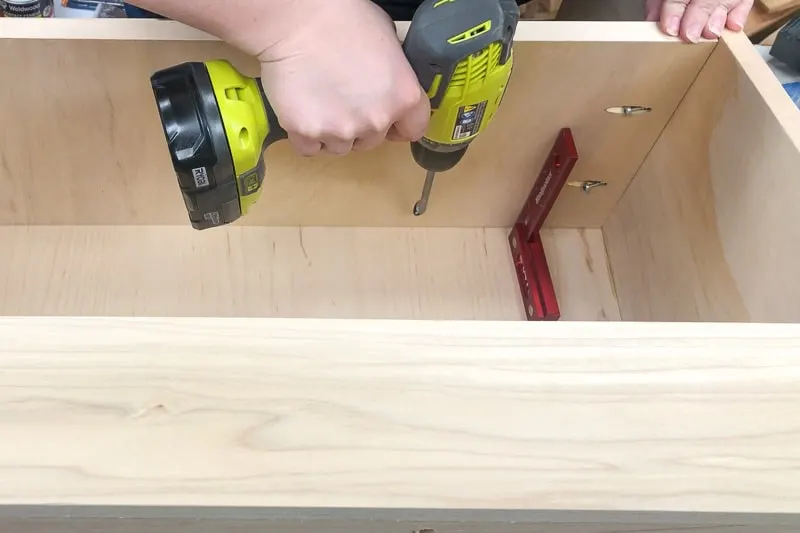
Drill Pocket Holes
Drill pocket holes in the back, bottom and middle shelf pieces according to the plans.
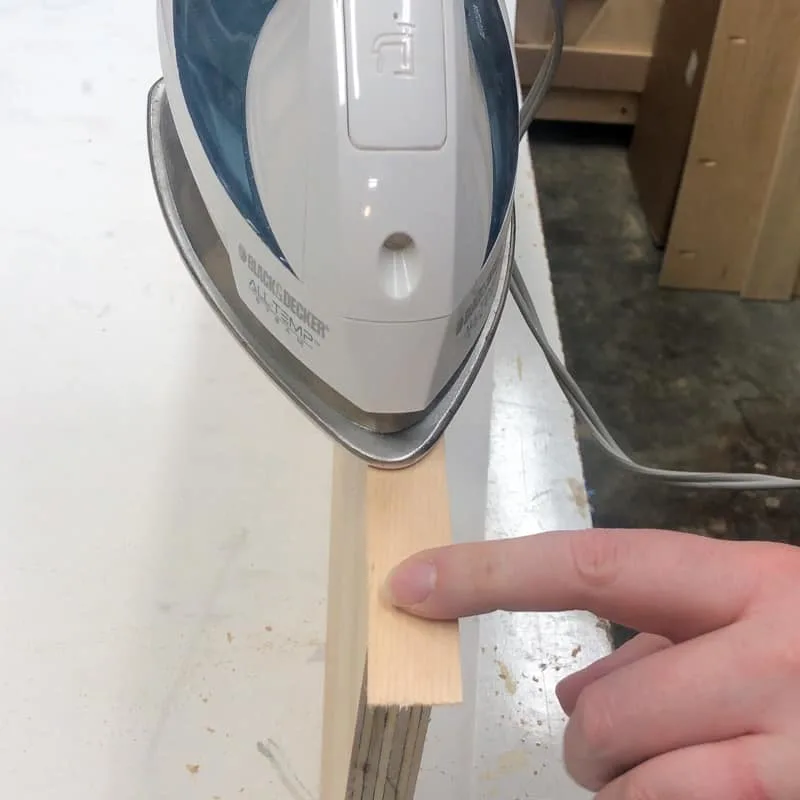
Apply Edge Banding
A few plywood edges will be exposed at the end of the build. There are a few different ways to finish plywood edges, but I usually prefer edge banding because it's quick and easy, and WAY less messy! You can read my tutorial on how to apply edge banding to plywood here.
Just cut a strip slightly longer than you need, then iron it on!

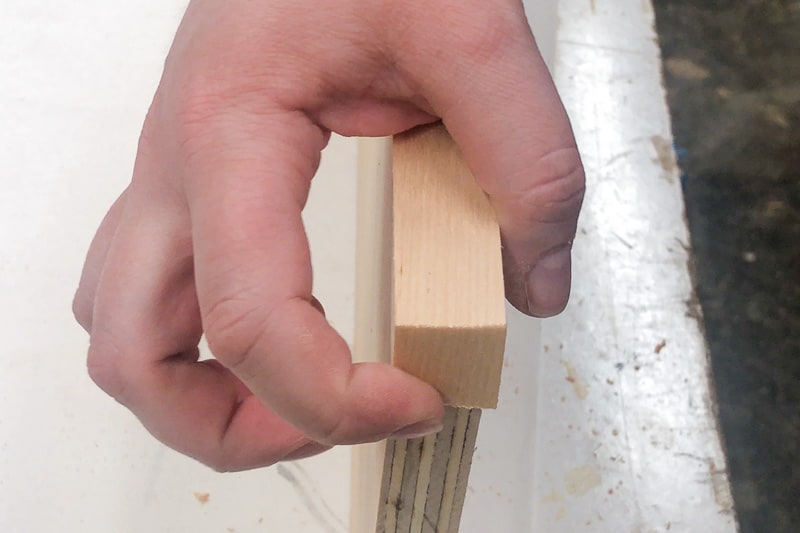
Once the surface is cool, snap off the ends and sand them smooth. You can also use a utility knife for this step.

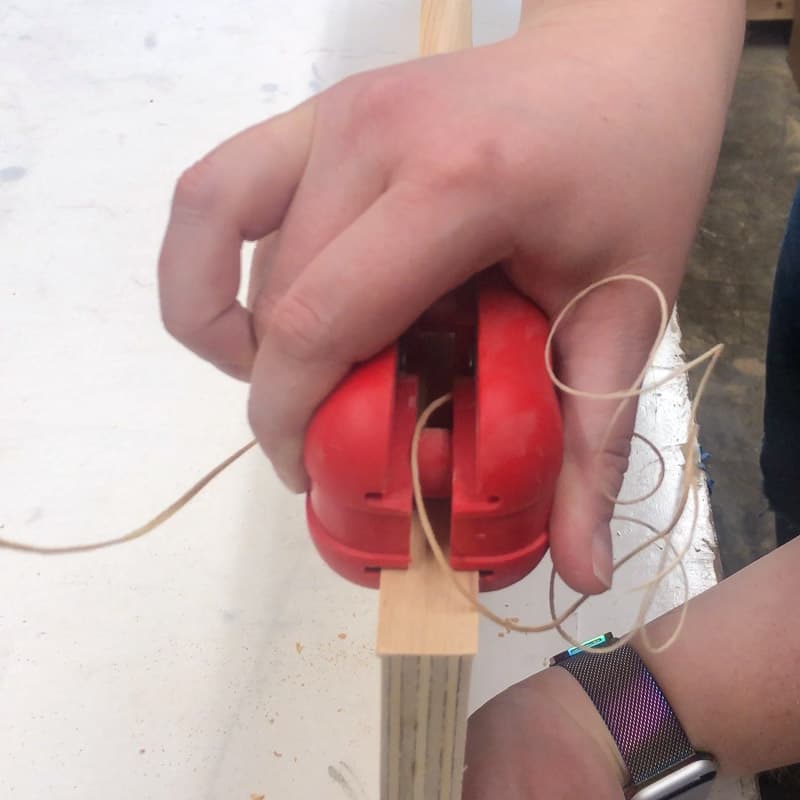
Then use an edge banding trimmer to cut off the excess on the sides.
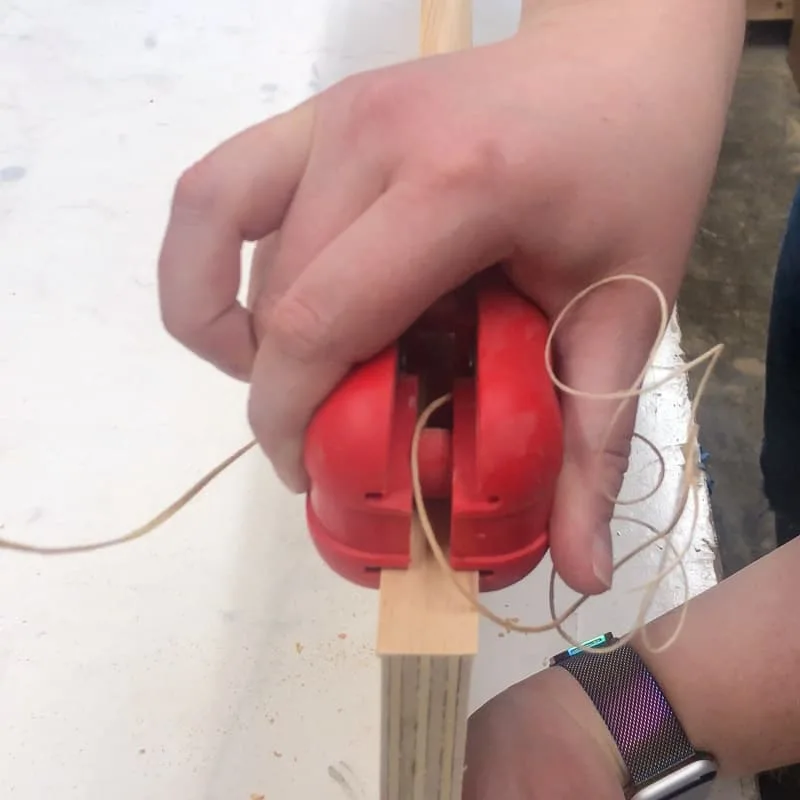
The angled edges of the sides are a little tricky, since it doesn't end at a right angle. Cut the end of the banding straight across first, then use the front piece to figure out exactly where it should start.

You can usually move the banding a bit once it's warmed up with the iron if you don't get the placement just right. The front piece should sit flush against the straight part of the sides.
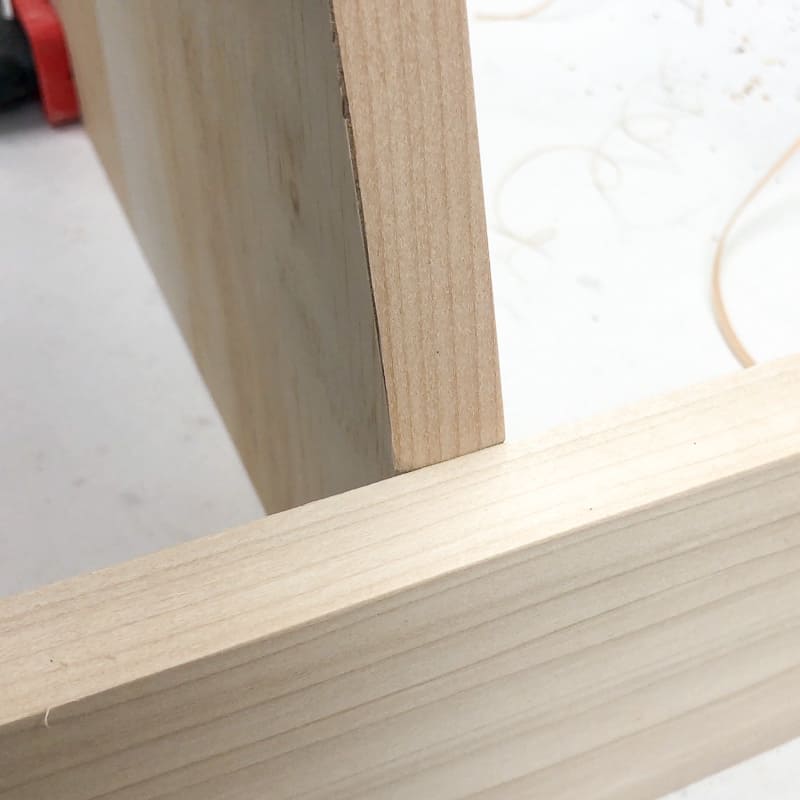

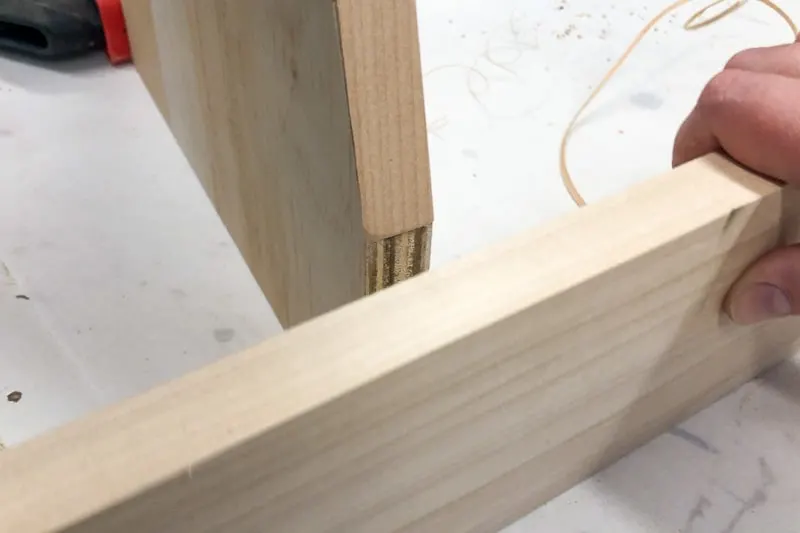
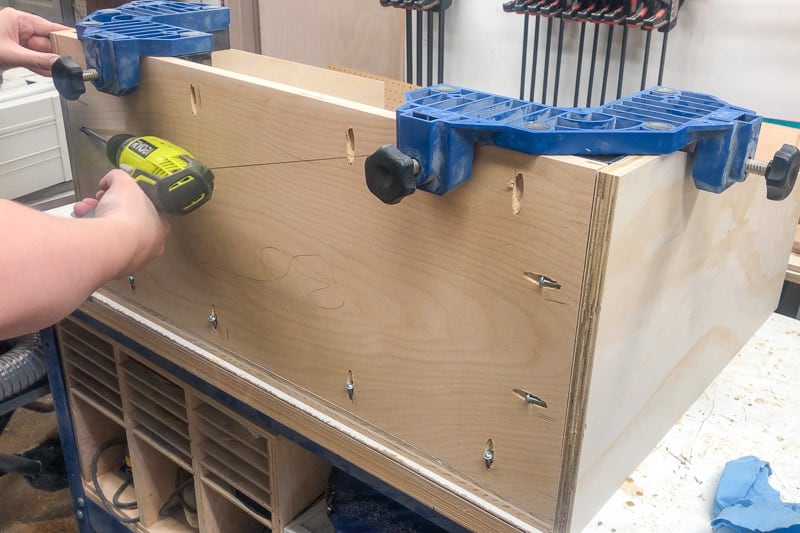
Attach sides to back
Apply wood glue to the edges of the back piece, then screw the sides to the back with 1 ¼" pocket hole screws.

I love using these corner clamps to make sure that all the edges are lined up and square before I screw everything into place.
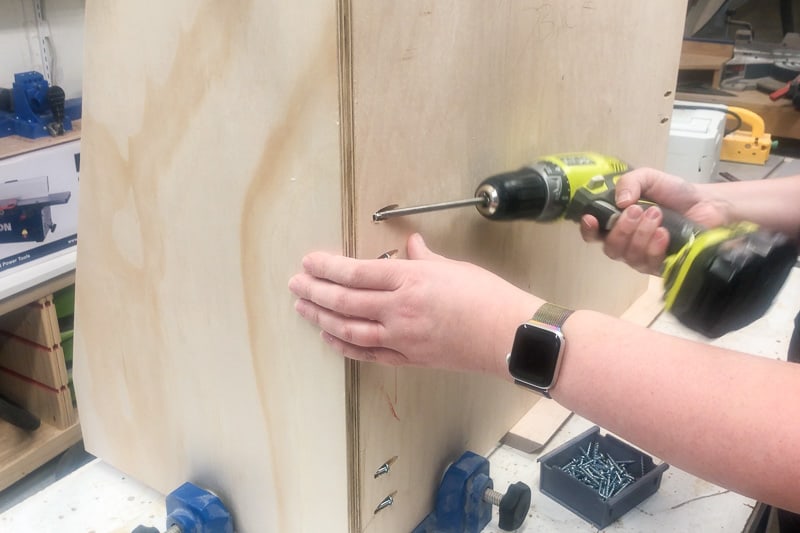
Attach Bottom and front pieces
Lay the bookshelf flat on its back, and dry fit the bottom. It should slide into place without bowing out the sides.
Then apply wood glue along three edges and screw it into place with pocket hole screws.

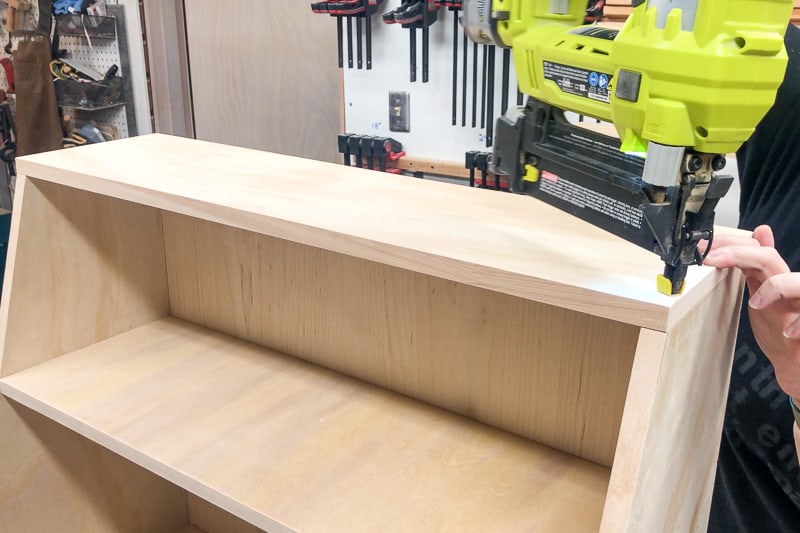
Apply wood glue to the front edge, and align the front piece with the bottom and sides. I prefer to use a nail gun to hold the ends in place first so it doesn't shift while you screw it in. You can also use countersink screws if you don't have a brad nailer.
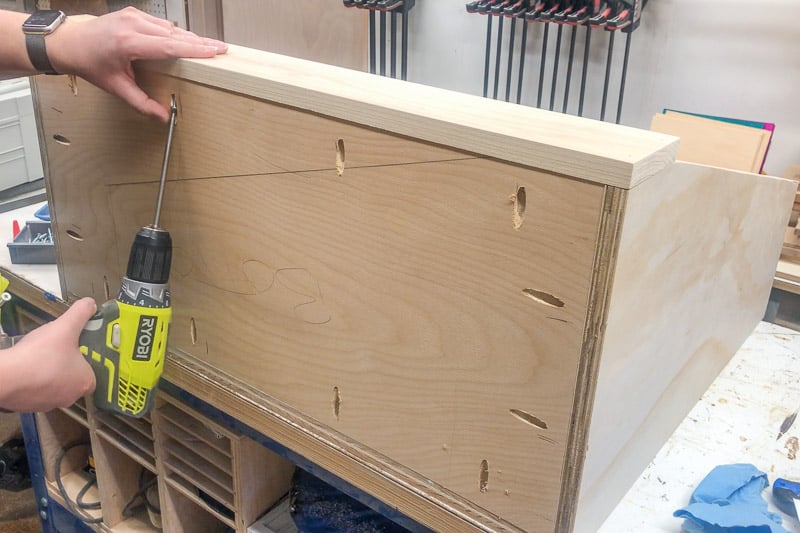

Attach the Shelves
Dry fit the middle shelf the same way as the bottom. The top edge of the shelf should meet the front edge of the side pieces, but the bottom of the shelf will be set back slightly. Make sure both sides are at the same height, and use a square to make sure they're even and straight.

Then screw the middle shelf to the sides and back with pocket hole screws. Check for square as you go, in case it shifts.

Flip the bookcase so it's standing upright. Then apply wood glue to the top edge. Align the top shelf with the sides and back, then nail it into place. There are pocket holes on the back to attach the top as well.

Fill Holes and Gaps
Fill any nail holes with wood filler, then sand smooth when dry. If you're painting your bookshelf, I recommend using caulk to close up the seams between the boards for a flawless finish. Get my tips for how to use a caulk gun in this tutorial!


Prime and Paint
I always recommend priming raw wood first, so the paint goes on perfectly! Start in the corners with a brush, then use a small foam roller to cover the rest.
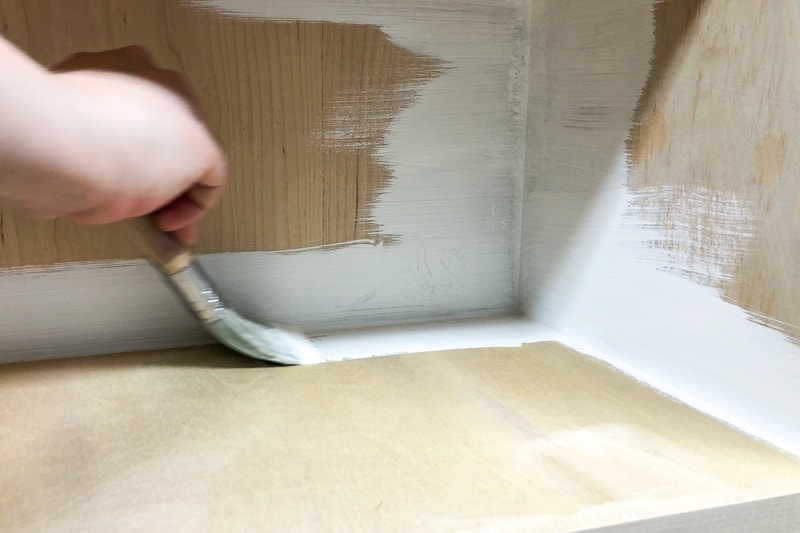

Sand the primer smooth, and remove the dust with a tack cloth or microfiber cloth. Then paint the bookcase with the color of your choice!
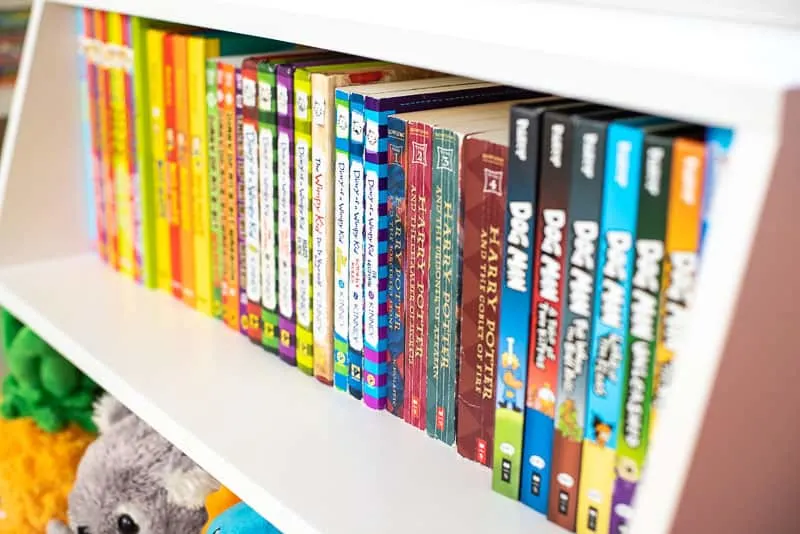
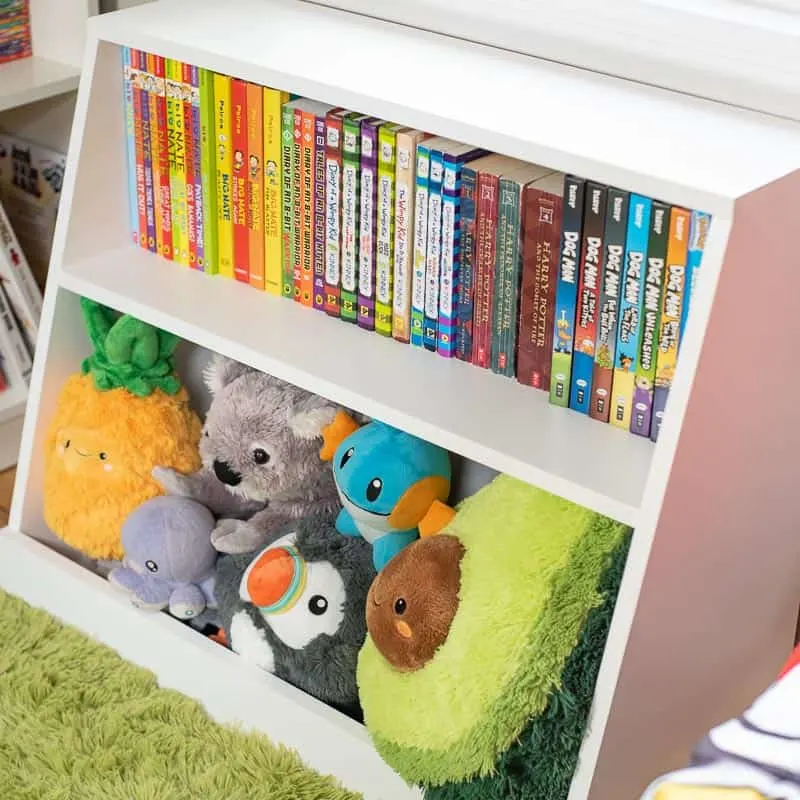
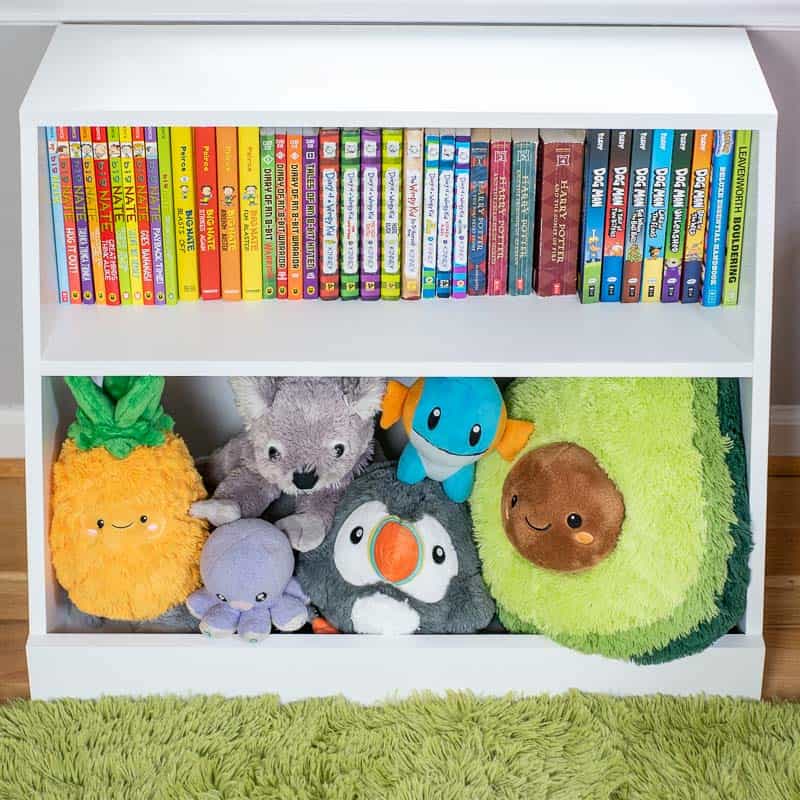
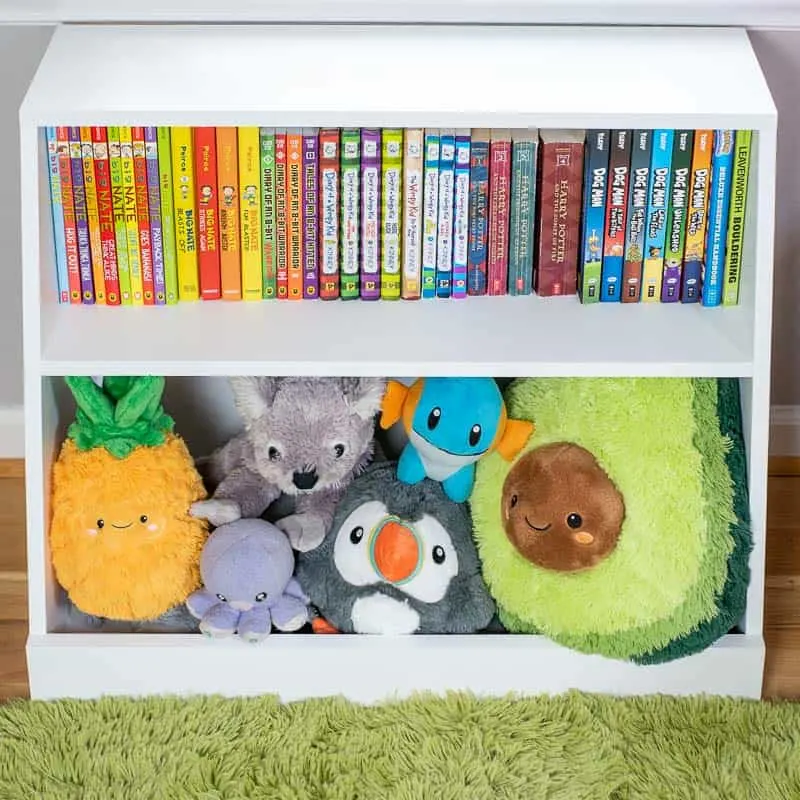
Load Up Your New Bookshelf!
My son sorted through all his books and we ended up donating four bags full! The rest were organized and he decided to keep his favorites on his new bookshelf.

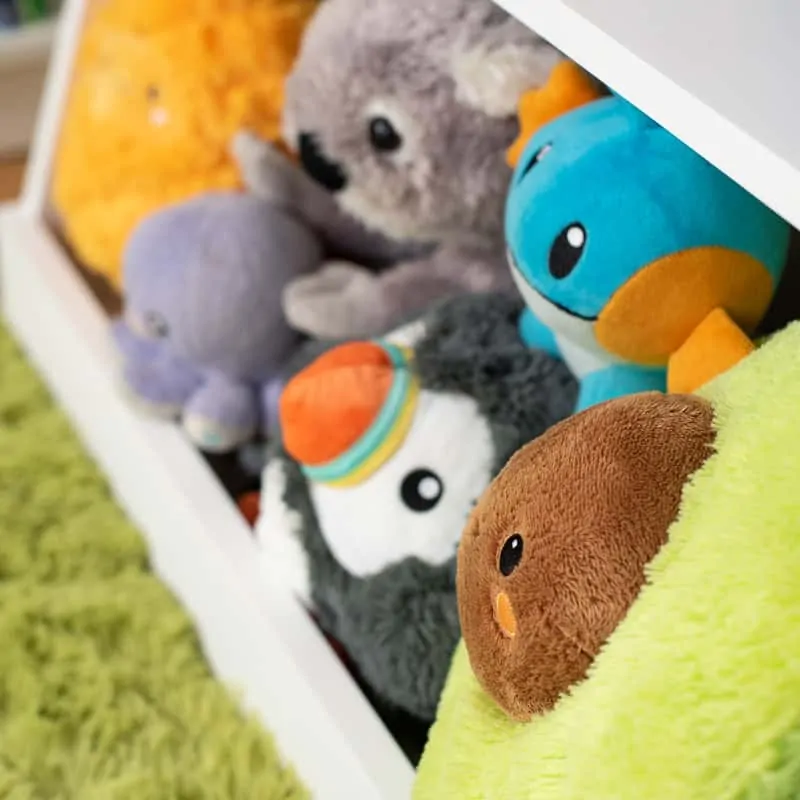
His favorite stuffed animals finally have a home in the bottom storage bin, where he can grab them easily. And yes, that is a giant stuffed avocado. His name is Guackey, and he's adorable! 🙂

I designed this build to fit perfectly under the window, with space on the side to access the other bookshelves.

While we were at it, we picked out a new area rug that's soooooo fluffy! My son actually slept on the floor last night because it's so soft!
Download the kids bookshelf plans below and start building! I'd love to see how it turns out! You can tag me over on Instagram or email me a photo to show off your work.
Check out these other kids project ideas!