Discover three easy techniques for finishing plywood edges that will take your woodworking projects from beginner to professional!
Plywood is great for building cabinets and other large furniture pieces. But there's one problem: those ugly raw plywood edges. They stick out like a sore thumb, making your project look unfinished.
Don't worry! There are three easy ways to finish plywood edges and make it look like solid wood.
In this article, we'll explore several techniques for finishing plywood edges like a pro. From simple solutions to more advanced methods, we've got you covered. Say goodbye to those ugly plies!
This post contains affiliate links for your convenience. Purchases made through these links may earn me a small commission at no additional cost to you. Please visit my disclosures page for more information.
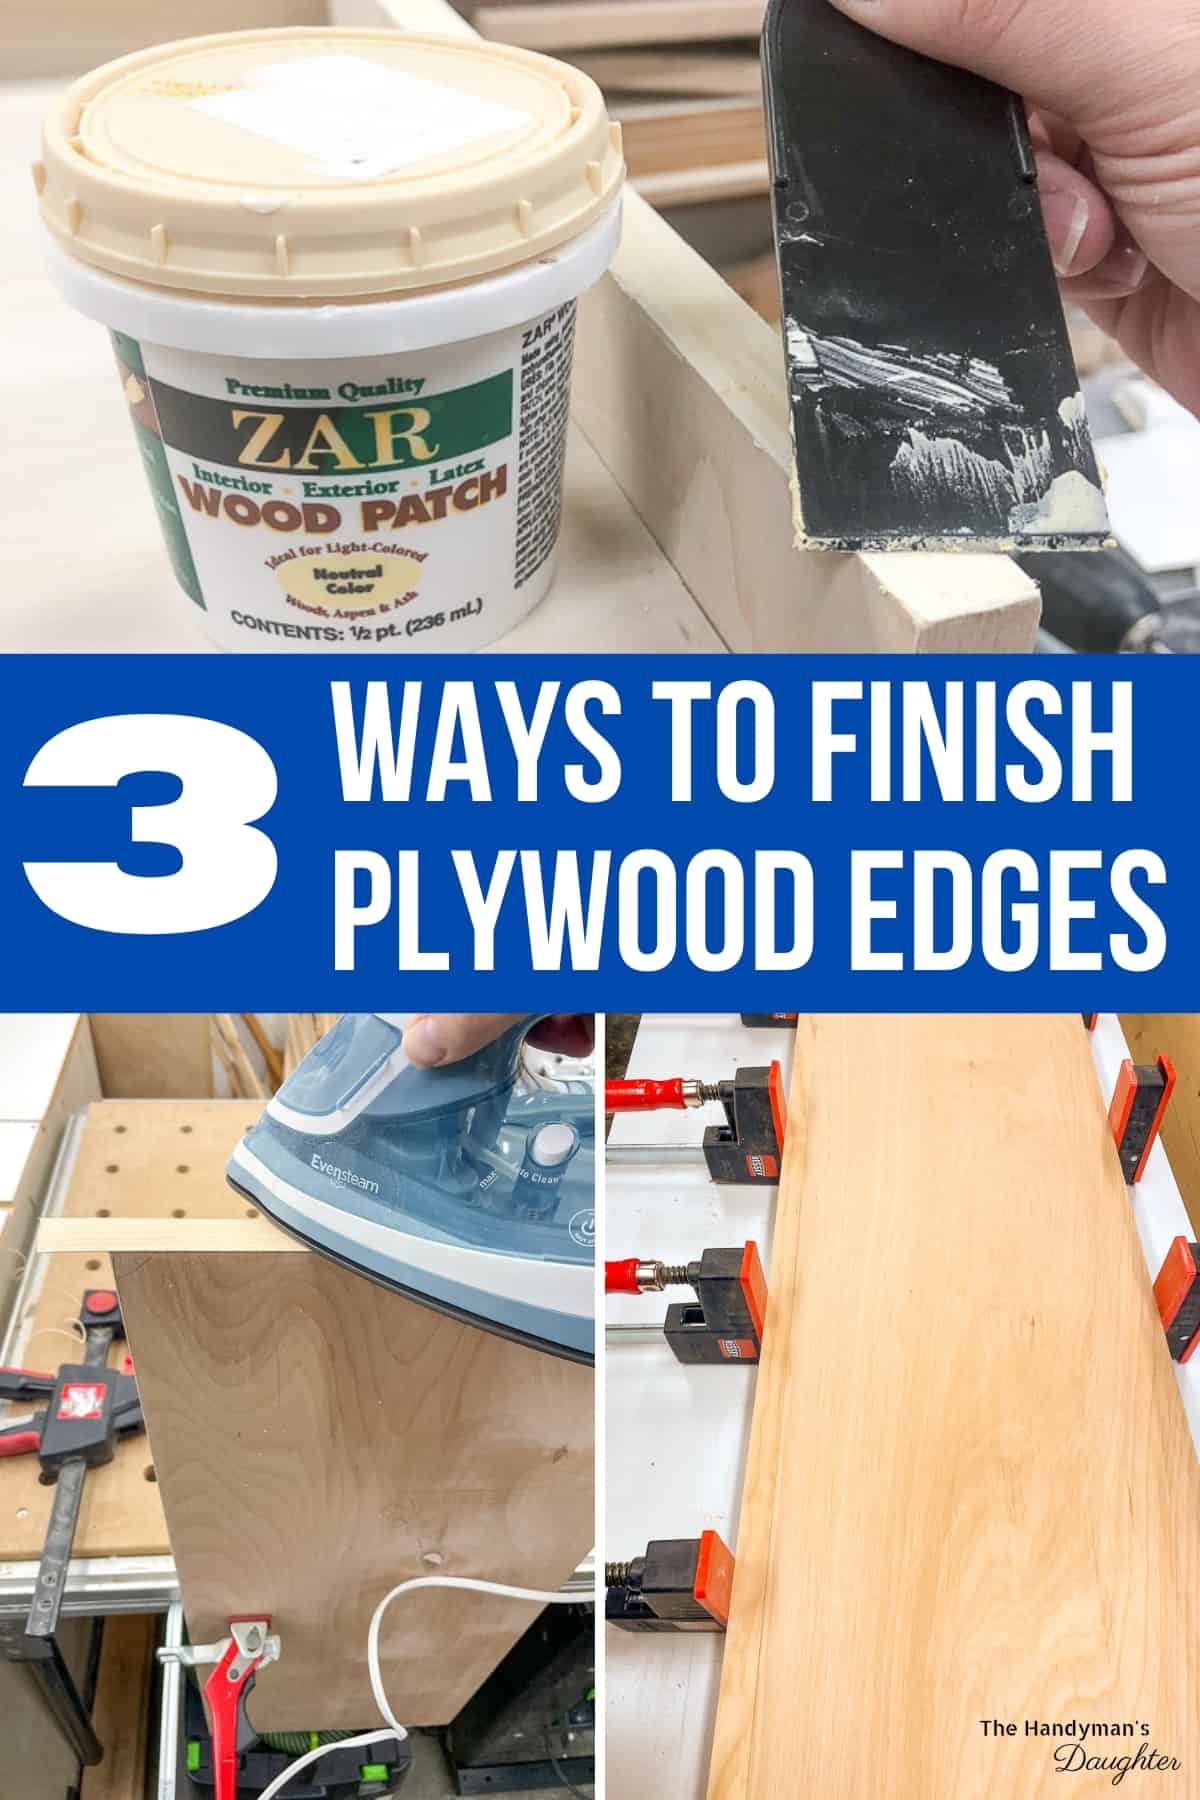
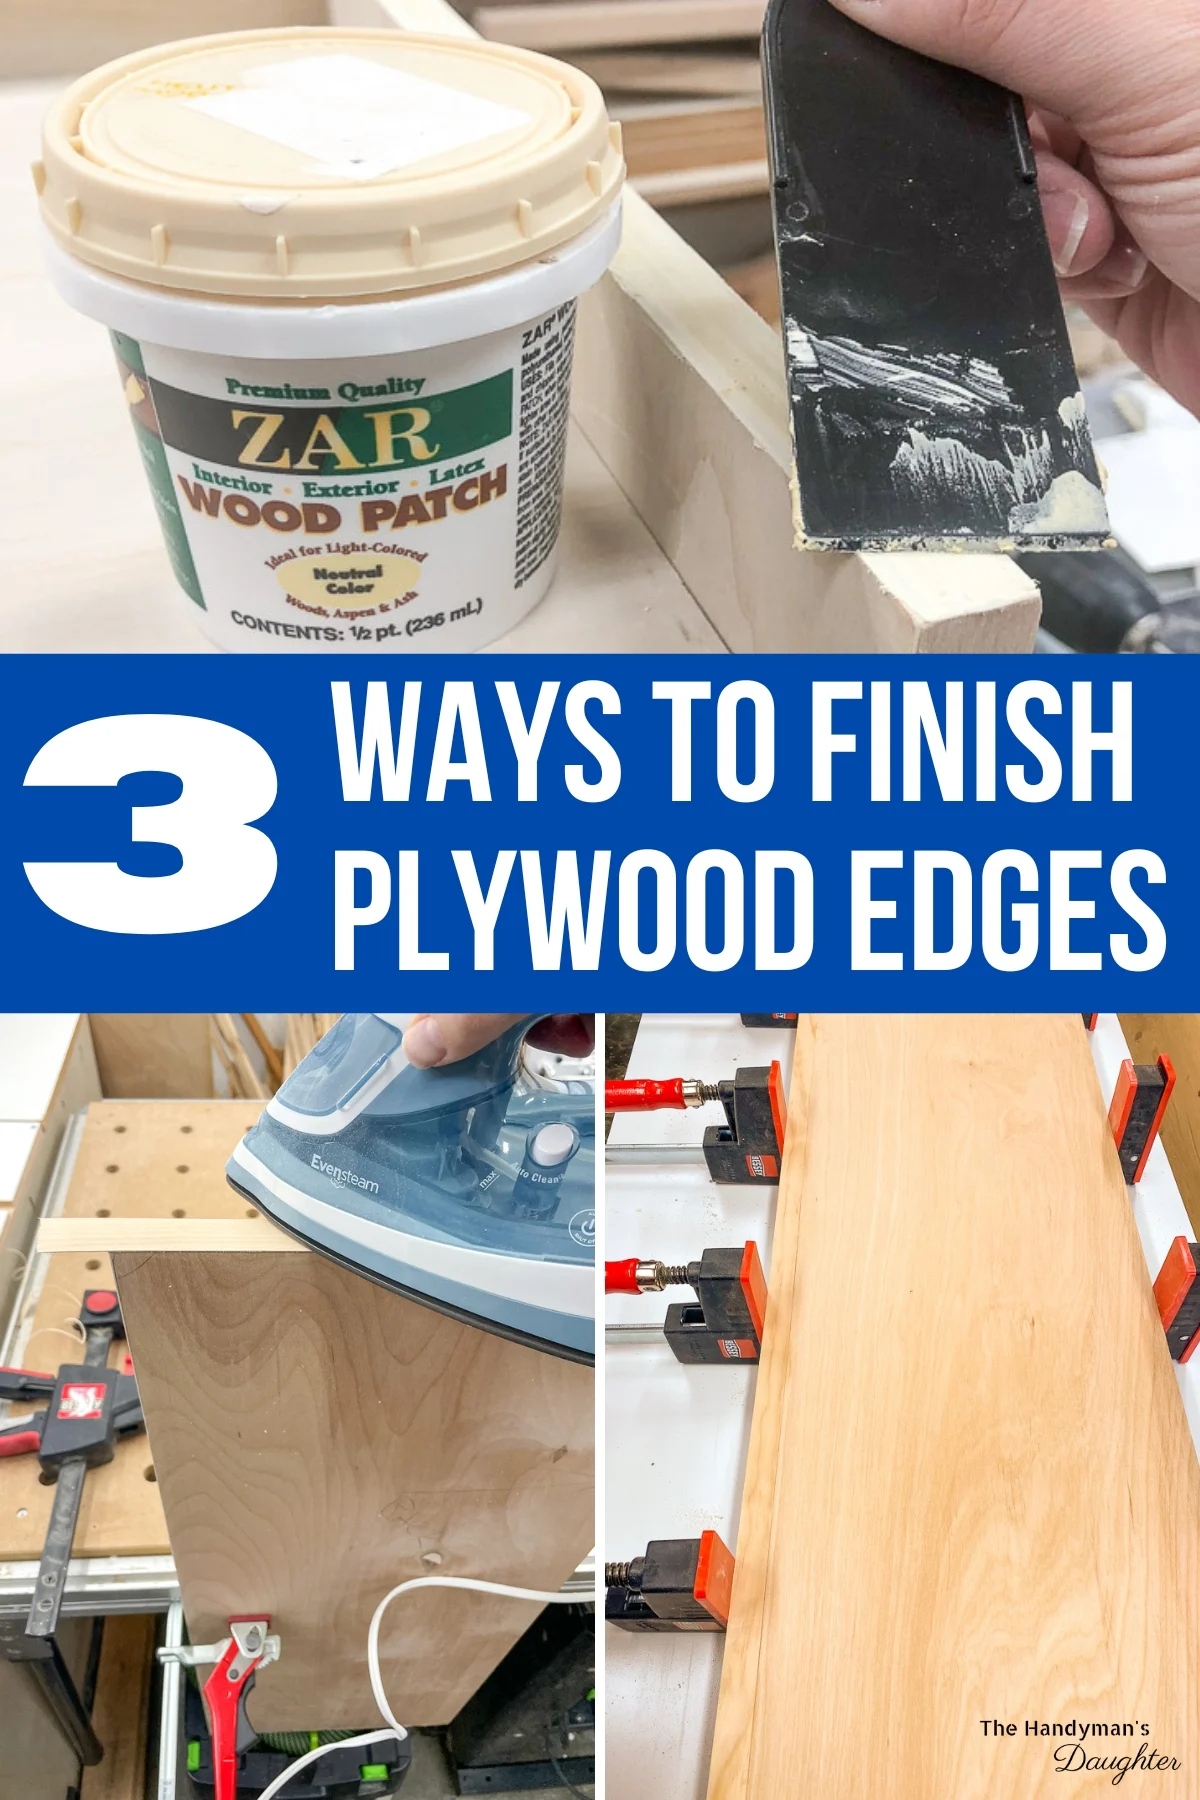
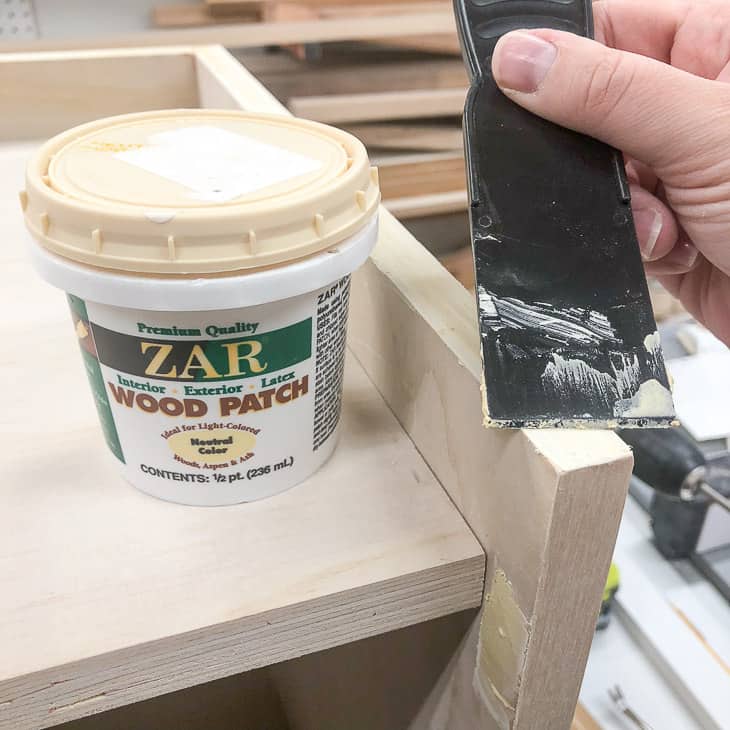
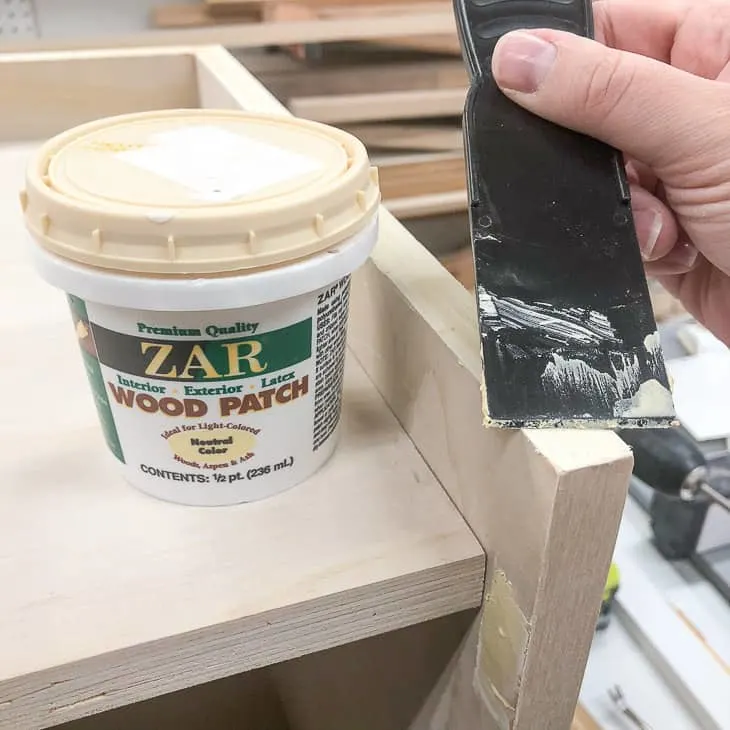
Wood Filler or Spackle
Wood filler is a great way to fill in the voids or gaps in the plywood edges when you plan to paint your project. It's easy to apply, sands smooth and disappears under a coat of paint. Check out my tutorial on how to use wood filler for a complete walkthrough of the process!
However, even if the can says it's stainable, it won't look like the surrounding wood. You may want to skip down to one of the other methods if you plan to apply wood stain on your project.
You can also try using spackle to finish those plywood edges instead! It's generally a little more liquid, so it's easier to smooth out. The video below shows you how to use this technique.
Benefits
- Wood filler is really easy to apply, making it a great option for beginners. Just smear it onto the plywood edge with a putty knife and allow it to dry.
- It gives a smoother finish to painted projects, because there's not a ridge between the plywood and the edge.
- If there's any tear out along the cut plywood edge, you can use wood filler to repair it.
- It's cheaper than edge banding or solid wood.
Drawbacks
- Wood filler can make a big mess, especially when you're trying to apply it to a vertical surface.
- It makes a lot of dust when you sand it smooth, which can ruin your paint job if you don't clean the surface properly.
- It takes longer than other methods because you need to wait for the wood filler to dry.
- You may need additional coats for a smooth finish.
- Compared to other methods, wood filler may be less durable and prone to damage over time.
- Wood filler doesn't take stain well, so it may not match the rest of your project.
- Wood filler does not add any structural support to the plywood edge, unlike solid wood strips.
Iron-On Edge Banding
Edge banding is a quick and easy process that takes just a few minutes per side. It comes on a roll with a pre-glued backing that's heat activated with a household iron. You can get it in a variety of wood species to match your project, or even melamine!
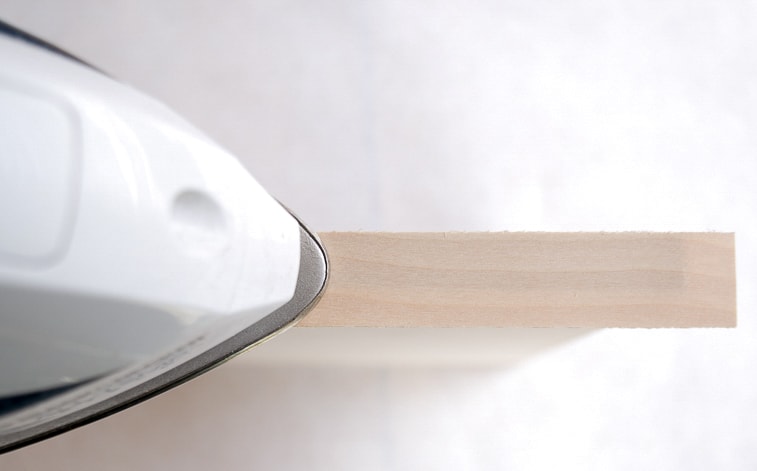
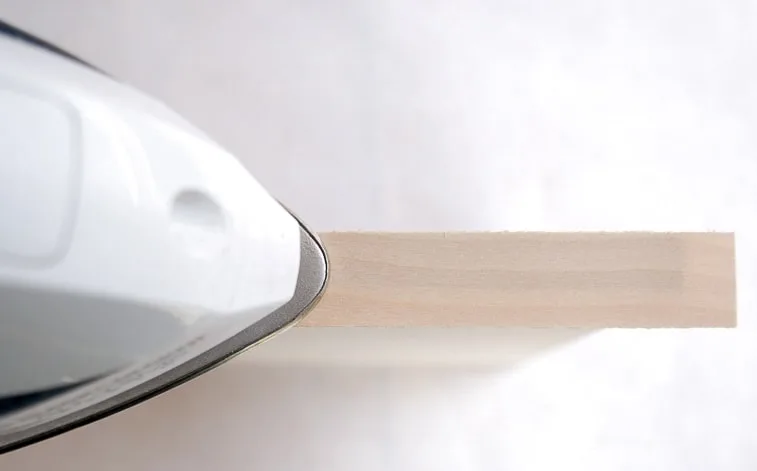
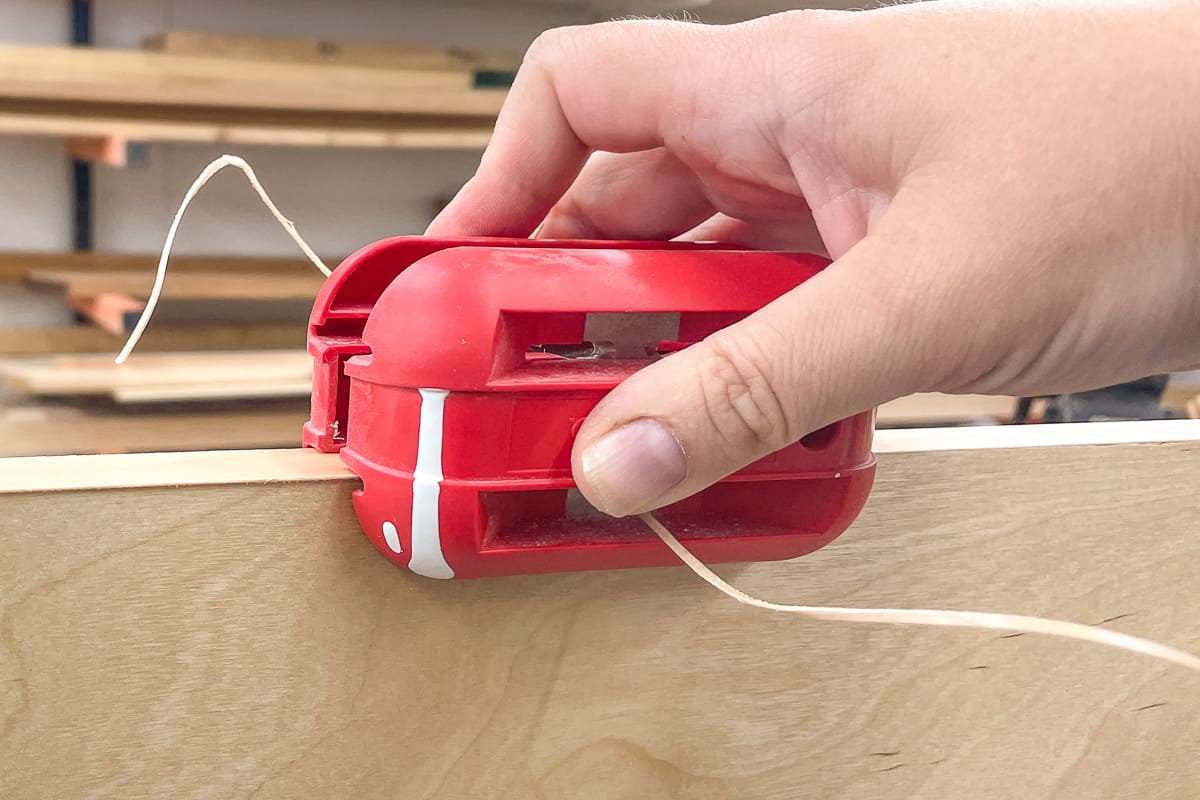
Once the glue has cooled, you can use a razor blade or special cutting tools to trim off the excess. This process can be a little tricky to get right, but results in a clean, finished plywood edge.

Check out my tutorial for step-by-step instructions on how to apply edge banding, or watch the video below for more information.
Benefits
- It's quick and easy to apply.
- You don't need any special tools (although an edge trimmer makes it much easier!)
- It's made from real wood, so you can paint or stain it. You can even find pre-finished edge banding that already comes with a protective topcoat!
- When applied correctly, it makes plywood look like solid wood.
Drawbacks
- It's not as durable, so it can peel or chip off over time.
- It can be difficult to apply to a project after it has been assembled.
- It's difficult to apply on curved or irregular surfaces.
- It's more expensive than wood filler, but can be cheaper than solid wood, depending on the species.
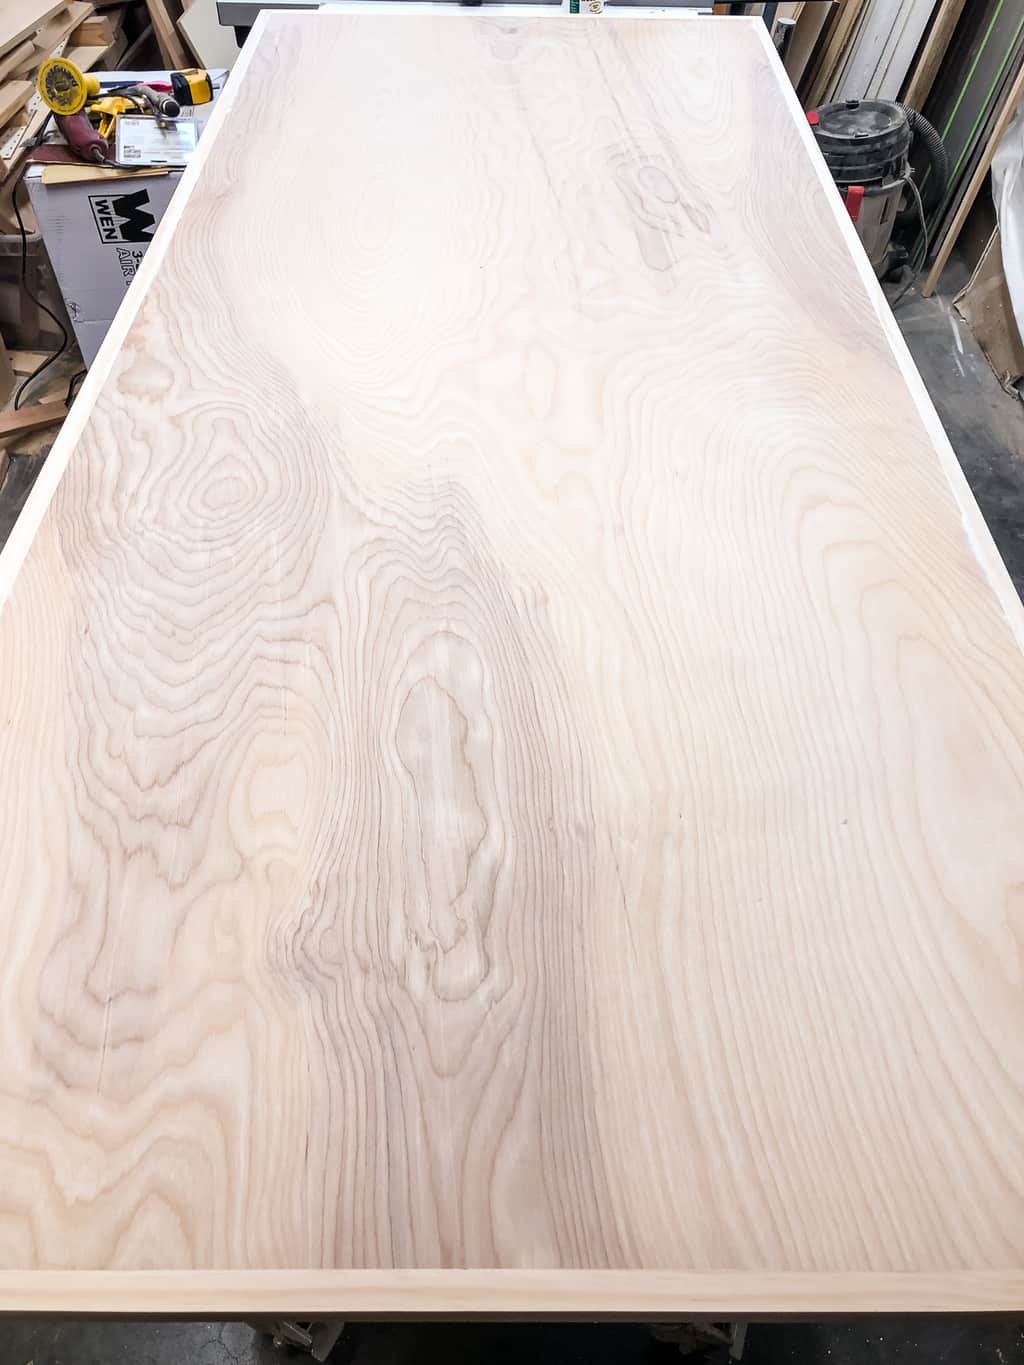
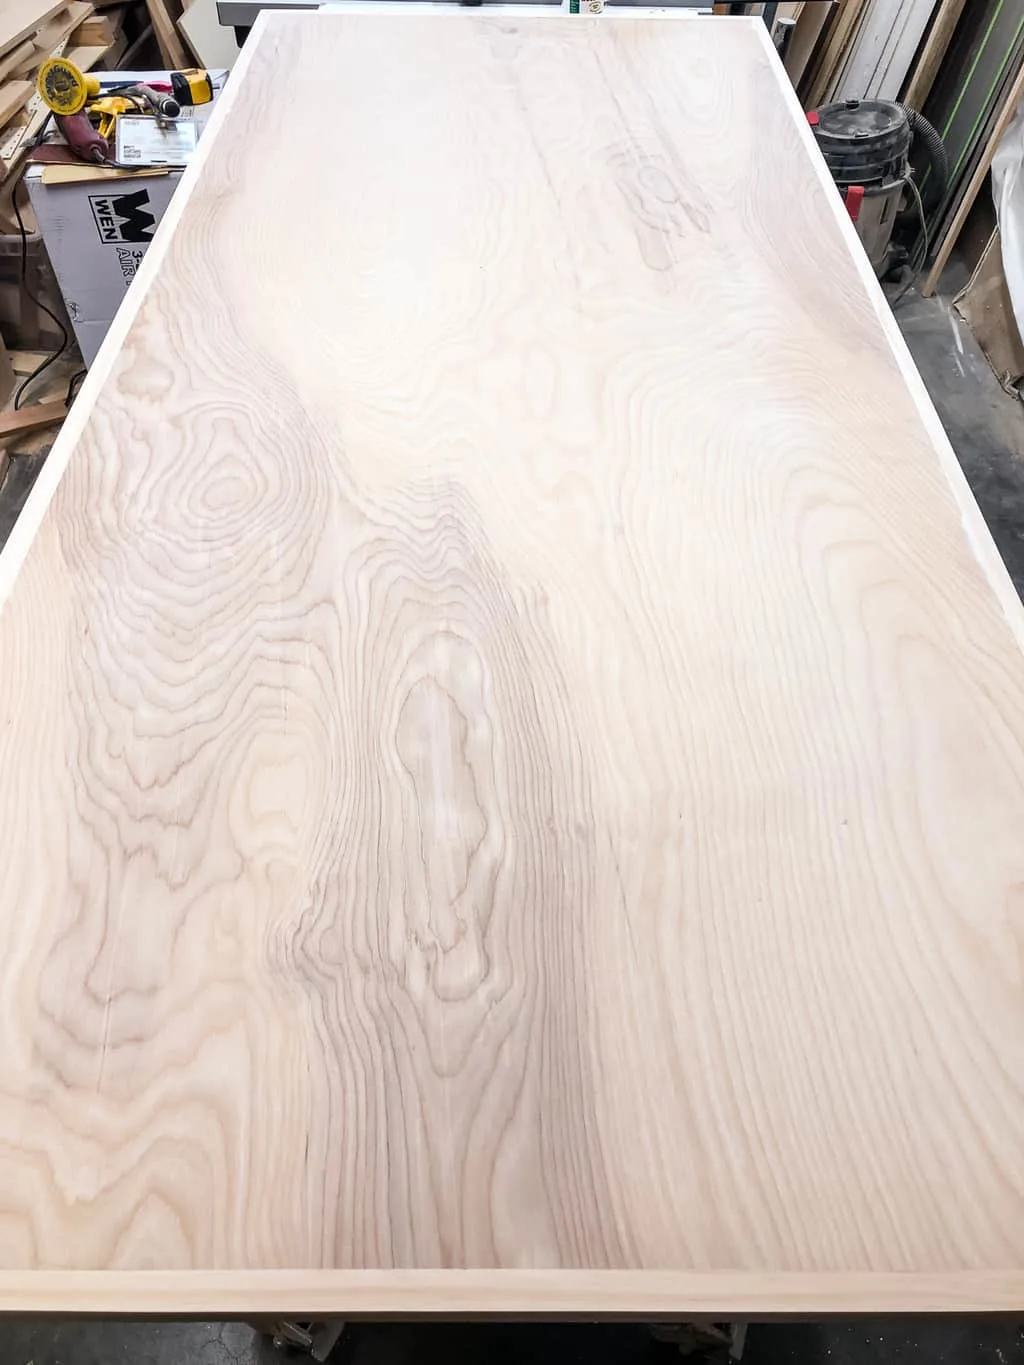
Solid Wood Trim
For the most durable plywood edge finish, go with solid wood trim. This process is the most labor-intensive of the three methods, but results in a durable, more professional finish.
I used solid wood trim around the top of this desk because it would get a lot of abuse along the front edge. Once the top was stained, it all blended together nicely.
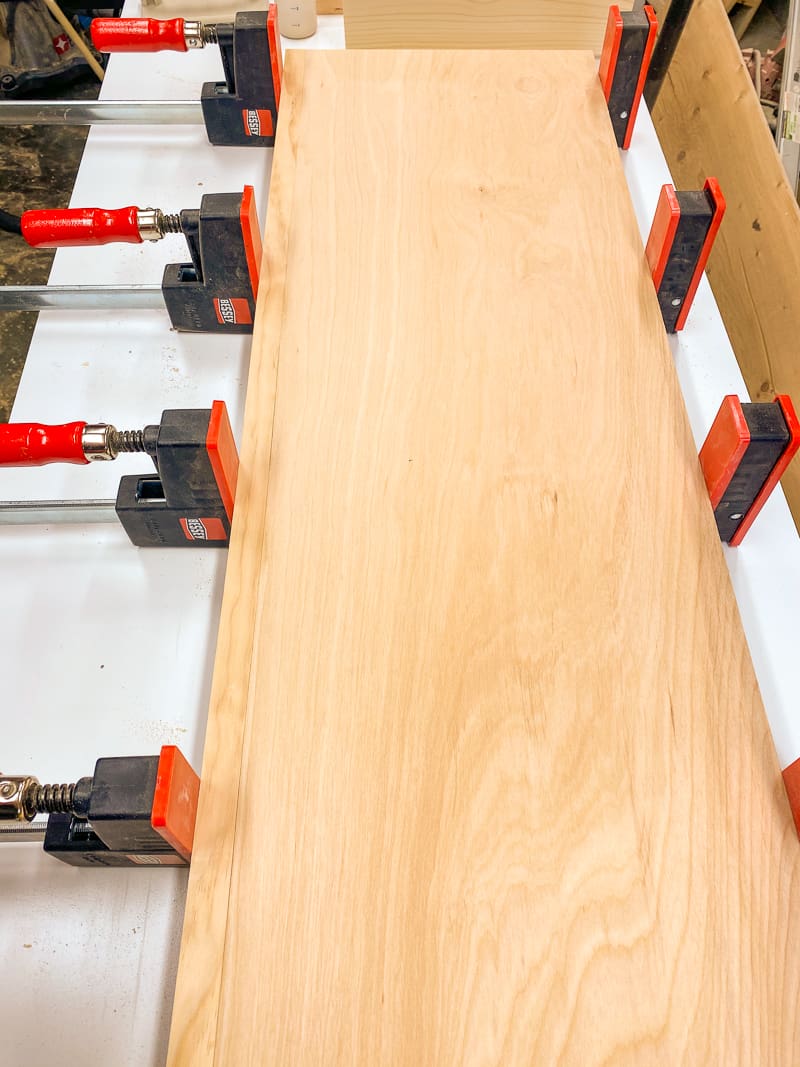
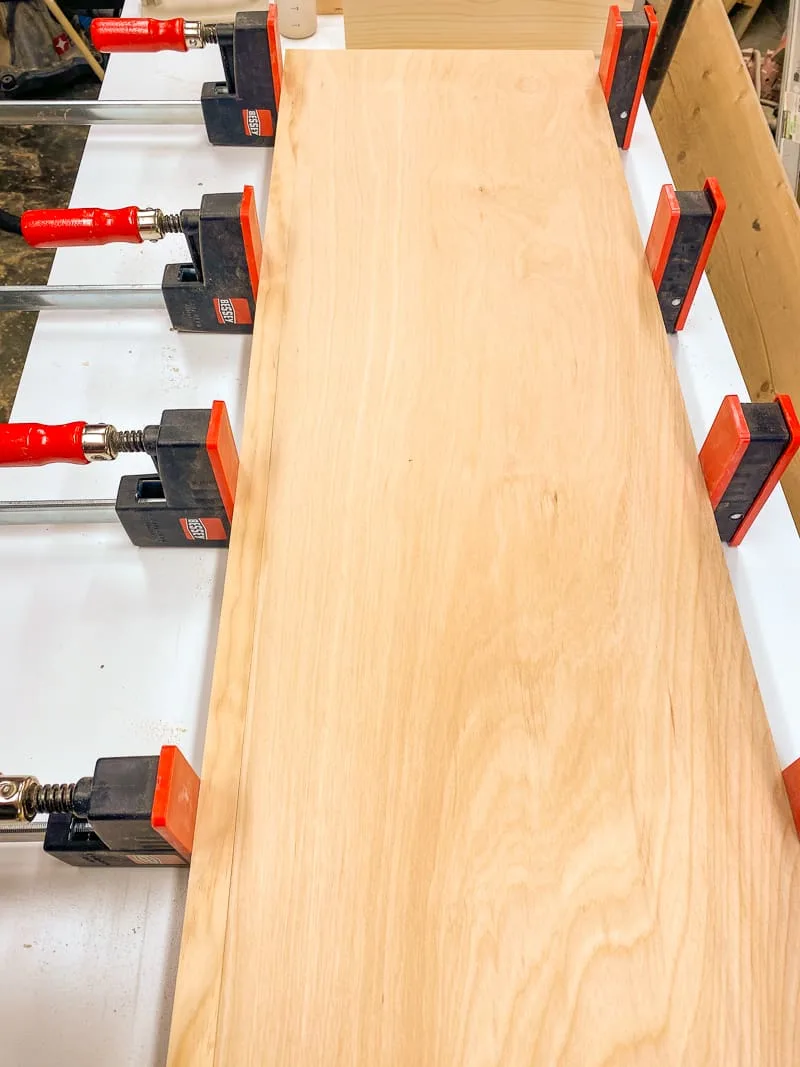
Cut thin strips of solid wood slightly longer than the plywood you plan to attach it to. Then apply wood glue to one side and line it up with the plywood, allowing a bit of overhang on both ends.
You can use parallel clamps on narrower boards, and band clamps like these work great for wider panels. Painter's tape stretched over the wood trim also works in a pinch!
After the glue dries, trim the ends flush and sand the top and bottom to match the thickness of the plywood. You can also use a router with a flush trim bit to prevent sanding through the thin plywood veneer.
If you plan to paint your project, you can use a brad nailer or pin nailer to attach the trim, then use wood filler to cover up the holes. This can speed up the build process since you don't have to wait for the glue to dry.


You can see the process for applying solid wood edge banding in the video below!
Benefits
- Solid wood is more durable than edge banding or wood filler.
- Solid wood edge banding can be stained to match the rest of your project.
- You can use matching or contrasting wood species for different looks.
- Solid wood gives the most professional finish out of the three techniques.
- Solid wood provides extra stability and prevents long lengths of plywood from sagging over time.
Drawbacks
- This method requires more tools than the others, and it's less beginner-friendly.
- Solid wood edge banding takes the longest to complete.
- Solid wood is more expensive than wood filler or edge banding.
- Solid wood can expand or contract with changes in temperature and humidity, which may cause issues with the finished edge over time.
As you can see, each of these methods for finishing plywood edges offers its own unique set of advantages and challenges. Choose the right technique for your project, and you can transform those rough, unfinished plywood edges into seamless, professional-looking masterpieces!
Check out these other woodworking tutorials!