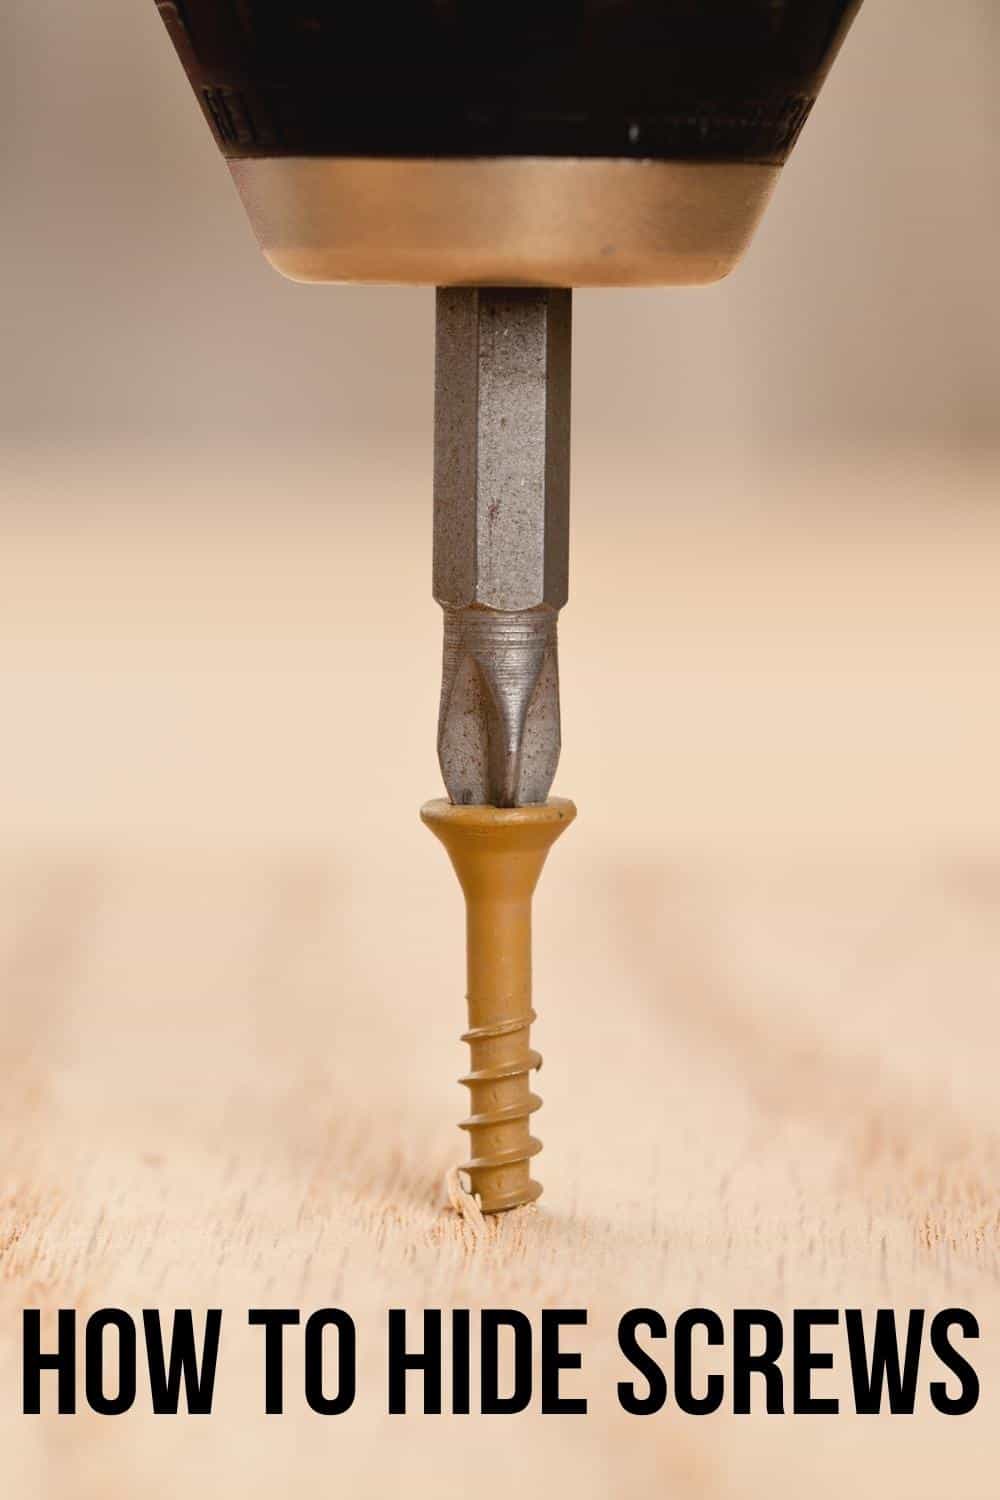
Learn how to hide screws in wood so your projects look more professional! I'll show you 7 different methods from beginner to advanced!
Why should you worry about hiding a screw? In some projects, you don't. In fact, sometimes you might even choose to leave them in obvious locations, so you can easily remove them in the future.
The main reason for hiding a screw is to give your project a cleaner, more professional look. Hidden fasteners allow the wood grain and color to shine without a metal eyesore in the middle of the board.
In this article, I'll show you how to hide screws in wood seven different ways. Whether you're a beginner or advanced woodworker, there will be ideas for you!
This post contains affiliate links for your convenience. Purchases made through these links may earn me a small commission at no additional cost to you. Please visit my disclosures page for more information.
The best ways to hide screws:
- Countersinking and counterboring. Countersinking and counterboring are two methods for dropping screw heads below the surface of the wood. These techniques don't fully hide the screws, but it makes them look more professional and allows you to cover them later if you choose.
- Pocket holes. Pocket holes are a nifty way to place screws in inconspicuous locations while creating a strong joint.
- Wood plugs. These little caps are designed to cover the tops of screws with matching or contrasting wood dowels.
- Wood filler. Wood filler is a common way to cover screws and nails, particularly if you plan to paint your project.
- Peel back the wood surface. If you want to be a little sneaky, you can peel up a portion of the wood with a chisel and then place the screw underneath. Then glue the wood back together to make it disappear!
- Use an alternative joint. As you do more woodworking, you'll find that many carpenters don't use screws at all! Instead, they use joints, like a mortise and tenon or a dovetail, to hold their furniture together.
- Hide screws with another board. This method works similarly to trim around a window or door. You add another board on top to hide a strip of screws.
I'll go into more detail for each of these methods below. I've tried to order them from relatively simple to more complex. With that said, everybody has a different skill set, so choose the one that works best for you!
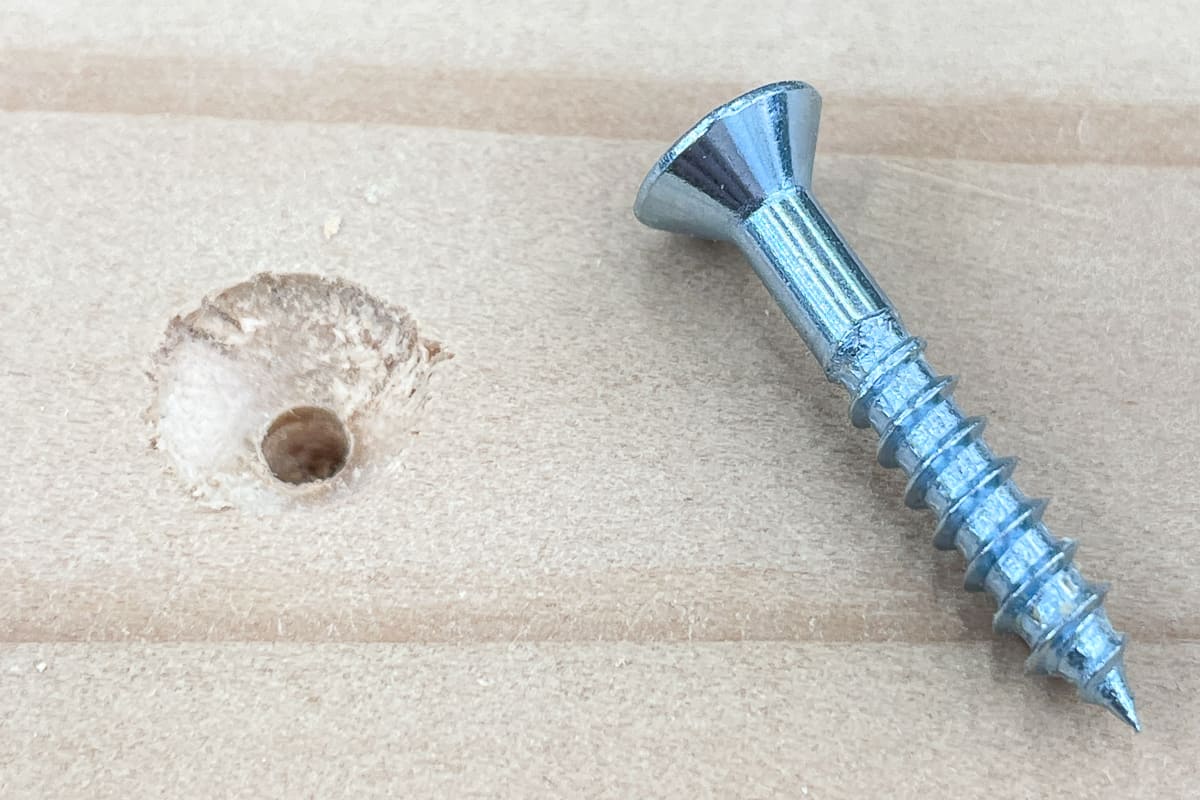
Countersink or Counterbore
Countersinking screws is an easy way to make those screw heads less visible. A special countersink drill bit creates a conical hole around the pilot hole for the head of the wood screw, so it sits flush or below the surface of the wood.

If you haven't already, check out my article on how to countersink screws. This guide will show you everything you need to know about this technique!
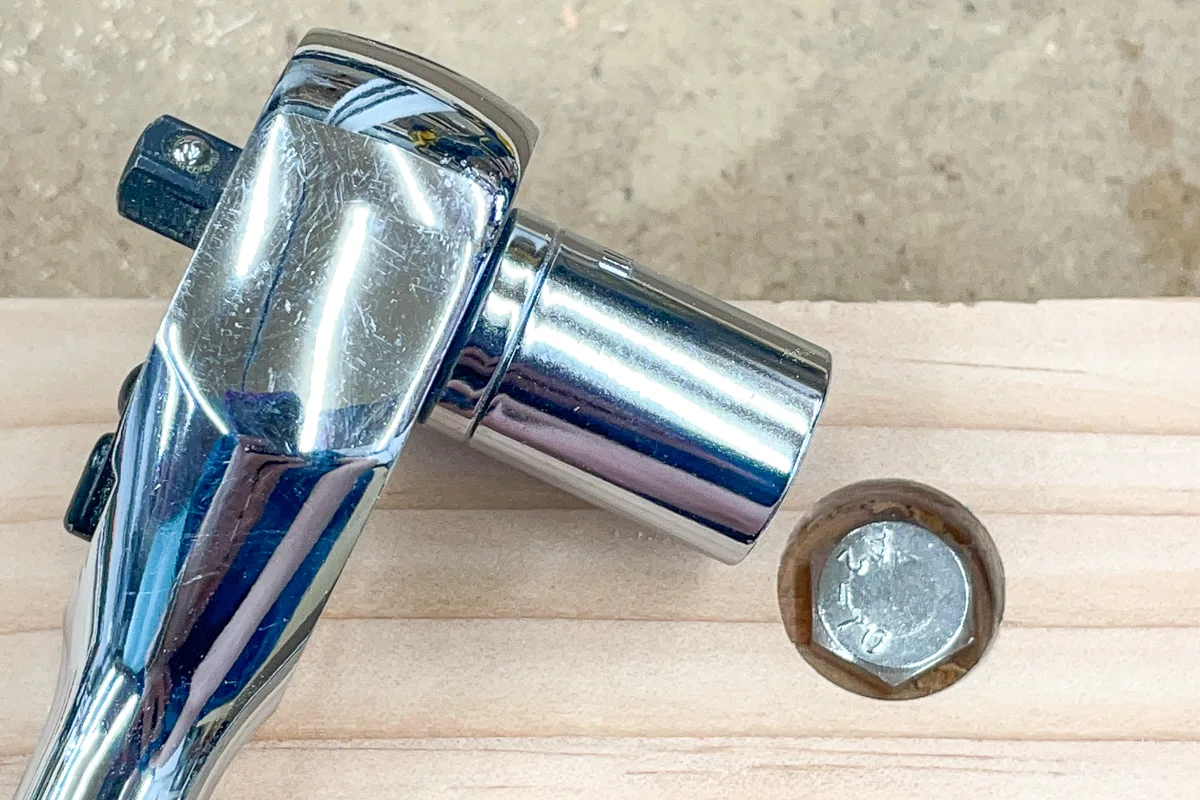
Counterbores are a close relative of the countersink, but they're not quite the same thing. A counterbore is a deeper, cylindrical hole that is commonly used for bolts or screws with a washer. This article compares countersink vs counterbore holes in more detail.

Hide Screws with Pocket Holes
Pocket holes are a great way to hide screws while also creating a strong joint. You can usually drill these holes on the underside of your project, where they won't be seen. For more visible spots, you can fill pocket holes in a number of different ways to hide them.
These angled holes are created with a pocket hole jig, such as a Kreg jig. Then a special pocket hole screw with a washer head is used to bring the two boards together securely. You can use a variety of methods, such as a wood plug, to cover up the holes if needed.


Note: Even if you don't use pocket holes, you can still be careful where you place your screws. For instance, you can try to hide the screws by placing them on the inside of the project instead of the outside.
Hide Screws with Wood Plugs
Wood plugs are little pegs of wood that cover the tops of screws. The plug fits tightly in the hole and is held in place with wood glue. Once it's secure, you can cut it flush with the surface or leave it as a decorative feature (such as the button plug shown below).
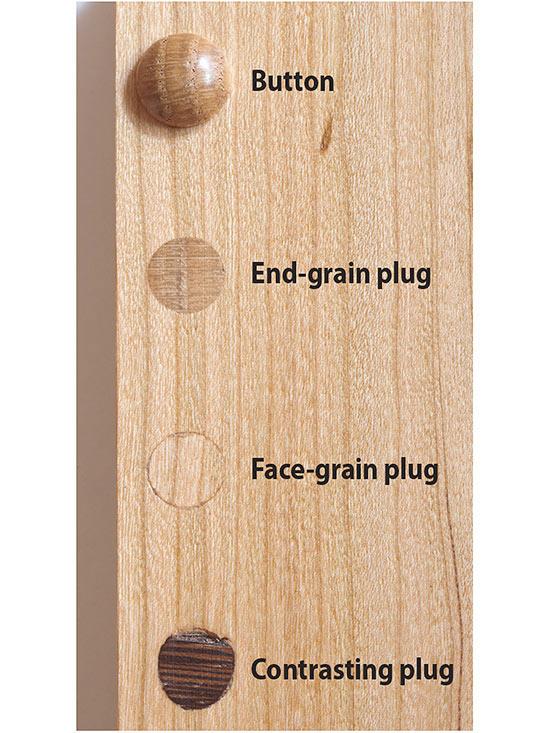

You can use a long dowel of the same or contrasting species of wood as your project. You can even make your own with a wood plug cutter! This will allow you to match the color and grain of the board more precisely.
Hide Screws with Wood Filler
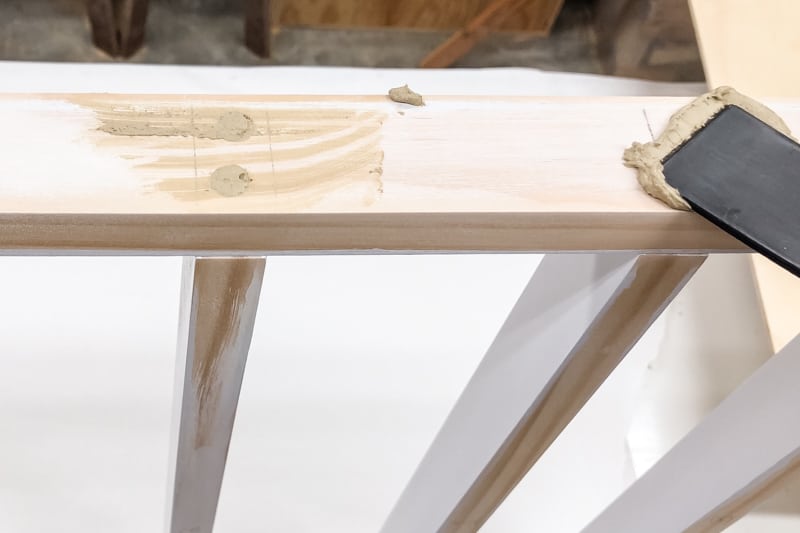
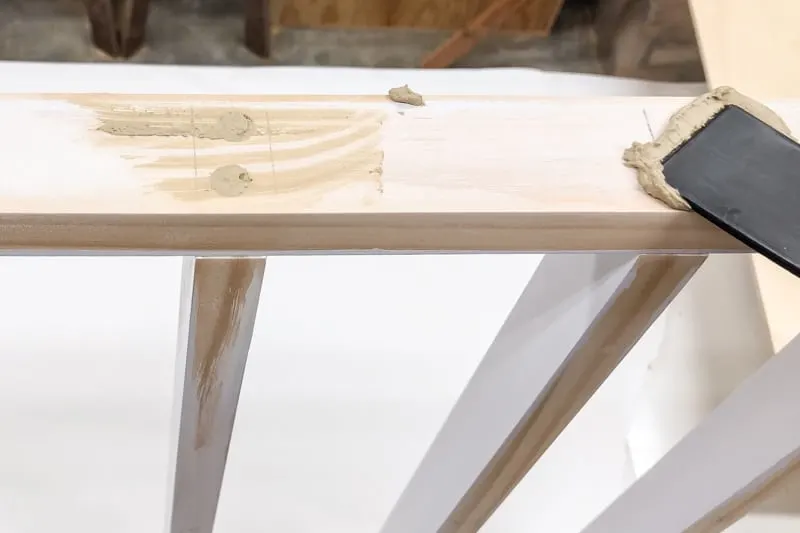
Wood filler can hide screws well, especially if you plan to paint your project. Here's how to use wood filler for a flawless finish!
While some types of wood filler say they are stainable, I recommend testing it first to see if it will look the same as the surrounding wood. Sometimes you can find wood fillers in different colors to match various wood species.
Don't confuse wood putty with wood filler! The two products aren't quite interchangeable, and are used for different purposes. Check out this comparison of wood filler vs wood putty for more details.
Hide Screws under the Wood
This one is sneaky! You peel back a sliver of wood with a chisel, drive the screw underneath, then replace the flap and glue it back into place. This method will probably still leave a line at the chisel mark, but a little sanding should make it almost disappear!
The video below shows this technique in more detail.
Here are several things to keep mind:
- Don't let the wood splinter out. Try to keep all the fibers intact, and don't lose any of the covering wood. Keep your chisel at a shallow angle and just peel off the top layer.
- Apply some water first. Apply some water to the surface of the wood, allowing the fibers to relax. This will make it easier for you to chisel back a sliver without damaging the rest of the project.
- You'll need to glue and clamp it. After you've placed the screw and lowered the flap, you'll need to clamp down the flap and wait for it to dry, then sand it.
Cover Screws with a Trim Board
This method is nice to use when you have a long line of screws that you need to hide. To visualize how this method works, think about door trim. This trim is used for covering up the jagged ends of drywall, insulation, shims and all the other ugly bits that frame the door.
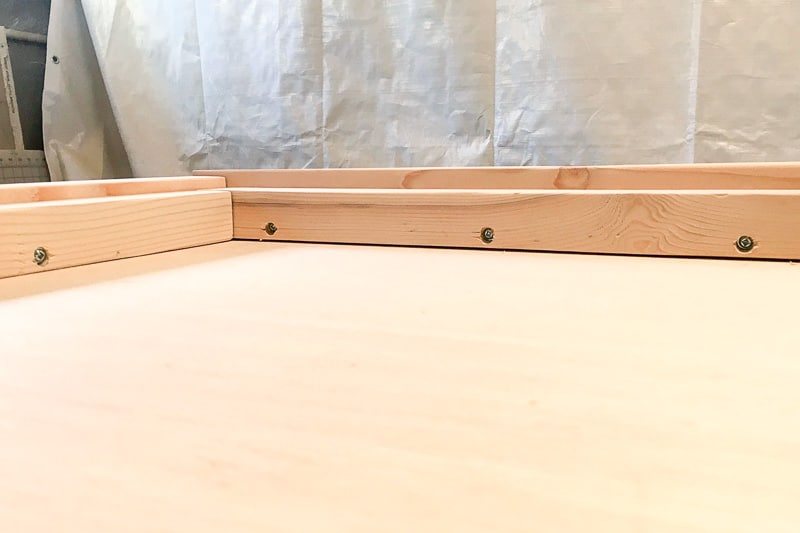
In the same way, you can incorporate a piece of trim to cover a long series of screws. For instance, this DIY upholstered headboard was assembled with screws around the inside of the frame that will be covered up with trim pieces in a later step.

Typically, the trim pieces are attached with tiny nails from a brad nailer or pin nailer, so the holes are almost invisible.
Use an Alternative Joint
If you're a seasoned woodworker, you know about the different joints available. However, if you're just getting into the field, it may surprise you to know that many masters in the trade don't use mechanical fasteners at all!
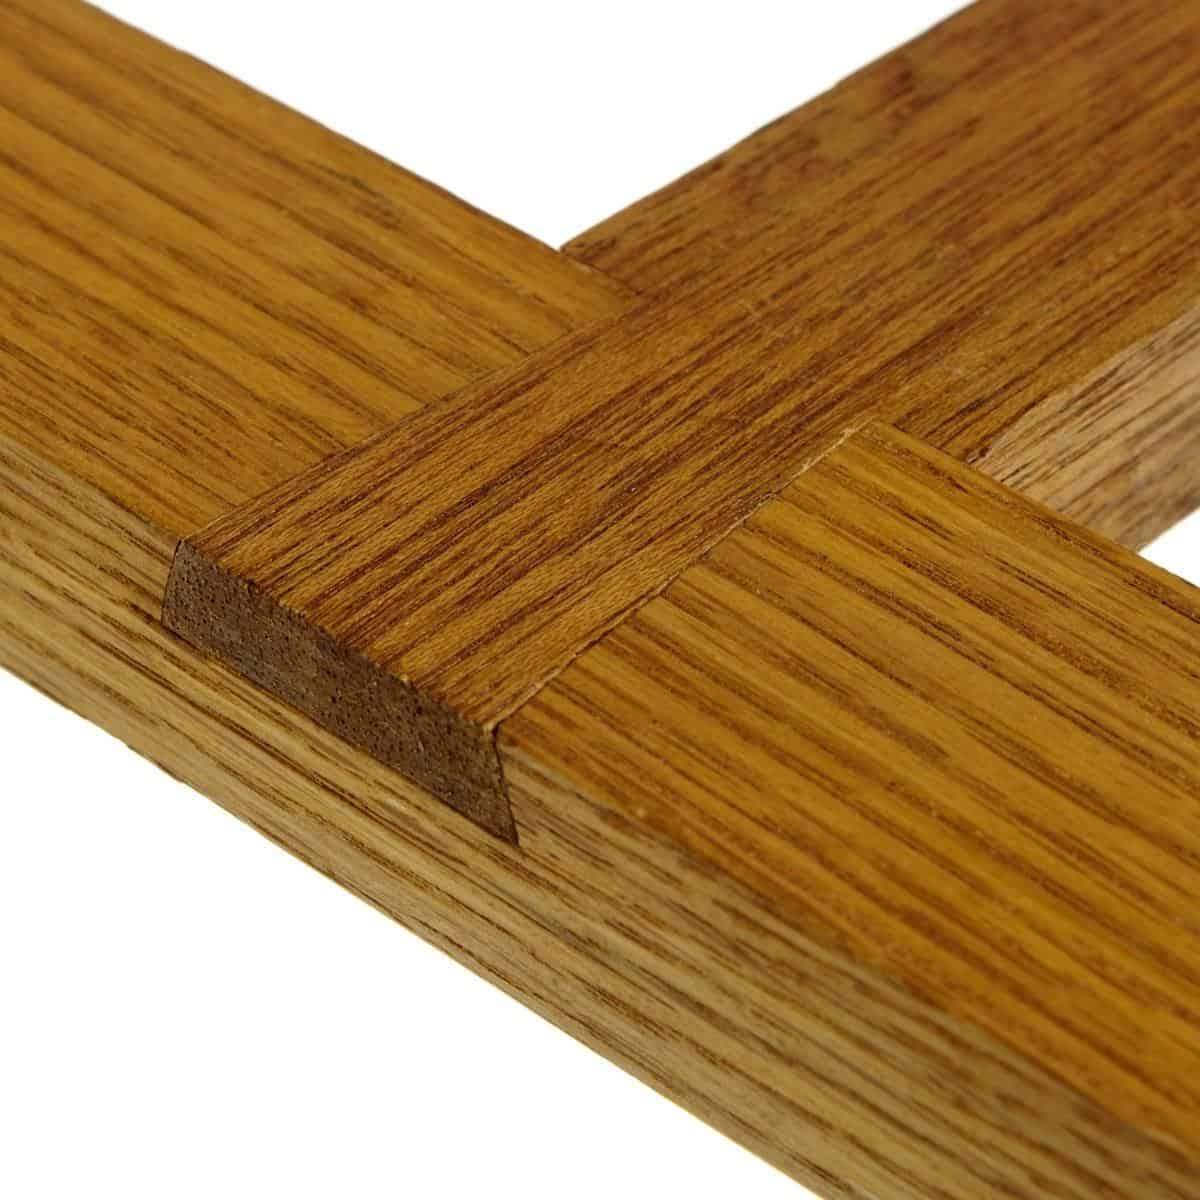
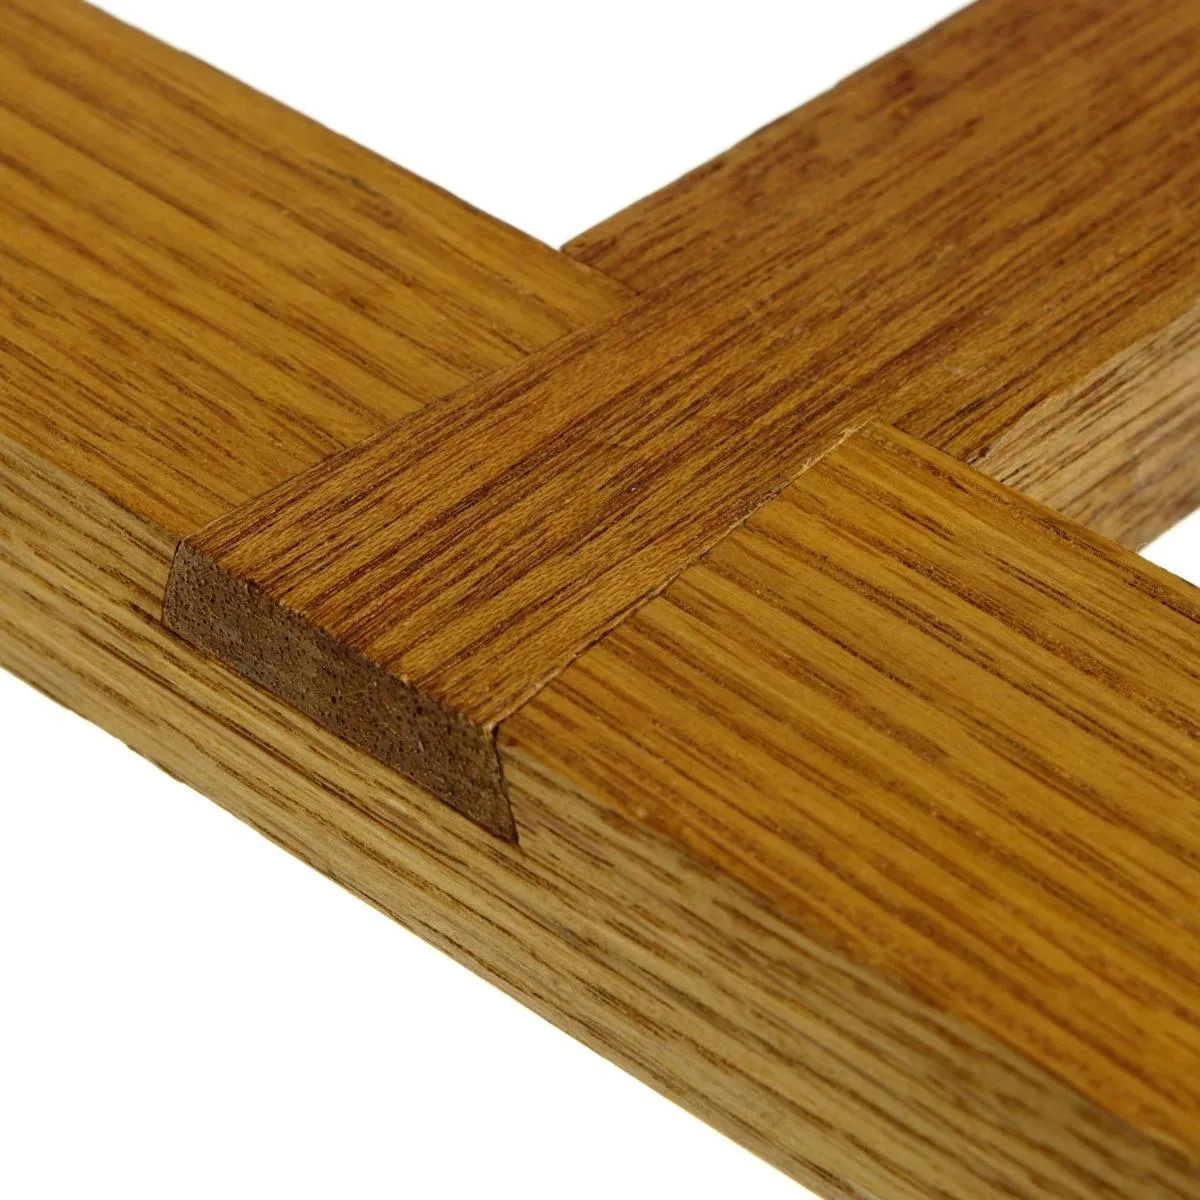
Instead of screws, they use joints built into the wood, such as tenons or dovetails. Most of these joints are straightforward, though they take some practice to master! With a little effort and some research, you can easily incorporate hardware-free joints into your project.
What's your favorite method for hiding screws in wood? Let me know in the comments below!
Check out these other woodworking tutorials!