Figure 8 table top fasteners are hidden hardware to attach your table top to the base while allowing wood movement. Here's how to install them!
If you've ever gotten to the end of a woodworking project and been stumped about how to attach the table top to the base, you're not alone! Luckily, figure 8 table top connectors are an easy way to connect the two parts together almost invisibly while allowing for wood movement.
This post contains affiliate links for your convenience. Purchases made through these links may earn me a small commission at no additional cost to you. Please visit my disclosures page for more information.
What is Wood Movement?
Believe it or not, wood can soak up the humidity in the air like a sponge and swell in high humidity! If you've ever notice a door in your home sticking during the summer, but works fine in the winter, you've seen wood movement in action.


My dad has lectured me numerous times about the need to account for wood movement in my woodworking projects. Changes in humidity and the seasons can cause a solid wood top to expand and contract. This can ruin a perfectly good desk or table over time if it's not connected to the base properly.
Wood Movement Problems
The problem with wood movement isn't that the boards gets longer. They get wider as those cells soak up the moisture in the air. There are two common assembly problems that can cause your project to fail.
Solid Wood Top with a Surrounding Frame
If your table top is surrounded on all sides by a frame, it will push on the sides until something gives. Either the boards in the middle crack and buckle, or the frame will be pulled apart! My friend Scott over at Saws on Skates has a great explanation for how this occurs.
You can see what I'm talking about with this wood and metal desk I made a few years back (before I knew what I was doing!) The boards in the middle are surrounded by the metal inlay frame, and the corner is already starting to show problems!
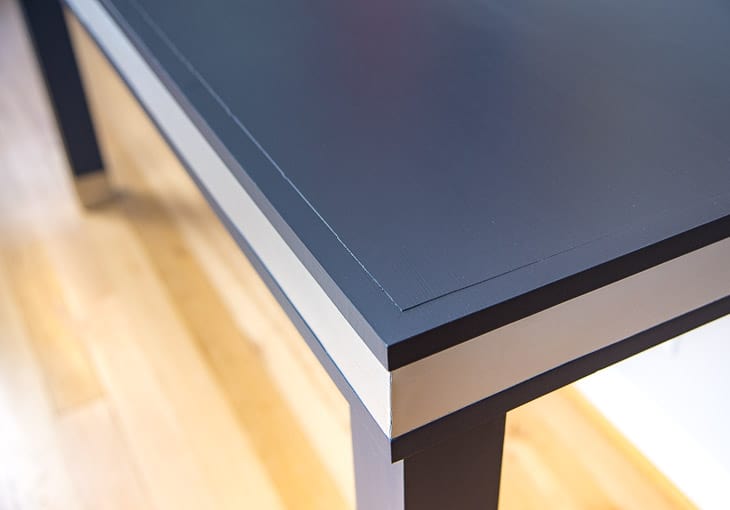

In retrospect, I should have used plywood for the desk surface and framed it with the metal inlay apron. Plywood is much more stable because the layers are laminated together in opposing directions.
Pocket Hole Screws Into the Tabletop
As you know, I'm a huge fan of pocket holes! Almost every one of my woodworking plans uses them. But pocket hole screws shouldn't be used to attach a table top to the base! They don't allow the wood to expand and contract naturally, so the end result is heartache and frustration.
Why Should You Use Figure 8 Table Top Fasteners?
I'm not a patient woodworker. When I'm close to the end of a project, I just want to get it D-O-N-E! Figure 8 table top fasteners are a quick and easy way to attach the top to the base while allowing for wood movement.
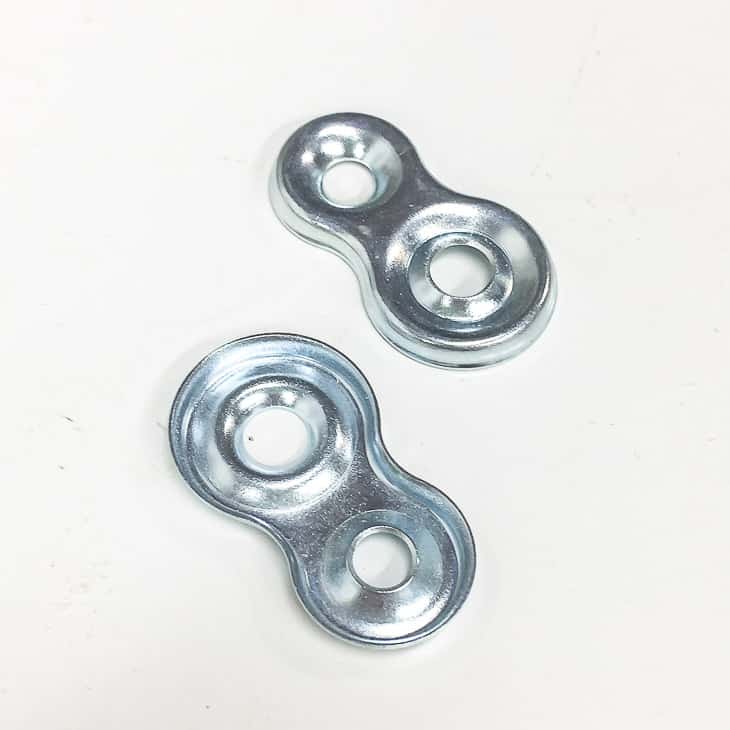

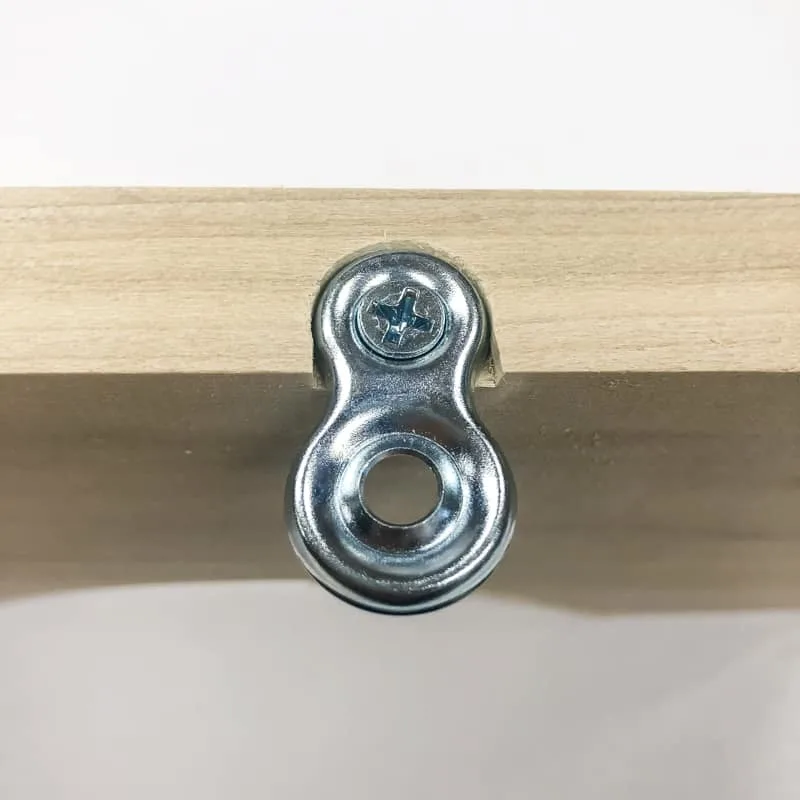
I prefer this style of figure 8 fasteners to these flatter ones because it allows you to countersink screws a little further. It also has two different sized circles, with a ⅝" side that fits on top of ¾" thick boards easily. Keep reading to learn how to install them!
Materials Needed to Install Figure 8 Table Top Fasteners
- Figure 8 table top fasteners (two per side is plenty)
- ½" #6 flat head screws
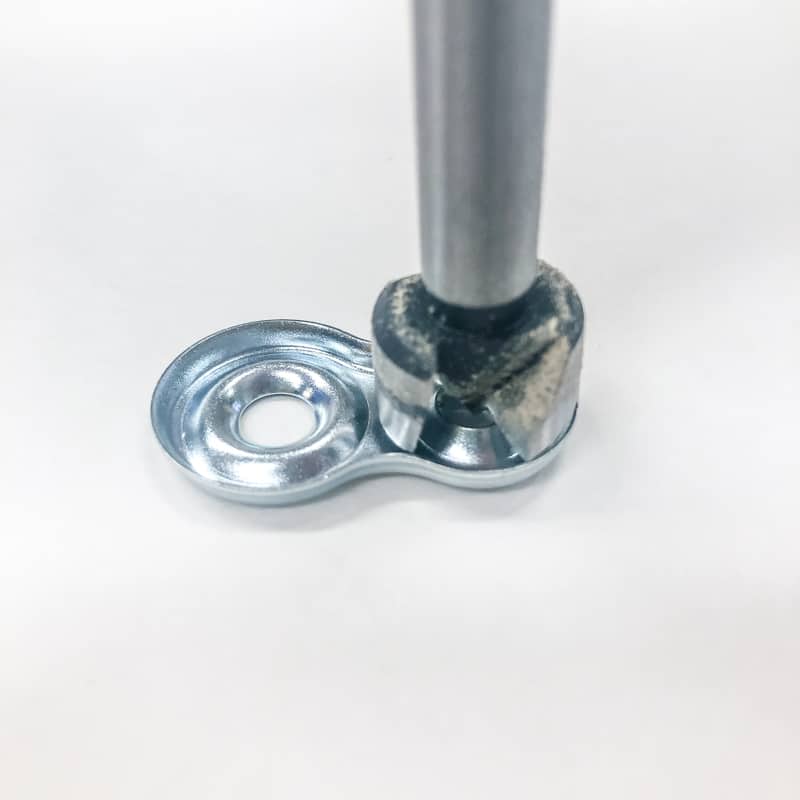
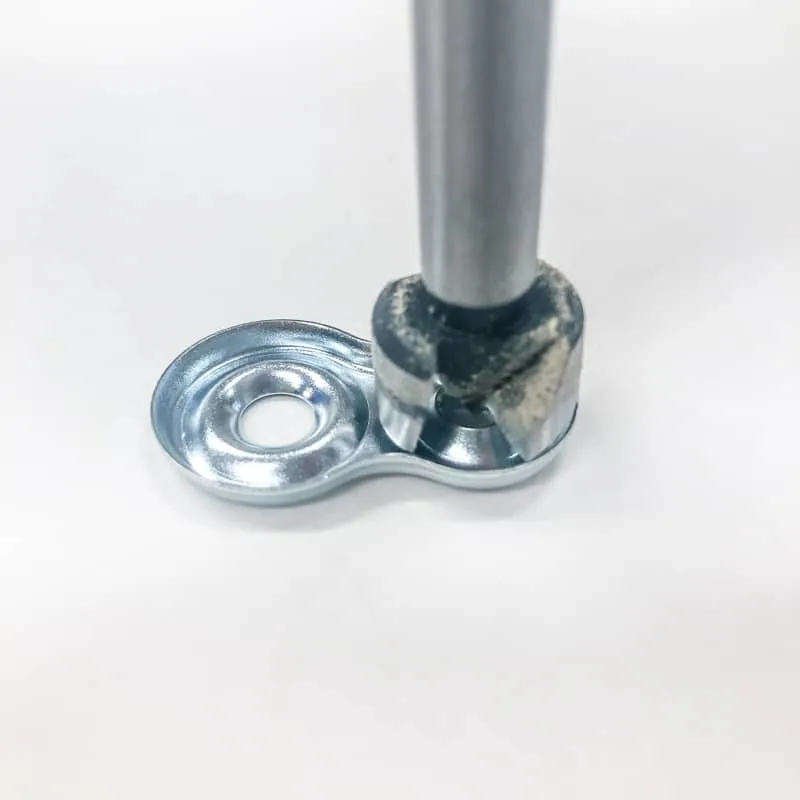
- ⅝" Forstner bit
- Drill
- Wood chisel
How to Attach a Table Top with Figure 8 Clips
Mark the Position
After building the base, decide where you want to position your table top fasteners. They should be evenly spaced around the perimeter of the base.
Place half of the figure 8 fastener on the top of the base with the center of the 8 on the edge. Typically you want this on the inside of the frame so the fastener won't be seen. Trace around the end with a pencil to mark the position.
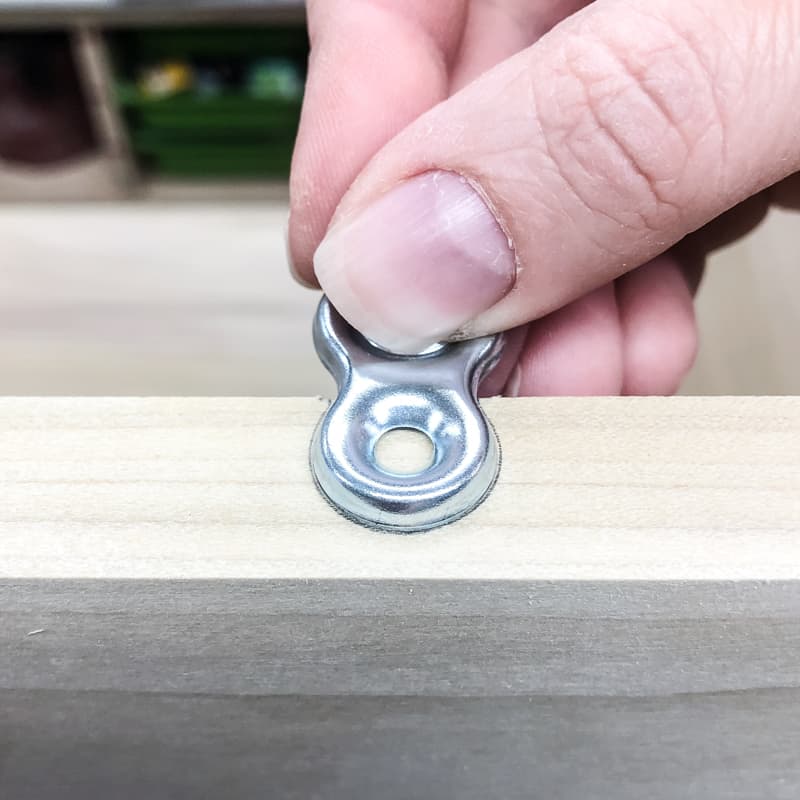

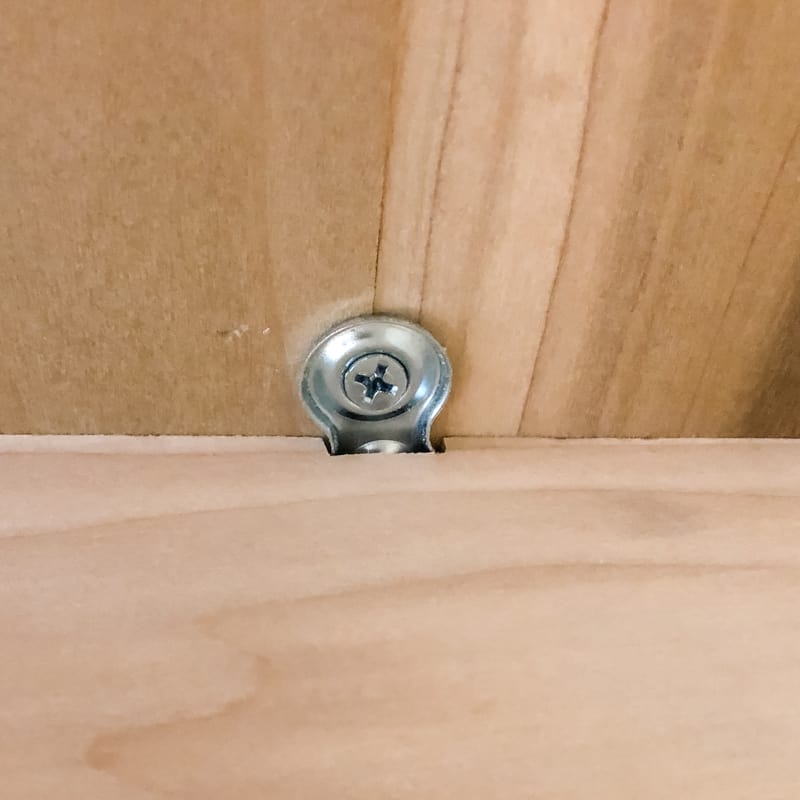
Drill a Shallow Hole with a Forstner Bit
A Forstner bit creates a clean, flat-bottomed hole, and is perfect for drilling a shallow hole that will allow the figure 8 fastener to sit flush with the top of the base.
Check to make sure the bit is the same diameter as the side you traced earlier. I'm using a ⅝" bit for the smaller side of the 8. The larger side is ¾" if you choose to use that one instead.
Put the bit into the chuck of your drill, then line up the edge of the bit with the position you traced earlier.
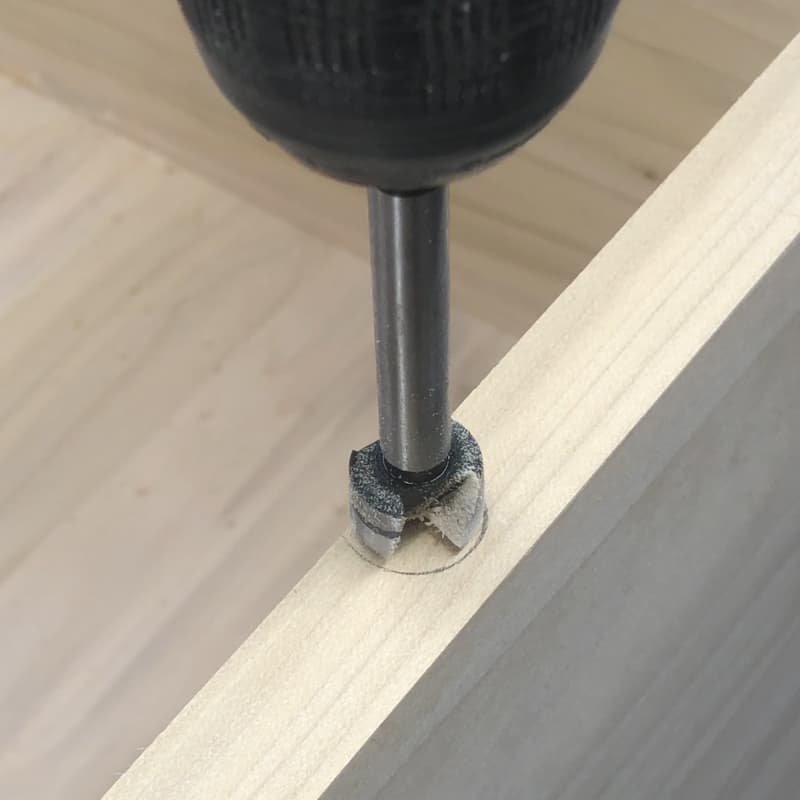
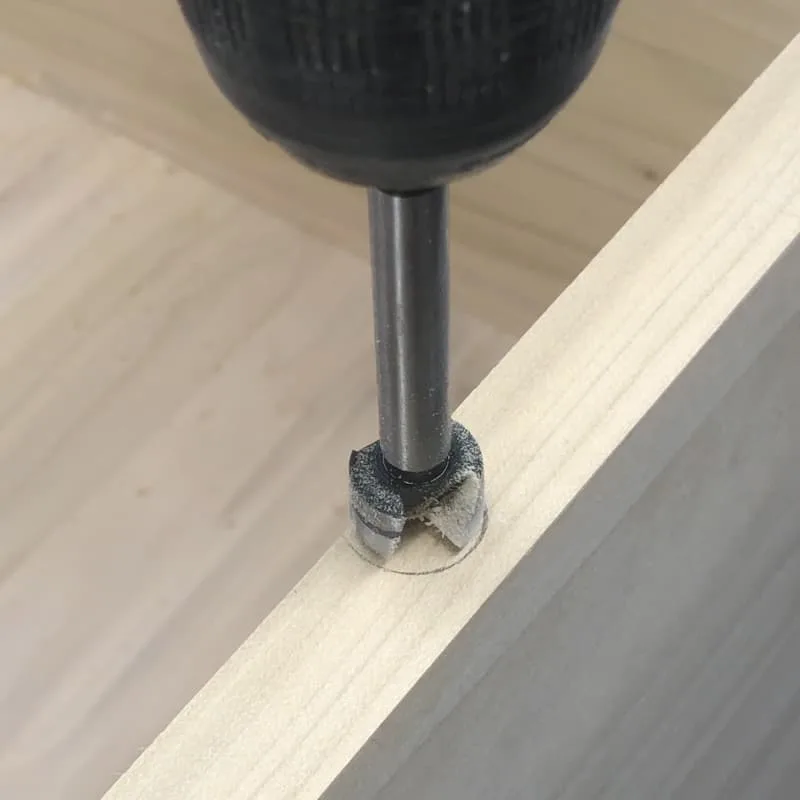
Drill a shallow hole, making sure the bit stays vertical. Stop and check the depth several times as you work. The fastener should be perfectly flush with the top edge of the base.

I like to test the fit by placing a straight board on top of the edge. If there's a gap between the two boards on either side of the fastener, it's not deep enough. Give it a few more pulses with the drill, then check it again.
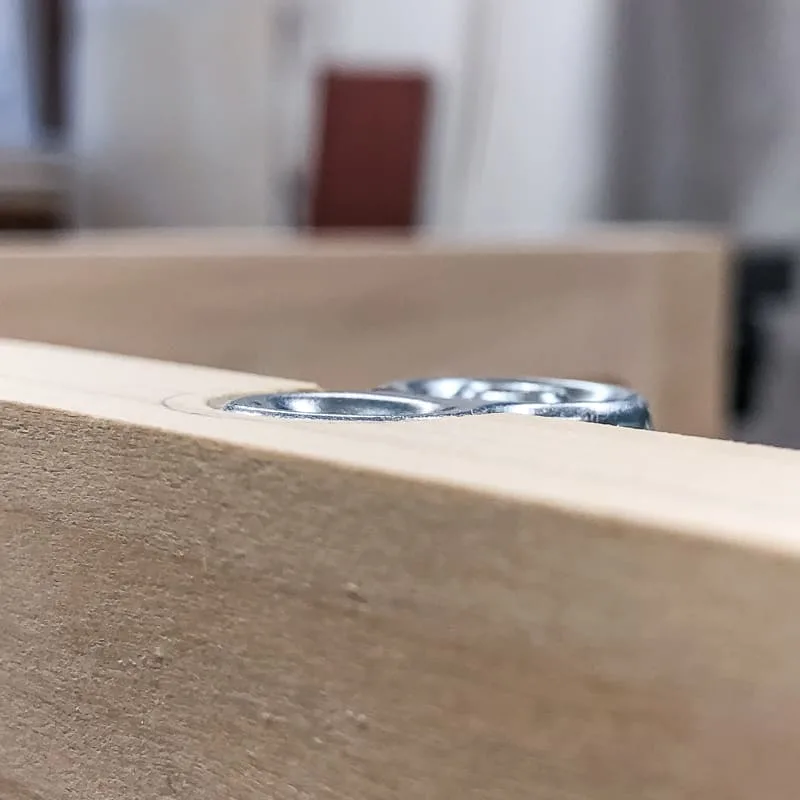
Chisel Out the Sides of the Hole
The whole point of a table top fastener is to allow the top to move naturally. If you don't chisel out the sides of the hole, the fastener is stuck tight and won't be able to swivel back and forth!
First, place the chisel with the flat side down inside the hole. Make a small cut on either side of the opening flush with the bottom of the hole.
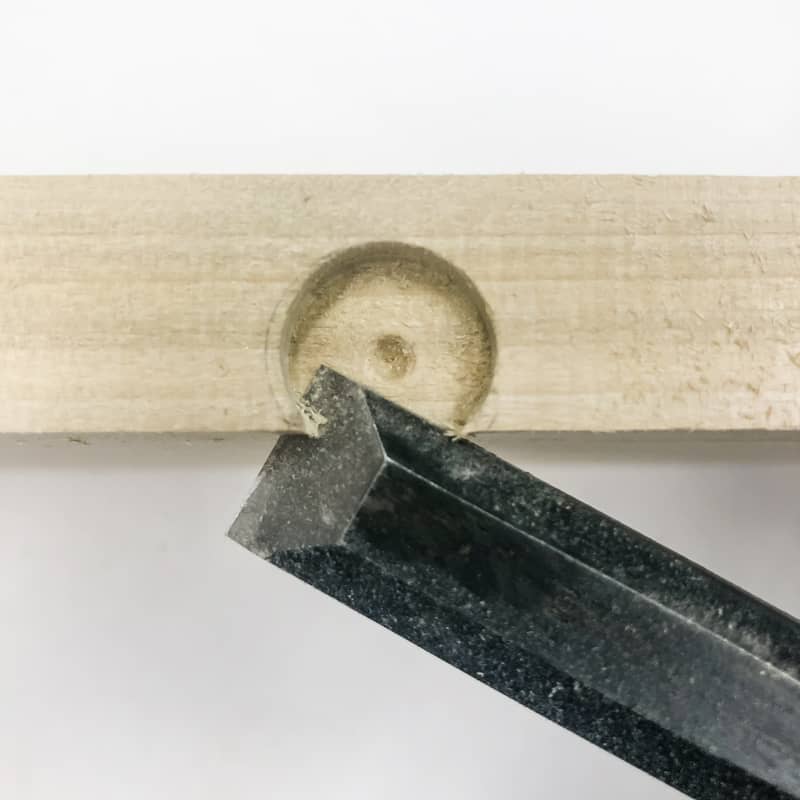
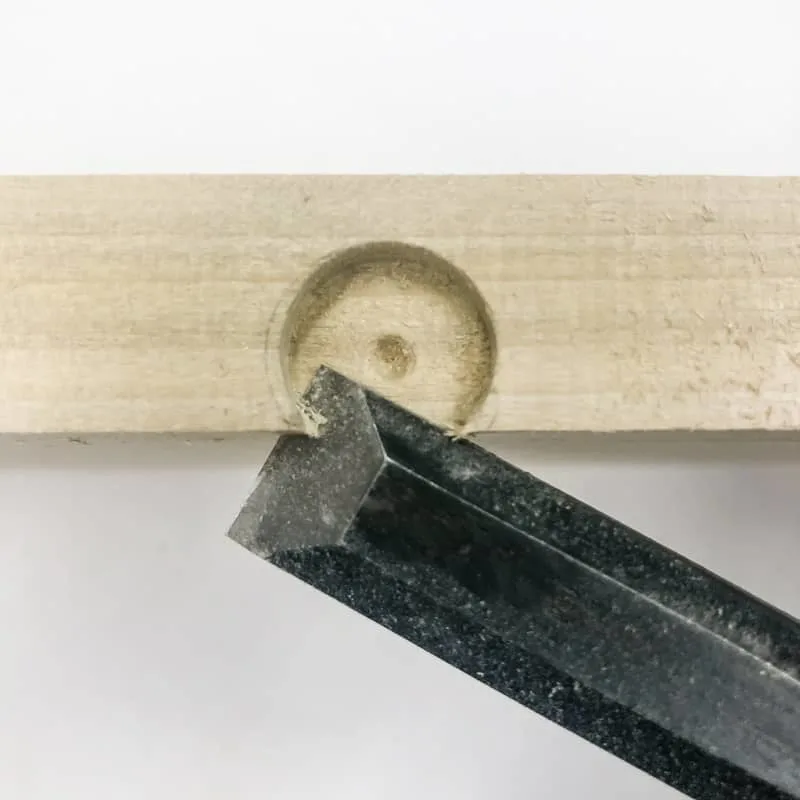
Then, place the chisel with the flat side pointed away from the hole and lined up with the side of the circle. If your chisel is sharp, you should be able to press down with minimal force to cut through the wood and chip off that corner.

You should be left with a slightly wider opening that allows the fastener to move freely back and forth.


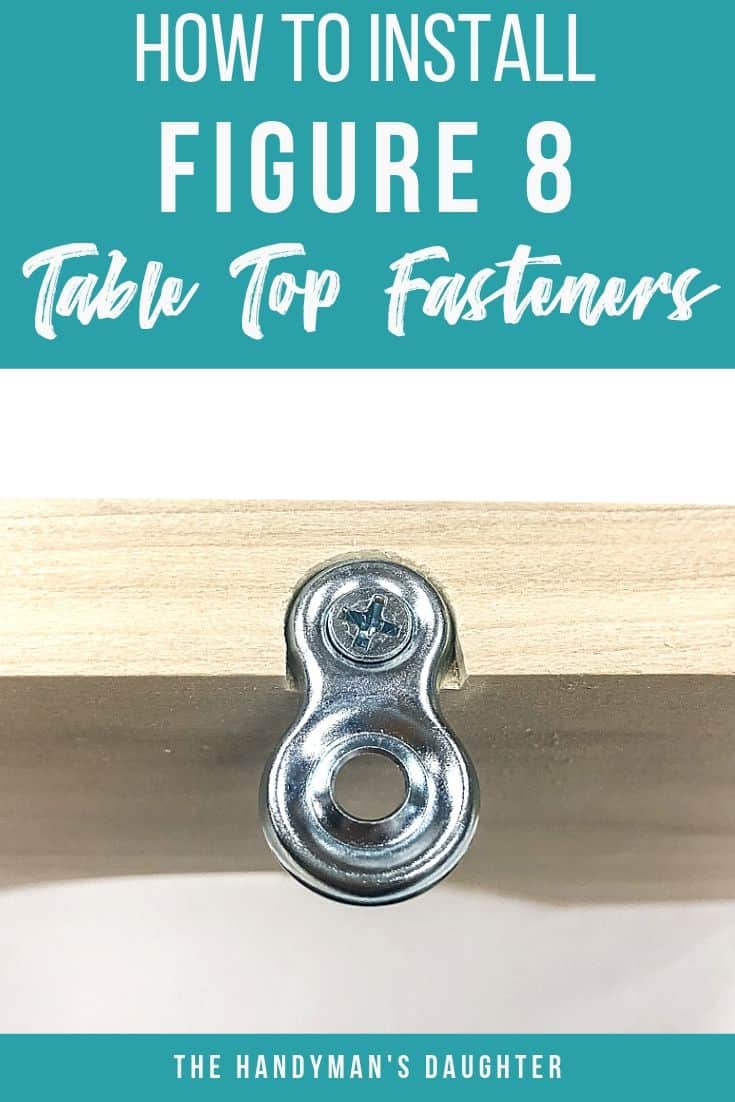
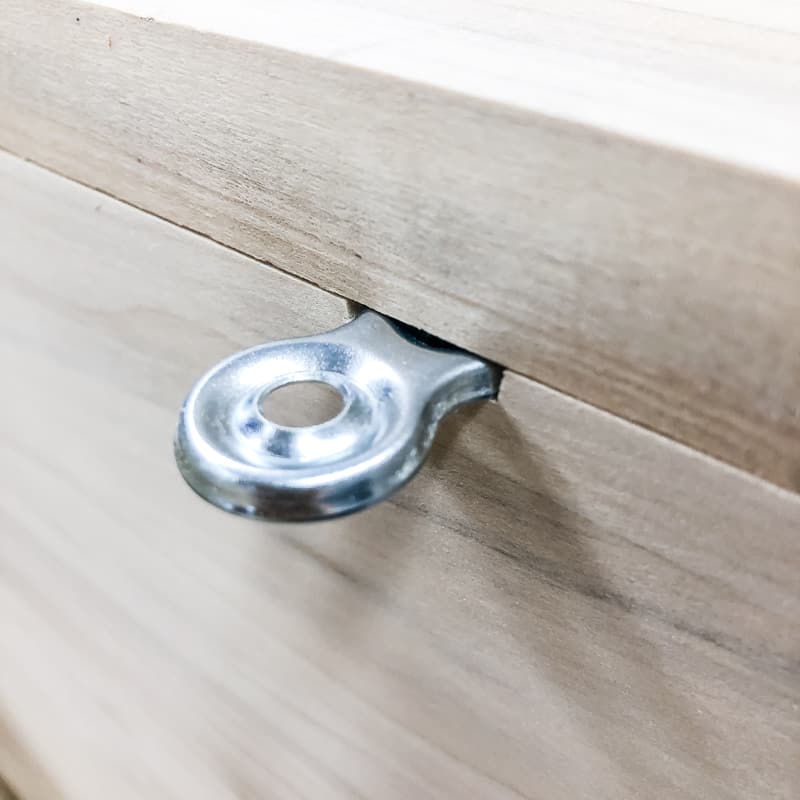
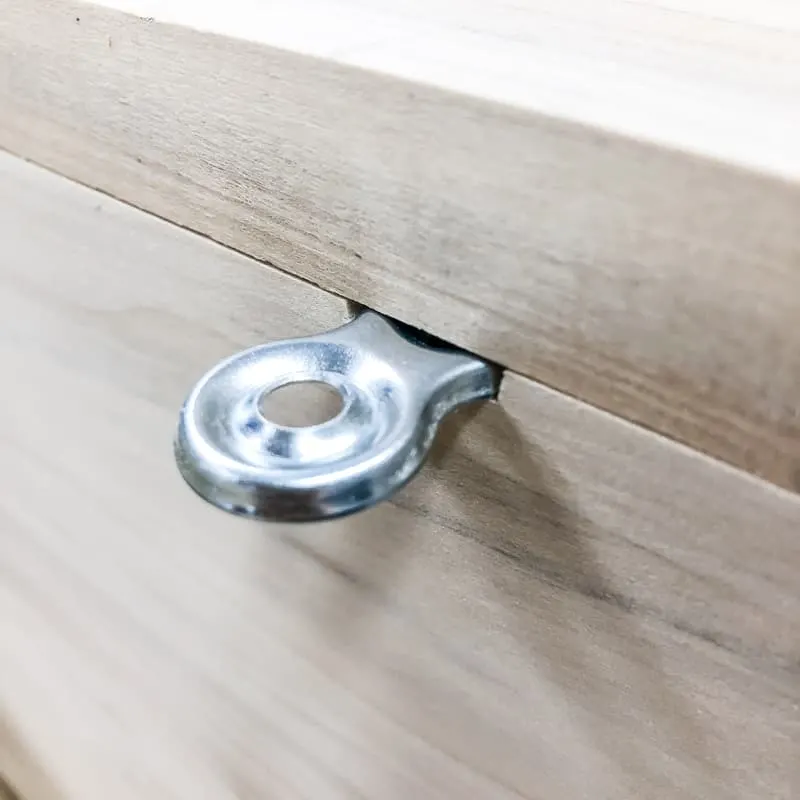
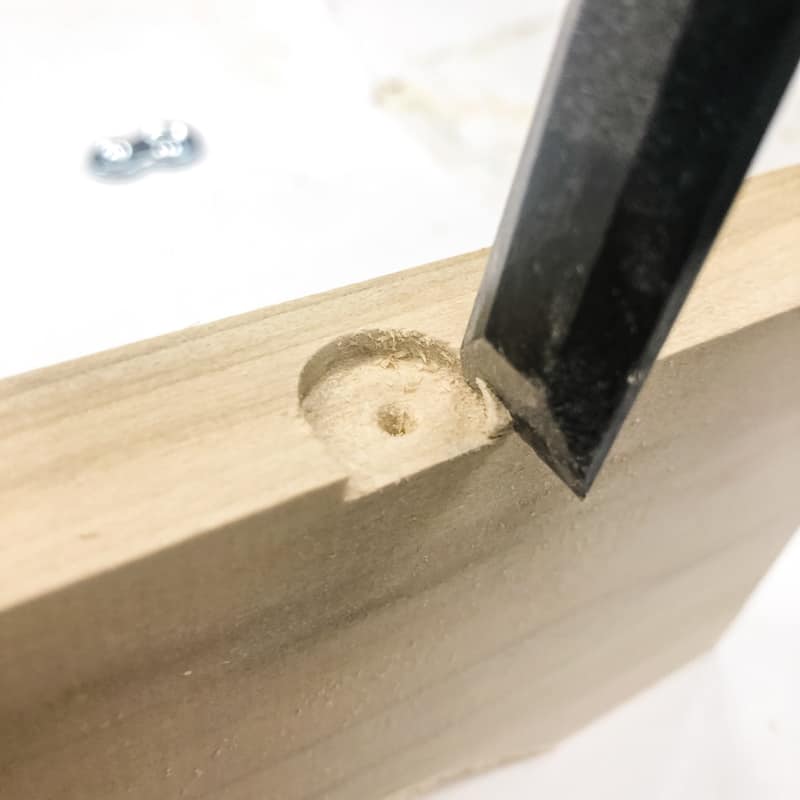
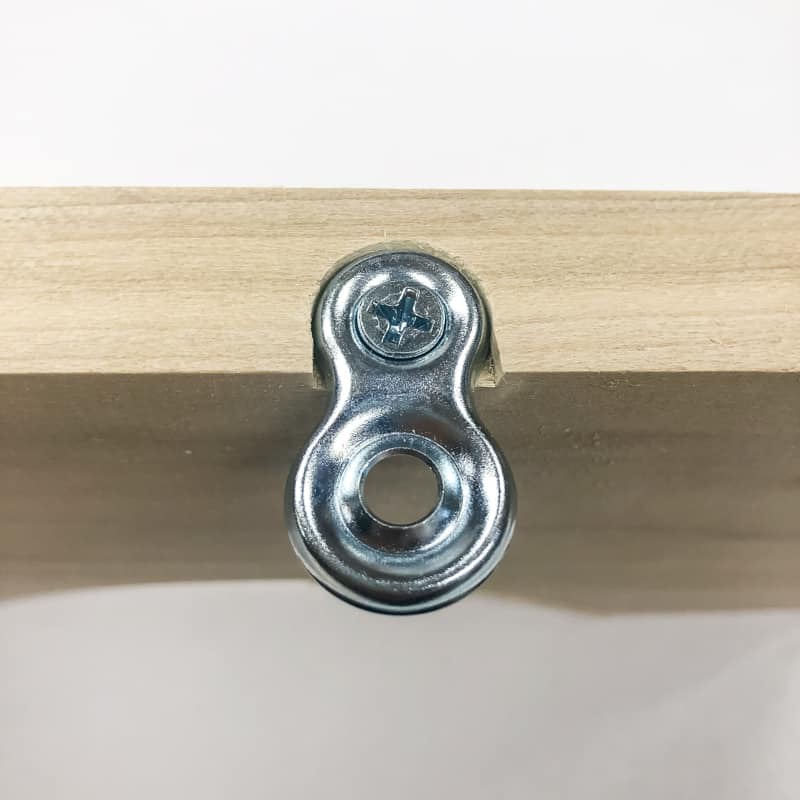
Screw the Table Top Fastener Into the Hole
Most Forstner bits have a little point in the middle to prevent it from wandering while you drill. This makes a great starting hole for your screw!
Make sure your screws have a flat head, and are short enough that they won't poke through your table top! I typically use ½" #6 flat head screws.
Insert the figure 8 table top fastener with the indentation for the screw head facing up inside the hole, and screw it lightly in place. It should be tight enough to hold the fastener in place, but loose enough to pivot back and forth.
Screw the Table Top in Place
That was the tricky part! Now all you have to do is place the table top on the base and screw it down from underneath.

Now your furniture is ready for paint or stain! Remember to apply the same finish to the underside as well as the top. This allows the wood to expand and contract evenly on both surfaces.
Check out these other woodworking tips!