Learn how to cut and install laminate sheets yourself! Laminate sheets are easy to attach to plywood for a quick countertop solution!


Laminate sheets are an inexpensive way to add a tough, waterproof surface to your countertops and table tops. I'll walk you through the process of how I laminated my Kreg workbench top so it can handle all the abuse from building, painting and sanding my woodworking projects.
This post contains affiliate links for your convenience. Purchases made through these links may earn me a small commission at no additional cost to you. Please visit my disclosures page for more information.
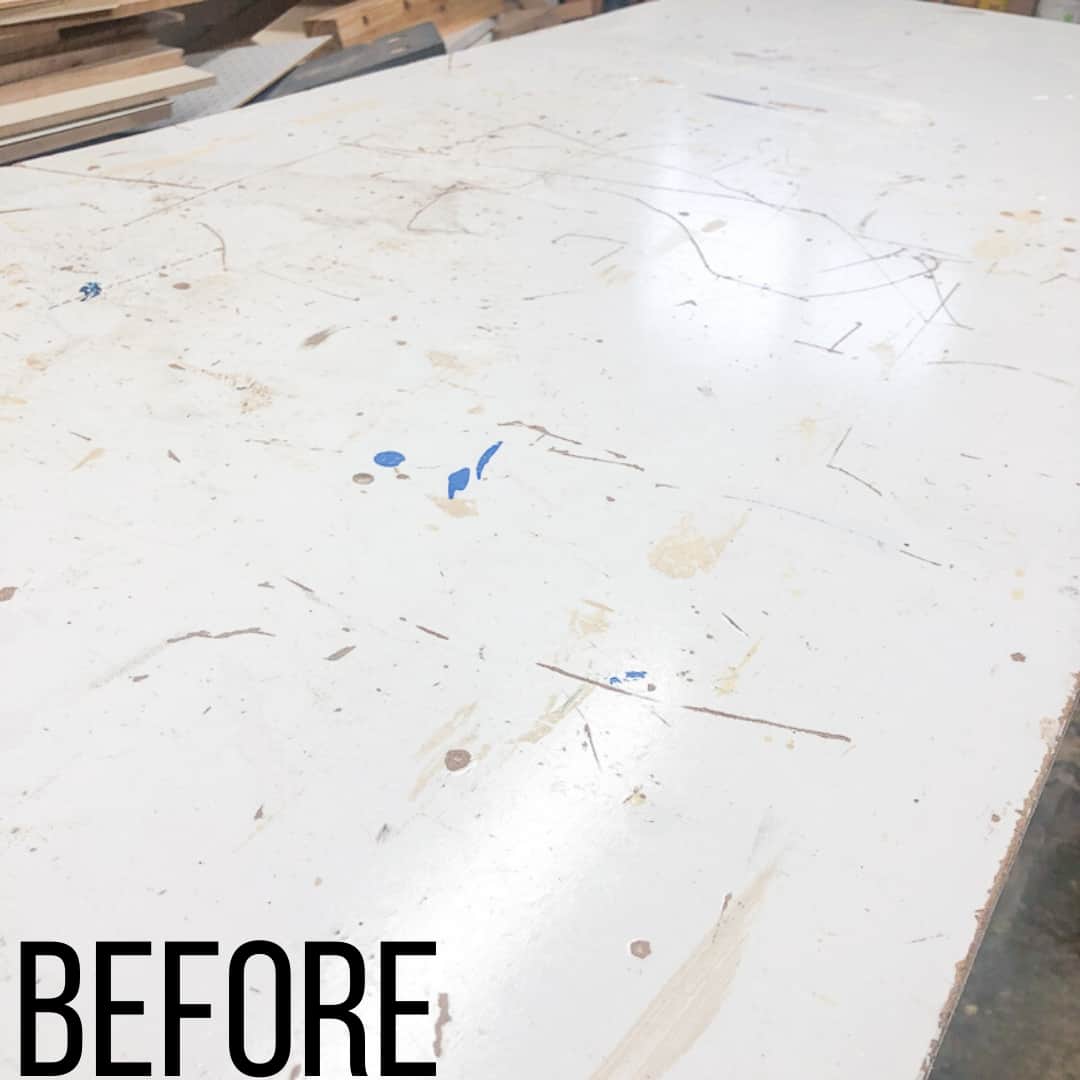
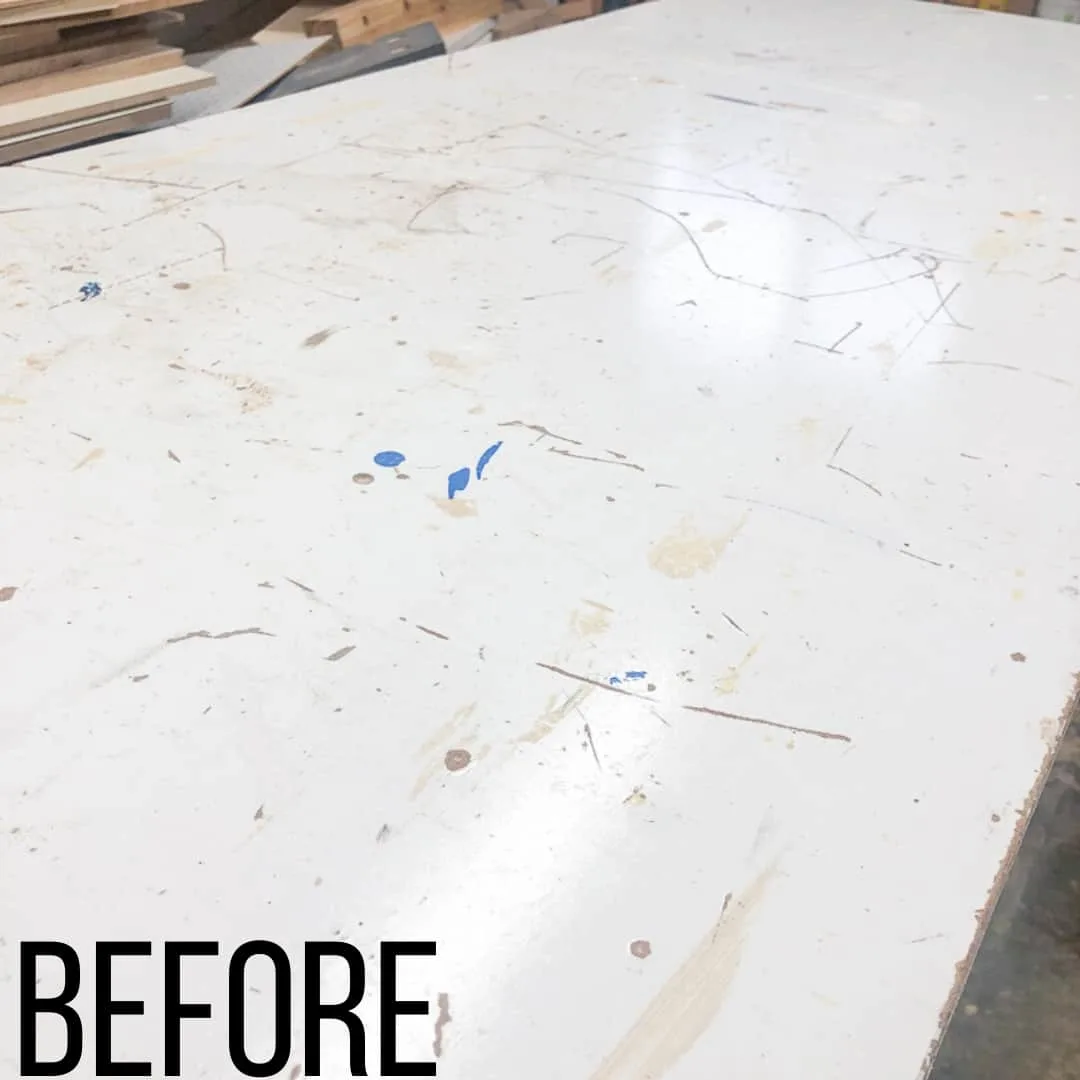
You may have seen this beat up top in some of my "in progress" photos. It's a material similar to whiteboard that I glued to an old door that serves as my workbench. I DO NOT recommend it for covering a work surface!

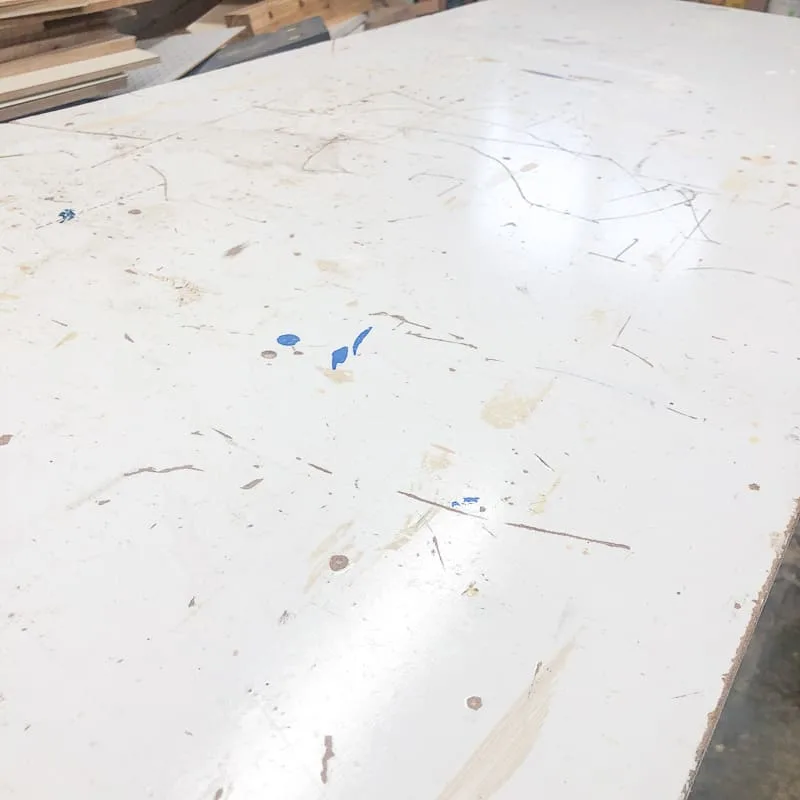
I chose this material because it was really cheap (around $15 for a 4'x8' sheet) and white shows up better for photos. While it worked out great for covering the dark wood paneled walls behind my lumber rack, it can't stand up to the abuse of building furniture every day! It shows every scratch and cut, and worst of all, it absorbs moisture and expands to create an uneven work surface.
I got tired of editing out the worst spots in Photoshop, so it's time to give my workbench a makeover. Consider this a practice run for when I finally get tired of my contact paper kitchen countertops and install new laminate instead!
Check out more DIY countertop ideas here!
Materials Needed for Installing Laminate Sheets
- Laminate sheet wider and longer than your countertop
- I went with this matte white Formica sheet for my workbench.
- Contact cement
- 4" foam paint roller
- Laminate roller
- 1" wooden dowels cut slightly longer than the width of your countertop
- Table saw, circular saw or track saw for cutting laminate sheets
- You can also use a utility knife and a drywall square if you're only make a couple of cuts.
- Trim router and flush cut router bit
- Painter's tape for masking off cut line and preventing chipping
Don't forget your safety gear when woodworking! Here are my recommendations for safety glasses and ear protection. No excuses!
How to Cut Laminate Sheets
Measure your countertop (and double check those measurements!) before you start cutting. You should add ½" to both the length and the width, which will be trimmed to size with a router later on.
Score and Snap Method
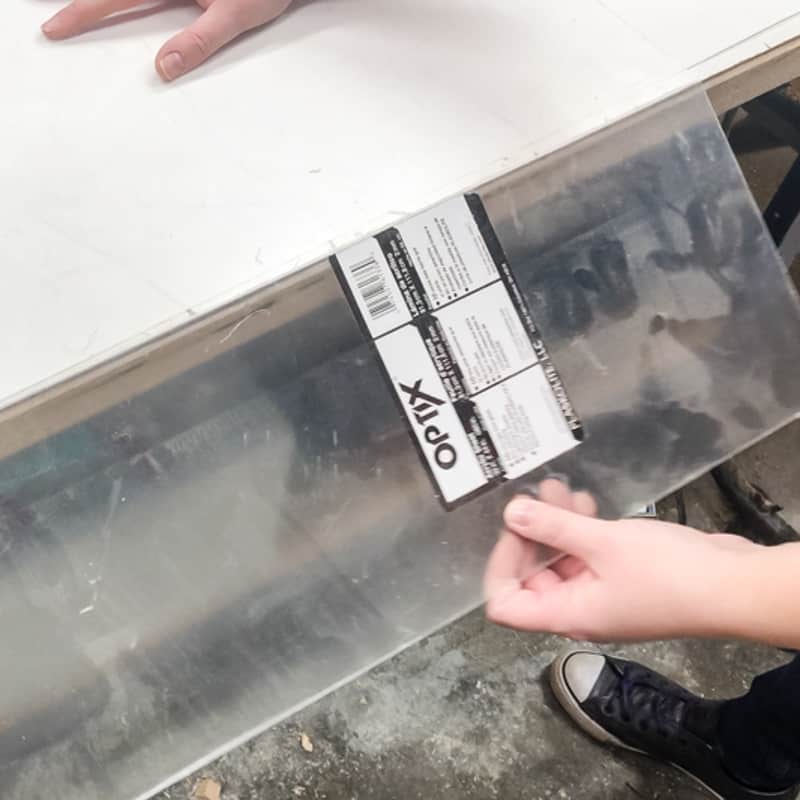
If you only need to make a few cuts, you can get away with using a utility knife and drywall square instead of a saw. Use the same score-and-snap method I used for cutting acrylic sheets.

But using a saw is faster and results in a cleaner cut, so that's the method I used for cutting this laminate sheet to size.
Power Saw Method
Mark the ends of the cut line with a dry erase marker (it wipes off easily), then apply a strip of painter's tape from edge to edge along the cut line. This will prevent chipping on the finished surface. I forgot to do this, and there are tiny imperfections in the cut edge. Luckily, this is for my workshop, not a kitchen countertop!

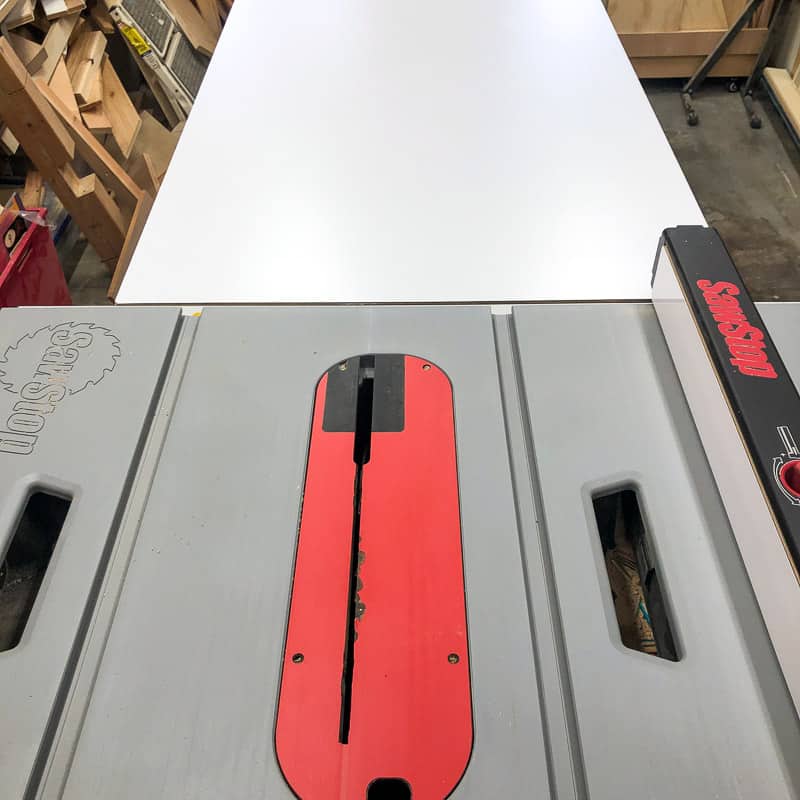
I decided to use a track saw instead of the table saw, since working with large sheets can be tricky in my small workshop. Use foam insulation panels to support the laminate sheet and prevent the blade from cutting through the workbench. Clamp everything down so it doesn't move as you cut.
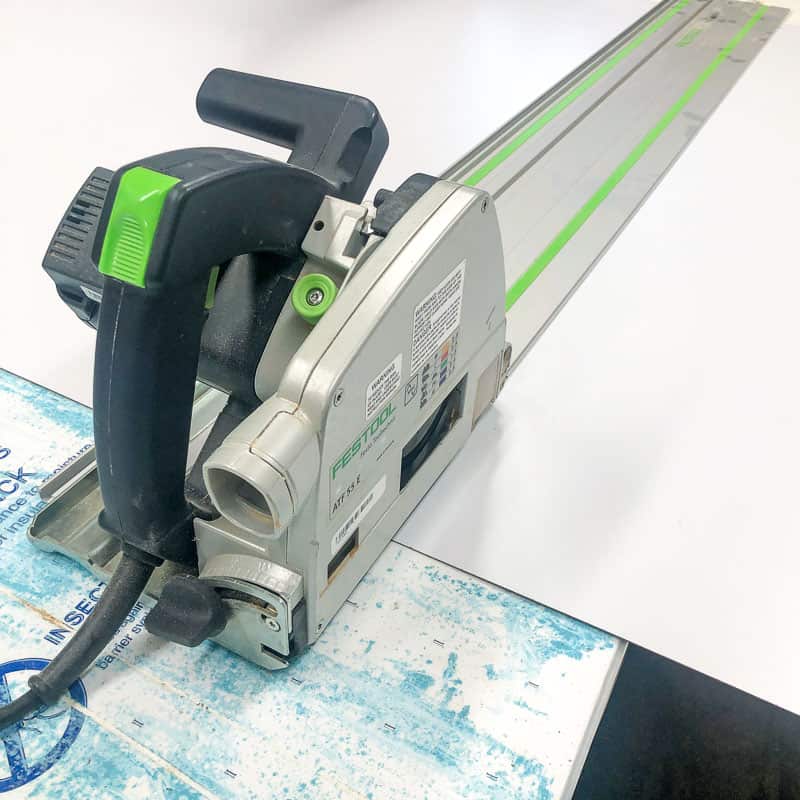
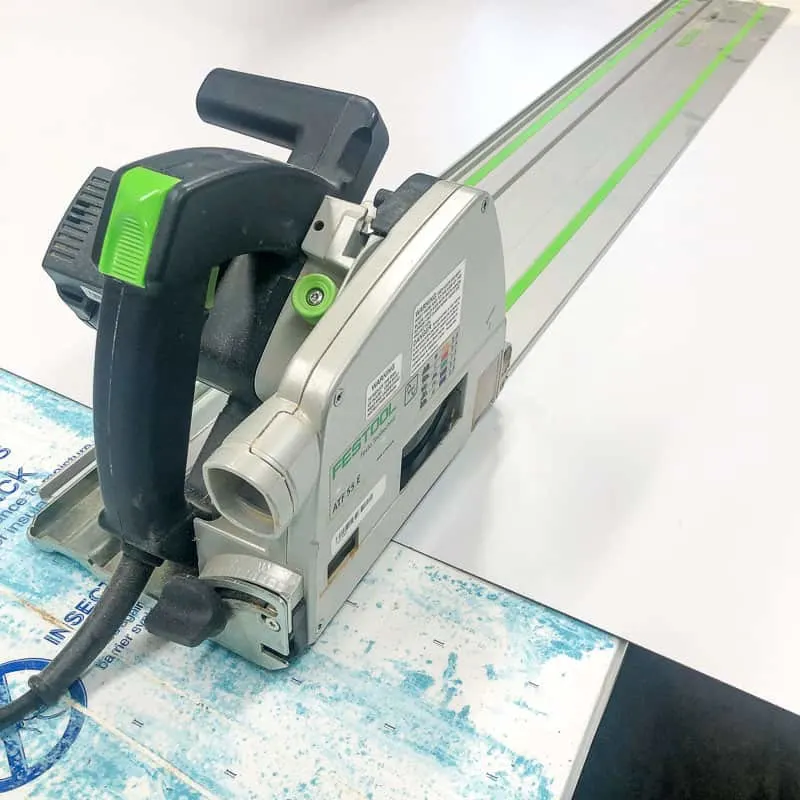
Start by cutting off the excess length. Line up the track or circular saw jig with the cut line, and carefully cut the laminate sheet down to size.
Then cut the laminate sheet to the desired width. My workbench is just shy of two feet wide, so I was able to cut this piece down the middle and save the other half for when I inevitably destroy the first one!

How to Install Laminate Sheets
Sand and Clean the Surface
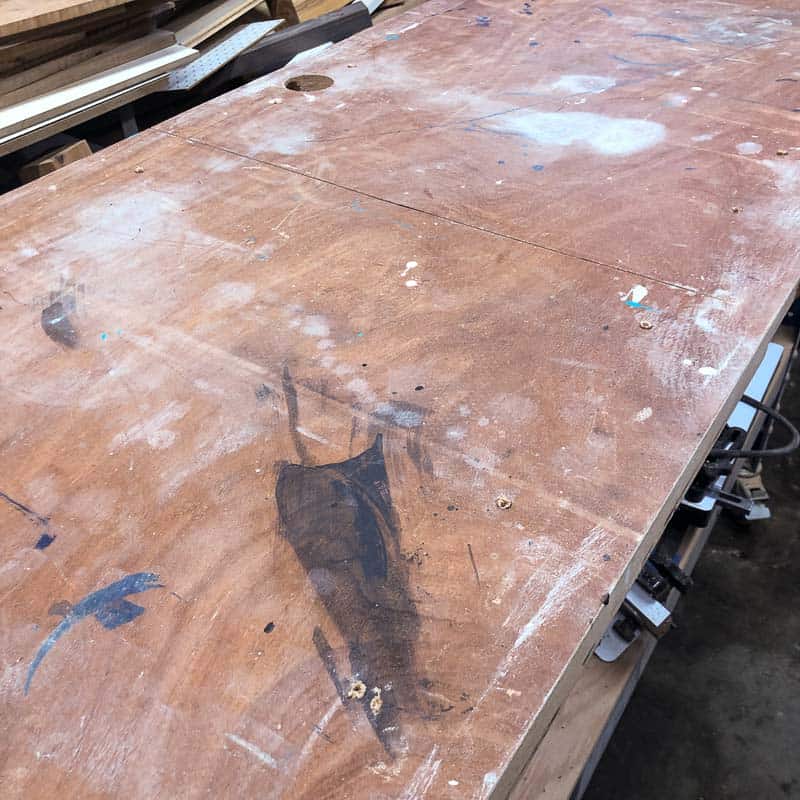
The laminate sheet will show any imperfections in the surface below, so now is the time to give it a good sanding and cleaning. In my case, I just flipped my workbench top over to expose the original brown door with assorted paint splatters.

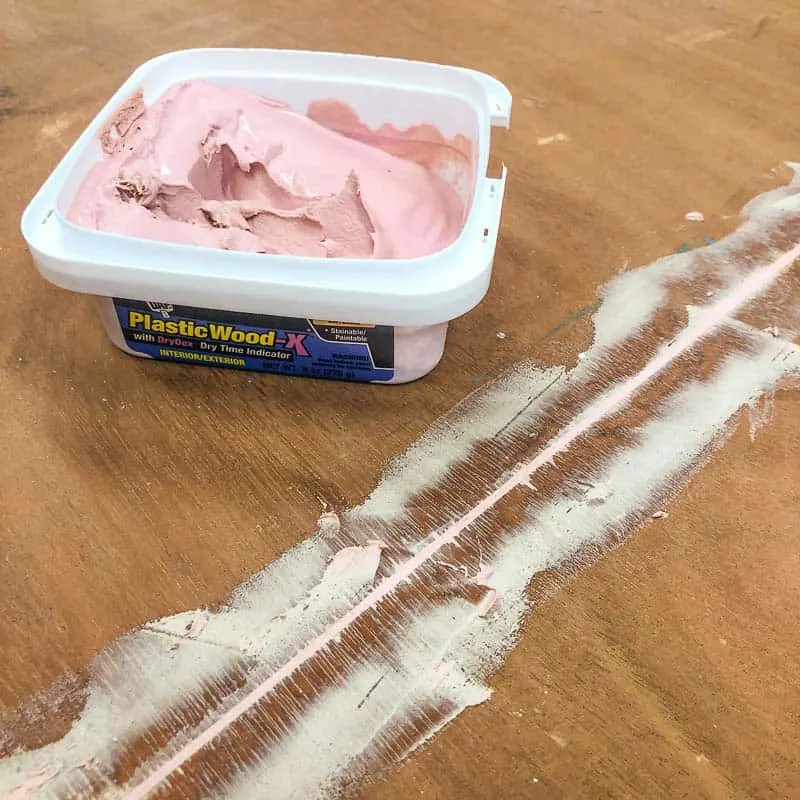
Fill any holes and cracks with wood putty, then sand the surface smooth. This shallow cut from my early woodworking days went straight through the middle of the door! Oops! Remove any dust with a vacuum or tack cloth.

Attach the edges first
If this were a countertop, you would cut a strip of laminate to the thickness of the countertop and attach those first. Since this is a workbench and the old door has hinge cutouts and doorknob holes in the sides, I skipped this step.
Apply the Contact cement
Contact cement is really stinky stuff, so make sure you work in a well ventilated area and follow all the safety instructions on the can.
Stir the can to mix up any solids that may have sunk to the bottom. Then use that stir stick to scoop the contact cement onto the back of the laminate sheet.

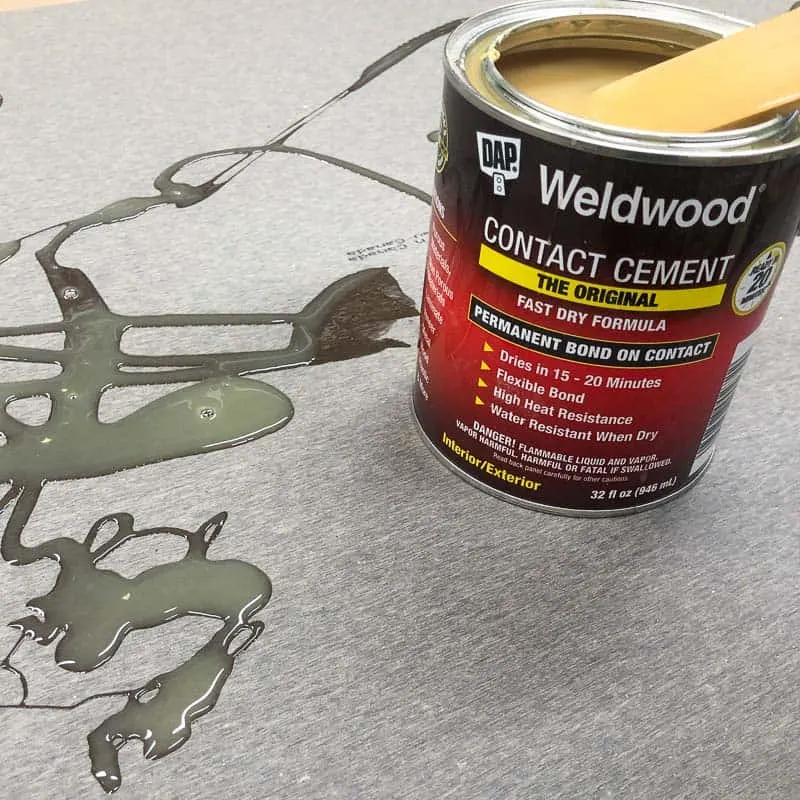
A foam paint roller helps to distribute the contact cement evenly over the surface quickly. Once you've coated the back of the laminate sheet, move it aside and apply contact cement to the countertop the same way.


This part may seem counter intuitive, but you need to let both sides dry completely before attaching them together. It should take 10-15 minutes, and you can see the difference between the wet and dry sections pretty easily.


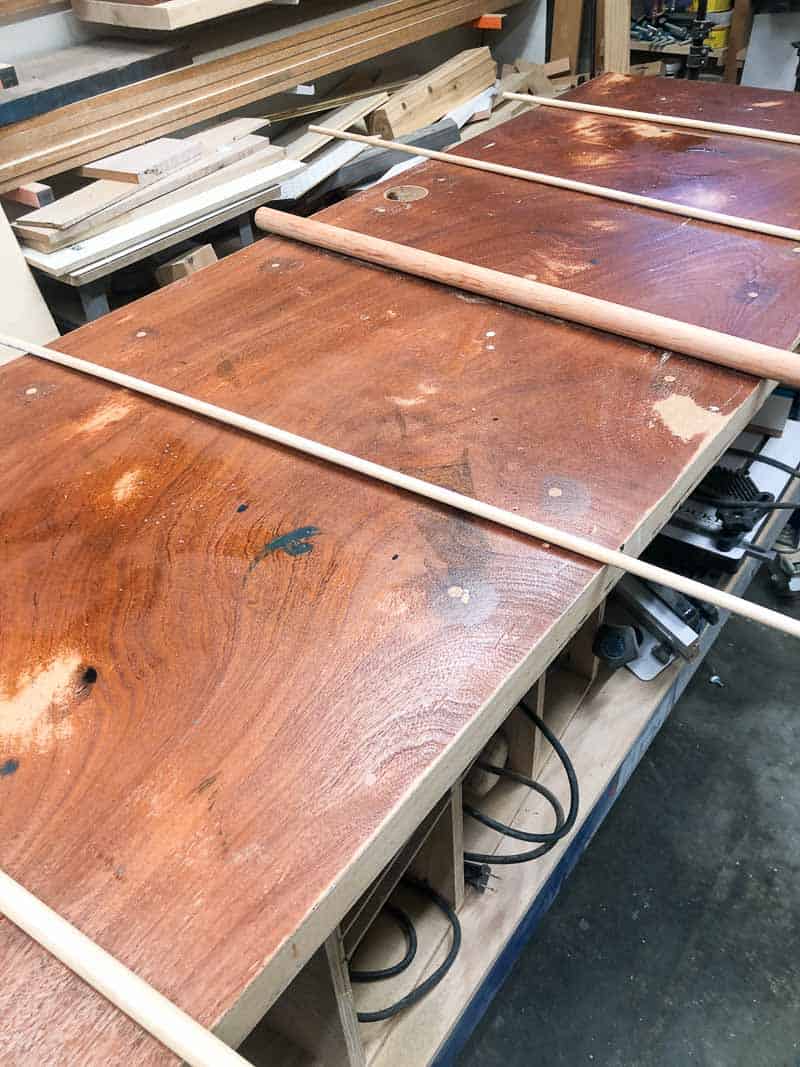
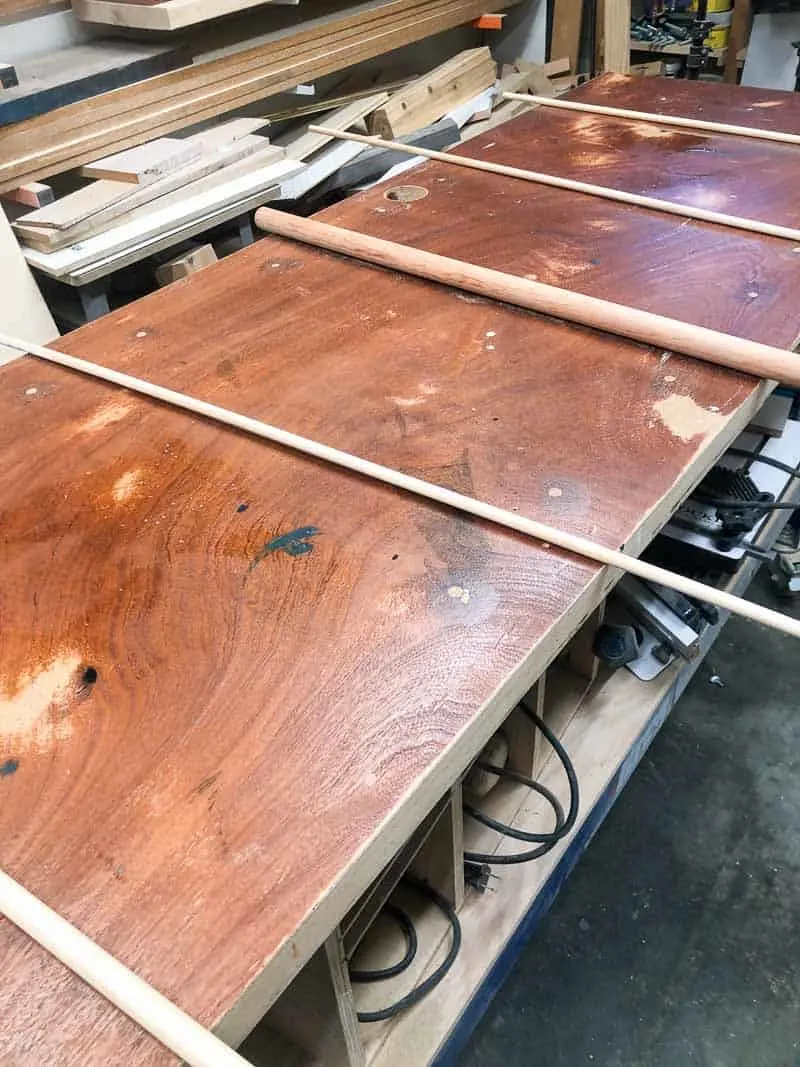
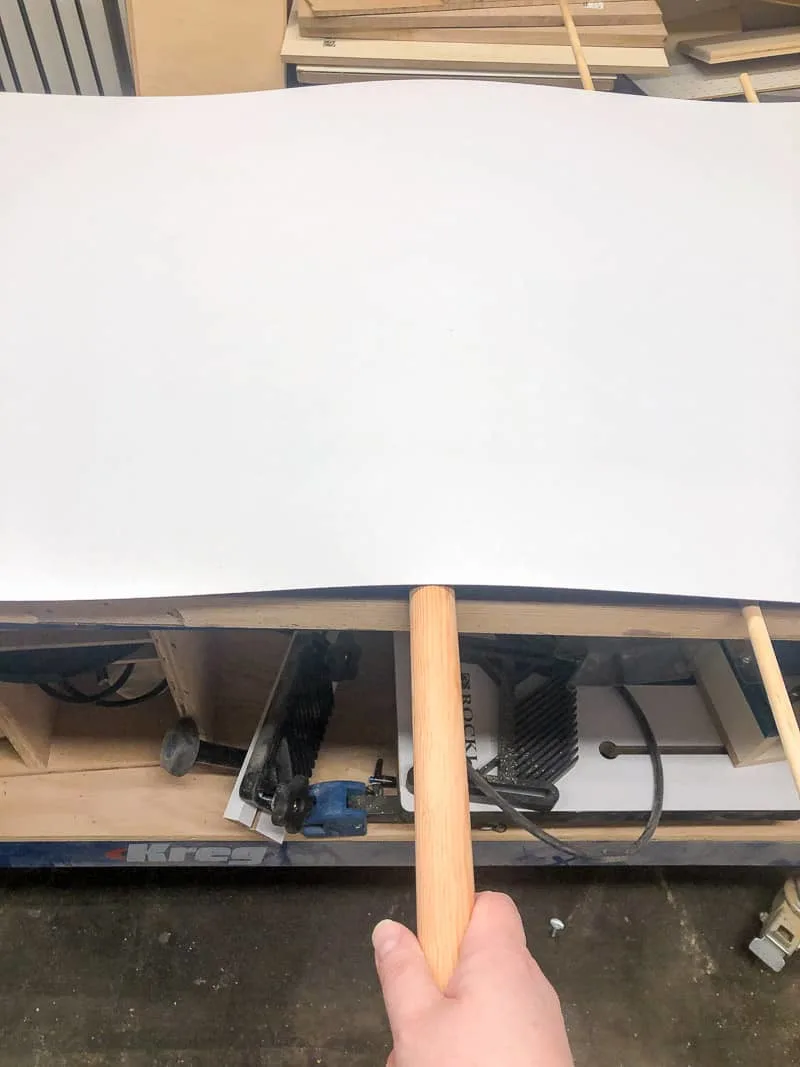
Position the Laminate Sheet with Dowels
Once the two sides make contact, they're permanently bonded together (hence the name contact cement!) But it won't stick to anything else, so you can lay the sheet on top of wooden dowels and roll it around until you get it exactly where you want it!
Space out the dowels every 8-12 inches along the countertop surface. I had these narrow rods in the workshop, but bigger ones like the center dowel would work better.
Place the laminate sheet on top of the dowels, and roll them around to adjust the positioning until it overhangs slightly on all sides. Then pull out the center dowel and press down firmly.
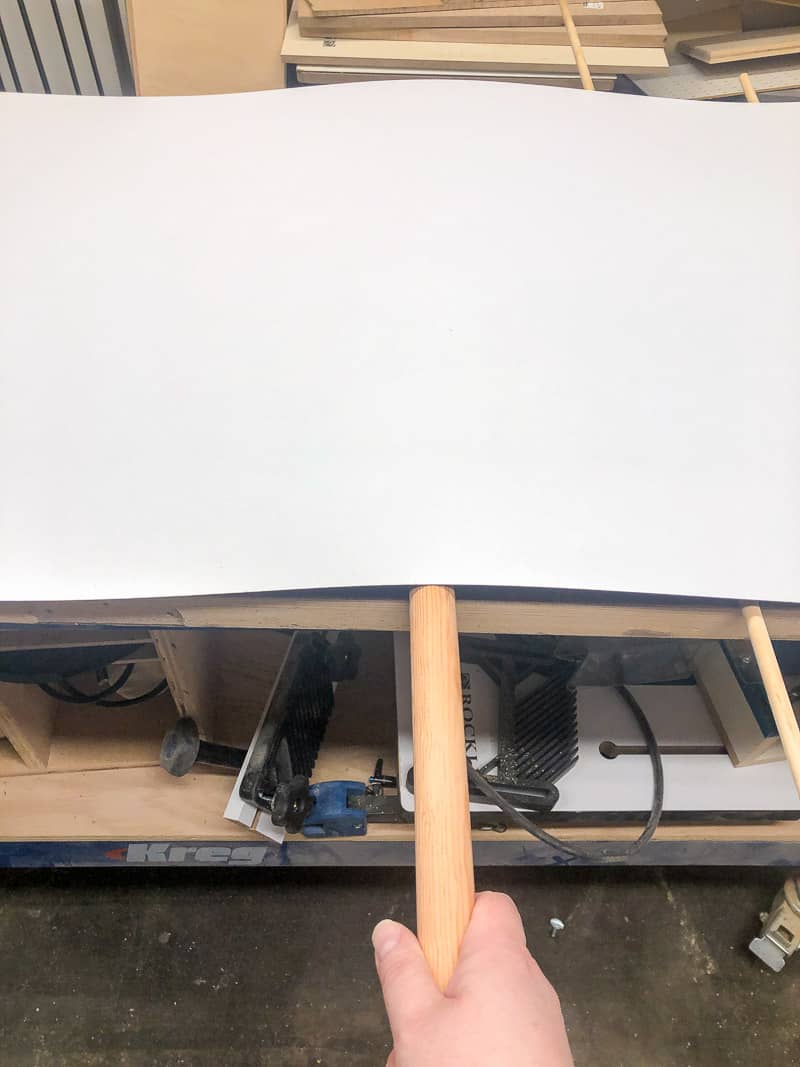
Work your way to the ends, pulling out the dowels and pressing the laminate down. Avoid creating air bubbles by pressing from the middle towards the open ends.
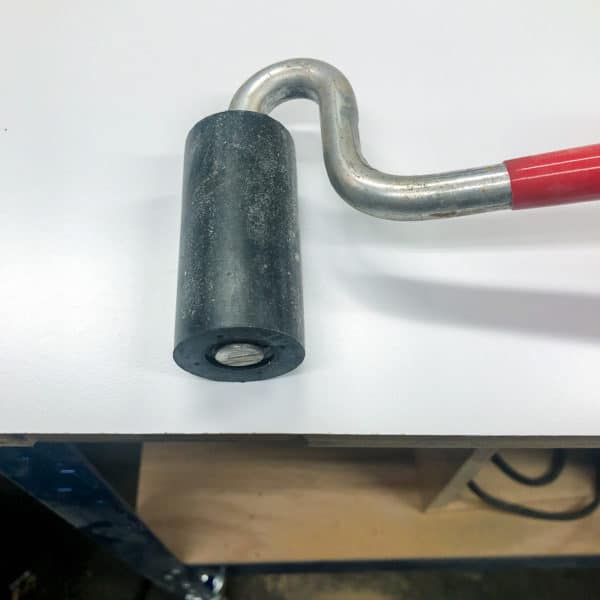
Once the entire surface is covered, use a J-roller to apply firm pressure and create a strong bond.

Whew! The nerve wracking part is over, and my workbench is already looking a million times better!
Trim the Excess with a Router
It would be nearly impossible to get the edges lined up perfectly, especially if this is your first time installing laminate. That's why I recommend you cut the sheet a little bit bigger than necessary and using a router to trim it exactly to size.
Normally you would use a straight trim bit, but I already had a roundover bit in my trim router and I wanted to start using the workbench on my next project right away! I set the depth to ⅛", so it would only cut the laminate sheet.

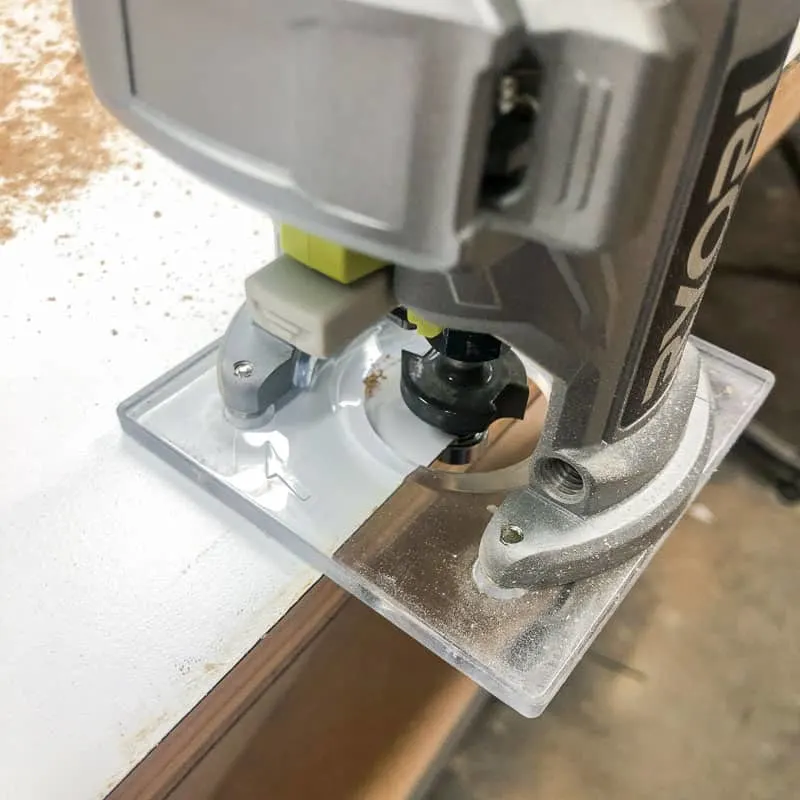
My laziness paid off! The curve of the roundover bit actually softened the sharp edge of the laminate just enough that I didn't need to file or sand it down at all. I would still recommend using a straight trim bit for a kitchen or bathroom countertop with two laminated edges that meet at a 90 degree angle, though.
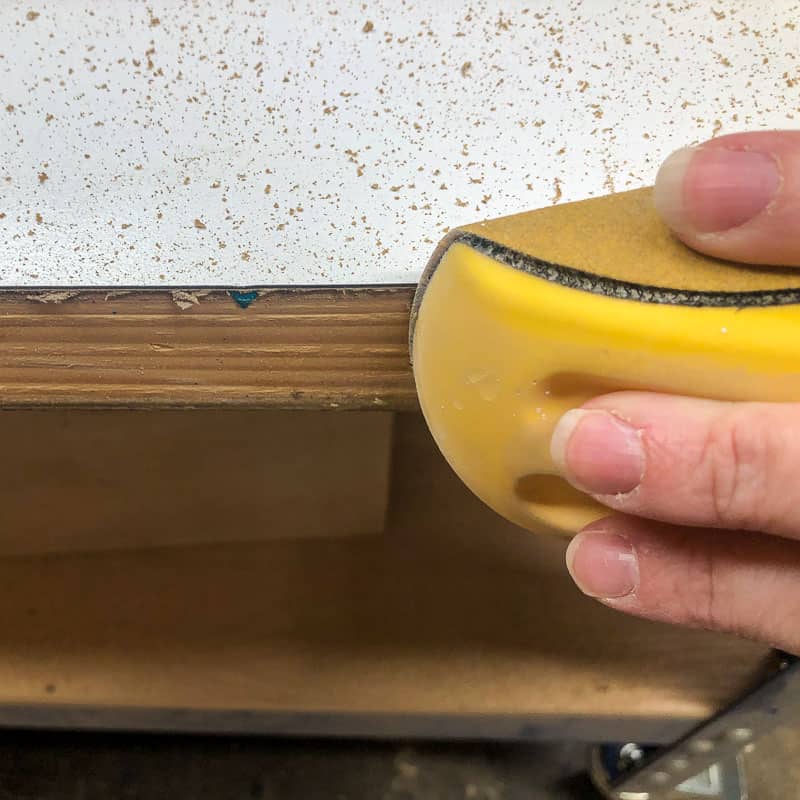
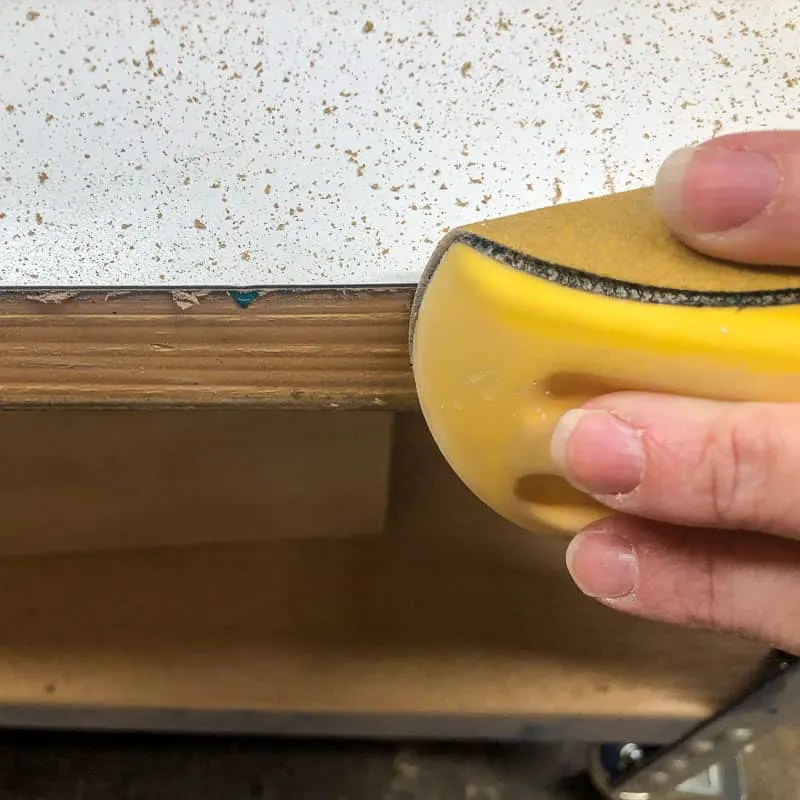
Sand or File the Edges
Use a file or sanding block to knock off any sharp corners or fuzzy underlayment left behind by the router bit.
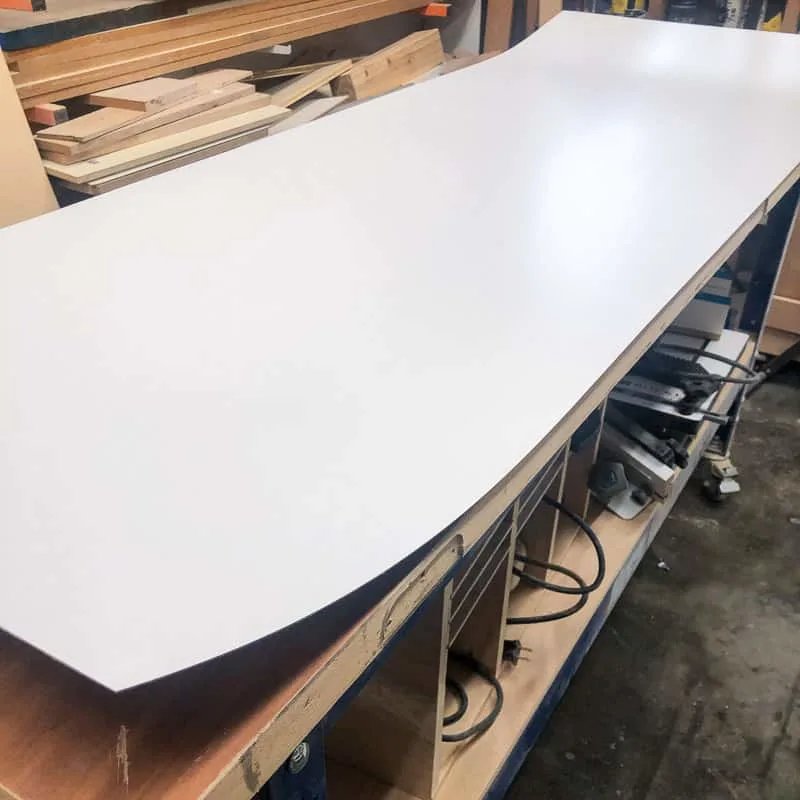
I can't believe I've put off this project for so long! It only took an hour or so to install this laminate sheet, and it looks sooooo much better now! Here's the before...
and after!
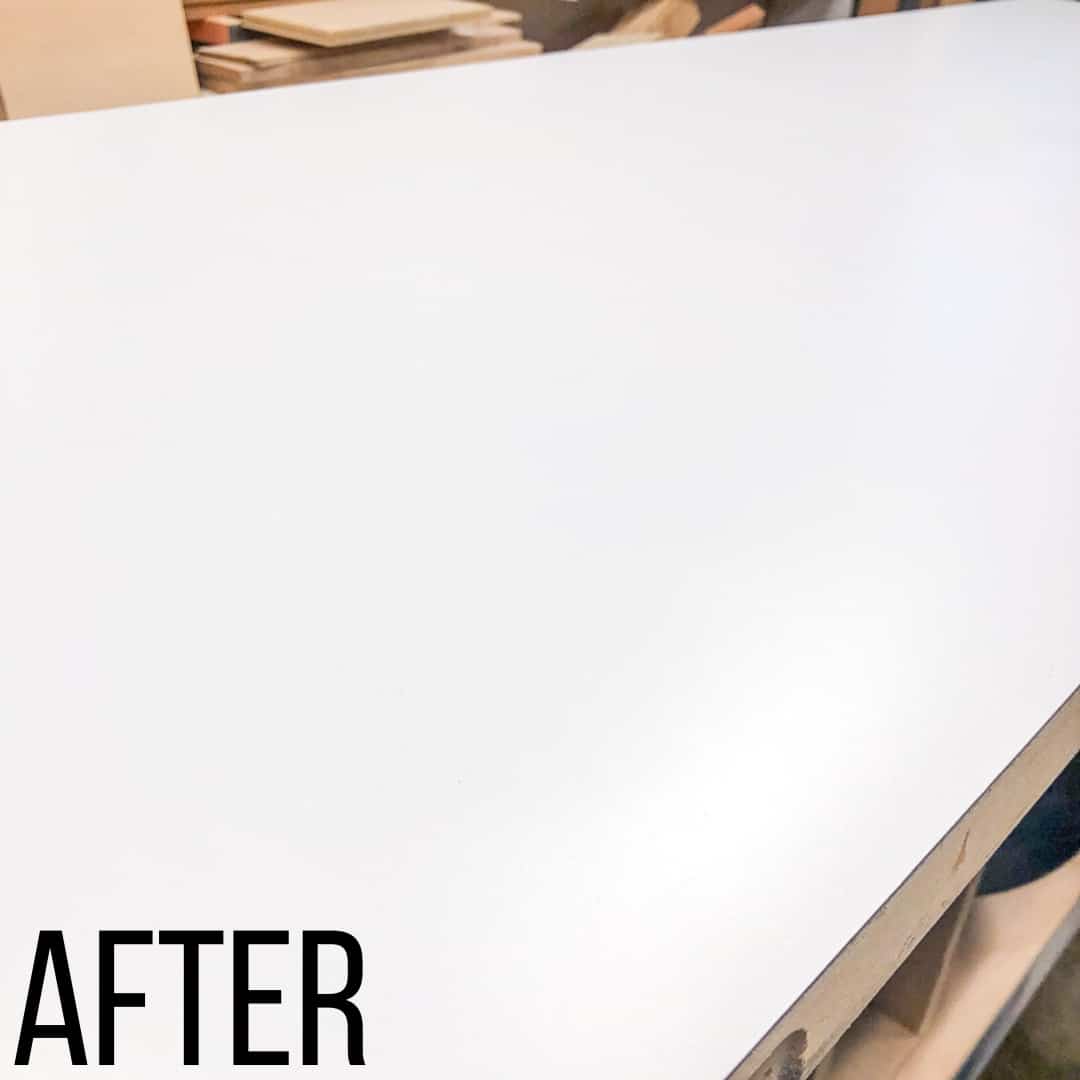
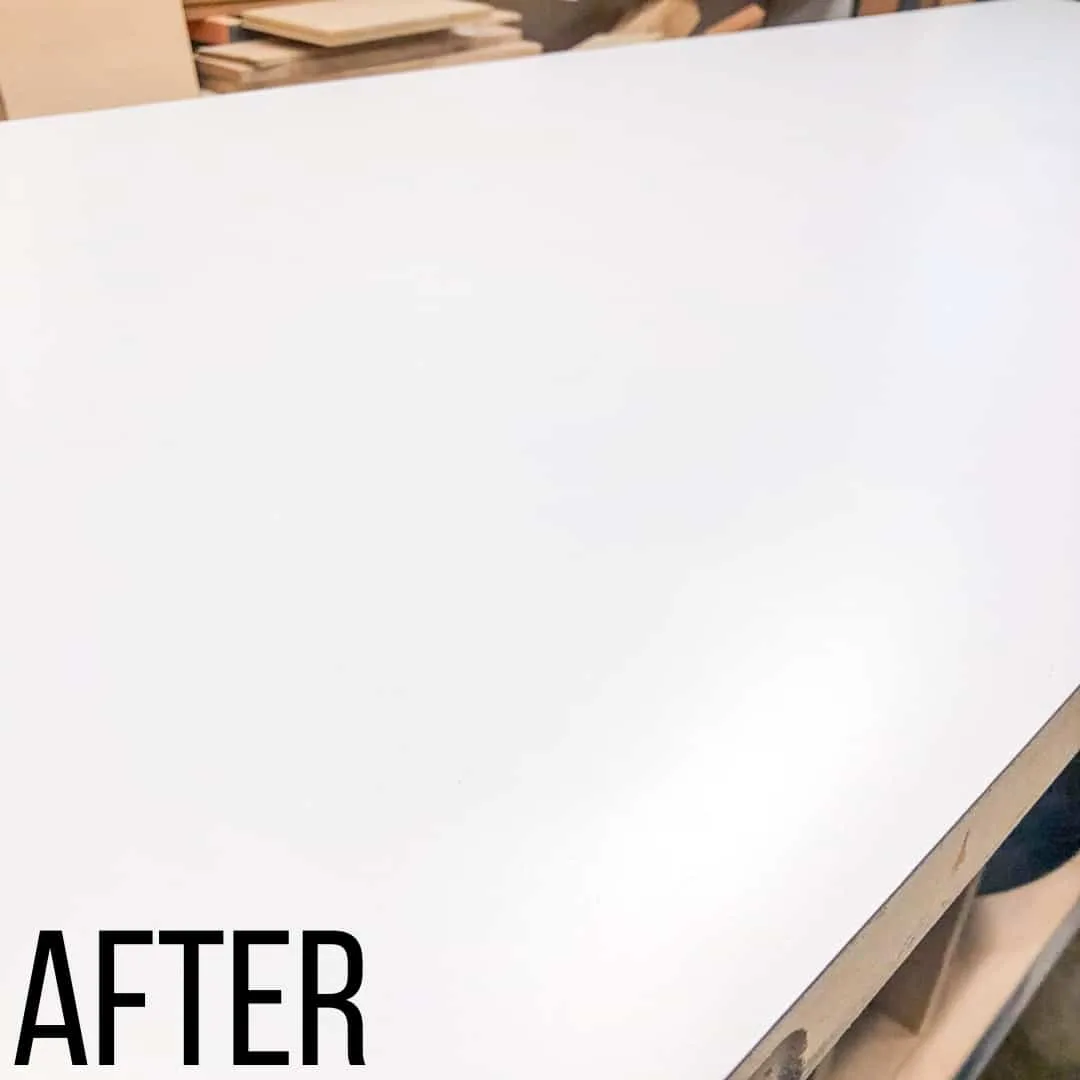
The laminate surface doesn't absorb wood glue and paint spills like the old one did, and it's much more resistant to scratches and scrapes.
The smooth surface is also better for an outfeed table, when you want the wood to slide forward easily.

Now I want to laminate all.the.things! I have plans to make a table saw stand with an extension on the side, and I'll be using the scrap laminate sheet from this project for the top. Stay tuned!


Amy
Saturday 1st of February 2020
What a fabulous job. This turned out so nice. Thank you for sharing.
Sandy W
Saturday 1st of February 2020
Hi Vineta,, I see you have a SawStop saw. I’m considering getting one for myself even though they they cost a fortune because I’m terrified of saws. I have a miter saw, and my husband will occasionally use my father-in-laws 25 plus yrs old circ saw, but I can’t manage the circular saw. (And I want to do it myself!) What do you think of the SawStop? Would you get it again? Is it accurate enough for you? I love your site and thanks in advance for considering my questions!
Vineta
Saturday 1st of February 2020
The SawStop is an amazing table saw, even if it didn't have the added safety feature. I have the Jobsite one, which is a little cheaper than the cabinet saws and takes up less space in my small workshop. I had a cheap little table saw for a while, but I never felt safe using it. It would actually tip backwards when trying to cut through a 2x4! I switched to the SawStop when a local store was selling off their floor models to make room for new ones, so I got it at a slight discount. It's totally worth it for the piece of mind!
J.T.
Saturday 1st of February 2020
In several of your projects I was interested in you used material /supplies I di not recognize. Would it be possble to list brand name or from a supplier like Rockwell a part number? Good job on your posts. Is it ok for me to say "Atta Girl"? Just thought of an example the wood filler you show in this project I have never seen before, all mine come in a can and if not used in a very timley manner dry out. I don't like to use the product recommend to resoften the wood putty as it is a nasty product. Again thanks .
Vineta
Saturday 1st of February 2020
I usually link to the specific item used when possible. You can find them in the materials list at the top of the tutorial. If you ever want to know the exact name and supplier of a product I use, just ask! For instance, the wood filler I used for this project can be found here. I've added it to the post for future reference.