Are stuffed animals taking over? This DIY stuffed animal zoo is the perfect solution for storing those furry friends! Get the free plans and start building!

Our son is OBSESSED with Pokemon, and has amassed quite the collection of Pokemon stuffed animals. It's gotten out of control!
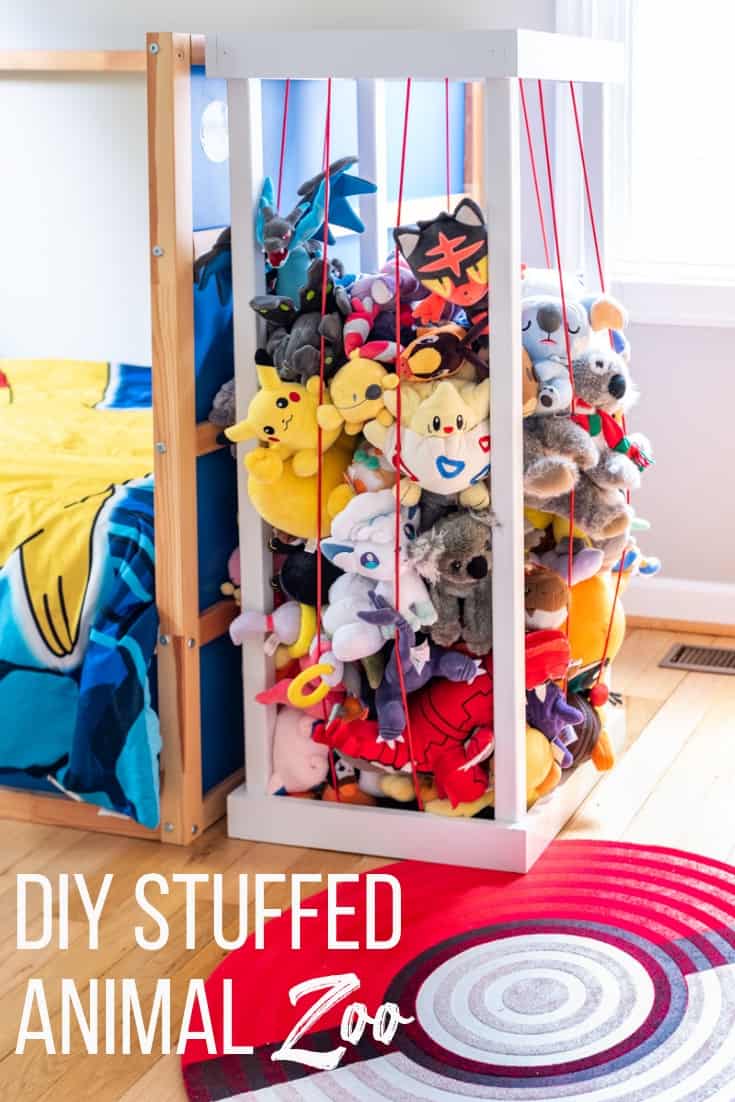
This DIY stuffed animal storage zoo contains them all in one compact spot, and makes cleaning up fun! I've created free woodworking plans so you can make your own!
There are lots of variations of the stuffed animal zoo all over the internet, because it's so easy to customize to fit your space. Our son's room is tiny, so my version has a very small footprint that extends vertically up to the top of his IKEA Kura bed.
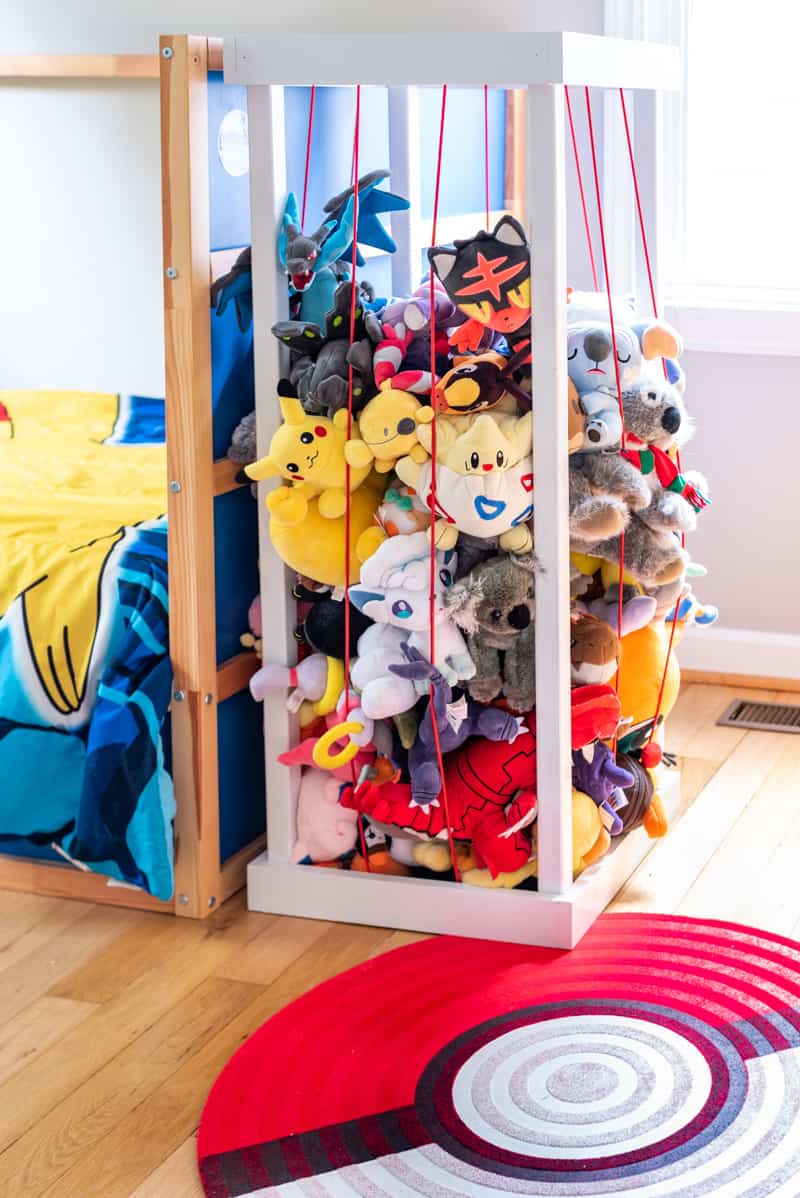

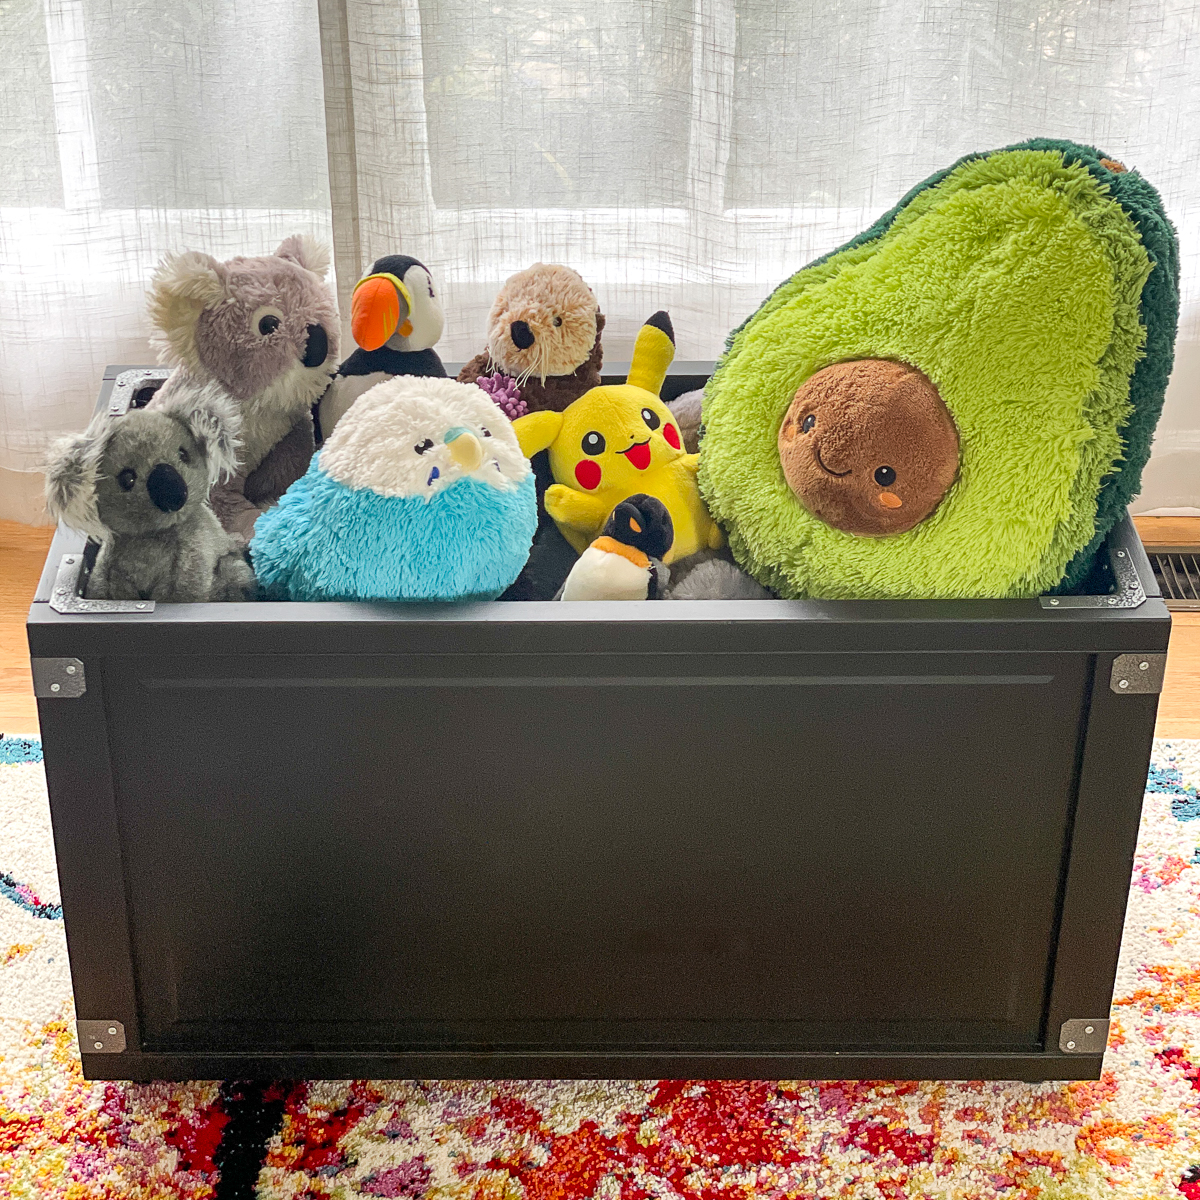
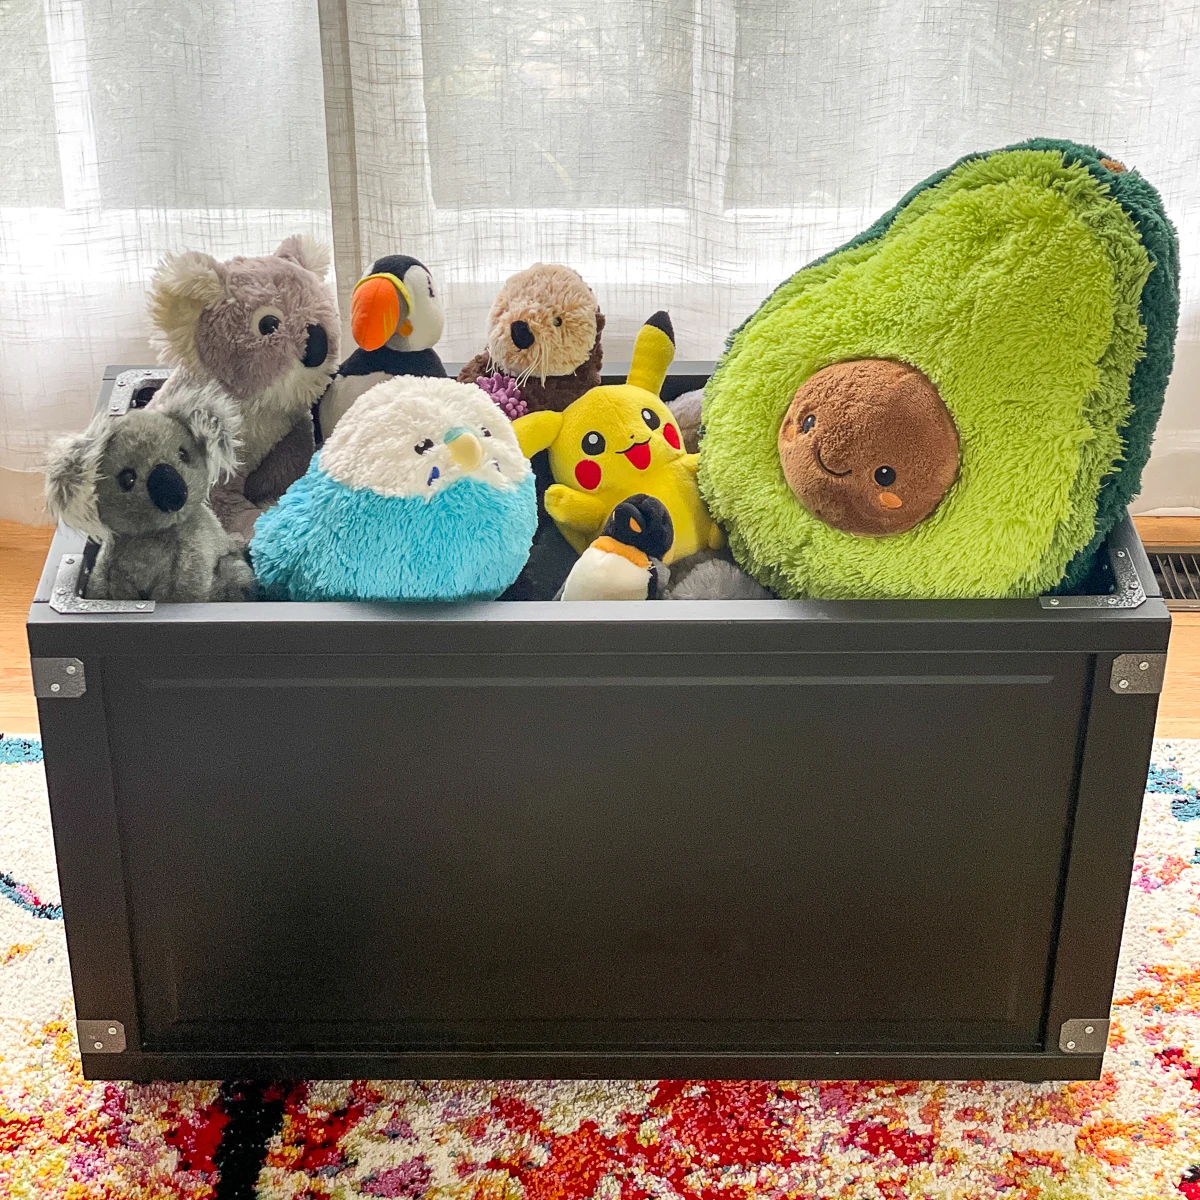
Need more space for toys? Make this simple DIY toy box with wheels to tuck into the corner at the end of the day.
Not quite what you were looking for? Check out these other DIY stuffed animal storage ideas for more inspiration!
This post contains affiliate links for your convenience. Purchases made through these links may earn me a small commission at no additional cost to you. Please visit my disclosures page for more information.
Materials needed for DIY Stuffed Animal Zoo
- Two 2x2 boards (the straightest ones you can find!)
- Two 1x3 boards (I used pre-primed boards)
- Box of 1 ¾" long screws
- Square
- Clamps
- Wood filler if you plan to paint and want to cover the screw holes
- White paint
- ½" diameter screw eyes
- 25 feet of ¼" shock cord - I used the red version
How to Build a Stuffed Animal Zoo
Cut the Pieces
You want to start with the straightest 2 x 2 boards you can find. I went through the entire pile at Home Depot searching for ones that weren't warped, twisted or had lots of knots. For the 1 x 3's, I used pre-primed boards, because they tend to be straighter and saves me a step!
The stuffed animal zoo dimensions are 18" square and 45 ½" tall. You can change these measurements to fit your space! Here are the free woodworking plans to get you started.
- 2 x 2 boards cut to 45 ½" - cut 4
- 1 x 3 boards cut to 18" - cut 4
- 1 x 3 boards cut to 16 ½" - cut 4
Assemble Two Sides
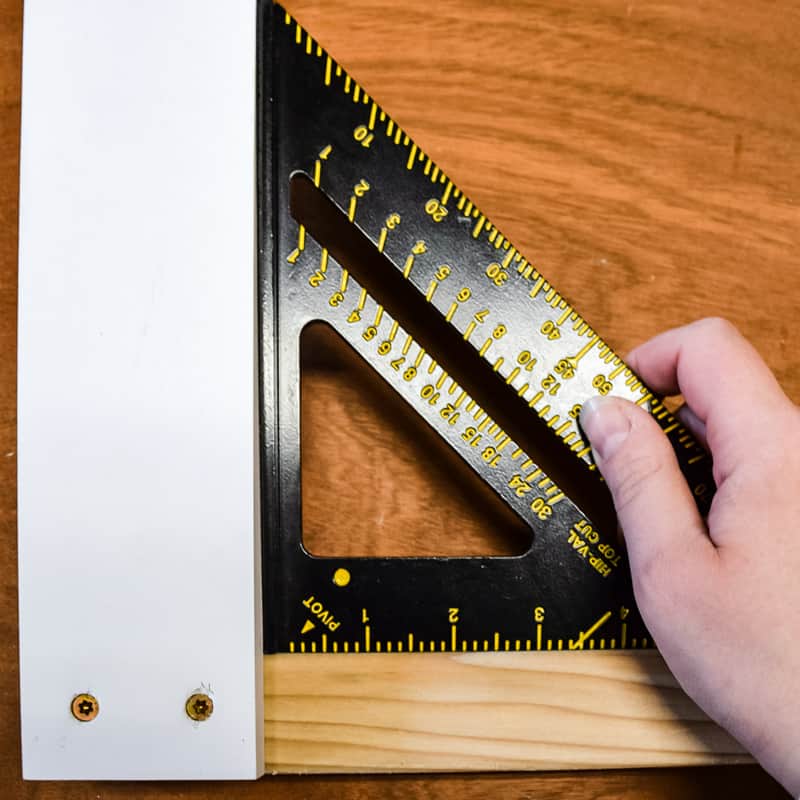
Predrill two countersink holes into the ends of the 16 ½" long 1 x 3 pieces so that the screw heads will rest below the surface. You can learn more about how to countersink screws here. Then attach the 1 x 3 pieces to the 2 x 2 boards with 1 ¾" long screws, making sure everything is square.

Repeat for the bottom. Be sure to measure the diagonal in both directions to check for square. If the two dimensions match, it's perfect!
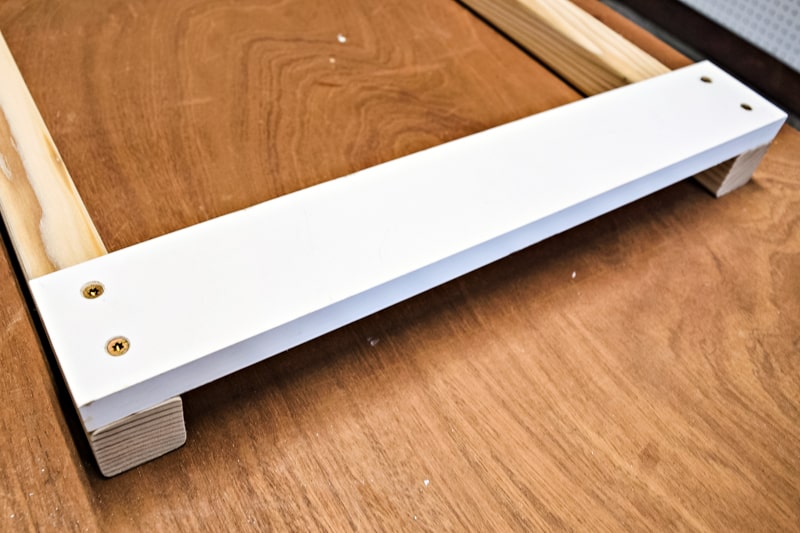
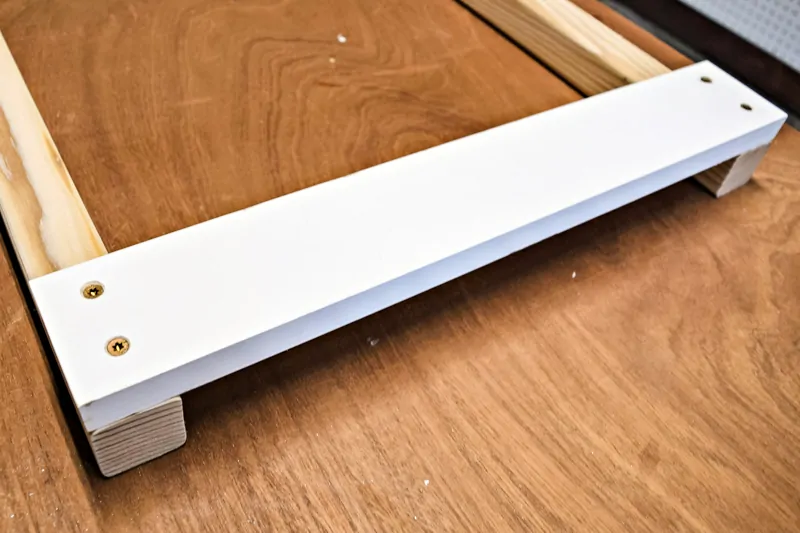
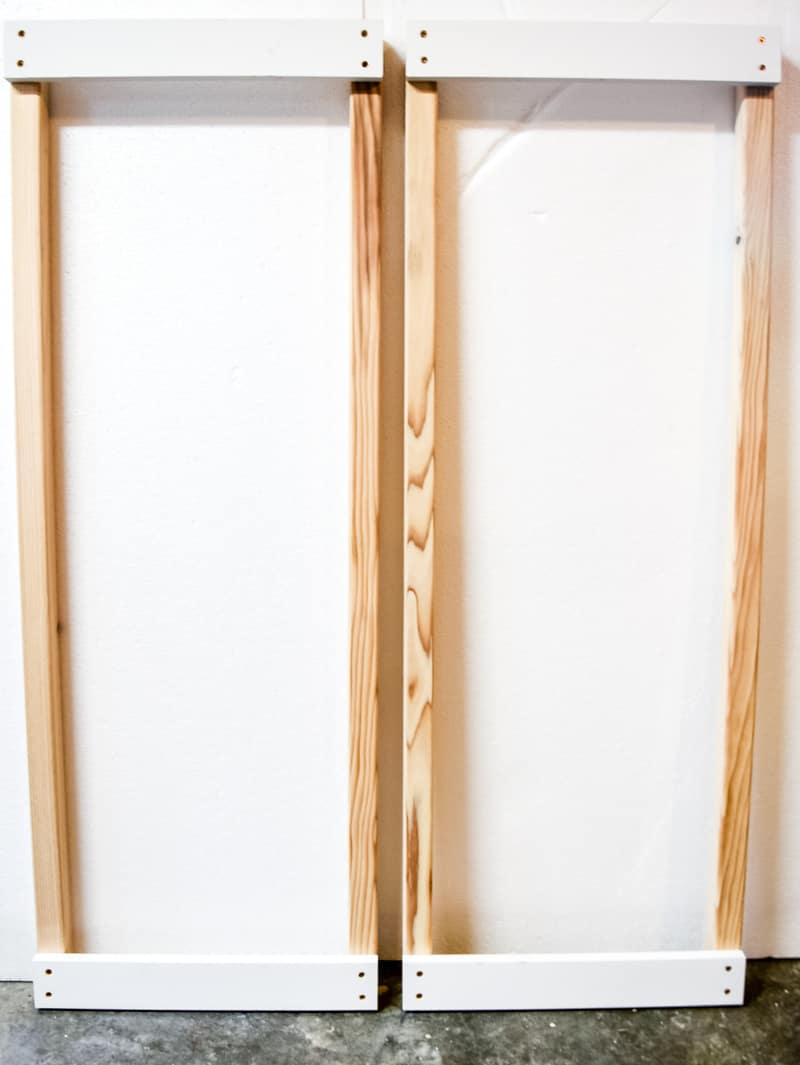
Your sides should look like this when complete.

Attach Connecting Pieces
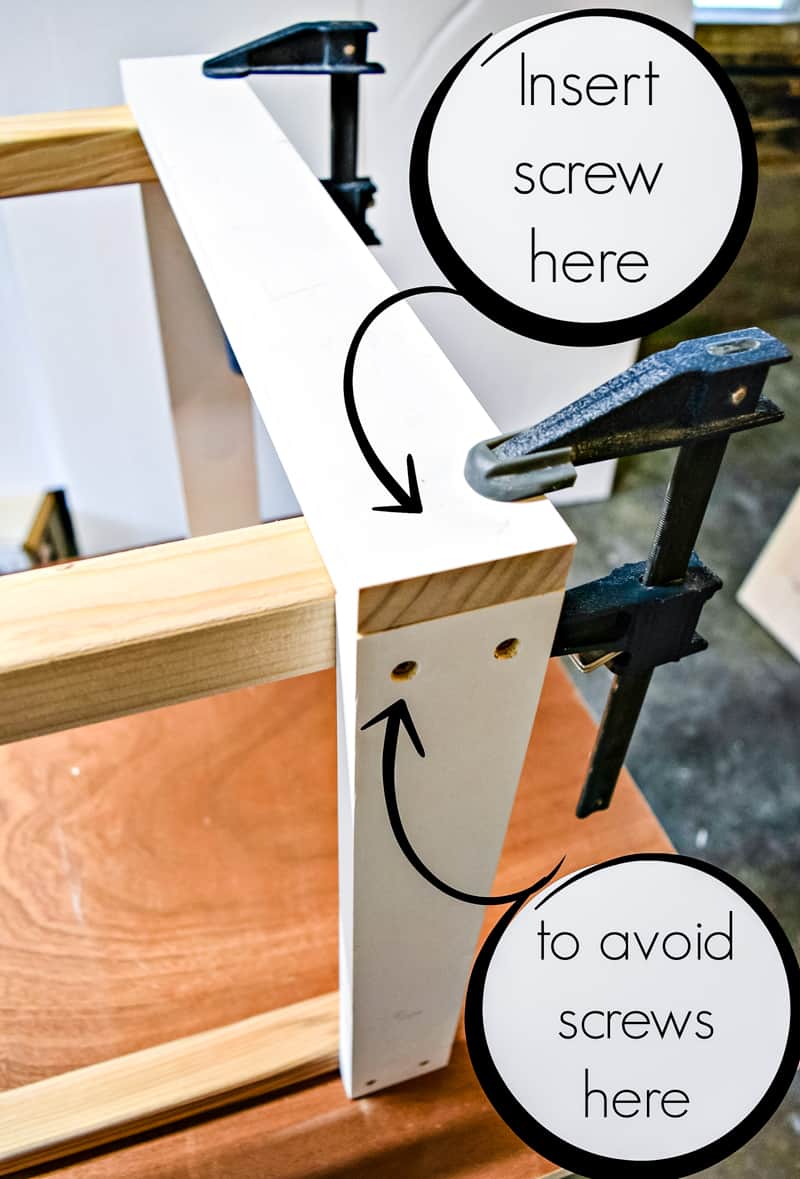
Set each side on its edge with the 1 x 3 boards facing outward. Clamp the 18" long 1 x 3s across the top and bottom to hold them in place.
There's not a whole lot of room in a 2 x 2 for all those screws, so strategic placement is important! In order to avoid the screws already inside, I only used one screw in the center as shown below.

Fill Holes and Paint
If you're going for a rustic feel, you can leave the screws exposed and stain the entire piece (don't use pre-primed boards if you want to stain it). I wanted a cleaner look, so I filled the countersunk holes with wood filler, then sanded it smooth when dry. I primed the 2 x 2's, then painted the DIY stuffed animal zoo with two coats of semi-gloss white paint.
Attach Screw Eyes
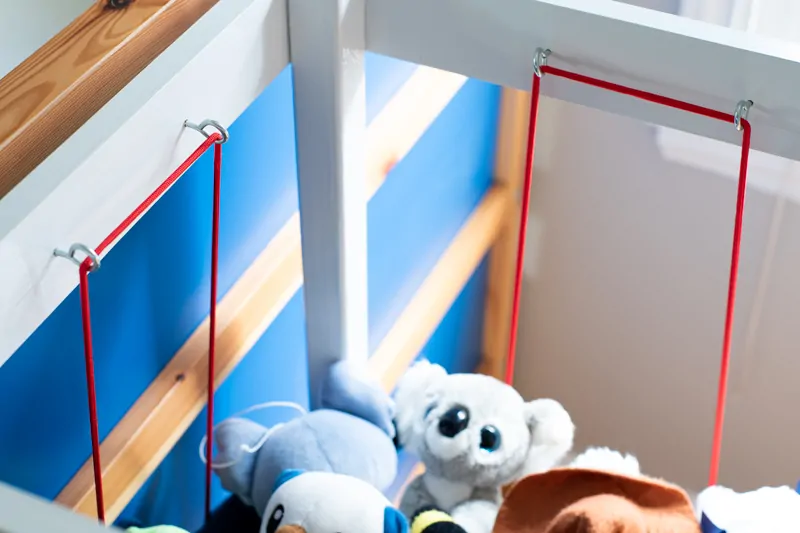
These screw eyes keep the "bars" of the stuffed animal zoo evenly spaced, while also allowing the bungee cord to stretch and retract. Mark the placement on the inside of the 1 x 3 boards 4 ½" in from each side, and 1 ¼" down from the top.
Drill a small pilot hole at each of these spots, but don't go too far into the wood or you'll pop out the other side! I screwed the eyes in by hand, positioning the bottom ones horizontally and the top ones vertically.

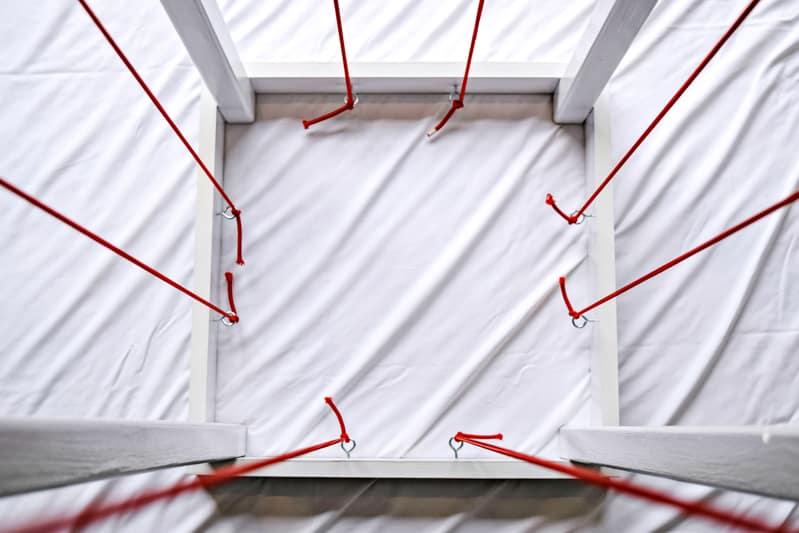
Tie the shock cord to one of the bottom eyes, then thread it through both of the top eyes before bringing it back down on the other side. This allows for more give when pulling apart the bars and looks nicer from the top.
Pull the shock cord until it is taut enough to hold the toys in place before tying off the end. I cut the knots a little long to make it easier to adjust if the shock cords stretch out over time. The ends will be covered up by all the stuffed animals anyway!

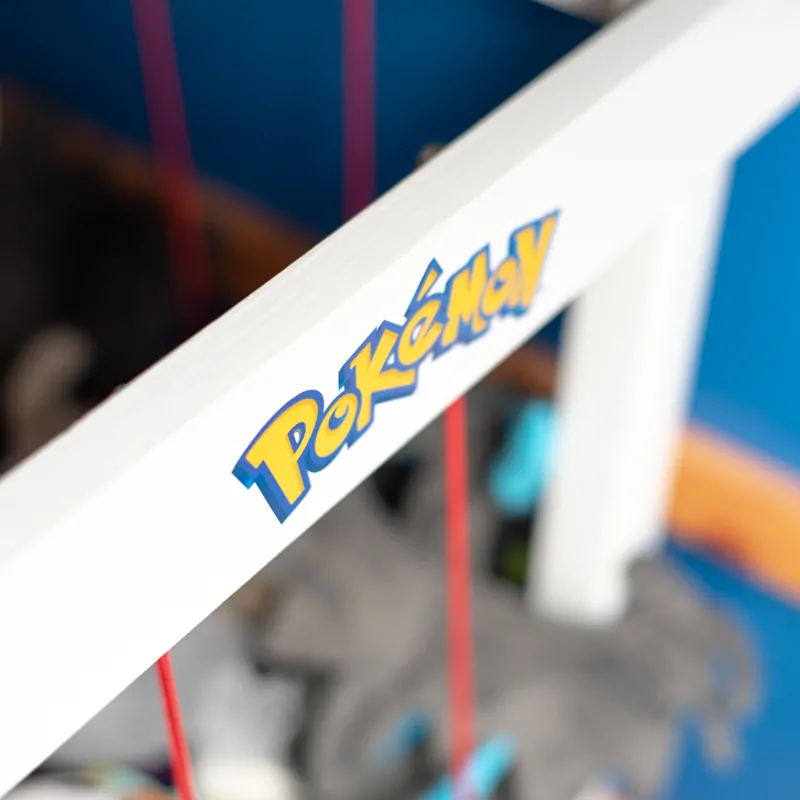
For the finishing touch, I applied the Pokemon logo to the top. You can personalize it with your child's name, or just stencil "Zoo" if you prefer.

Fill it up!
I enlisted the help of my son to round up all his Pokemon plush toys to fill up his new stuffed animal storage zoo. I never realized quite how many he had until we put them all together like this! Guess he really does need to catch them all!
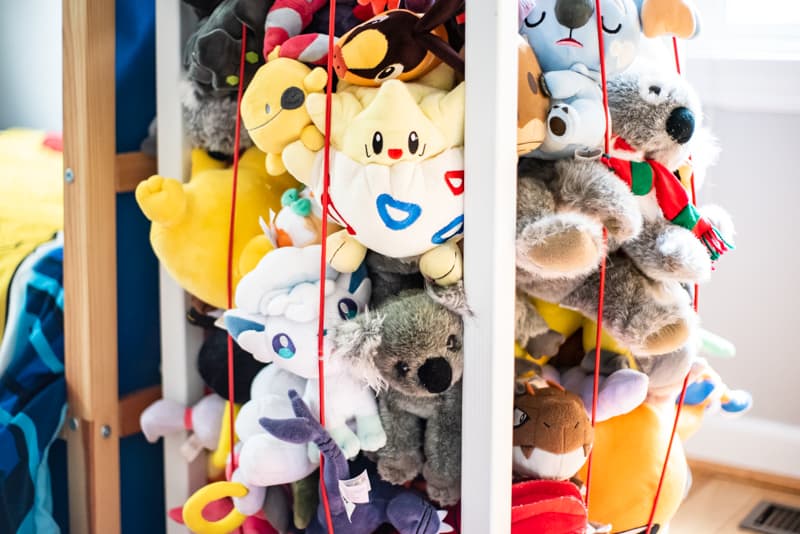

The "bars" of the stuffed animal zoo keep them all from tumbling out. The stretchy bungee cords make it easy to separate the bars and grab the one you're looking for. The little guys like to escape, but we just toss them back in until they find a safe spot!
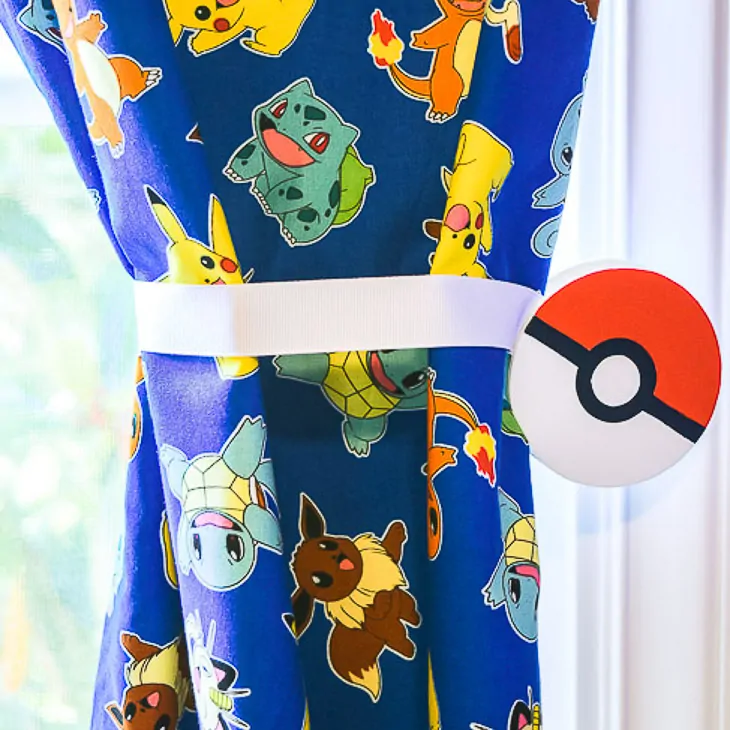
Want more Pokemon bedroom ideas? These Pokeball magnetic curtain tie backs would be perfect for any budding Pokemon trainer's bedroom!

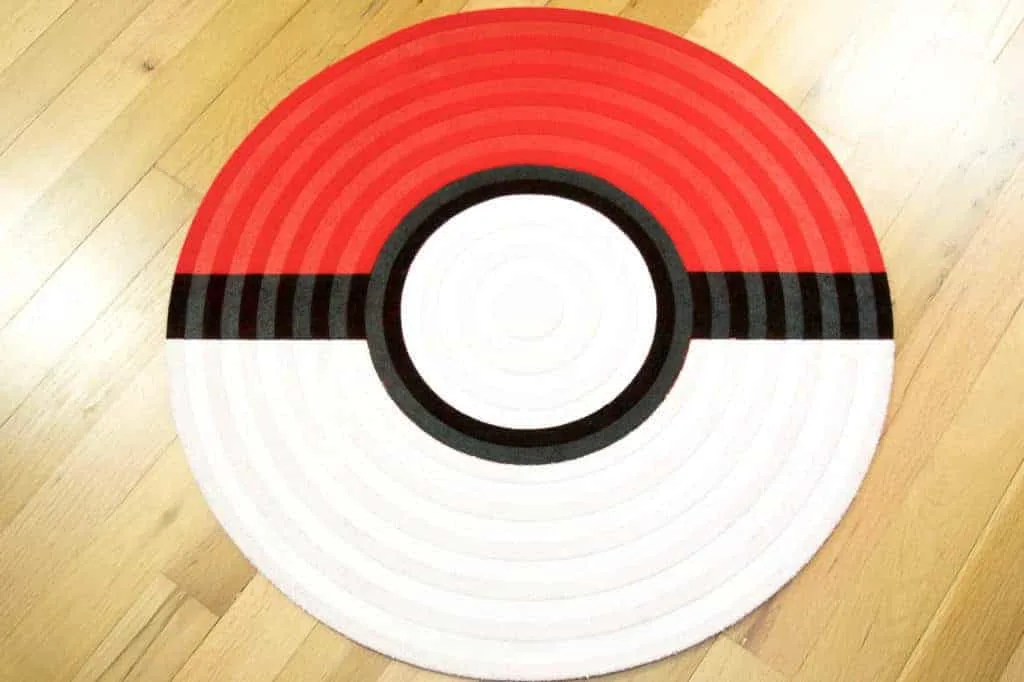
The Pokeball rug you see in front of the stuffed animal zoo cage is an IKEA throw rug that I painted!

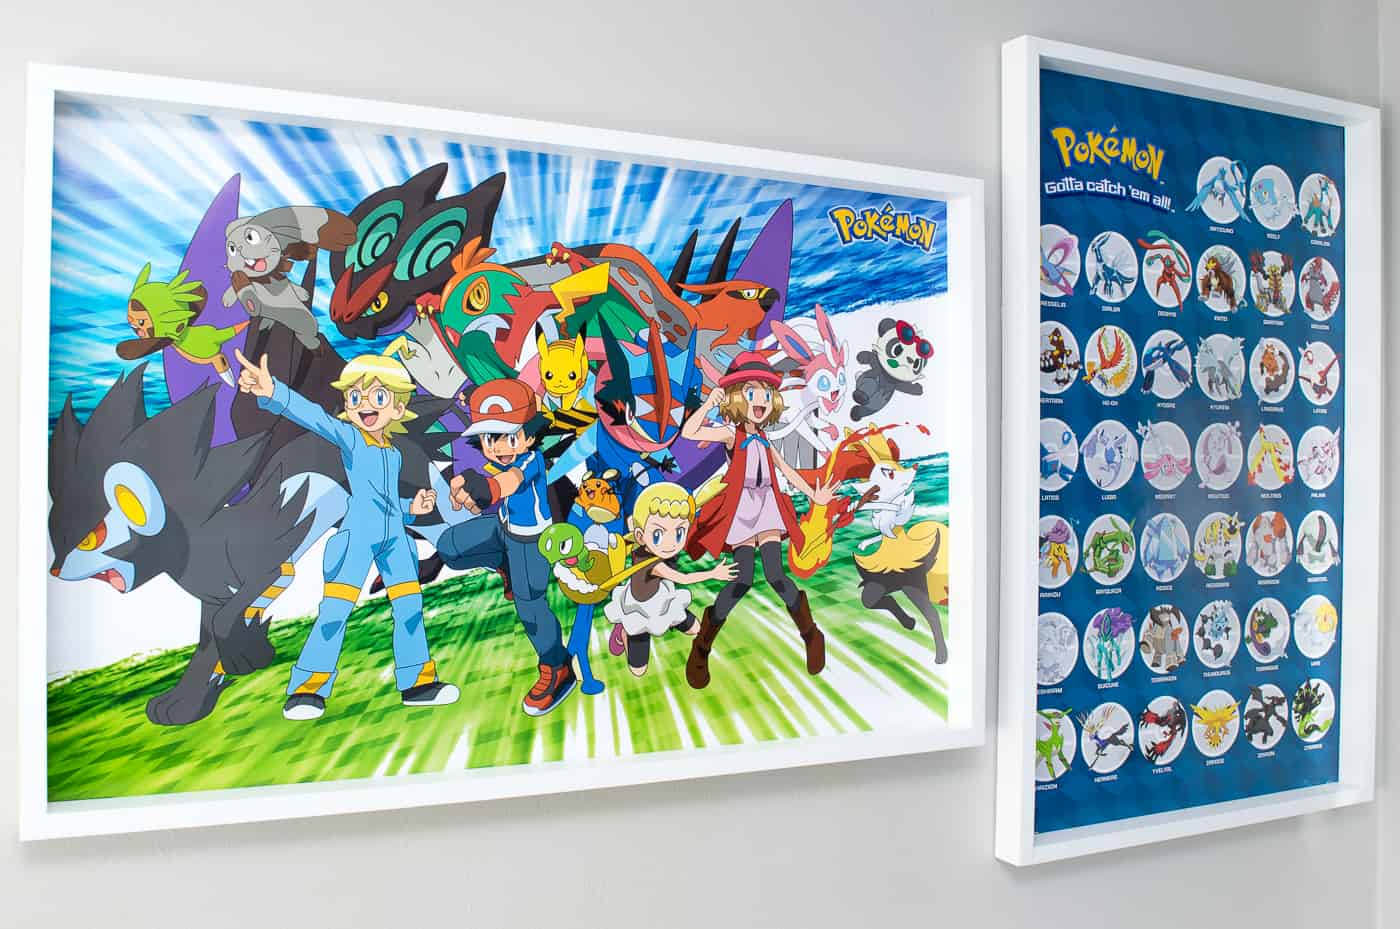
Even his wall posters are Pokemon themed! Check out how to frame a poster for less than $10!
Byron
Sunday 10th of March 2019
This is such a great idea. Having a handyman business in London we constantly run into houses that have serious space issues. London is great but generally the houses are small so this idea would work well. I may just have to build a few of these:)
Zovesta
Wednesday 1st of February 2017
Oh my gosh, this is so cute! I was born in 1997 so I'm afraid my childhood heart and soul belonged completely to Pokemon. I would have been ecstatic to have this!! I still have my prized, ratty, Dollar Tree Meowth somewhere...
This was such a creative idea, and this is definitely a room he'll remember fondly decades from now. ;) Thanks for the easy instructions, too! I'll have to keep this in mind for when I have kids and they go bonkers over the next new craze. :D
Thanks for the post!
Vineta
Wednesday 1st of February 2017
I didn't discover Pokemon until I was an adult, and I STILL love them! My son was amused to learn that one of the stuffed Pokemon in his collection was actually mine from before he was born. :)
Sandy
Wednesday 4th of January 2017
What diameter shock cord did you use? Thanks!
Vineta
Wednesday 4th of January 2017
I used the thicker 1/4" shock cord.
Claire Armstrong
Sunday 4th of September 2016
Love this, I have a Pokemon and plush mad nephew. This will be perfect for him.
Shirley Wood
Monday 25th of July 2016
What a fun project and it turned out great. I love that you made it the height of the bed. I bet he likes keeping all the Pokemon characters in their corral. Your tutorial is really nice. Thanks for sharing with us at Merry Monday. Pinning.
The Handyman's Daughter
Monday 25th of July 2016
Thanks Shirley! He loves having all his Pokemon in one place, although they don't stay in there long! He likes to choose his "Pokemon of the Day" to take with him when we're out and about during the day, but somehow they don't end up back where they belong!