Learn how to use a track saw square to ensure your guide rail is straight and your cut is square without checking every time!
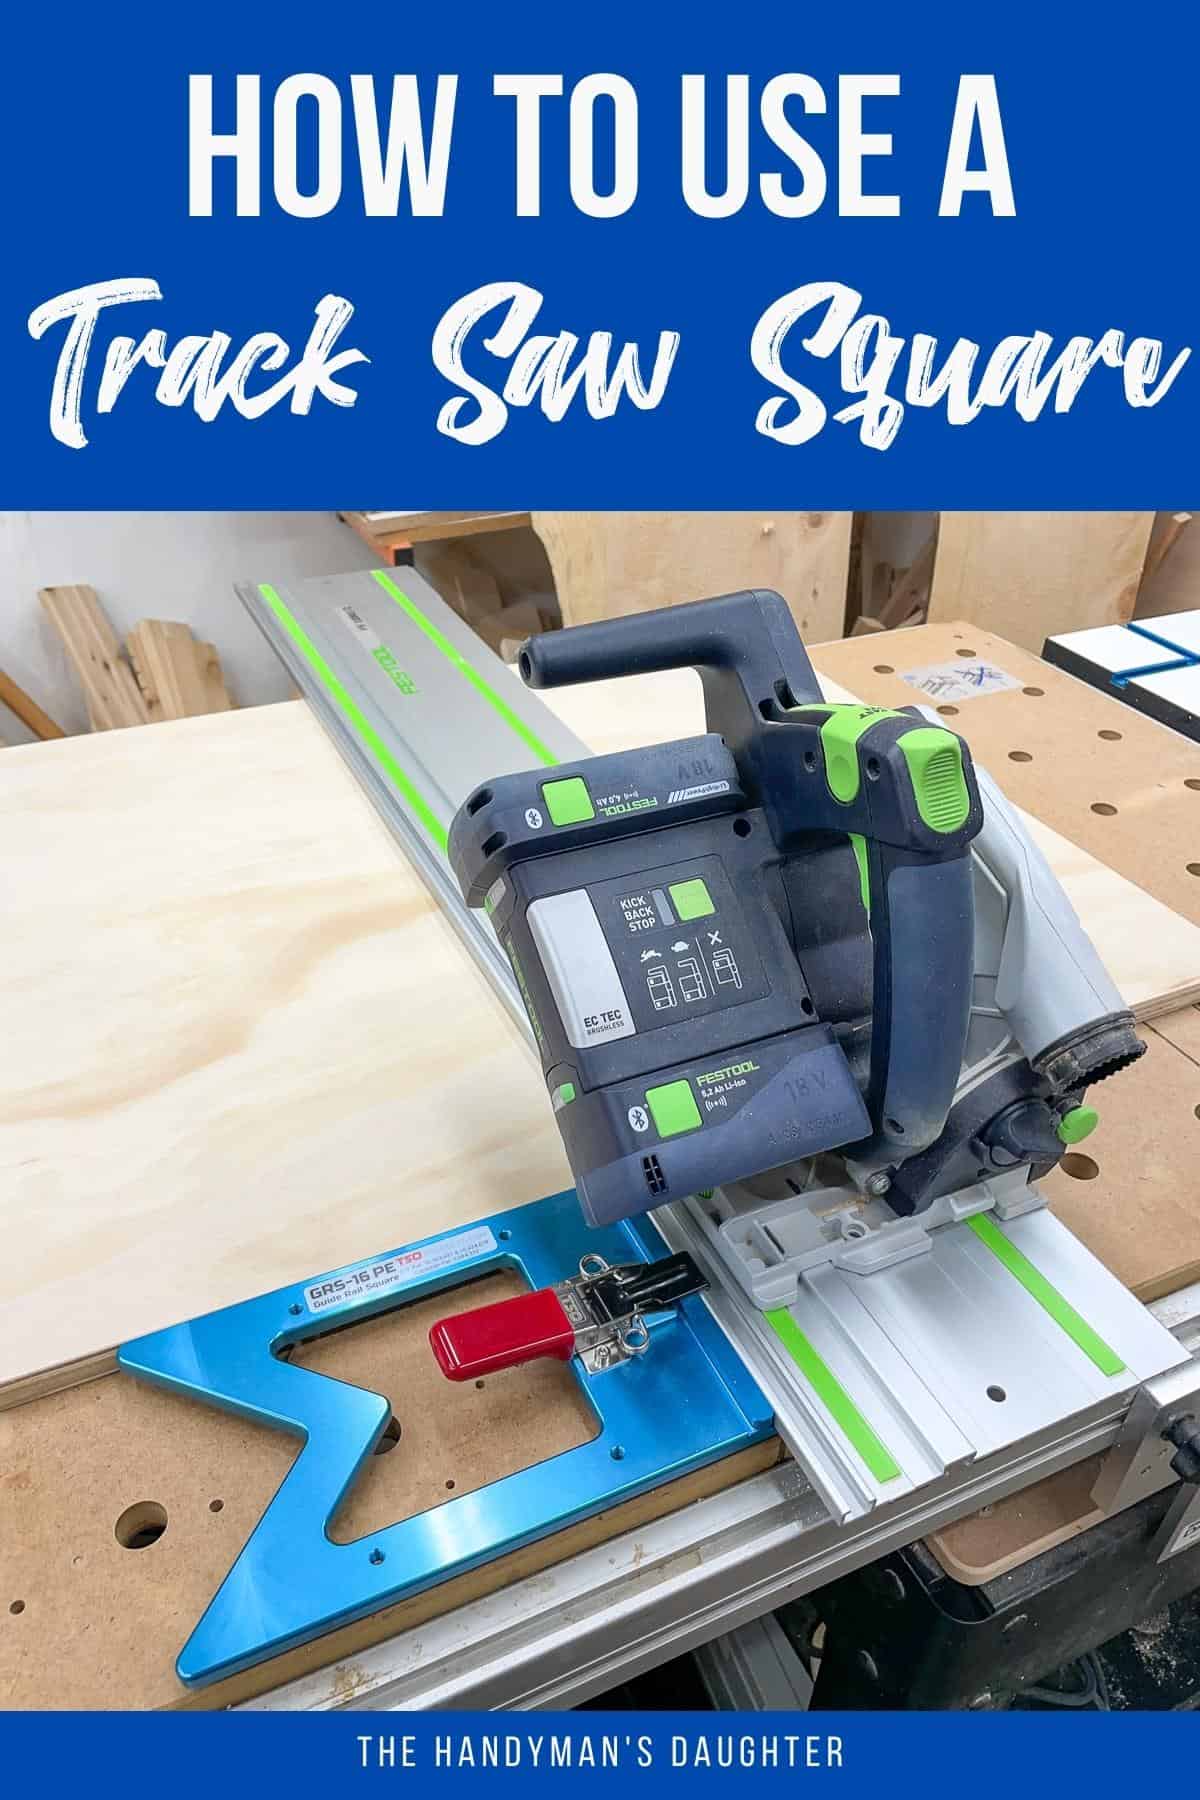

The track saw has been a game changer in my small workshop. It allows me to break down larger sheets of plywood than I can manage on my table saw, and creates cleaner cuts with a splinter-free edge.
However, before you dump a bunch of money on either of these tools, read my comparison of track saws vs table saws. It will help you decide which one is right for you and your workshop!
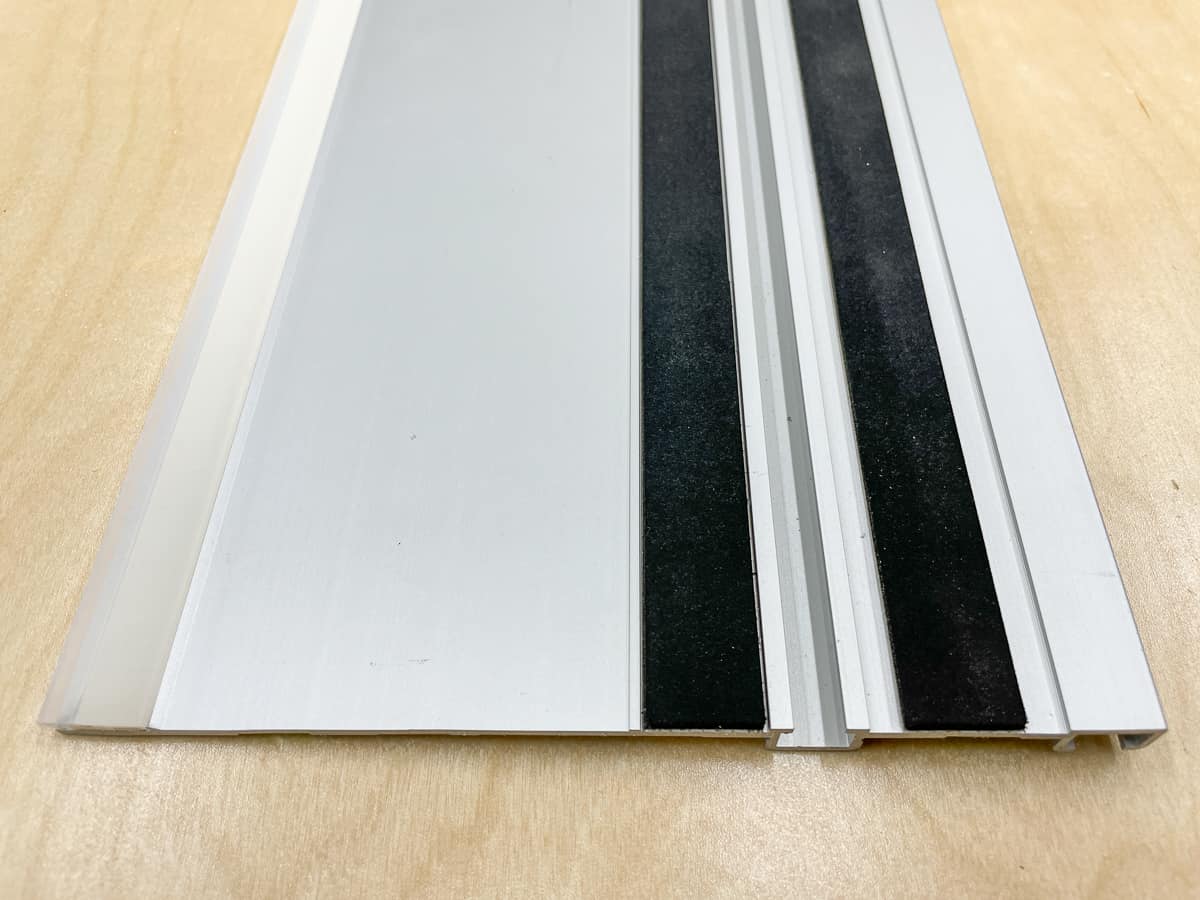
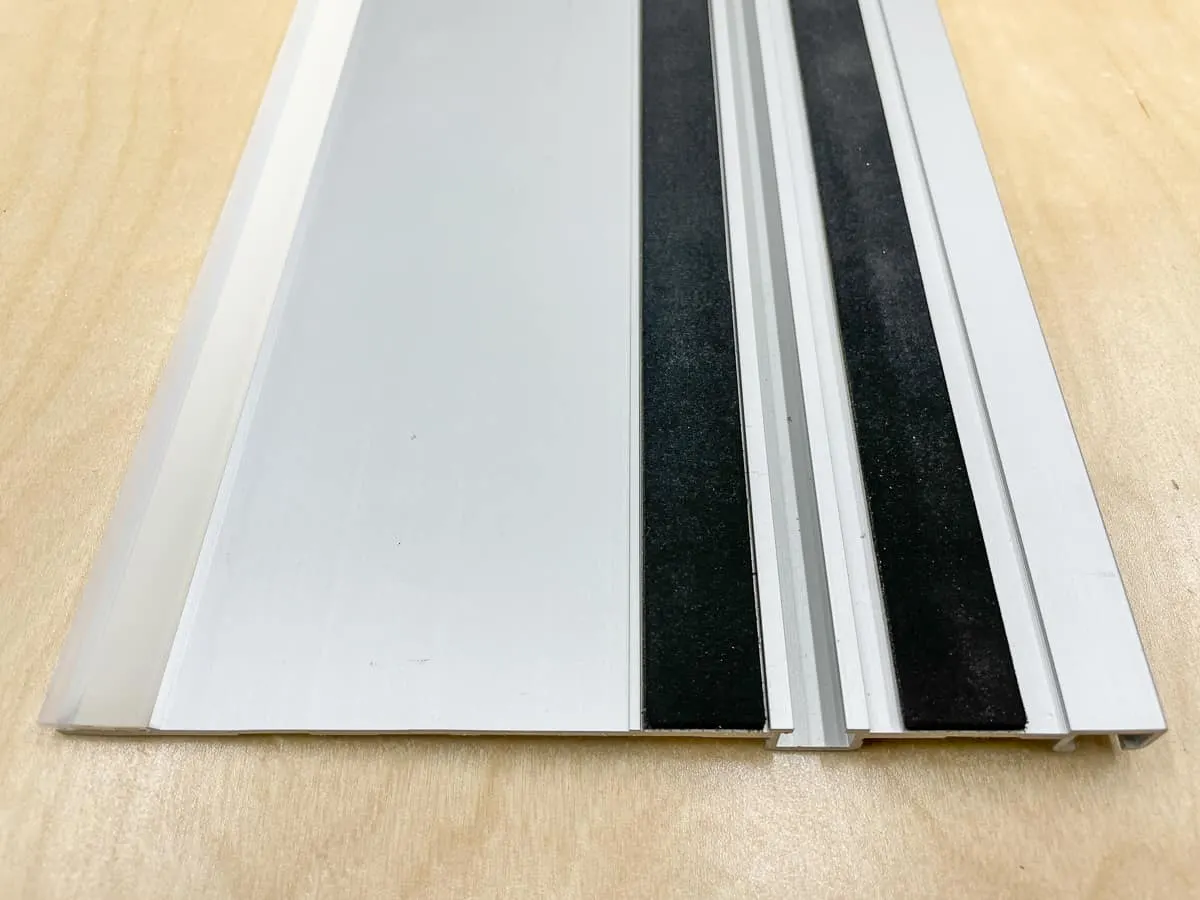
One thing to consider is that while there is a non-slip surface on the underside of the track, it's not slip-proof. I'm working with a lot of prefinished plywood for my kitchen cabinets, and those strips don't grip on that slick surface.
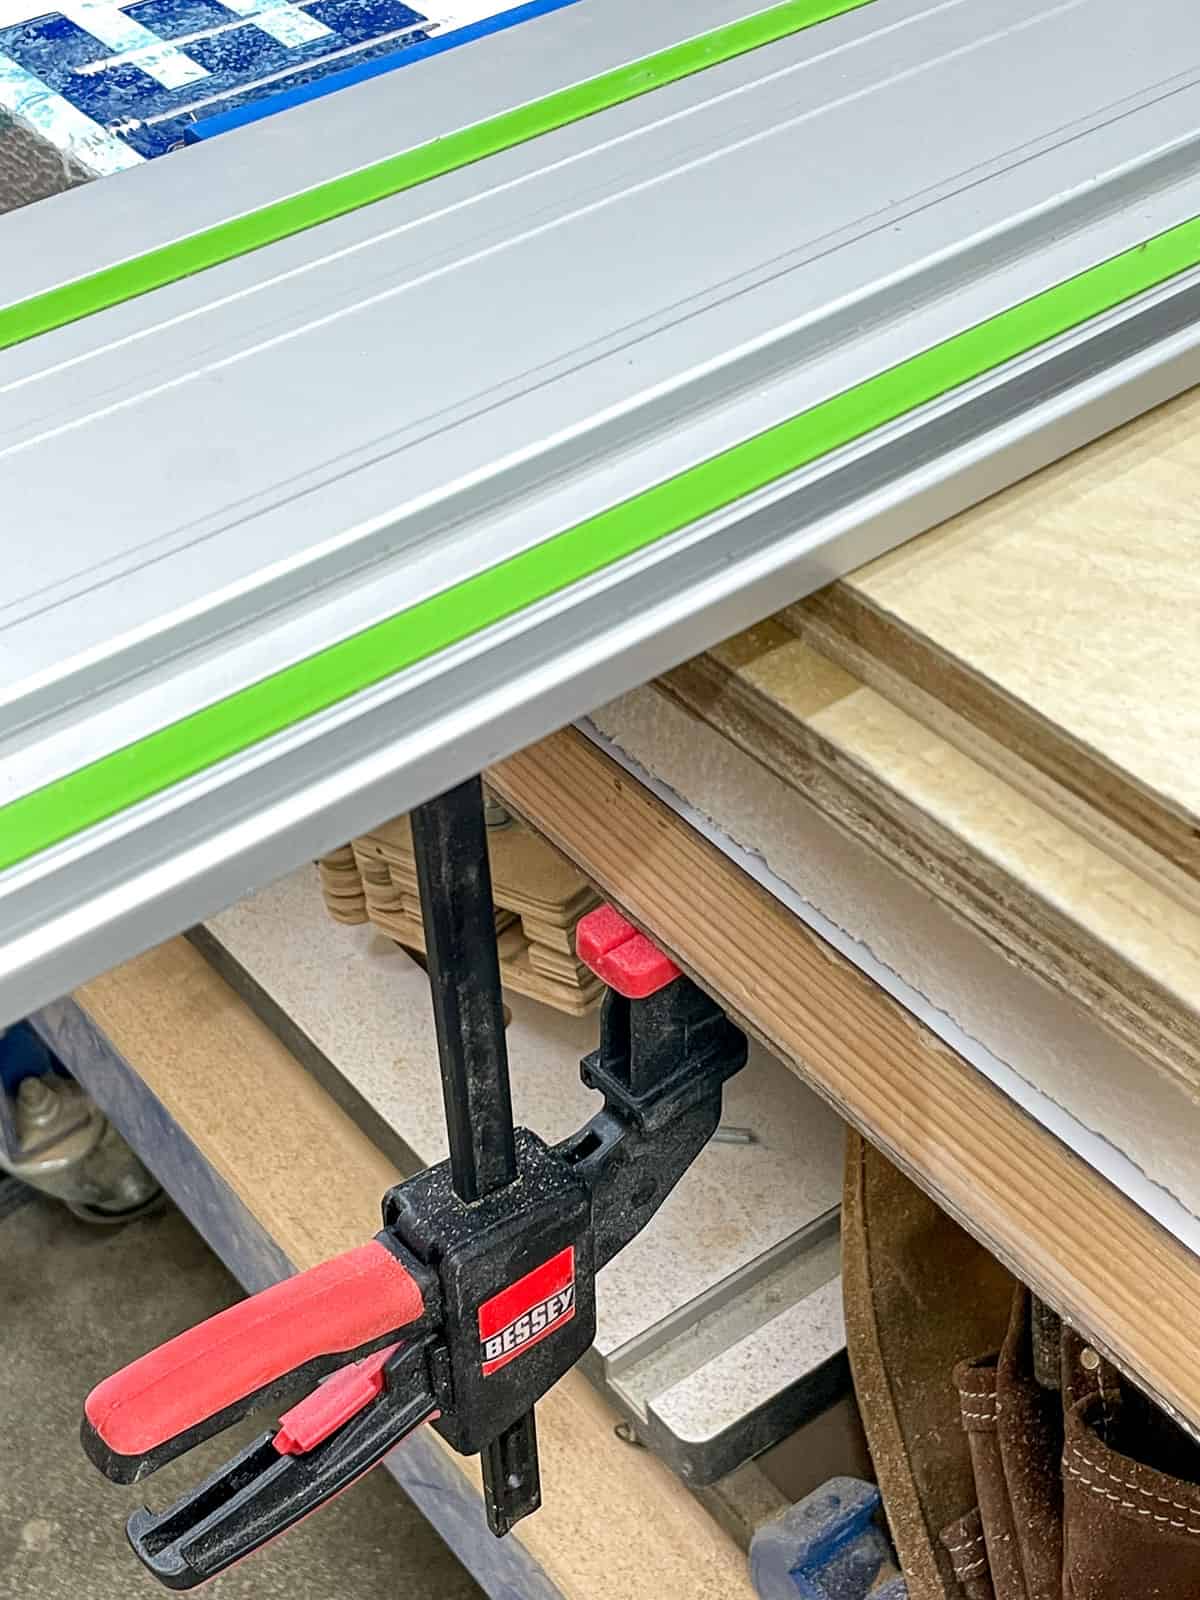
If you want to ensure that the track doesn't shift, you have to clamp it down on both ends before making the cut.
You also need to check for square every time, to ensure that nothing shifted while you clamped down the track. In comparison, the table saw fence is always square, so you can crank out multiple pieces in the amount of time it takes to make one cut with a track saw.
However, there are tools that make a track saw much easier and faster to use! Used in combination, a track saw square and parallel guides can replicate most of the features of a table saw, without the huge footprint.
This post contains affiliate links for your convenience. Purchases made through these links may earn me a small commission at no additional cost to you. Please visit my disclosures page for more information.
Track Saw Guide Rail Square Options
There are several different brands of track saw guide rail squares on the market, each with their own features and faults. Some are much more expensive than others (I'm looking at you, Woodpeckers!), but they all do essentially the same thing.
The most common track saw guide rail square options are:
- TSO GRS-16 Guide Rail Square
- Woodpeckers Adjustable Rail Square
- Insta-Rail Square
- Benchdogs Rail Square
There are also several knock-off brands that you can find elsewhere, but their quality and accuracy is questionable. As with most tool purchases, I'd rather buy a higher quality product once instead of spending more later because the cheaper version didn't work out as well as I'd hoped!
Full disclosure: TSO sent me their GRS-16 PE to try out for free, and it is the track saw square you see in the photos below. If you'd like a side-by-side comparison of the various guide rail square options listed above, check out this video!
How to Attach a Track Saw Square to the Rail
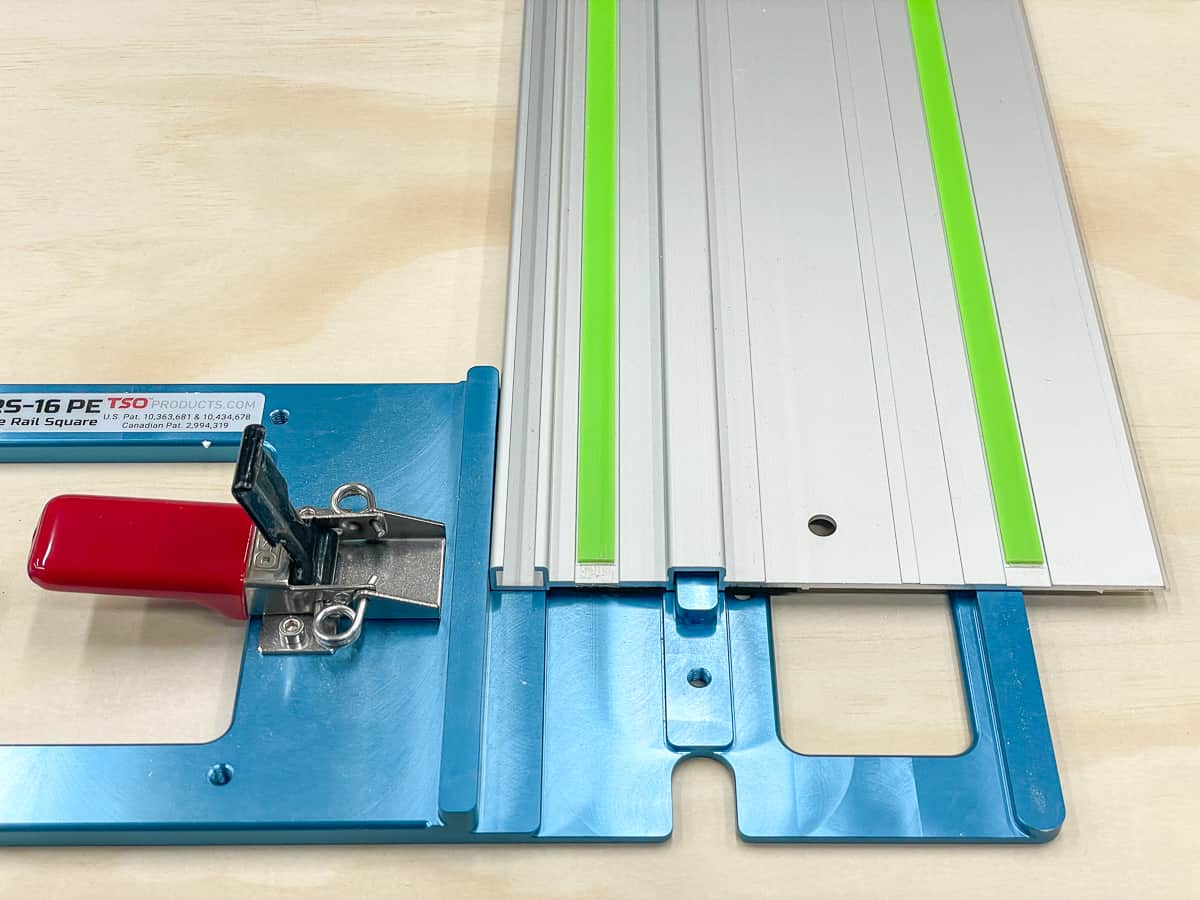
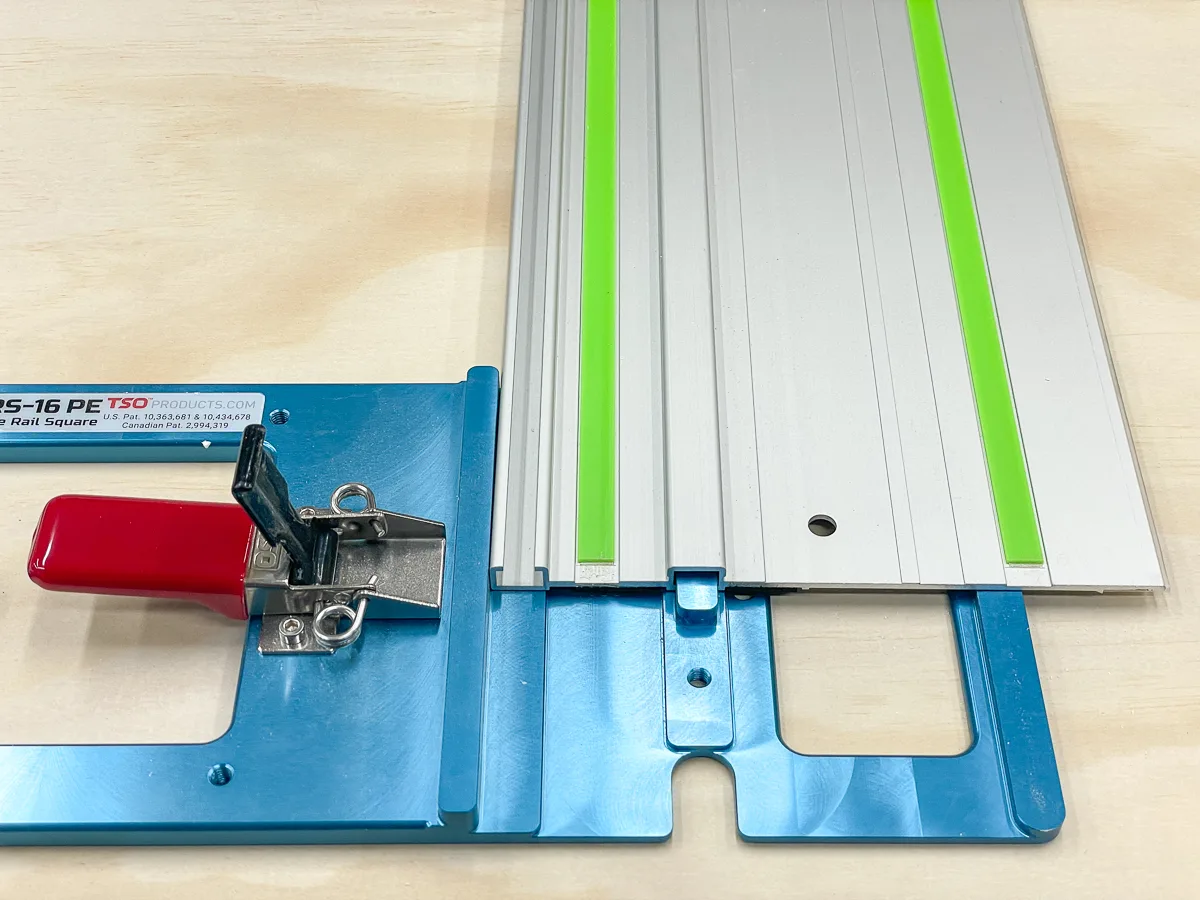
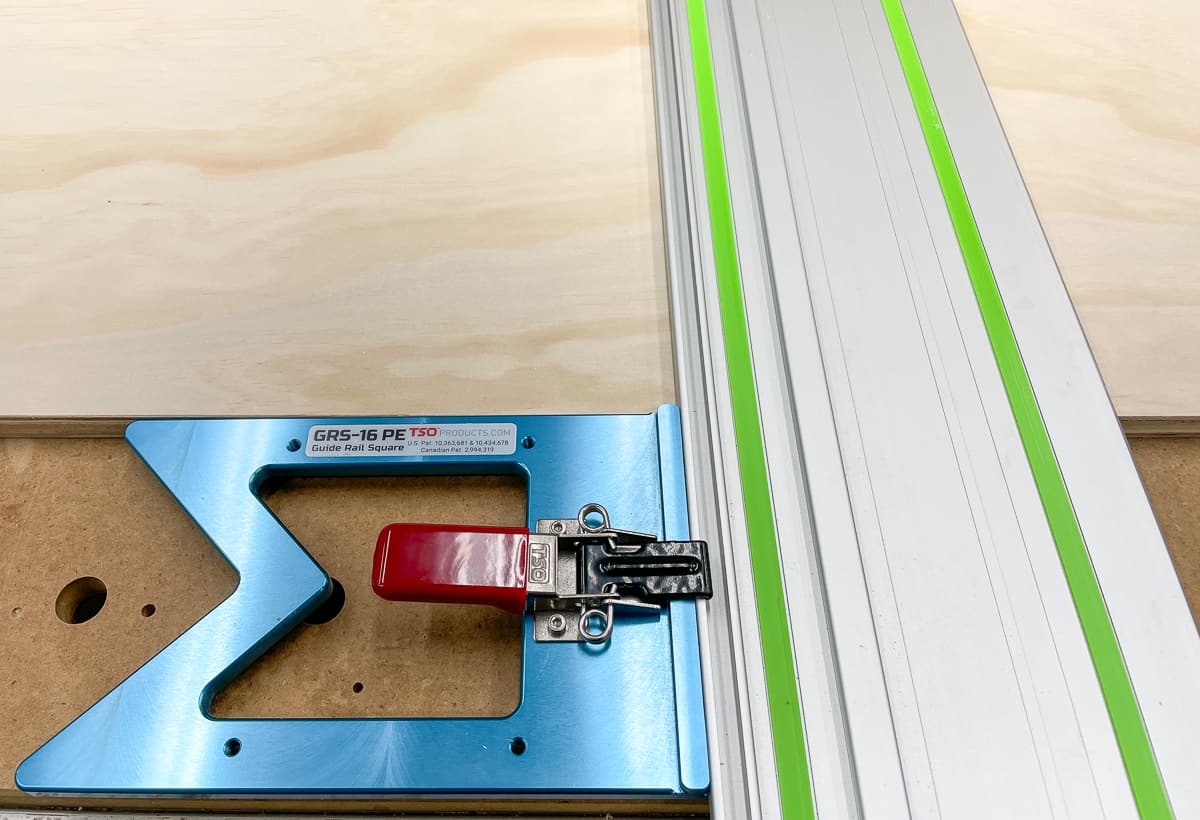
When you purchase your track saw square, make sure you get one that matches the profile of the rail you plan to use. Some models will only work with specific track saw brands, such as Festool, Makita or Triton.
As you can see below, there's a bump on the track saw square that fits perfectly into the raised part of the Festool rail. You can slide the square anywhere along the track, but I usually leave mine about 6" from the end. This gives me room to place the saw on the end of the rail while holding the square in place ahead of it.
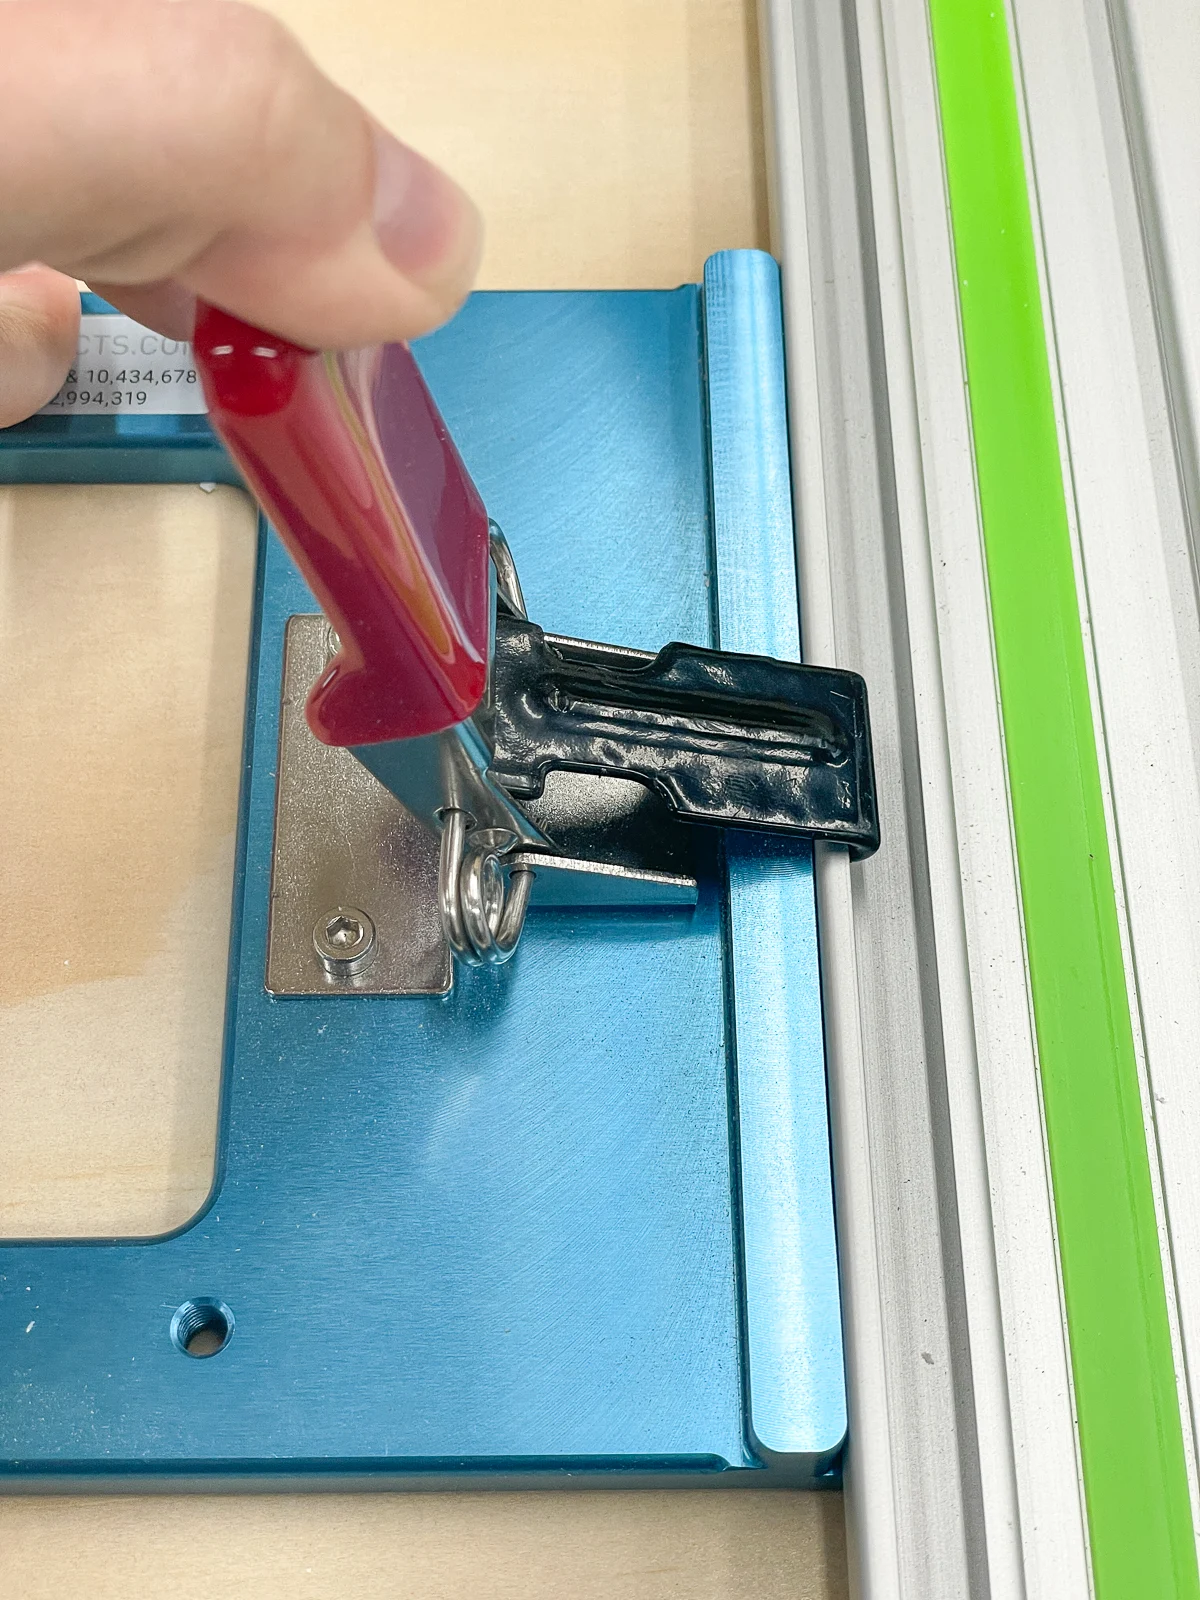
Once you have the guide rail square where you want it, lower the hook into the T slot on the edge of the track. Then press down the red lever to lock it into place.

How to Use a Rail Square with a Track Saw
In order to get a square cut, your reference edge must be straight. Sometimes the factory edge on a sheet of plywood is a little rough, and those little bumps can skew the square. Use the track to check that it's straight first!
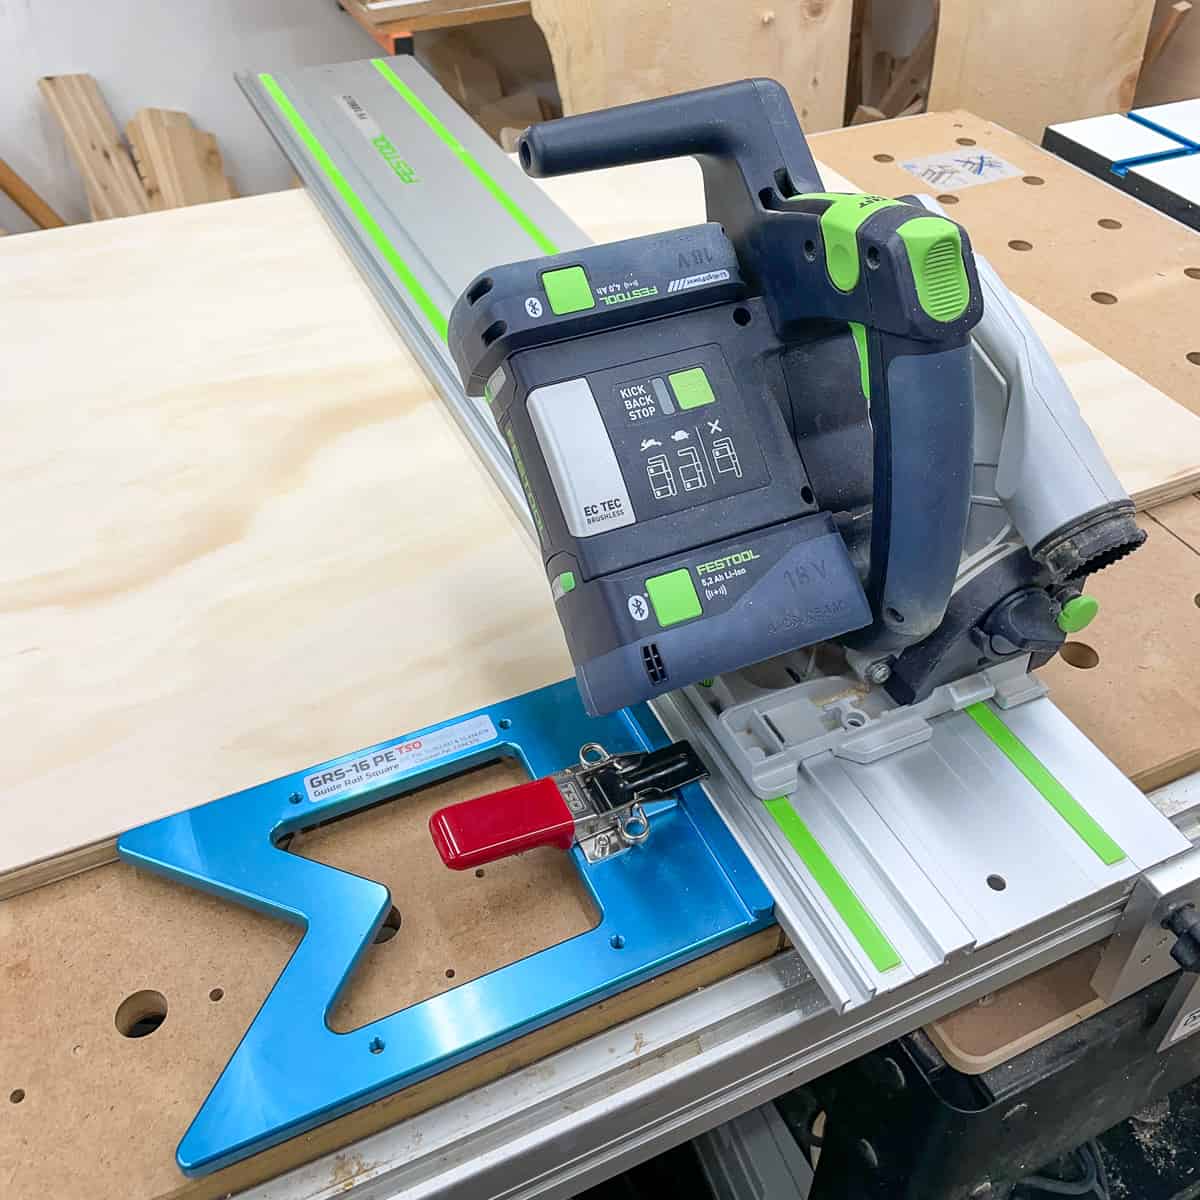
In most cases, you can just butt the edge of the square up to the front edge of the board. The track square will automatically straighten out the track and create a perfect 90 degree angle! Align the splinter guard edge with your cut line marks.

When you place the saw on the end of the track, it has a tendency to drop from the weight. Some rail squares, like the Woodpeckers one, have a little lip that rests on top of the wood to prevent that from happening.
I usually avoid this problem by placing the saw on the track on the wood first, then sliding it back as I'm holding the square tight against the front edge. Double check that the rail lines up with your marks, then make the cut!

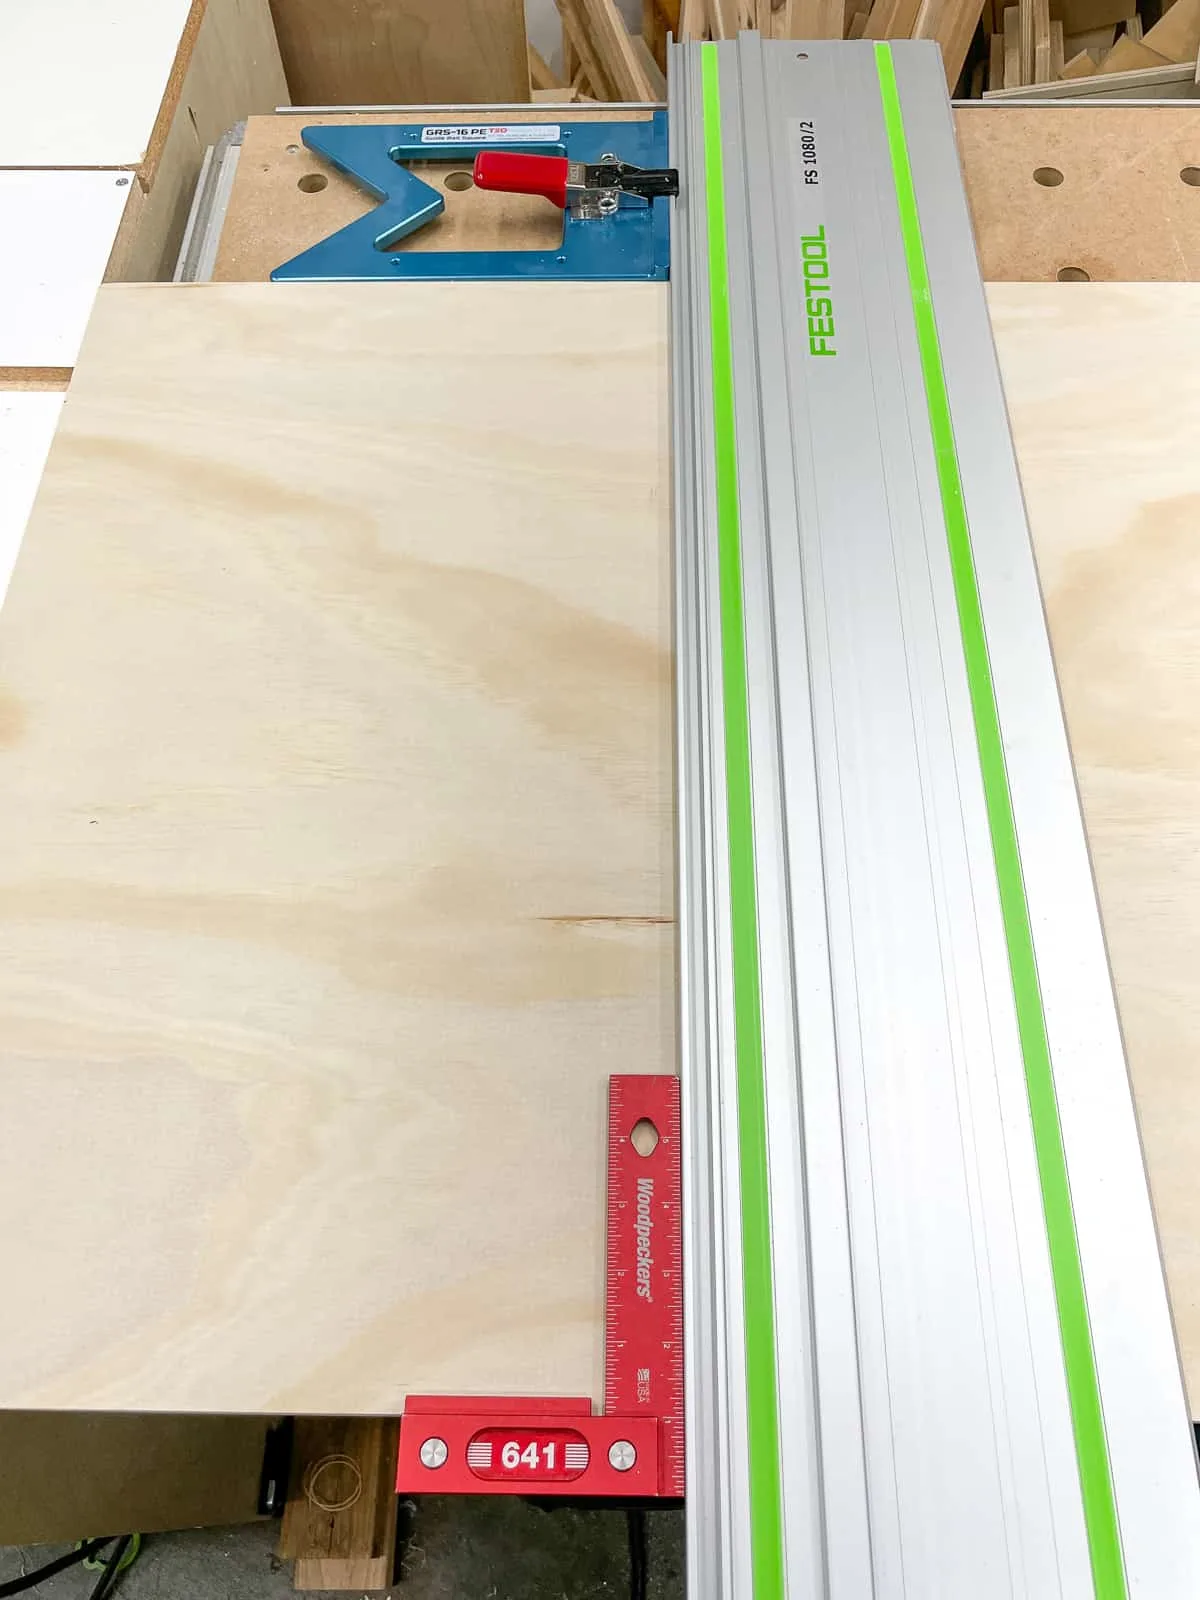
Sometimes, you'll want to slide the track saw square to the back of the board. For example, if your straight reference edge is on the far side, and you don't have enough room to spin a huge sheet of plywood around.
That's one advantage of the TSO GRS-16 PE versus the less expensive GRS-16: you can use it on either side. Other models only have one flat edge, so you can only use it in the front. Just pull the square tight against the back edge, and it's square all the way across, even along this wide board.

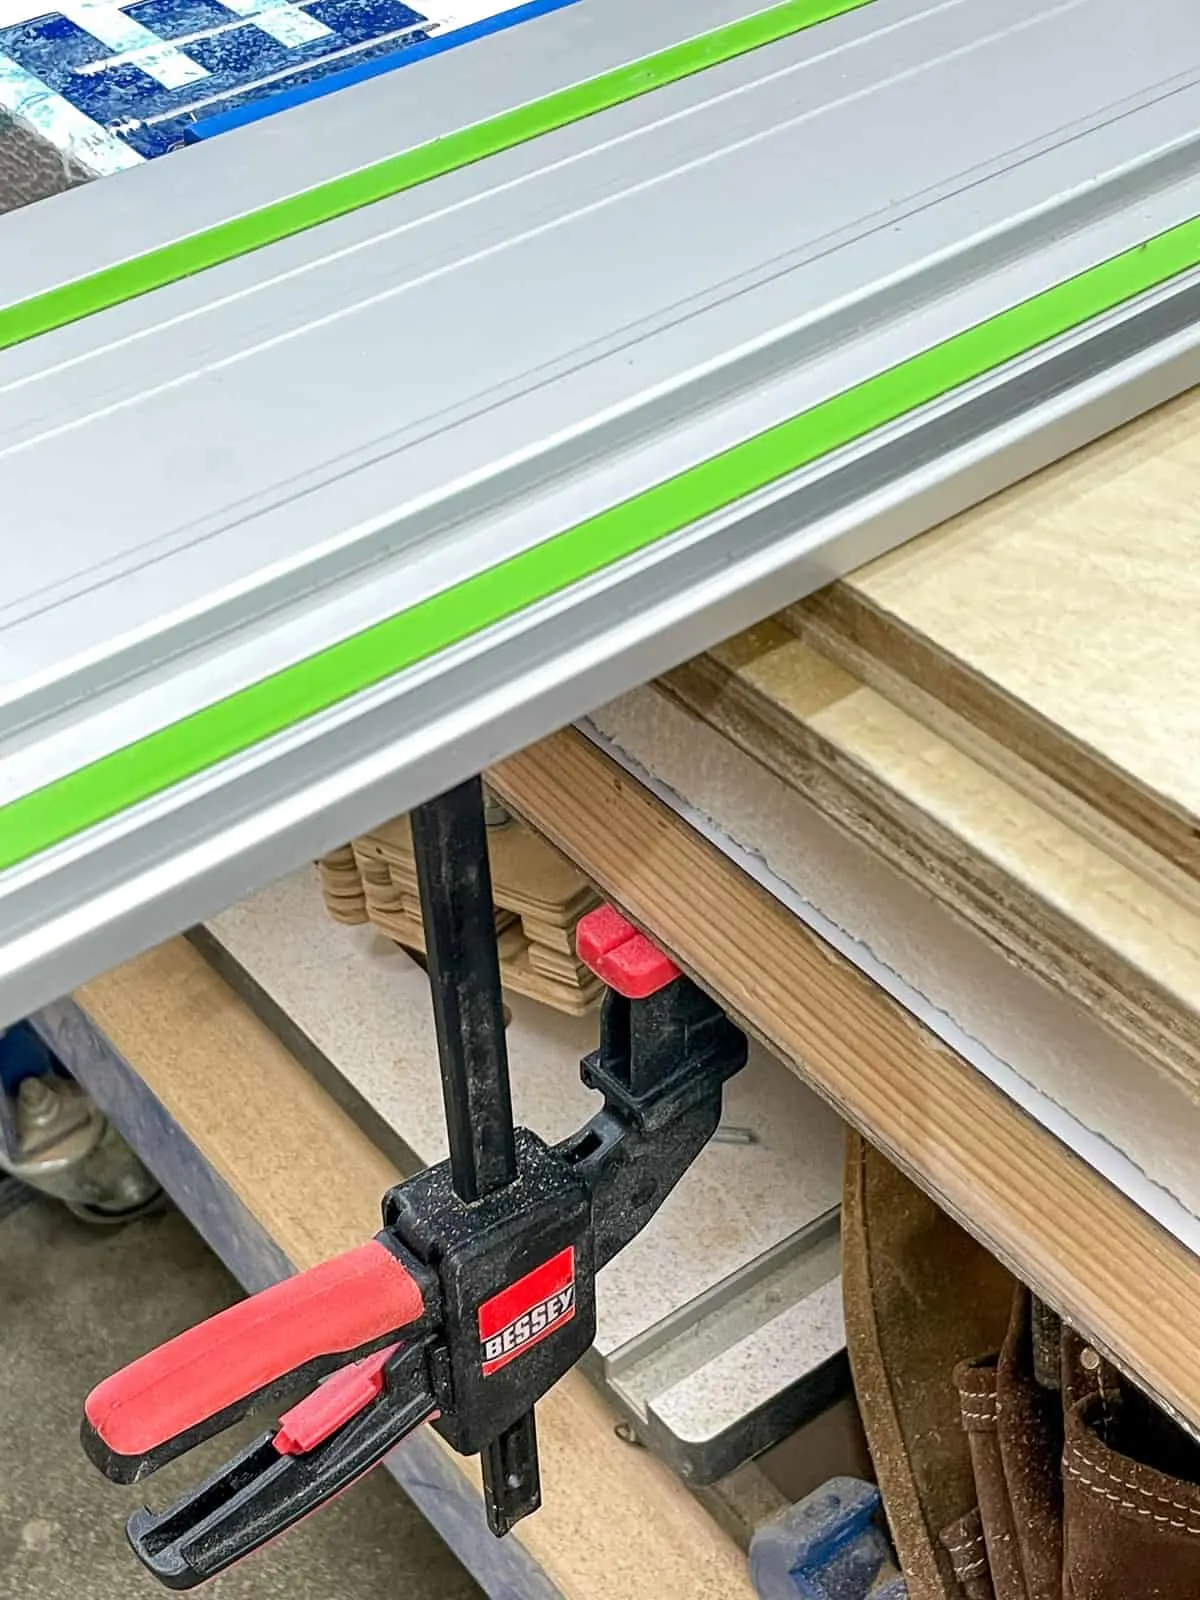
Or maybe you want the added security of a clamp to prevent the track from slipping. This is especially helpful on slick surfaces like melamine or prefinished plywood, where the sticky tabs on the bottom of the rail aren't so helpful.
The guide rail square helps keep the back of the rail straight and square while you slide a clamp under the front edge. You don't have to run around to the other side of the workbench to clamp down the far side, because the square holds it in place.
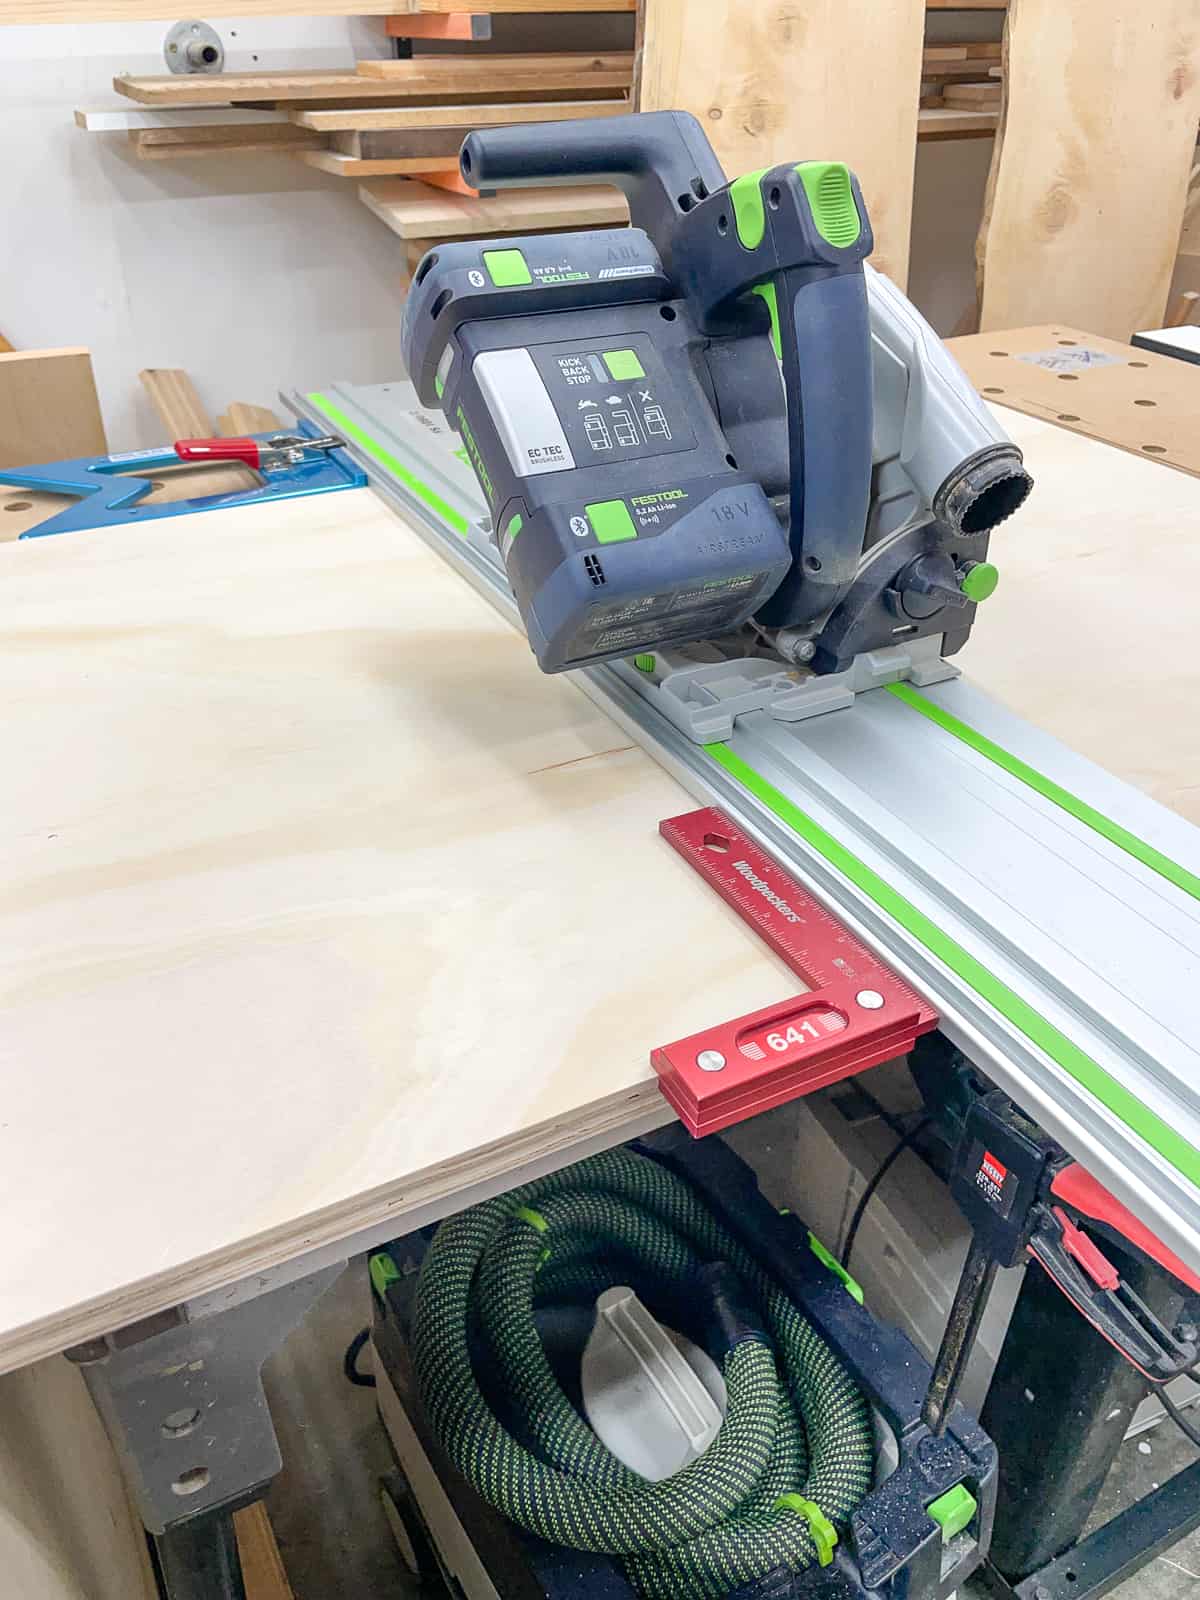

Now you can make the cut with confidence!
Next, I'll share how to use parallel guides in conjunction with the track saw square to create repeatable, perfectly square cuts! As I've gotten more familiar with these tools, I've found that I use the track saw more than the table saw for all my plywood projects!
Check out these other tool tutorials!
Leonard Attard
Monday 10th of April 2023
Excellent feed back. As I’m wandering if I should in vest on both. Thank you for the extra input on using the attachment for the track saw to maintain its squareness. I agree with you also about using the clamp s for the track saw, especially on melamine and finished sheets of plywood. As if you make a mistake it would be a costly error considering the price of material these day. Keep up sharing your knowledge because I I find them very helpful.