A speed square isn't just for marking straight lines! Learn how to use a speed square and unlock all these not-so-secret features!

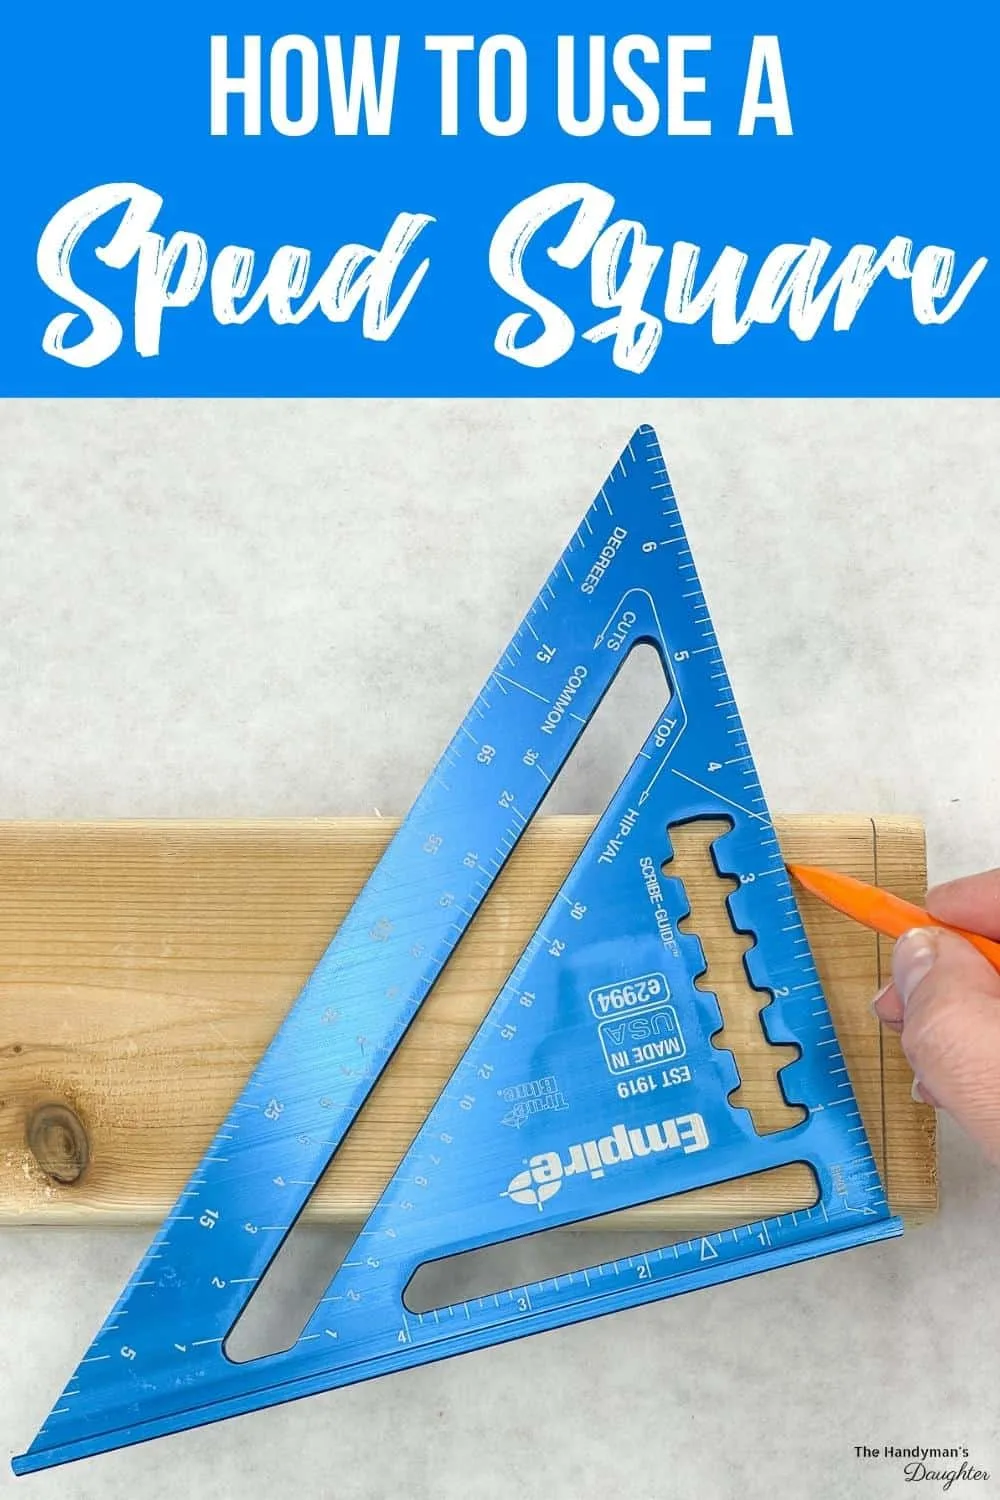
There's a lot you can do with this simple triangular tool! I keep multiple combination squares and speed squares scattered around the workshop, so I always have one within arm's reach.
Of course, you can use the speed square to mark straight and angled cuts. But it can also work as a protractor, a guide for a circular saw, or find the pitch of your roof.
Below, you'll find my complete guide to the different parts of a speed square, how it works, and how to use it properly.
This post contains affiliate links for your convenience. Purchases made through these links may earn me a small commission at no additional cost to you. Please visit my disclosures page for more information.
What is a Speed Square?
The speed square is a small triangular measurement tool that allows you to mark straight lines, find angles, and determine pitch. The term "Speed Square" is trademarked by Swanson Tool Co., Inc. and it is commonly referred to as a triangle square, carpenter's square and rafter square.

After reading this guide, you'll be ready to place the speed square in your essential DIY toolbox.
Parts of a Speed Square
The speed square is like the Swiss Army knife of measurement. There's a lot you can do with one once you know what all those markings are for!
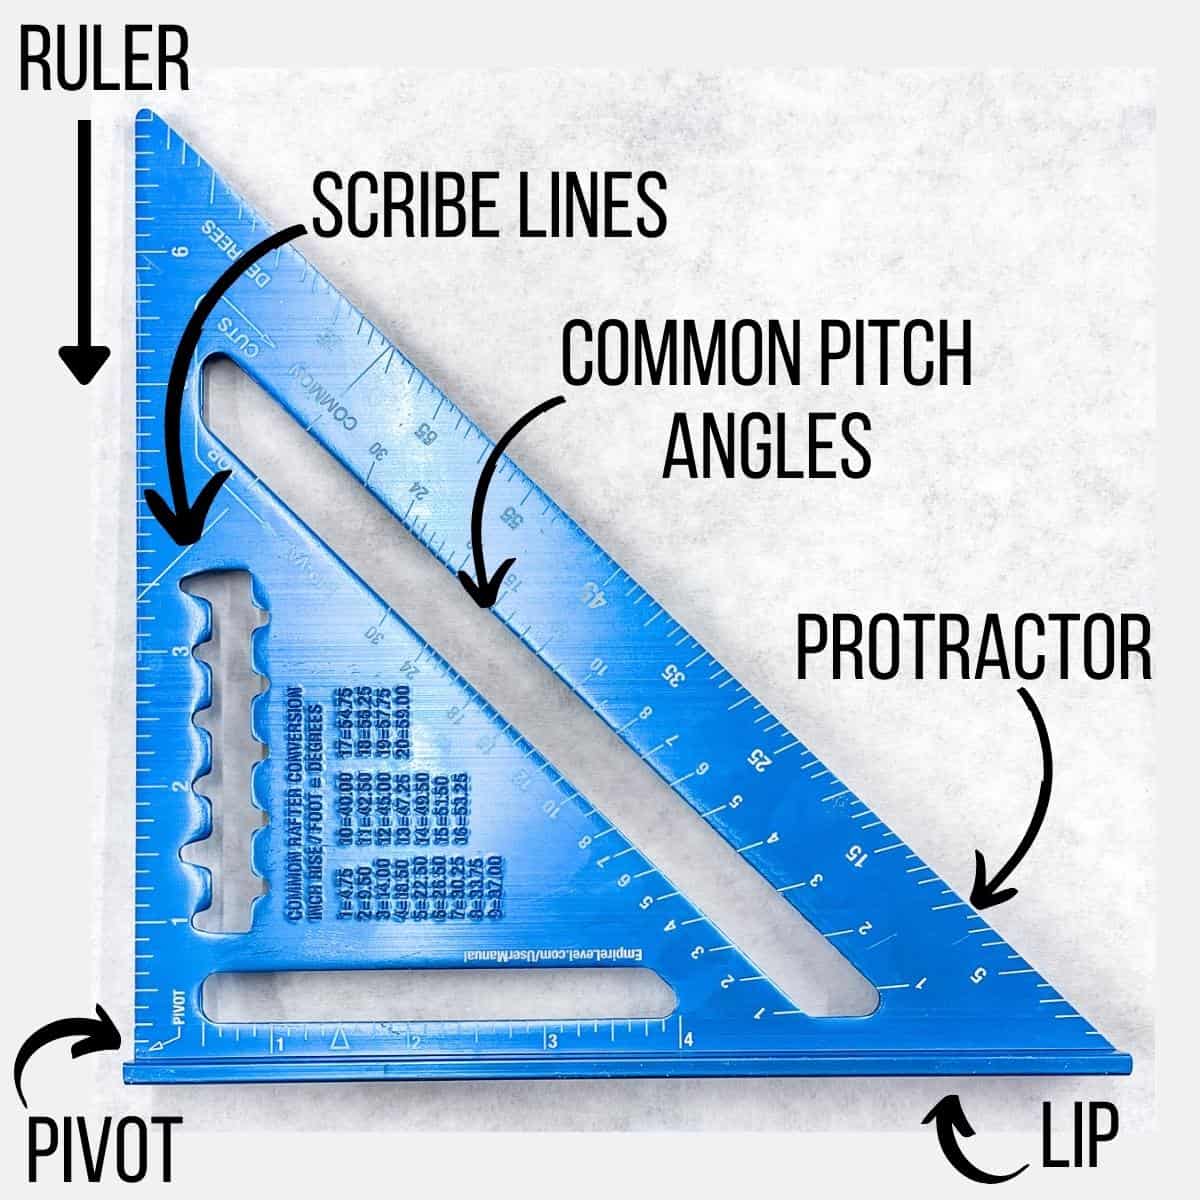

Here are several characteristics and features of a speed square:
- Size. Many speed squares are about 6 inches long; however, there are bigger speed squares for larger projects - some with a twelve-inch side or folding extension piece.
- Material. Most speed squares are built from aluminum or durable plastic to withstand drops while staying perfectly square.
- Etched markings. On a good quality speed square, all markings are etched into the surface, rather than printed. This ensures that those little lines remain visible and accurate after years of use.
- Lip or Fence. The speed square lip allows you to brace it against the side of the board, ensuring you get a firm hold and a straight line.
- Pivot. On the point of the speed square, there is a small notch marked "pivot." Pivoting on this point allows you to quickly find and mark your desired angle without getting out a protractor.
- Scribe lines. These notches correspond with markings on the ruler edge. Using the notches, you secure your pencil and slide the speed square along the length of the lumber, giving you perfect scribe lines.
- Common Pitch. Joists use several common angles, and these are listed in a cutout within the speed square. Using your pivot point, you can align these internal "common pitches" with your project.
- Protractor (Angles). For miter cuts, you can move your speed square like a protractor, giving you angles from 0 to 90 degrees. You'll find the angles on the long side of the triangle (the hypotenuse).
Okay, now that we've discussed the physical characteristics of a speed square, let's talk about the ways to use it!
How to use a speed square to mark a straight line
When you buy boards from the store, the ends usually aren't cut straight. You'll also find cracks and knots that need to be trimmed off. Often, woodworkers use a combination square to ensure the end of a board is a perfect right angle. The speed square can do same job.
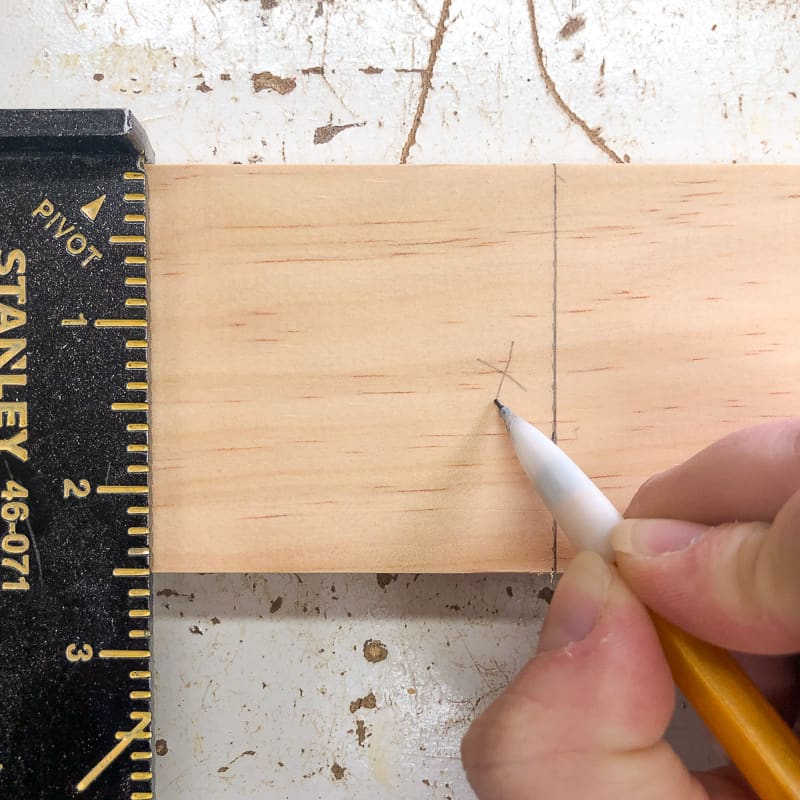
To get the most accurate markings, place your pencil tip on your measurement, then slide the speed square up to your pencil. Then draw a scribe mark across the board so you can easily see where to cut!

You can also use a triangle square as a ruler in place of a tape measure on narrow boards. However, the markings are typically thicker, which makes it difficult to get a precise measurement. But for rough construction, it'll work in a pinch!
How to use a speed square to guide a saw
If you need to cut a straight line with a circular saw or jigsaw, this trick will help!
First, mark your cut line with the speed square. Remember not to cut directly on the line, but rather on the "waste" side so you don't accidentally make your board shorter than you wanted. I like to mark that side with an X.

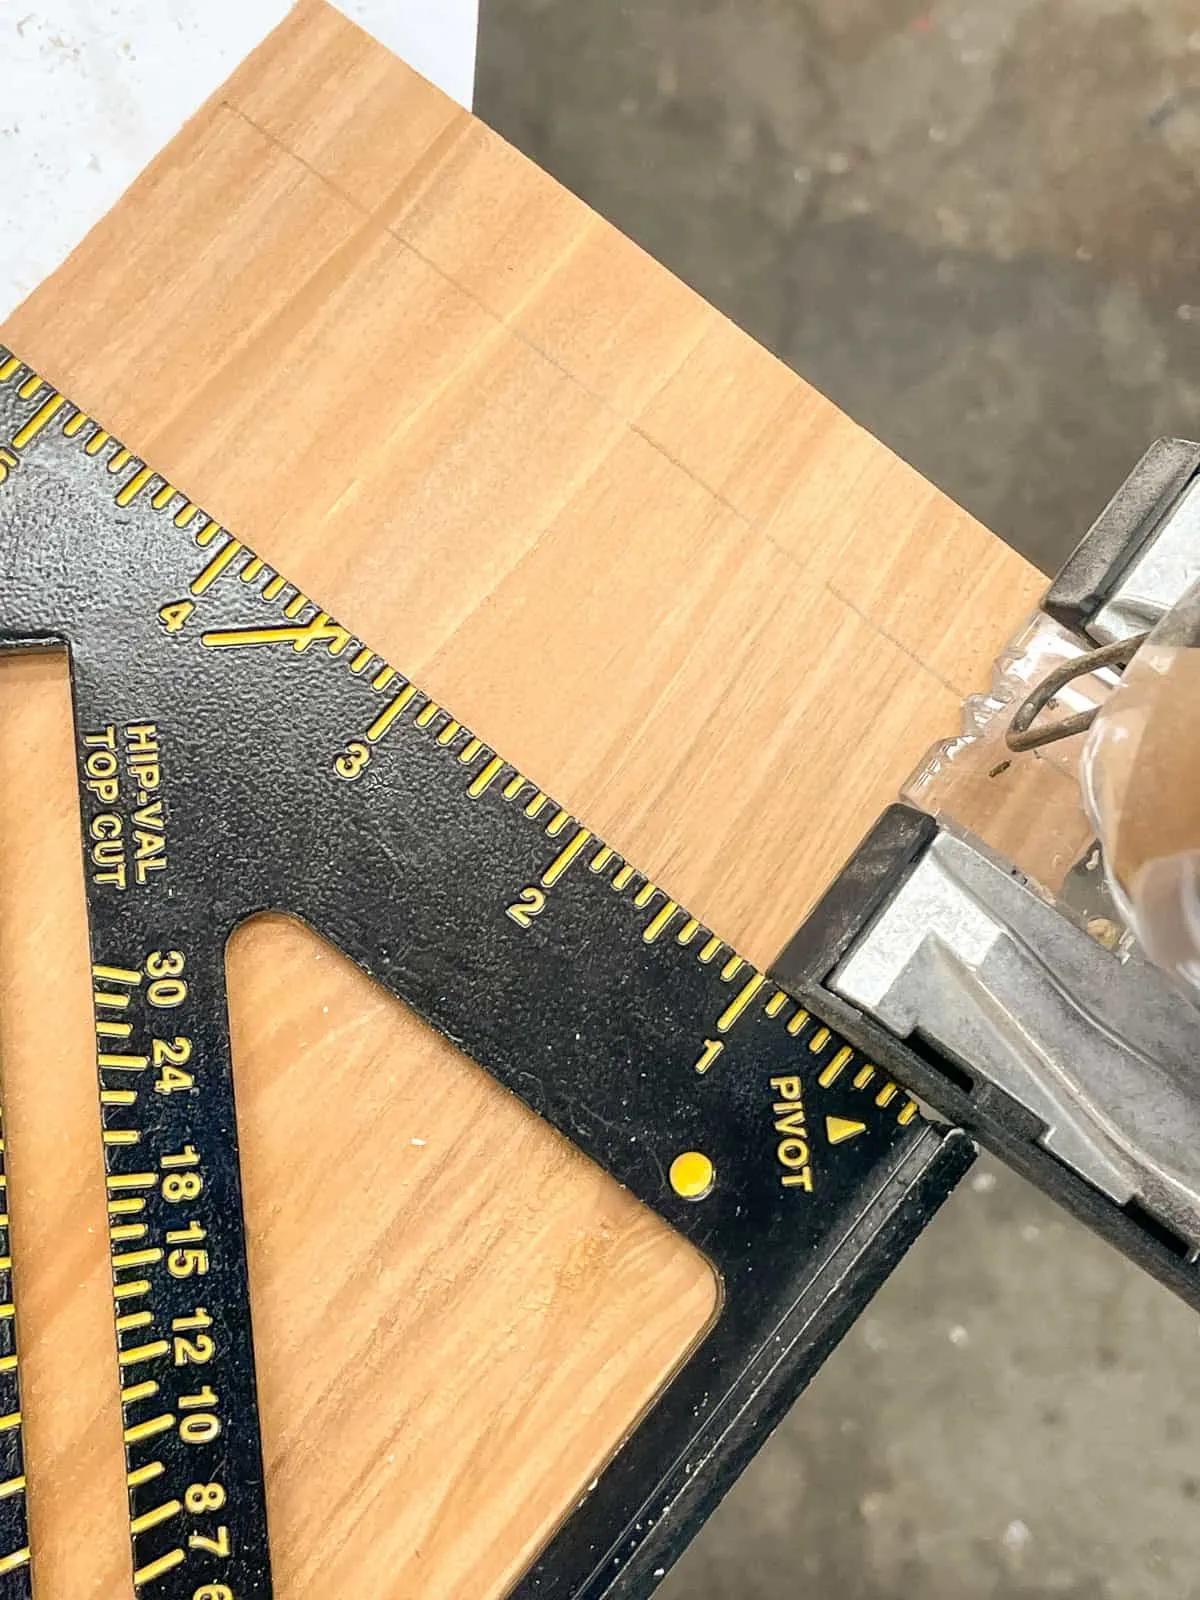
Align the blade of your saw with the waste side of the line, then slide the speed square up to the bottom plate of the saw. Hold the speed square lip firmly against the board while you slide the saw along the straight edge for a perfect cut!

This method works best for quick cuts on narrow boards. For better accuracy on wider boards or large sheets of plywood, I recommend making a circular saw straight edge jig and clamping it down to the surface.
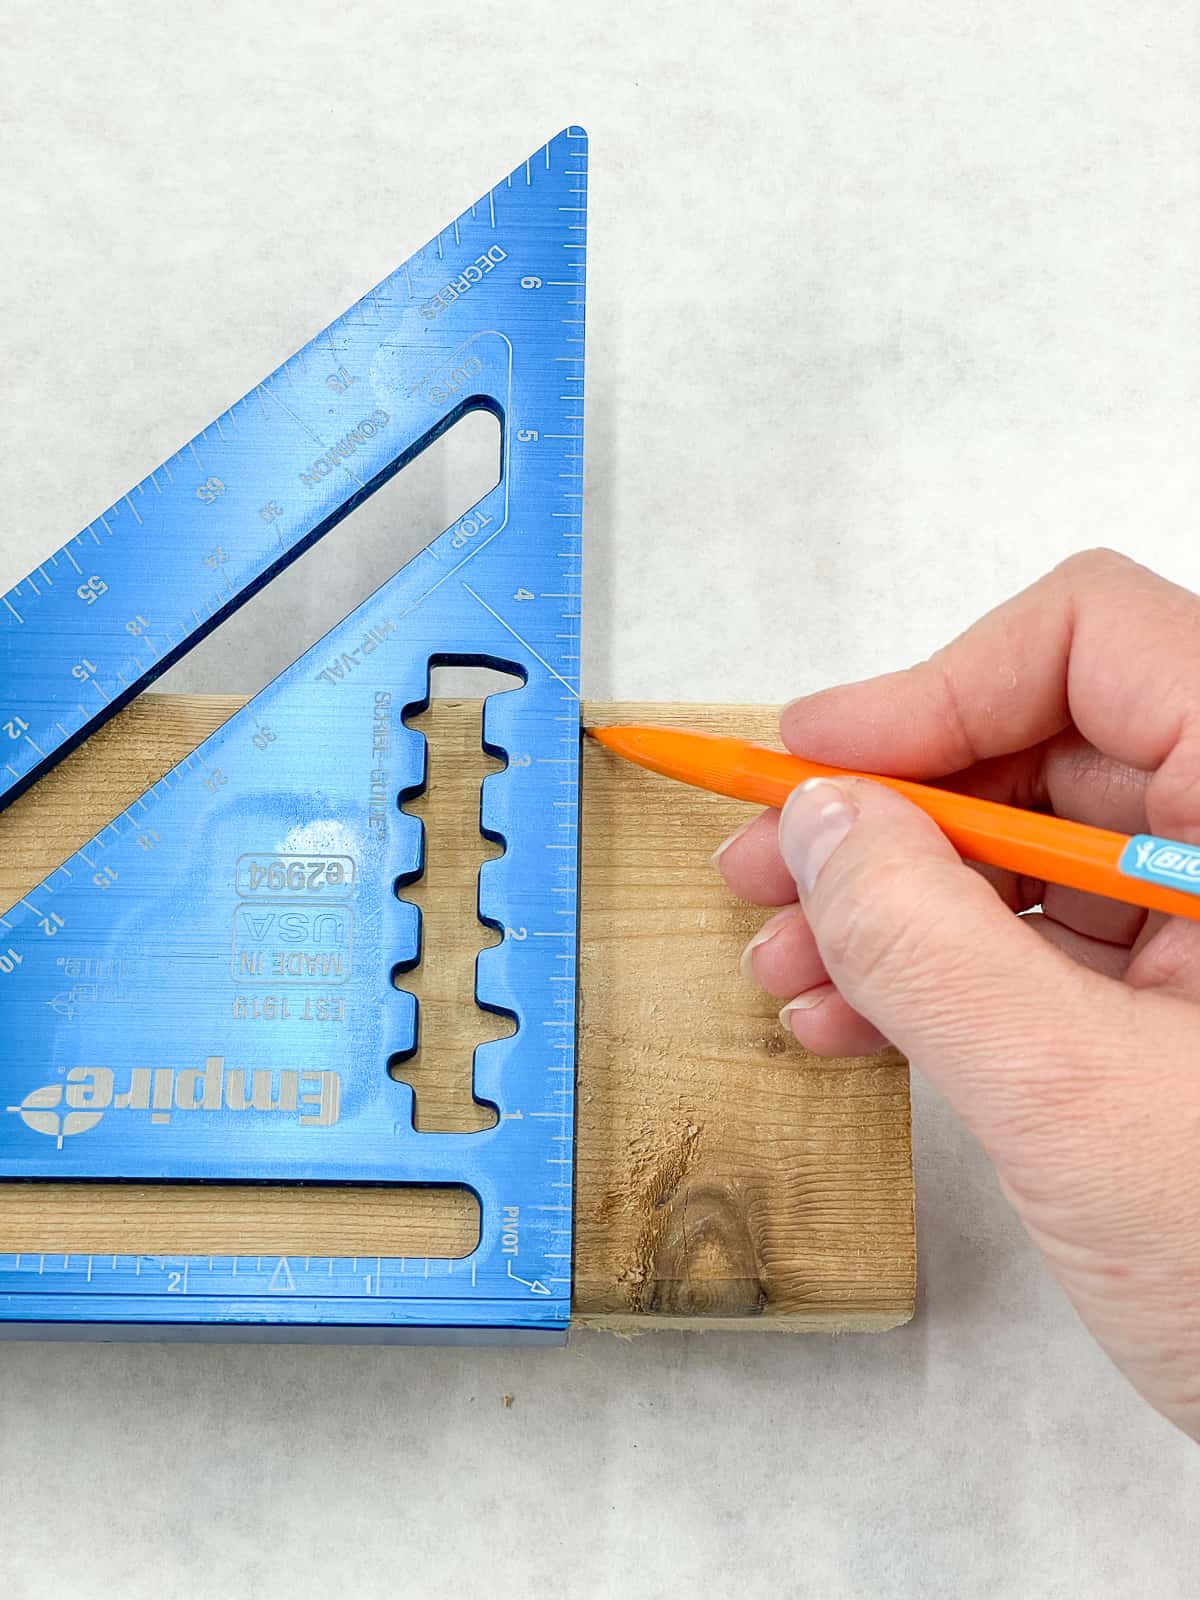
How to use a speed square to mark rip cuts
When you're making a long rip cut, there's little room for error! Thankfully, the speed square can help you draw a super straight line to follow with your saw. Here's how:
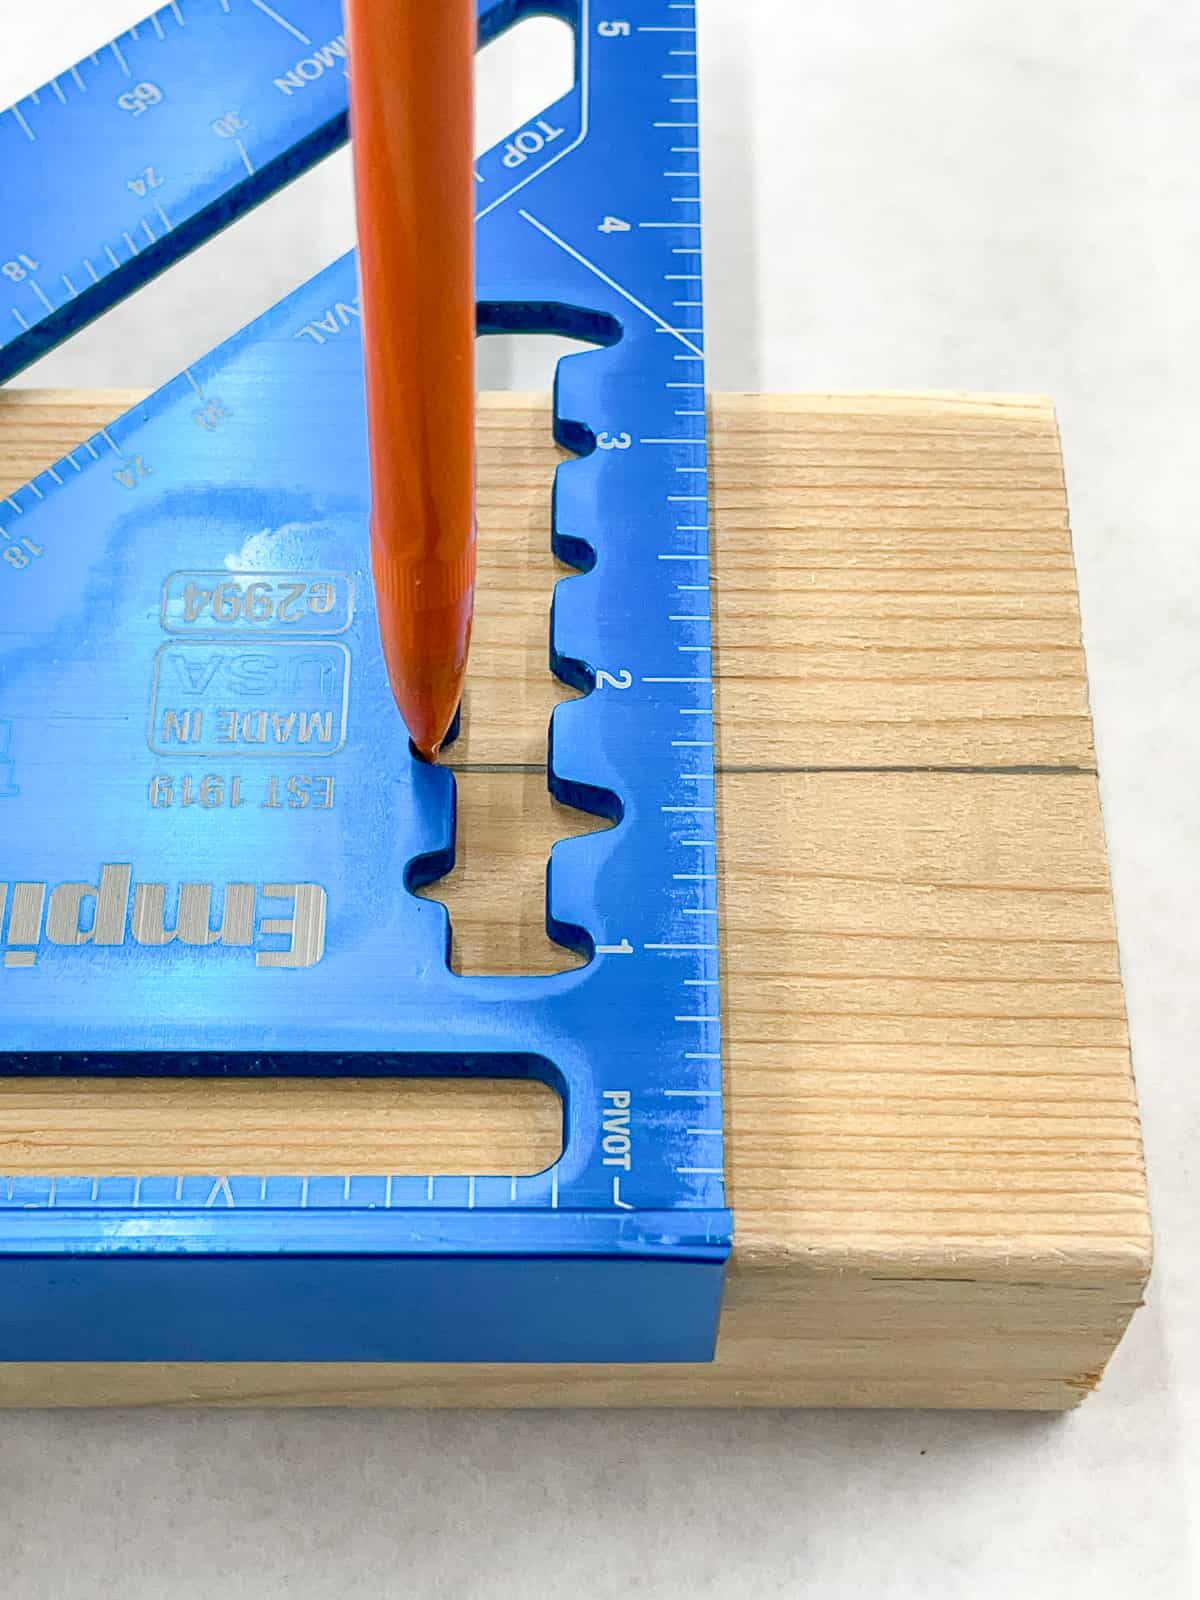
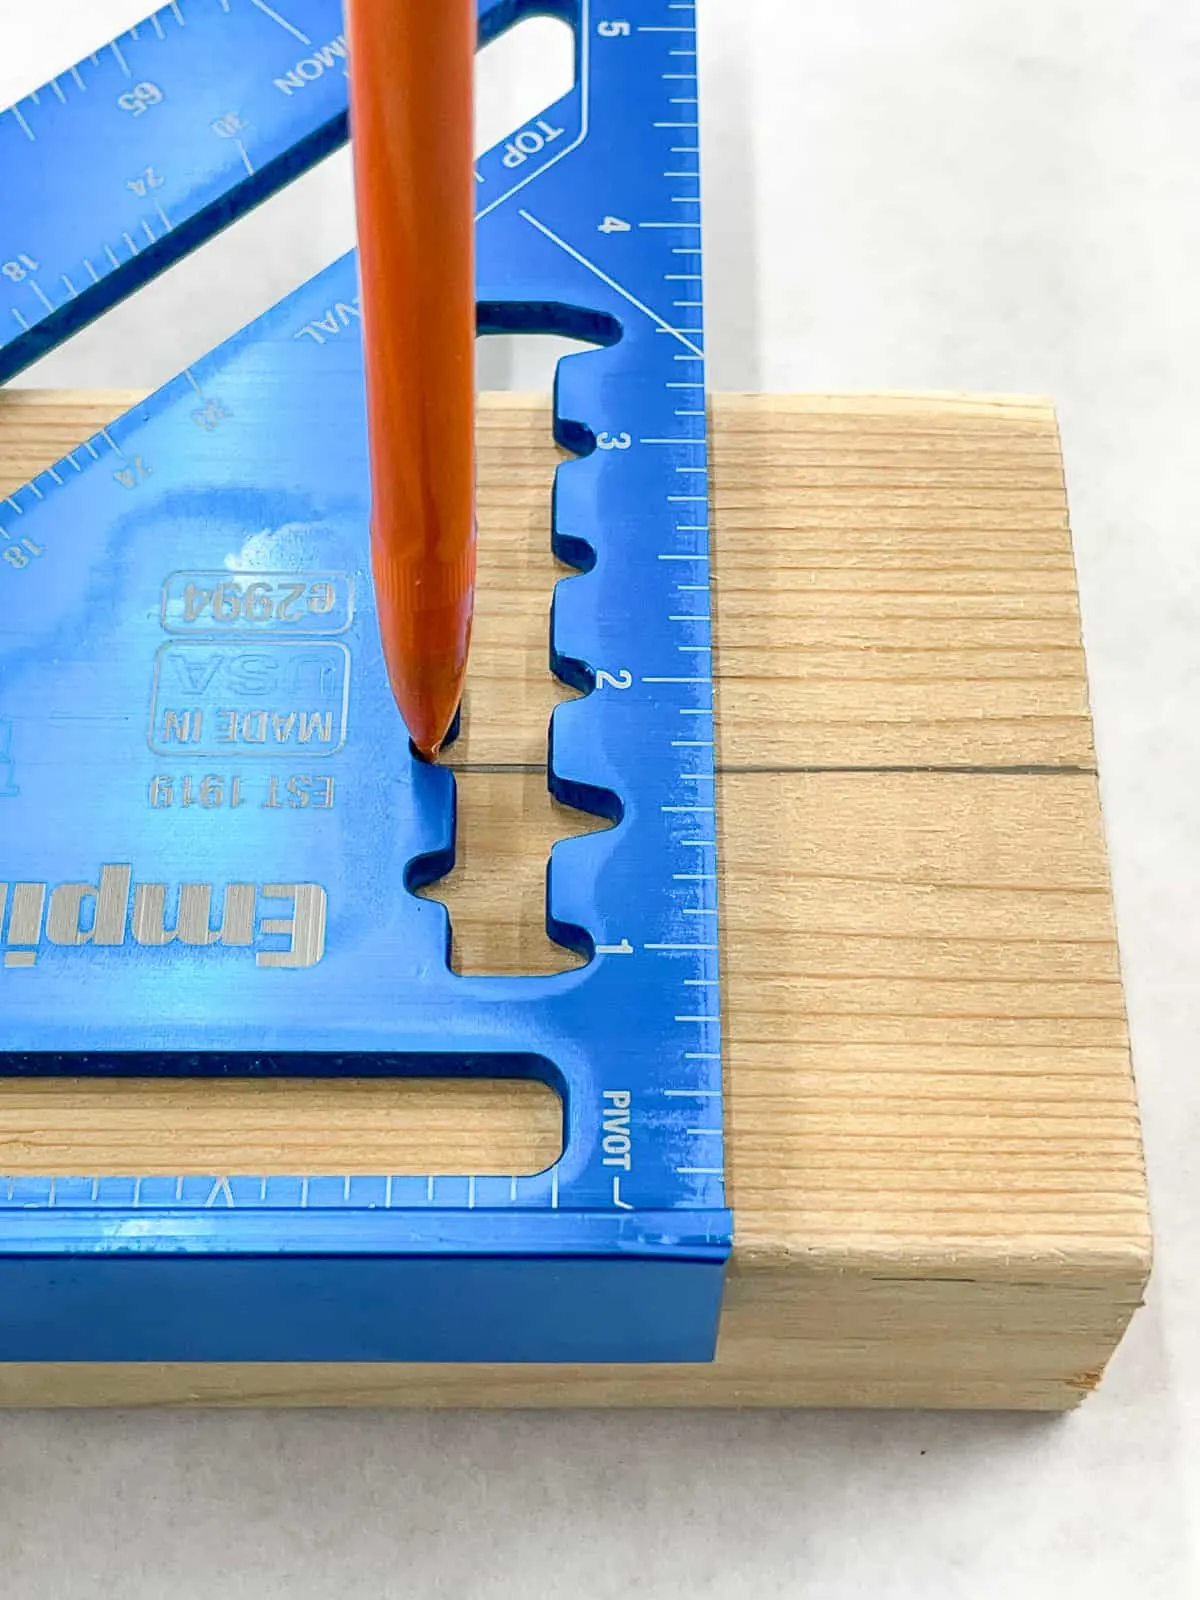
- Find the scribe line notches. These triangular cutouts are usually located on the inside of the inner triangle, and fit a pencil perfectly.
- Locate the measurement. The notches coincide with the markings on the ruler on the outside edge. Usually, these notches only go up to 3 ½", which is the standard width of a 2x4.
- Place your pencil in the notch. Once you've determined the correct measurement, you can place your pencil within the appropriate notch.
- Scribe the line. Holding the lip of the speed square tight against the board, slide it along the edge of the board with the pencil in place, marking the cut line.
Now you can use your circular saw or jigsaw to cut down the waste side of your line!
How to Use a Speed Square for Angles
An angled cut, also known as a miter cut, is often used for trim. Any time you're trying to join boards at a corner without showing the end grain, you may need an angled cut.

Here's how you can use a speed square to find any angle:
- Find the pivot point. With the lip of the speed square against the edge of the board, the pivot point will be the notch where the straight edge meets the lip. Draw a straight line from the pivot point to the other side of the board.
- Look at the hypotenuse (the long edge of the triangle). There will be marked degrees from 0 to 90. Choose the one that matches the angle you want to find.
- Pivot the speed square. Hold the corner of the square with the pivot point against the edge of the board. Rotate the rest of the square off the board until the degree you want lines up with the same edge as the pivot point.
- Mark the line. Draw a line from the pivot point across the board to mark the angle. The space between the straight line and the angled line is the degree.
- Cut. After you mark the line, you can cut it with any power tool. If it's a 45 degree cut, you can use the speed square as a guide for the base of the saw to keep it moving in a straight line.
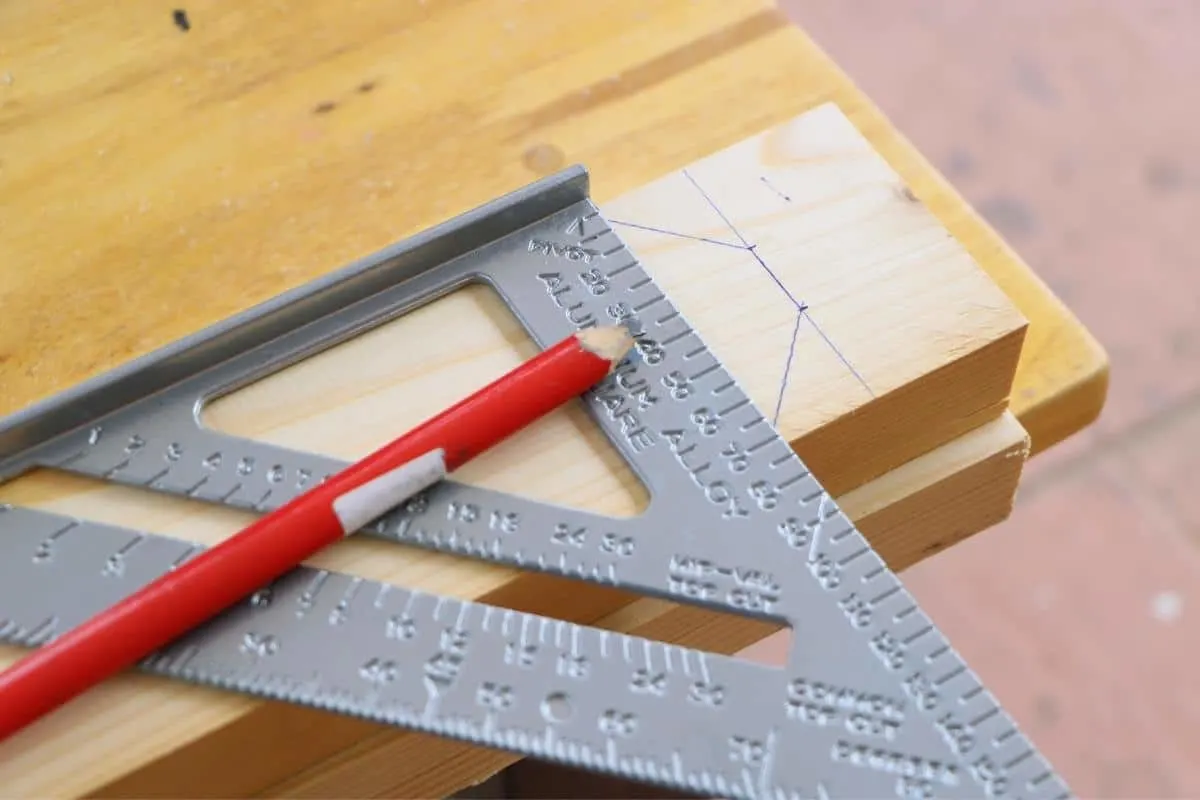
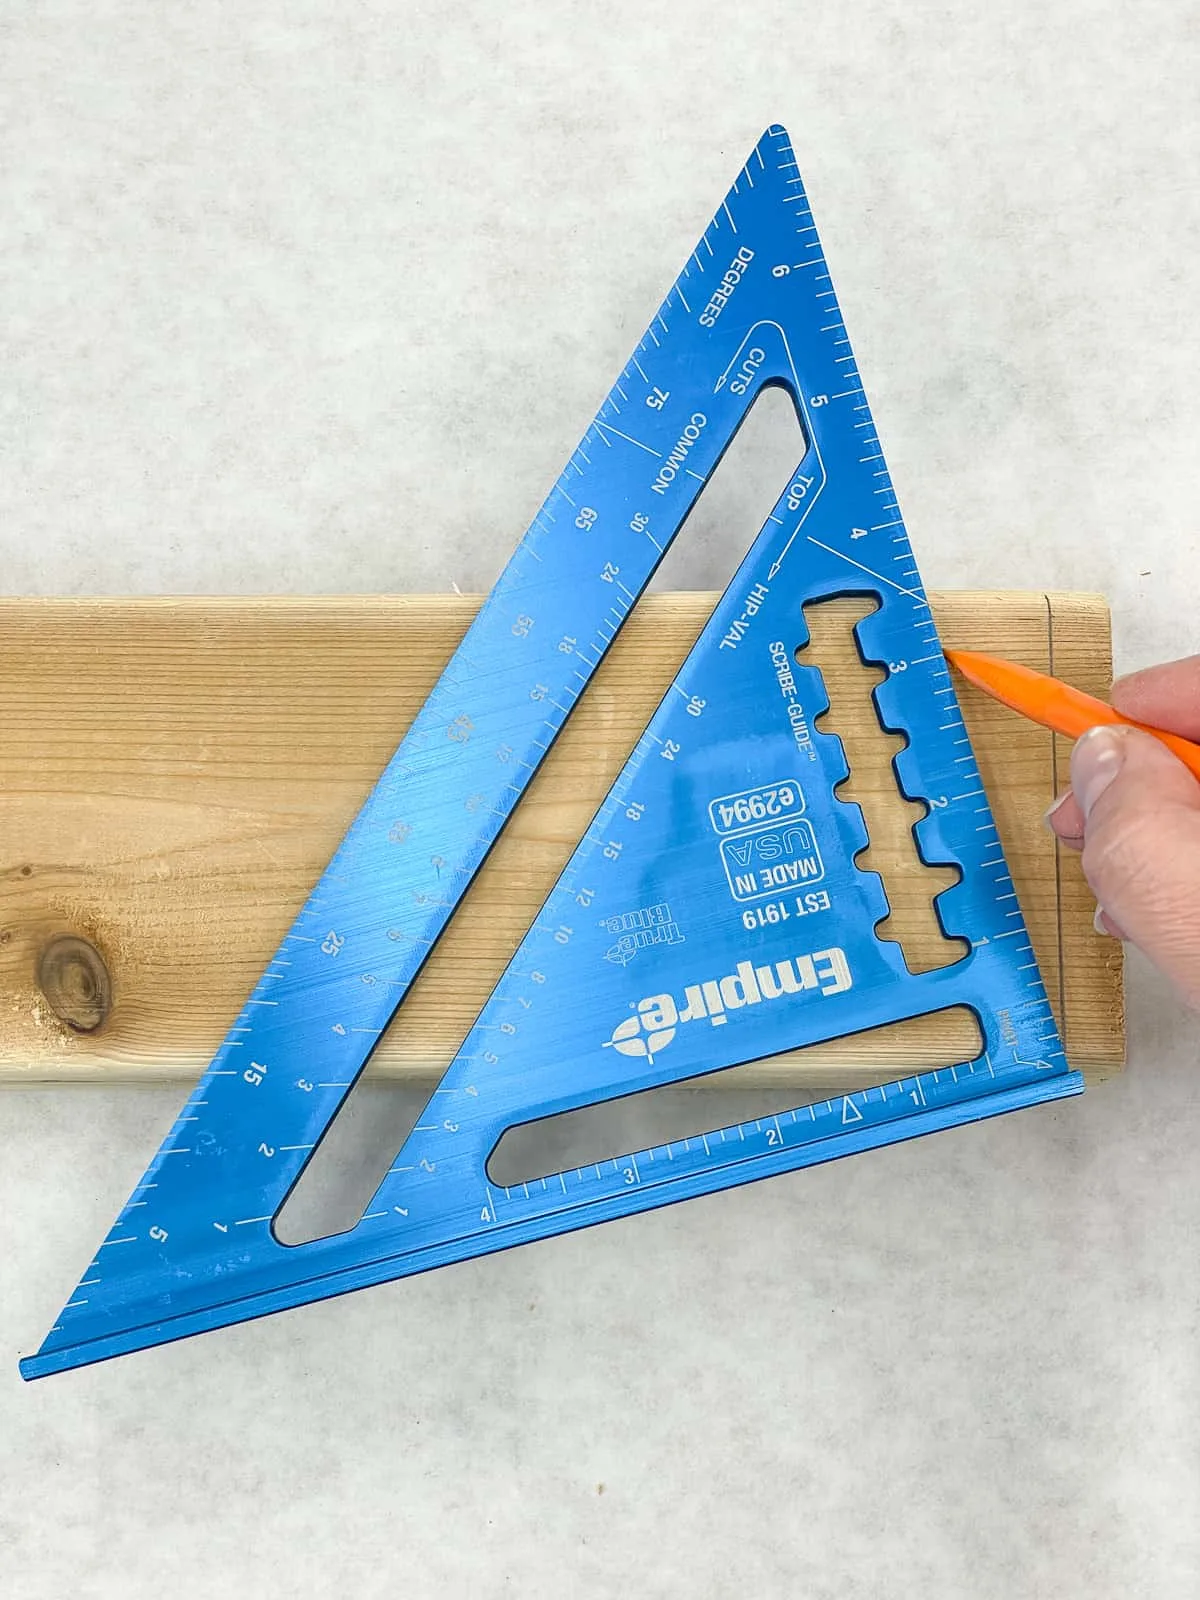
In the example below, I'm marking a 15 degree cut at the bottom of the board for a 2x4 bench. The pivot point is lined up with the end of the 90 degree line, and the speed square is tilted until the edge of the board is lined up with the 15 degree mark.

How to Use a Rafter Square to Find Roof Pitch
If you're trying to build a roof of any kind, whether it is a shed, a house, or a barn, you'll need to mark and cut the appropriate angles to establish the roof pitch.
Pitch refers to the angle of a slope. So, a tall pointy roof (an A-frame, for example) has a high pitch. For a more in-depth look, watch this video about finding the pitch for a roof.
Here's how you use the speed square to find the pitch:
- Grab a small magnetic level (torpedo level). With the level resting on the lip of the speed square, place the lip on the edge of your roof (or any sloped structure).
- Lift the square to level. Lift the speed square until it shows it's perfectly level.
- Look at the "common." On the inside of the speed square, an area is marked "common." These are the common roof pitch angles. Whatever number in the common area lines up with the roof's edge is the rise in inches. So, if the number is 3, your roof has 3 inches of rise for every 12 inches of run.
How to Draw Curves with a Speed Square
So this triangular tool, which is called a square (even though it's not a square shape), can draw circles too? Yup!
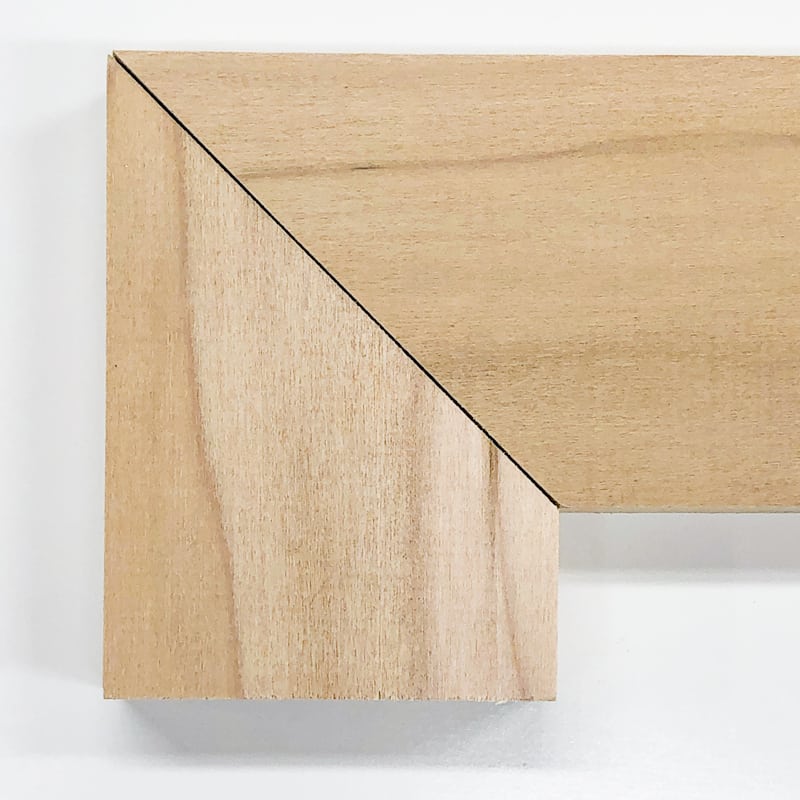
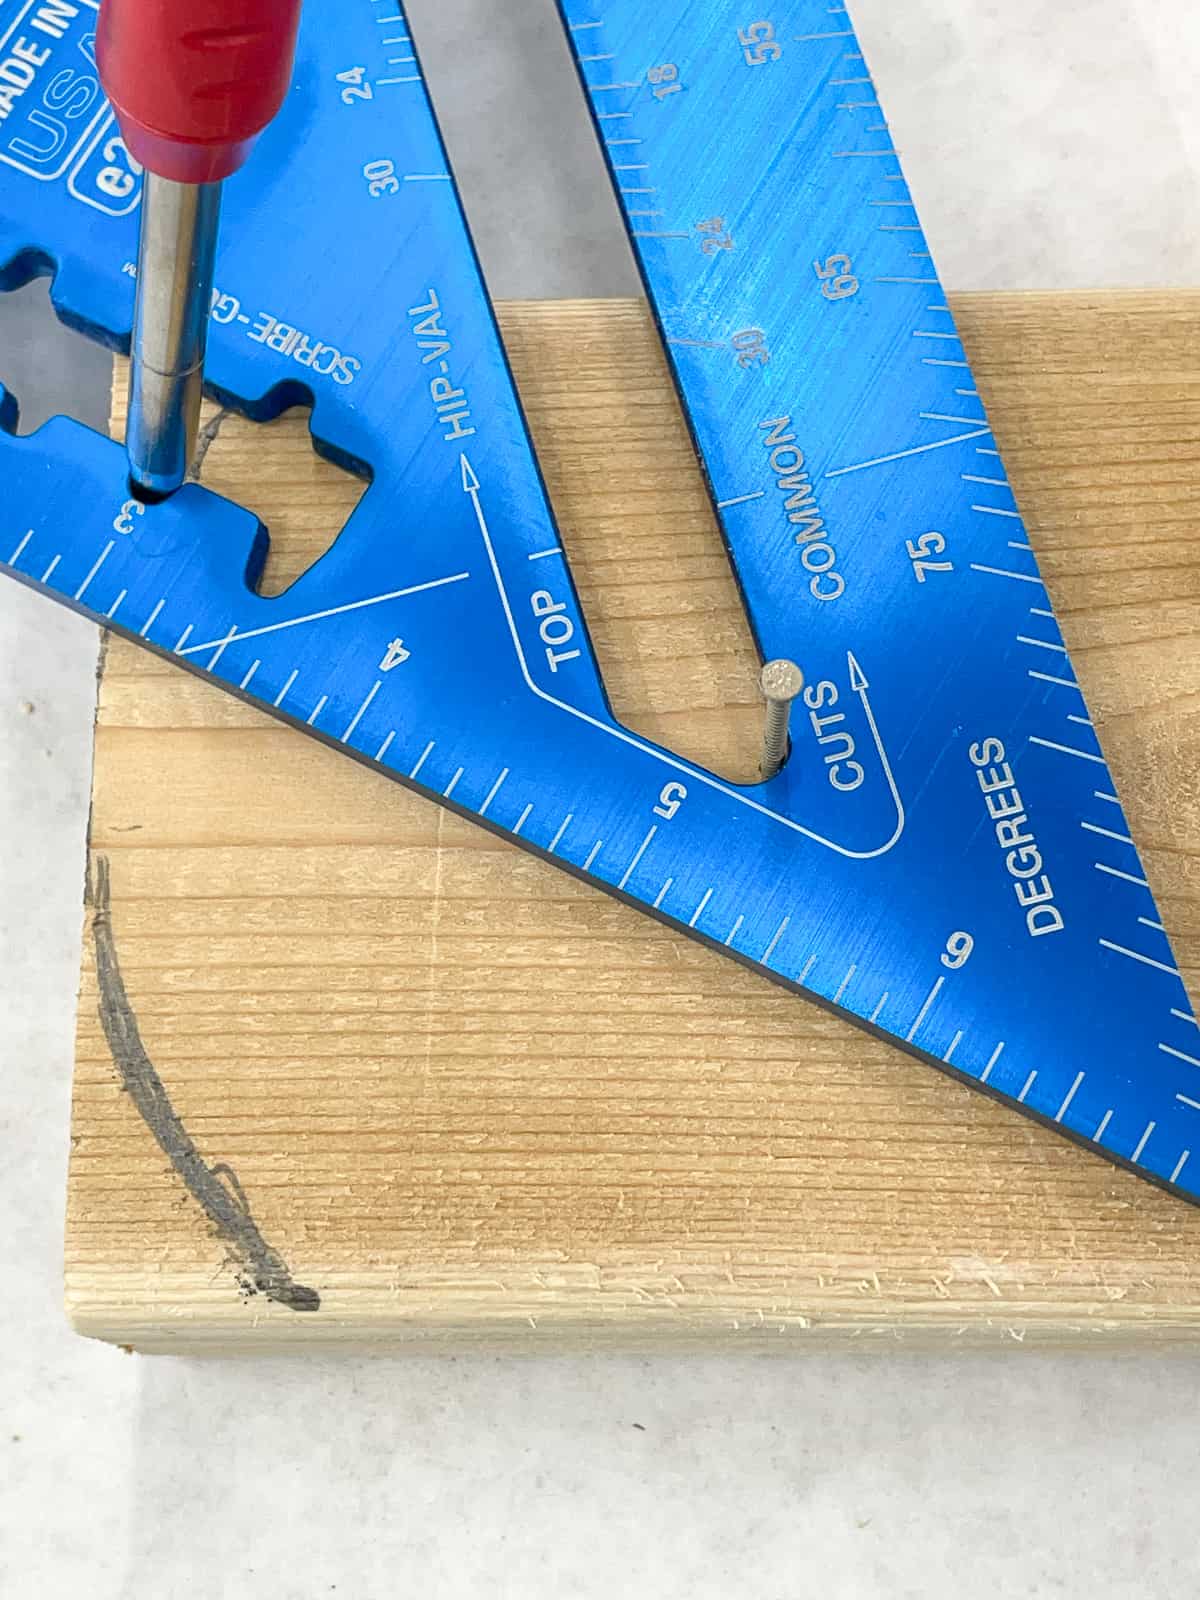
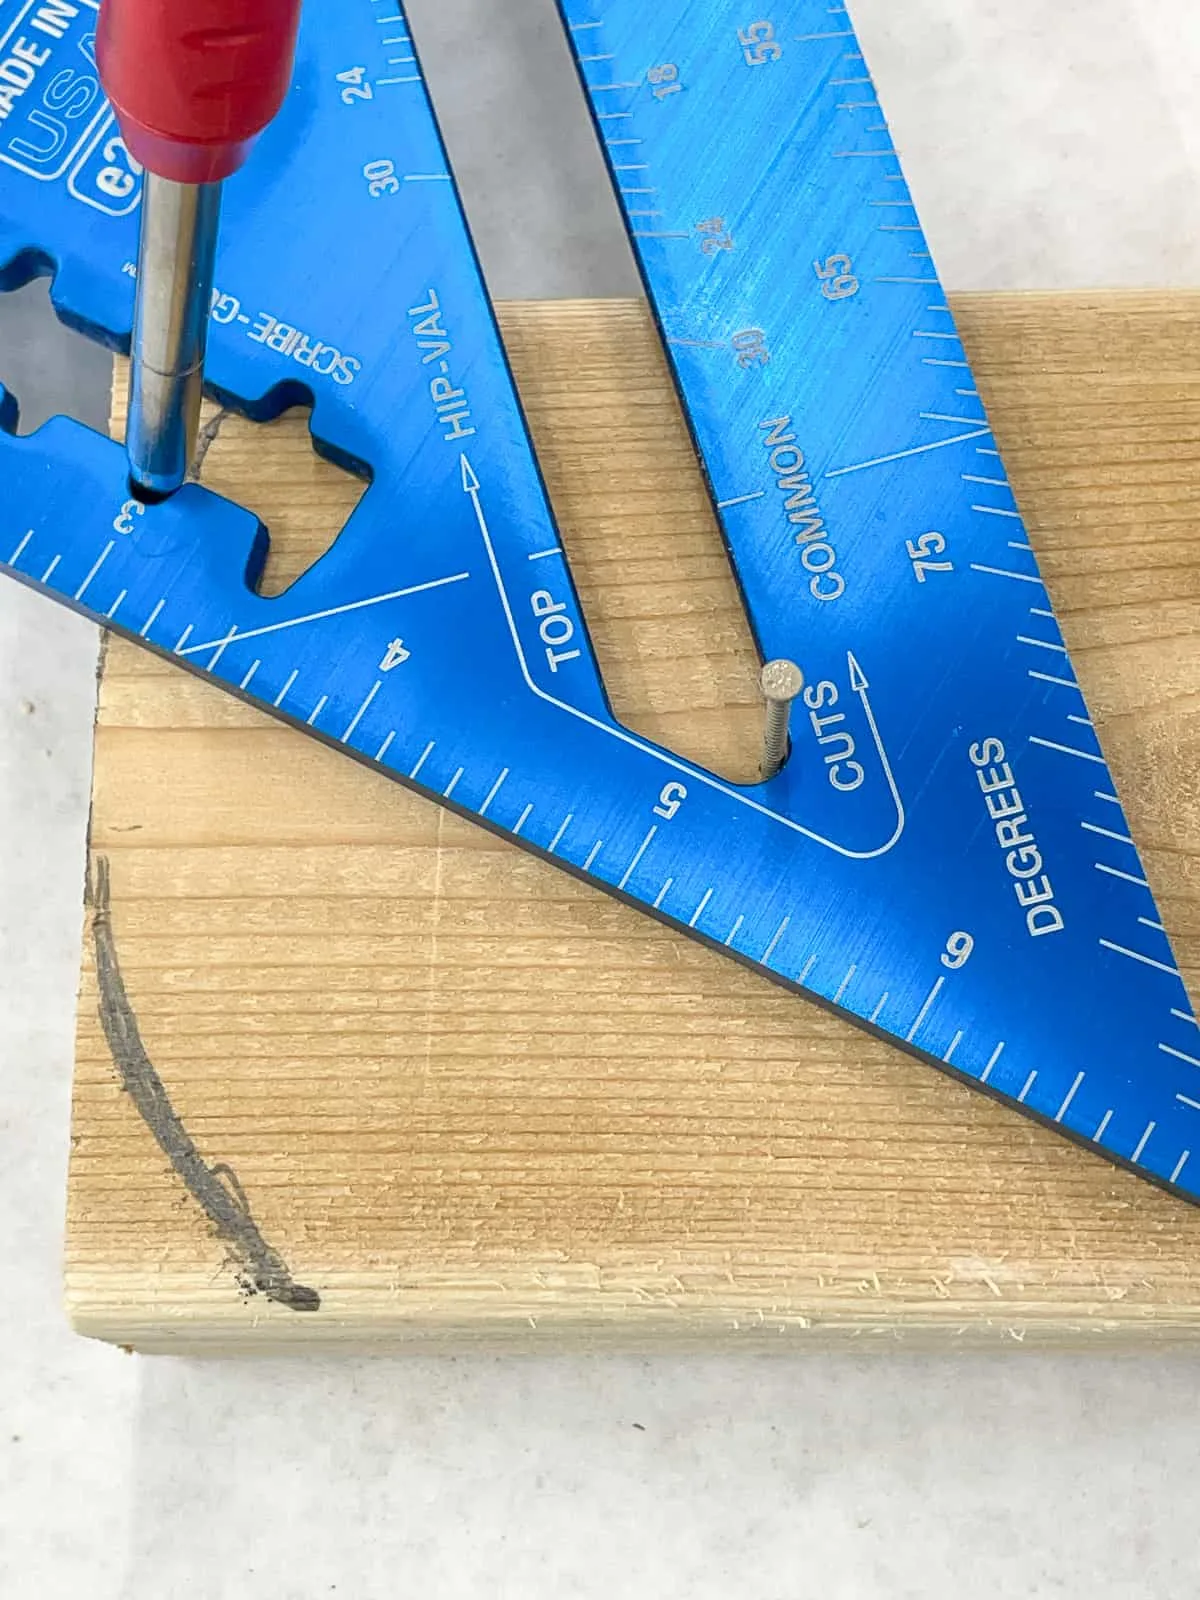
In this example, I needed to cut curves on the ends of these cornhole board legs so they can pivot in the corner of the frame. This will allow the legs to collapse for easier storage.
Hammer a small nail into the center of the circle, and place a pencil in the appropriate scribe notch. Rotate the speed square on the nail to draw a curved line!
I hope this article taught you something new about how to use a speed square! It's more versatile than you might think!
Check out these other woodworking tutorials!
Ralph
Sunday 22nd of May 2022
Helpful