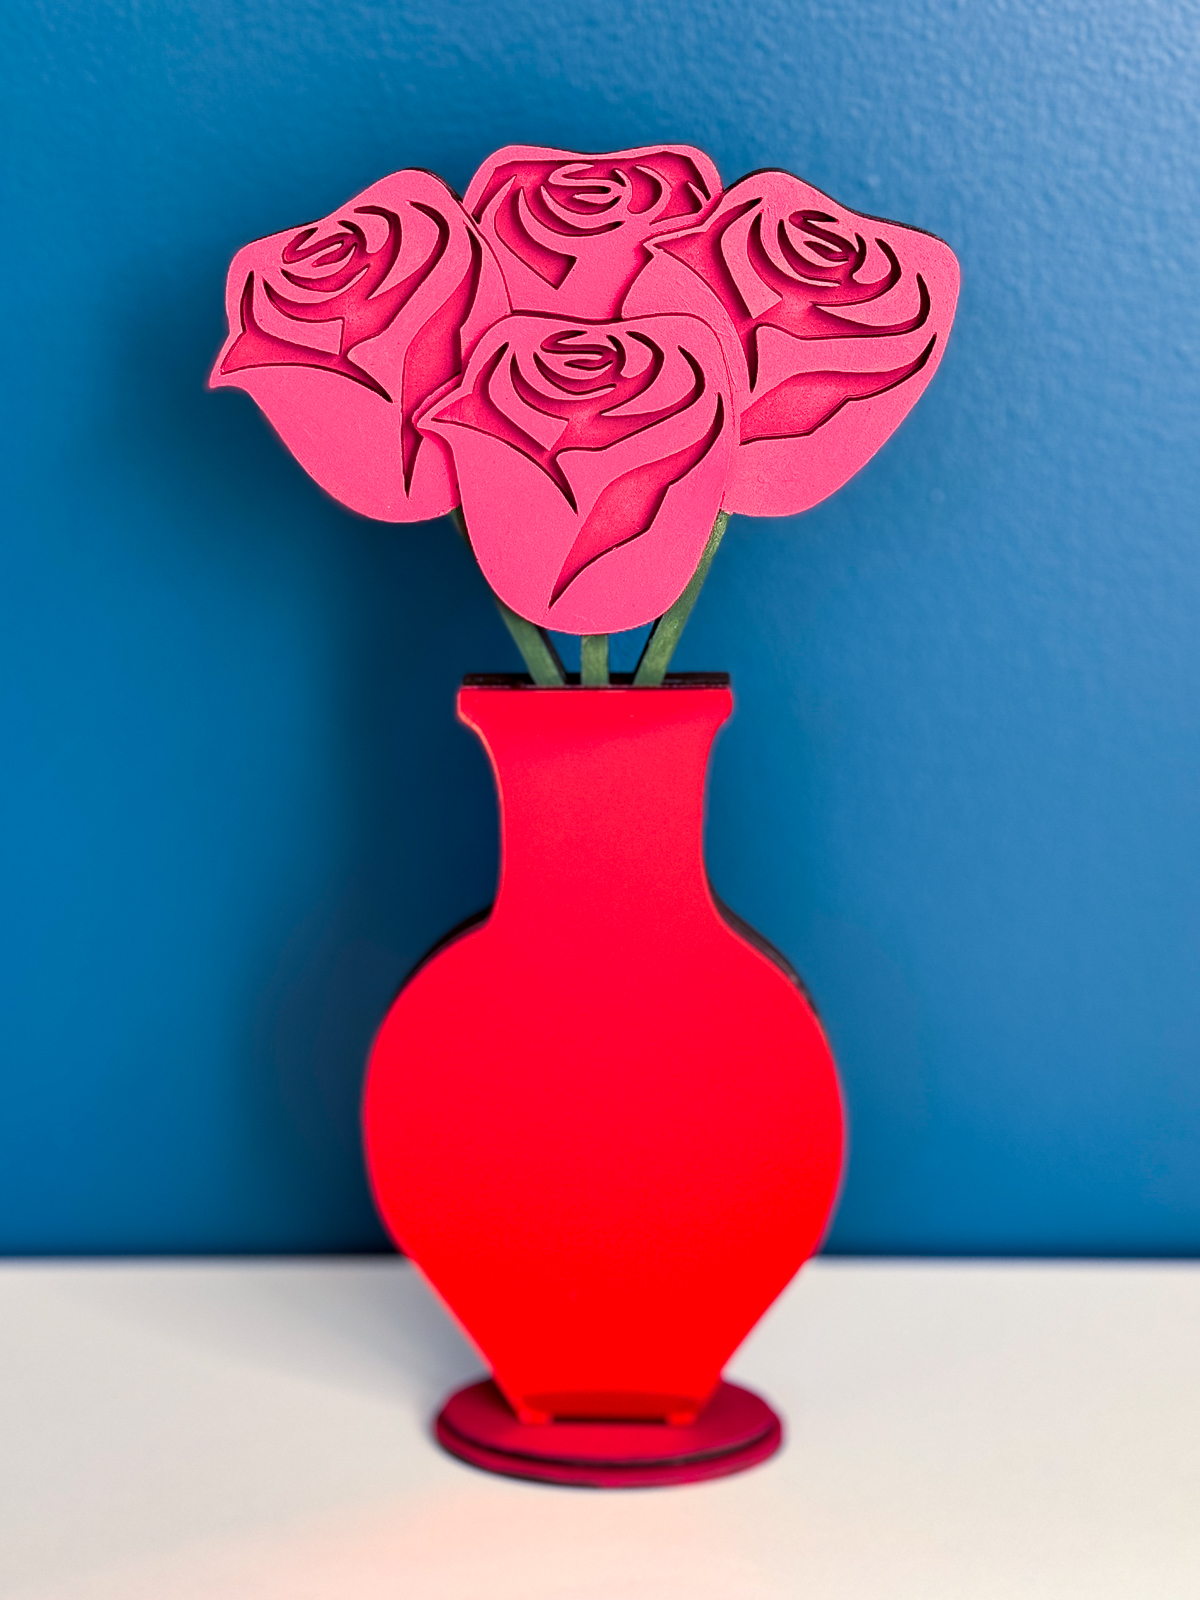
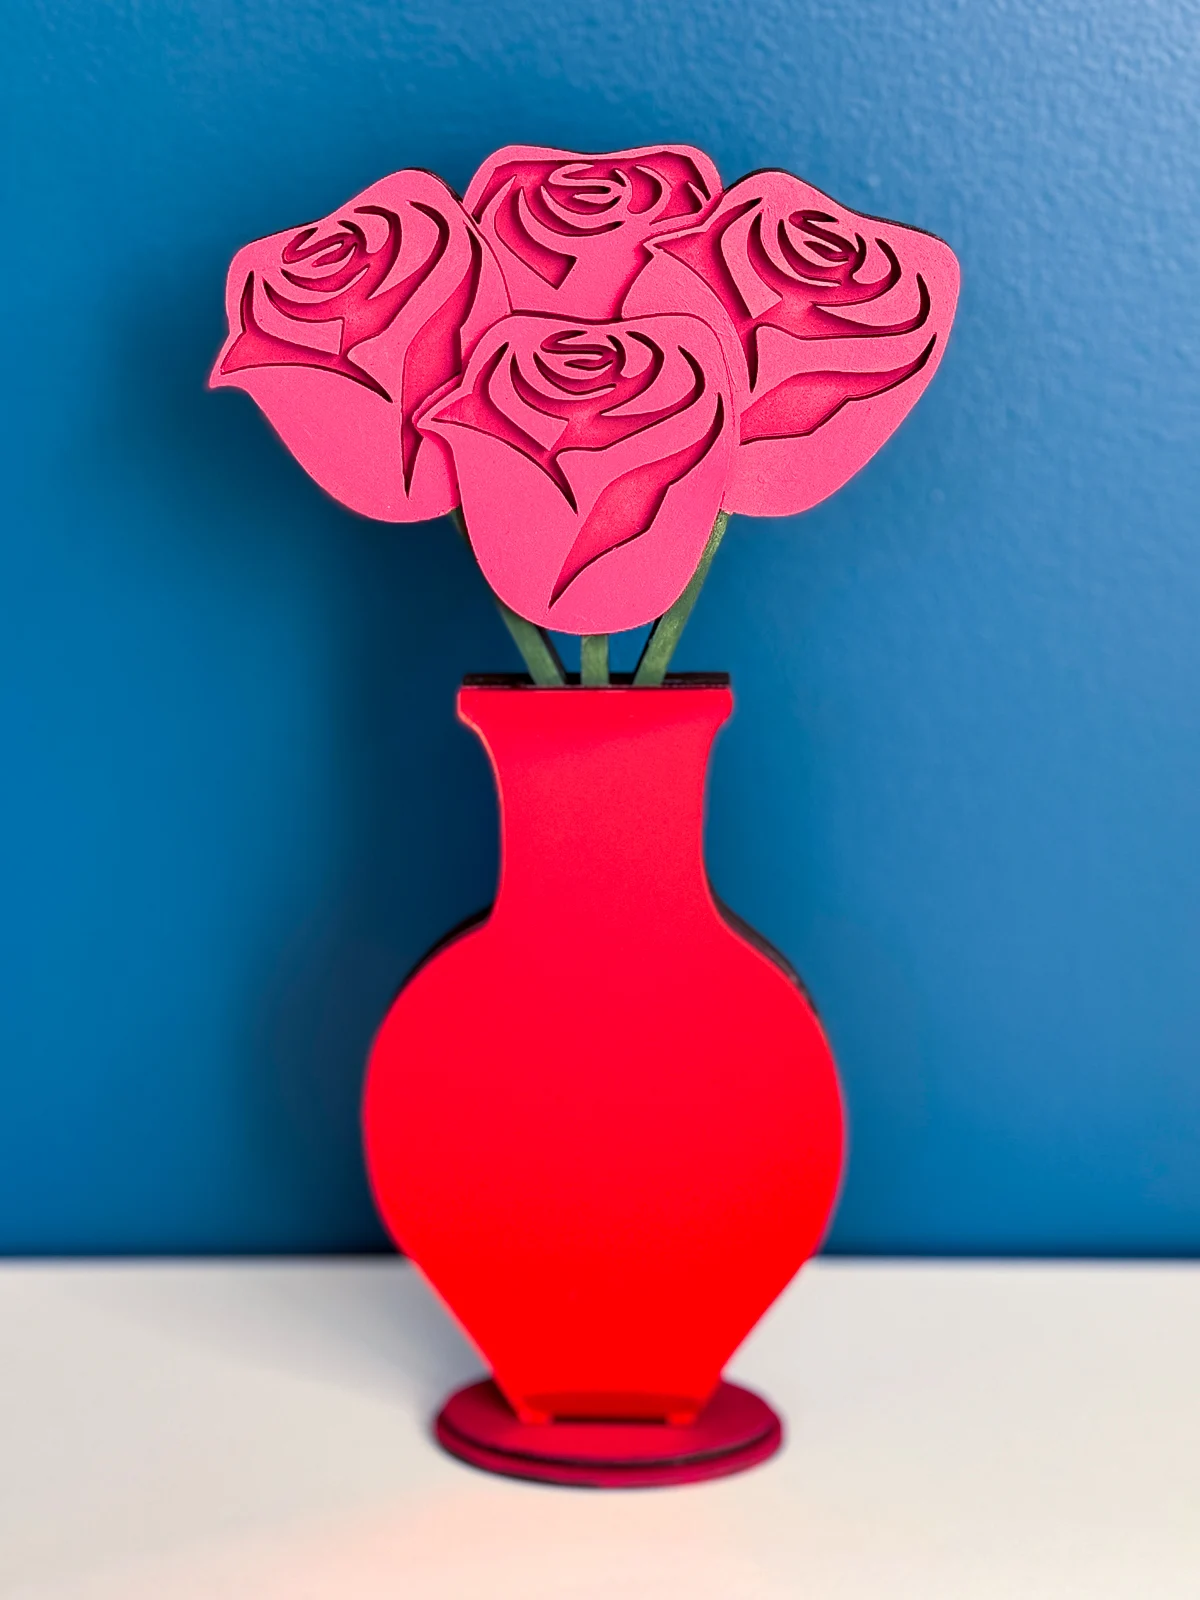
Create an everlasting wood rose bouquet with a laser! This tutorial shows you how to laser cut a bouquet to impress your special someone.
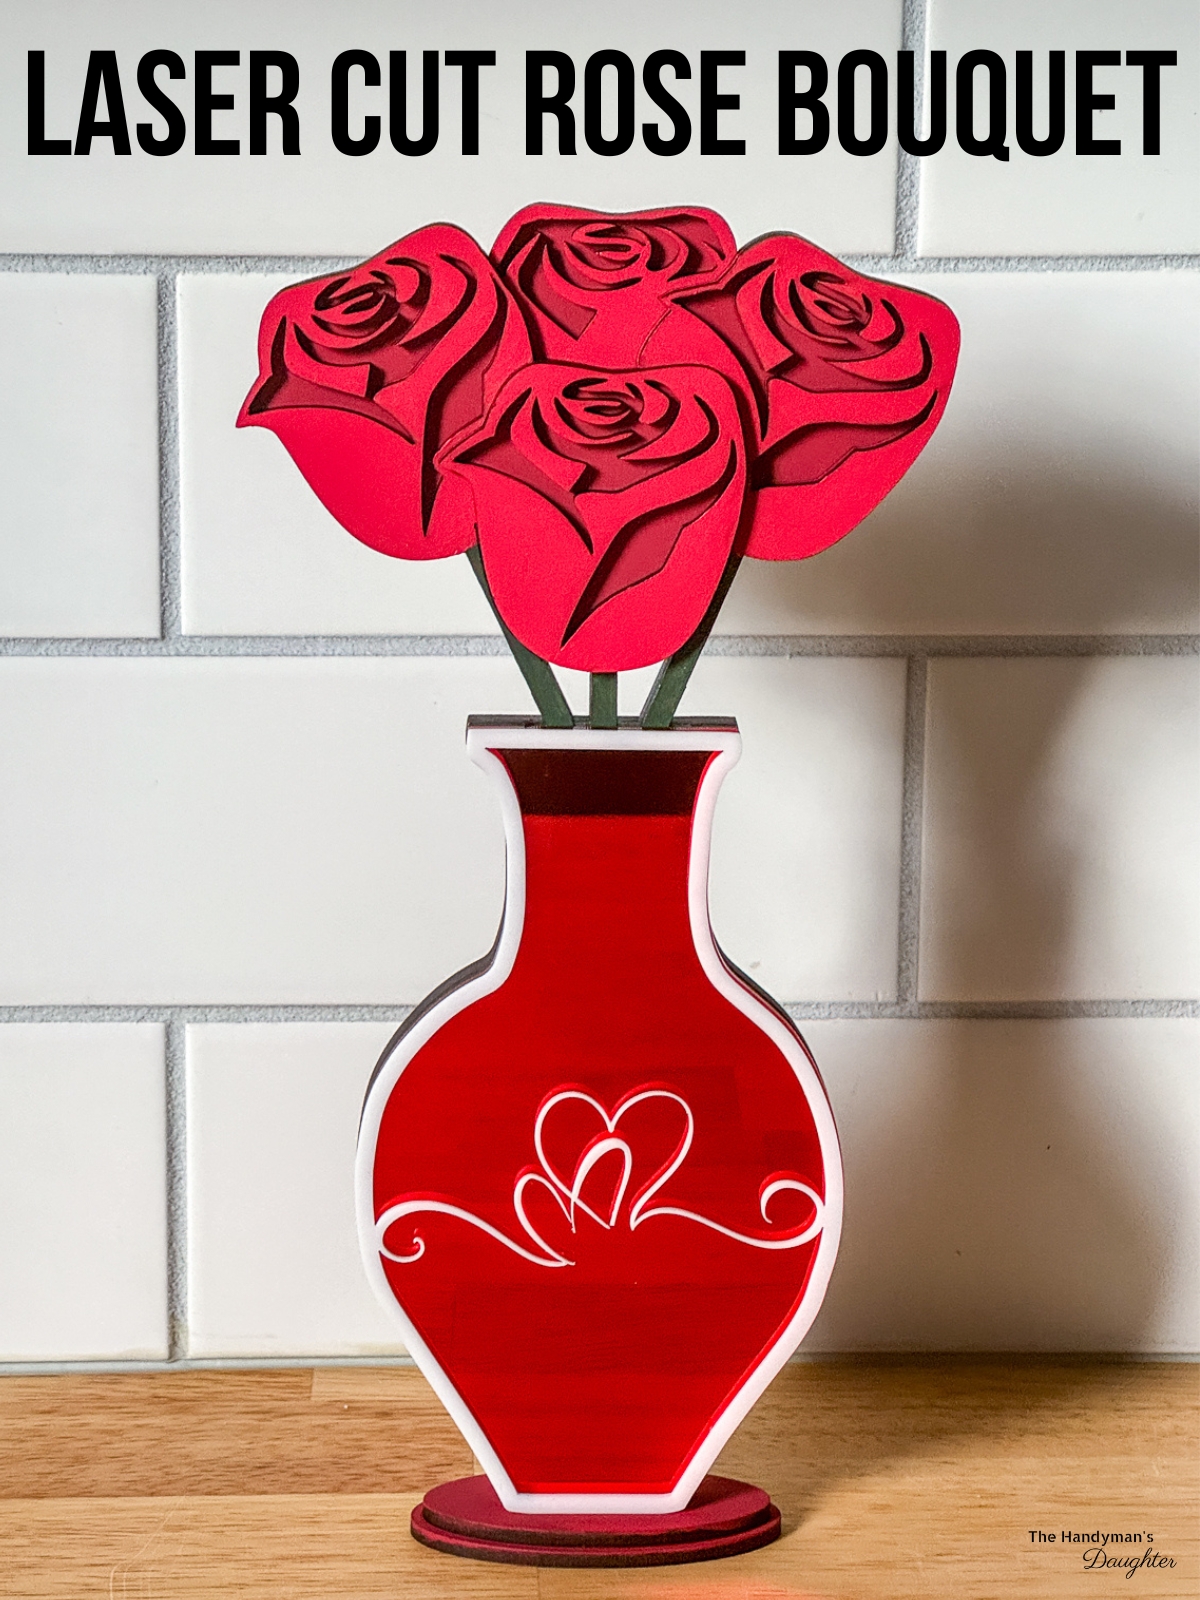

Ditch the wilting roses for Valentine's Day this year! Instead, surprise someone special with a stunning laser cut rose bouquet that will last a lifetime.
This fun laser project can be cut, painted and assembled in about an hour, making it the perfect last minute gift idea.
Here's how to make it!
Don't have a laser, or looking to upgrade? Use the code VINETA100 for $100 off an xTool laser! Click here to check them out!
This post contains affiliate links for your convenience. Purchases made through these links may earn me a small commission at no additional cost to you. Please visit my disclosures page for more information.
Tools and Materials
- CO2 laser such as the xTool P2
- You could also use a diode laser like the xTool M1, but you can't cut mirrored or white acrylic. Learn more about the difference between diode and CO2 lasers here!
- ⅛" MDF or plywood
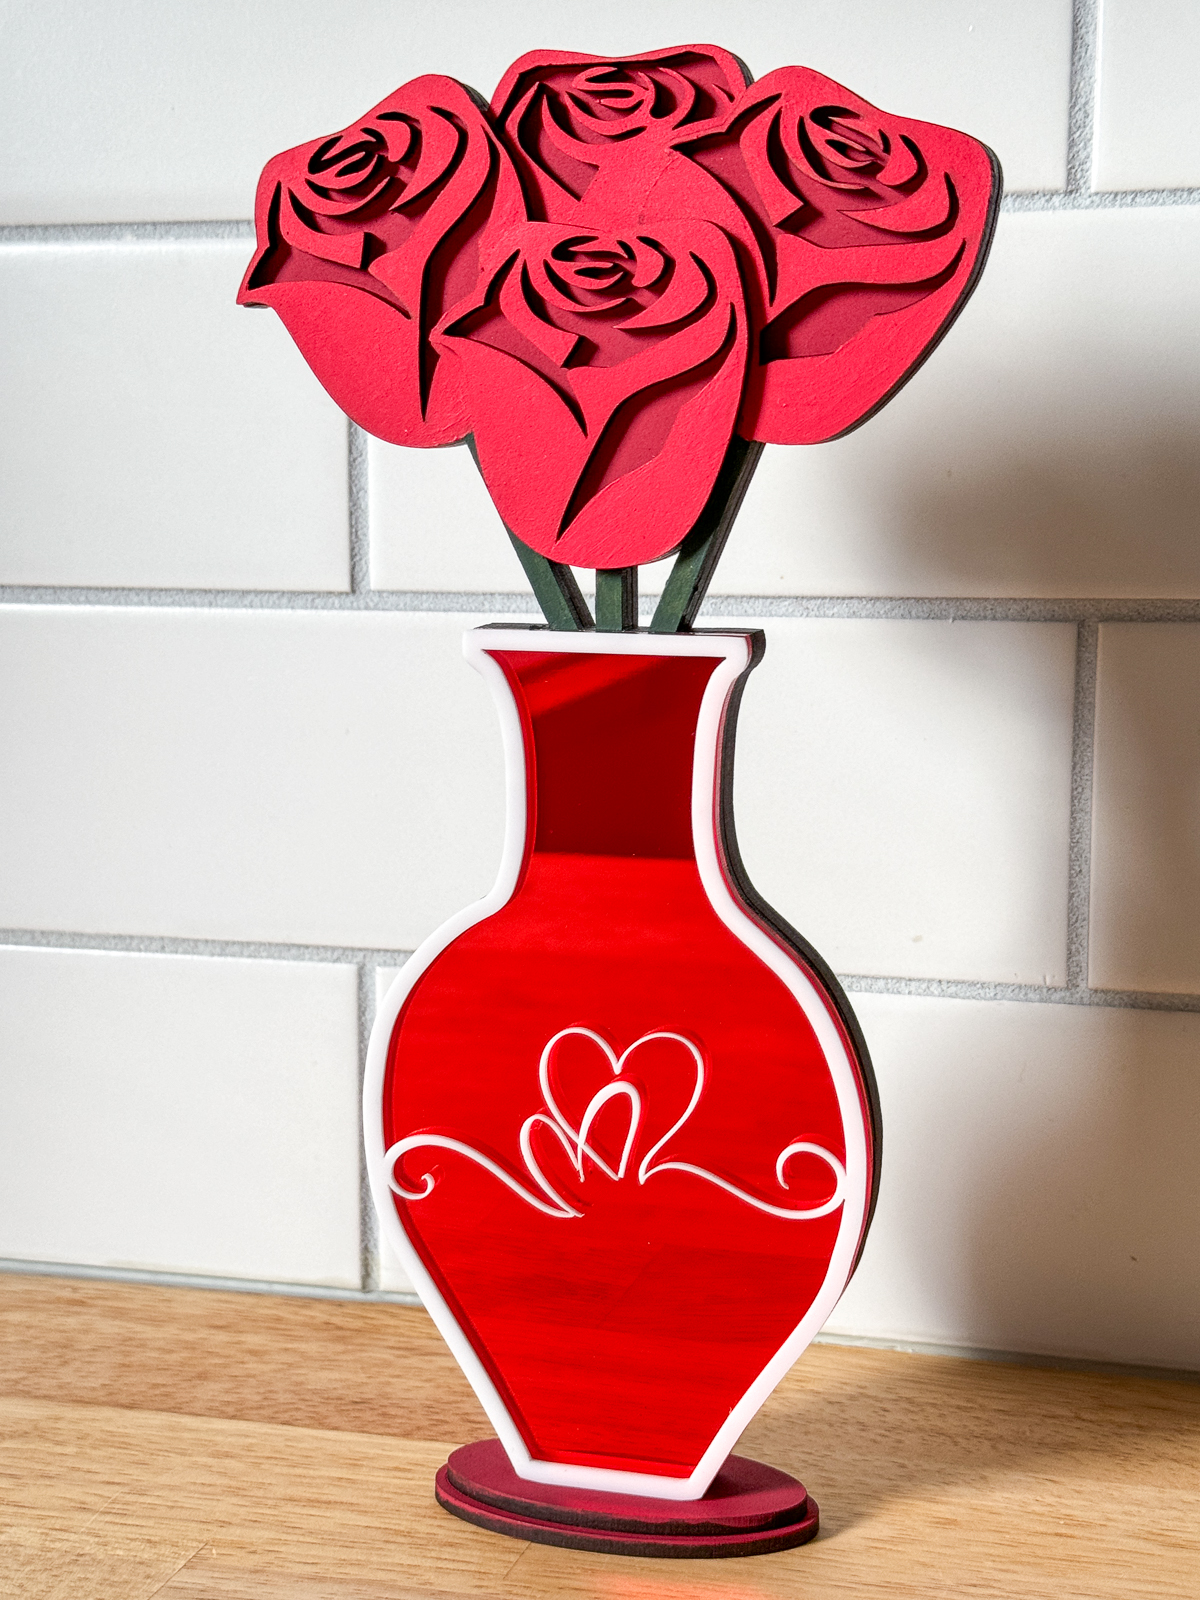
- ⅛" red mirrored acrylic for the vase
- 1/16" or 1/25" white acrylic for the vase decoration (optional)
- Two different shades of red acrylic paint
- Dark green acrylic paint
- Small paint brushes
- CA glue
Create the cut file
I started off with this file I bought from a seller on Etsy, but modified a few things. I used Adobe Illustrator to remove the leaves, and created a separate piece to outline the front of the vase.
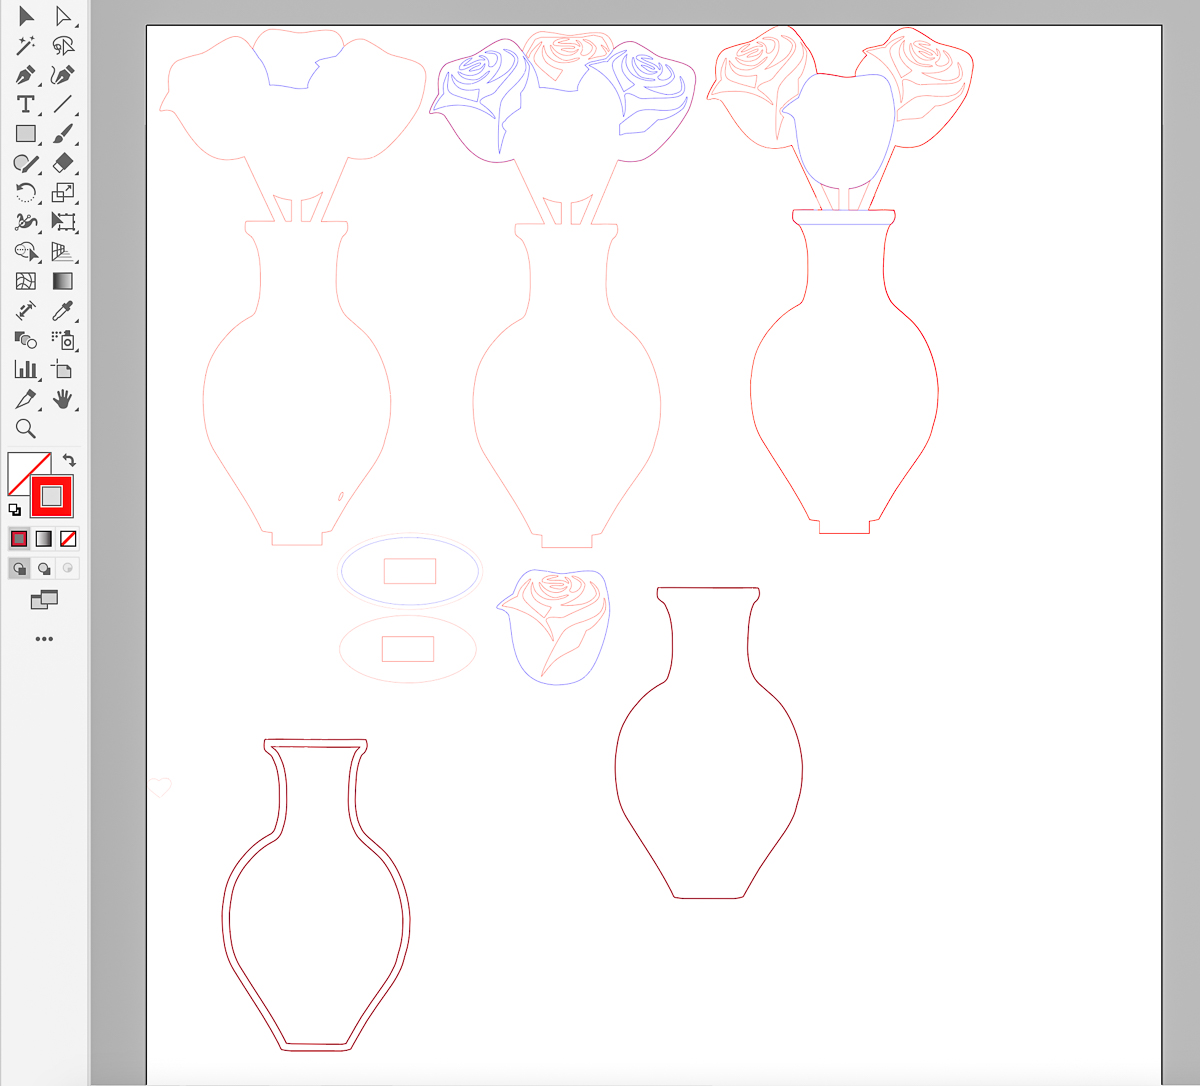
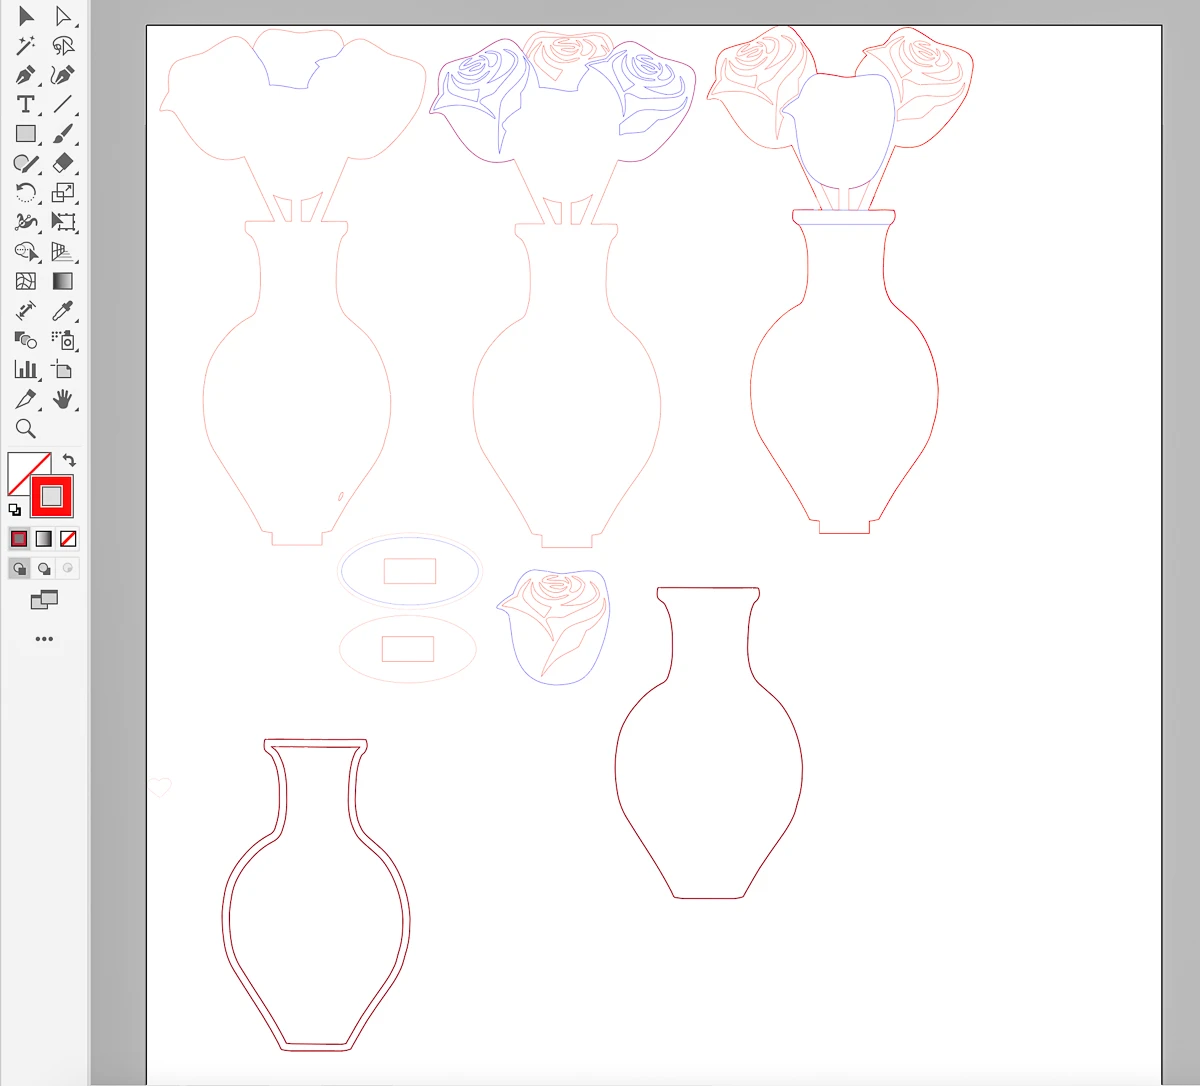
Then I imported everything into xTool Creative Space, and sorted the different elements based on the material to be cut. You can see those tabs at the bottom of the screen.
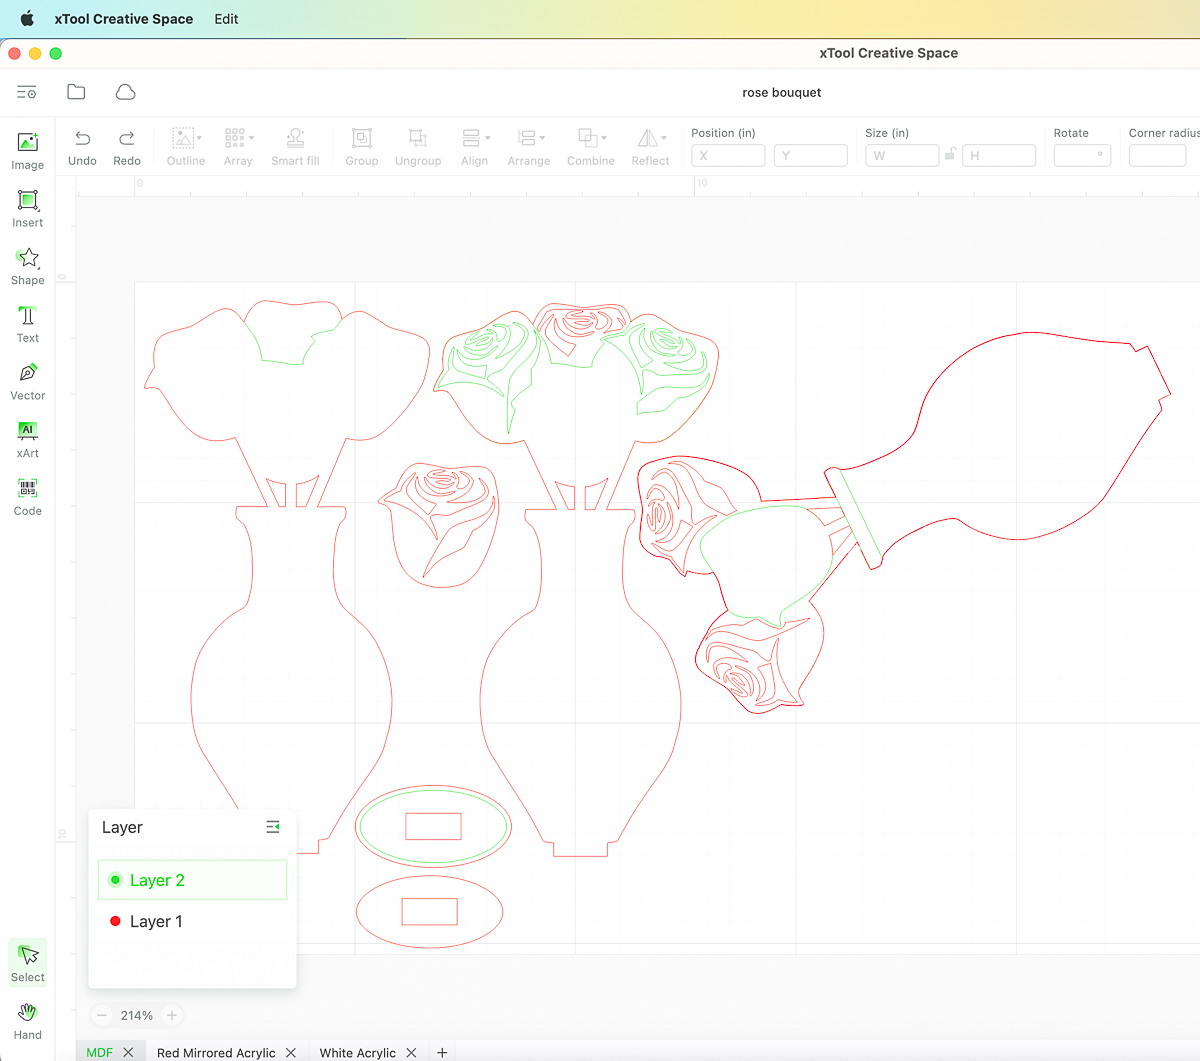
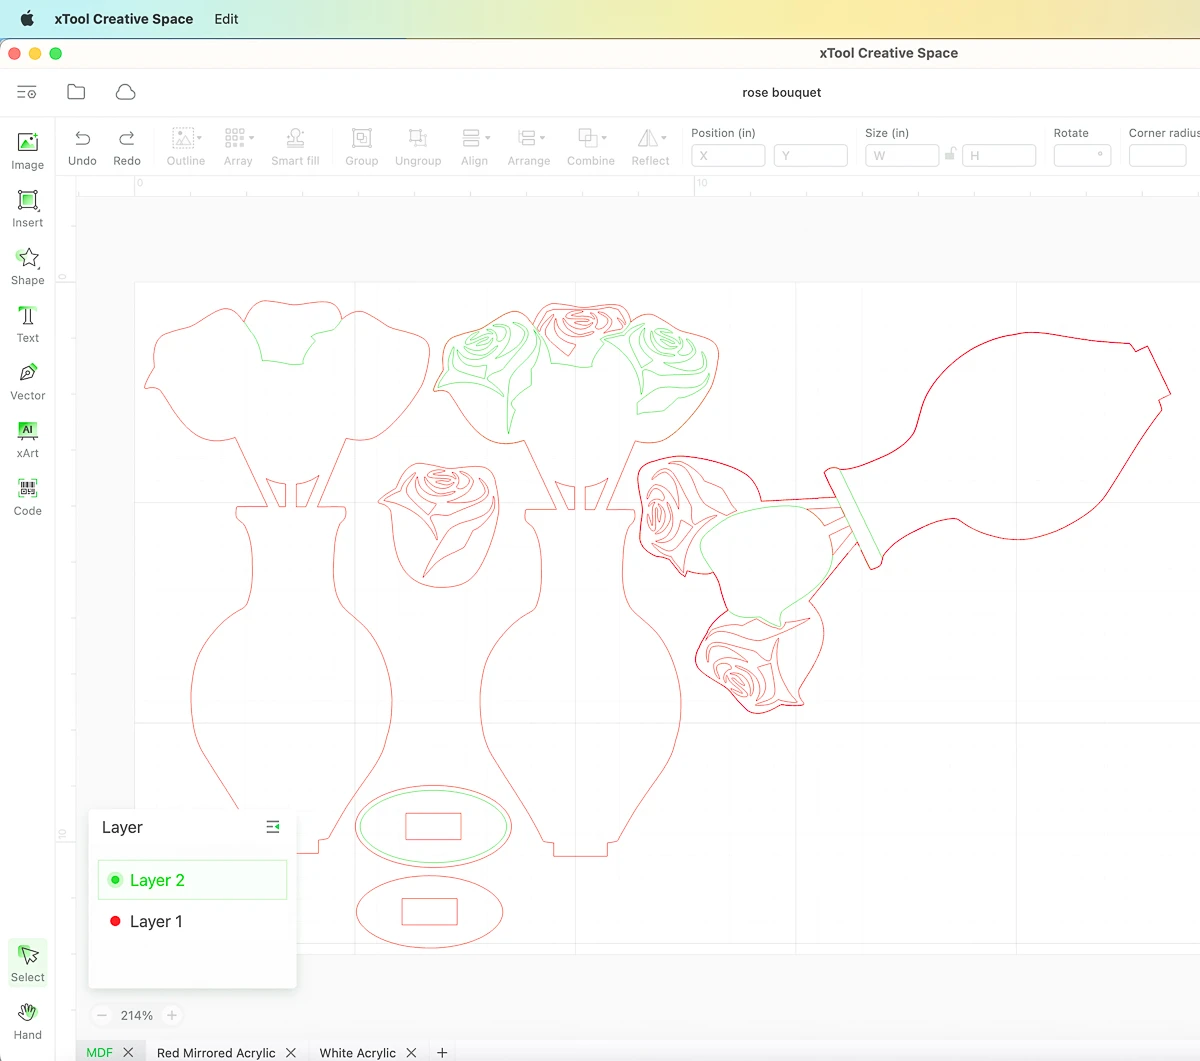
I also changed the score lines to green, and everything to be cut in red. I had run a test grid for this material previously, so I had to tilt one of the vases sideways to get it to fit on the board.
Now we're ready to cut!
Cut the parts with the laser
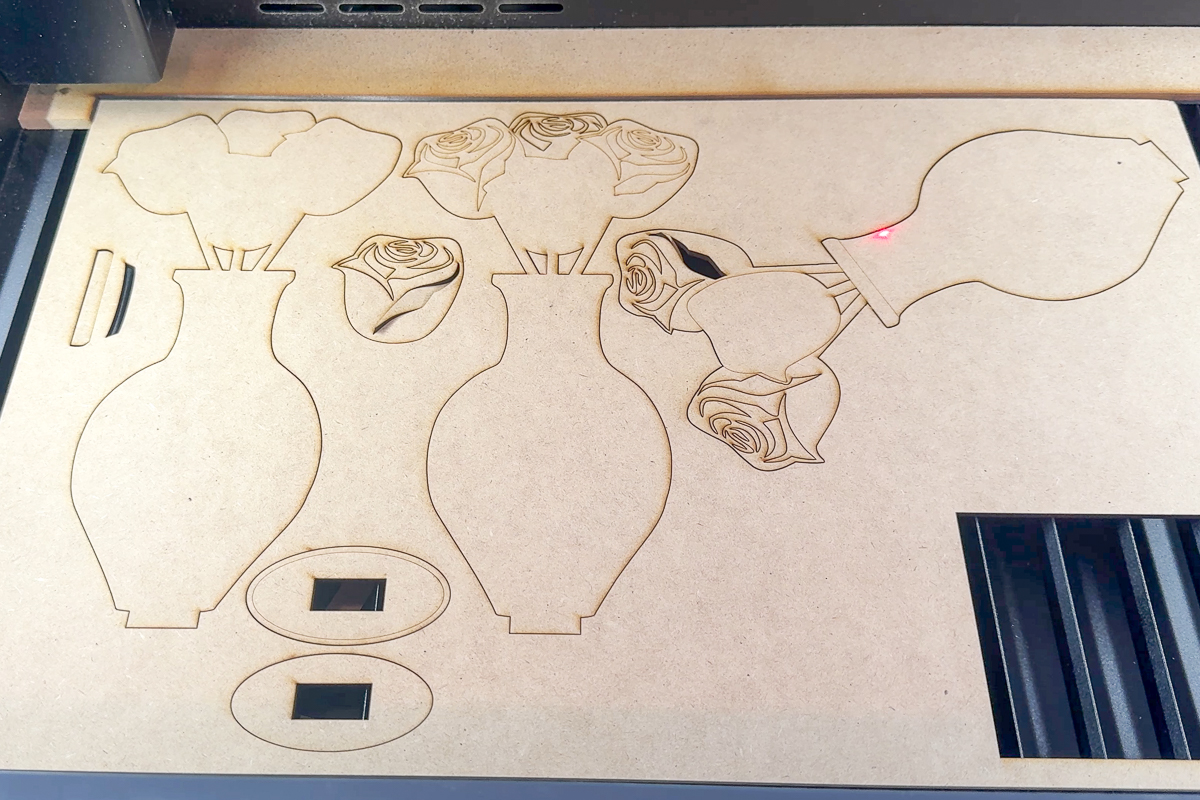
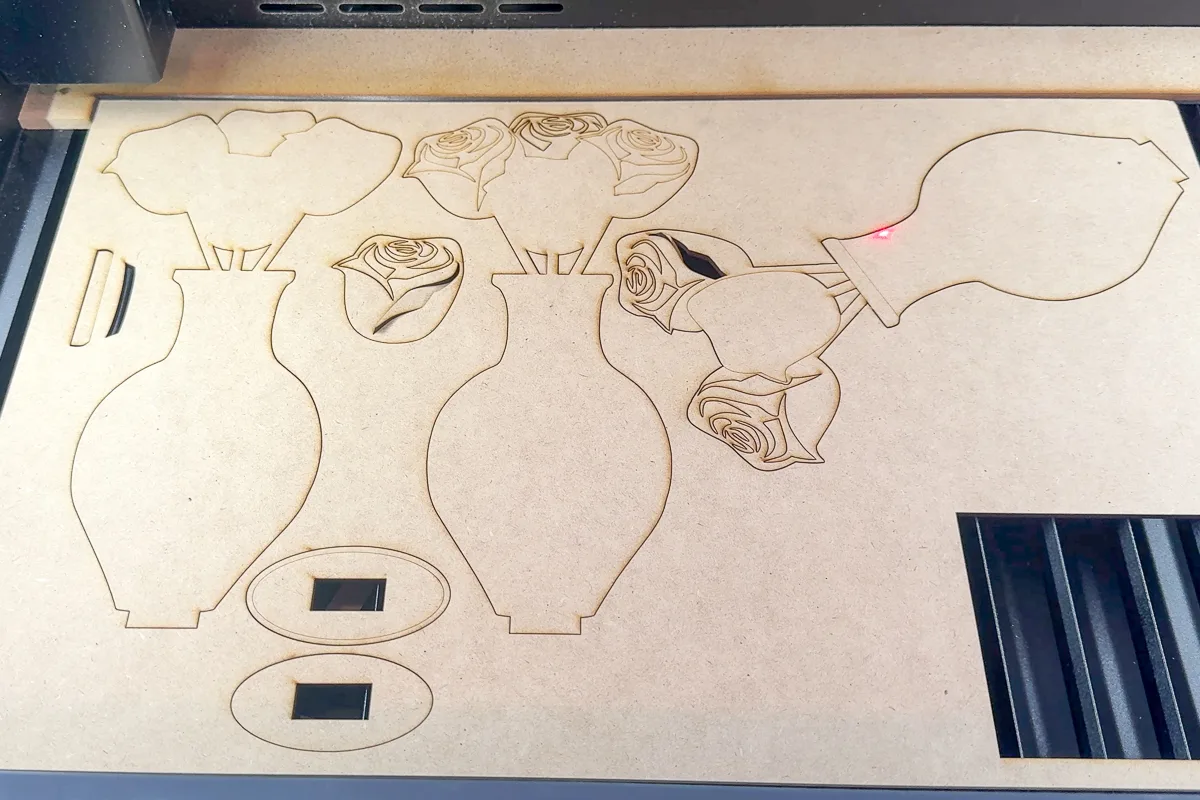
First, I cut the MDF pieces on my xTool P2. This part could also be done with a diode laser like the xTool M1.
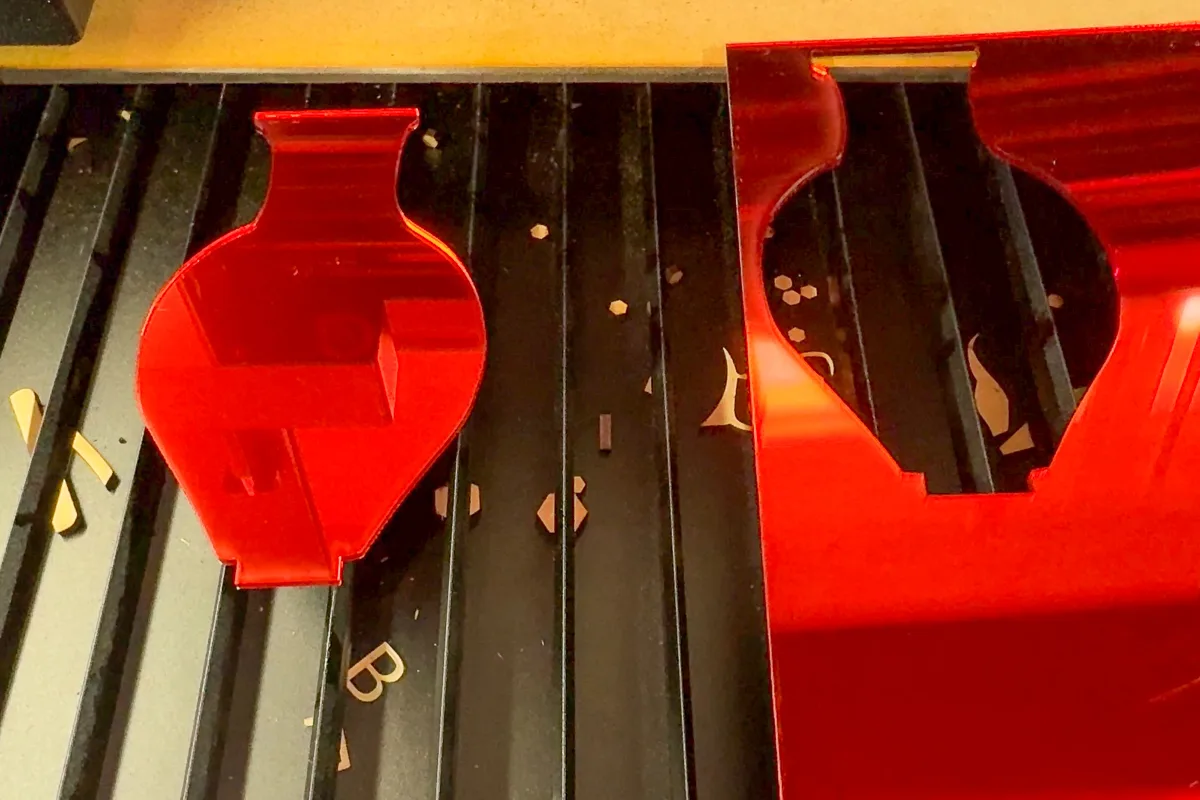
Then I cut the red mirrored acrylic vase. You could cut this out of MDF or solid red acrylic on a diode laser.

The white acrylic layer came later, after I already assembled the vase and roses. It was a last minute change to add a little definition to the shiny red acrylic vase.
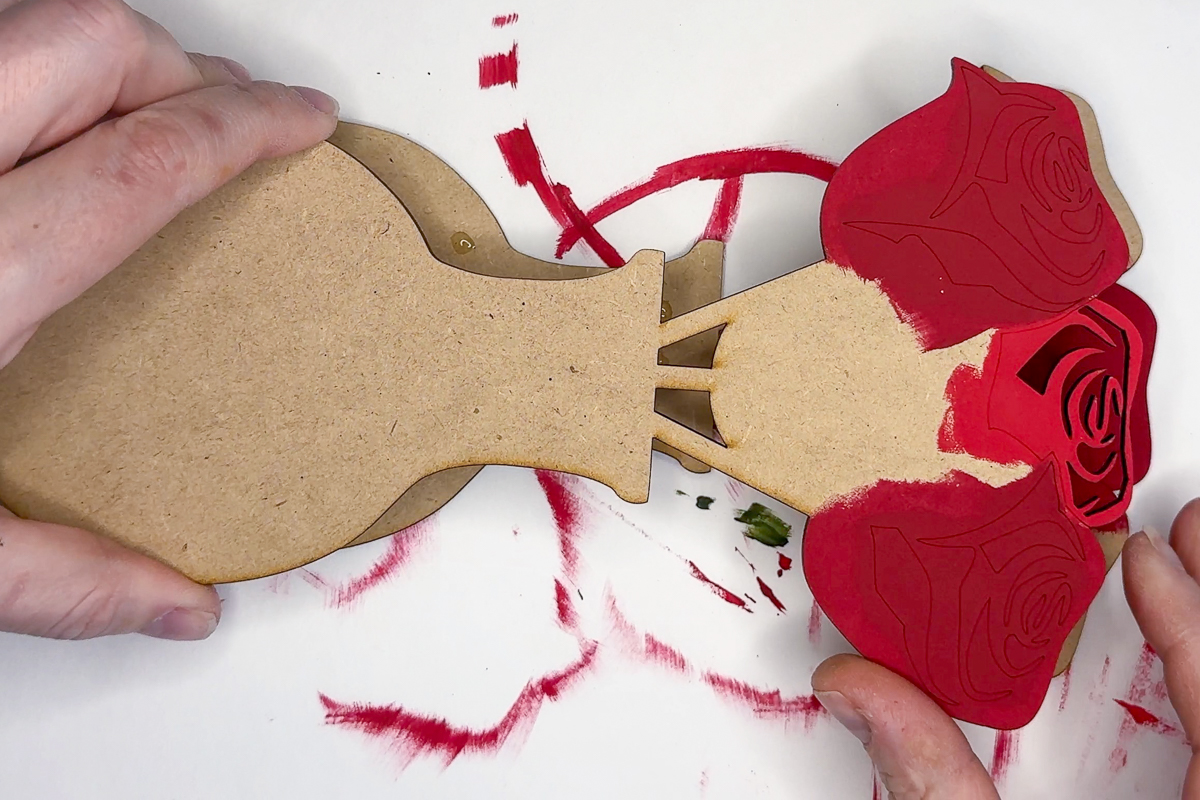
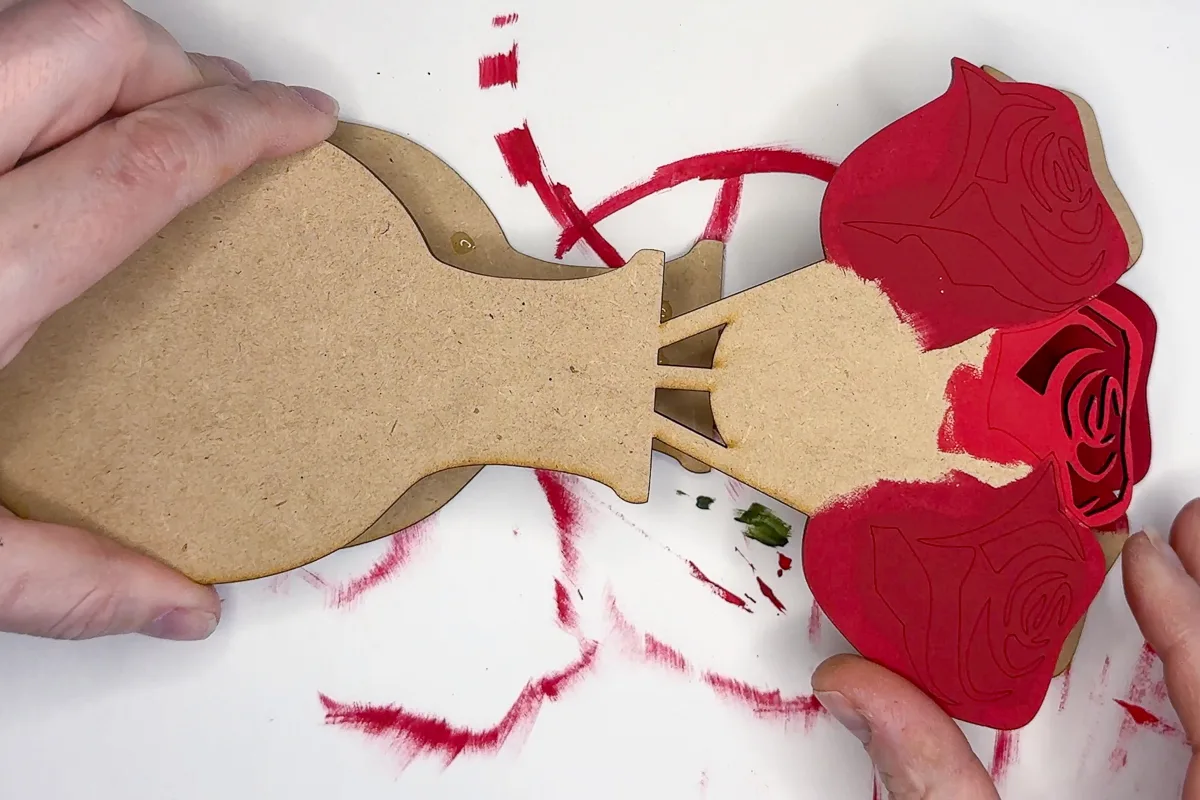
Paint the MDF layers
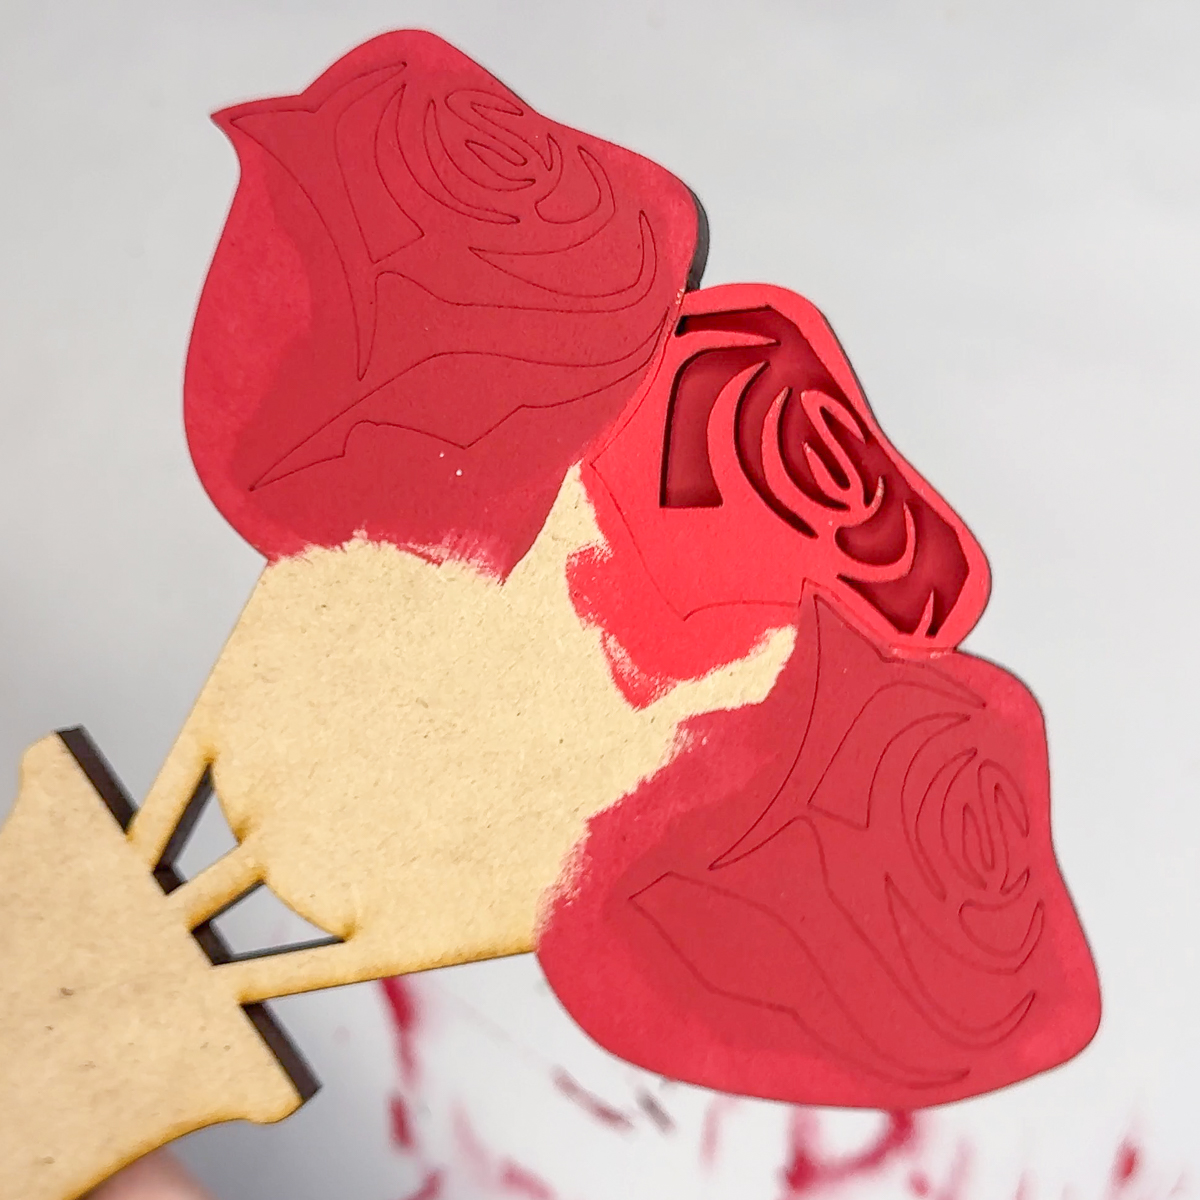
It took a minute to work out which parts needed which paint color. I wanted a darker red to show through the cutouts to give it depth. Anywhere where there's score marks, that's where the dark red will go. It doesn't have to be perfect, since it will be mostly covered up anyway!
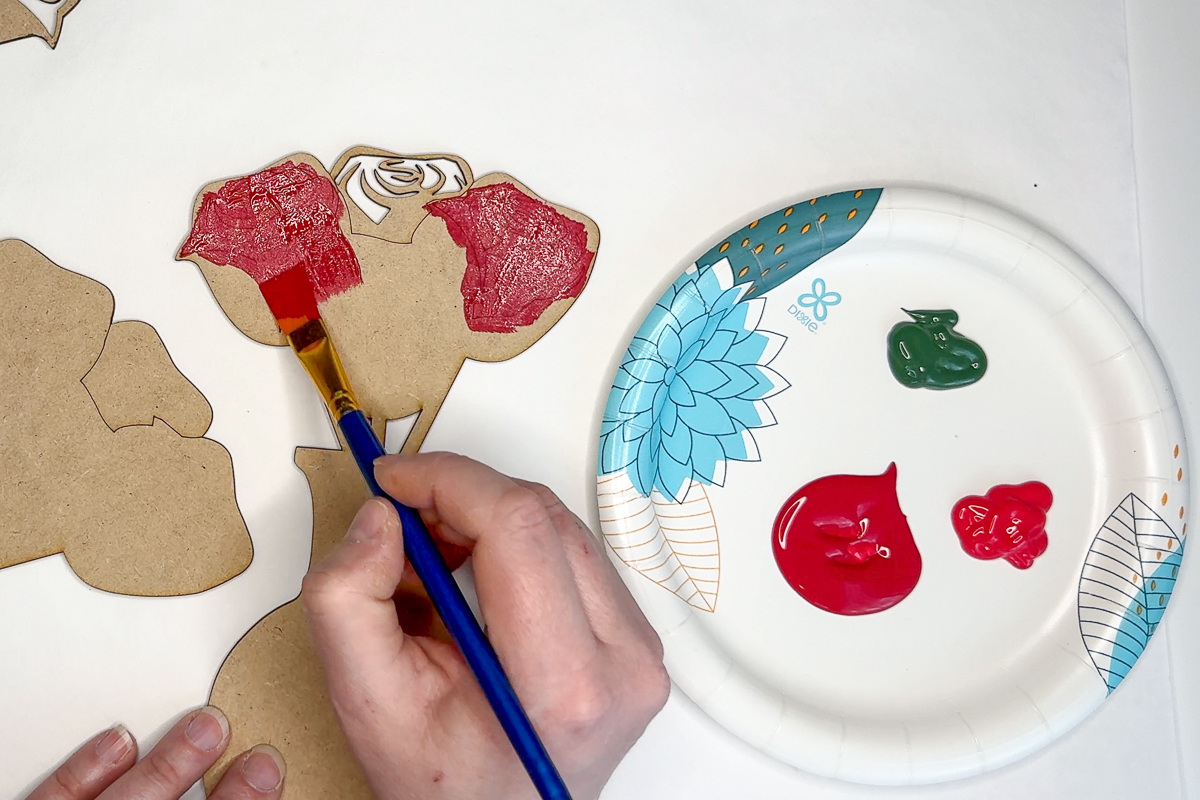

While that dried, I worked on the stems. You only need to paint the top layer, since the stems on the lower layers won't be visible.

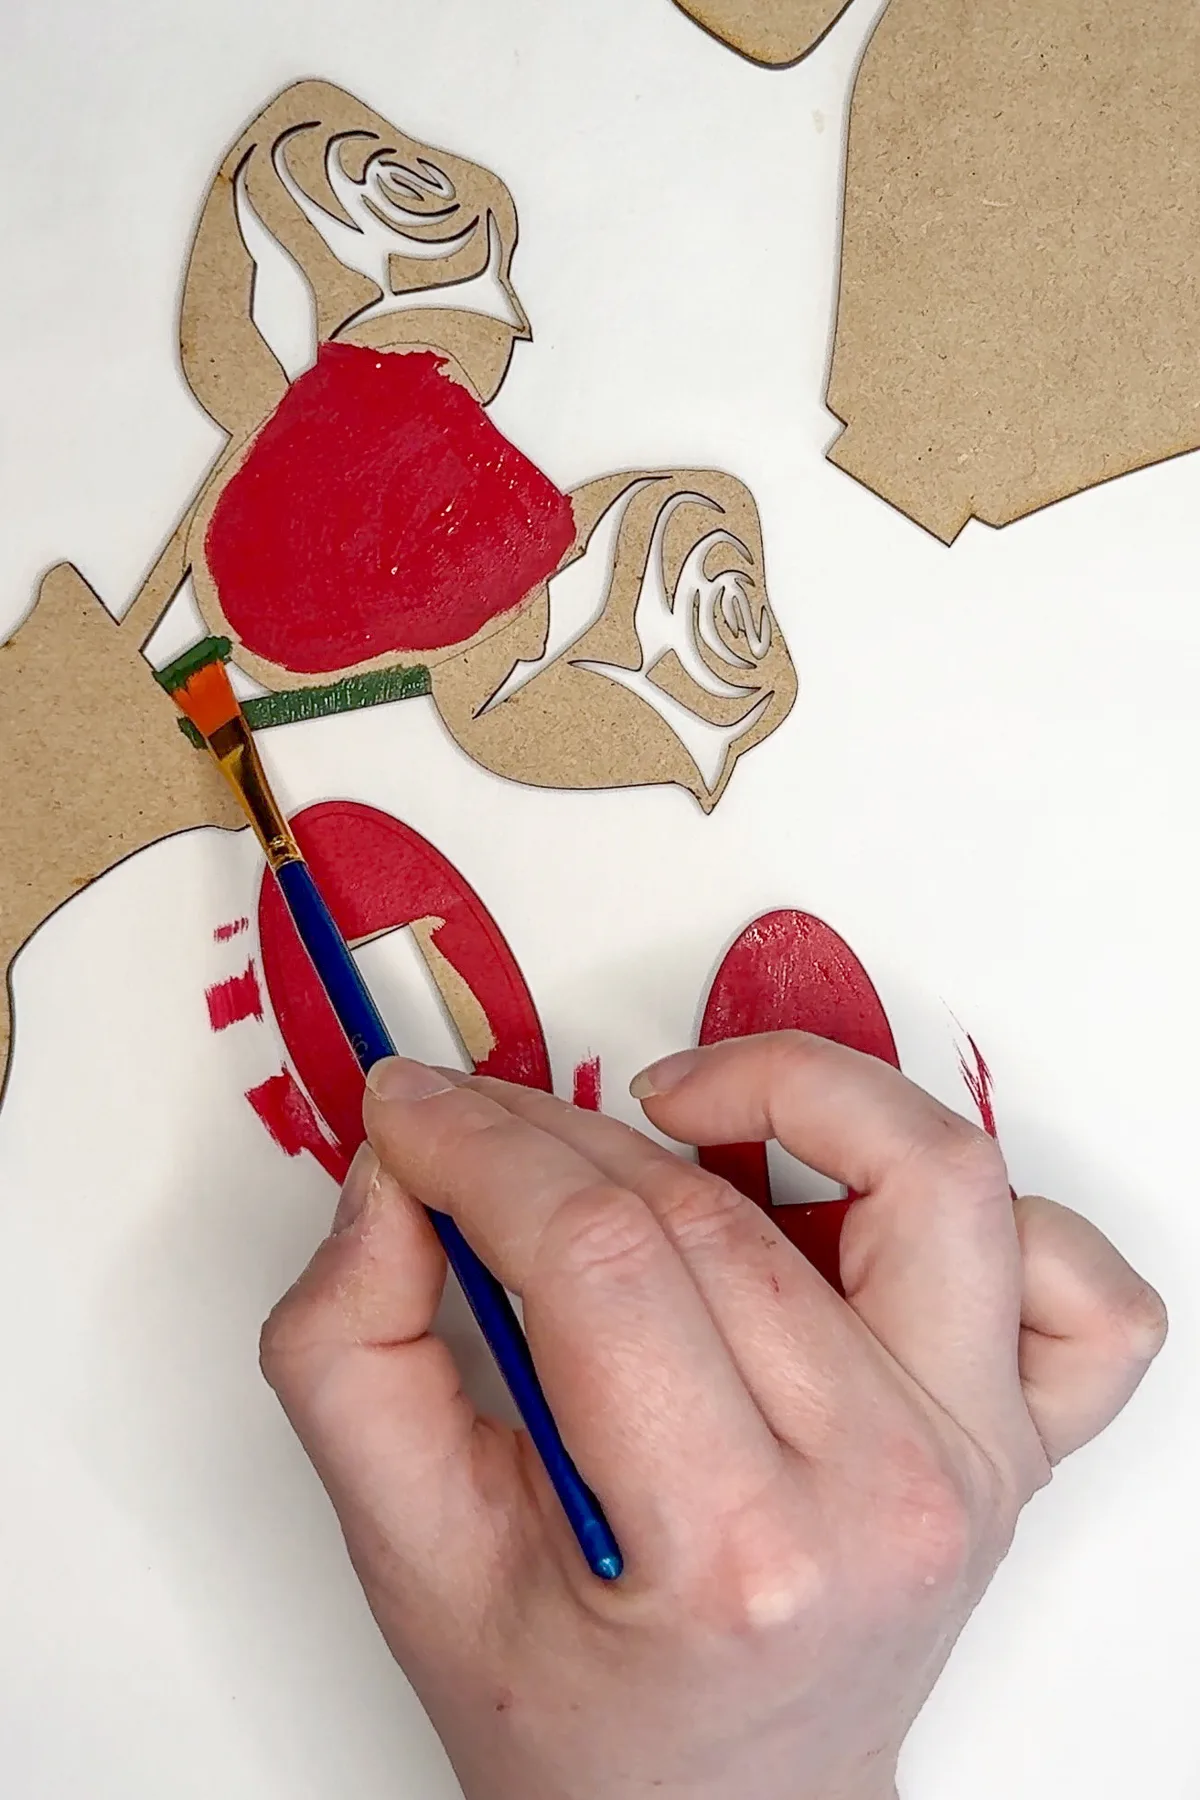
Finally, I painted the rose cutouts a lighter red color. Try not to get any paint along the edges, or you'll have more cleanup to do at the end!

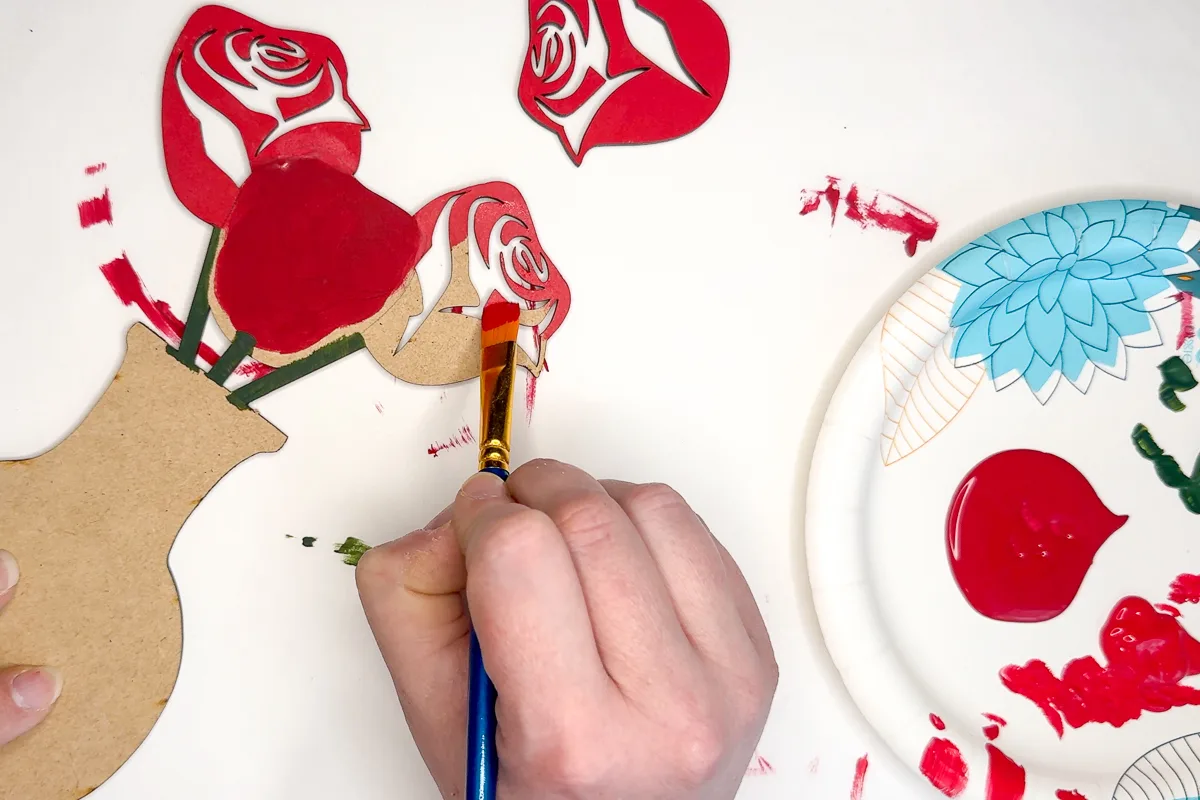
After the paint dried, I applied a second coat to get even coverage. MDF loves to suck up paint!
Assemble the layers
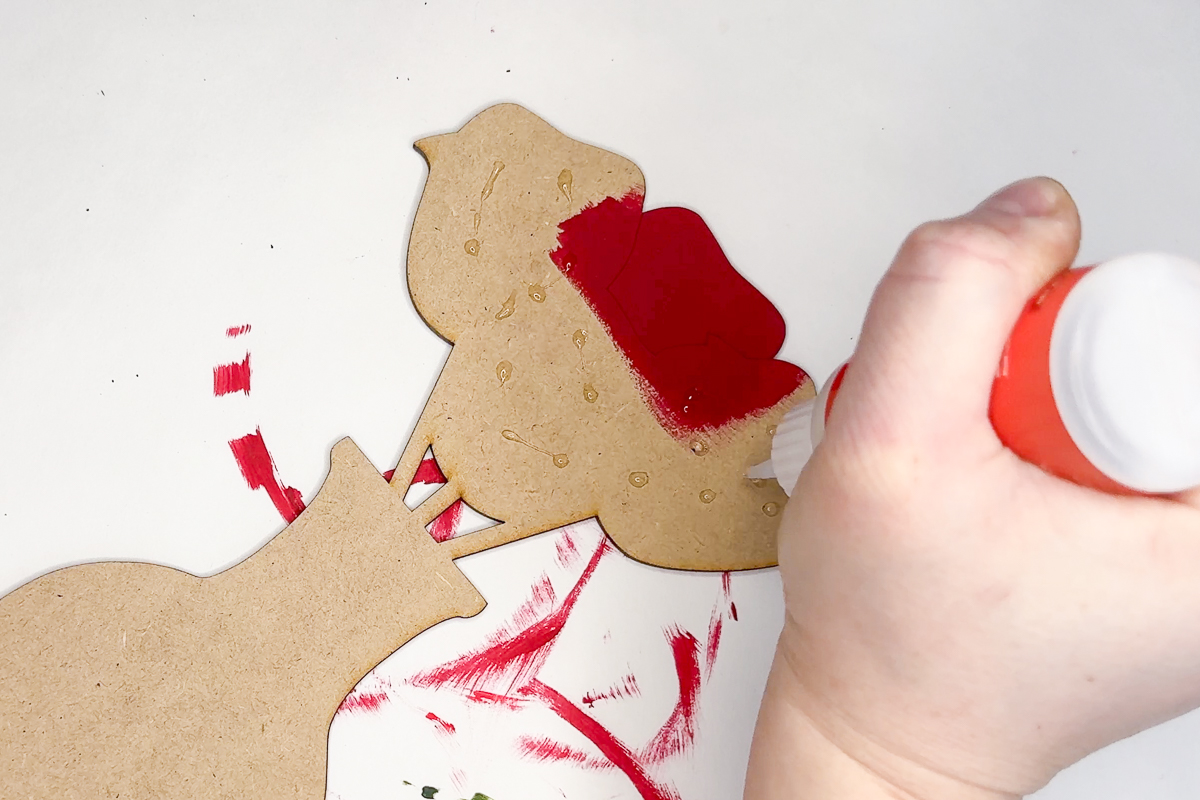
Once everything is dry, it's time to put it all together! I like to use Starbond thick CA glue because it cures quickly and doesn't get absorbed into the MDF like the runnier versions.
Just apply a few dabs all over the bottom layer except on the painted section.

Then place the second layer on top, making sure all the edges are even all the way around.
You can see how the first layer shows through the cutouts of the second layer, as well as the score marks. Those messy painted areas are hidden between the layers!

Next, glue and add the third layer of the bouquet.

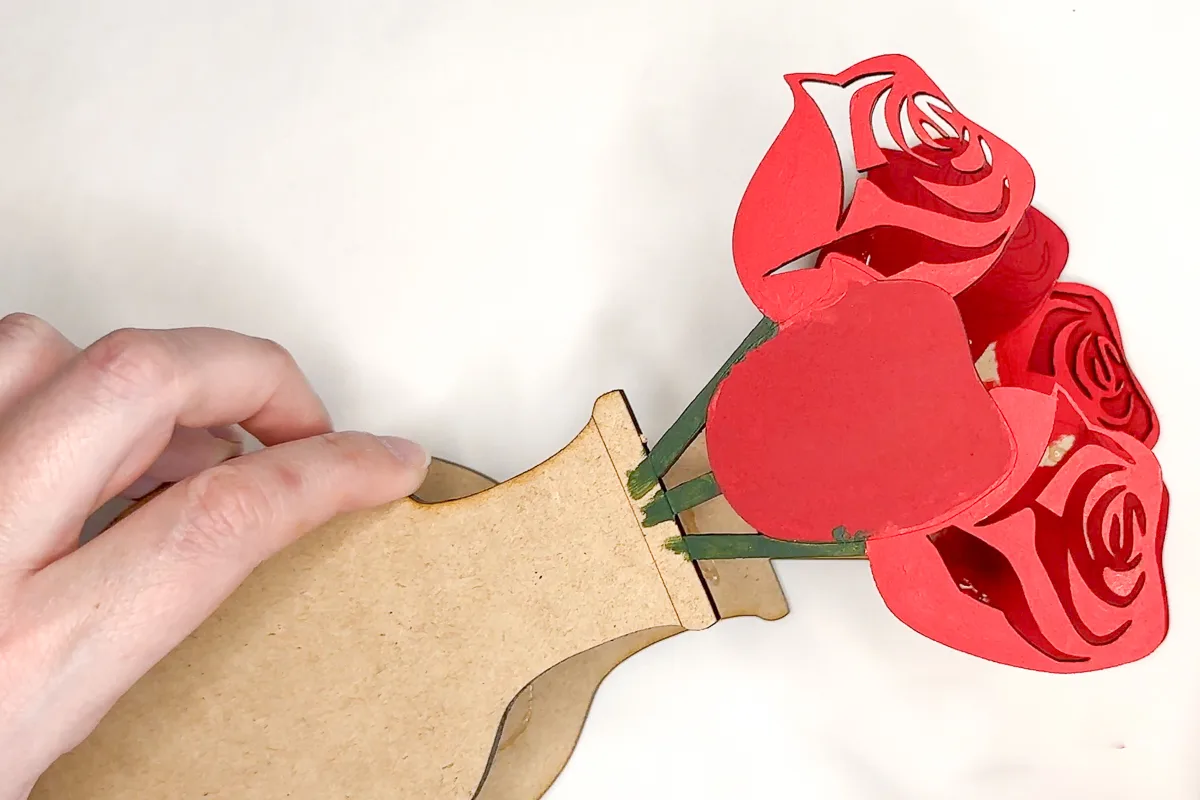
And the final rose on top. This is the time when the scoring really helped to get the alignment correct!
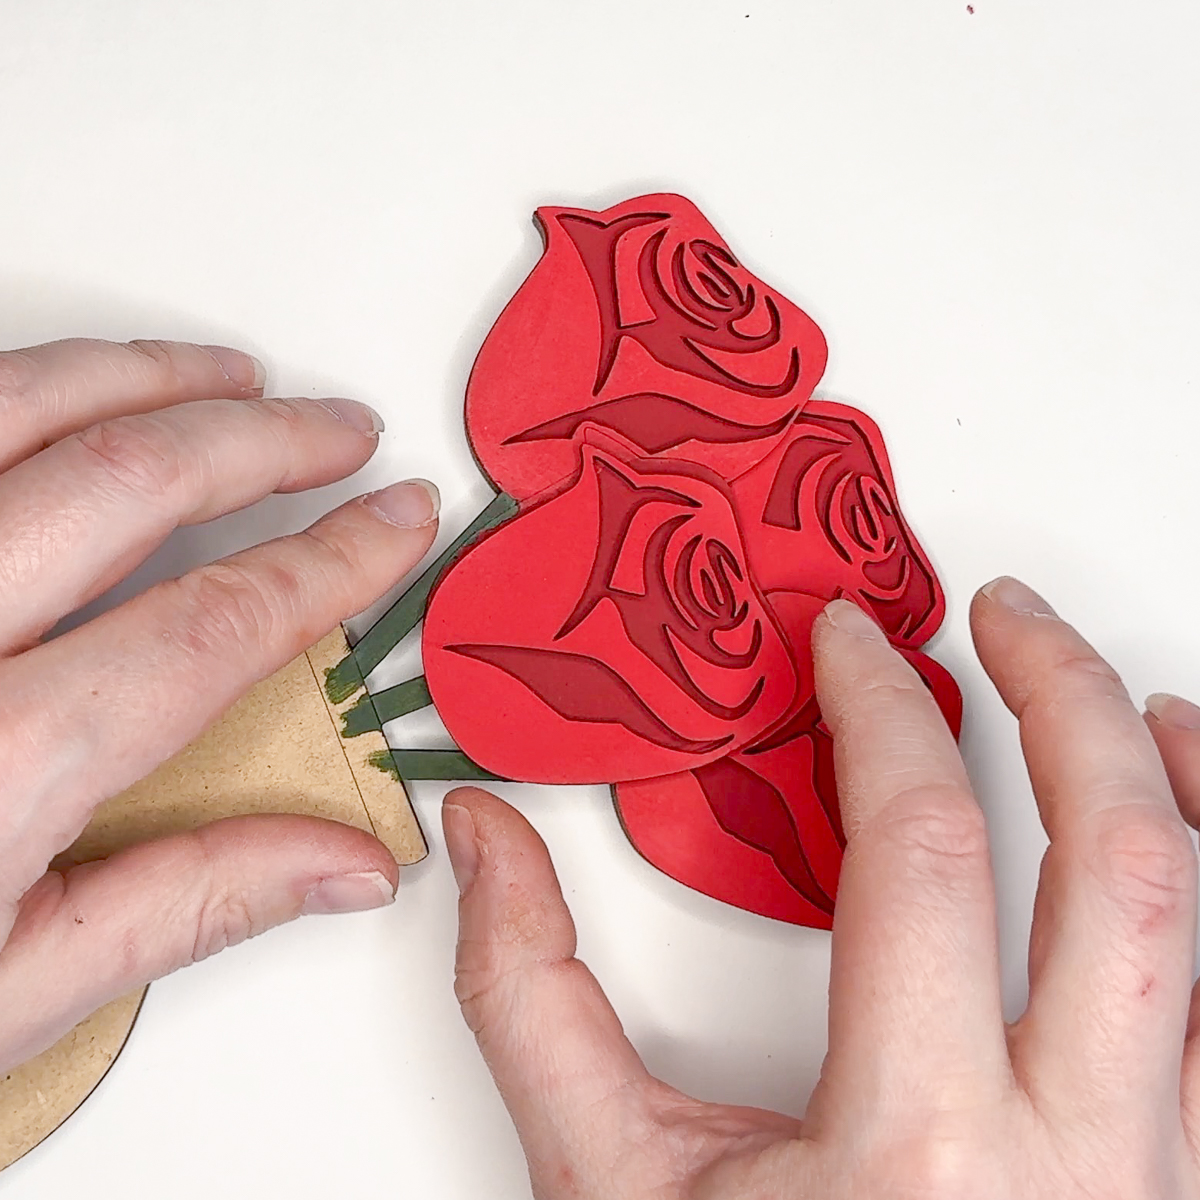
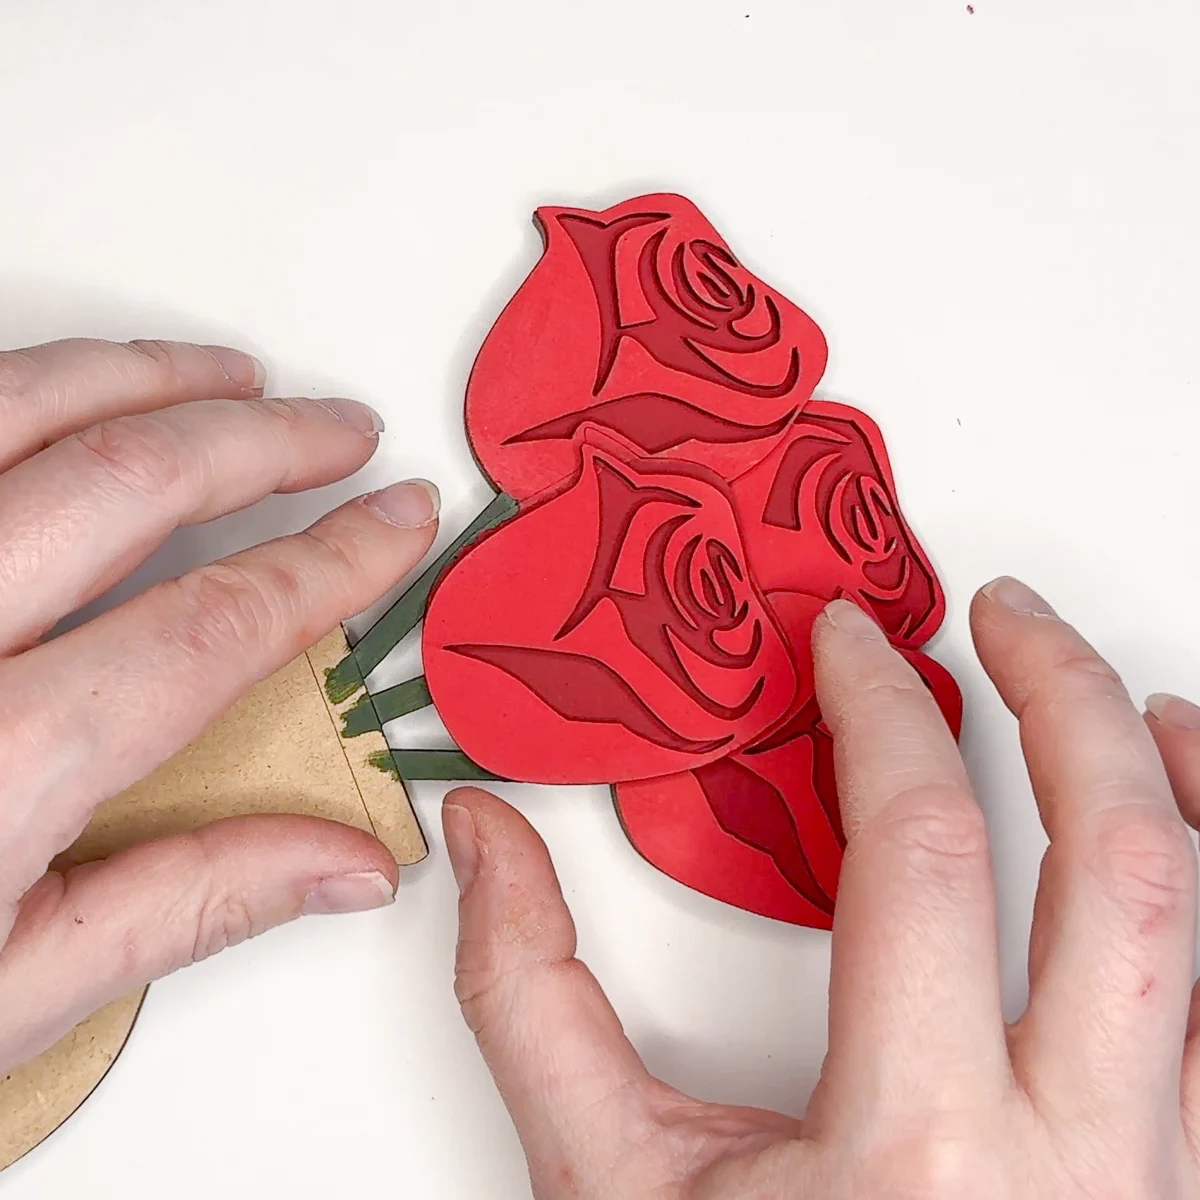
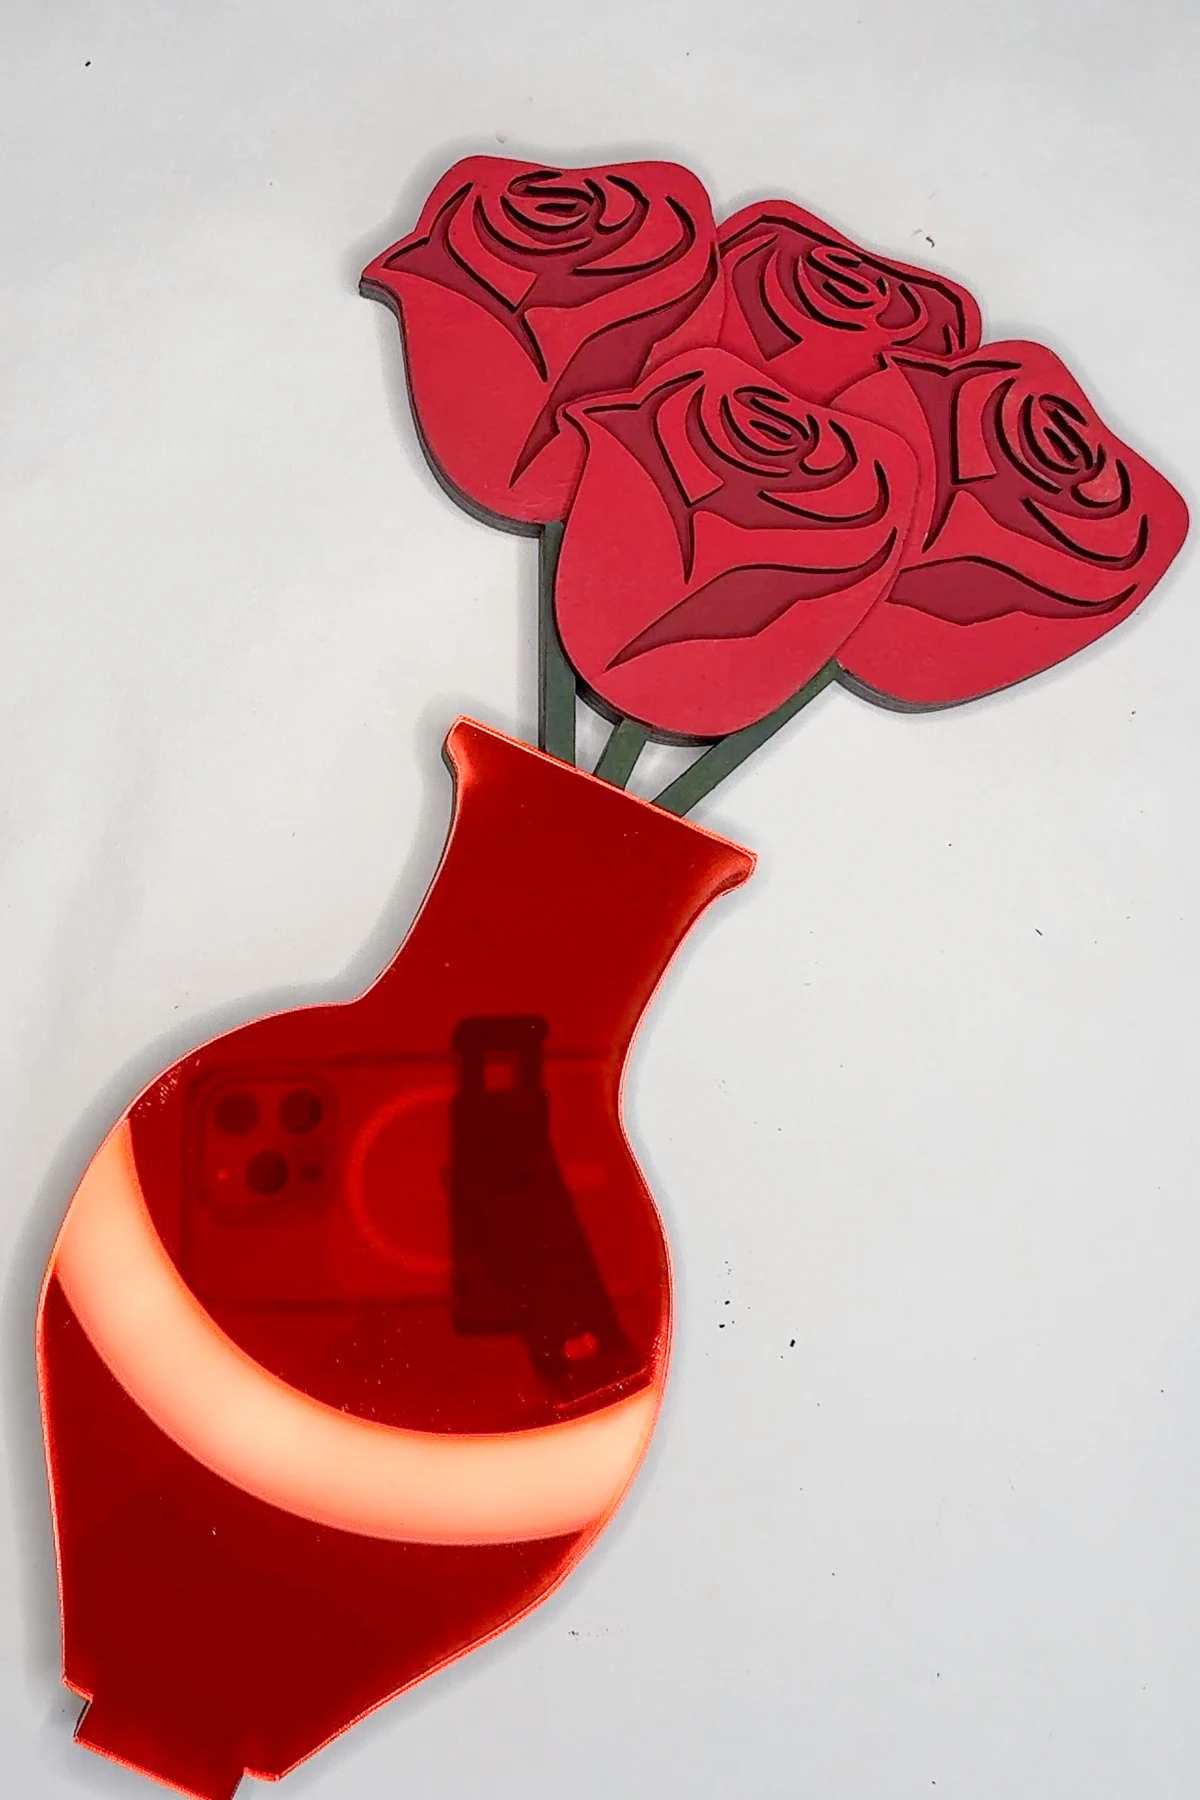
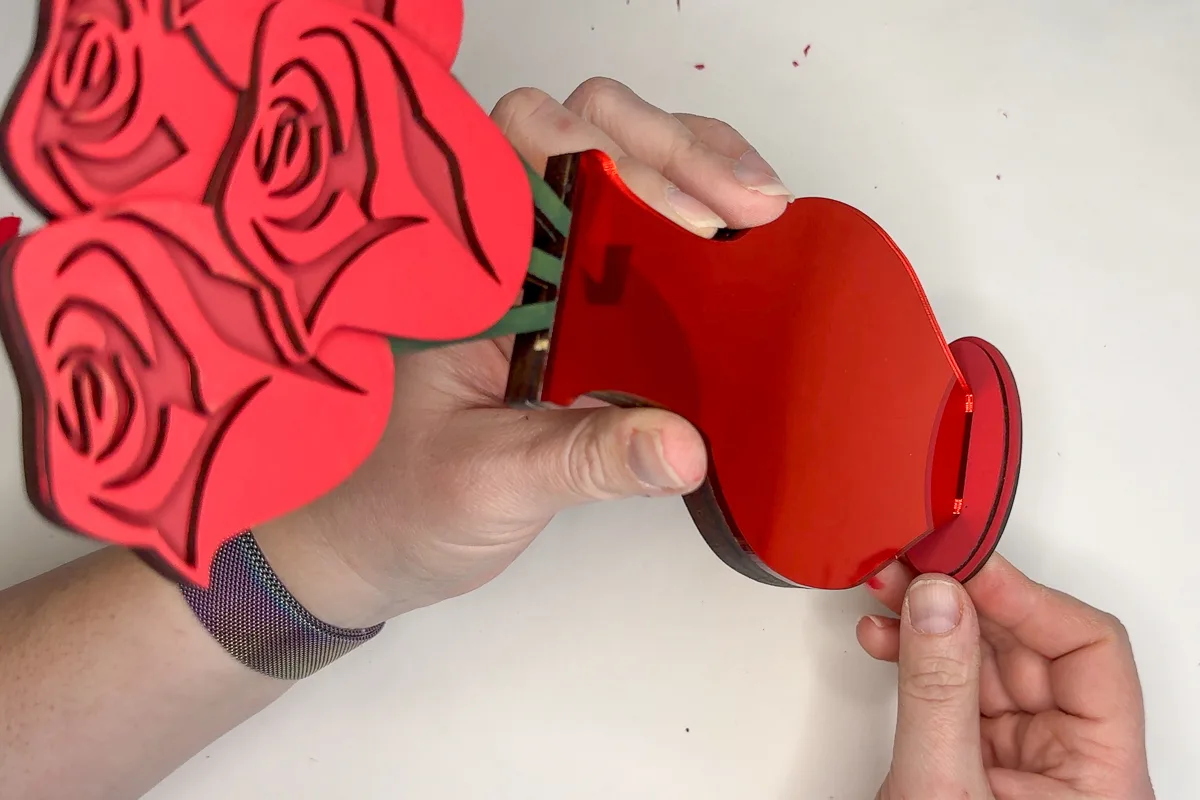
To finish it off, glue the vase piece in place (and wave hello to my phone camera reflected in the mirrored acrylic!) 😅

Add the finishing touches
The vase inserts into a slot in the base, similar to the Dungeons and Dragons minifigures I made last year. Now it can stand upright!

Even with careful painting, there were still some drips over the edges. The easiest way to fix it is by coloring over it with a Sharpie or black paint pen! It blends in with the charred edges from the laser.


I was ready to call this project done, but I felt like the plain red vase needed something more.
The file came with a few different heart options, but I wanted something a bit more delicate. I found this swirly heart graphic in Canva, saved it as an SVG, and combined it with the outline of the vase.

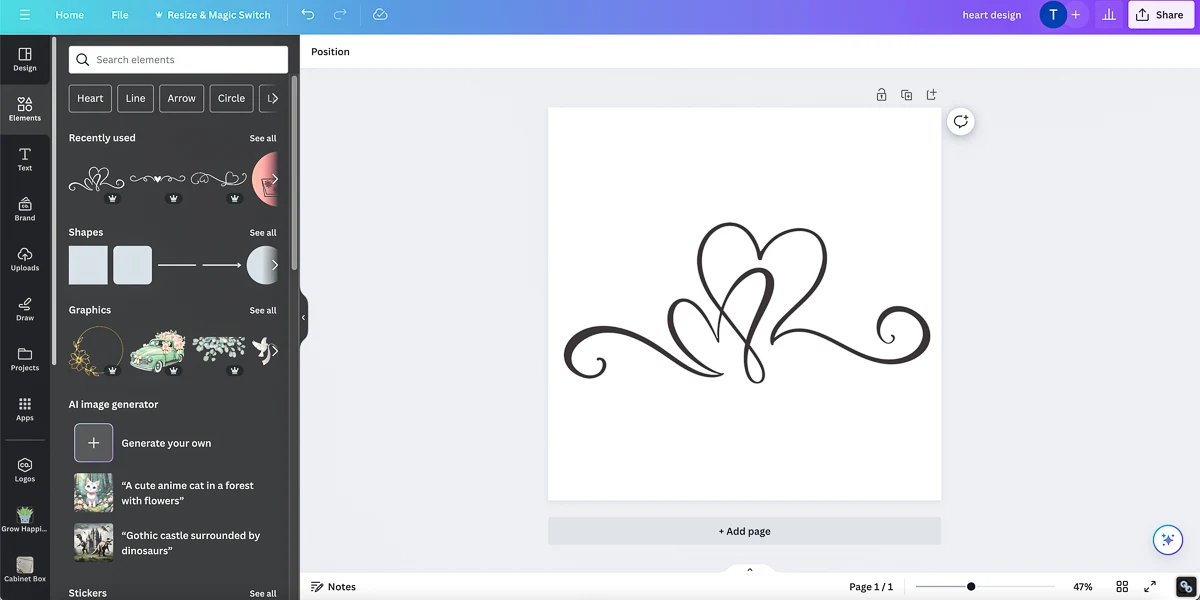
Then I just cut it out of thin white acrylic and stuck it on the front! Much better!
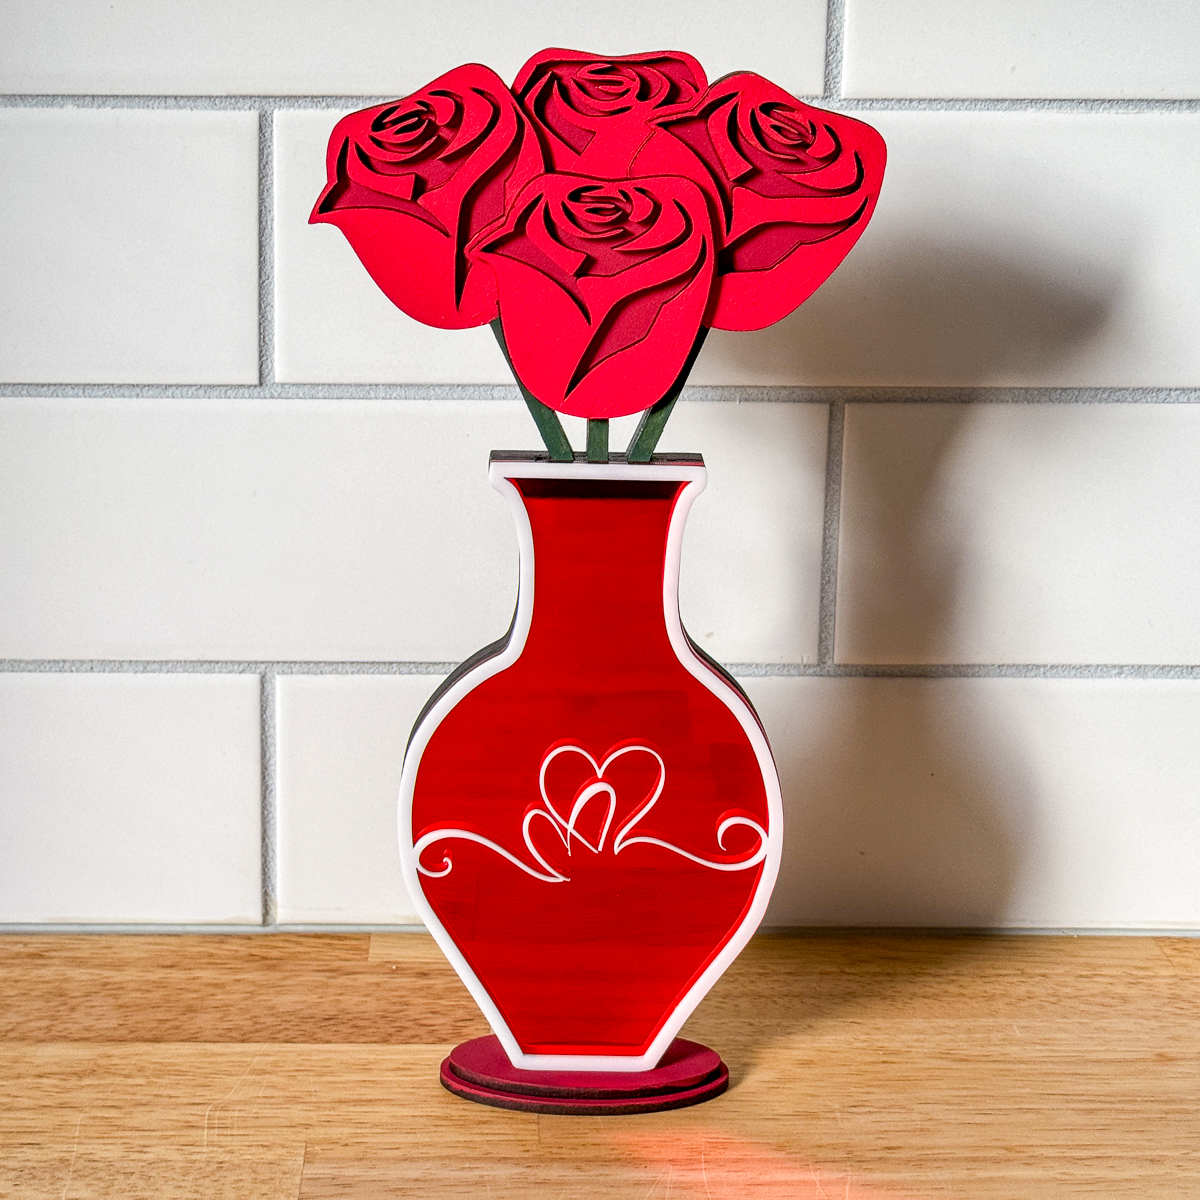

I love how it turned out! The mirrored acrylic gives the vase a glass-like look, and the different colored paints give the roses the depth I was looking for.

Want more laser projects like this one? Check out my other tutorials below!