Have a laser cutter? Use it to make these simple DIY Dungeons and Dragons miniatures for your next campaign!
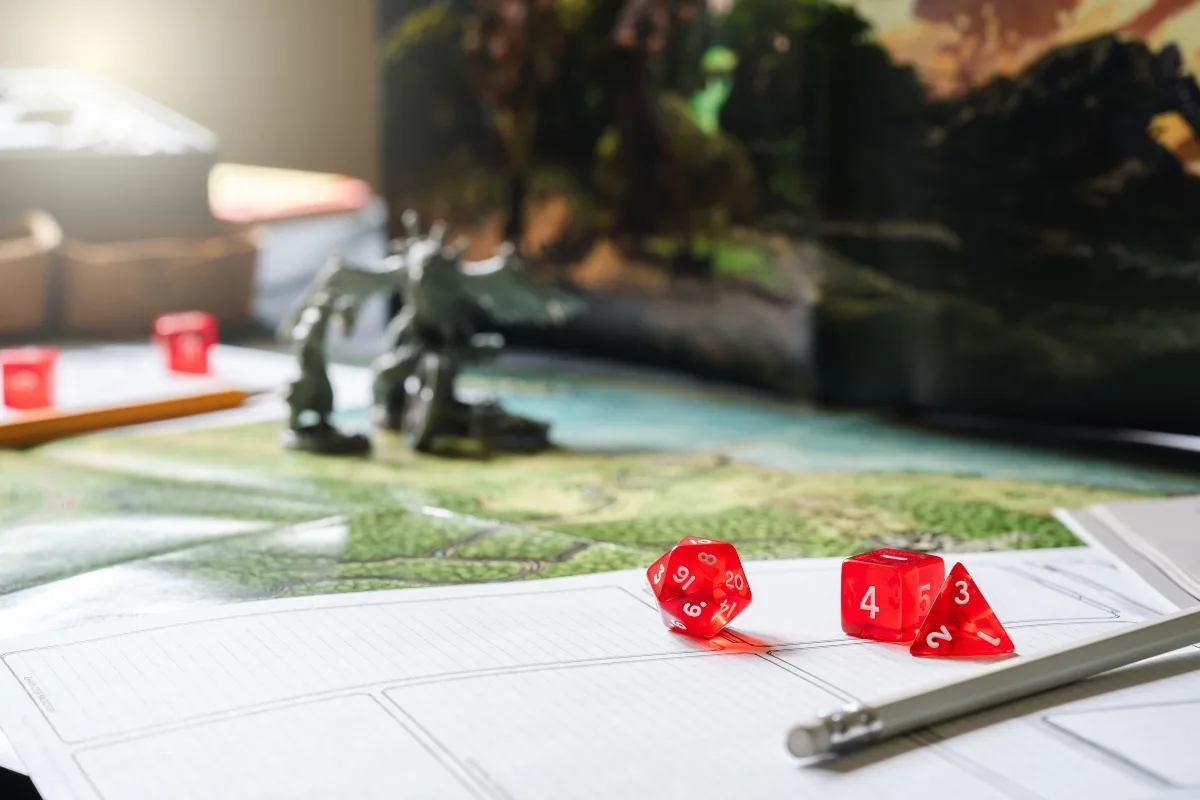
My son is really into Dungeons and Dragons. He gets together with a group of friends every weekend to continue on their quest, battling ogres, skeletons and goblins along the way.
They set up a map in the center of the table so everyone can visualize the scene. Then they place miniatures on the map so you can see where all the heroes and villains are.

But for an upcoming battle, he needed a LOT of skeletons. And then a few ogres later on. The price for those paintable plastic ones gets pretty expensive after a while, especially when he wants a bunch of them!
So I decided to fire up my xTool M1 laser cutter and create some custom Dungeons and Dragons miniatures for his campaign! Here's how I made them!
Don't have a laser, or looking to upgrade? Use the code VINETA100 for $100 off an xTool laser! Click here to check them out!
This post contains affiliate links for your convenience. Purchases made through these links may earn me a small commission at no additional cost to you. Please visit my disclosures page for more information.
Create the laser cutter file
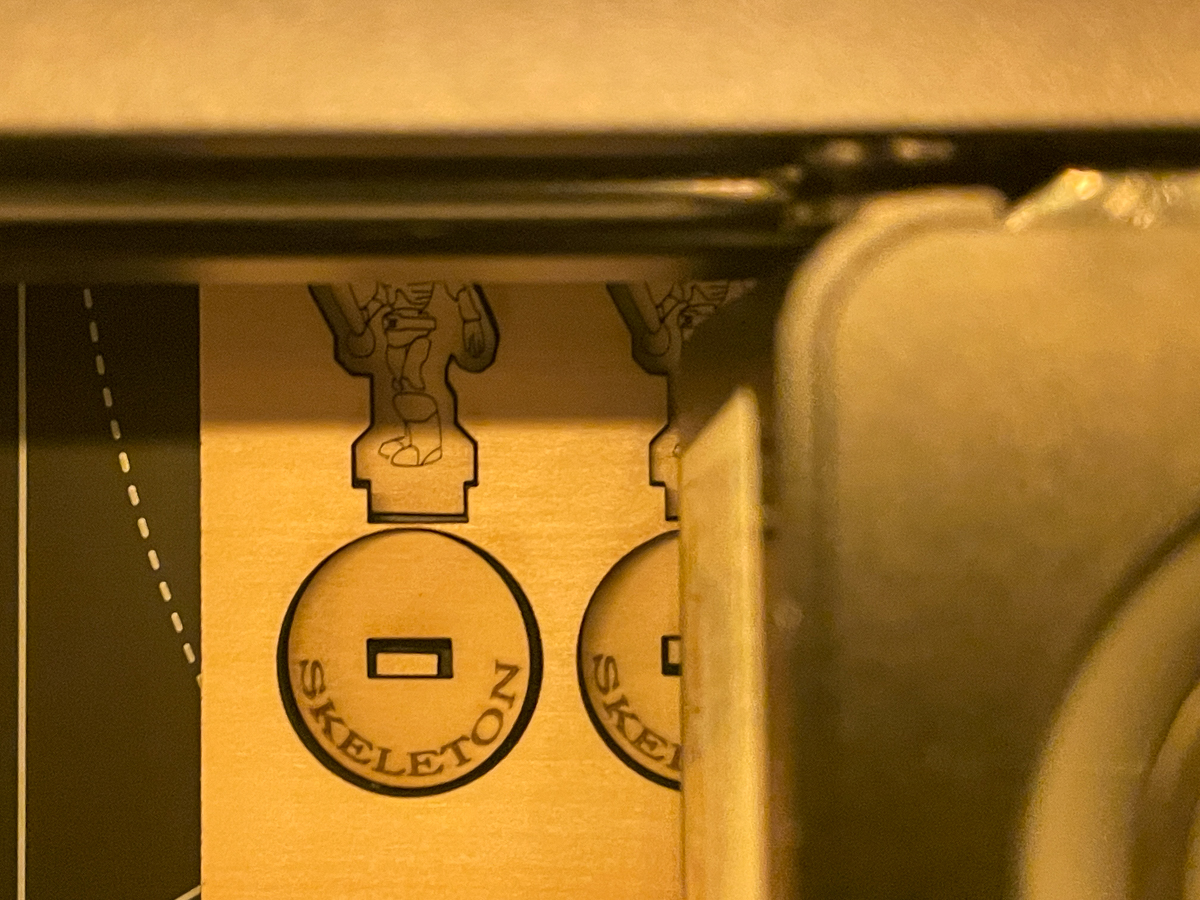
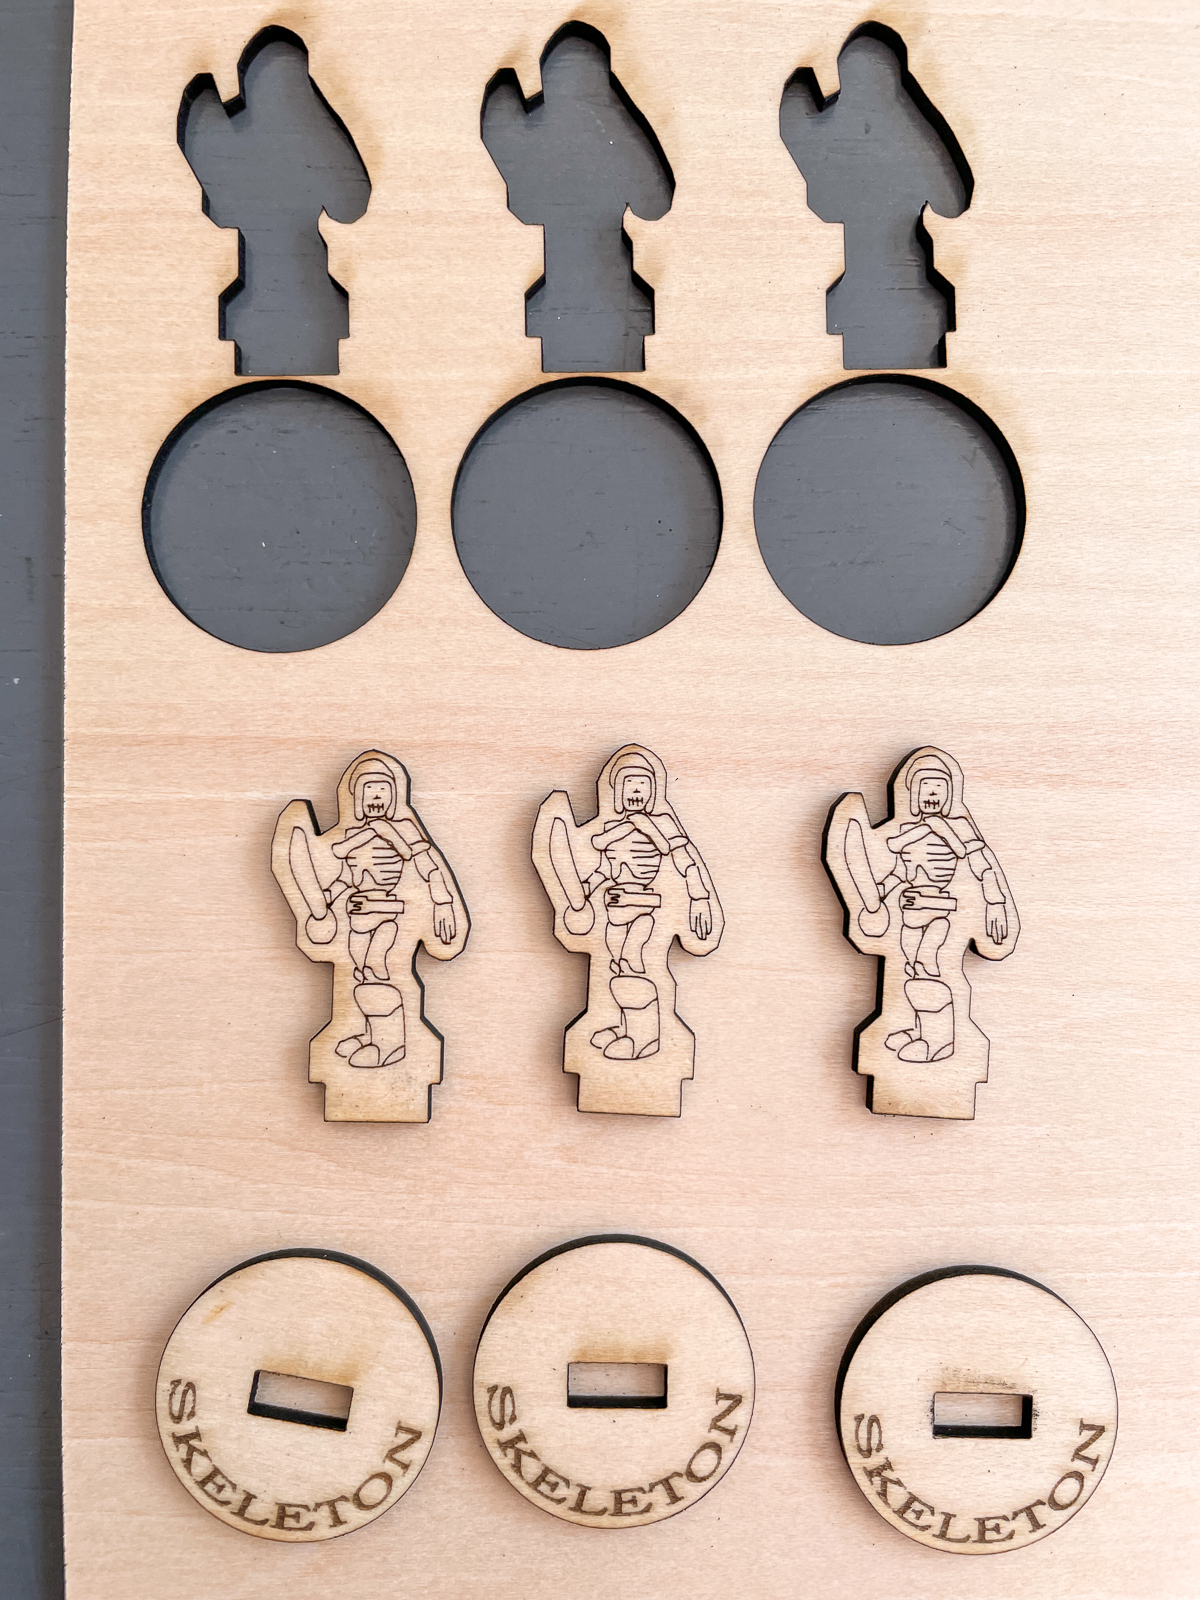
I started off by downloading a file from this Etsy seller containing 22 different types of Dungeons and Dragons characters. It had the skeleton miniature design that my son wanted, so I figured this would be a good starting point.
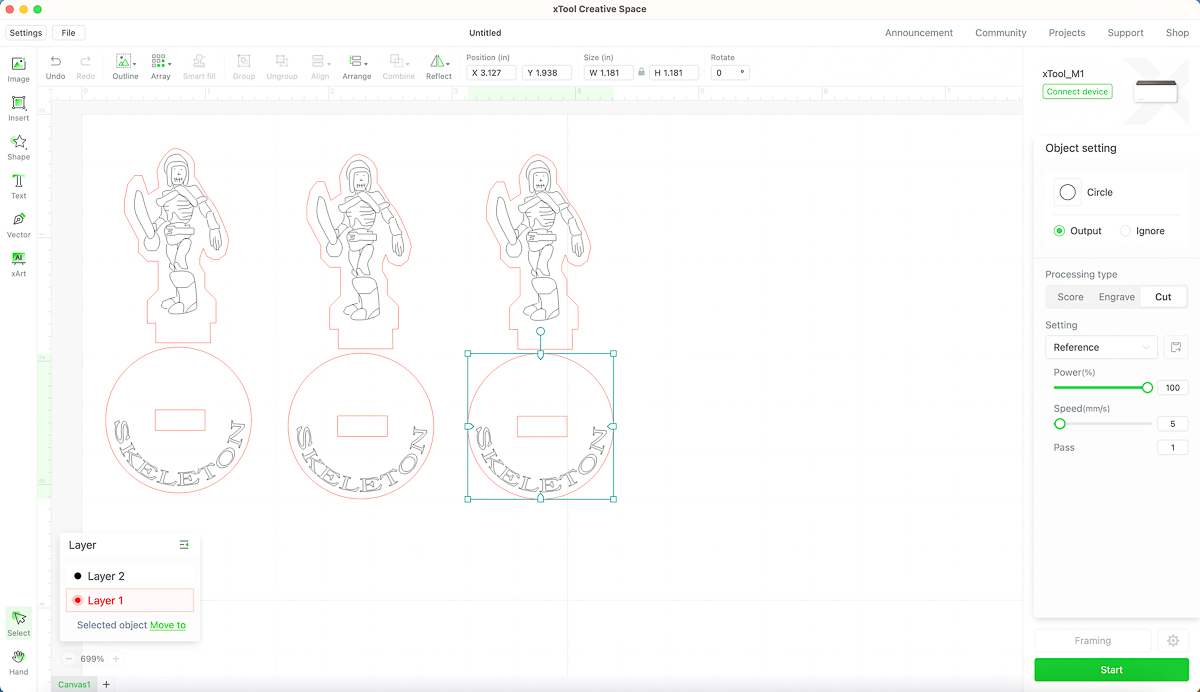
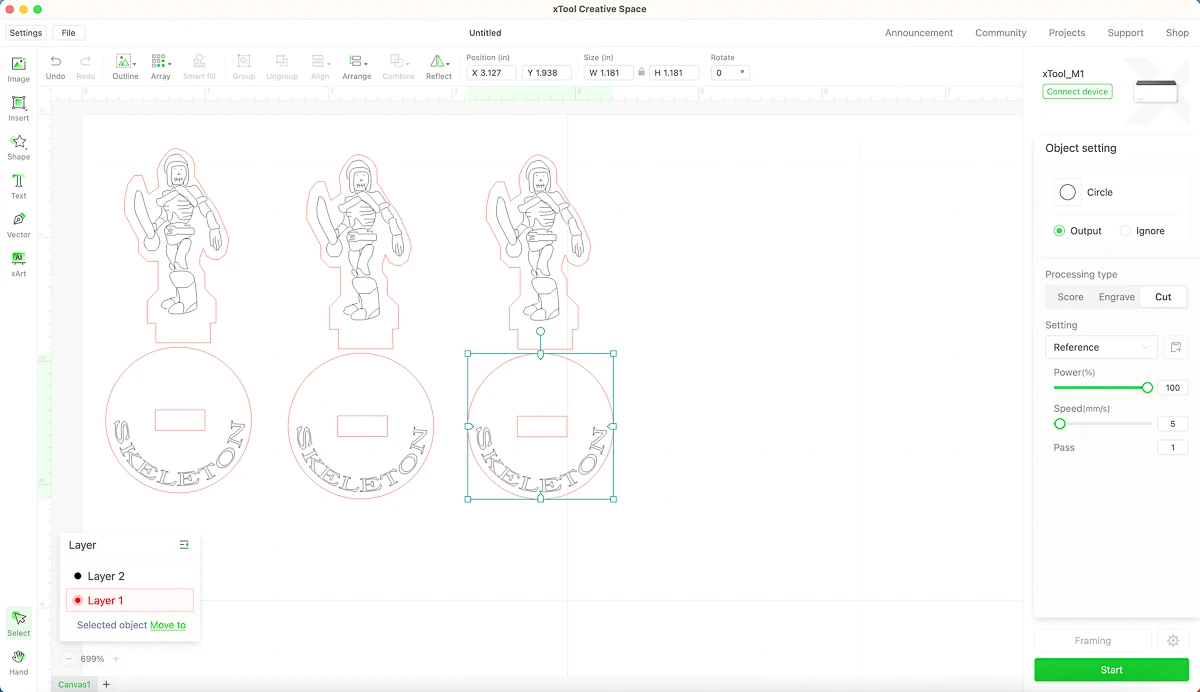
I imported the skeleton file into xTool Creative Space and adjusted the settings to score the skeleton drawing, engrave the nameplate, and cut the outside edge and the hole in the base.
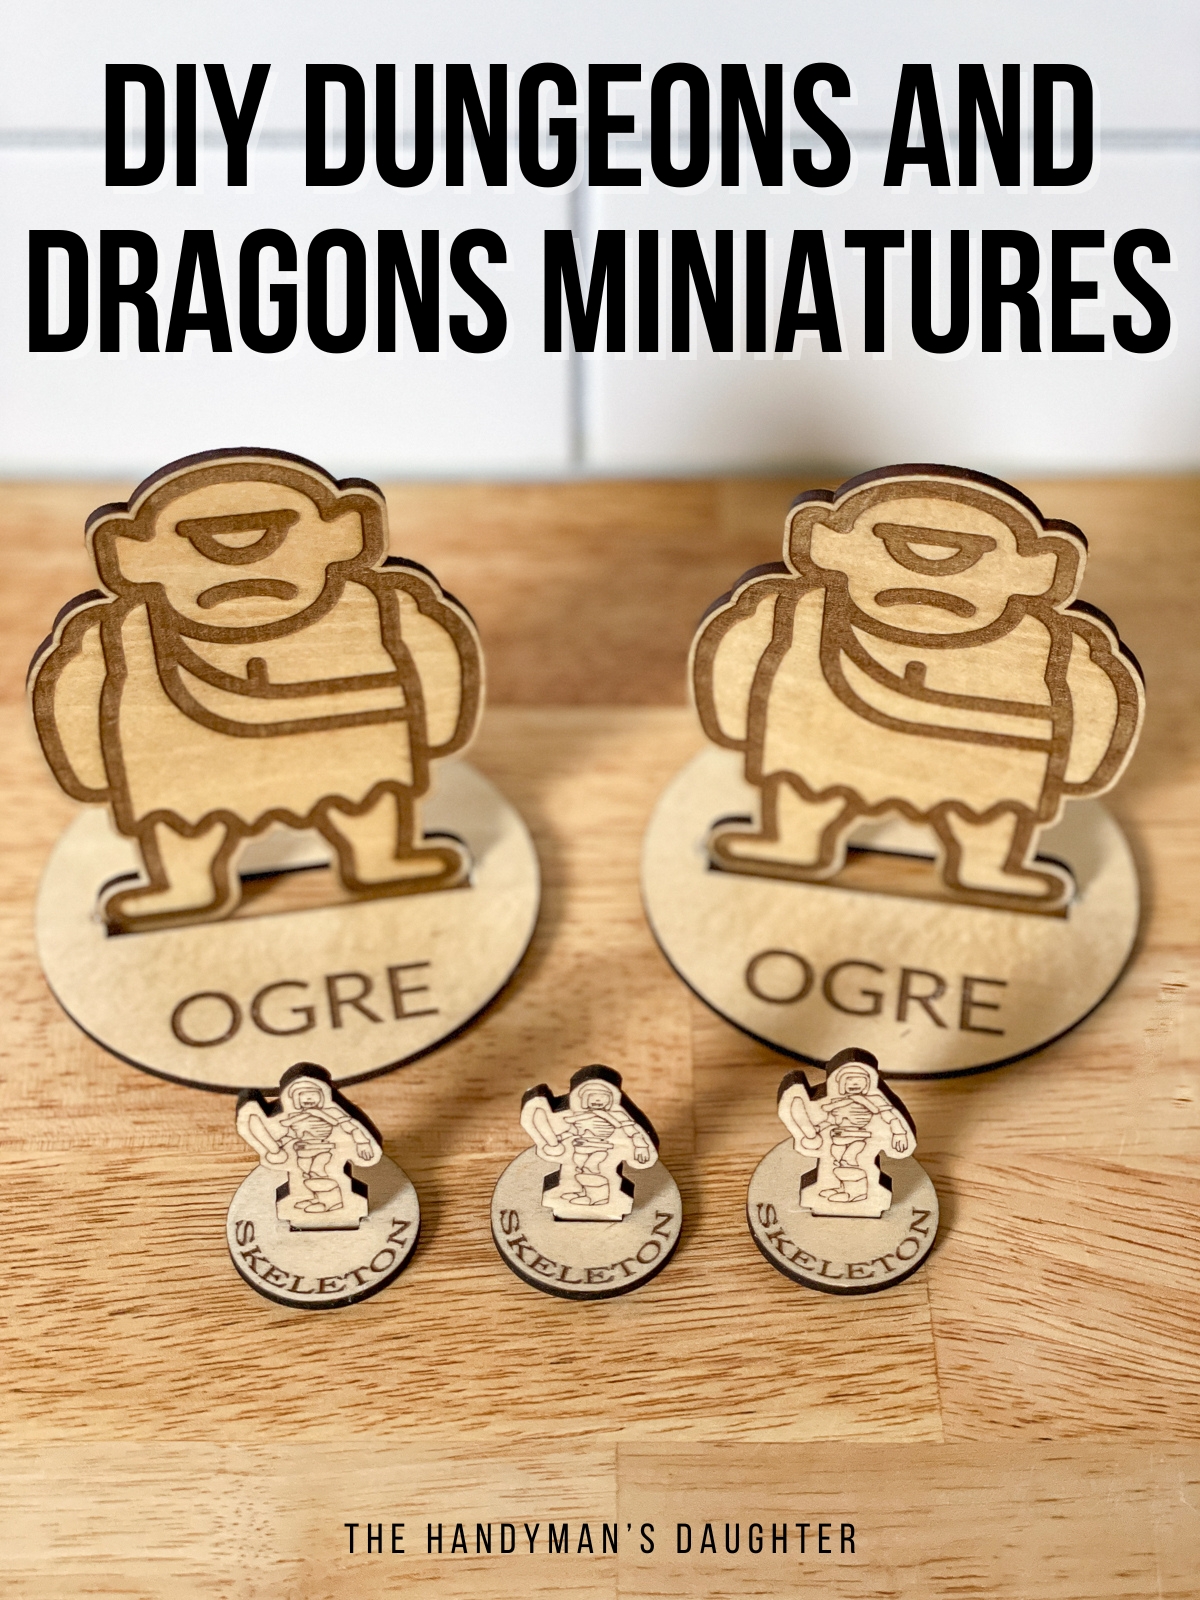
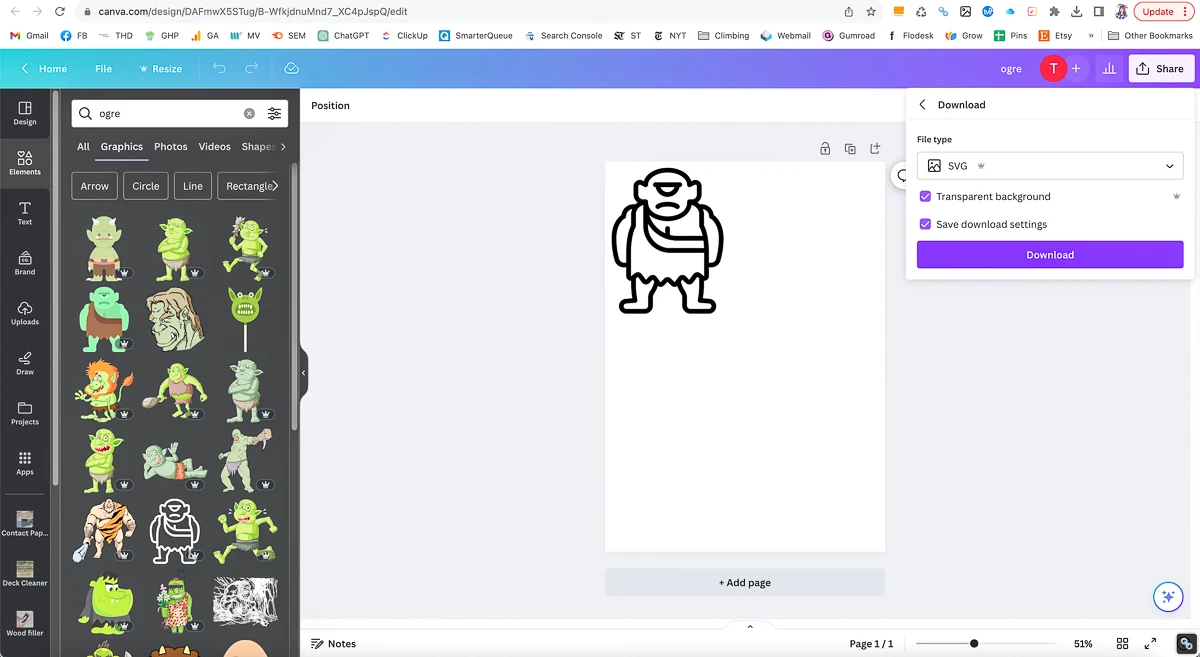
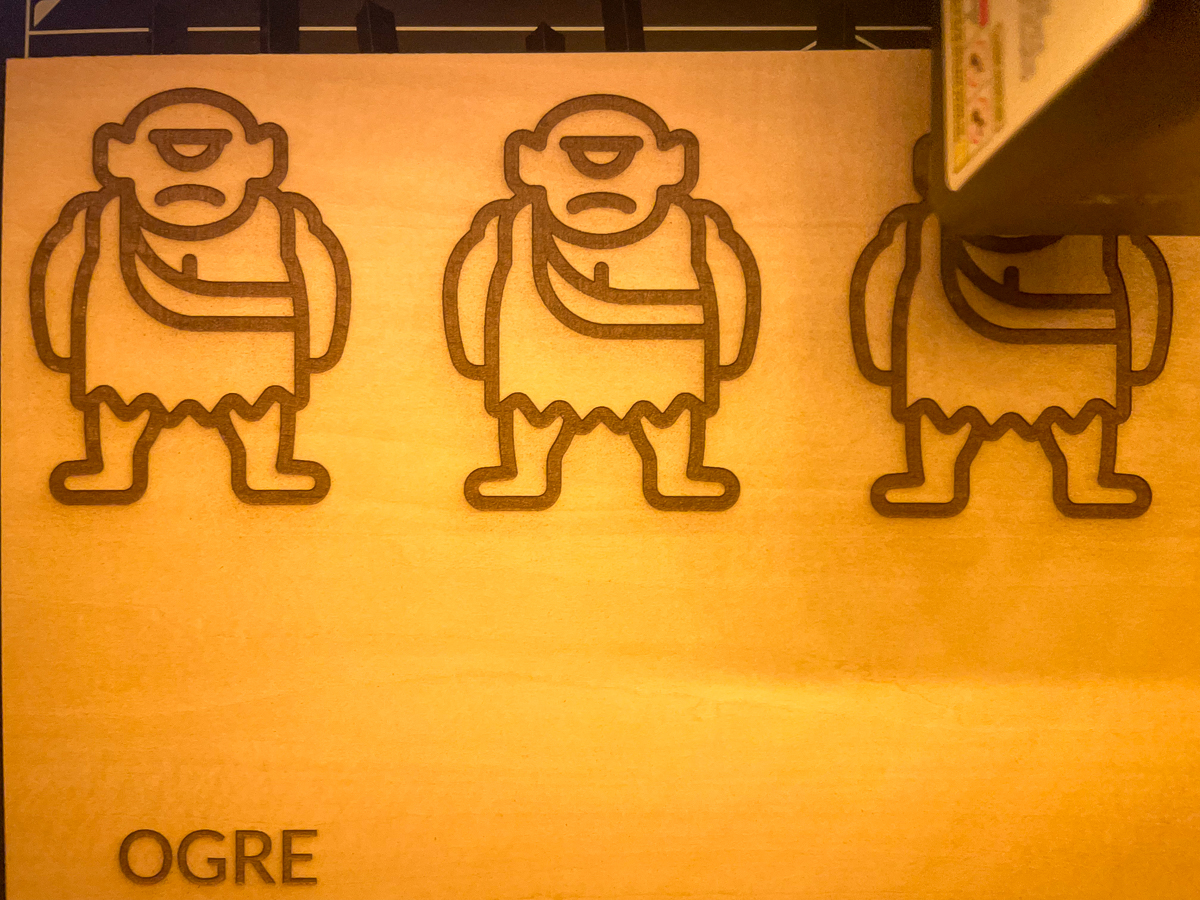
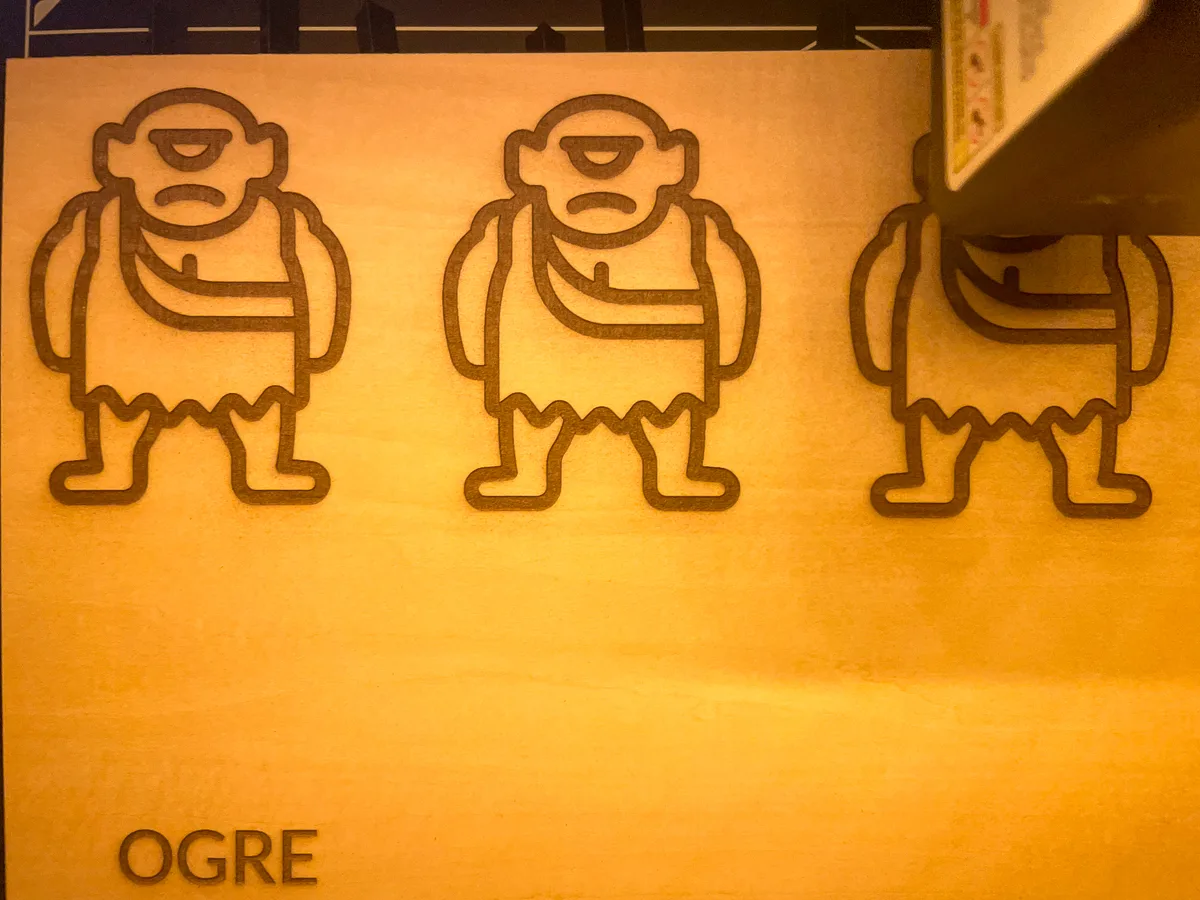
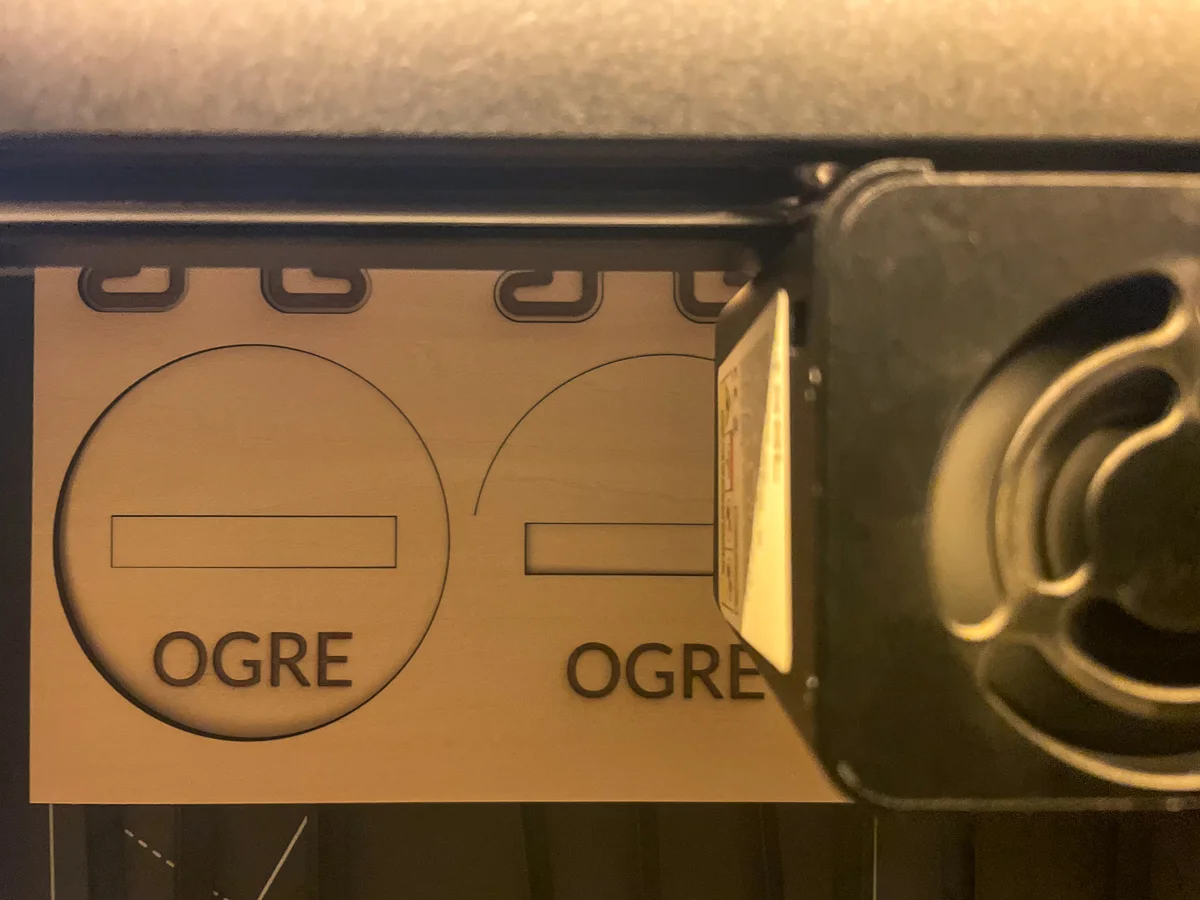
There wasn't an ogre in this file pack, so I made my own. I used Canva to find a simple line drawing of an ogre, then saved it as an SVG file. Then I imported that file into xTool Creative Space.

I wanted a small margin between the cut edge and the engraved ogre shape, just like the skeletons. To do this, select the image, then click on the outline button at the top. You can adjust the offset until you find the border thickness you prefer.
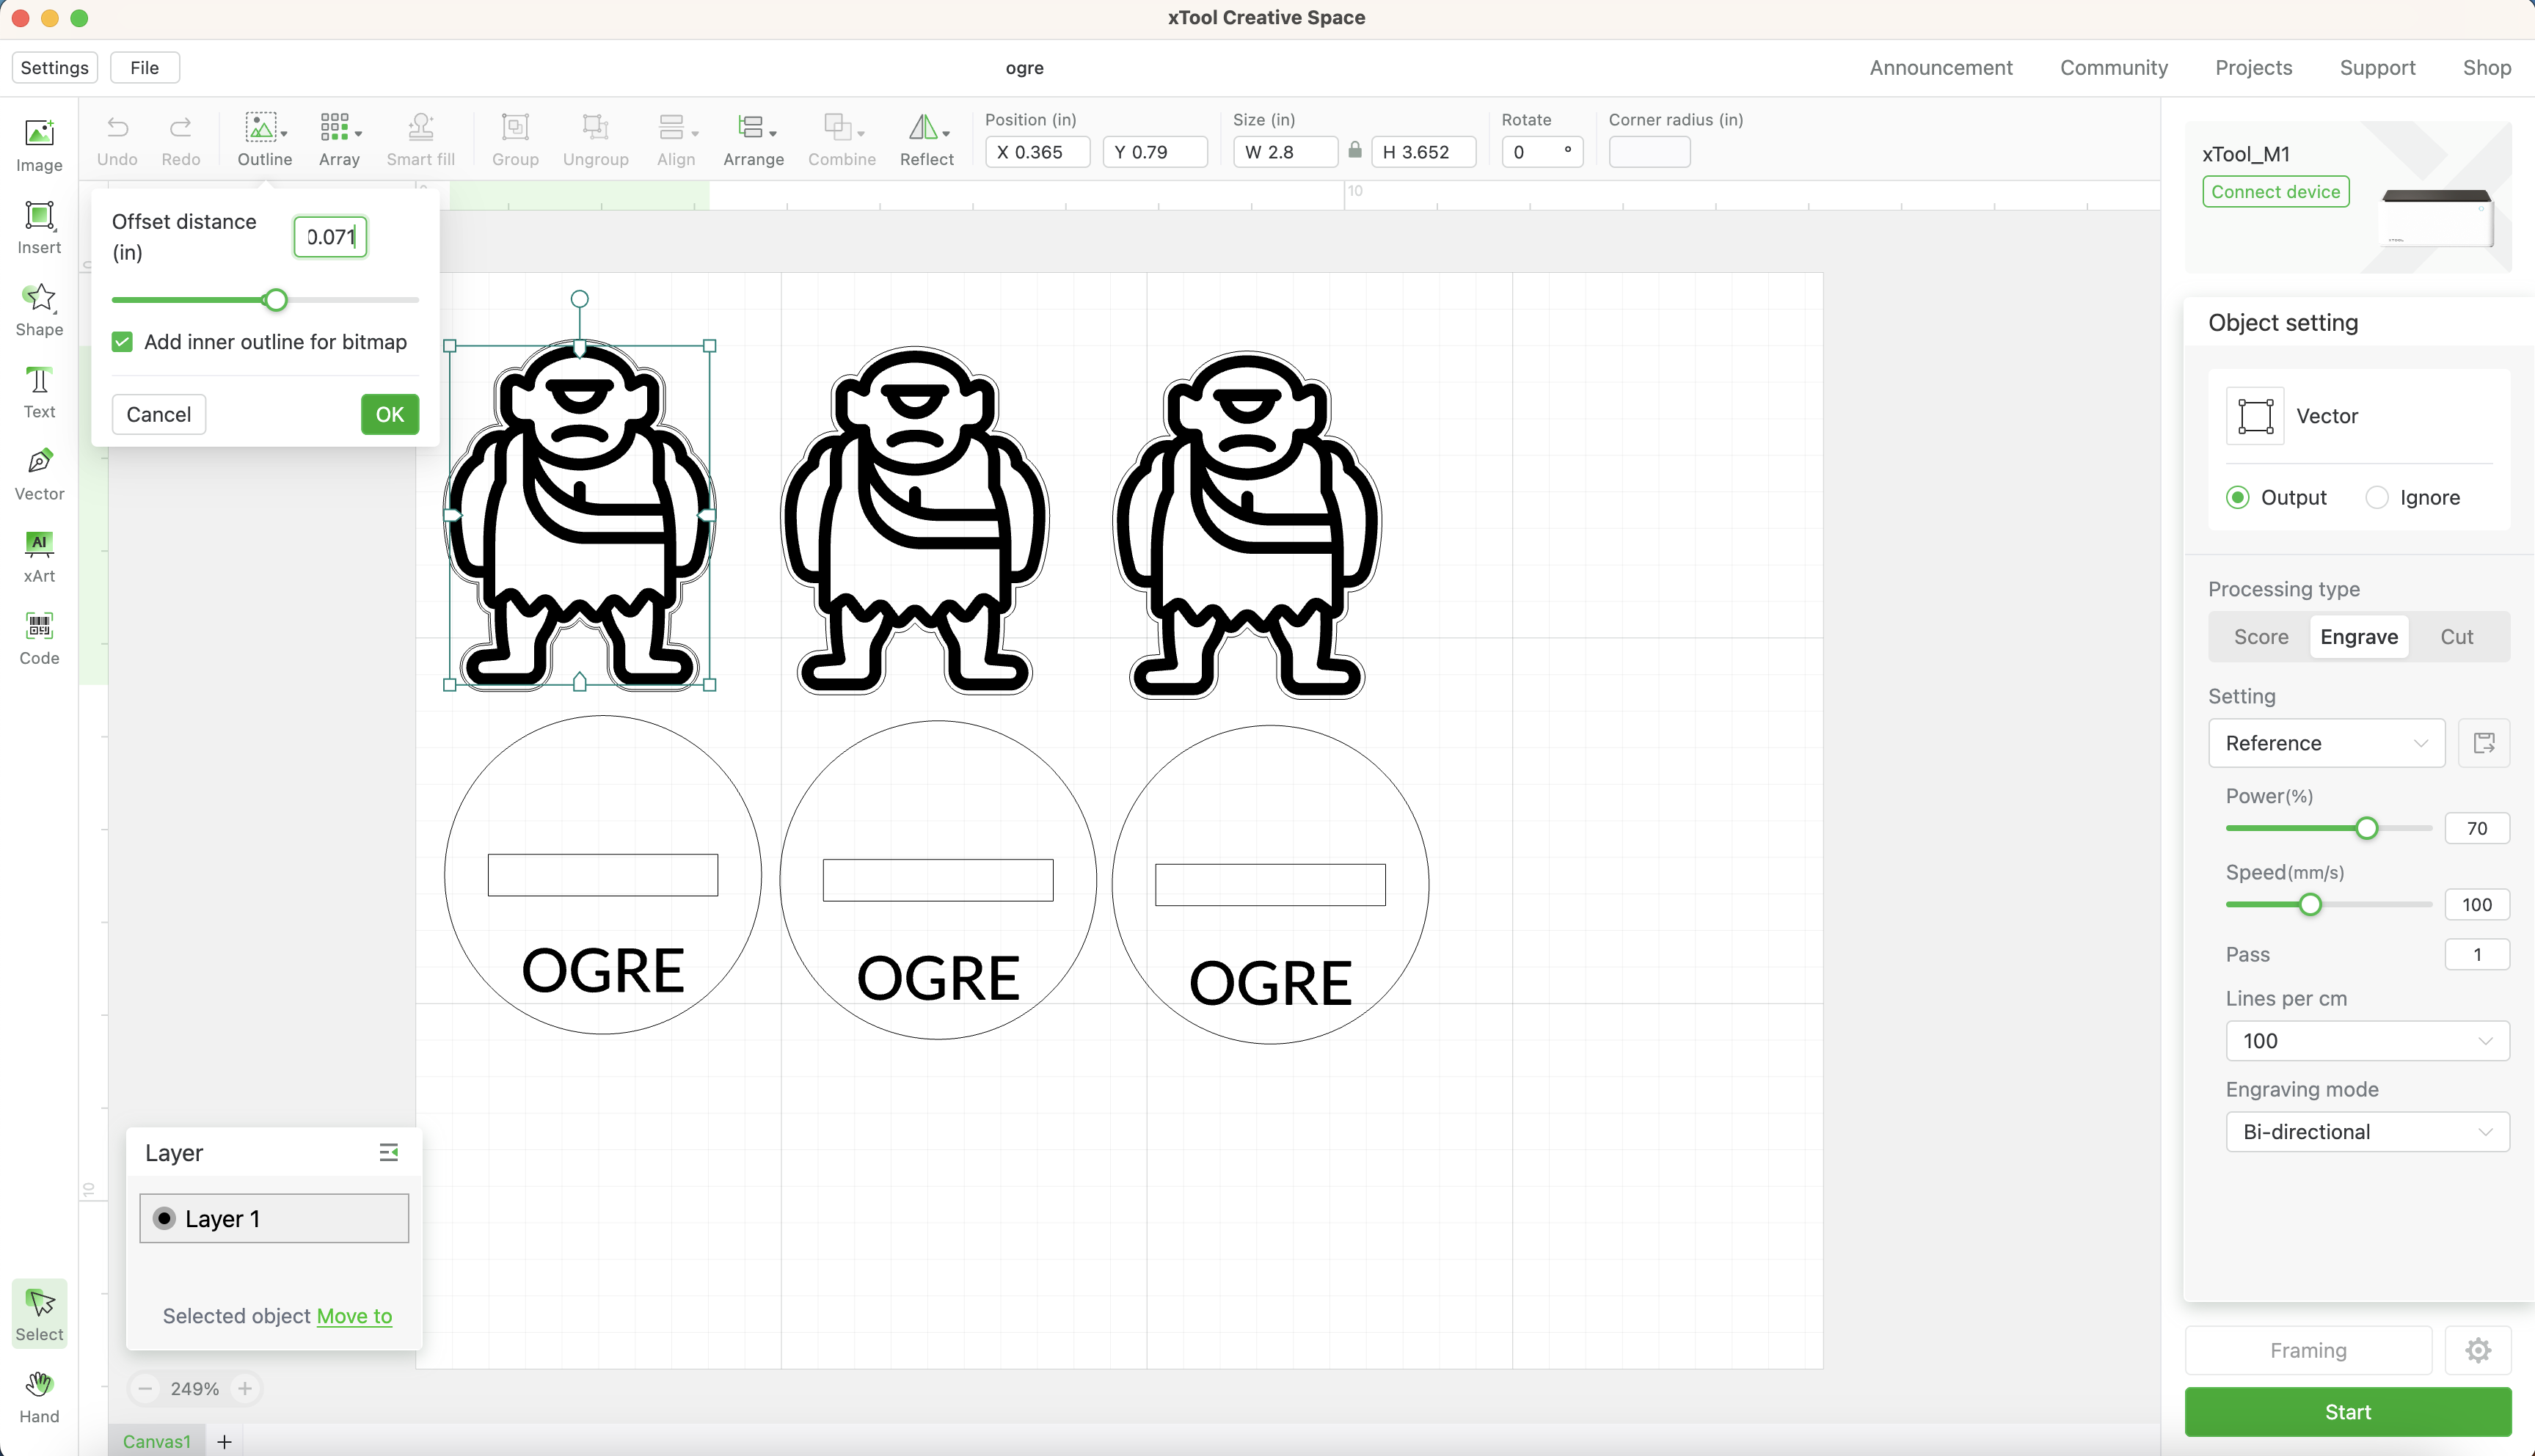
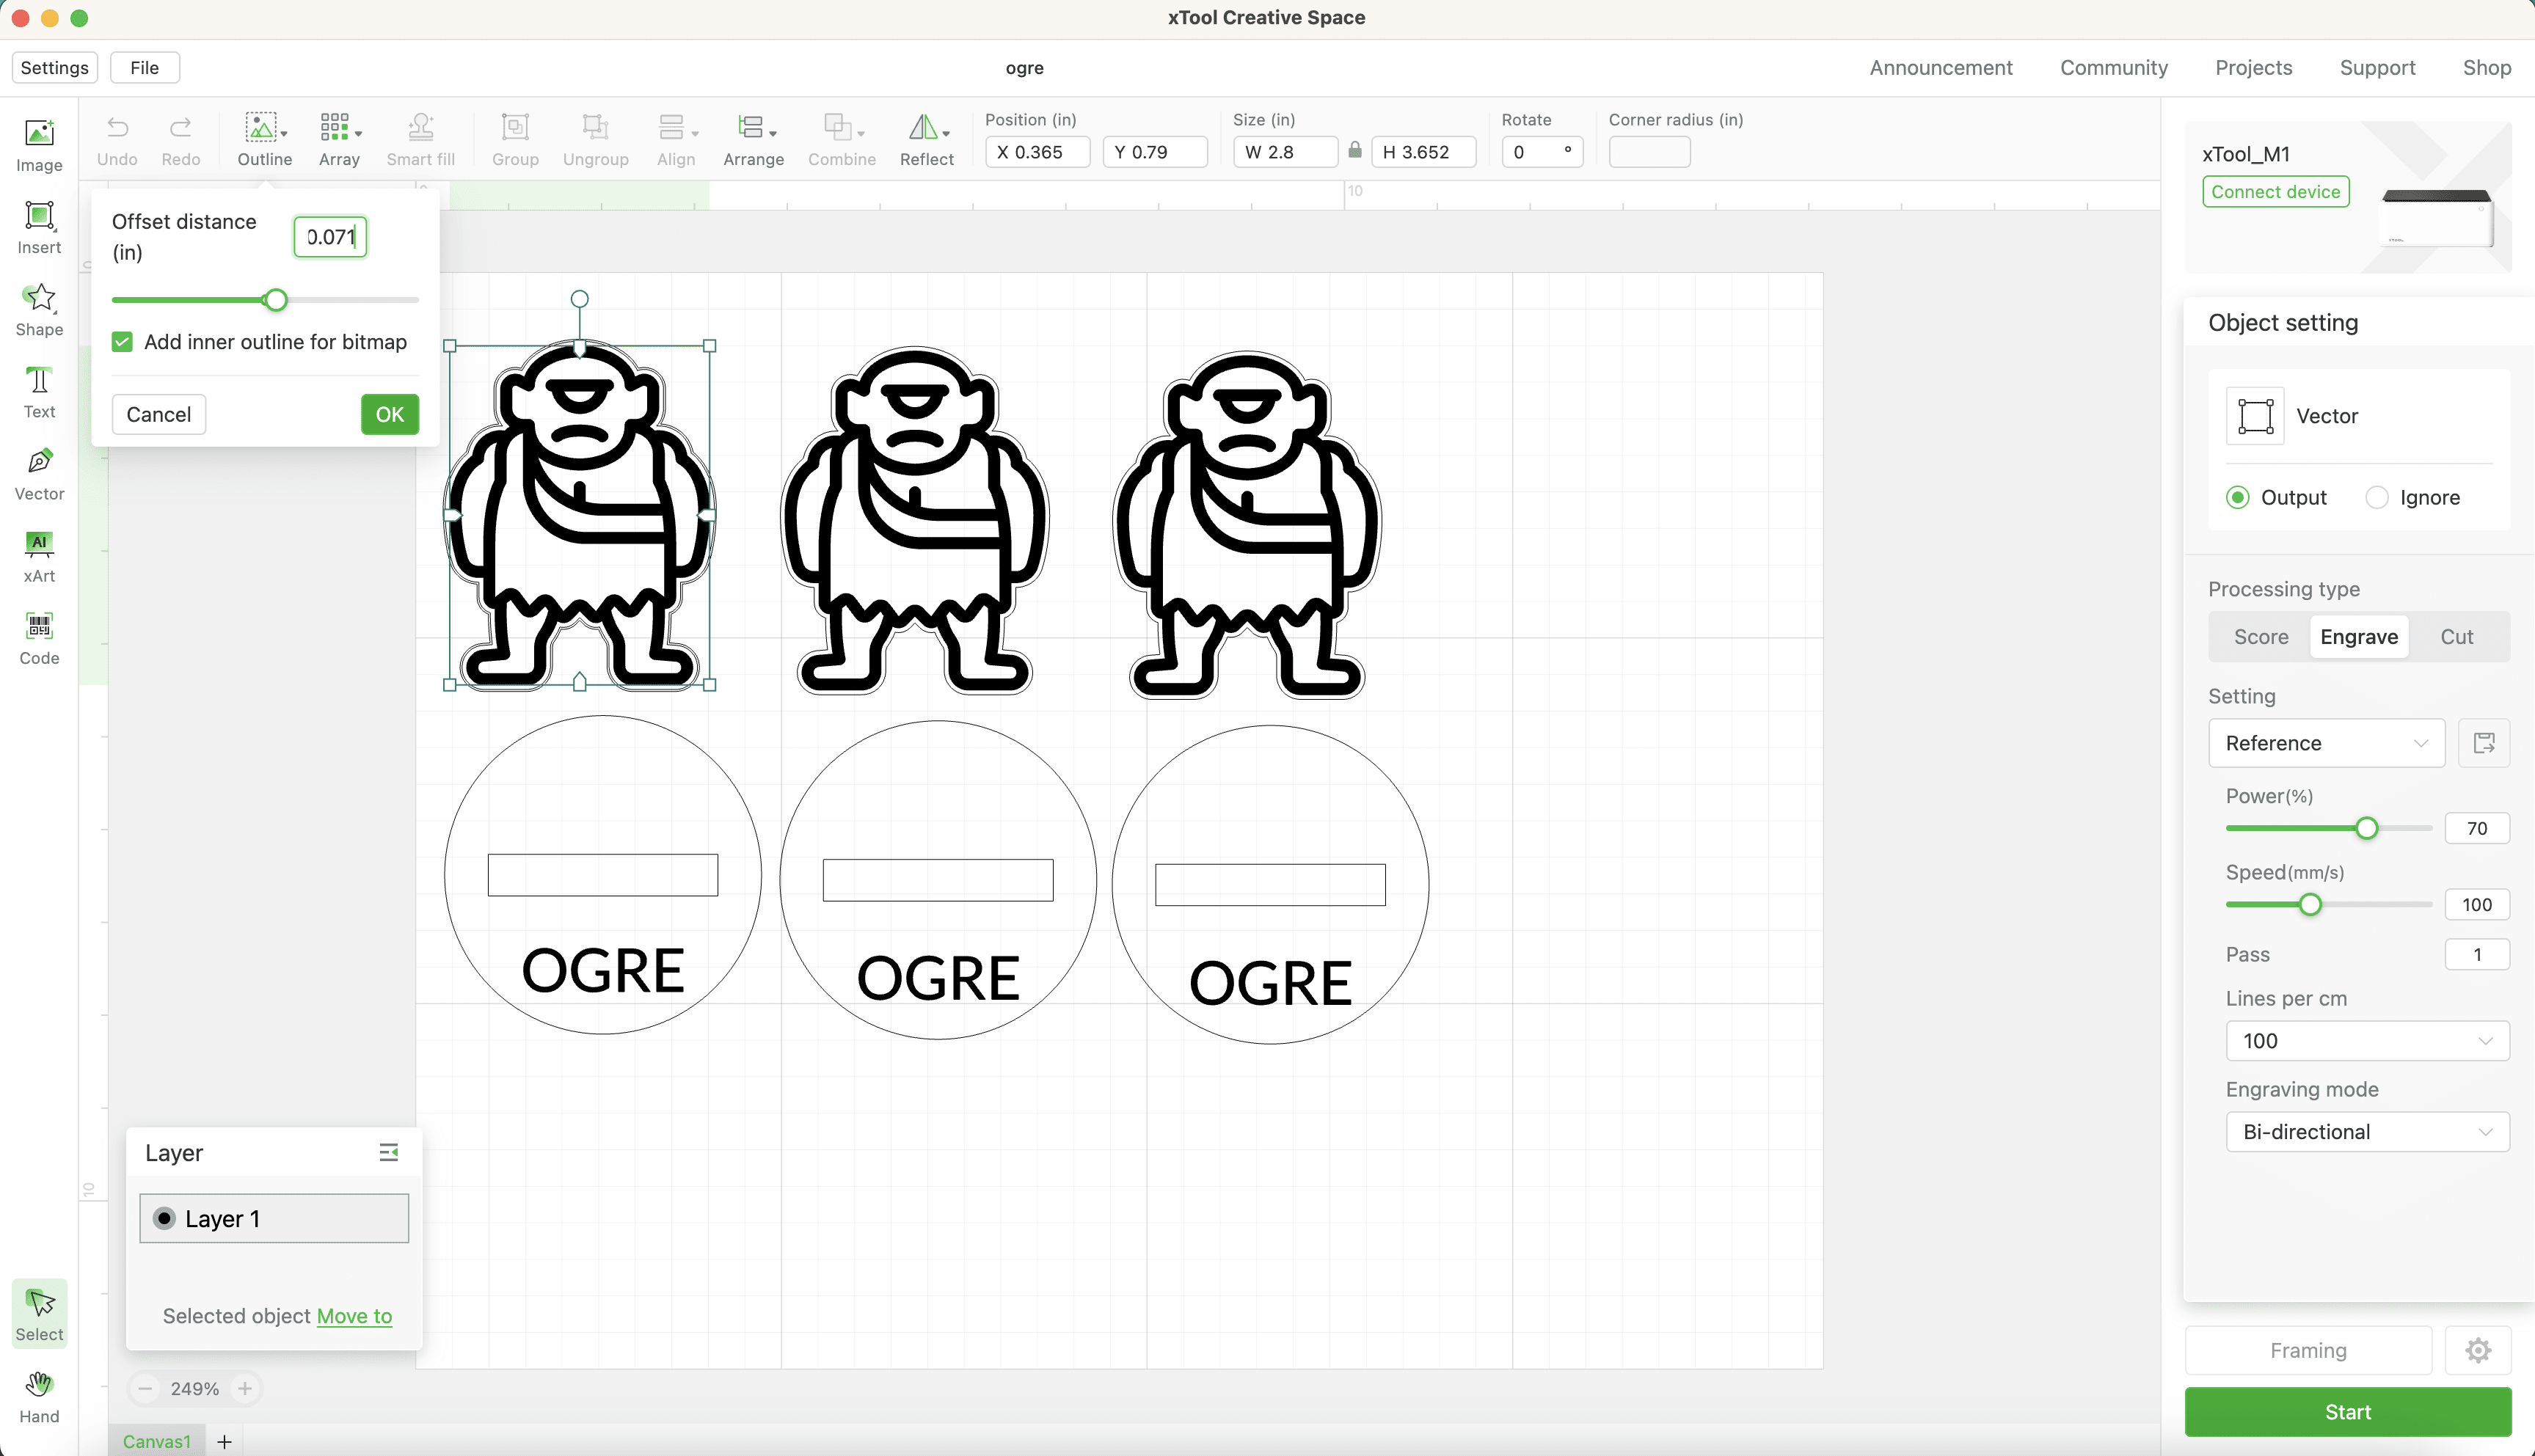
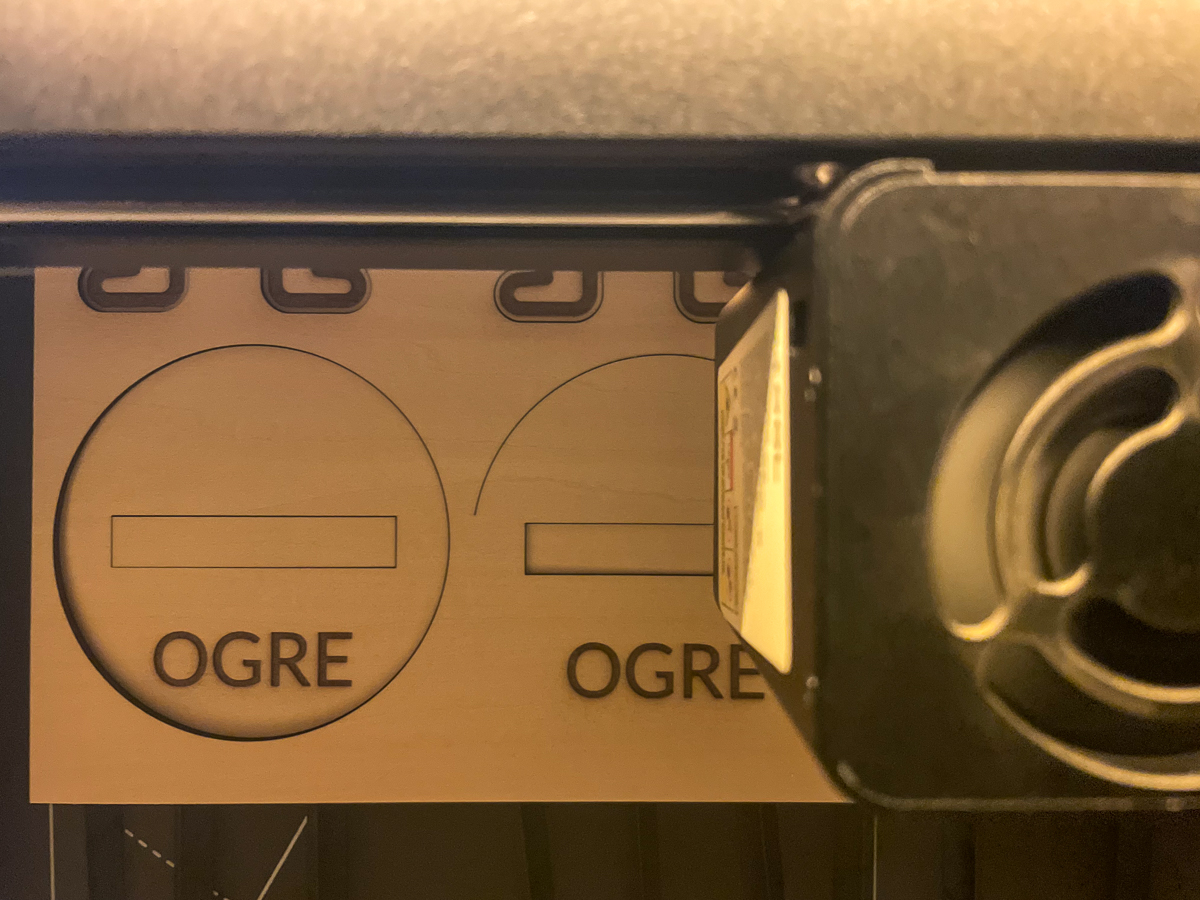
To make the base, I measured the width of the ogre's feet (with the offset) and made a rectangle that was the same size. Then I put a circle around it and used the text tool to label it.
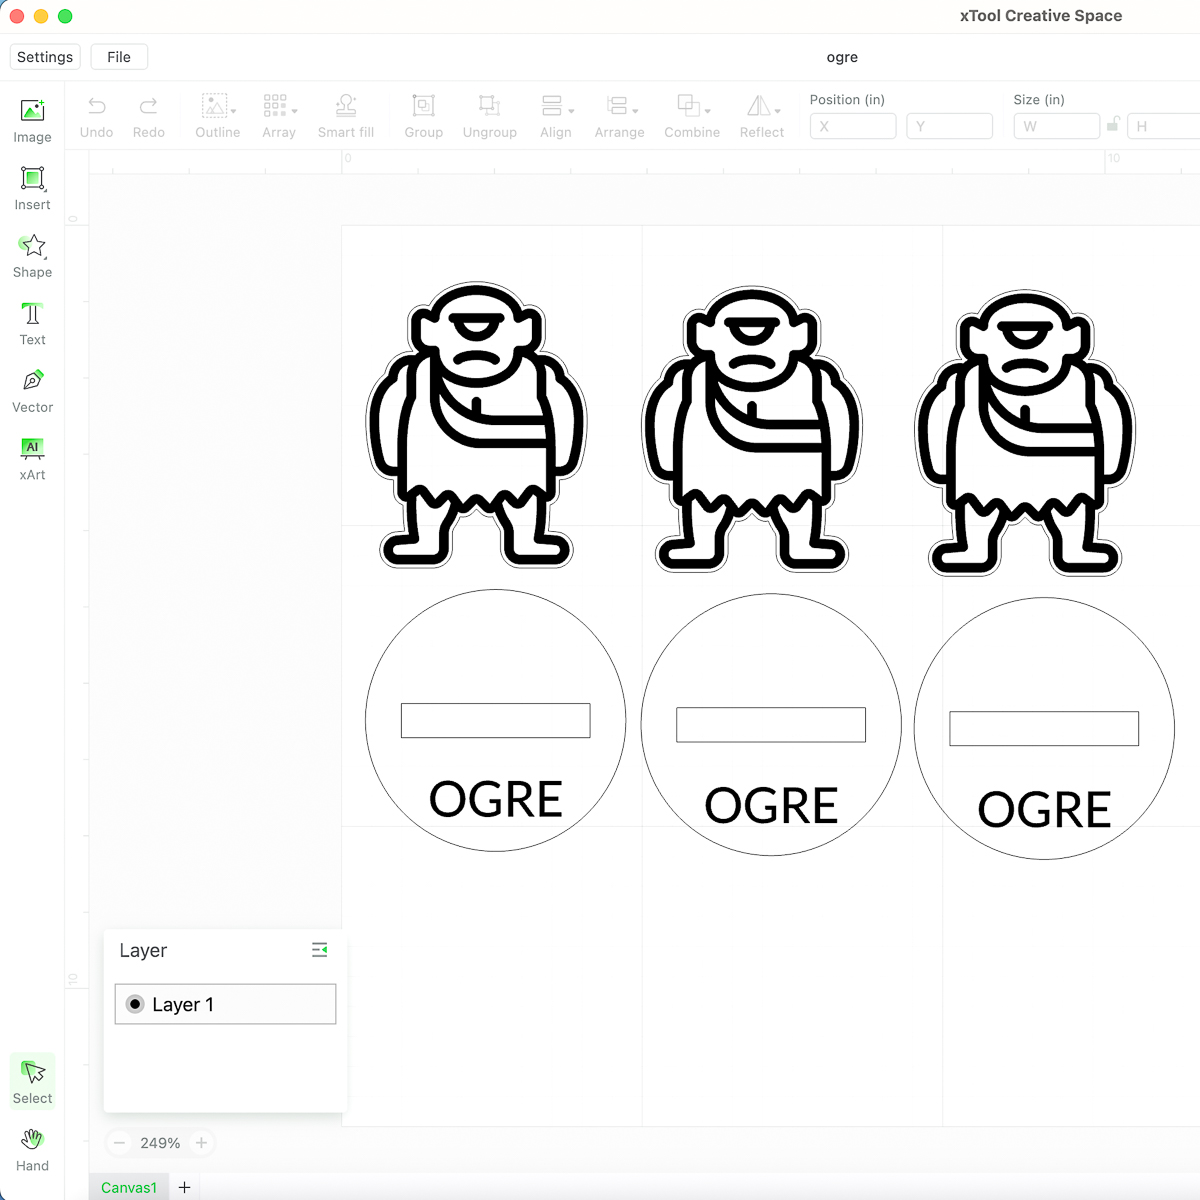
In retrospect, I should have created a rectangular notch under the ogre to match the rectangular hole in the base, just like the skeletons. The rounded toes made it hard to keep these guys standing upright, but I had a quick fix that worked out well in the end.
Once you have all your settings dialed in, it's time to fire up the xTool M1!
Cut out the minifigure pieces
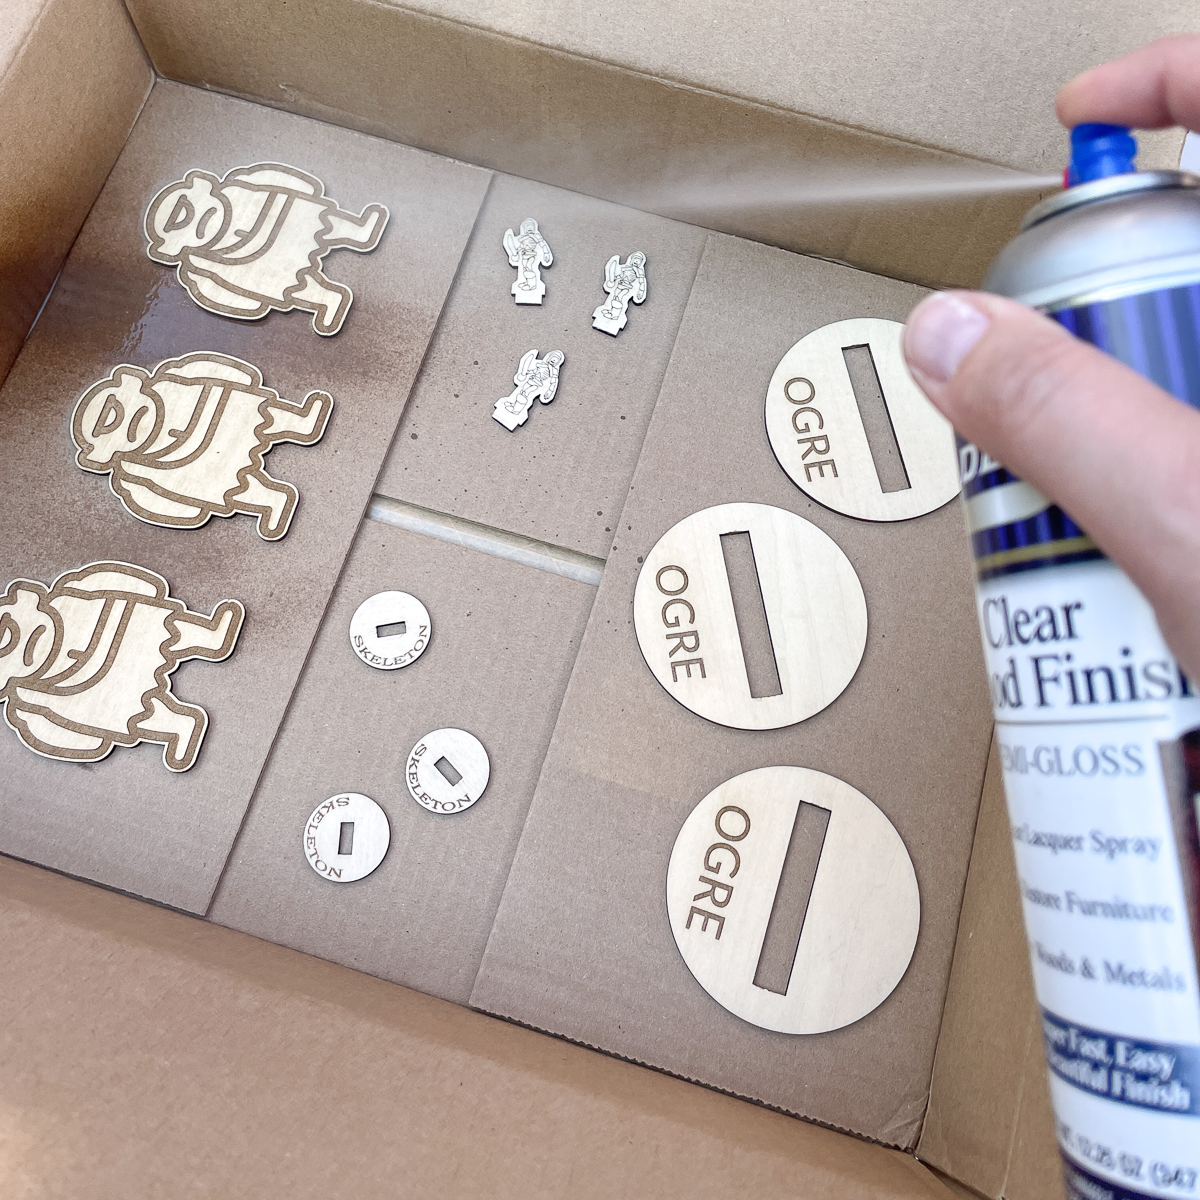
I had a few sheets of 3mm plywood from the premium materials package xTool sent me that I used for these miniatures. Place the plywood on top of the triangular pyramids arranged at the bottom of the laser cutter (or on the honeycomb if you have one).
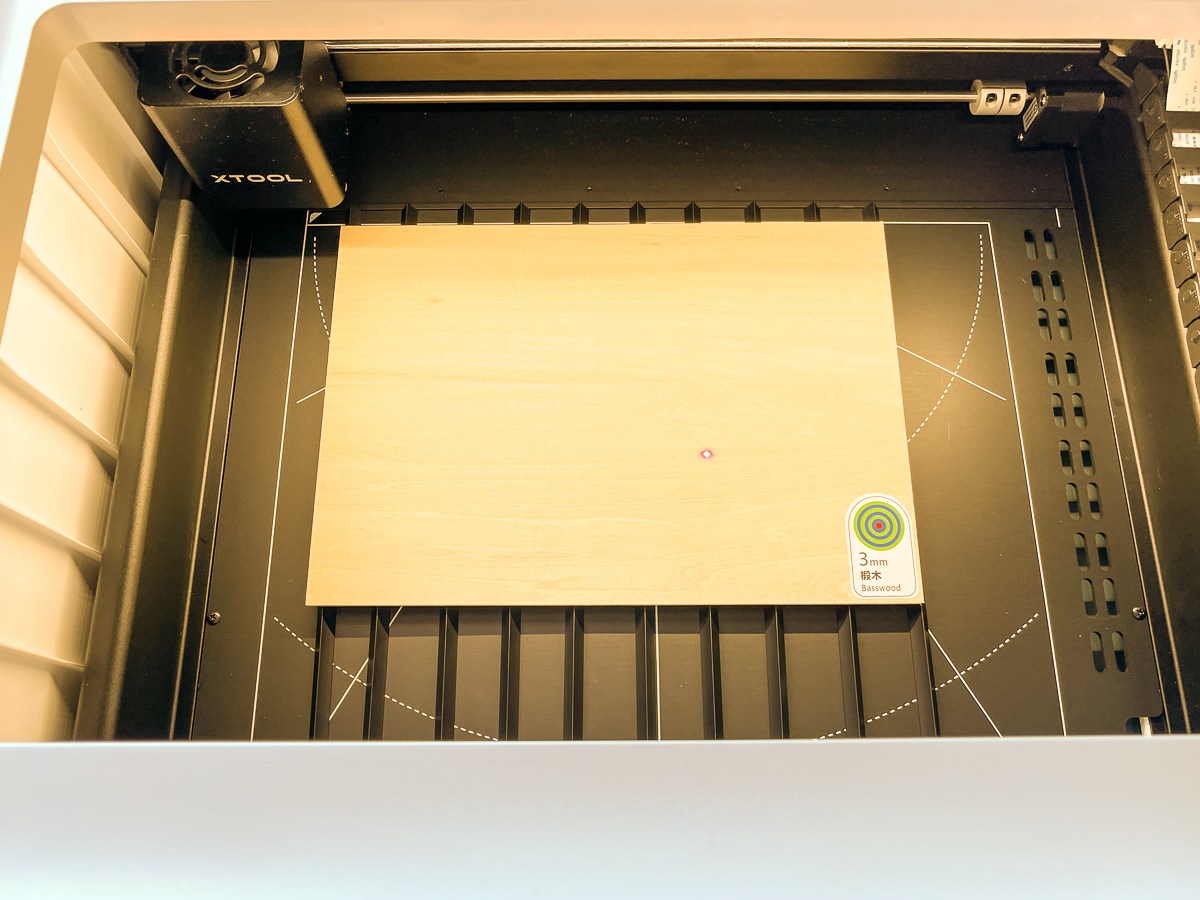
After checking to make sure that my designs were placed fully on the plywood, I hit start and let the M1 do its thing!
The skeletons were my first test with this new laser cutter, and I hadn't installed the air assist yet. There was a little bit of char around the edges, but nothing too major. You can see more of the engraving and cutting process in my xTool M1 review.

After I installed the air assist, I got super crisp edges and no charring, even on these thick lines. Just look at these guys!
The machine knows to cut the inside of the holder first, so the middle piece can drop down without disturbing the rest of the cut.
The smaller skeletons took about 8 minutes for three miniatures, but the thicker engraving on the ogres took a lot longer (about 45 minutes). I recently got the xTool P2 CO2 laser, which is much faster! You can read my review of the P2 and how it compares to the M1 here.
Sand the miniatures
You could certainly use your new DIY DnD miniatures straight out of the laser cutter without any additional work. But a little extra effort will have them looking even better!

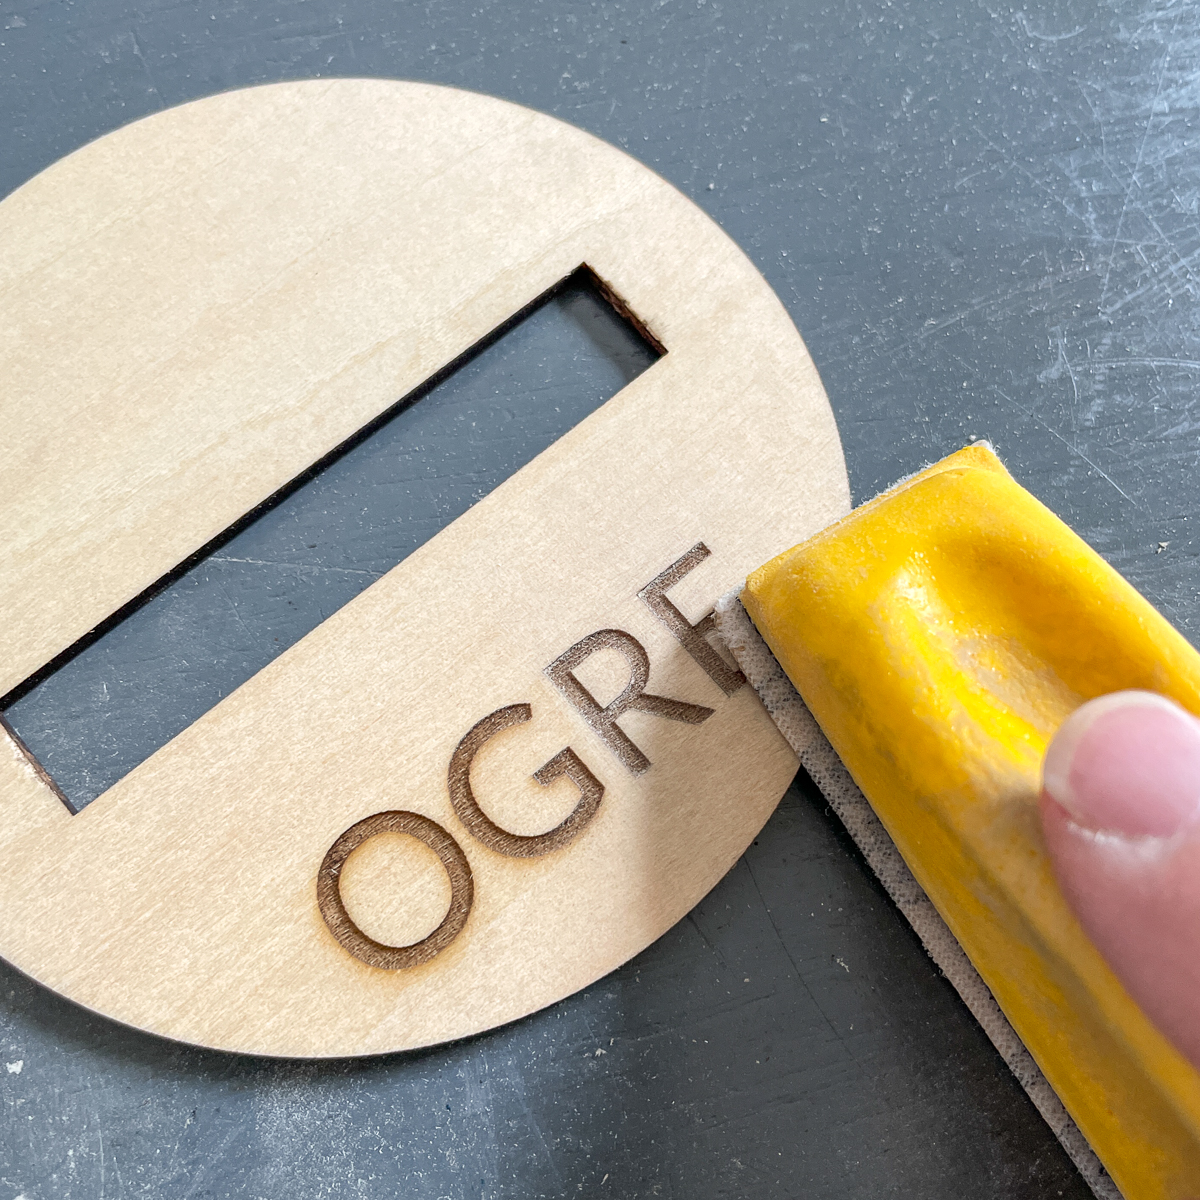
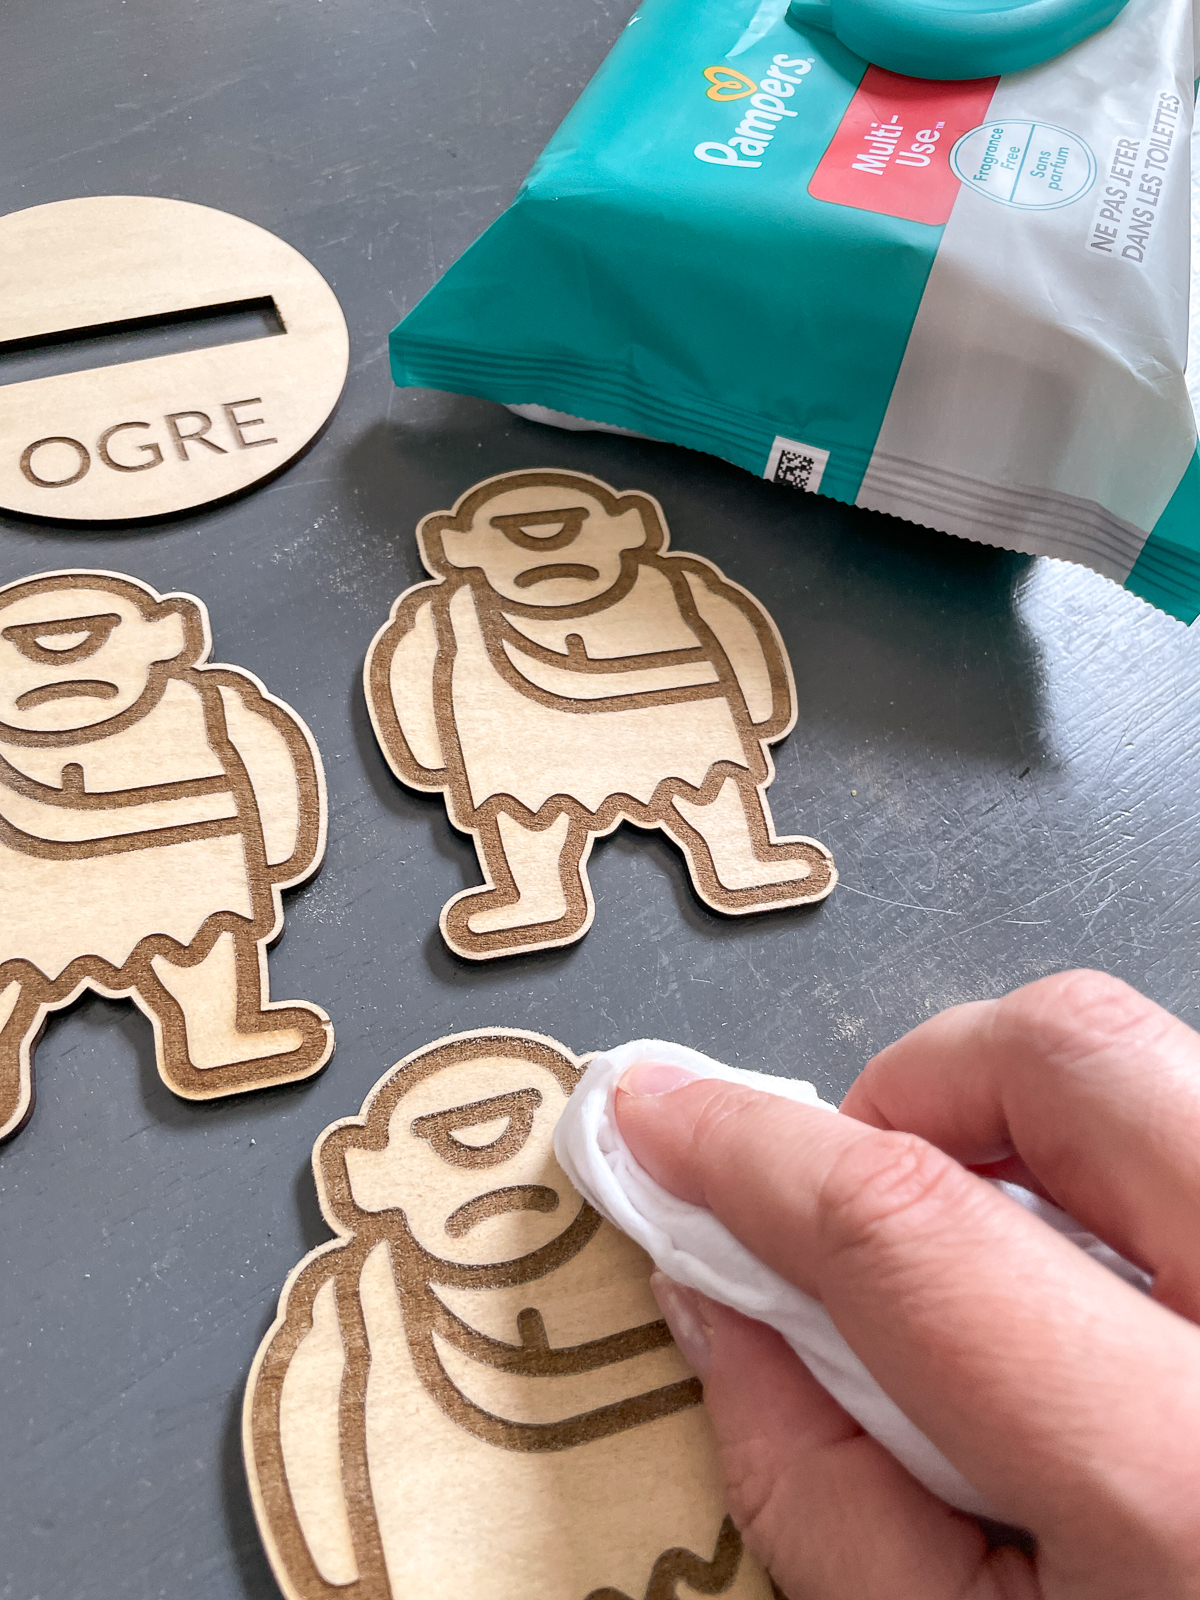
If you have any scorching along the edges, a little bit of sanding will take it right off! I recommend using 180 or 220 sandpaper so you don't sand right through the plywood veneer. I like these little sanding blocks that keep the sandpaper flat and make handling easier.
Just a few swipes really cleaned up the engraving on this lettering! You can see the R and E are already sanded, while the O and G are not.

It was a pretty tight fit inserting the skeletons into their bases. I did a light sanding on both sides of the notch to make it easier to put them together. Don't sand too much, though, or they won't be able to stand upright!
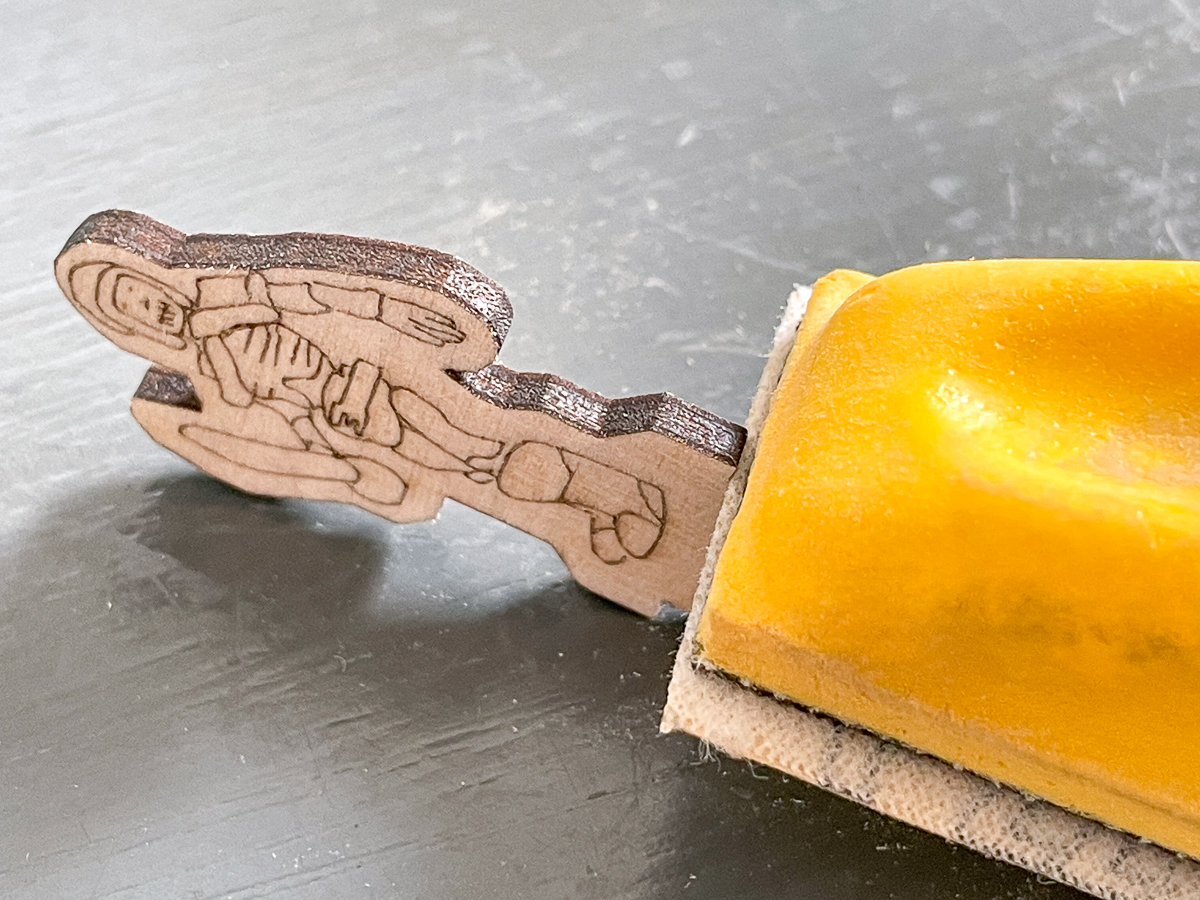

Baby wipes do a great job removing the soot and dust instead of smearing it around.

Paint or apply finish
If you love painting the plastic miniatures, you can do the same thing with these wooden ones! You might want to use paint pens to get into the finer details of the skeletons, but the ogres would be easy to add some color.
I just gave them a quick spray with lacquer. It gives the wood a richer tone and protects them from the inevitable spill during a heated battle!

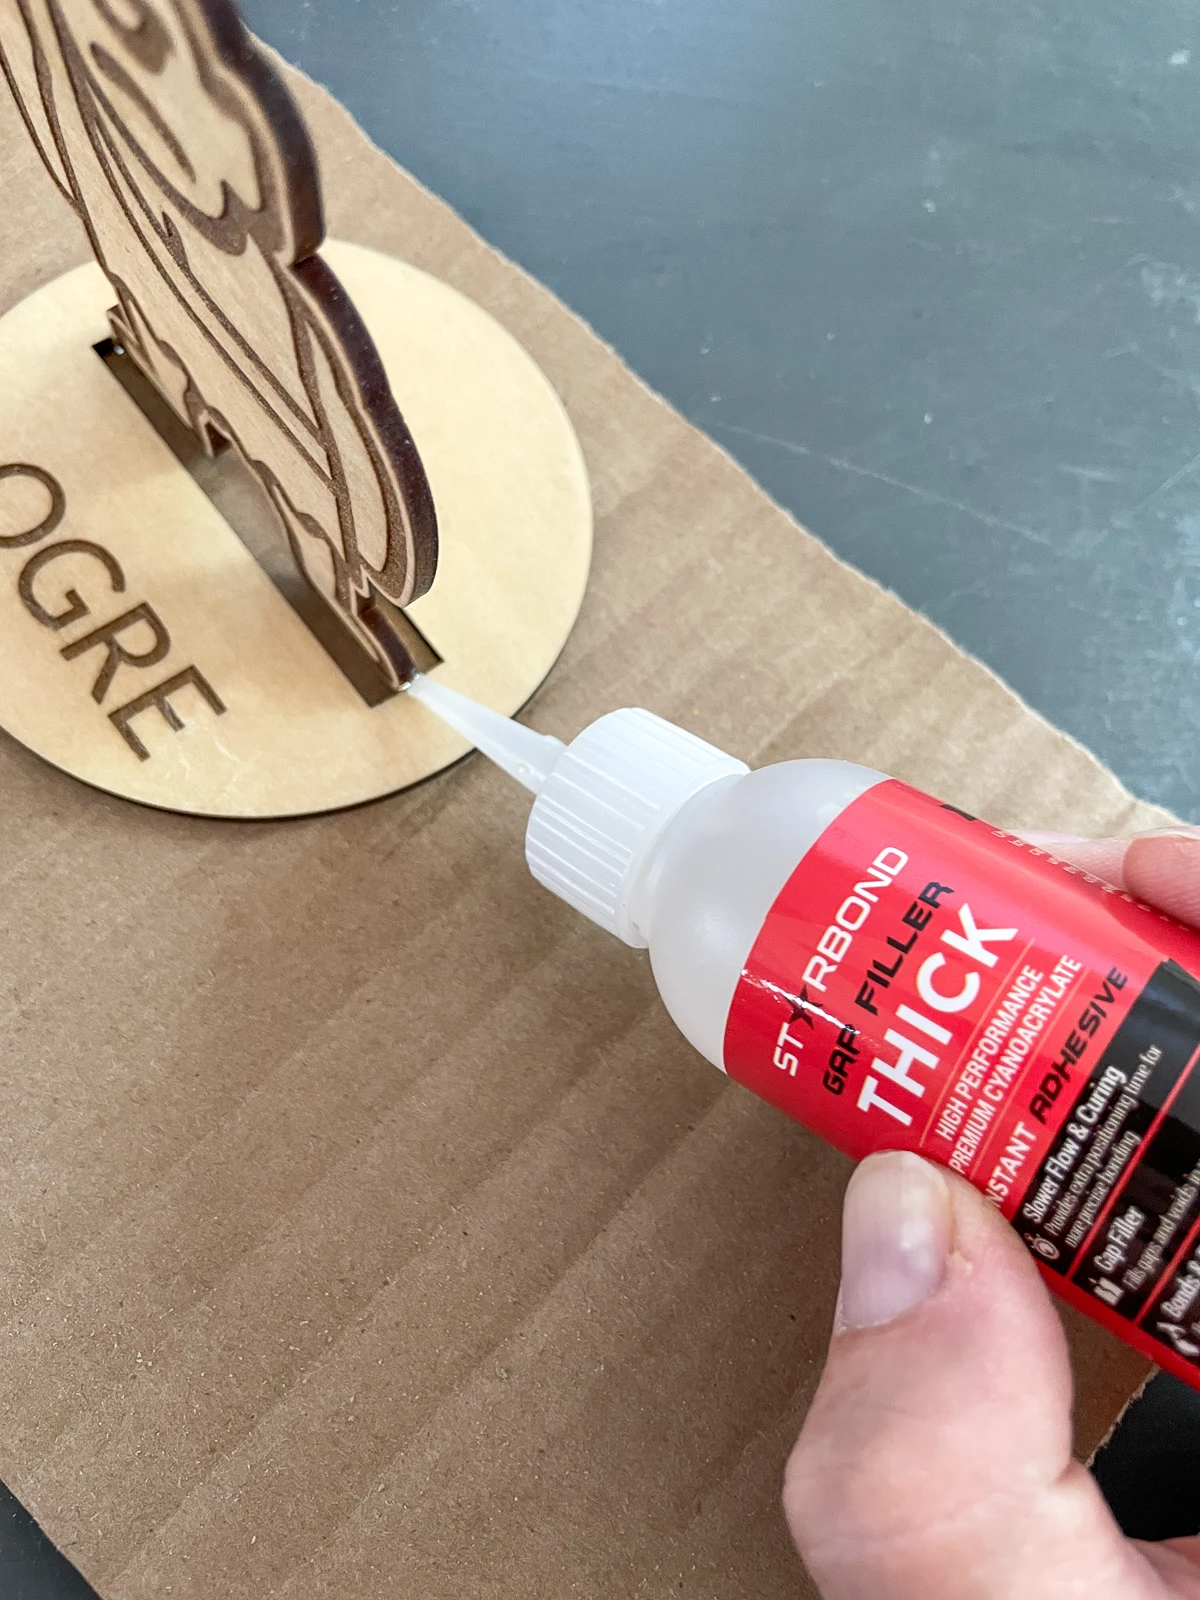
Glue on the base (optional)
After a while, the connection point between the top and the base can get worn out. These ogres are pretty big, and basswood is really soft, so it didn't take long before these miniatures couldn't stand up straight anymore.
Luckily, you can just glue the two parts together to make it a little more rigid. I added a dab of CA glue at the point where the ogre feet connects with the base. Hold it in place for 30 seconds and they're bonded together!

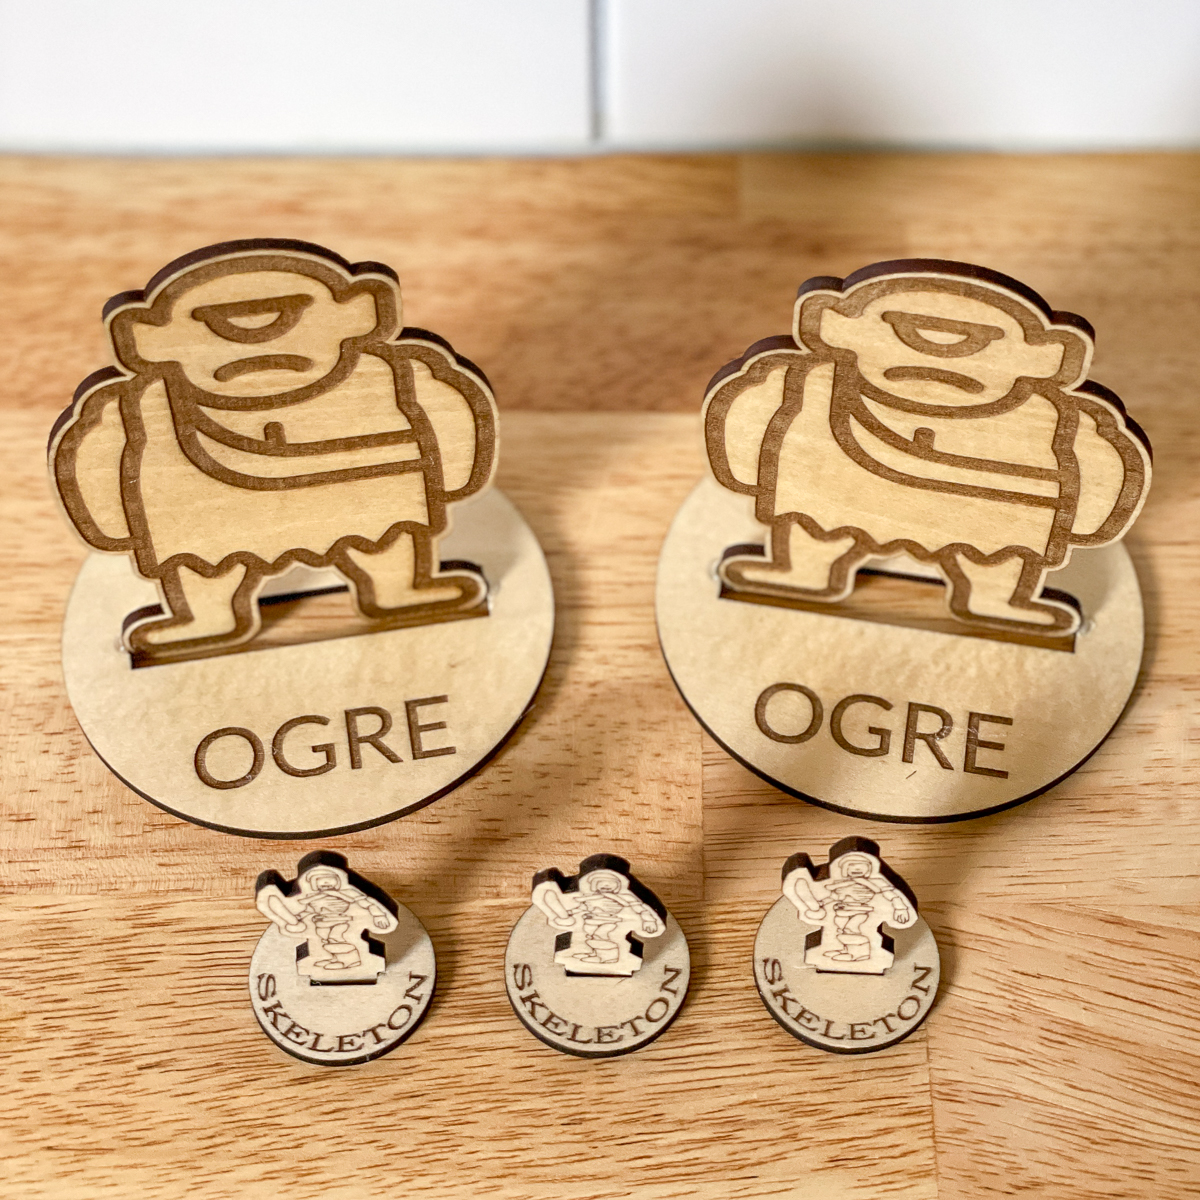
I love how these DIY dungeons and dragons miniatures turned out! They're easy to move around the board, and they stay upright better than some of his plastic ones. I already have some requests for different ones later on in the campaign!

You could easily customize them to create your own characters! This would make a great gift idea for everyone in your DnD group!
Looking for more Dungeons and Dragons stuff to make? Check out this DIY dice tray and DIY dice box I made! I'm also planning to make a dice tower and a turn tracker, so stay tuned for those projects soon!
Kenneth
Friday 16th of February 2024
I'm really intreagued by the concept of lazer cutting minis. Using your examples - with some modification I'm thinking it would be possible to make minis for a 'travelling kit' where you can keep the bases for different monster sizes - seperate from the different monsters - but then assemple it all before using it at the table?
Vineta Jackson
Tuesday 20th of February 2024
Absolutely! You'd just need to make sure to keep the base width consistent on the miniatures so the bases are interchangeable. I'd also recommend a hardwood plywood like maple or walnut, so the opening on the base doesn't wear out quite so quickly.