Keep track of plants growing in your raised beds with these engraved garden labels! Hang them on hooks and switch them out as crops change!

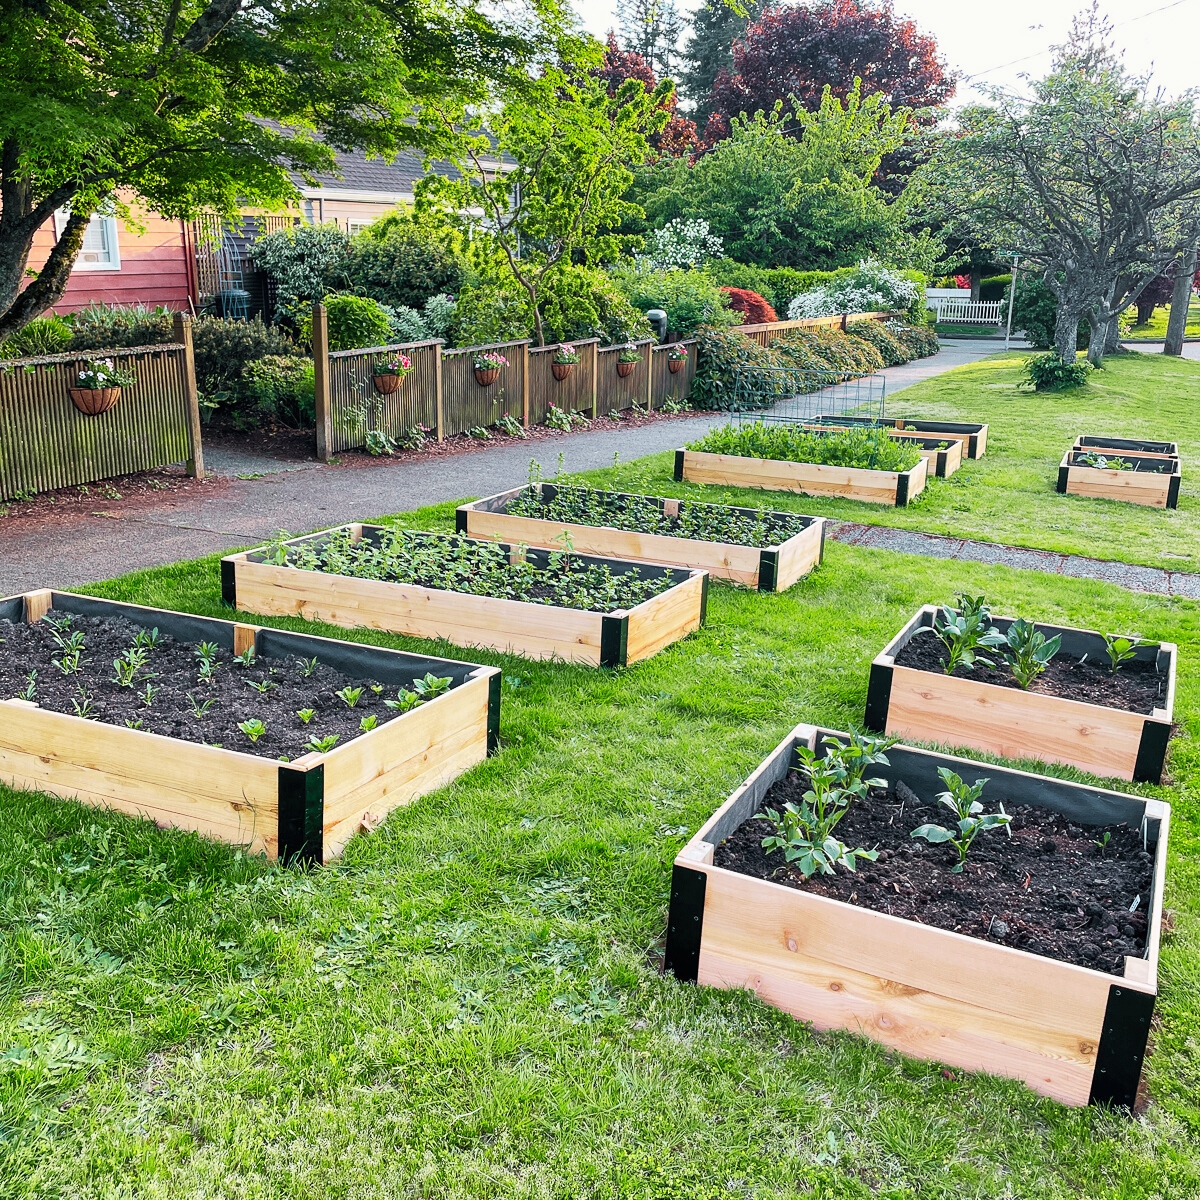
Over this past spring, I built 14 raised garden beds in the huge parking strip in front of our house. As I completed each one, I immediately planted it up with seedlings that I had started under grow lights in the basement.
But it's hard to identify plants at the seedling stage, and I was always answering the same questions from neighbors walking by. Everyone wanted to know what I was growing!
I stuck those little plastic plant tags into the ground to help me remember what was planted where. But once the flowers started blooming, it was impossible to find them!


So I decided to make these engraved garden labels to hang on the end of each raised bed. I'll be using my xTool M1 to laser cut and engrave them, but you could also complete this project with a wood burning tool or adhesive vinyl.
Don't have a laser, or looking to upgrade? Use the code VINETA100 for $100 off an xTool laser! Click here to check them out!
Check out these other DIY plant label ideas and raised garden bed ideas for more inspiration!
Let's get started!
This post contains affiliate links for your convenience. Purchases made through these links may earn me a small commission at no additional cost to you. Please visit my disclosures page for more information.
Choose the right wood
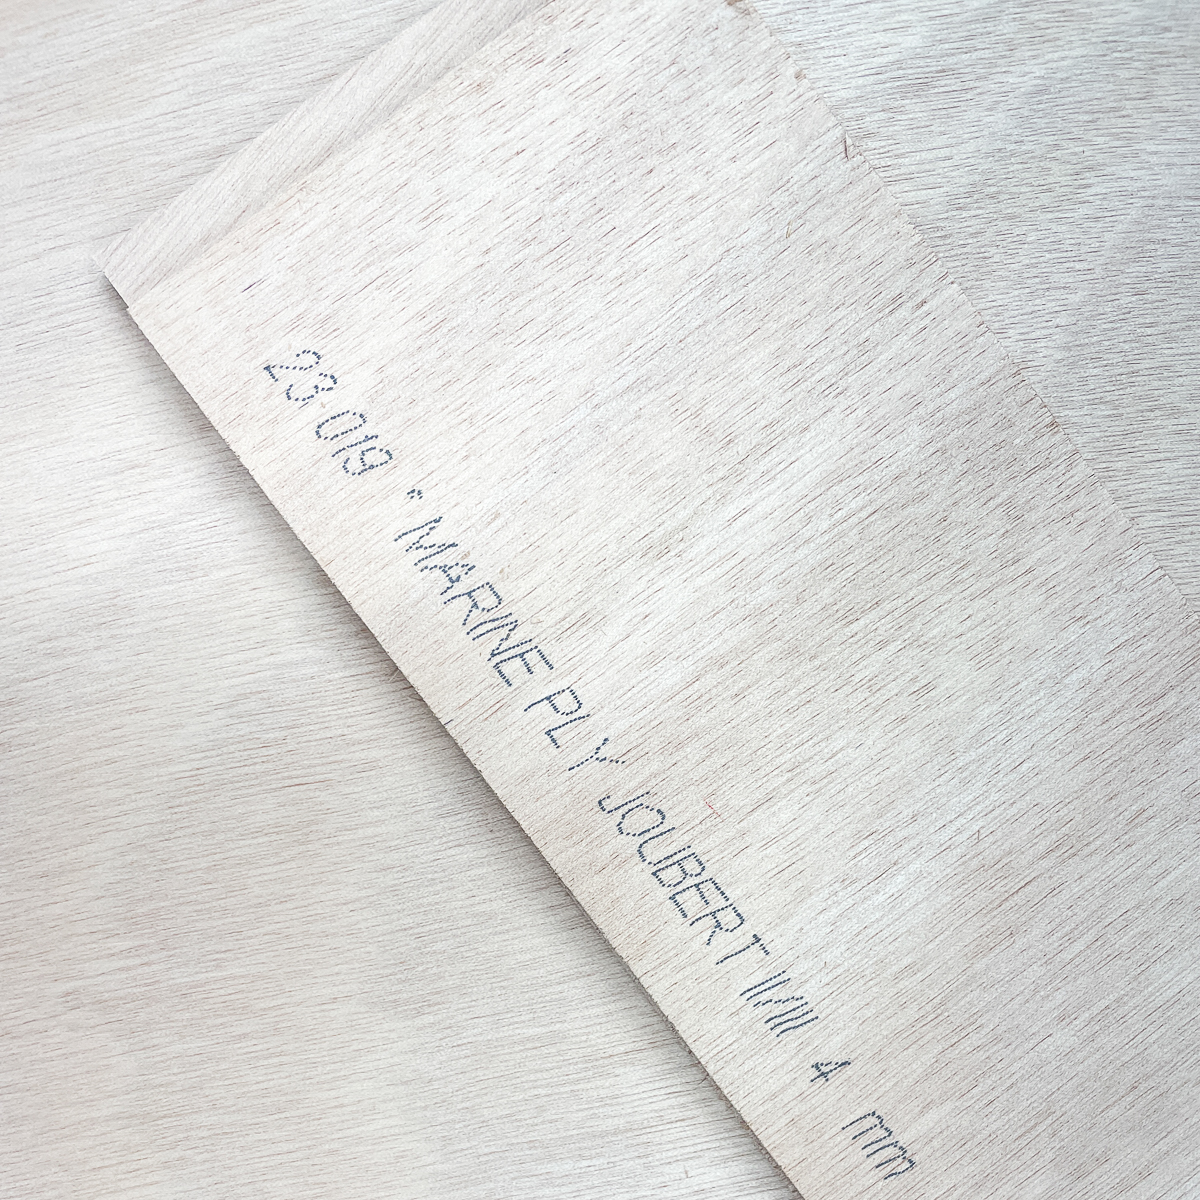
Since these garden signs will be outside, I didn't want to use regular plywood that might delaminate when it gets wet. There are ways to waterproof plywood, but I wanted to keep this project simple and avoid applying finish.
I found a quarter sheet of 4mm marine plywood at my local lumber store, which is perfect for these garden labels! It's thin enough for my xTool M1 to cut through, and it's made for wet environments.

Another water resistant option is cedar. I was originally planning to engrave my labels on these cedar planks that you use in closets. They're the perfect size, so all you'd need to do is burn in the plant name and drill a hole for the hook!
I wouldn't recommend using pressure treated lumber if you're using wood burning tools or engraving with a laser cutter. It's made with chemicals to prevent rotting, and you don't want to be breathing that stuff in! I have an in-depth comparison of cedar vs pressure treated lumber if you want more information.
Create the cut file
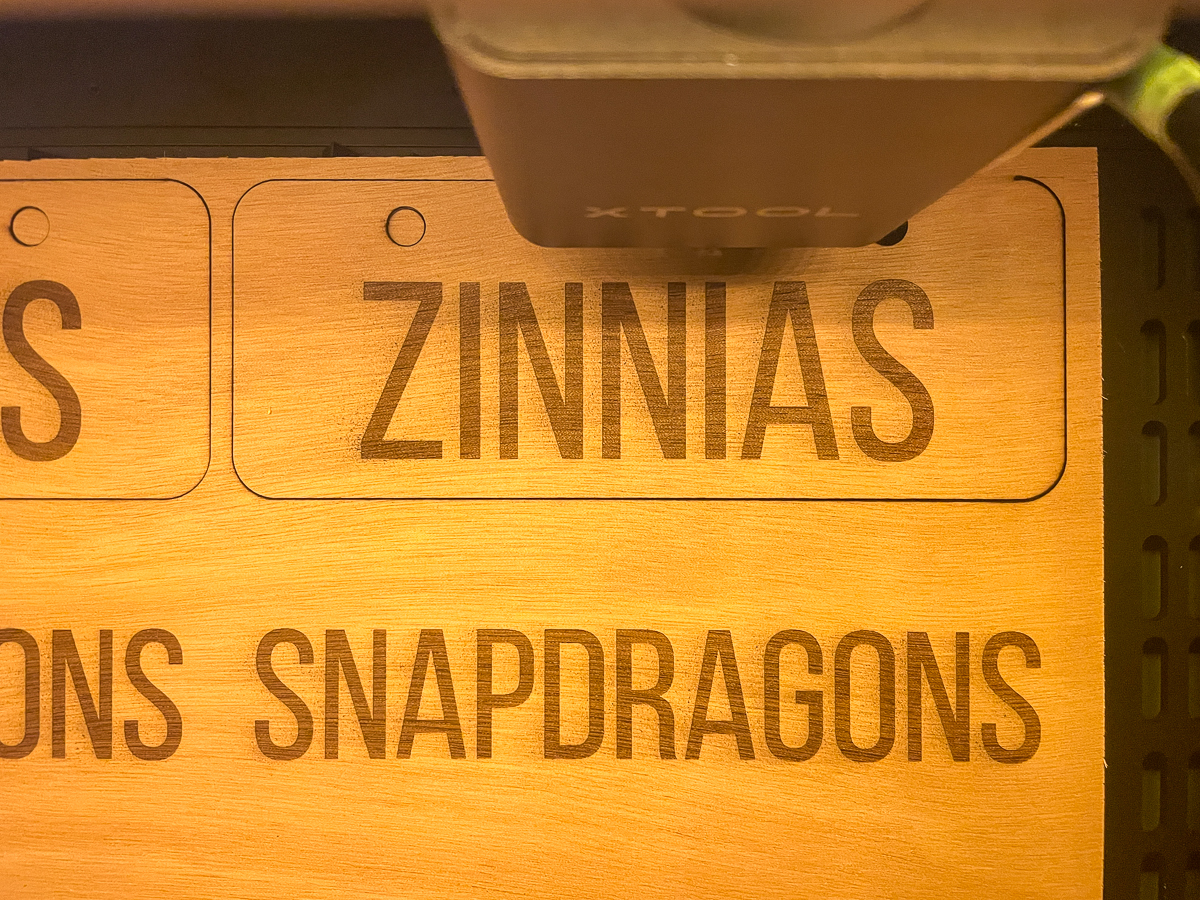
You could easily create the cut file directly in xTool Creative Space with basic shapes and text. But I was already playing around with options in Canva, so I just exported the design as an SVG and imported it into the software.
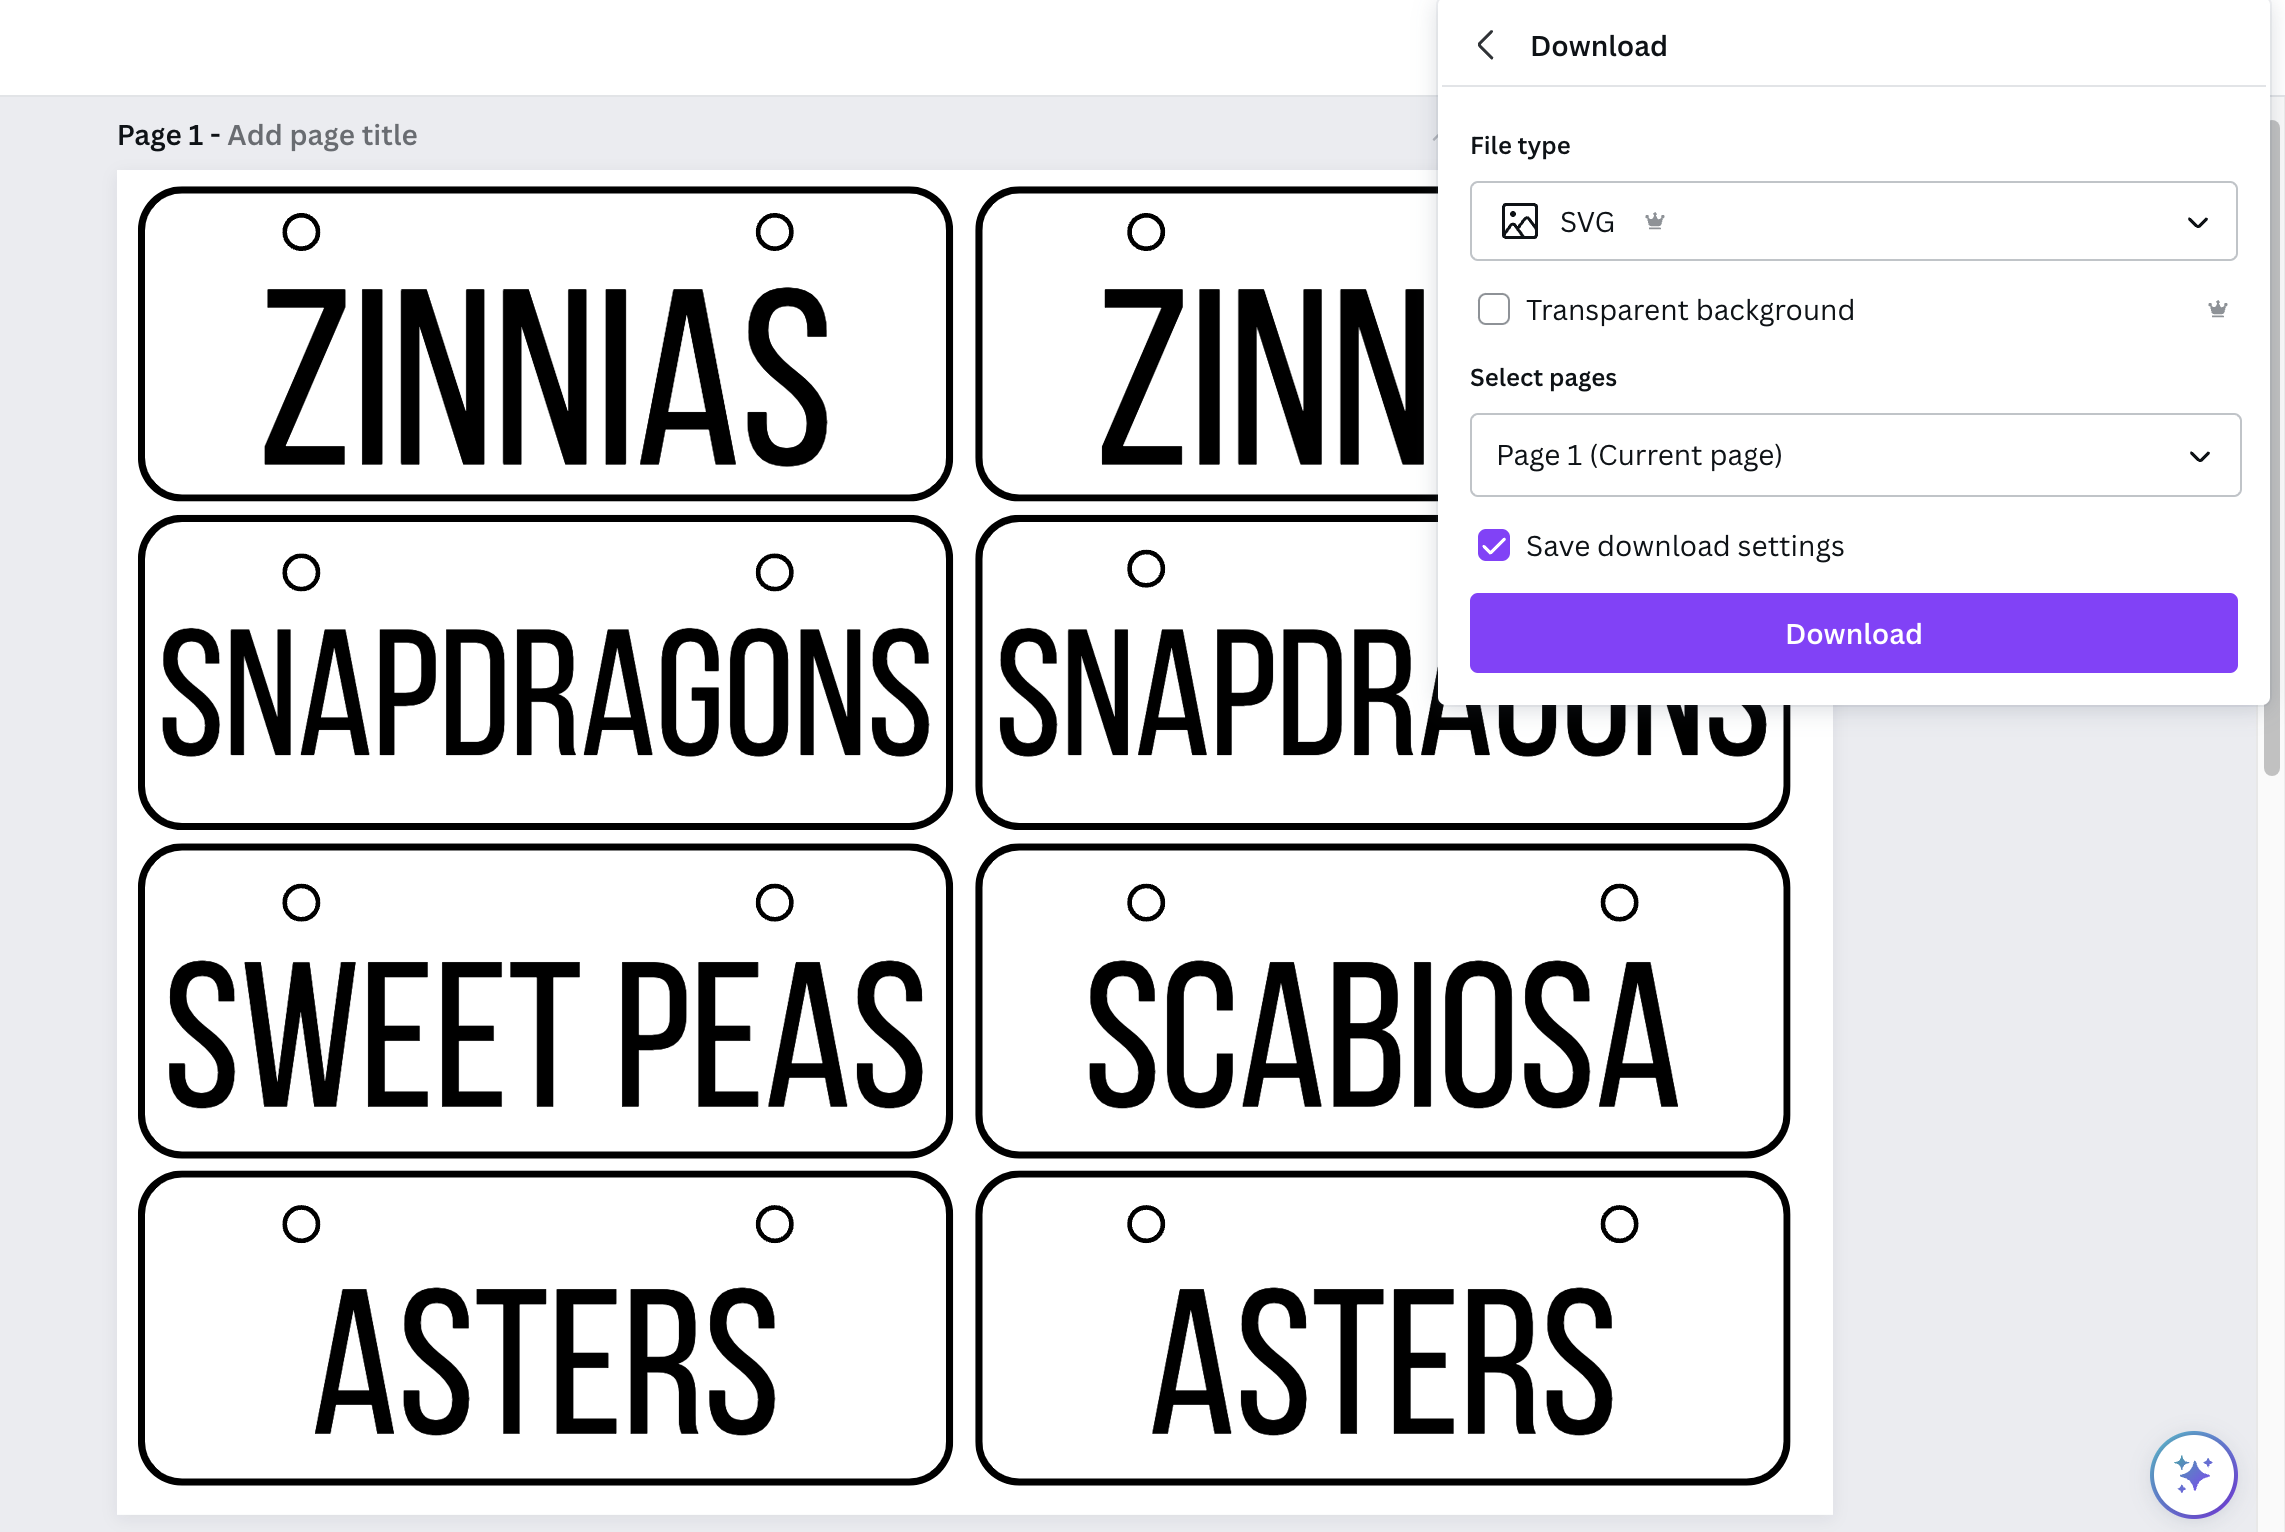
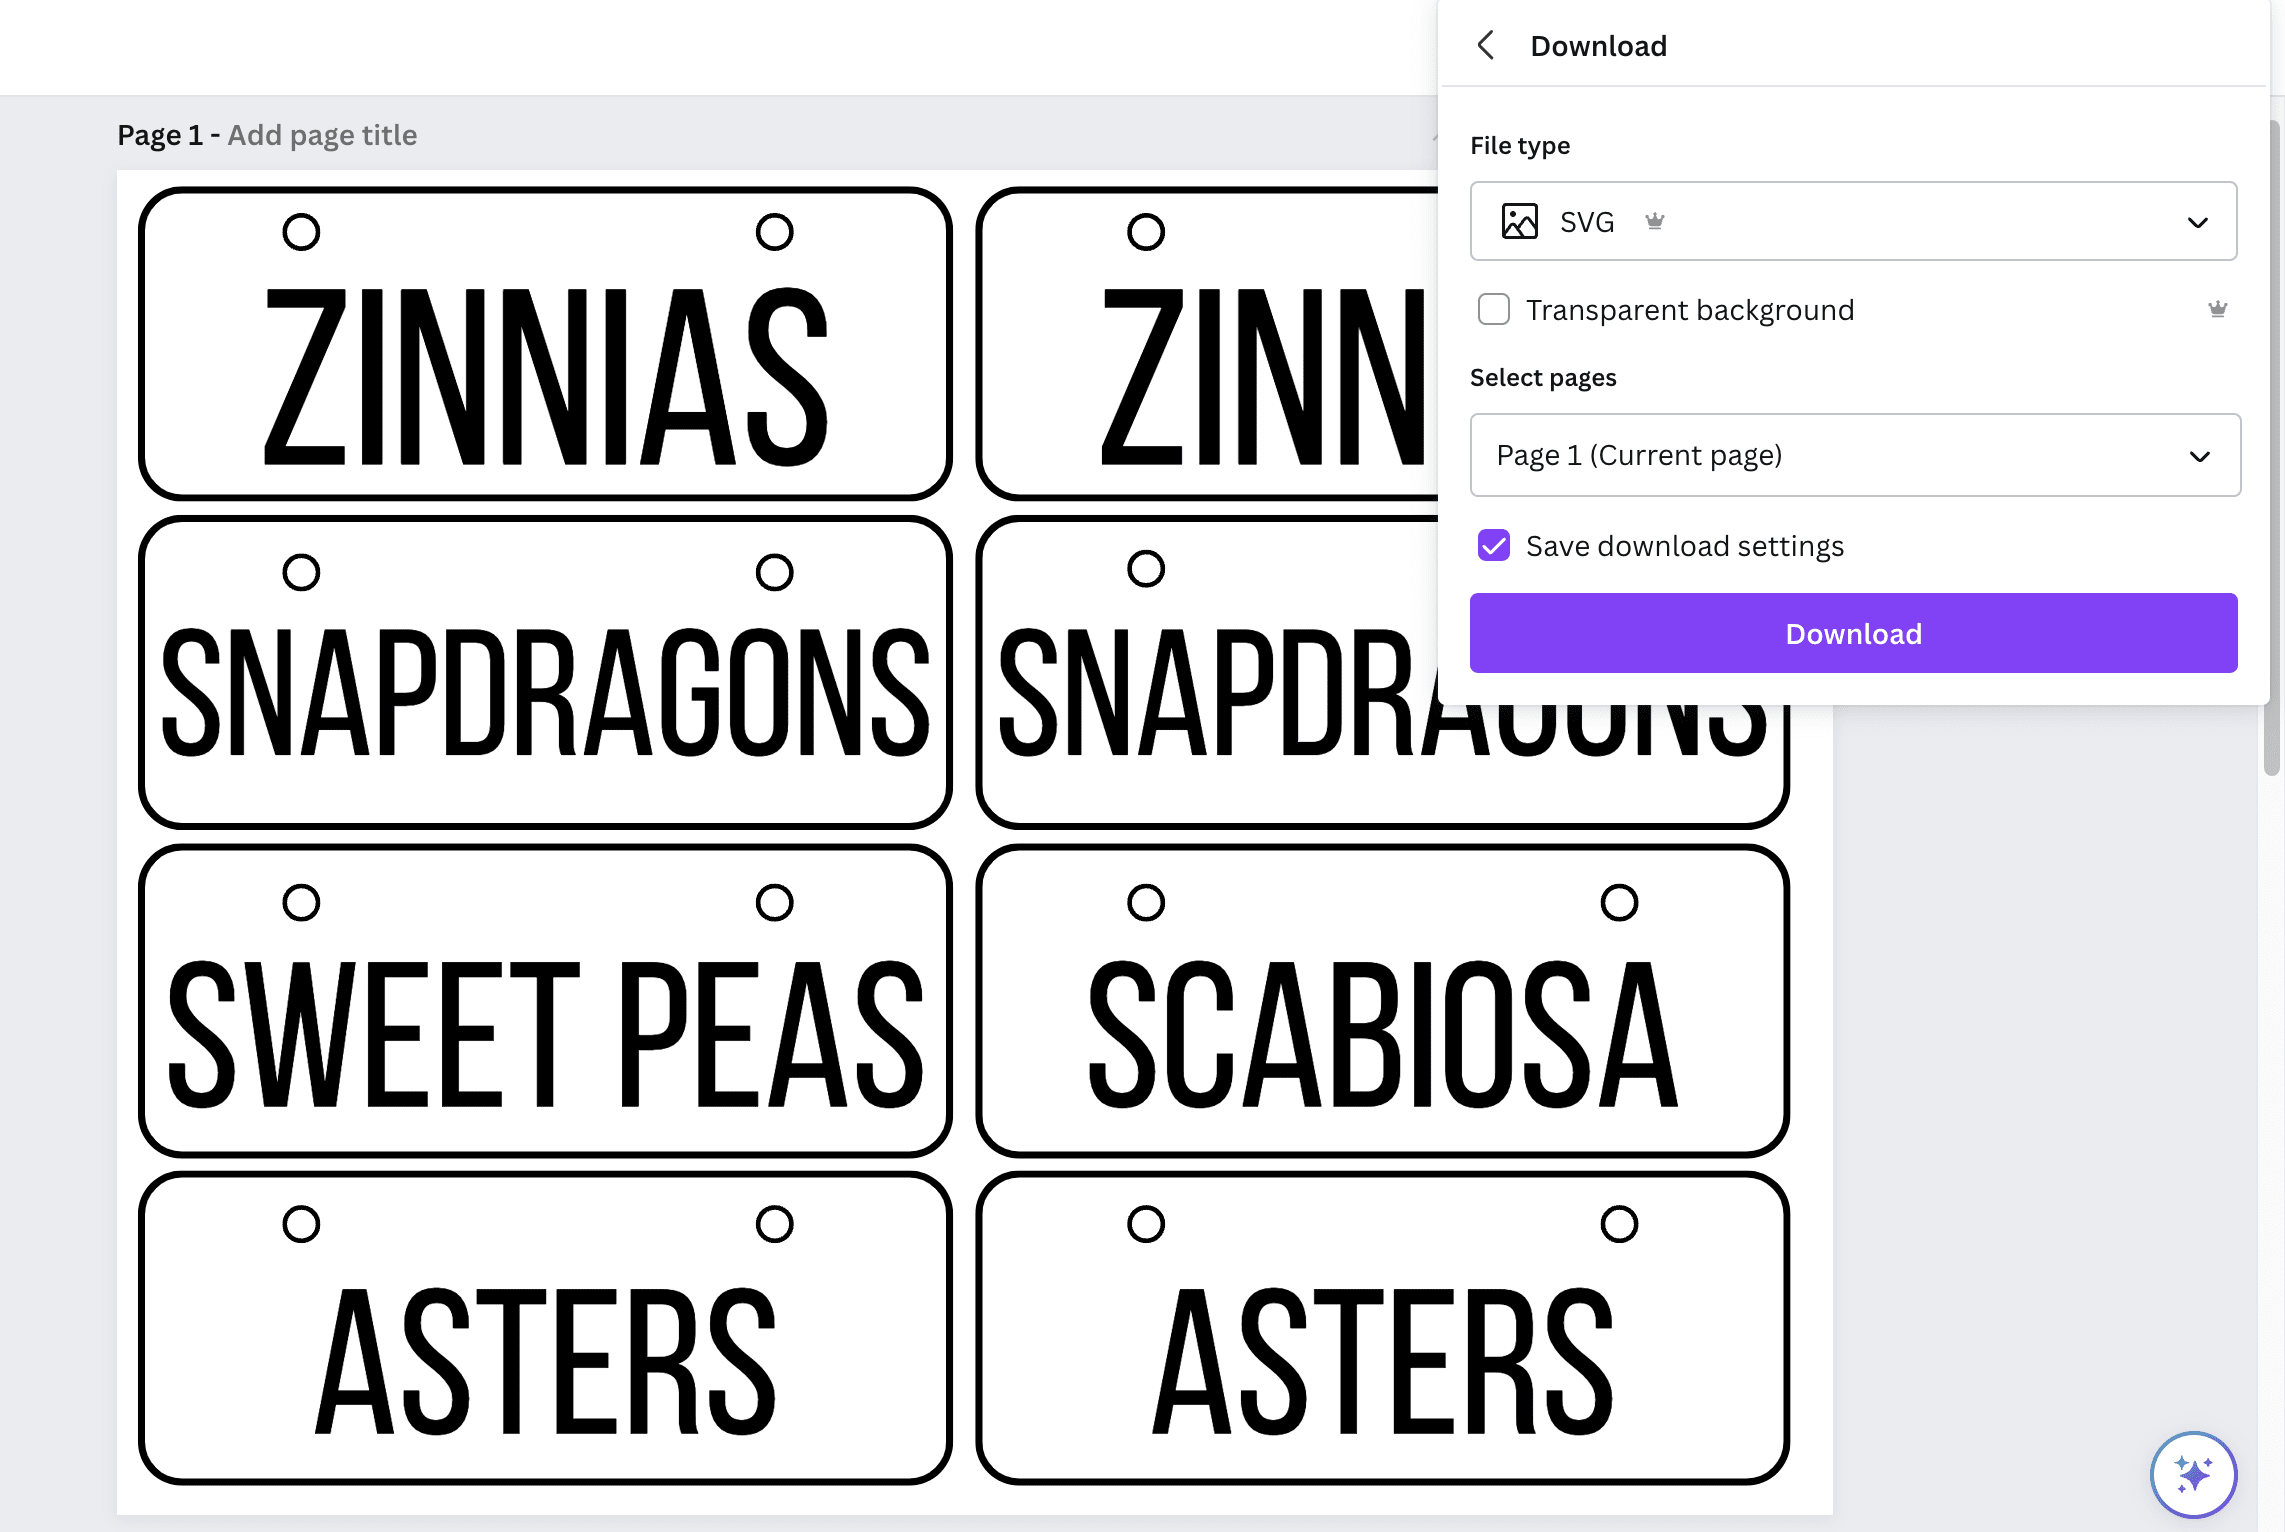
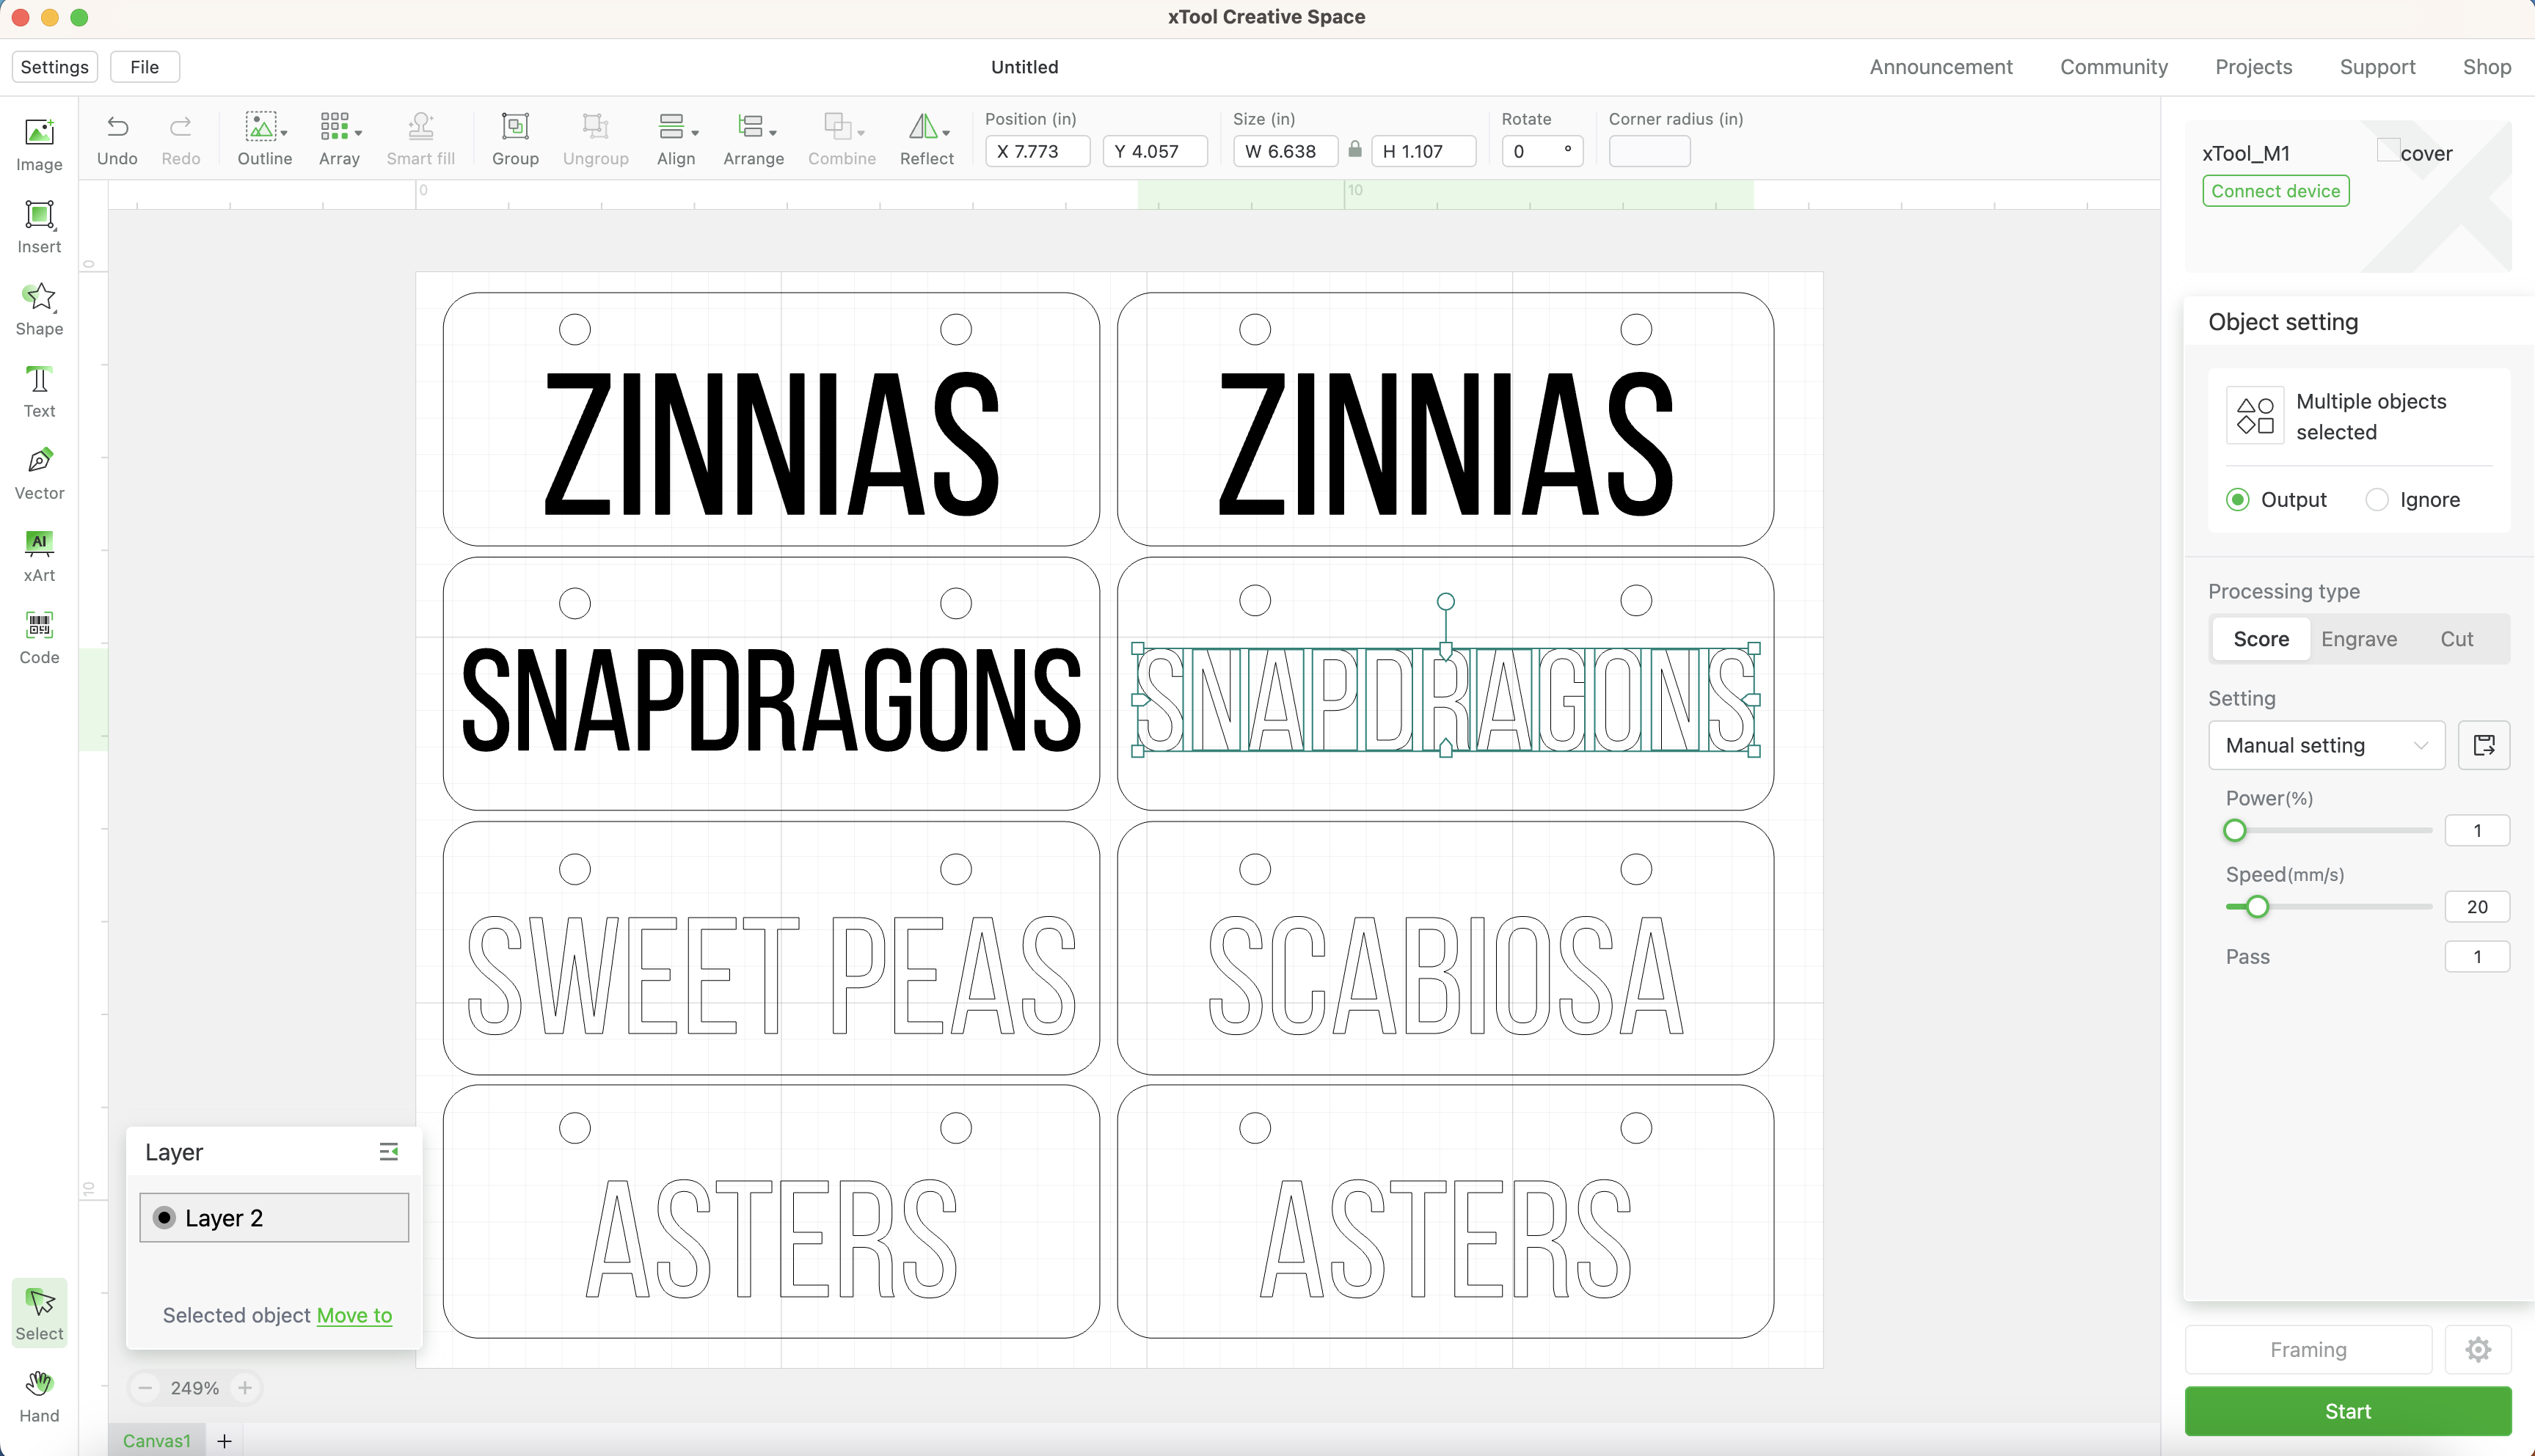
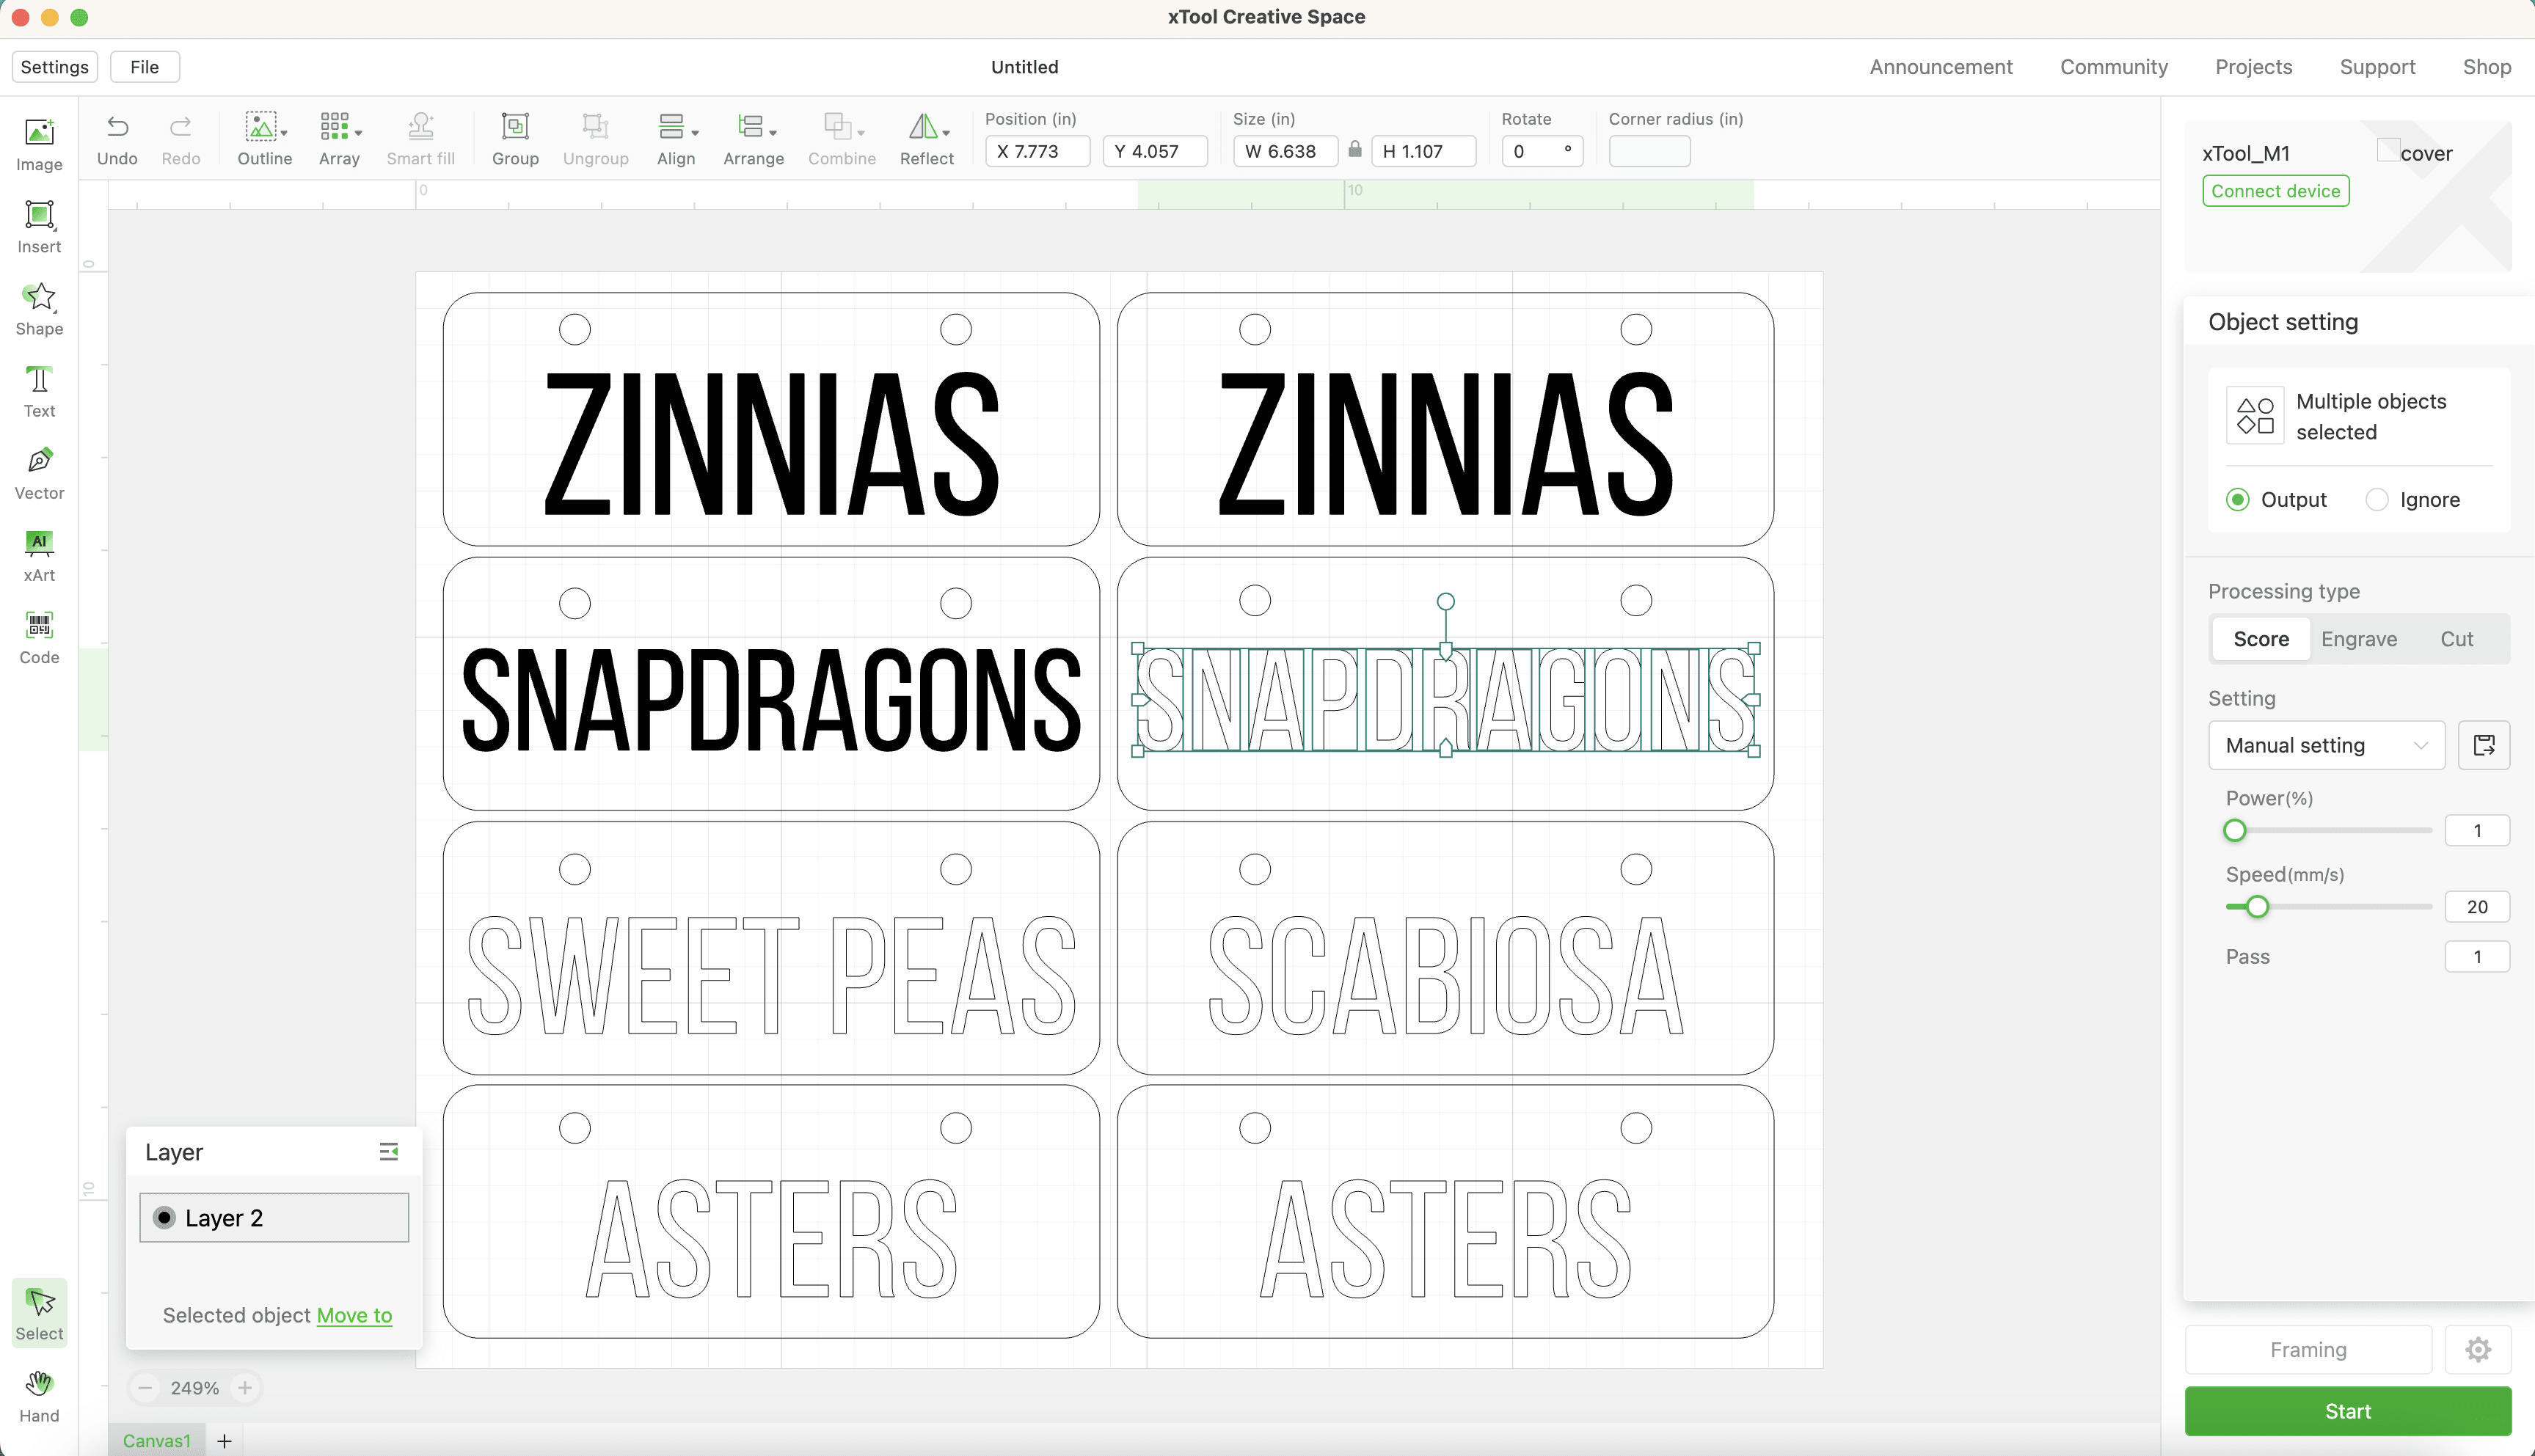
After importing the design into xTool Creative Space, you need to tell the machine which parts to cut and which ones to engrave. I selected the outside edge and the two holes for cutting, and the letters to be engraved.
Run a cut test
It's a good idea to run a test file anytime you're working with a new material in your laser cutter. If you buy plywood directly from xTool, you can skip the test altogether because they pre-programmed all the settings for you!
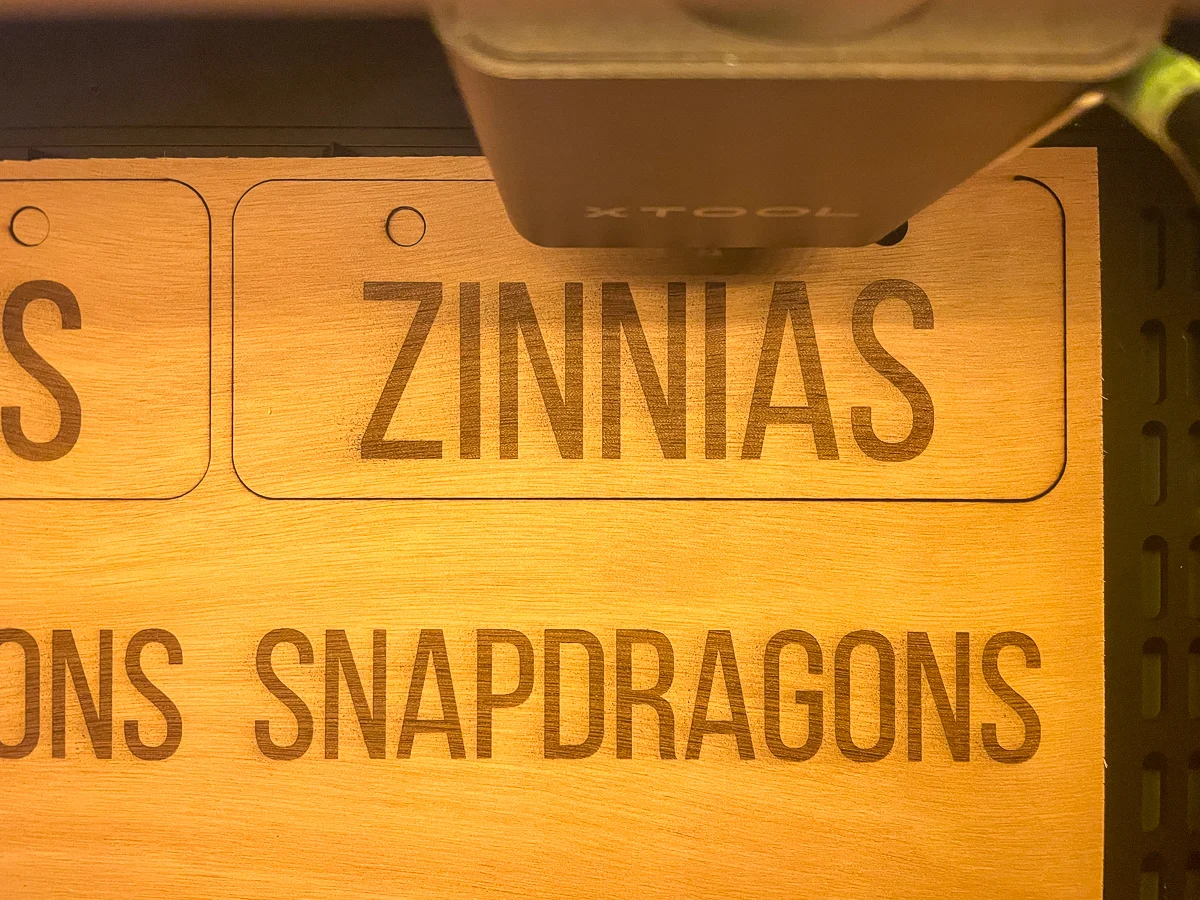
I ran an engraving test grid on my marine plywood first, so I would know what power and speed worked best for the letters. As you can see, some of the settings were way too light, while others created too much soot around the edges.

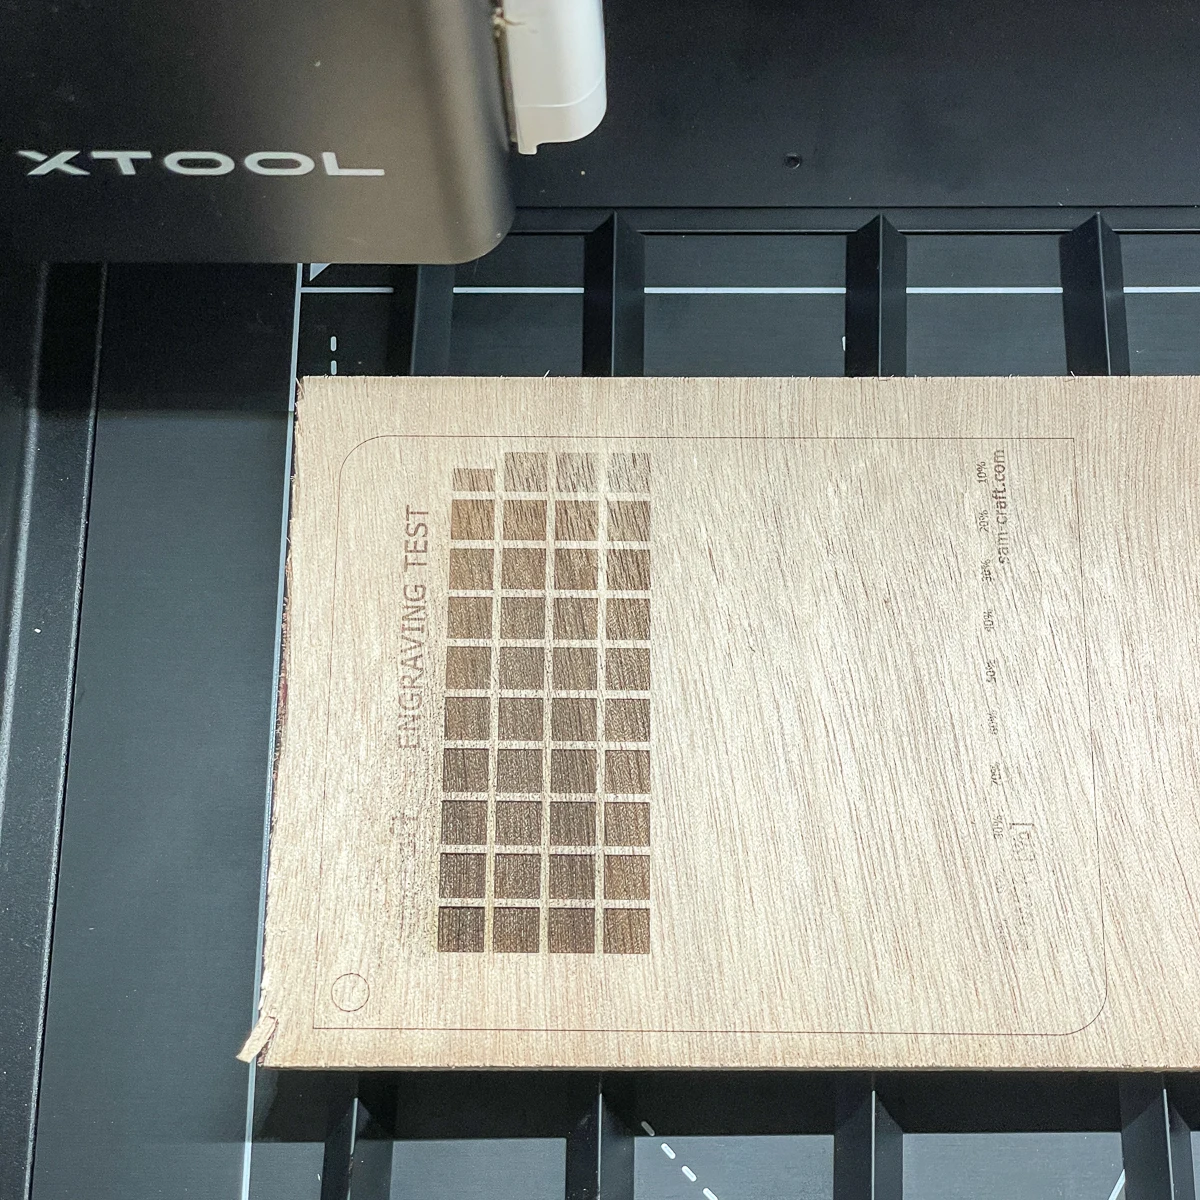
I decided to go with 50% power and 200mm/s speed for the engraving. It's one of those squares right in the middle of the grid, but the scales on the side are so light, you can't read them.
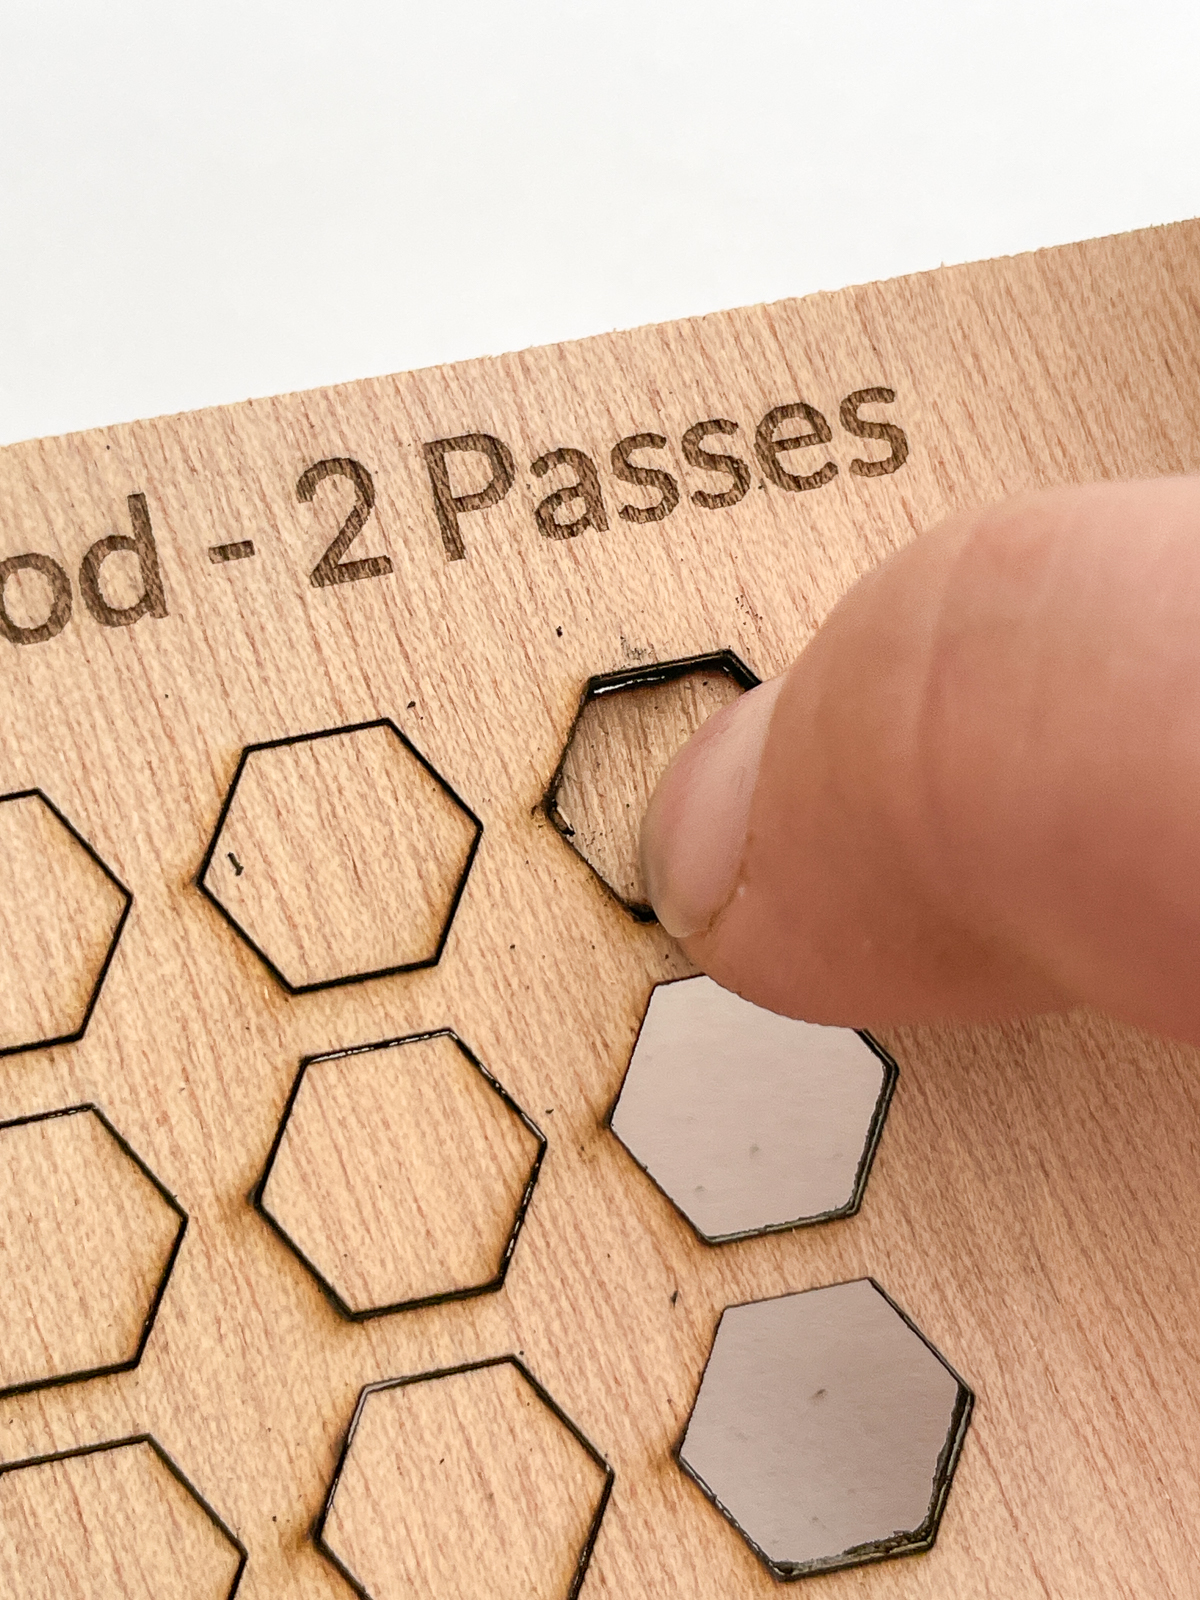
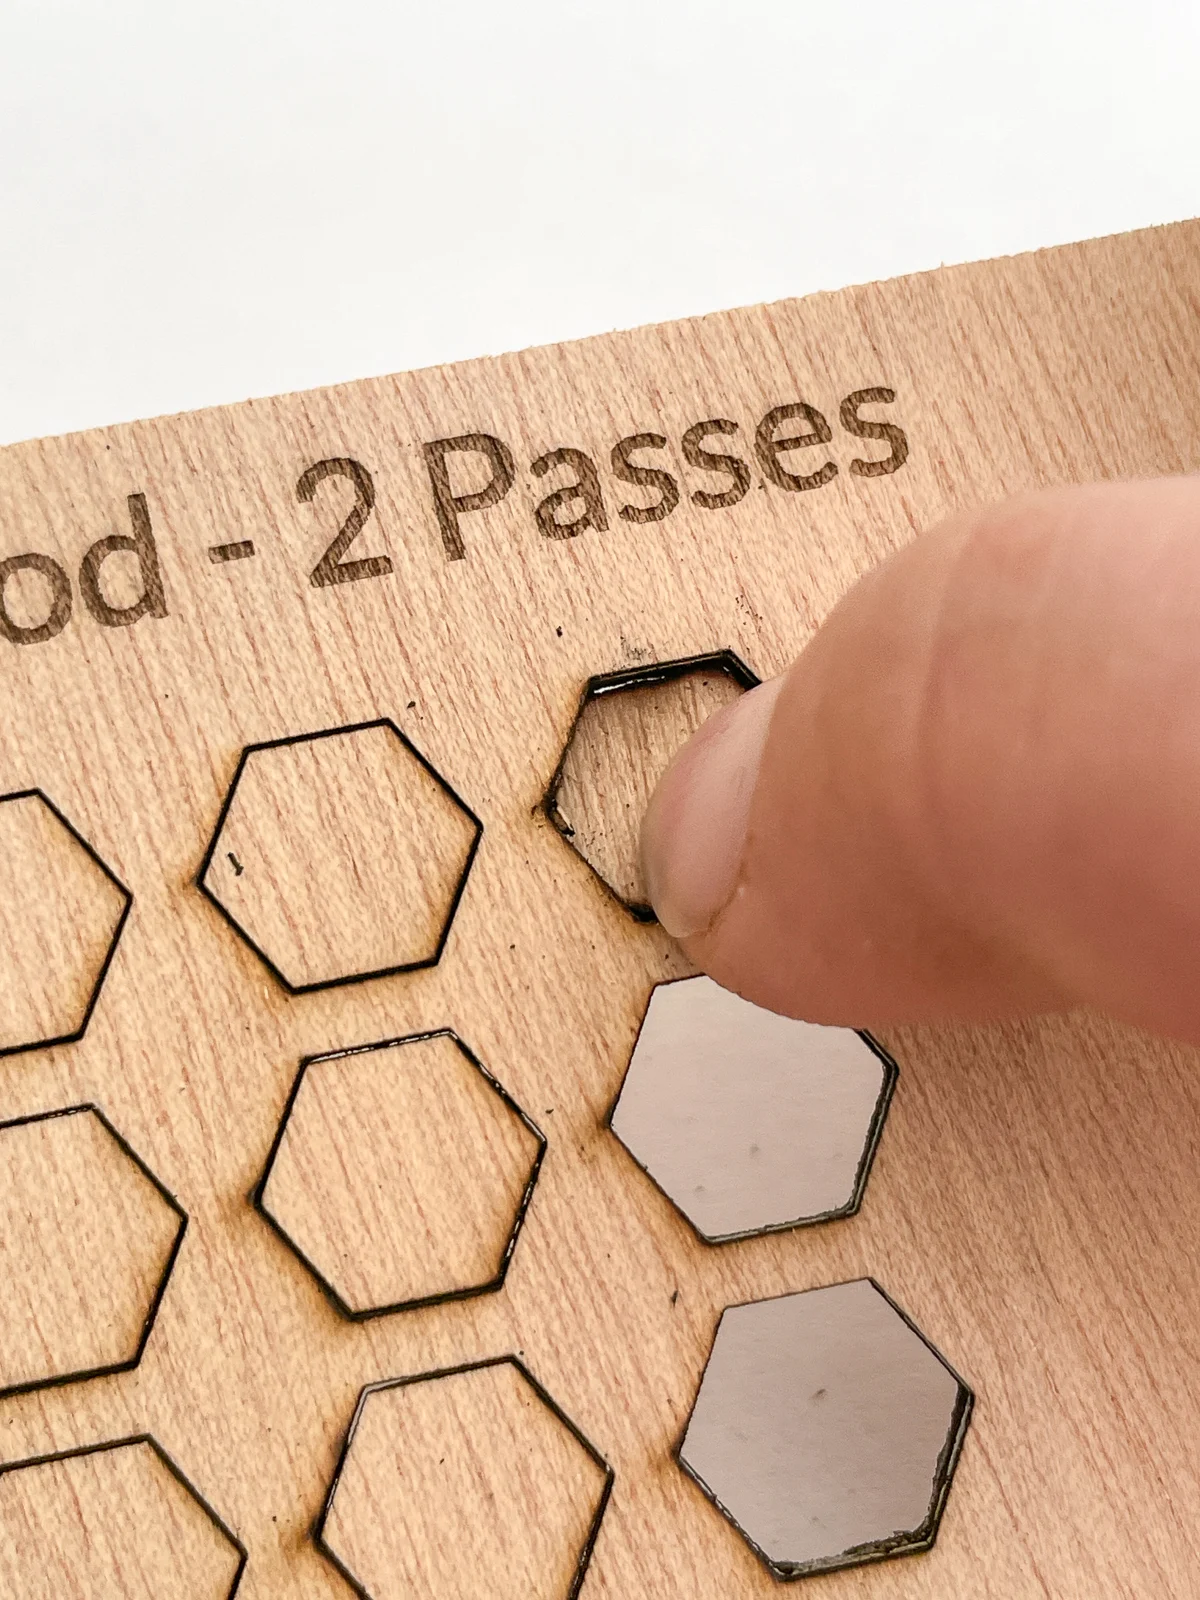
The cut test took a bit more trial and error. 4mm plywood is a little more difficult to cut with a diode laser in one pass. Two passes, while slower, created a much cleaner cut. I'll make future batches of these labels on my new xTool P2 CO2 laser, which is much faster.
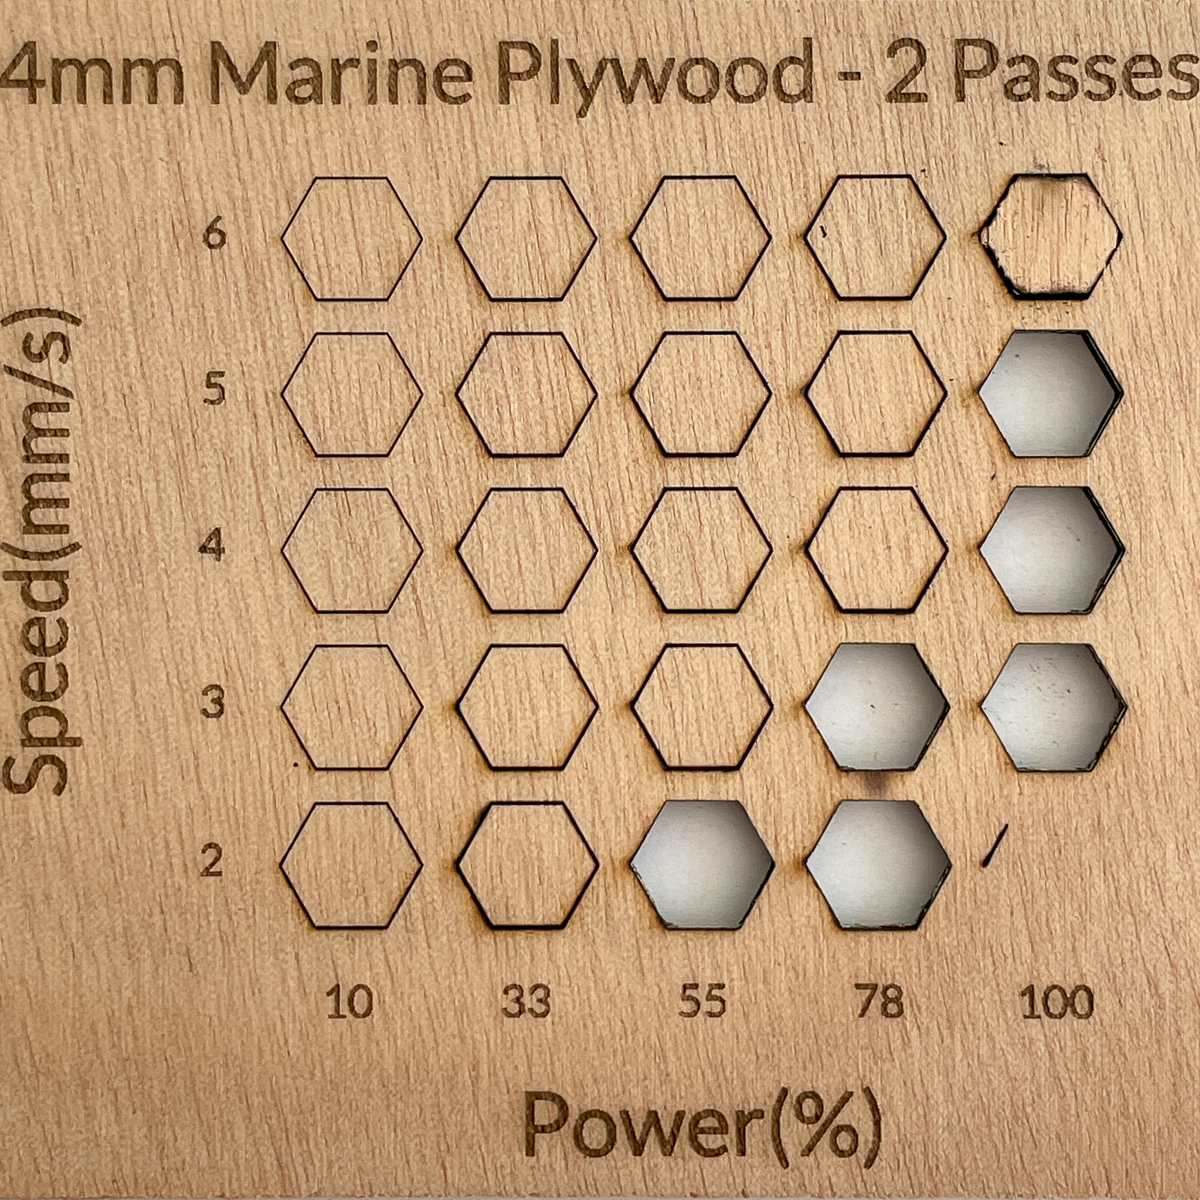
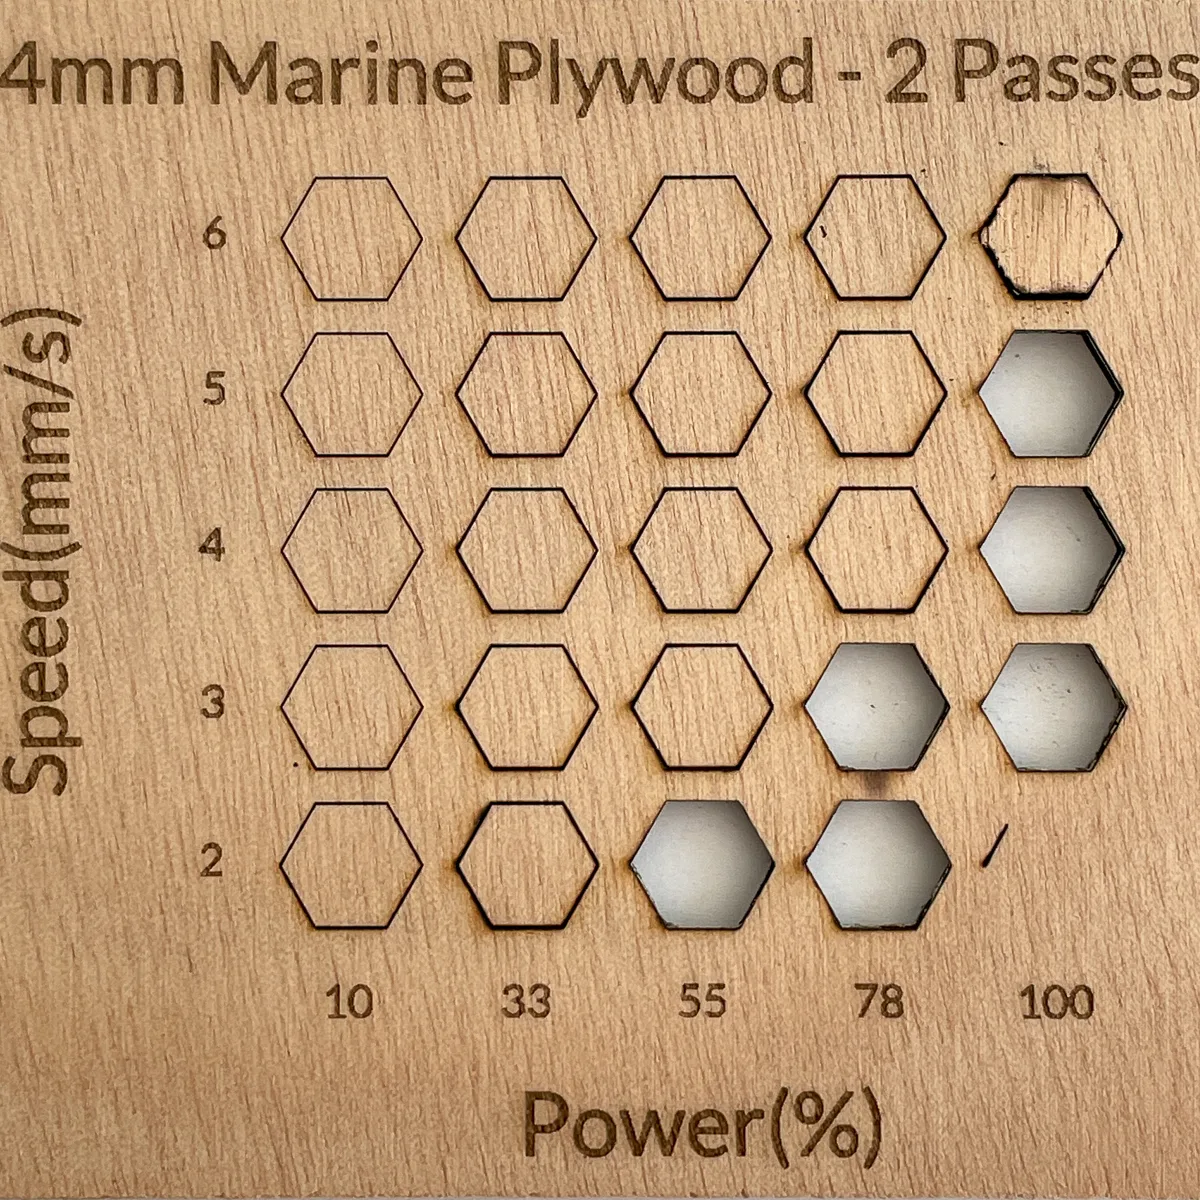
While 6mm/s cut all the way through, the hexagon was difficult to get out of the hole. I went with 5mm/s speed at 100% power instead.
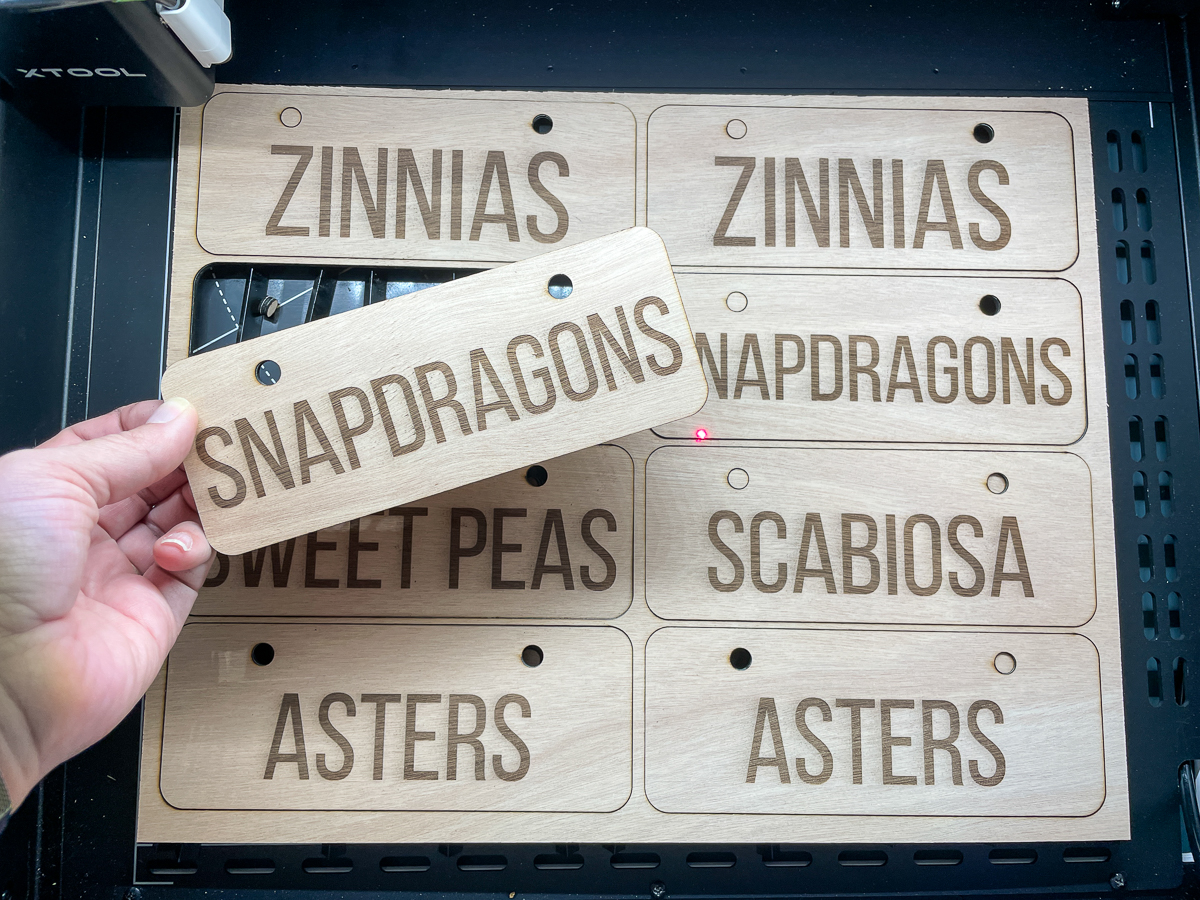
With all the settings dialed in, it's time to make some garden labels!
Engrave and cut the garden labels
I placed a 12"x15" sheet of the marine plywood on the triangular prisms in the M1 to elevate them off the bottom. This is a little bit bigger than the max size for this machine, but I wanted a bit of wiggle room around the outside edge.
I'm thinking of getting the riser base with the honeycomb panel to help support smaller pieces so they don't fall through, but the prisms worked fine for these large labels.
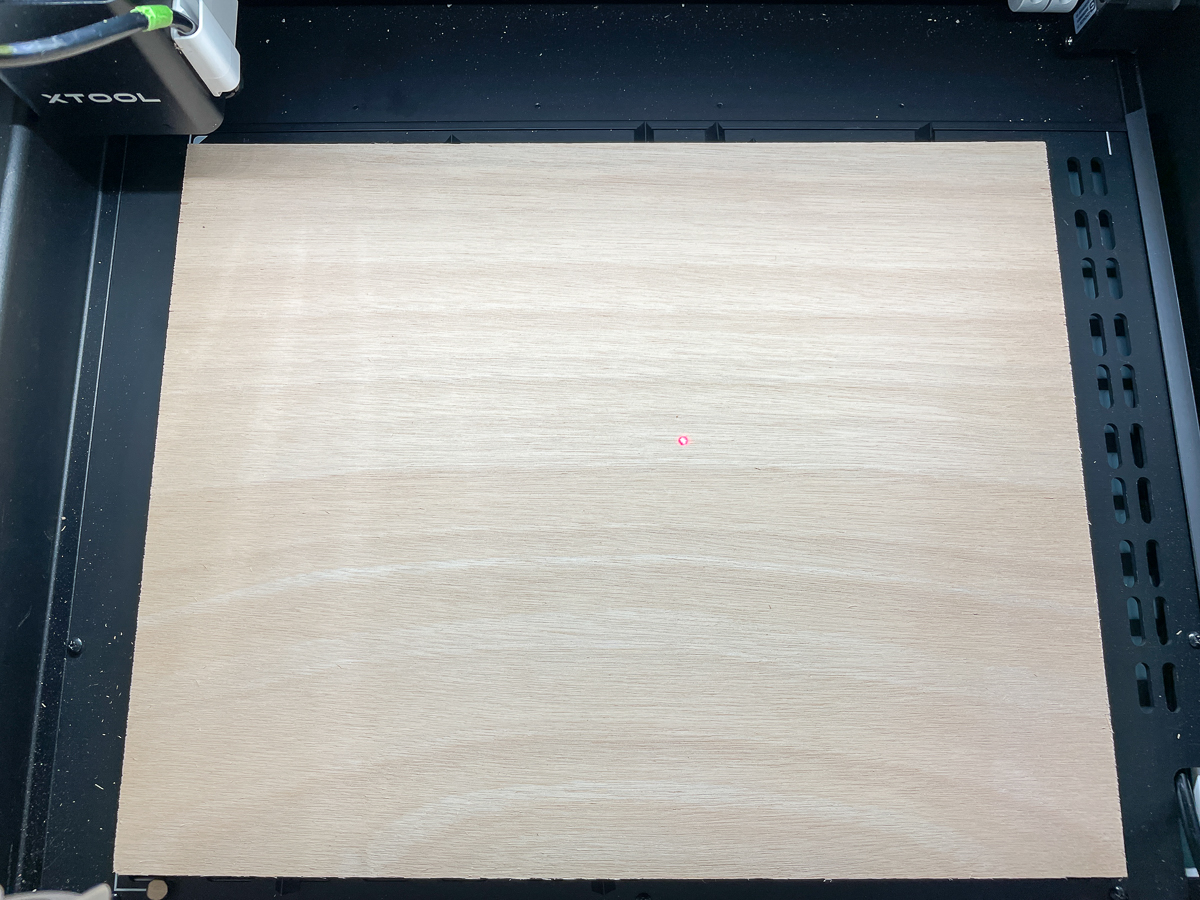
After running a quick framing test to make sure that the laser would hit the wood all the way around, I hit start and let the M1 do its thing!
They came out PERFECT! I'm so glad I ran the engraving and cut tests first, because the settings were spot on!
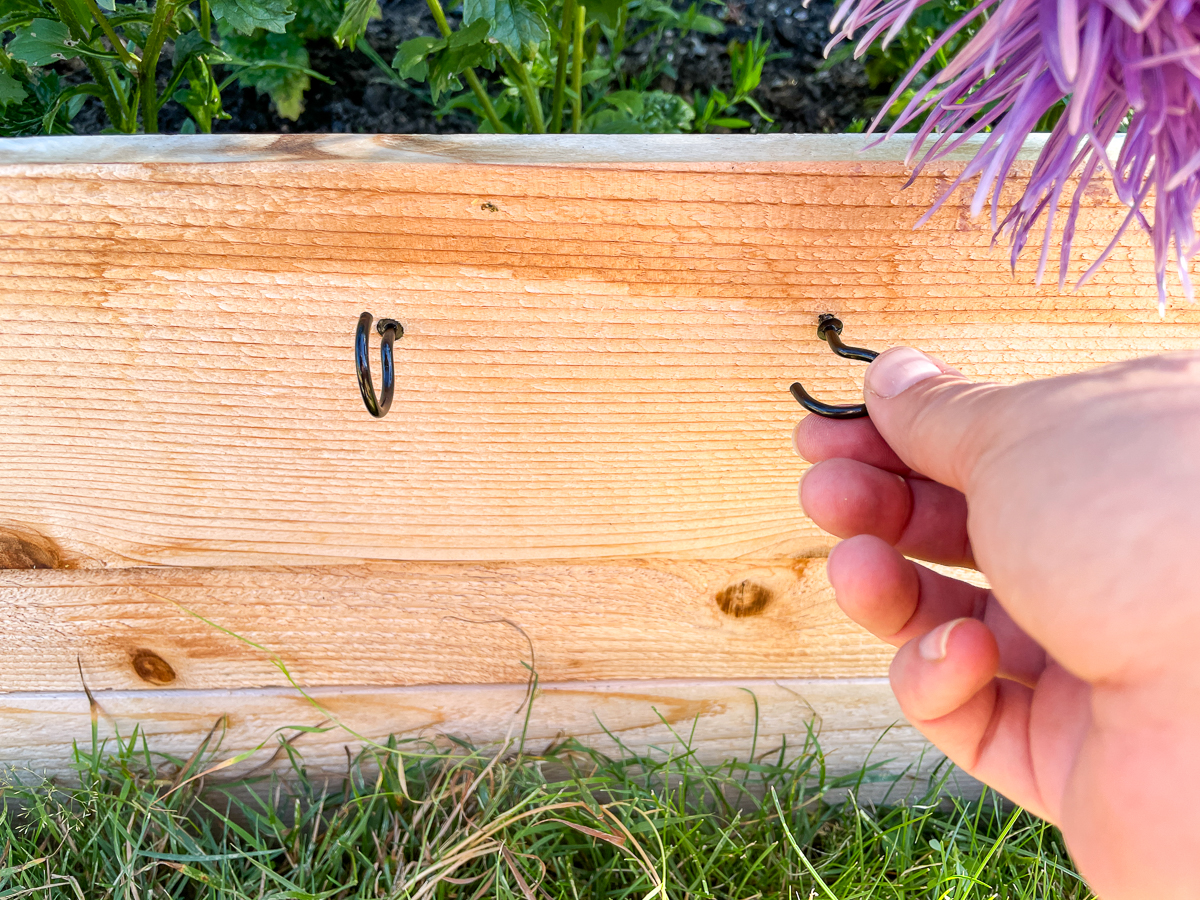
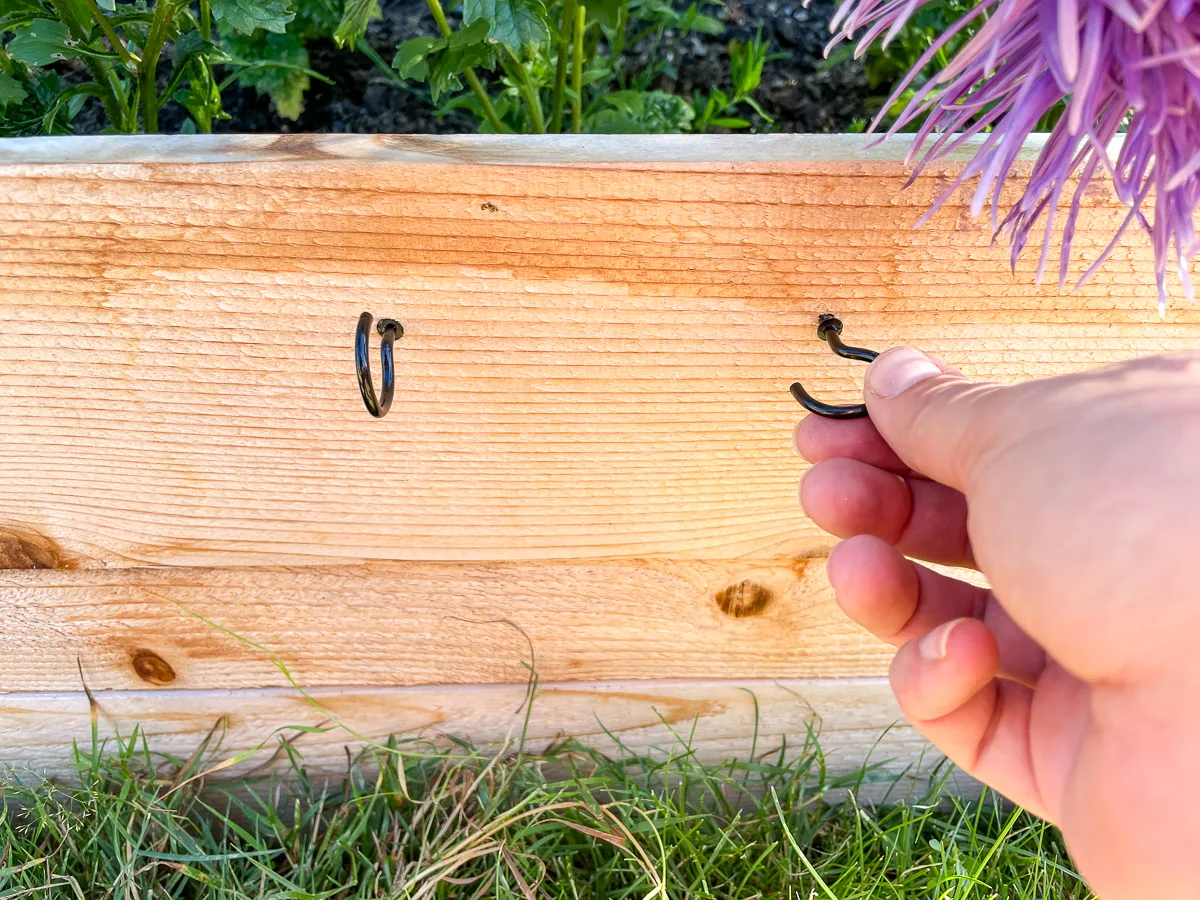
Install the garden label hooks
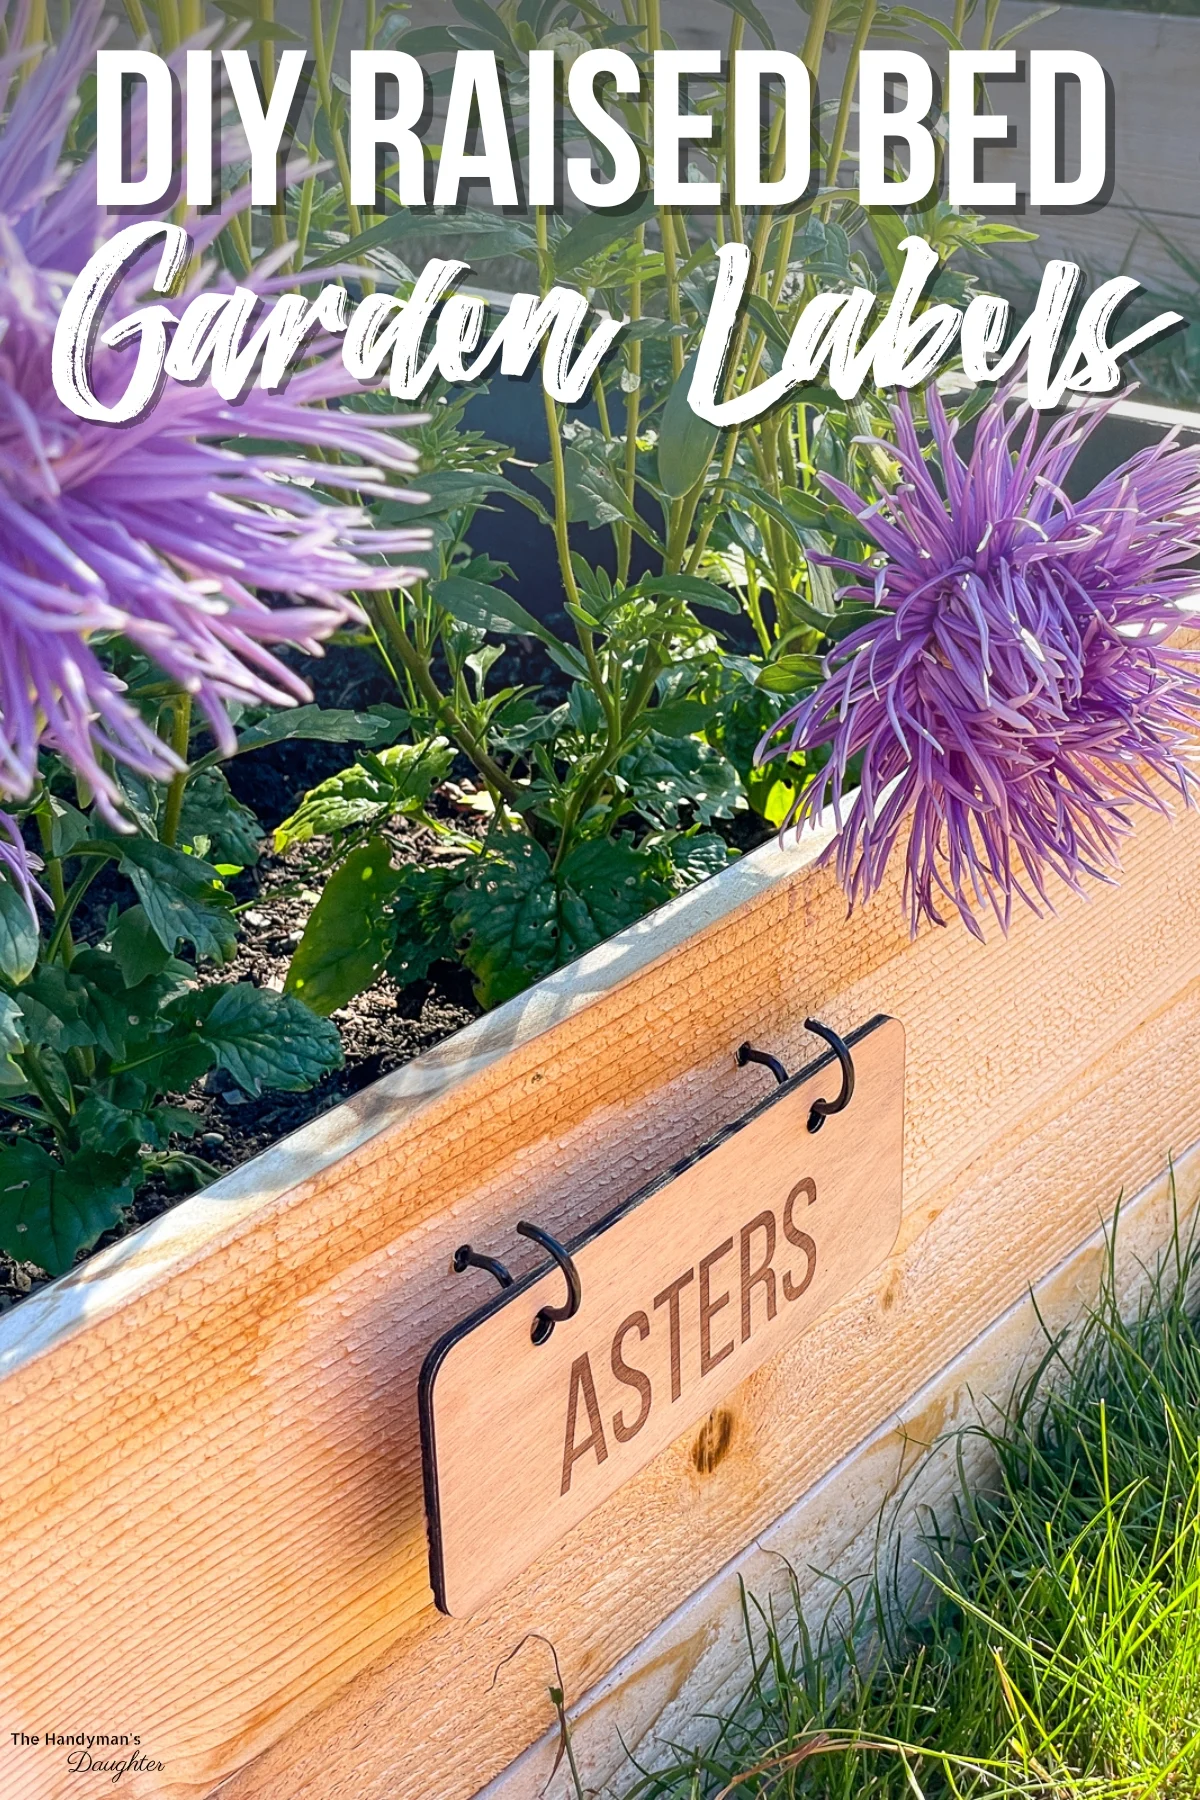
You could just screw these labels directly to your raised beds, but I wanted to make it easier to switch them out as crops change. The holes in the top of each label are big enough to easily slide onto two hooks mounted at the end of each bed.
The cedar fence pickets I used to make these raised garden beds are really soft, but also thin and prone to splitting. I used one of the labels to mark the position of the holes, then drilled pilot holes with a smaller bit to prevent cracking the boards.

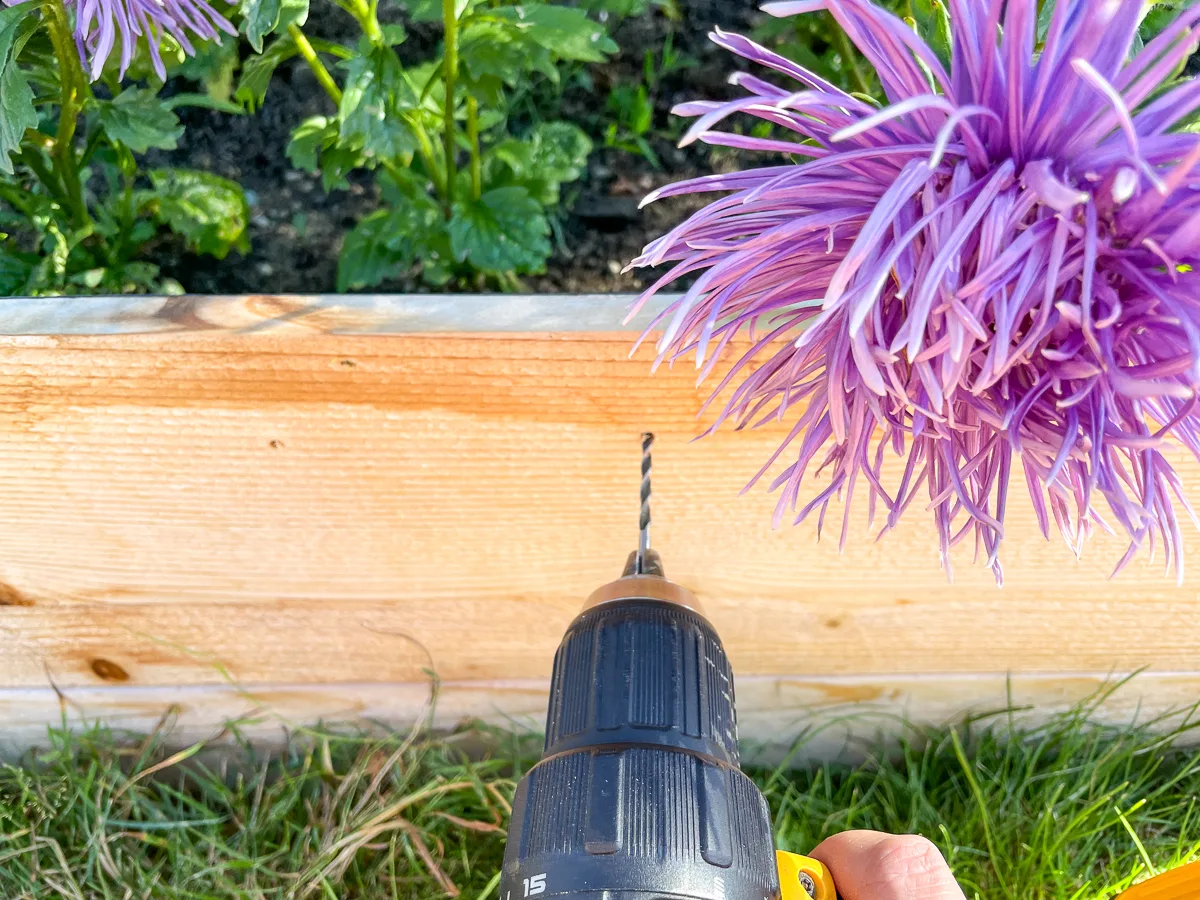
Then I could easily screw these cup hooks in by hand. I went with black to match the corner brackets.
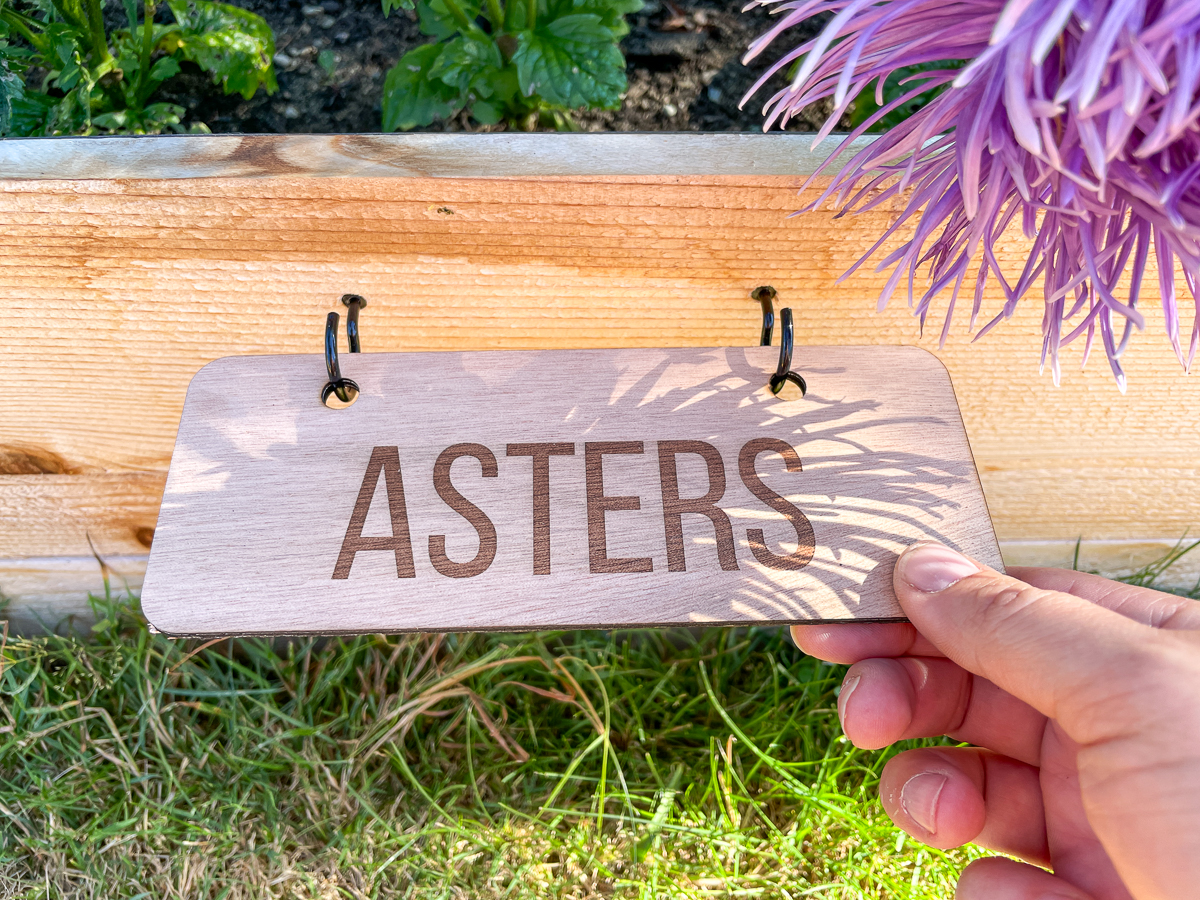
Hang your garden labels on the hooks
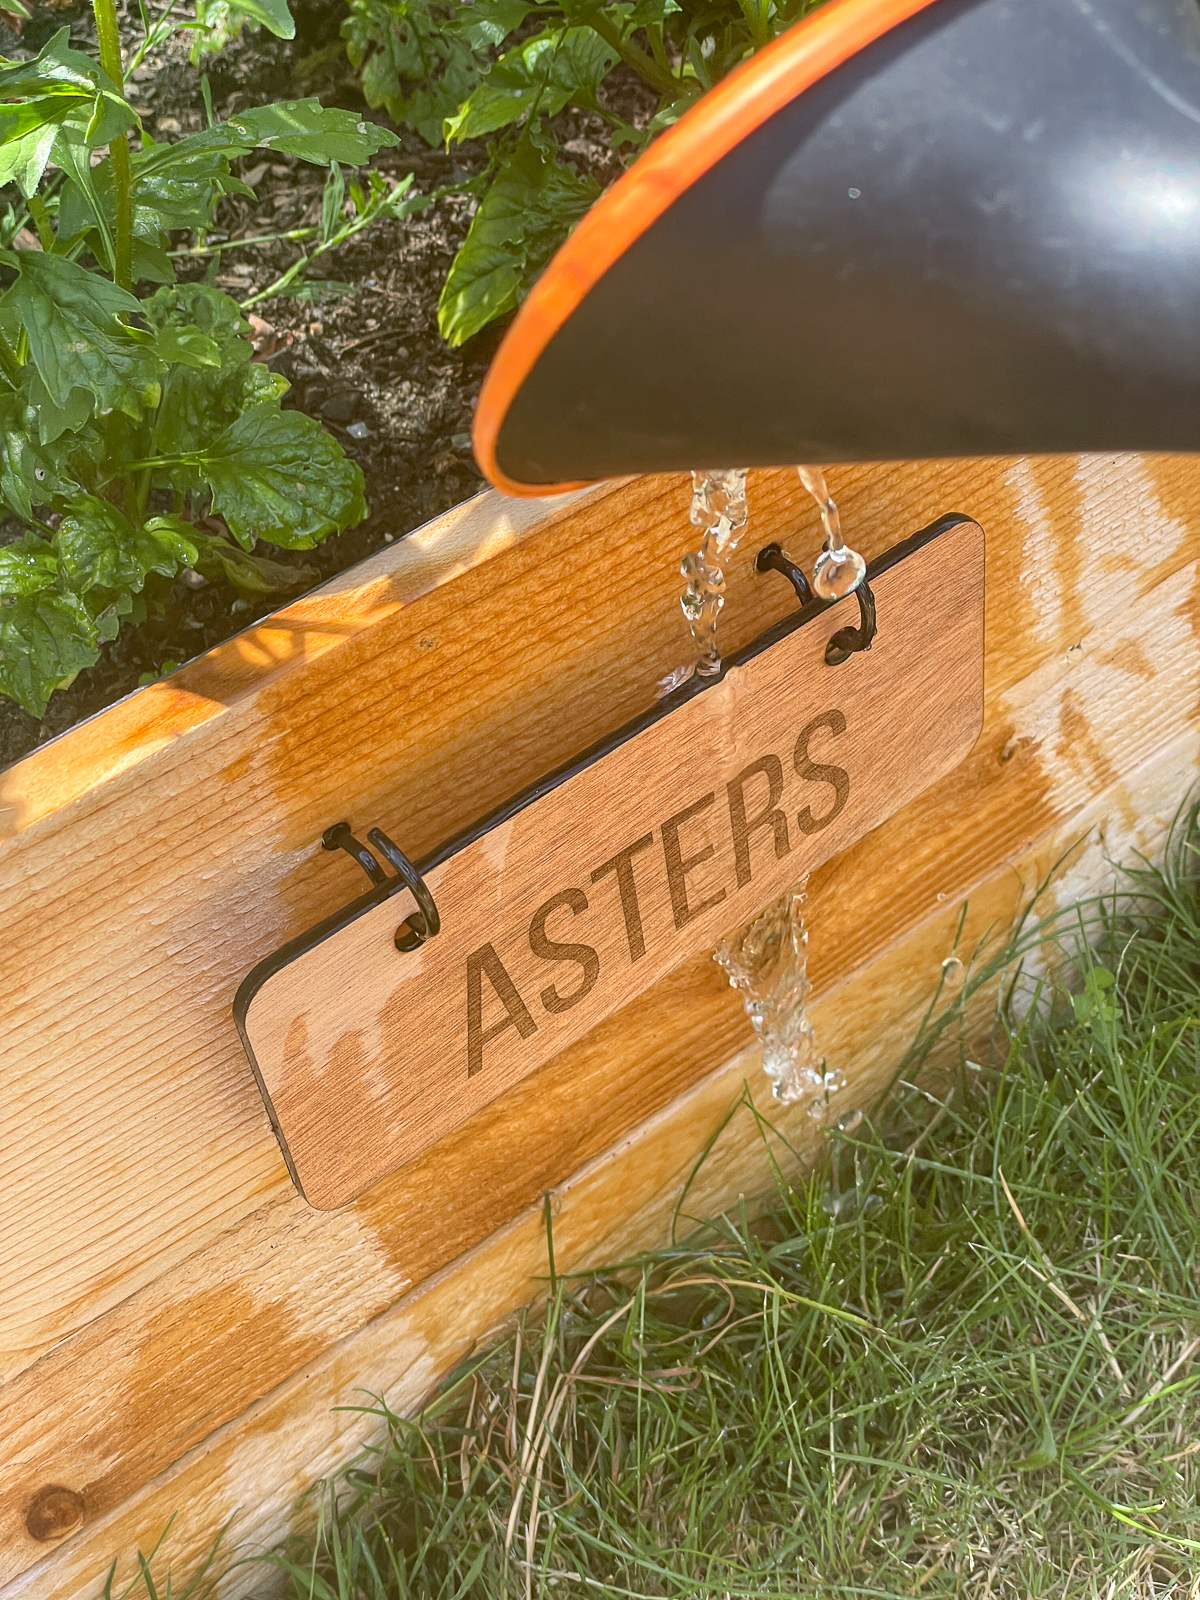
The engraved garden plant labels slip right onto the hooks and hang nicely on the front of the bed.

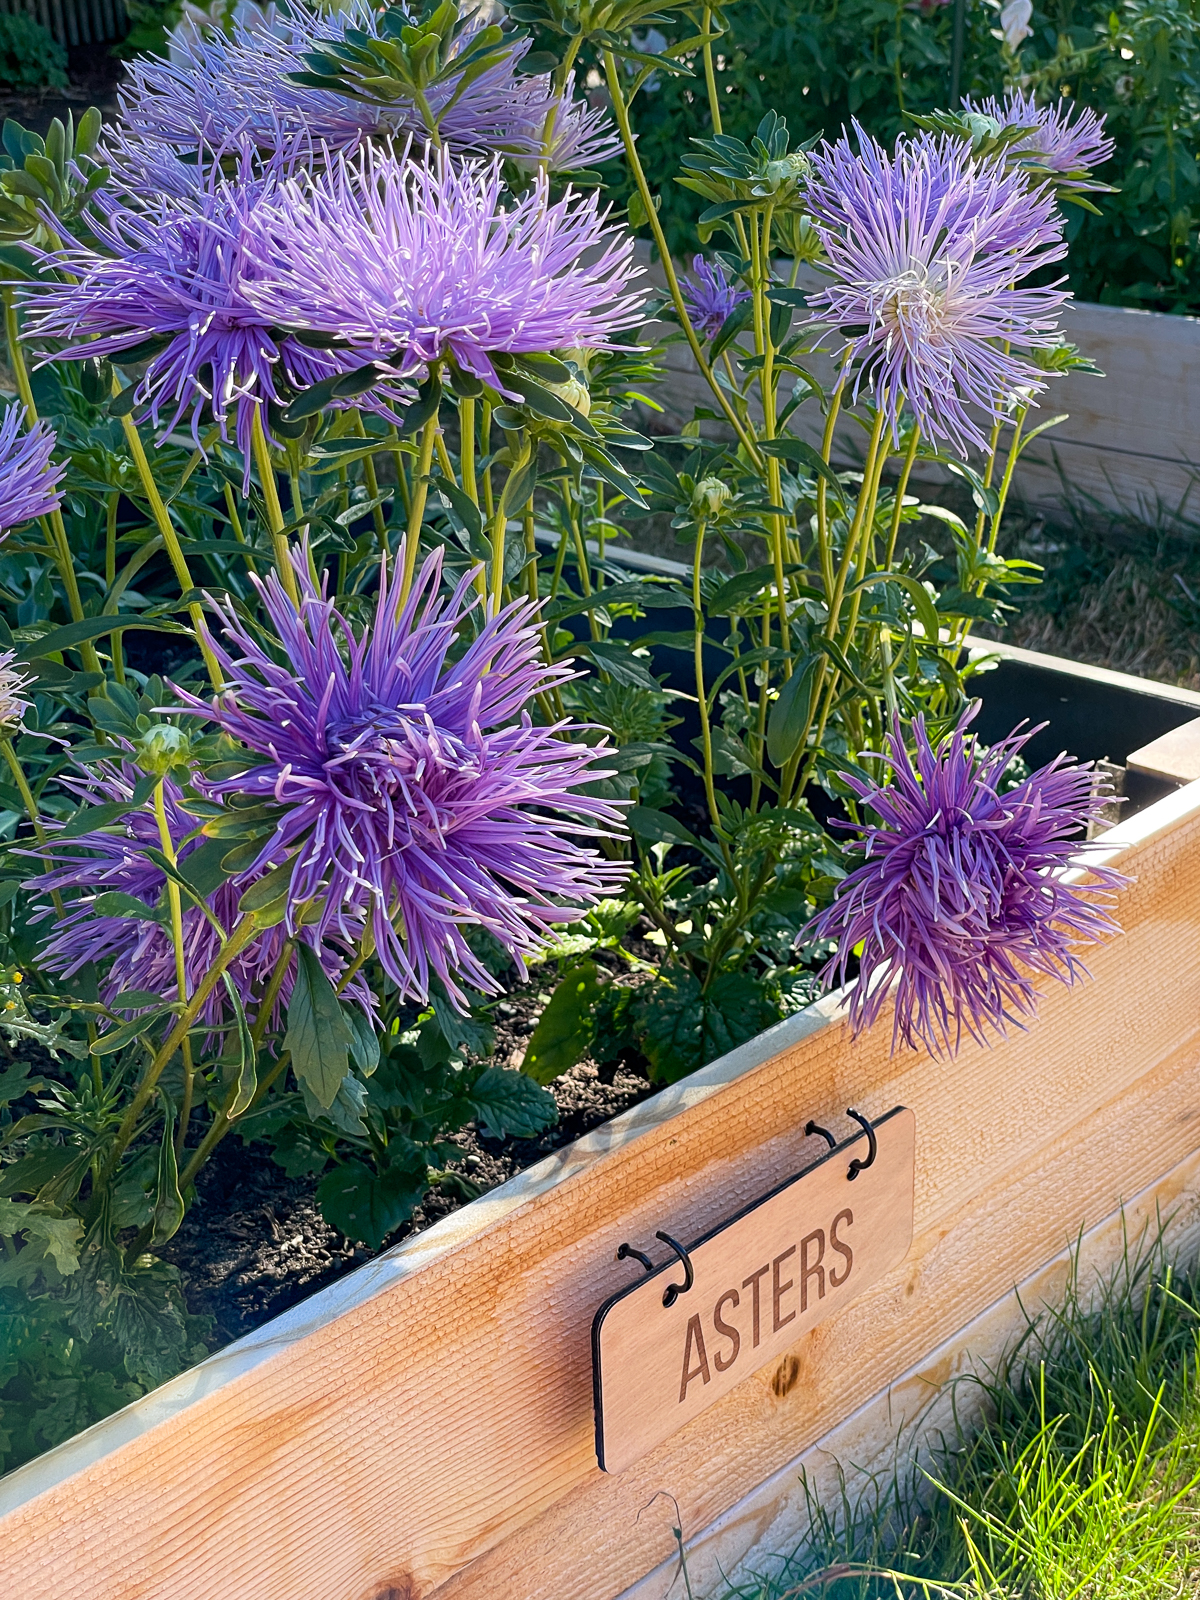
Everyone always asks me what these crazy fireworks-like flowers are. They're quill asters that I grew from seed earlier this year. They didn't look like much for months, but they just exploded with color in the past few weeks!

I love how these DIY garden labels turned out! The engraving is crisp and clear, even when they get wet from watering or rain.

It's getting late in the growing season, and soon I'll be switching out some of these flower beds for fall vegetables like broccoli and carrots. Now that I have all the laser cutter settings dialed in, I can easily create a new batch of signs in minutes!
Thinking about getting a laser cutter for projects like this one? Read my in-depth review of the xTool M1 and see if it's right for you!
Check out these other garden project ideas!