Grow new plants from cuttings with this simple DIY propagation station! It fits on narrow windowsills and holds five test tubes in a row!
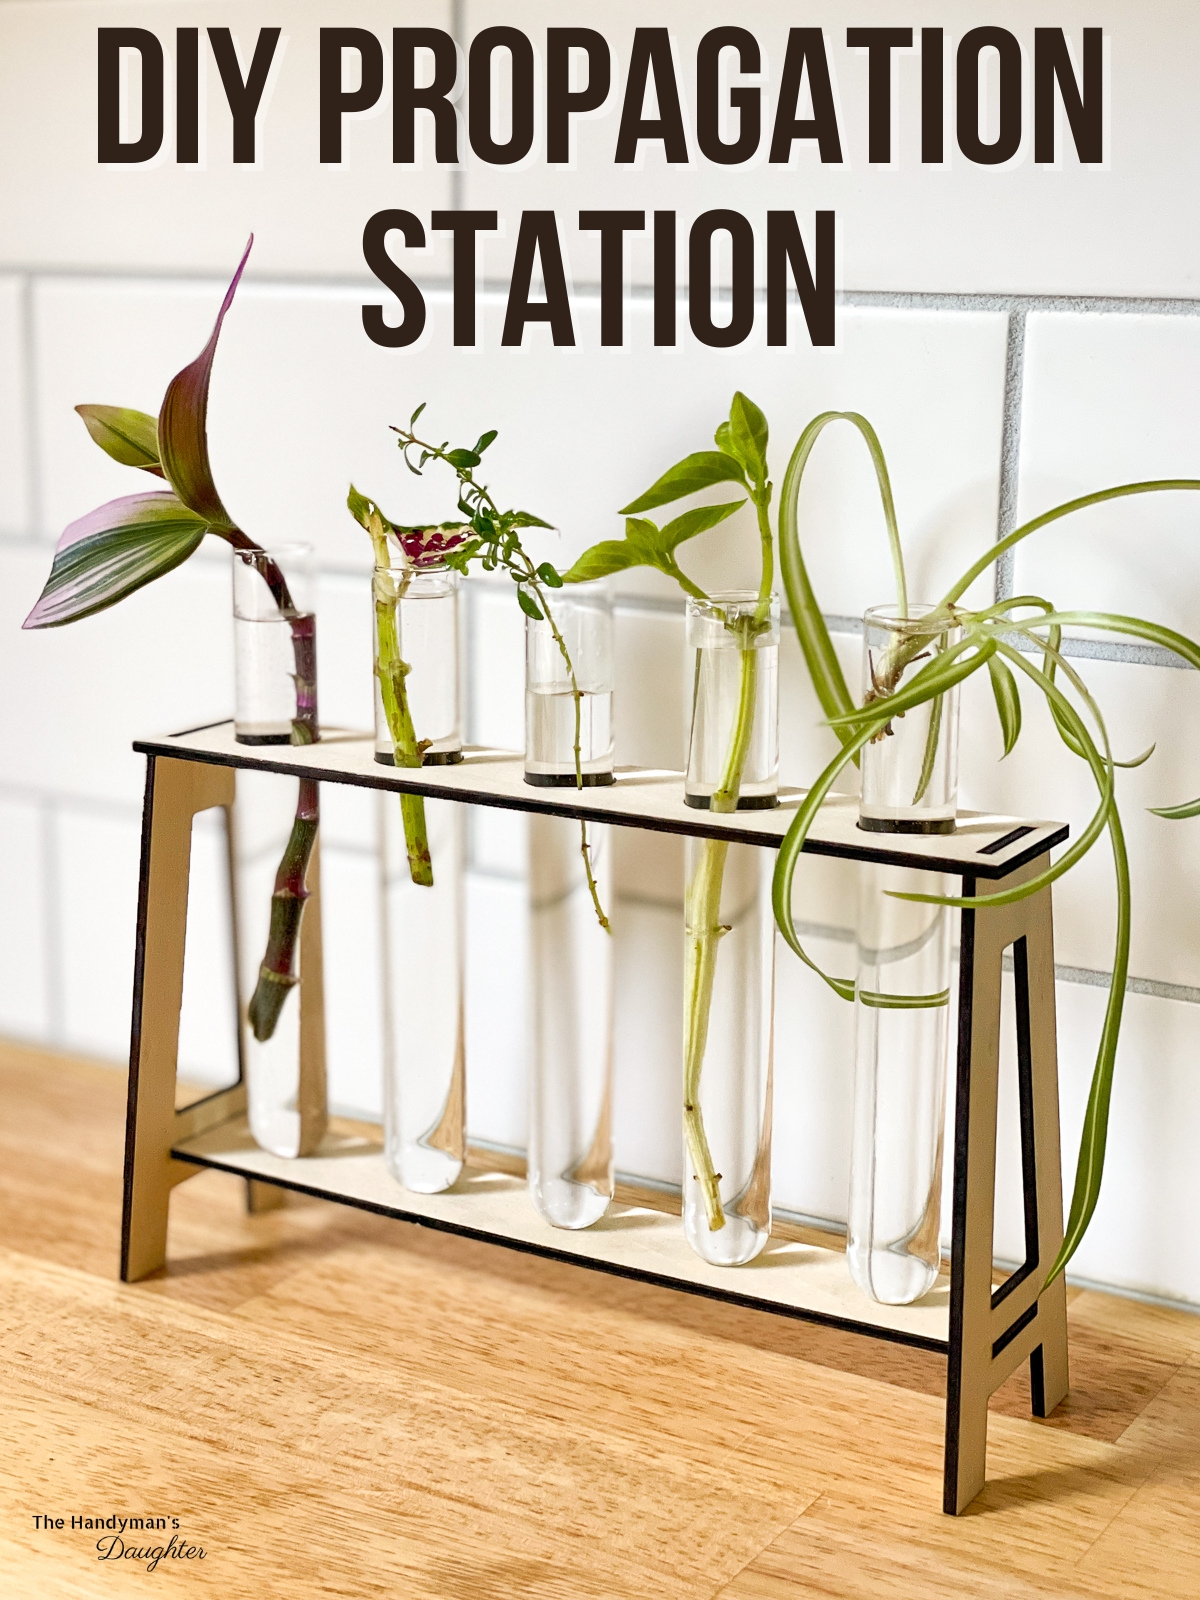

Propagating new plants from cuttings seems like magic. You just cut off a stem, stick it in water, and new roots start to grow!
Fall is the perfect time to gather up cuttings of your favorite plants in the garden that won't make it through the winter. Outdoor plants like begonias, impatiens and coleus can grow from cuttings in water, and they'll be ready to plant out in the spring!
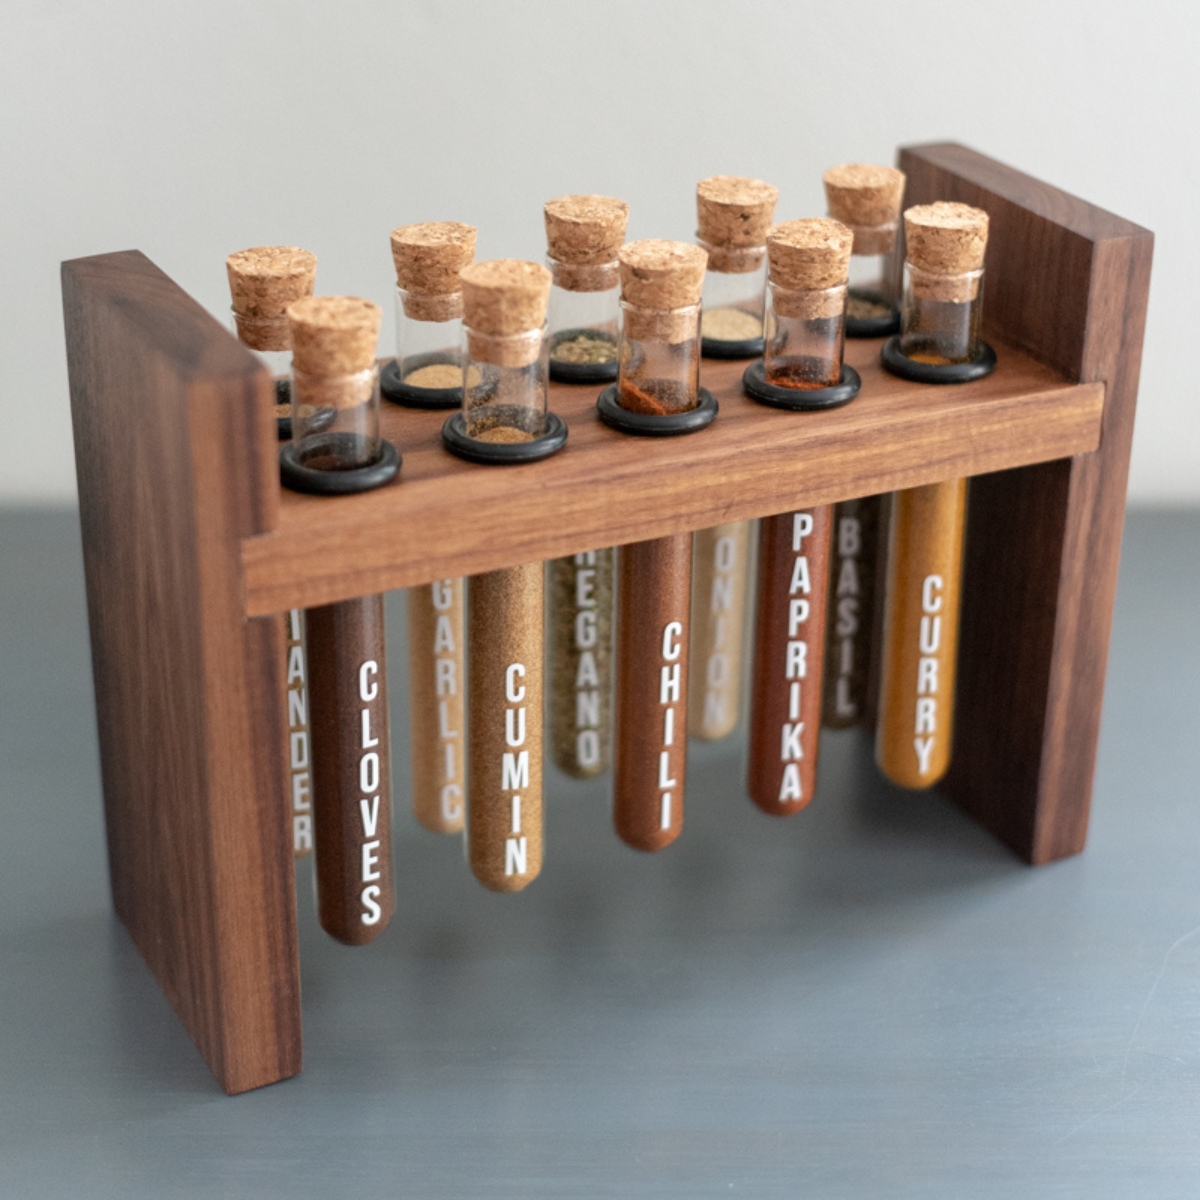
But before I started snipping, I needed a place to put all my new plant babies! I thought about repurposing my DIY spice rack, but it wouldn't fit on our narrow windowsill. Test tubes are great for propagation, but I wanted something a little less...chunky.

So I decided to fire up my xTool M1 laser cutter and make this plant propagation station out of thin 3mm plywood. You could also cut this file with a CO2 laser like the xTool P2.
Don't have a laser, or looking to upgrade? Use the code VINETA100 for $100 off an xTool laser! Click here to check them out!
If you don't have a laser, you could also use a jigsaw, bandsaw or scroll saw to cut out the pieces, and Forstner bits to drill out the holes.
Here's how to make it! Or buy one from my Etsy shop here!
This post contains affiliate links for your convenience. Purchases made through these links may earn me a small commission at no additional cost to you. Please visit my disclosures page for more information.
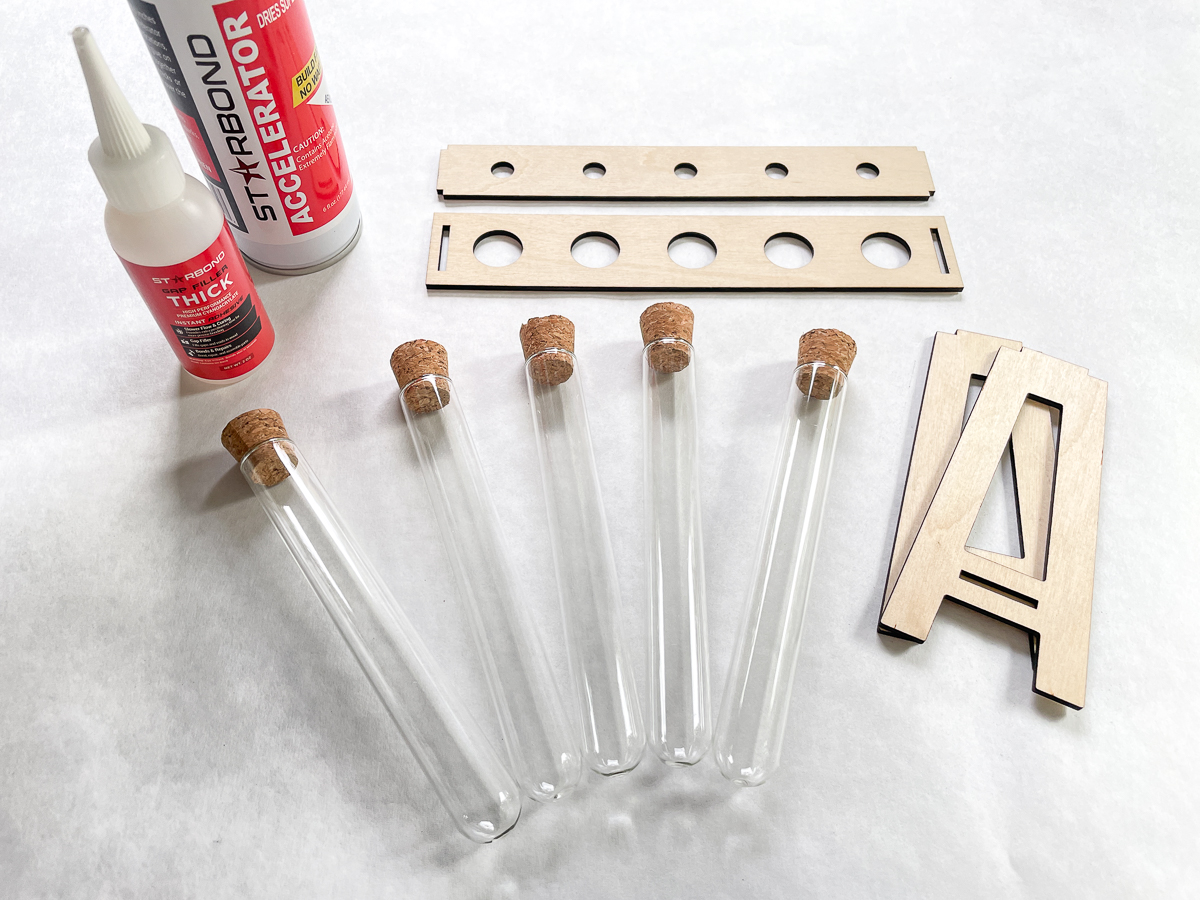
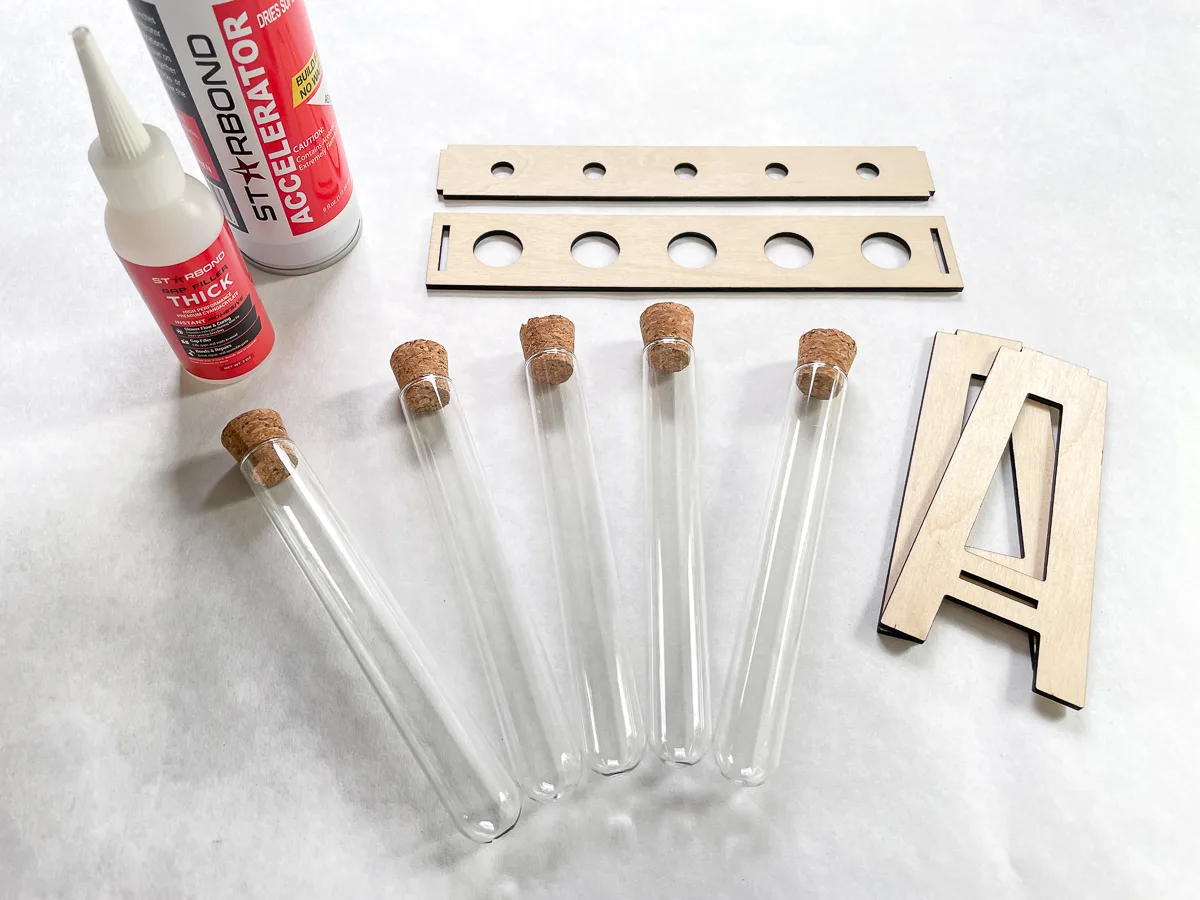
Materials Needed
- 12"x12" sheet of 3mm or ⅛" plywood
- Five 20mm test tubes
- CA glue (I prefer the thick one because it doesn't drip)
- Propagation station SVG file from this Etsy seller
If you don't have a laser cutter, you'll also need the following:
- Jigsaw, band saw or scroll saw to cut out the pieces
- 21mm Forstner bit for the top holes (and a smaller bit for the bottom holes)
- Drill
Step 1 - Cut out the pieces
If you're using tools other than a laser cutter to cut out the pieces, I recommend printing the templates and gluing the paper onto your plywood with spray adhesive. Then you can follow the lines with the blade and peel it off when you're done!
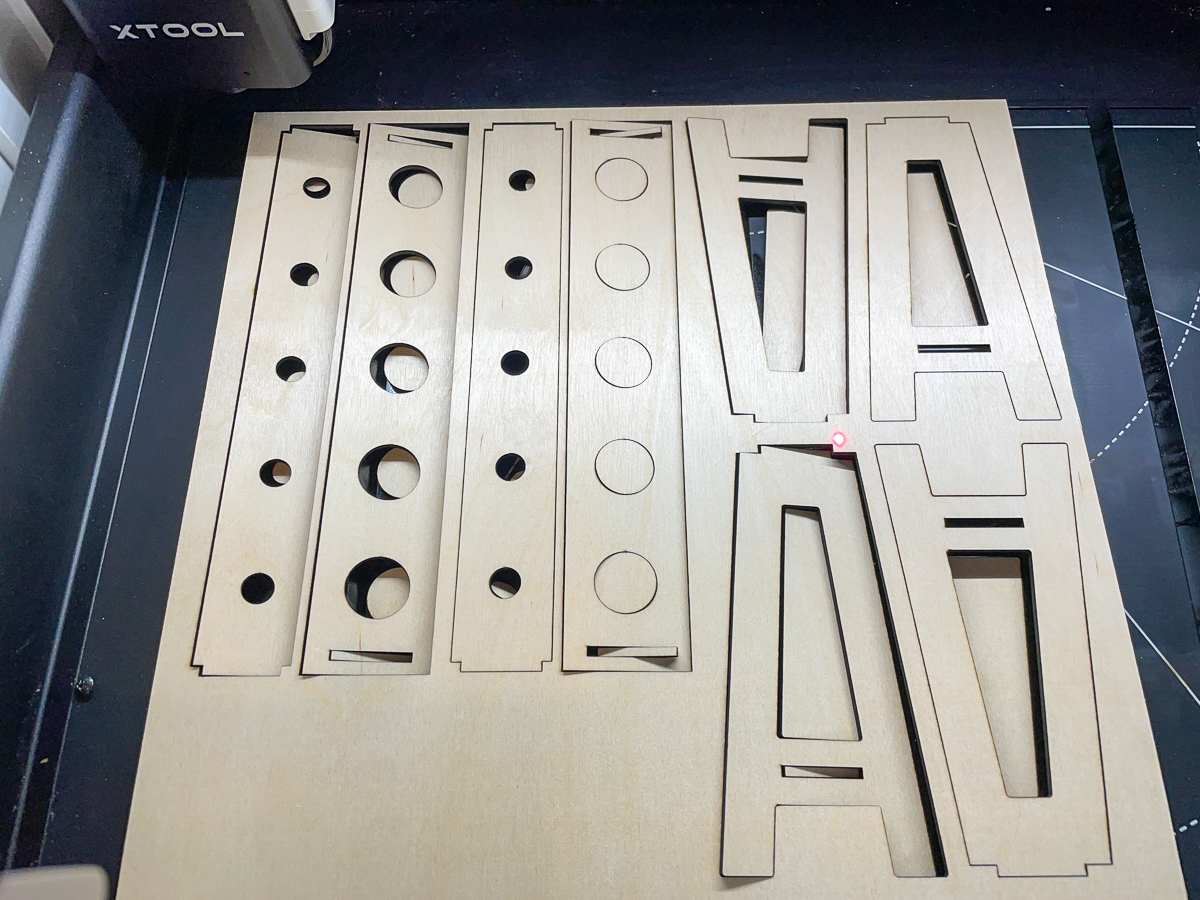
I downloaded the file to xTool Creative Space and arranged all the pieces so I could get two propagation stations out of a single 12x12" sheet of 3mm birch plywood. Then I hit the start button and let the xTool M1 do all the cutting for me!

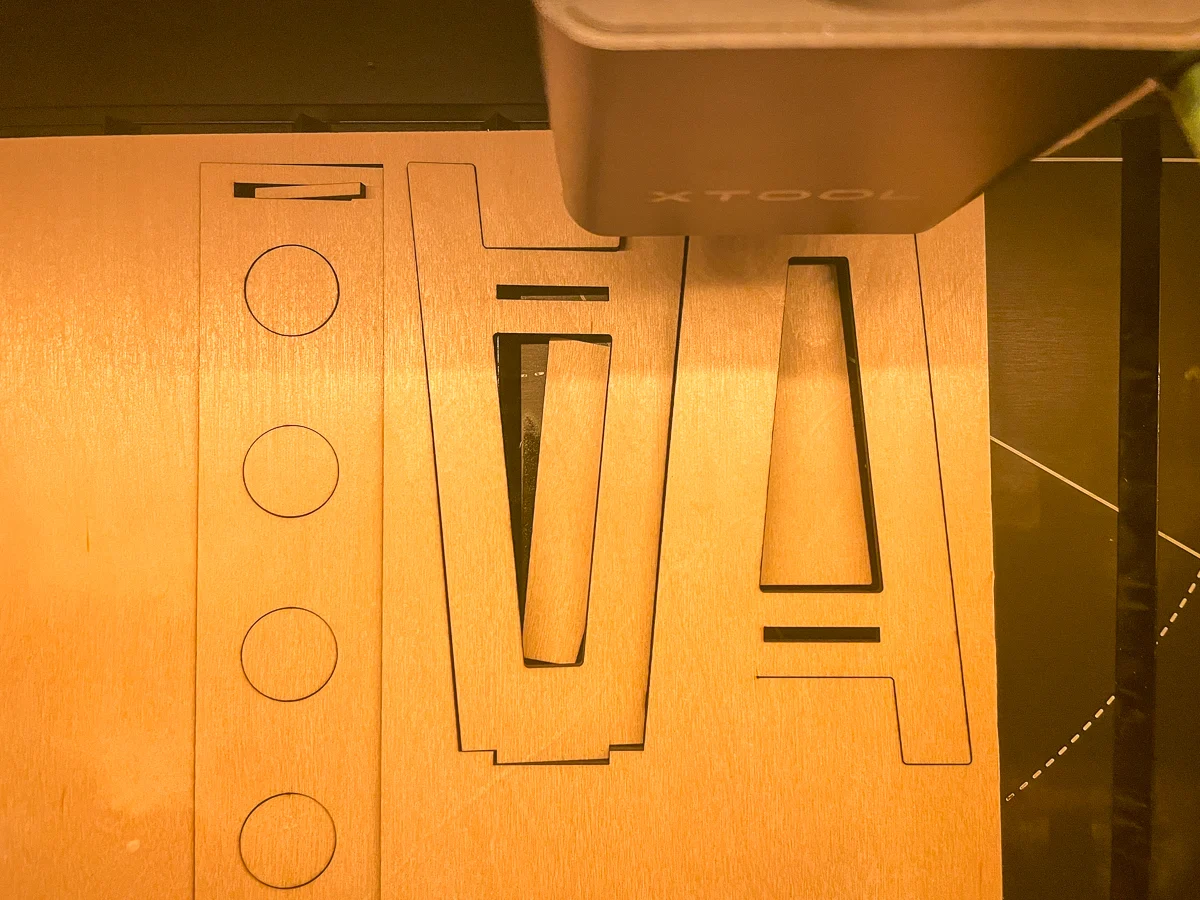
After just a few minutes, all my pieces were cut out perfectly and ready for assembly! I didn't even need to sand away any charred areas, thanks to the air assist module on the laser head.

Step 2 - Assemble the propagation station
I did a dry fit first and all the parts fit together nicely without any sanding. However, I decided to use CA glue and accelerator spray to stiffen up all the connection points and prevent the top from popping off accidentally.
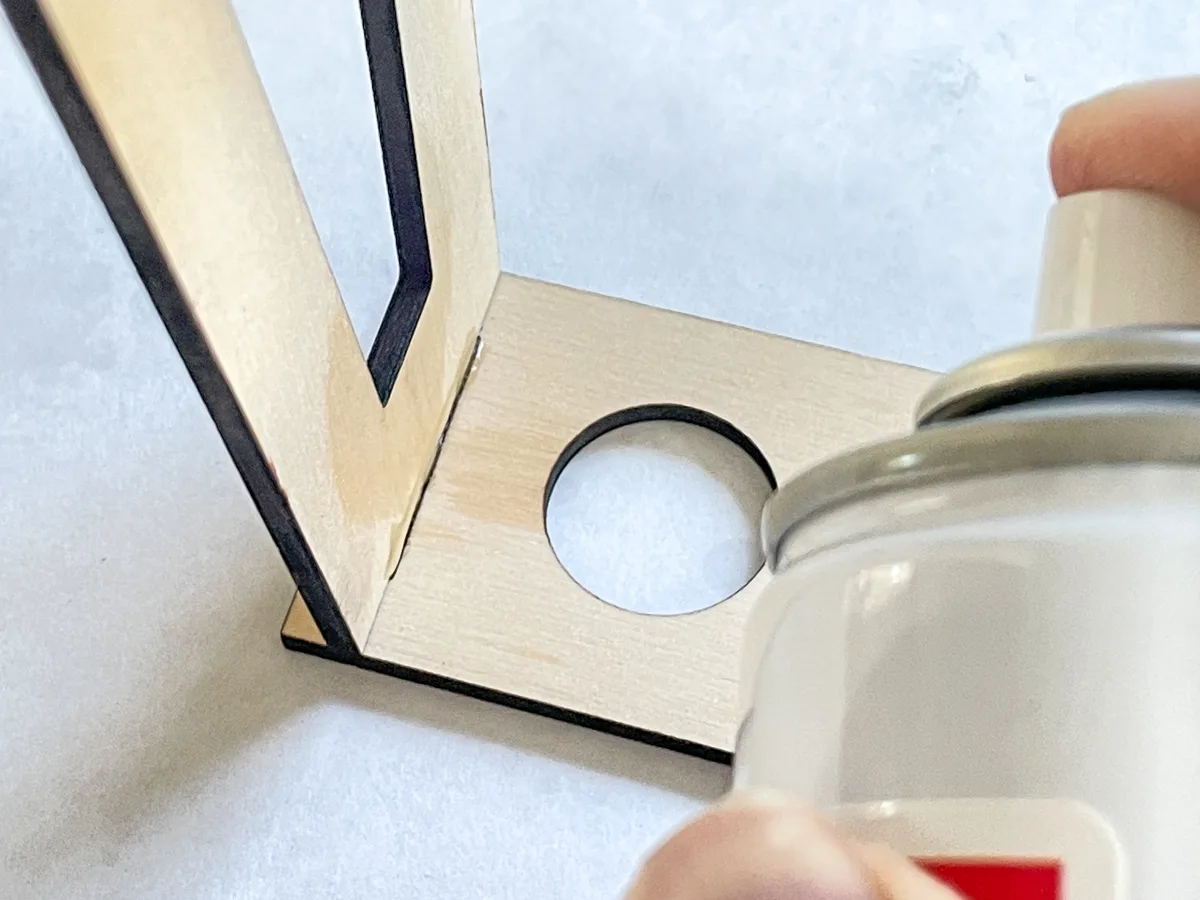
Apply a few dabs of glue along the underside of the horizontal pieces.
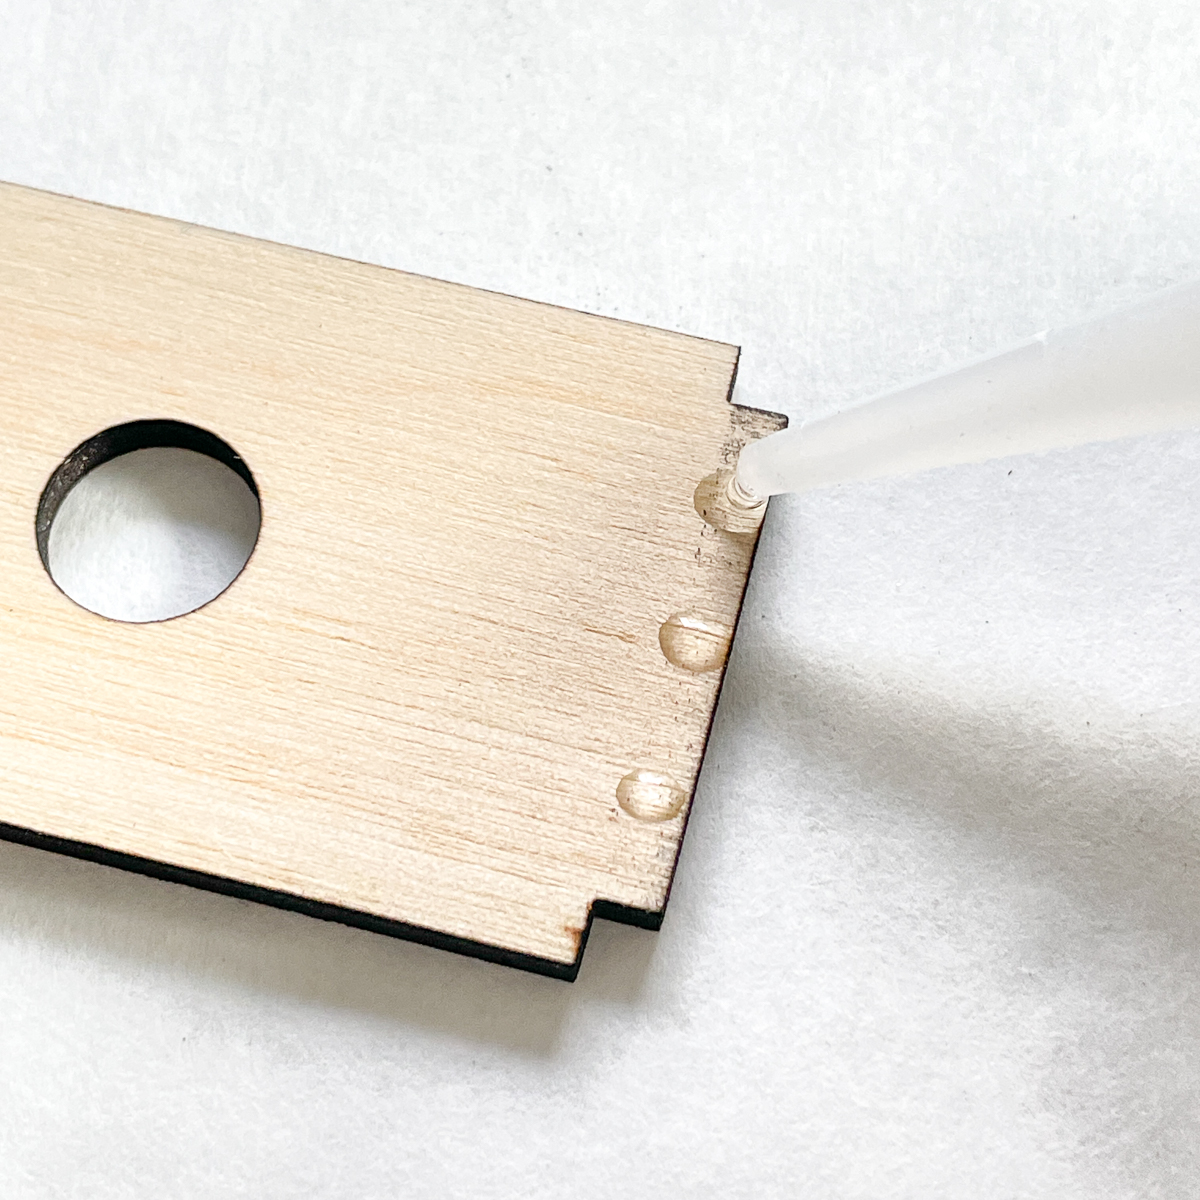

Then push the ends into the slots in the sides. There's a bit of squeeze out, which is why I only applied glue to the underside where it won't be seen.


For the top piece, I decided to put the parts together first, then flip it over and run a bead of glue along the joint underneath.


A quick spray with the accelerator will set the glue immediately.
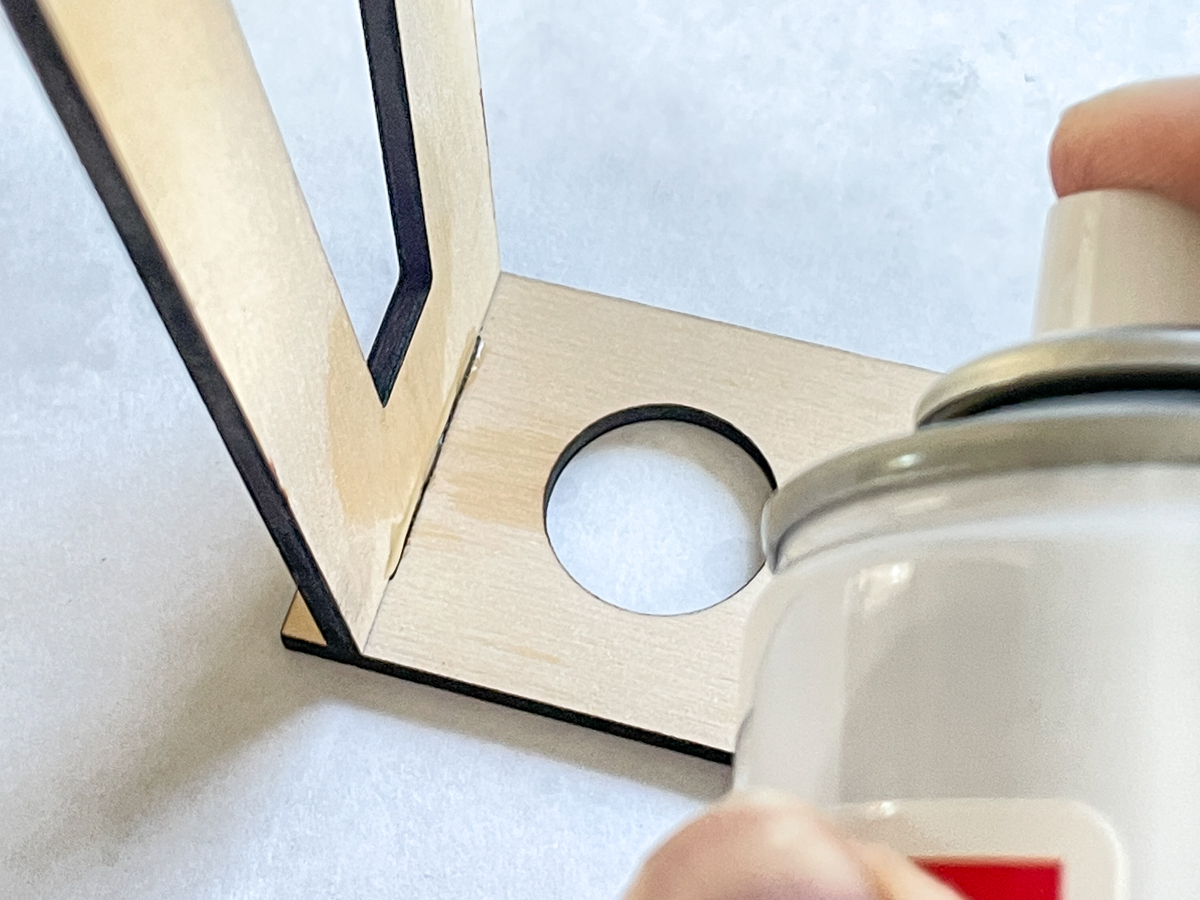
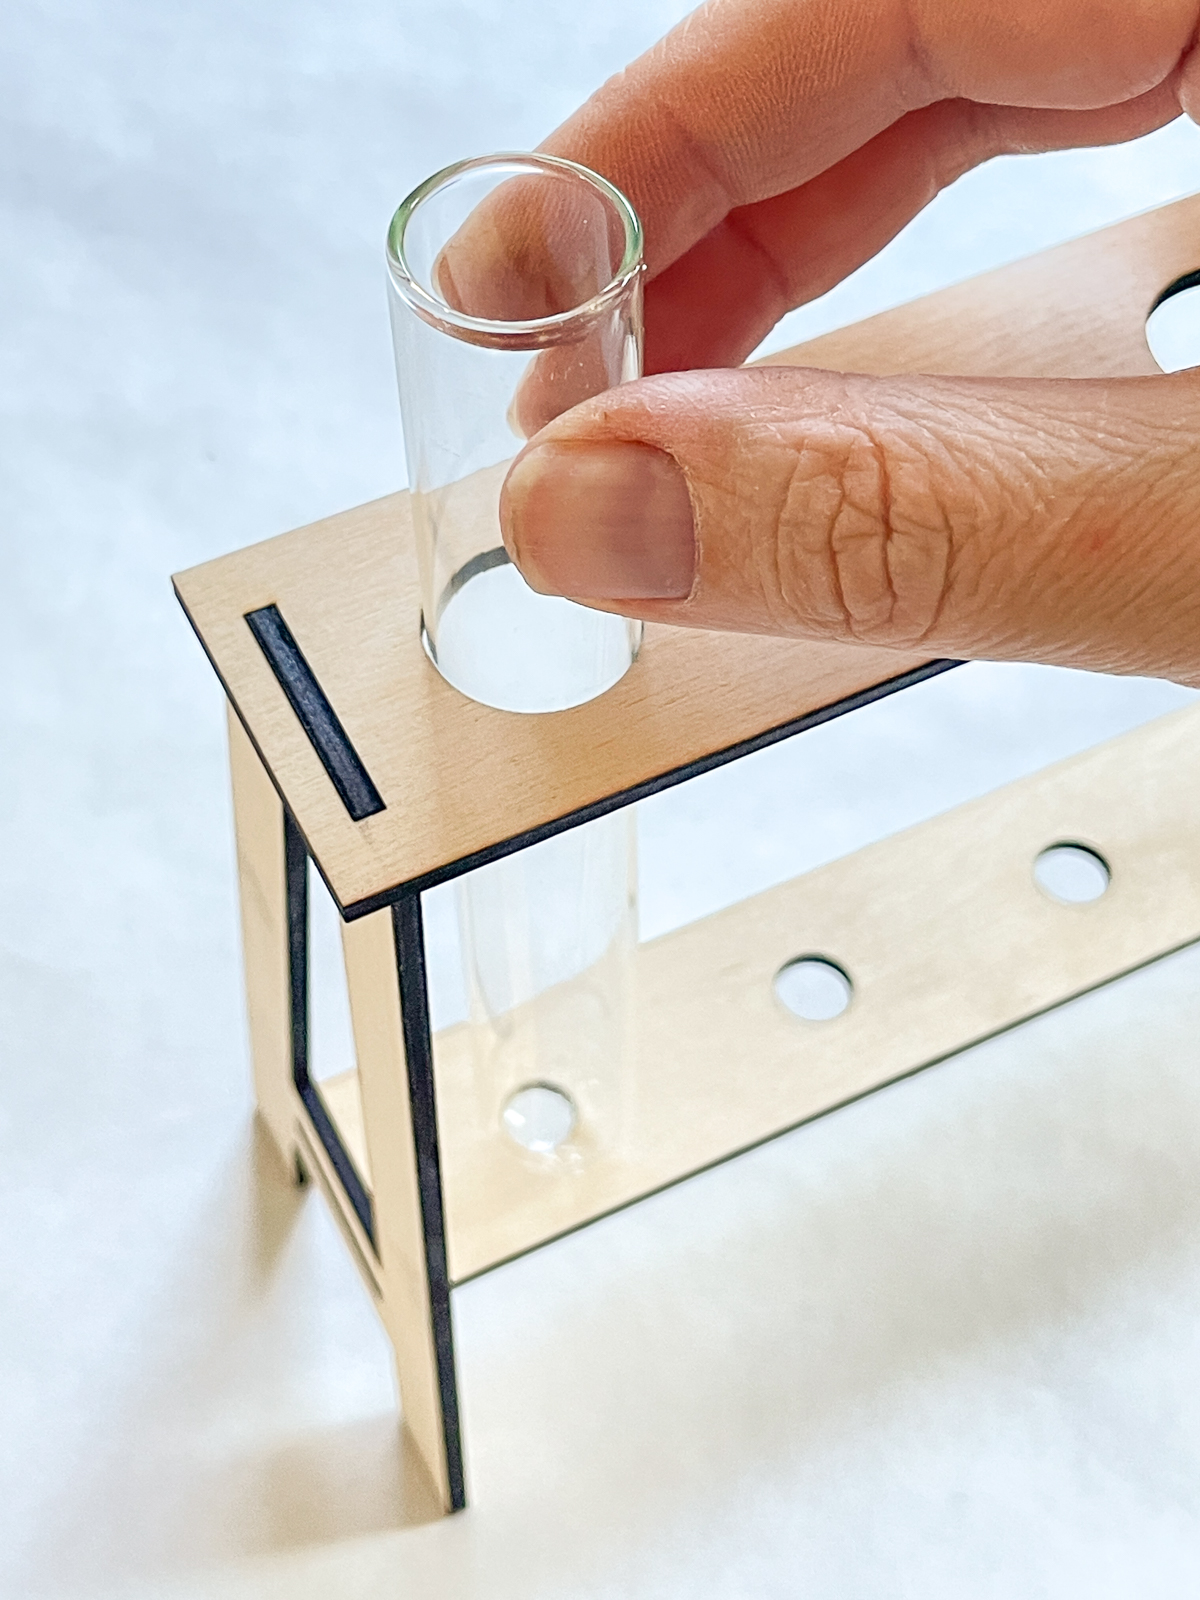
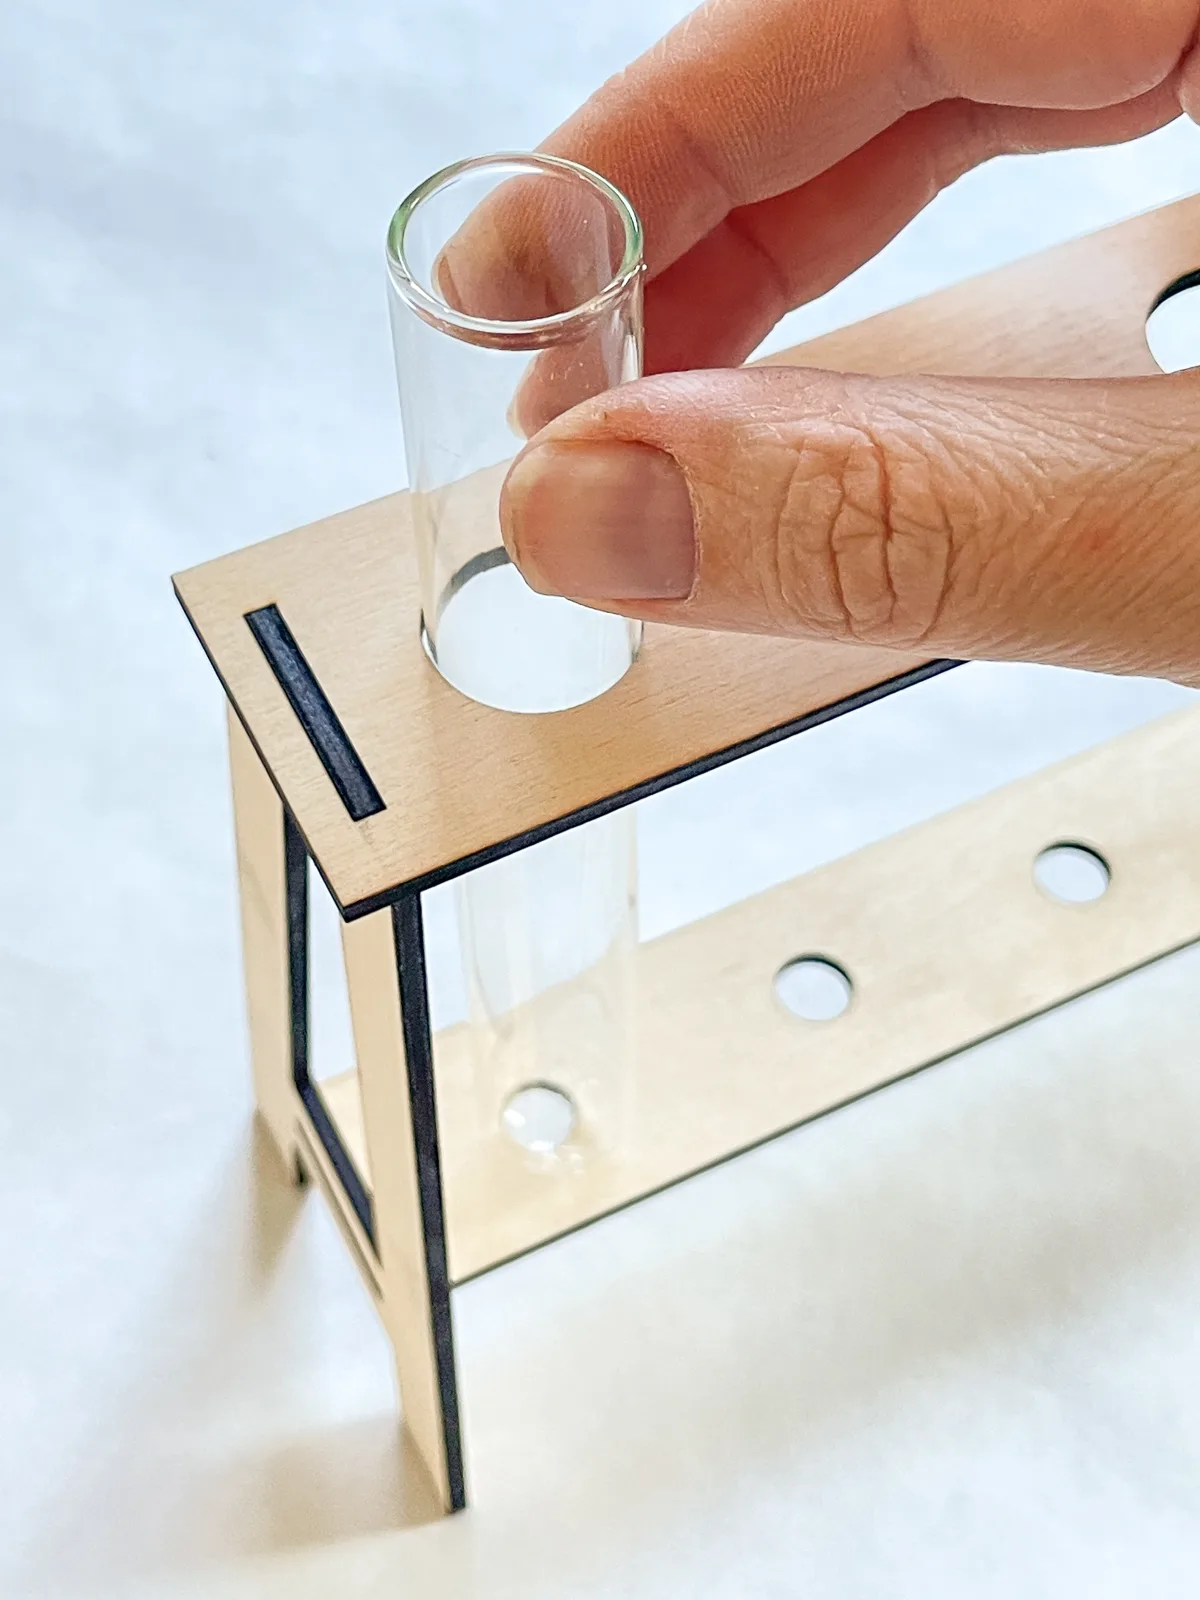
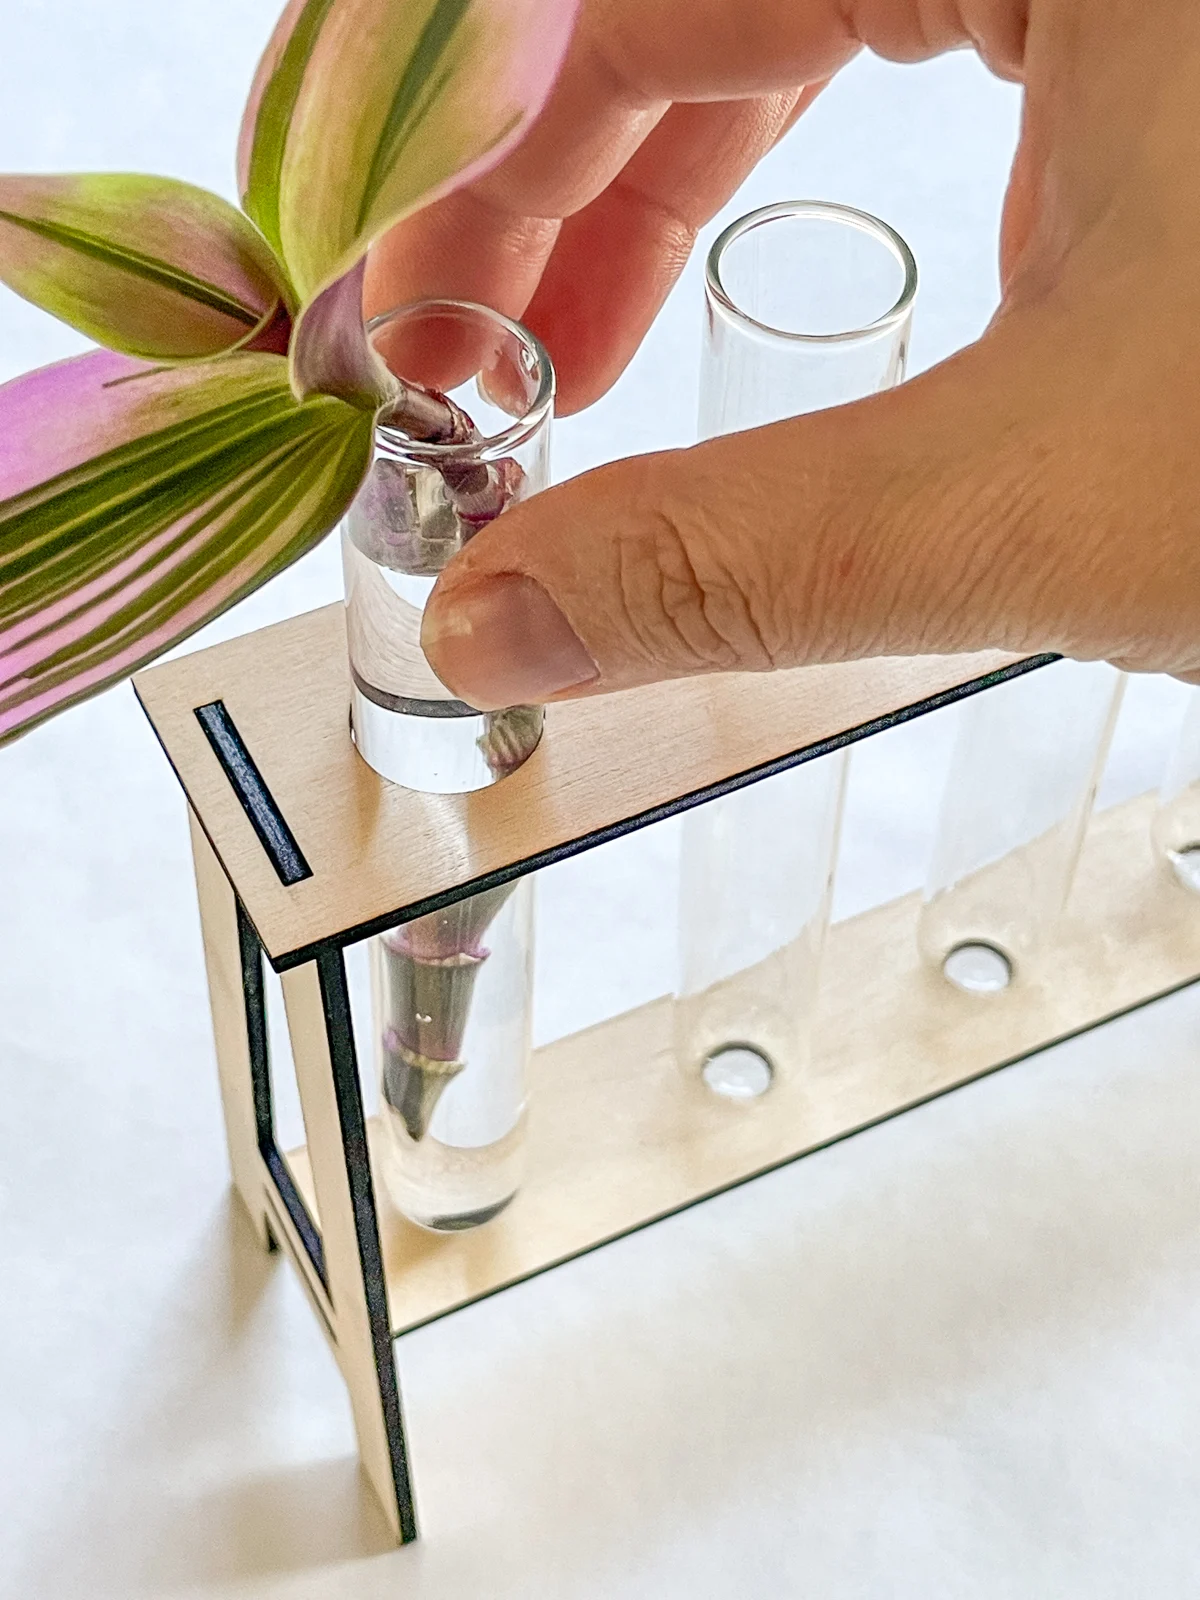
Step 3 - Insert the test tubes
The test tubes from my spice rack fit perfectly in the holes of the propagation station. The smaller bottom holes are to hold the bottom in place, so they stay straight.
Step 4 - Take cuttings
Not every plant will root in water, so do a little research on each variety before you take a snip. This list is a good place to start!
It was pouring down rain while I was working on this project, so I started with a couple of houseplant cuttings before venturing outside. I've had this Tradescantia Nanouk hanging in a window for years, and a few of the leaves got a little scorched in the sun this summer.
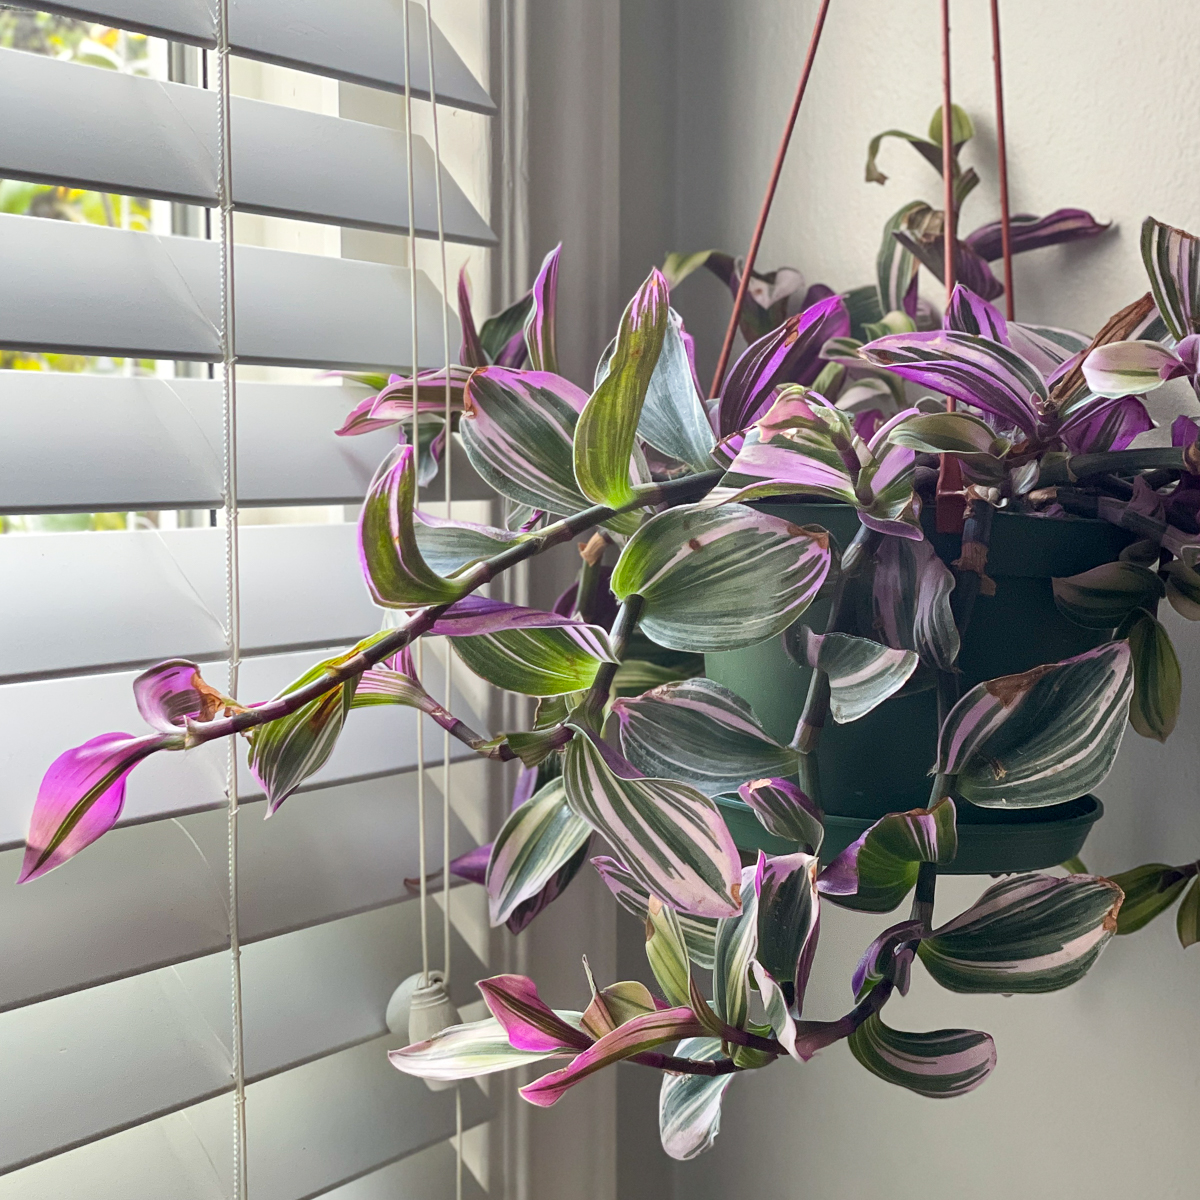
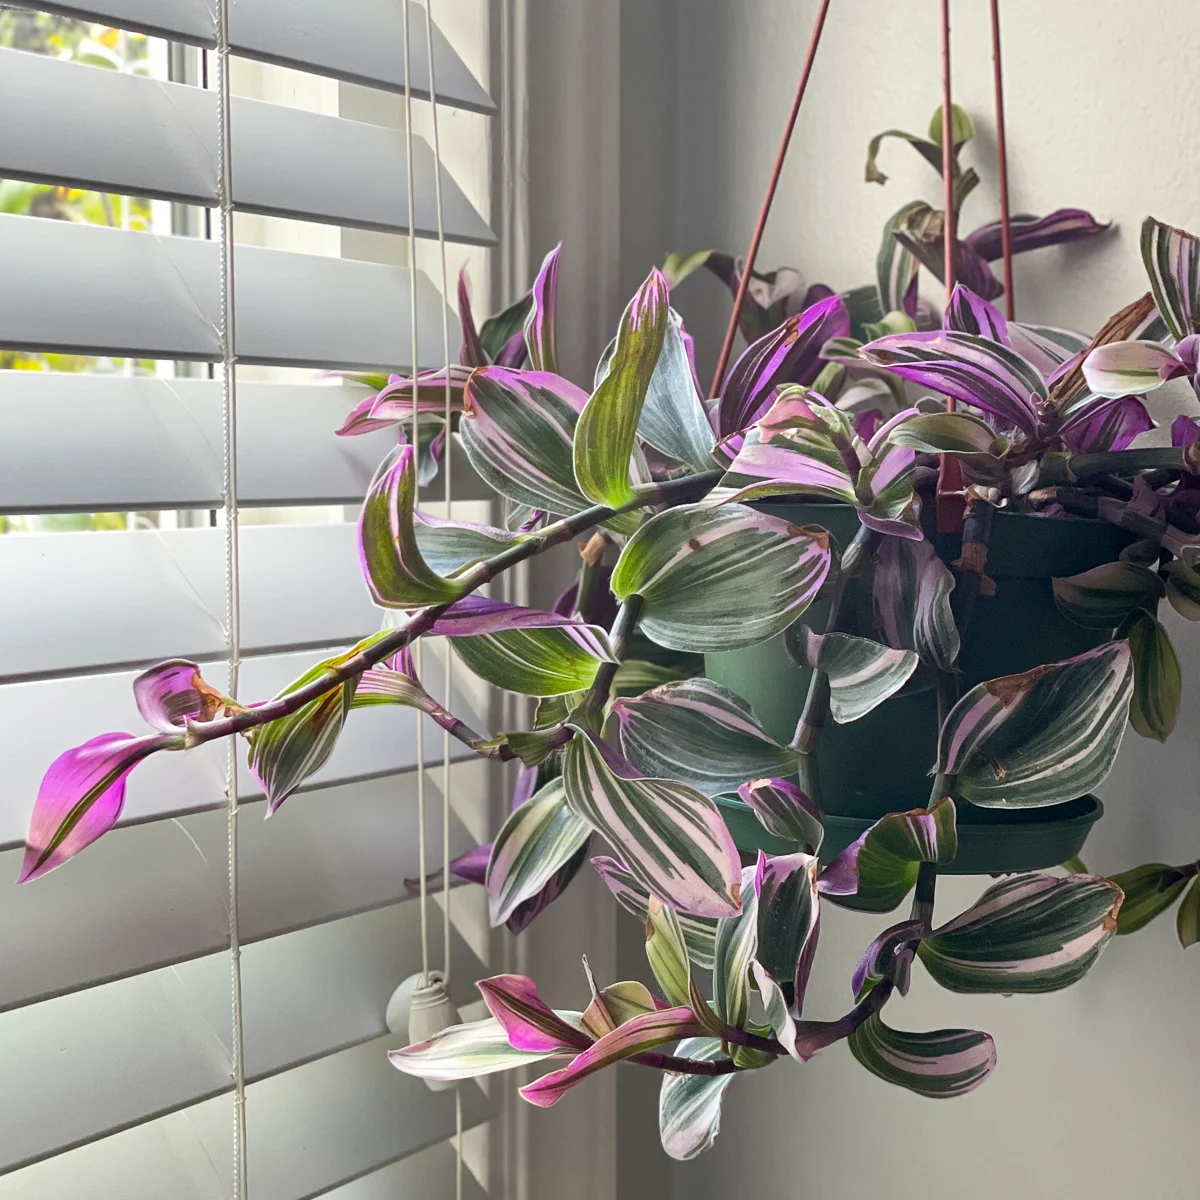
I cut a short section of one of the stems right above a leaf node. Then I stripped off the bottom leaves and cut the crispy brown tip off one of the remaining leaves. Then you just pop it in the water in one of the test tubes!

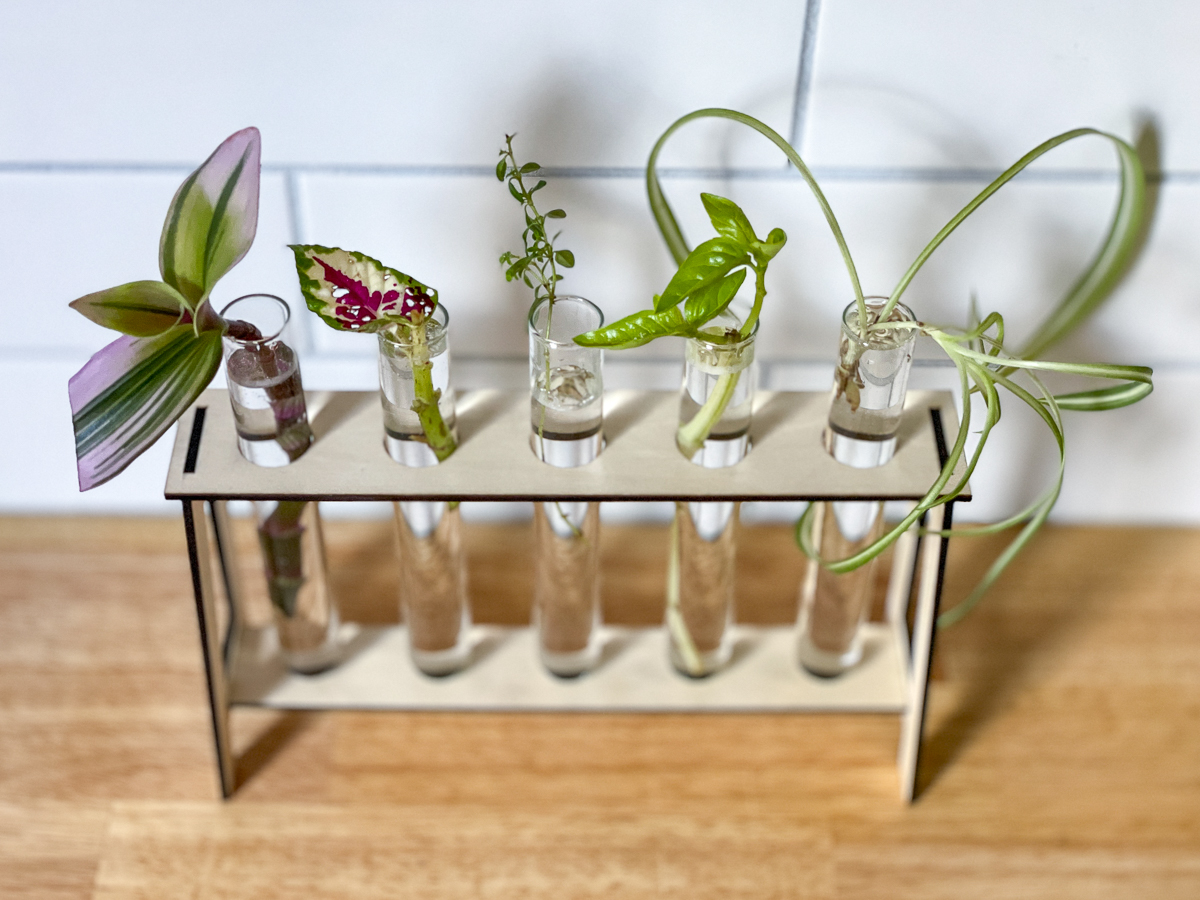
When the rain stopped, I cut a stem from this gorgeous coleus I started from seed, as well as a sprig of basil and thyme. Make sure to strip all the leaves that will be below the surface of the water, or they'll just rot.

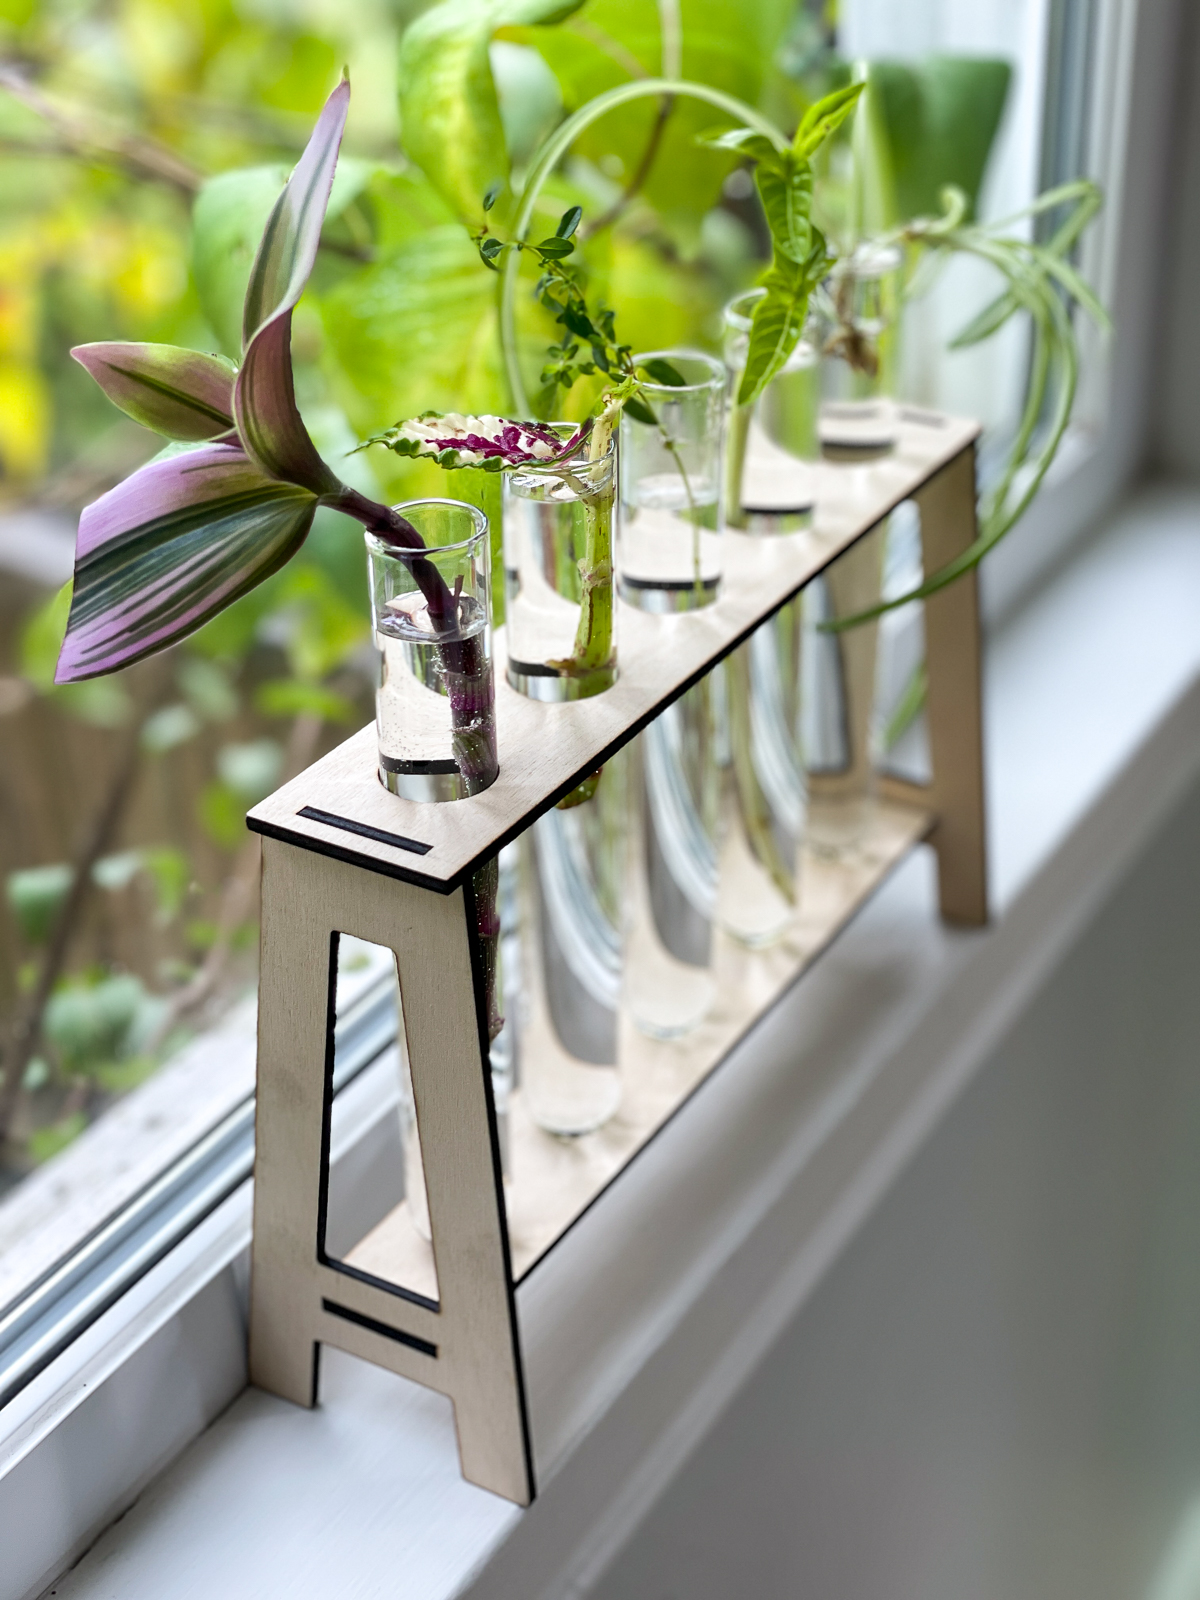
Place the propagation station on a windowsill with indirect light and watch the roots form! This window is facing east, and is shaded by the lilac growing outside, so it should be the perfect spot!

If you're interested in seeing how these grow, check out my gardening website, Grow Happier Plants, for all the details!
Check out these other laser cutting projects!