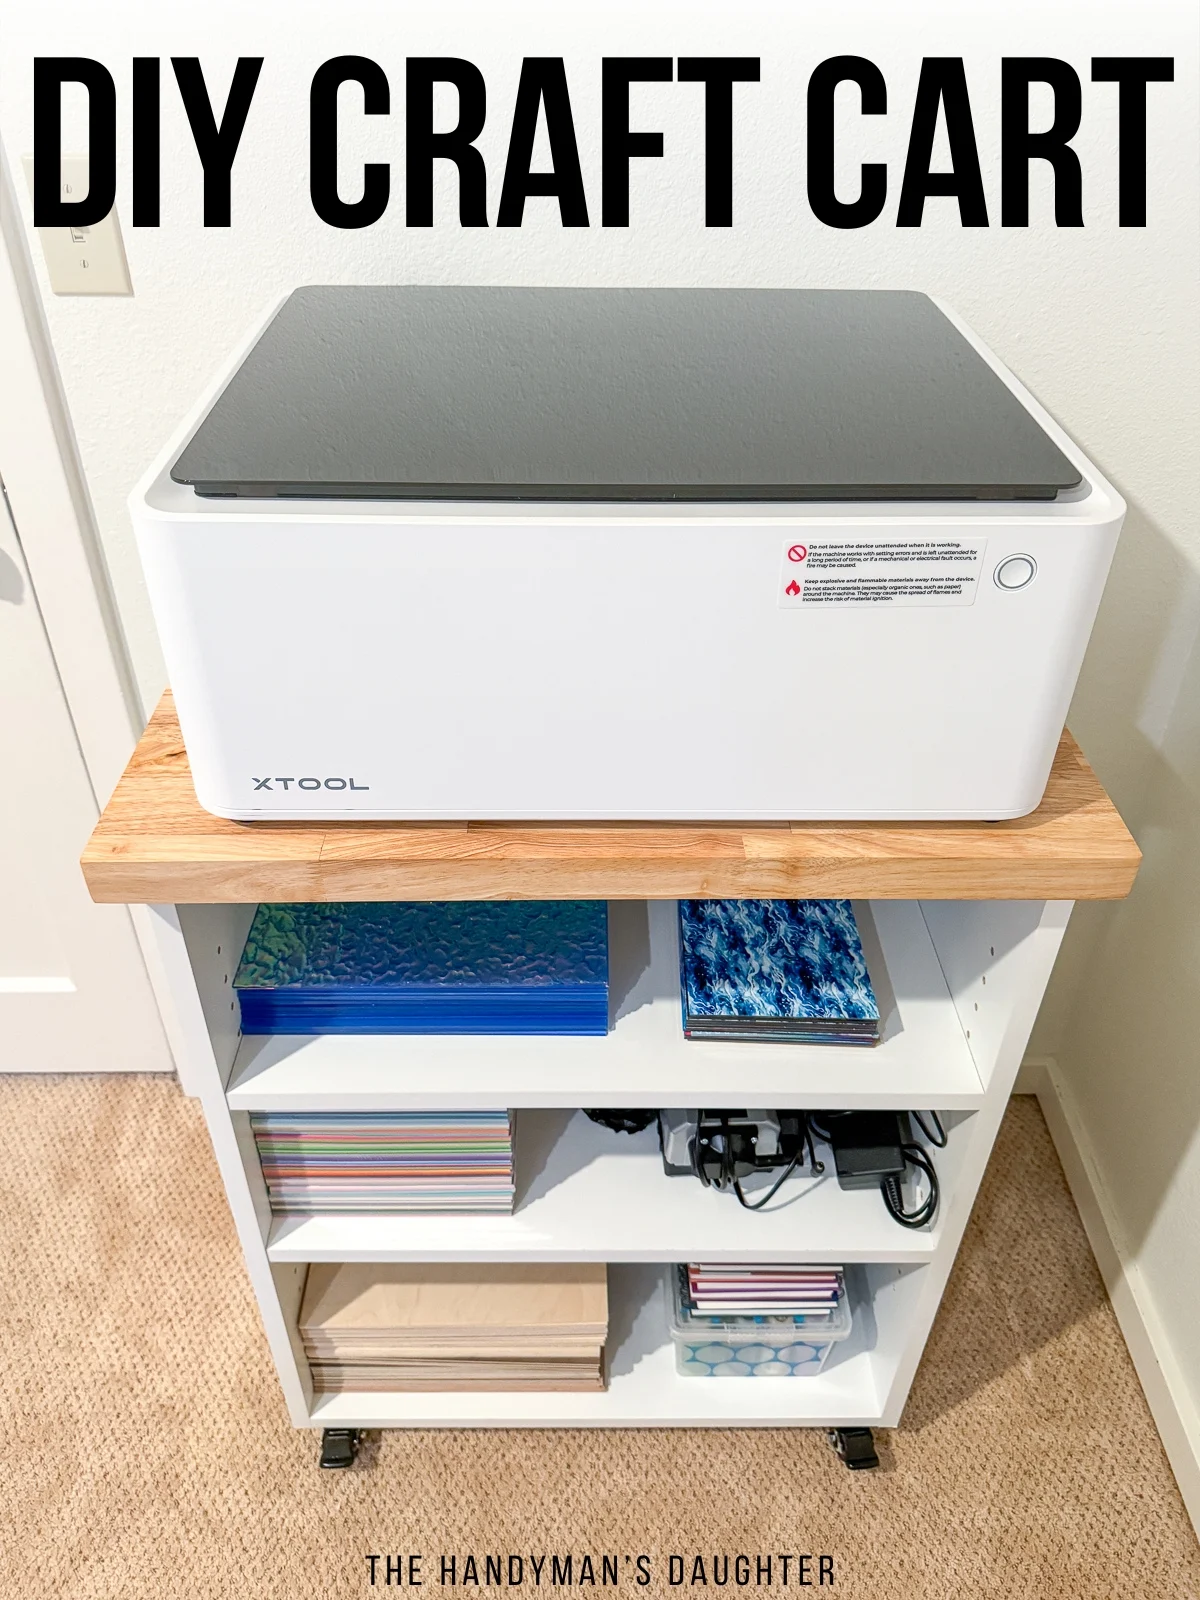
Want more mobile storage for your crafting machines? Build this easy DIY rolling craft cabinet with adjustable shelves for all your supplies!

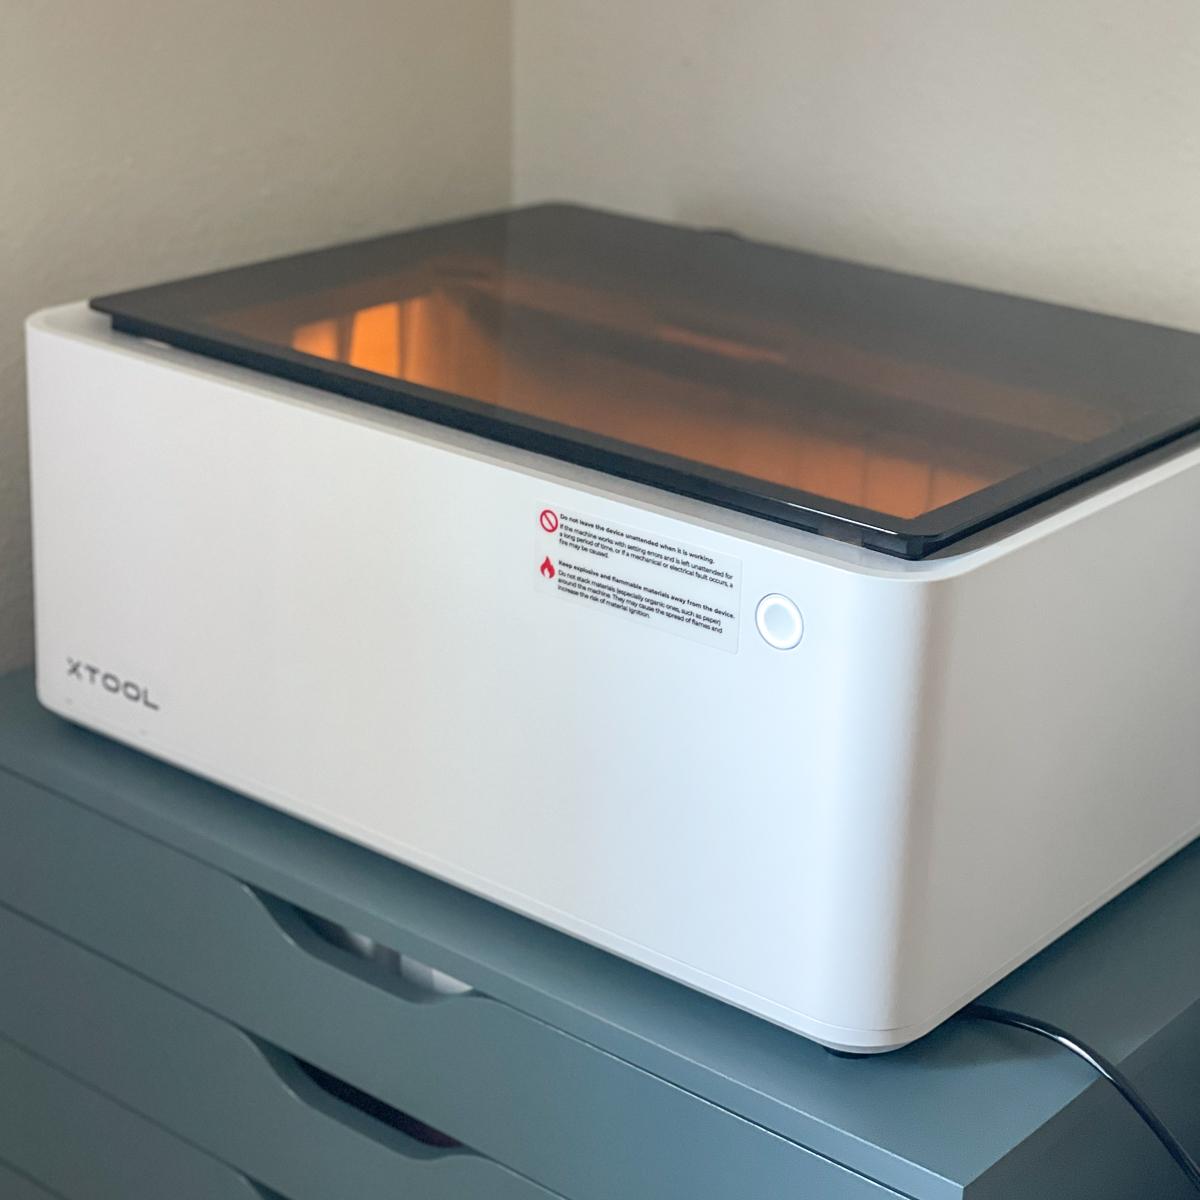
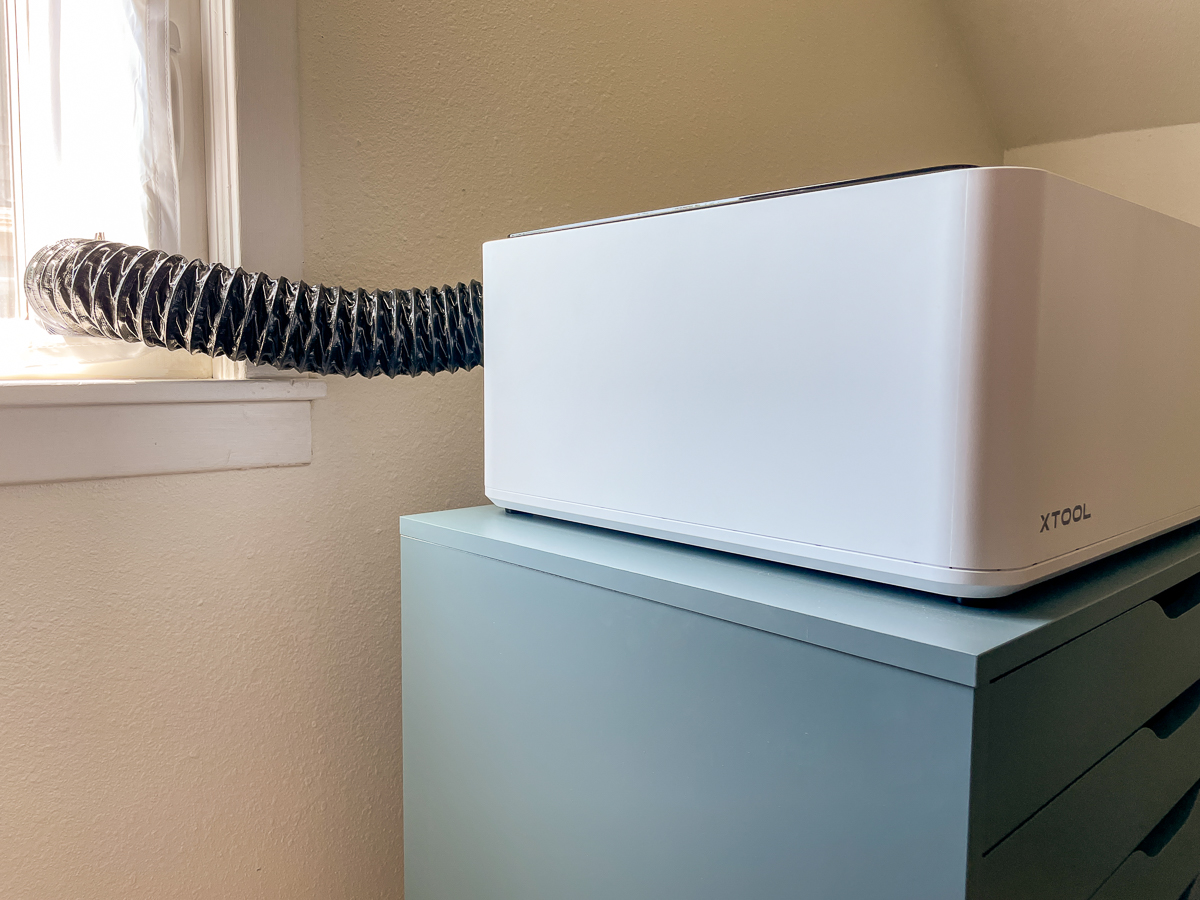
Our guest room has been taken over by laser cutters! What was once just an xTool M1 laser and blade cutting machine on an IKEA Alex drawer unit...
is now overflowing with the xTool P2 CO2 laser cutter taking up all the space!

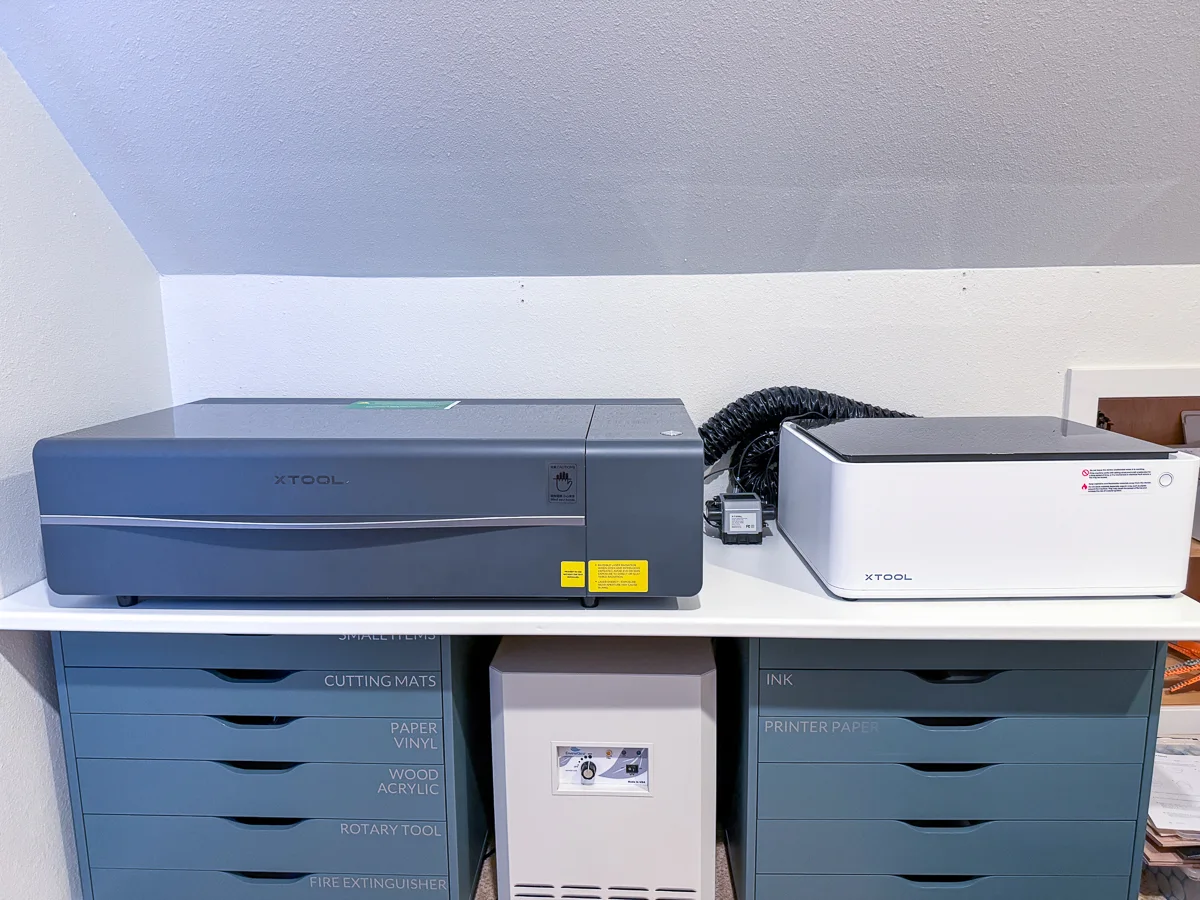
The M1 is now too far away from the window to vent properly, and the drawer units underneath are supporting the insanely heavy P2 and can't roll easily. I decided to push the drawers together and turn the end section into a desk instead.
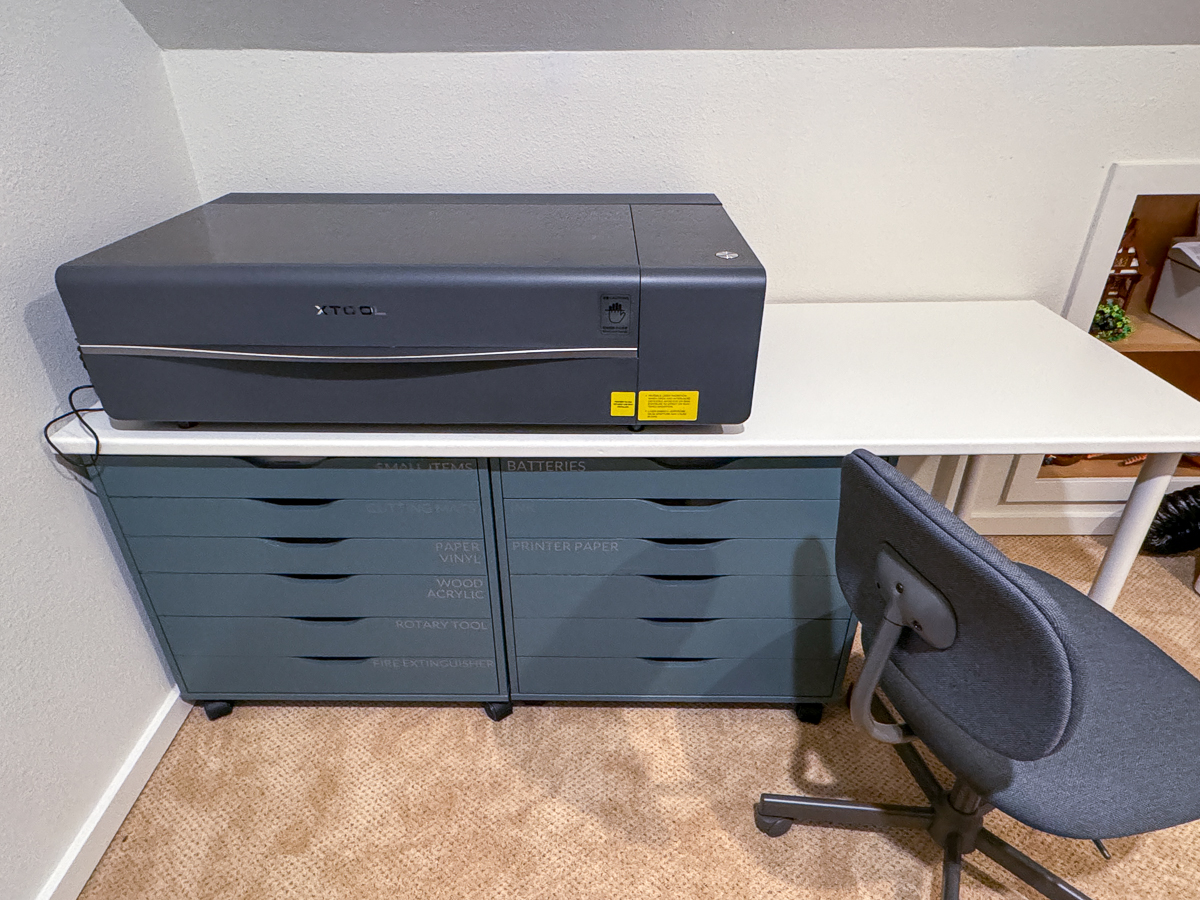

I still want to use the M1 for rotary engraving on tumblers, and the blade attachment makes it a decent substitute for a Cricut. So I needed a mobile craft cabinet that could easily roll over to the window to vent the fumes from the engraving process.

I had some leftover sheets of melamine in the workshop from my kitchen remodel, so I decided to use them up! As luck would have it, the sink cutout from our butcherblock countertops was the perfect size to fit on top. I love when I can make a project from free scraps!
This craft cabinet would be perfect for any type of crafting machine, such as a Cricut, Silhouette or even just a printer. Leave the front open to allow for easy access to all your crafting supplies, or add doors to hide away the clutter. Let's get building!
Don't have a laser, or looking to upgrade? Use the code VINETA100 for $100 off an xTool laser! Click here to check them out!
This post contains affiliate links for your convenience. Purchases made through these links may earn me a small commission at no additional cost to you. Please visit my disclosures page for more information.
Download the plans
Before you start, download the free woodworking plans for this craft cabinet by clicking here! The plans include a cut diagram for full sheets of plywood or melamine, plus 3D models for each step of the process.
Cut the parts
All the pieces were cut from various sheets of ¾" melamine that I had originally planned to use as cabinet end panels in our kitchen remodel. But the white melamine didn't quite match the white paint on the cabinet doors, so I didn't use them after all.
Melamine can chip pretty easily when cutting or drilling. Luckily, there are a few tricks to minimize the damage and get a cleaner edge. Check out my article on how to cut melamine without chipping for all my tips!

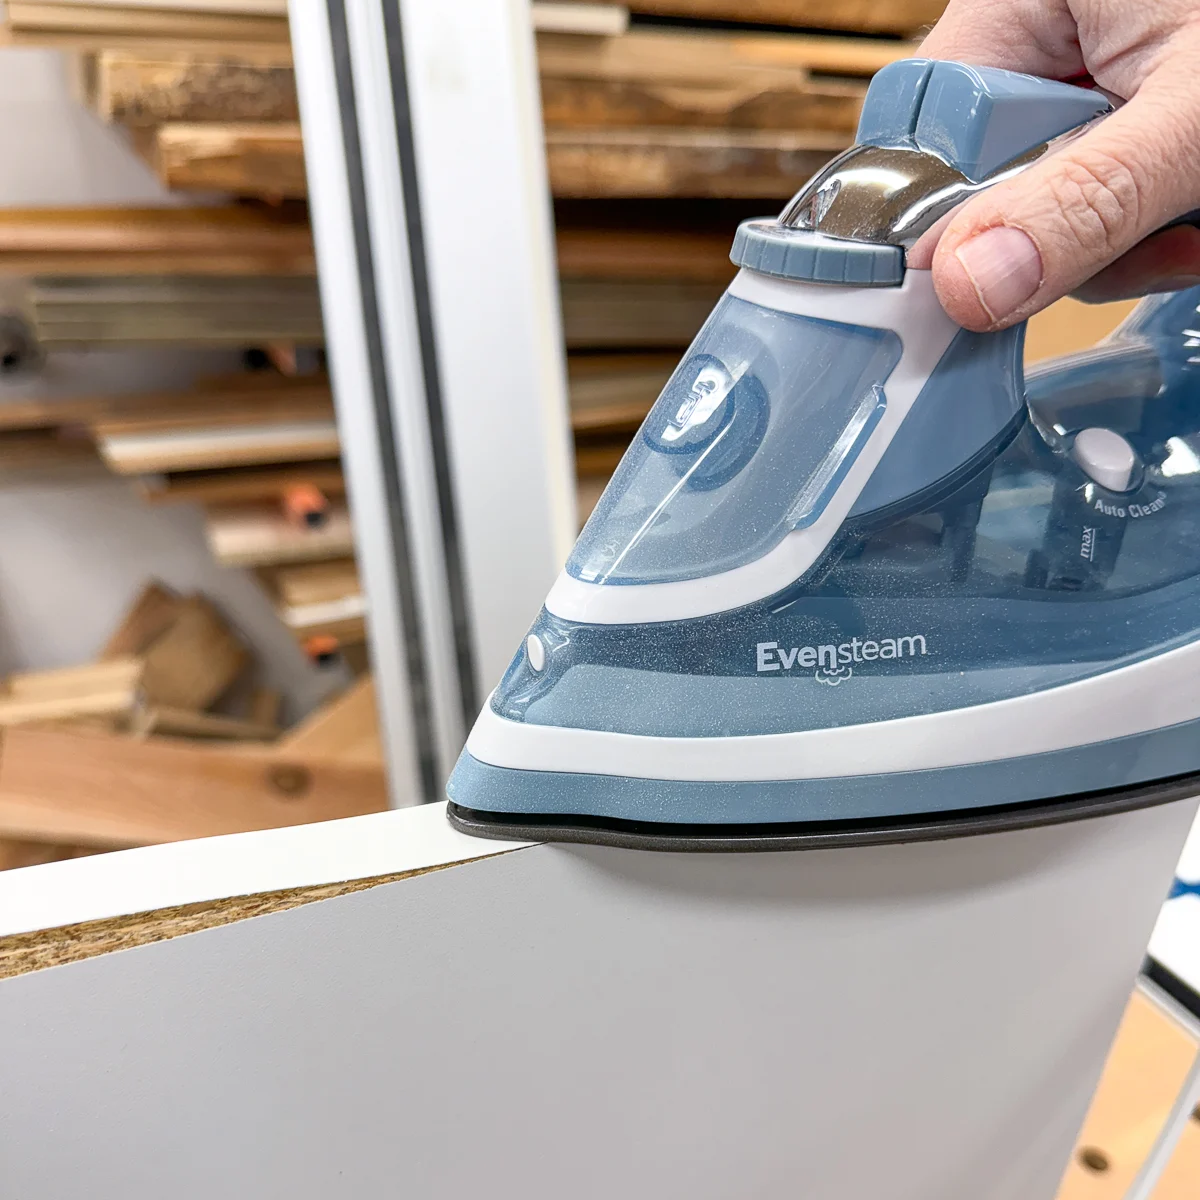
Apply edge banding to all the front edges that will show in the finished cabinet.

Predrill the holes
This craft cart goes together the same way as a base cabinet, with narrow stretchers across the top rather than a solid sheet. This will save on weight, and requires less materials.
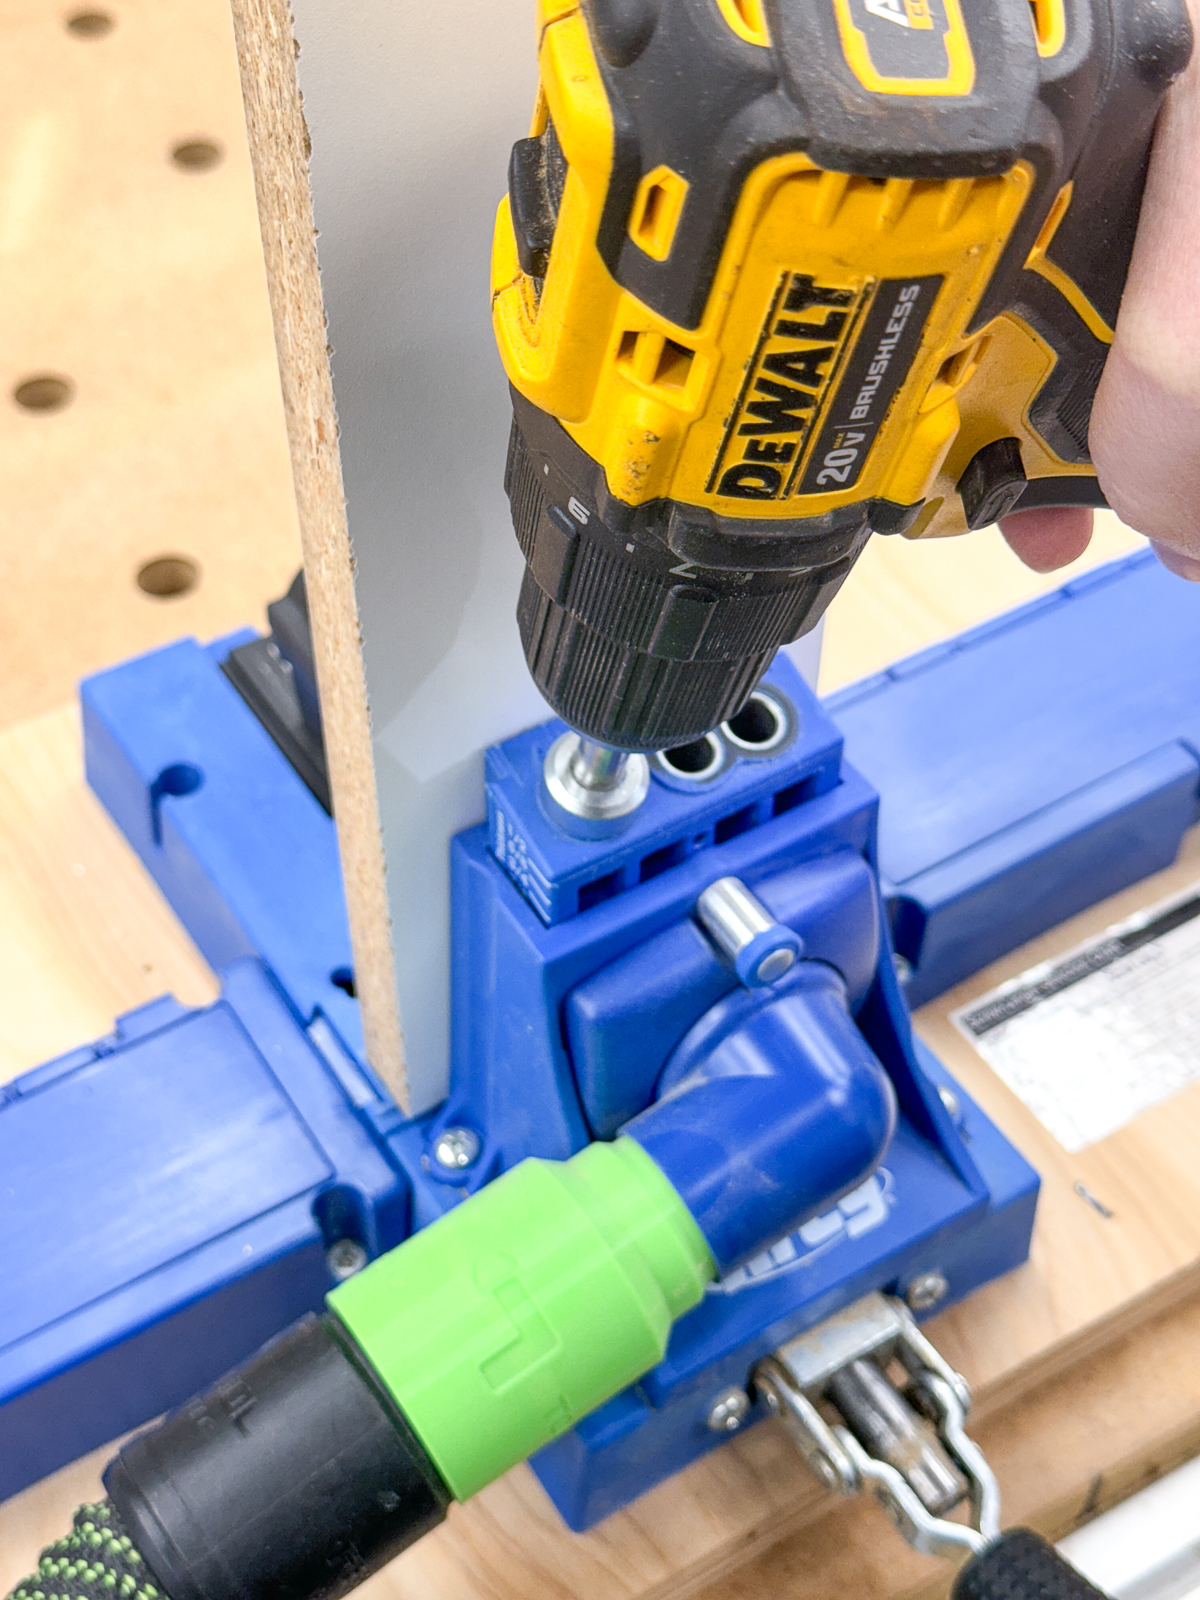
Drill pocket holes in both ends of the stretchers, as well as the bottom piece.

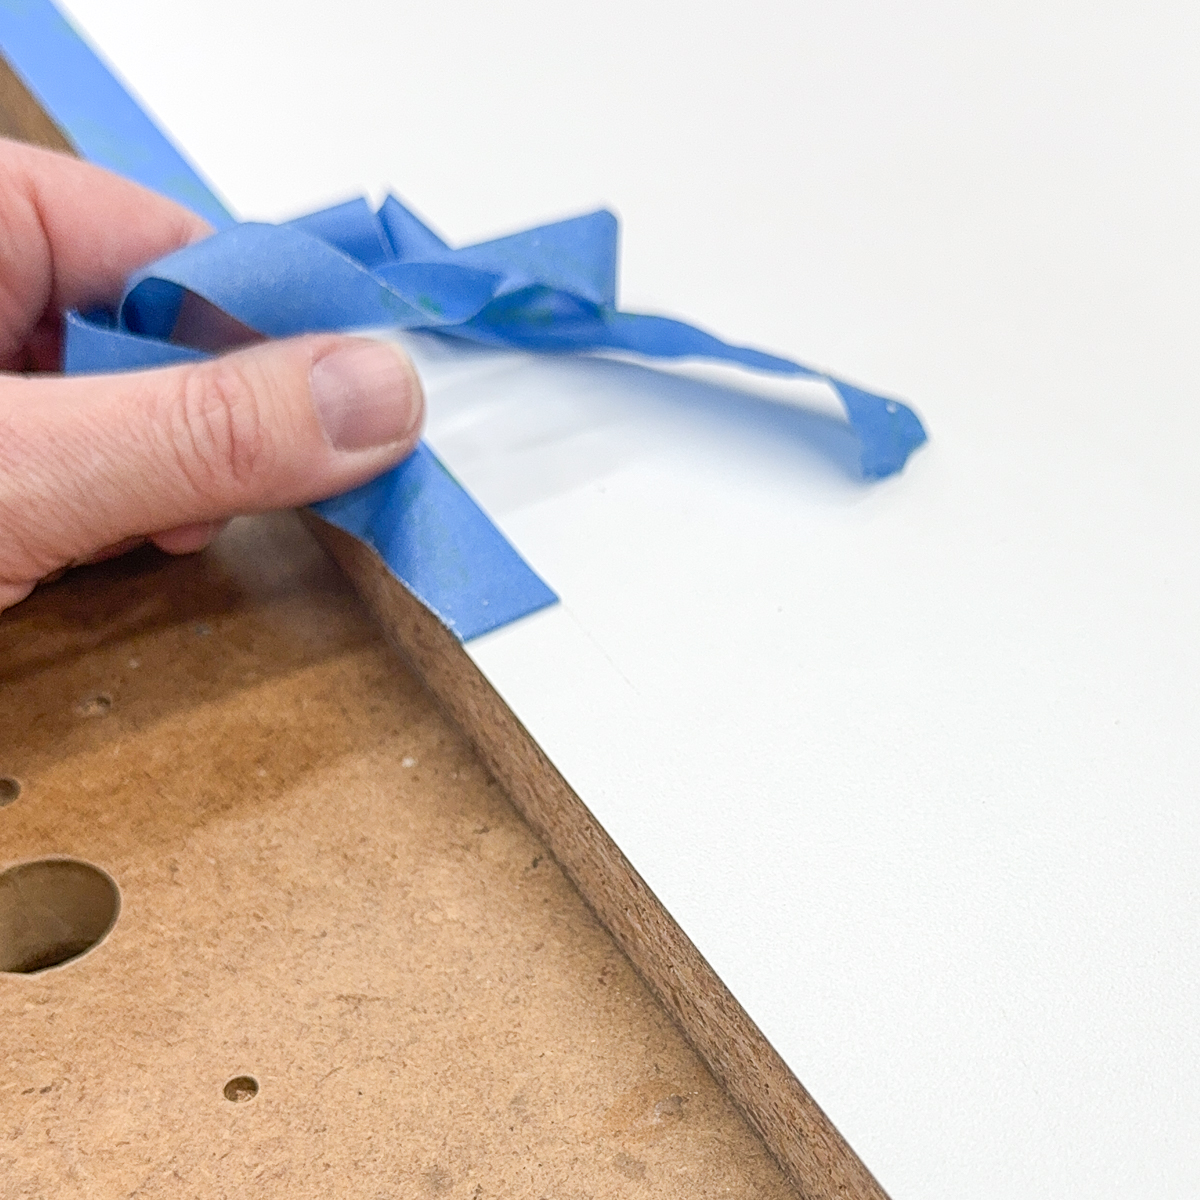
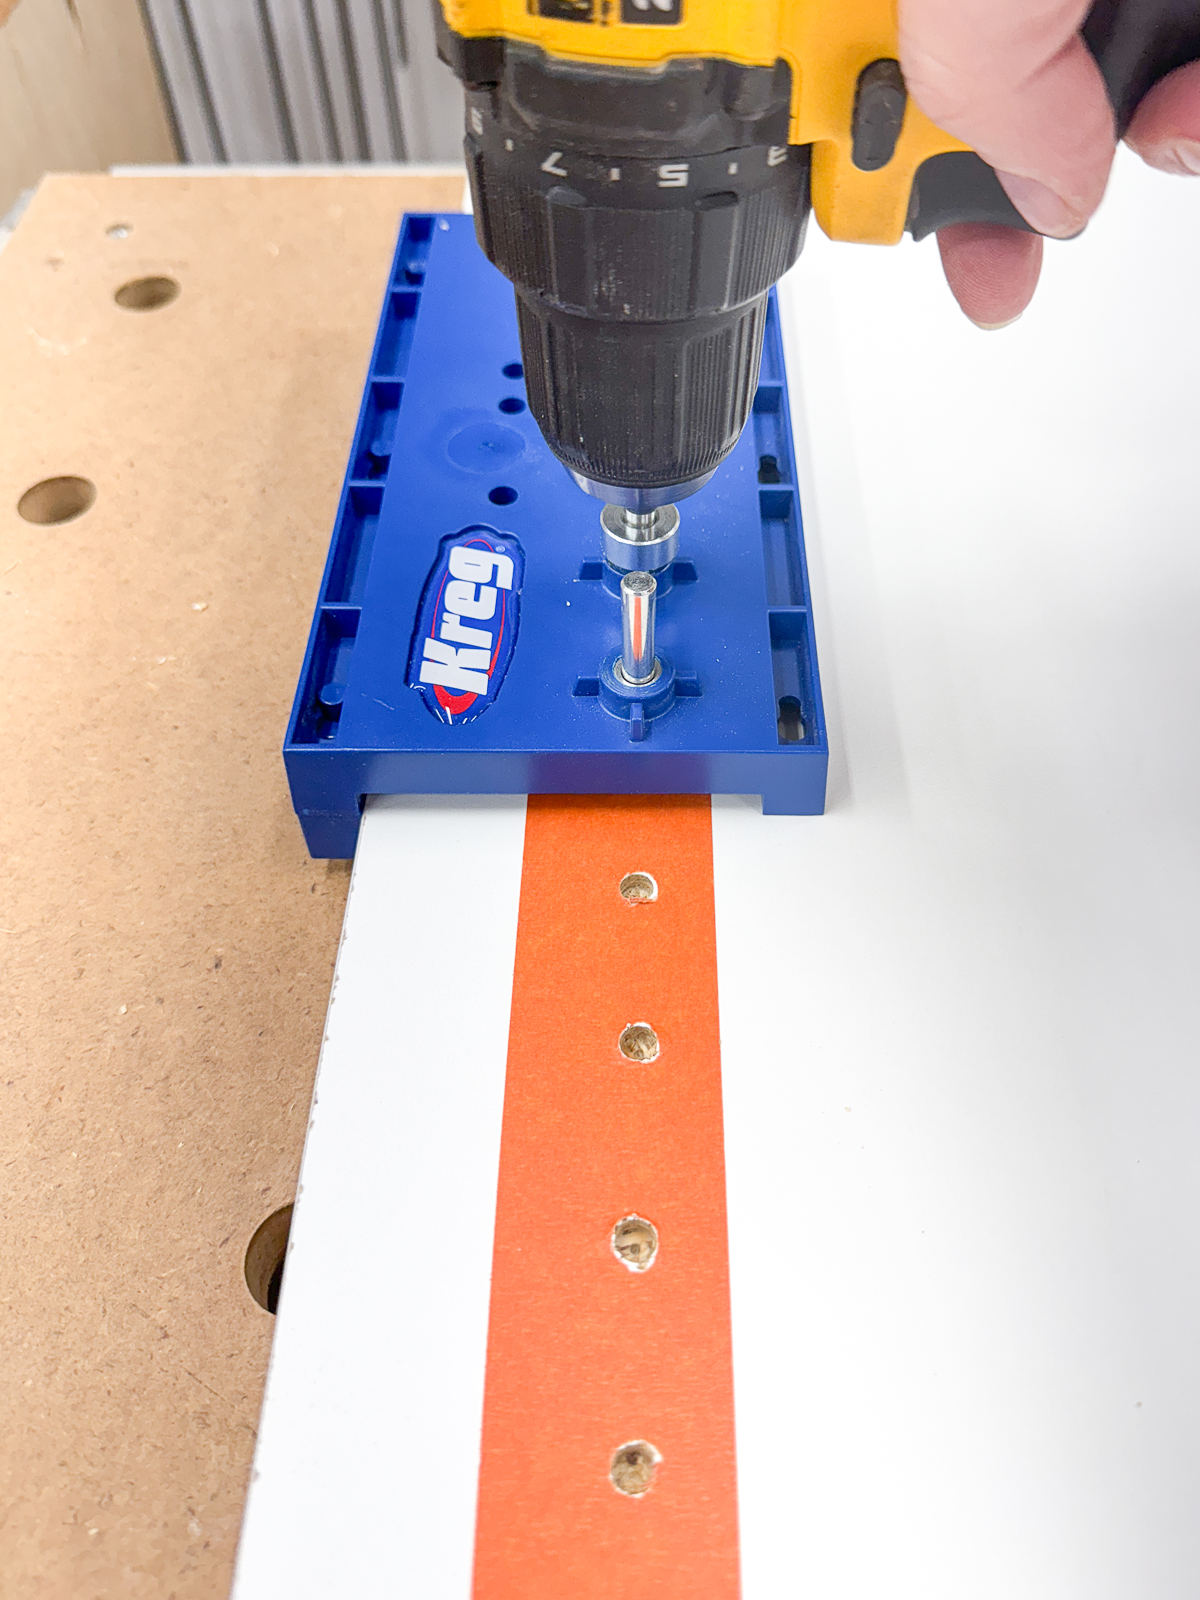
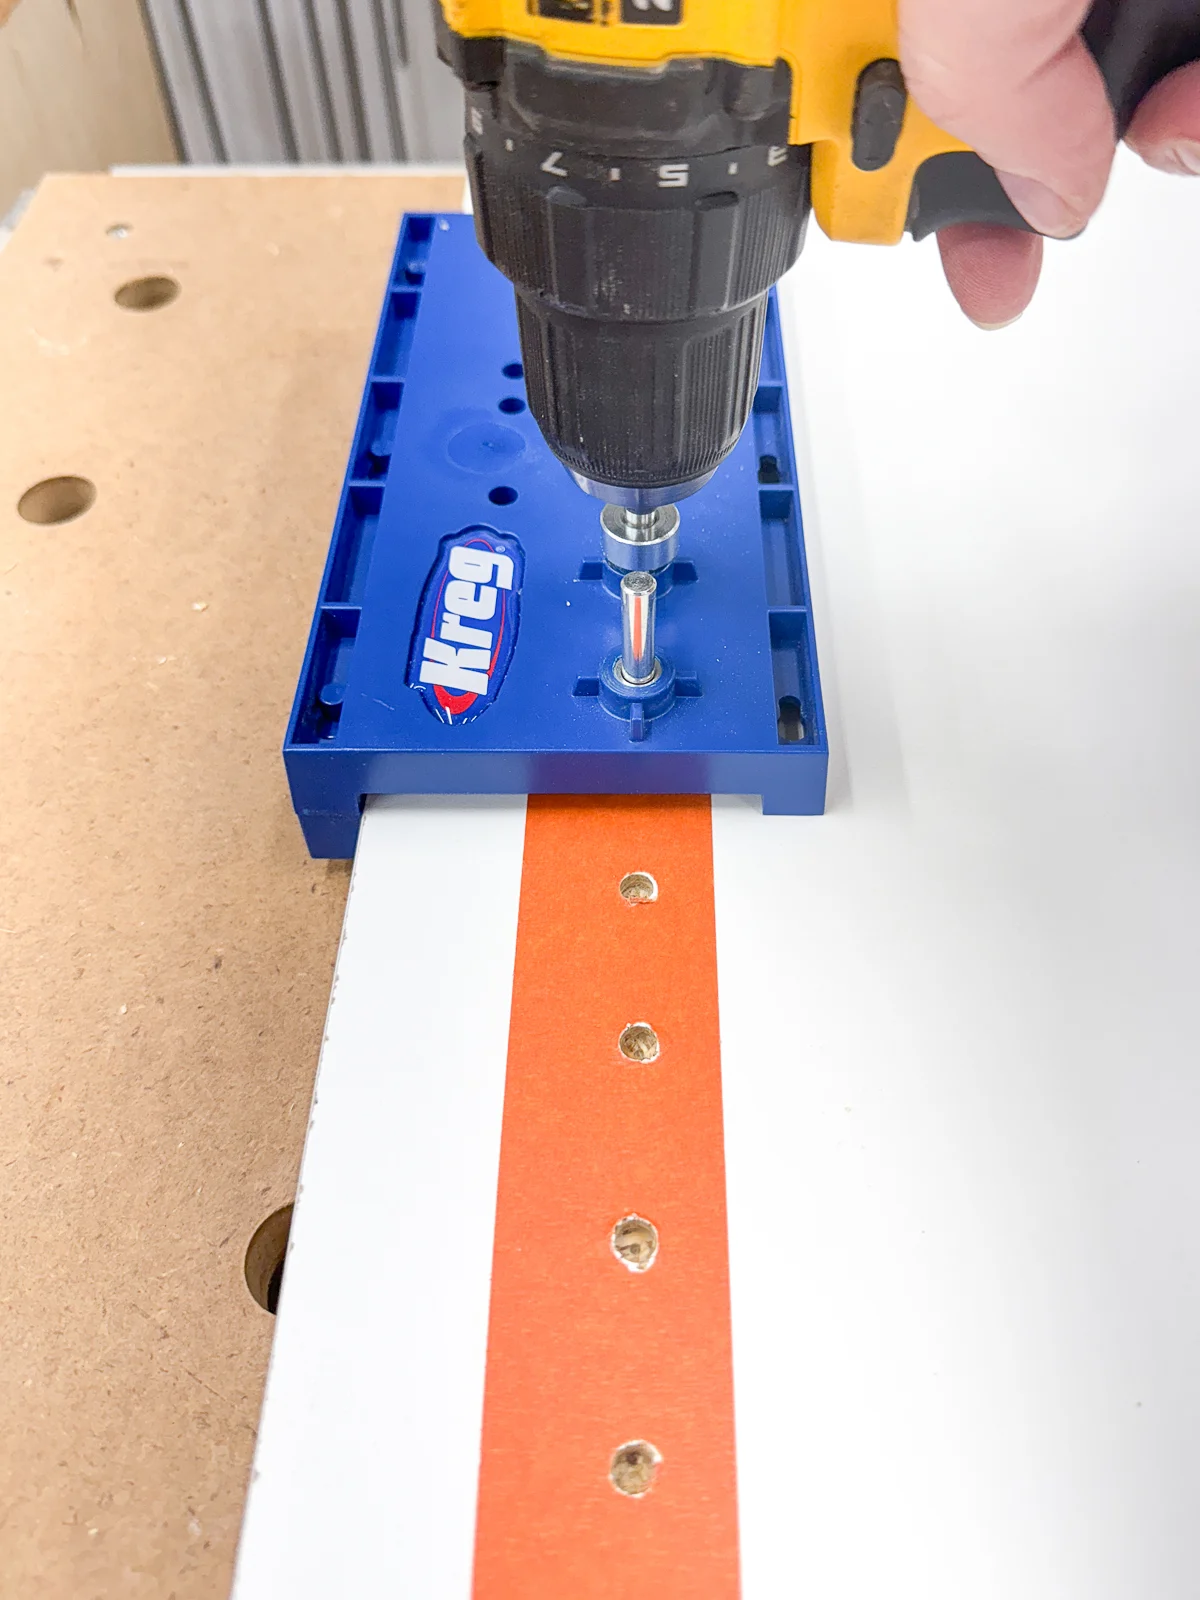
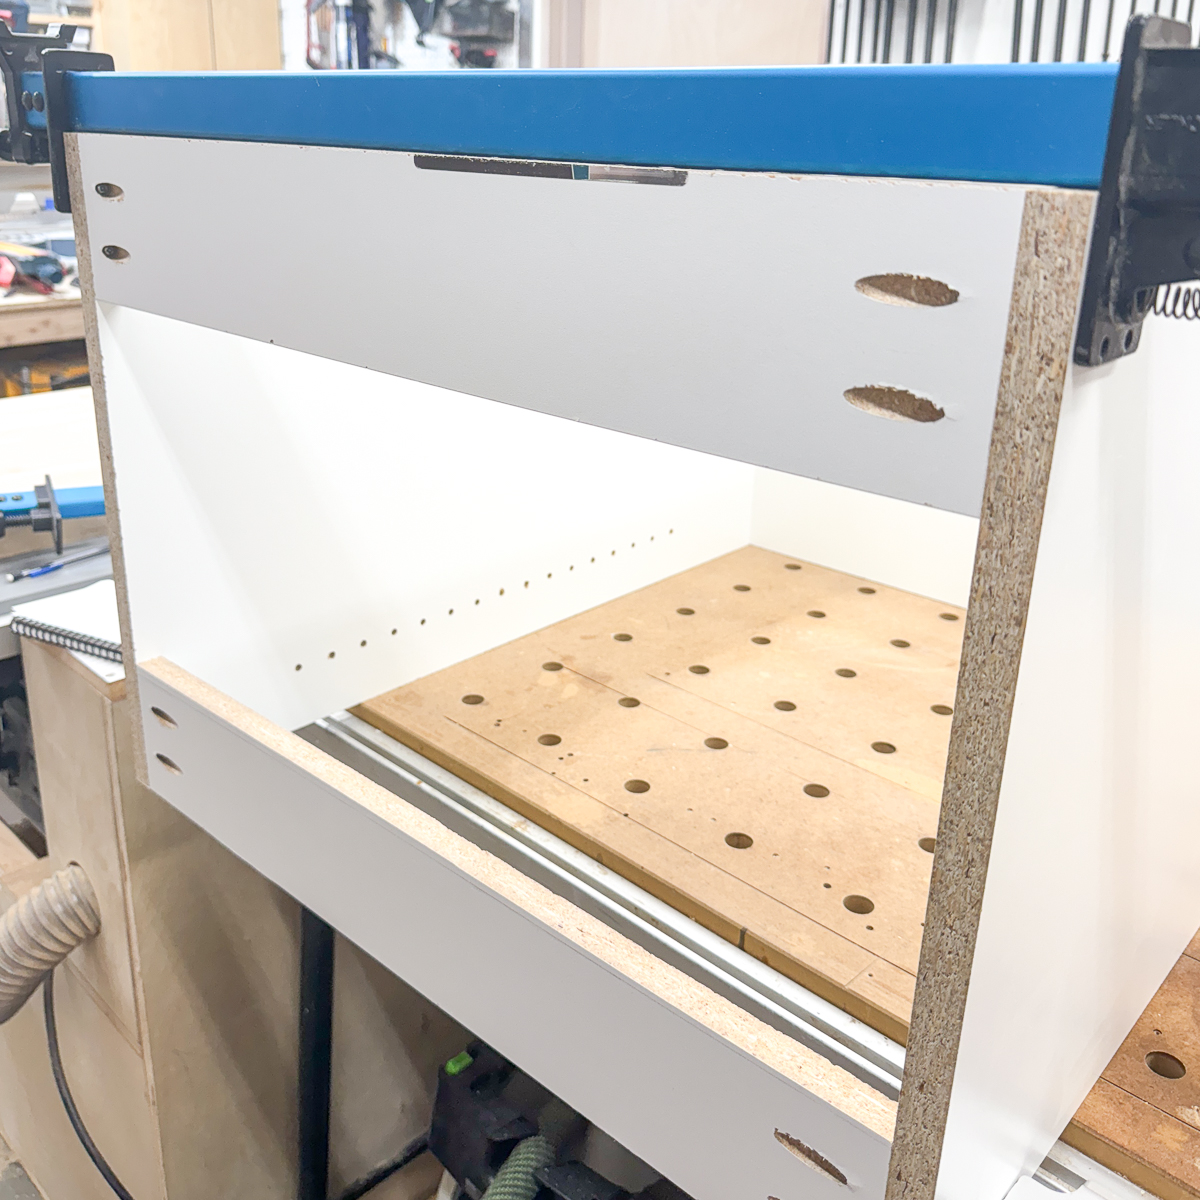
It's much easier to drill shelf pin holes on the inside of the cabinet before assembly. I used this jig to get even spacing on both sides, with painter's tape over the line to prevent tear out.
Assemble the cabinet box
The cabinet goes together pretty quickly once you have all the pieces prepared. Start by attaching the bottom to the sides with 1 ¼" pocket hole screws. I used long clamps to prevent the pieces from slipping.

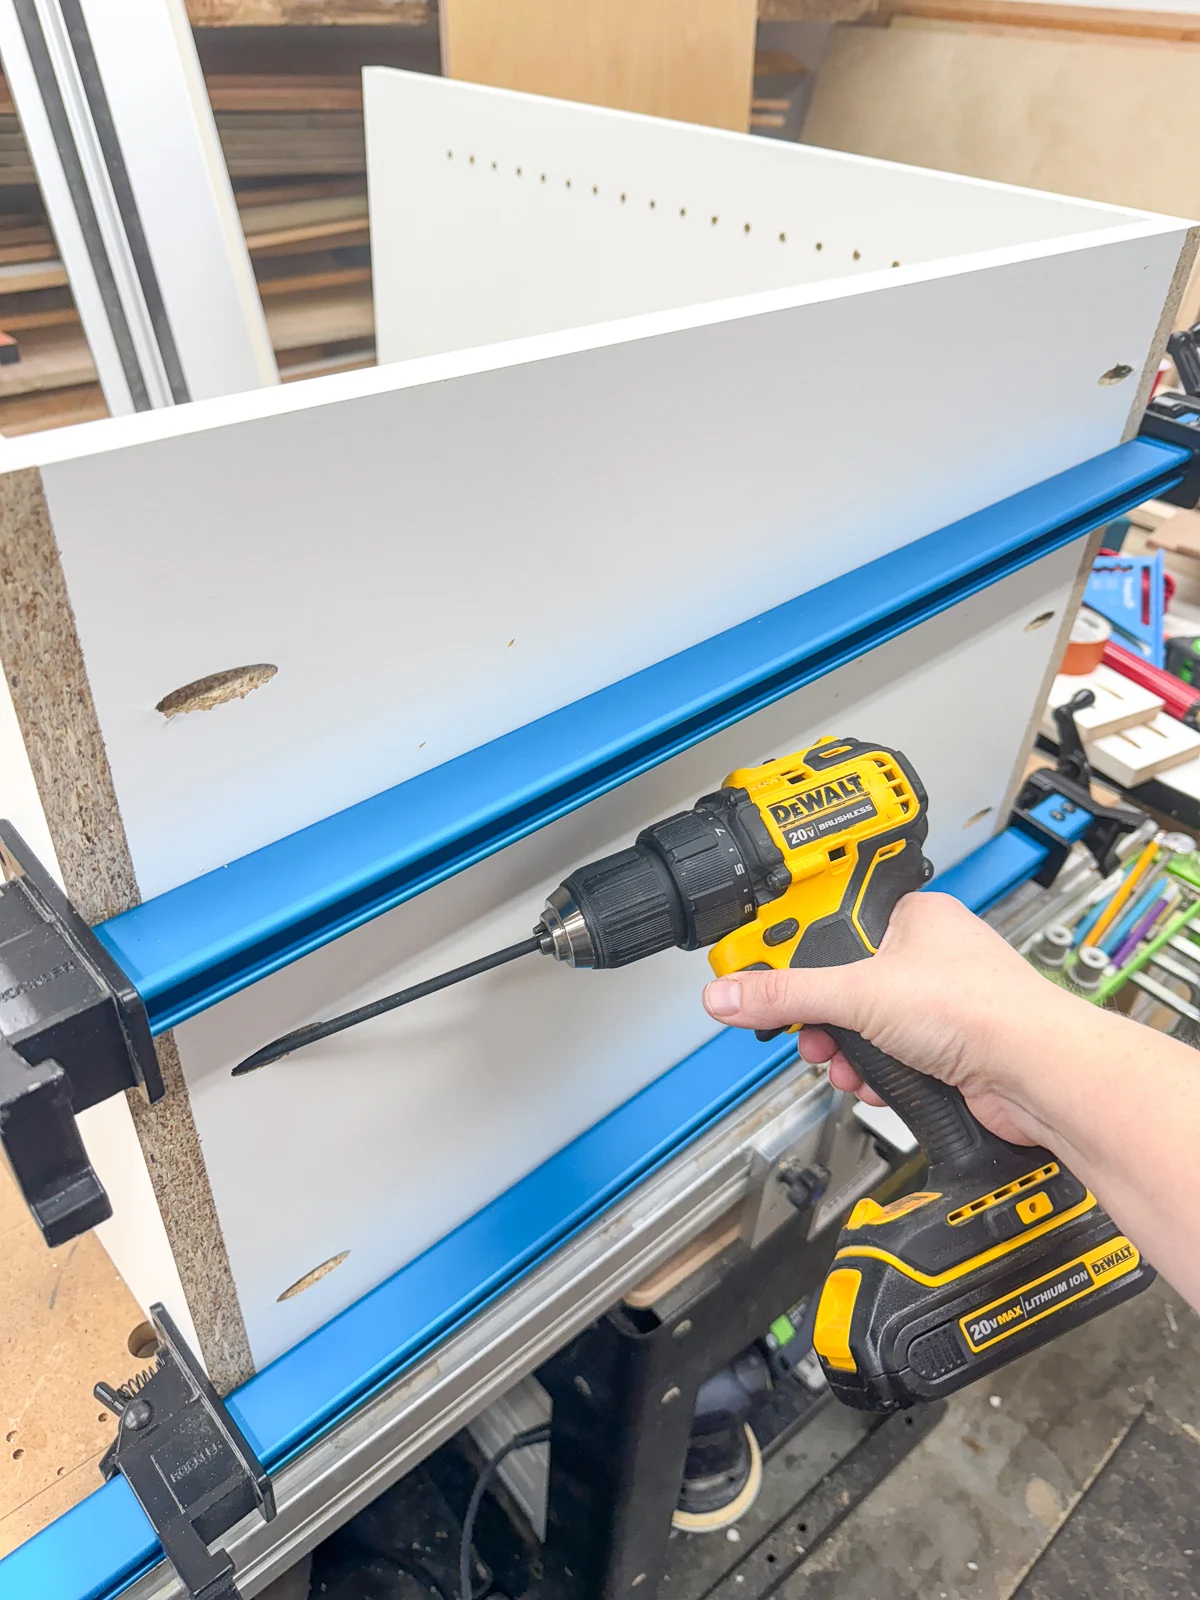
The stretchers go across the top along the front and back of the cabinet box.

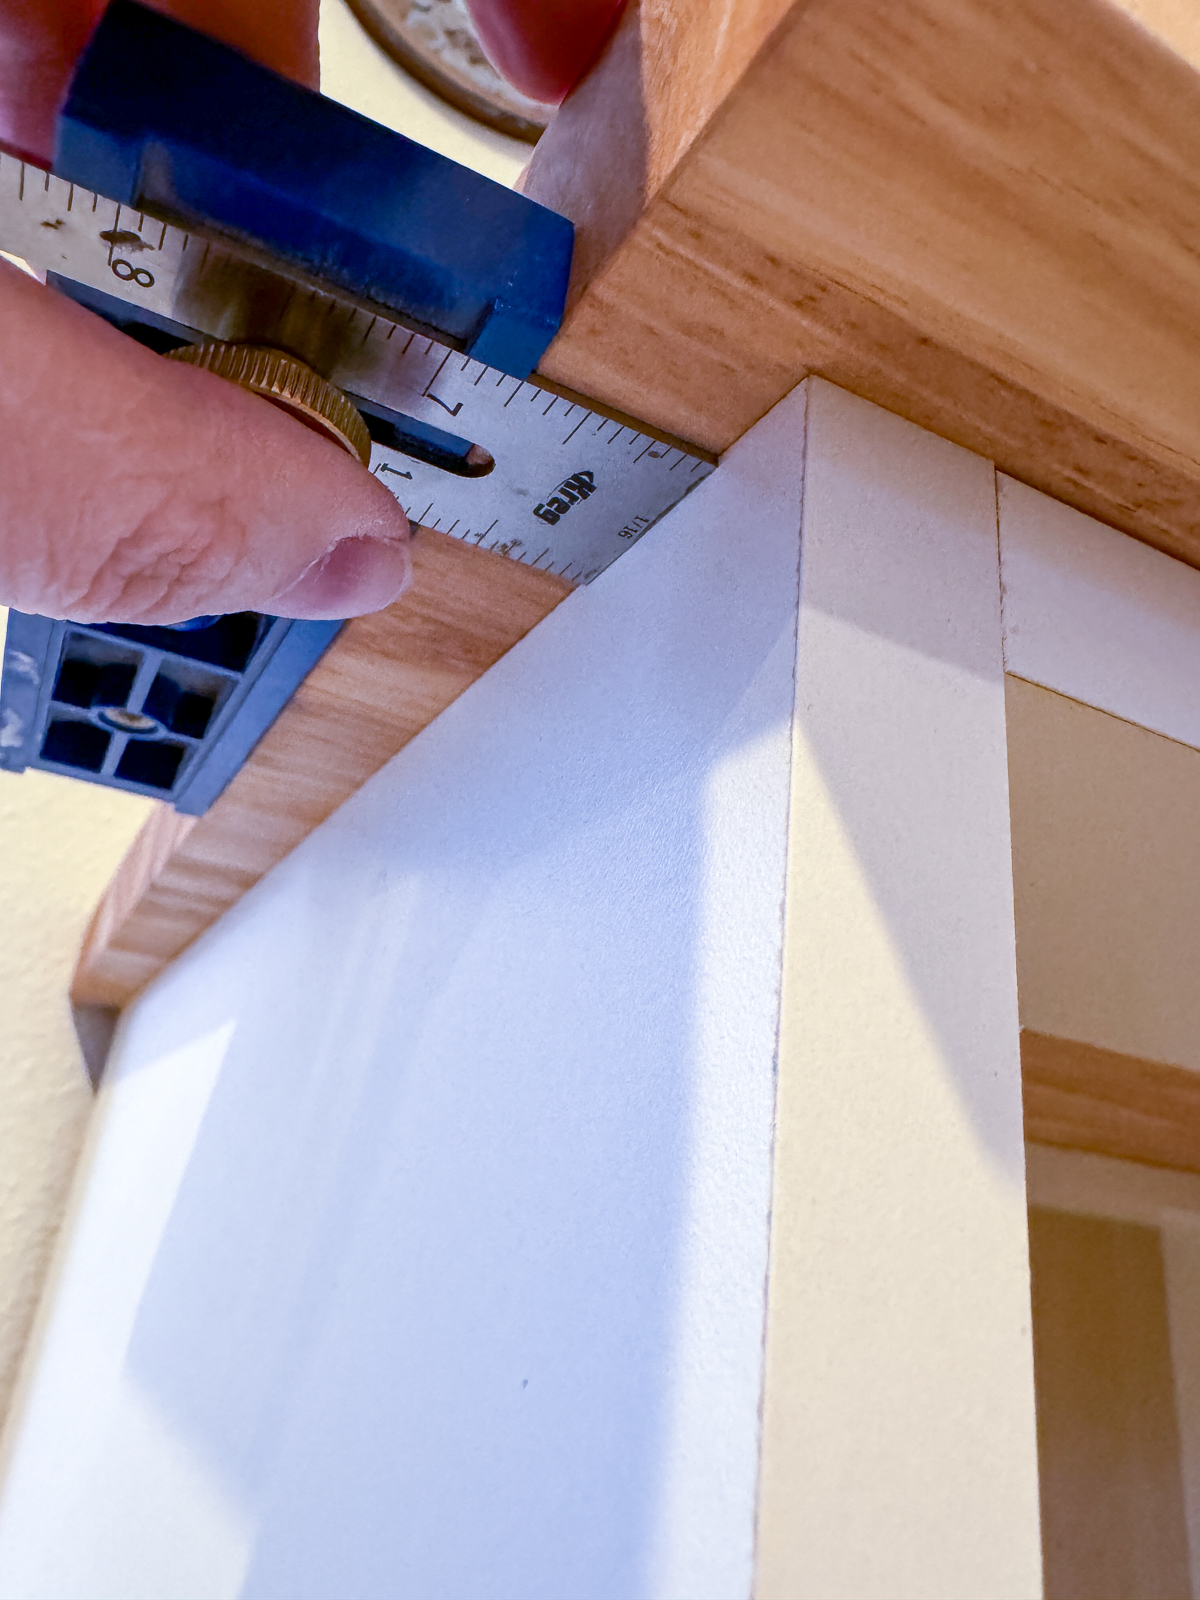
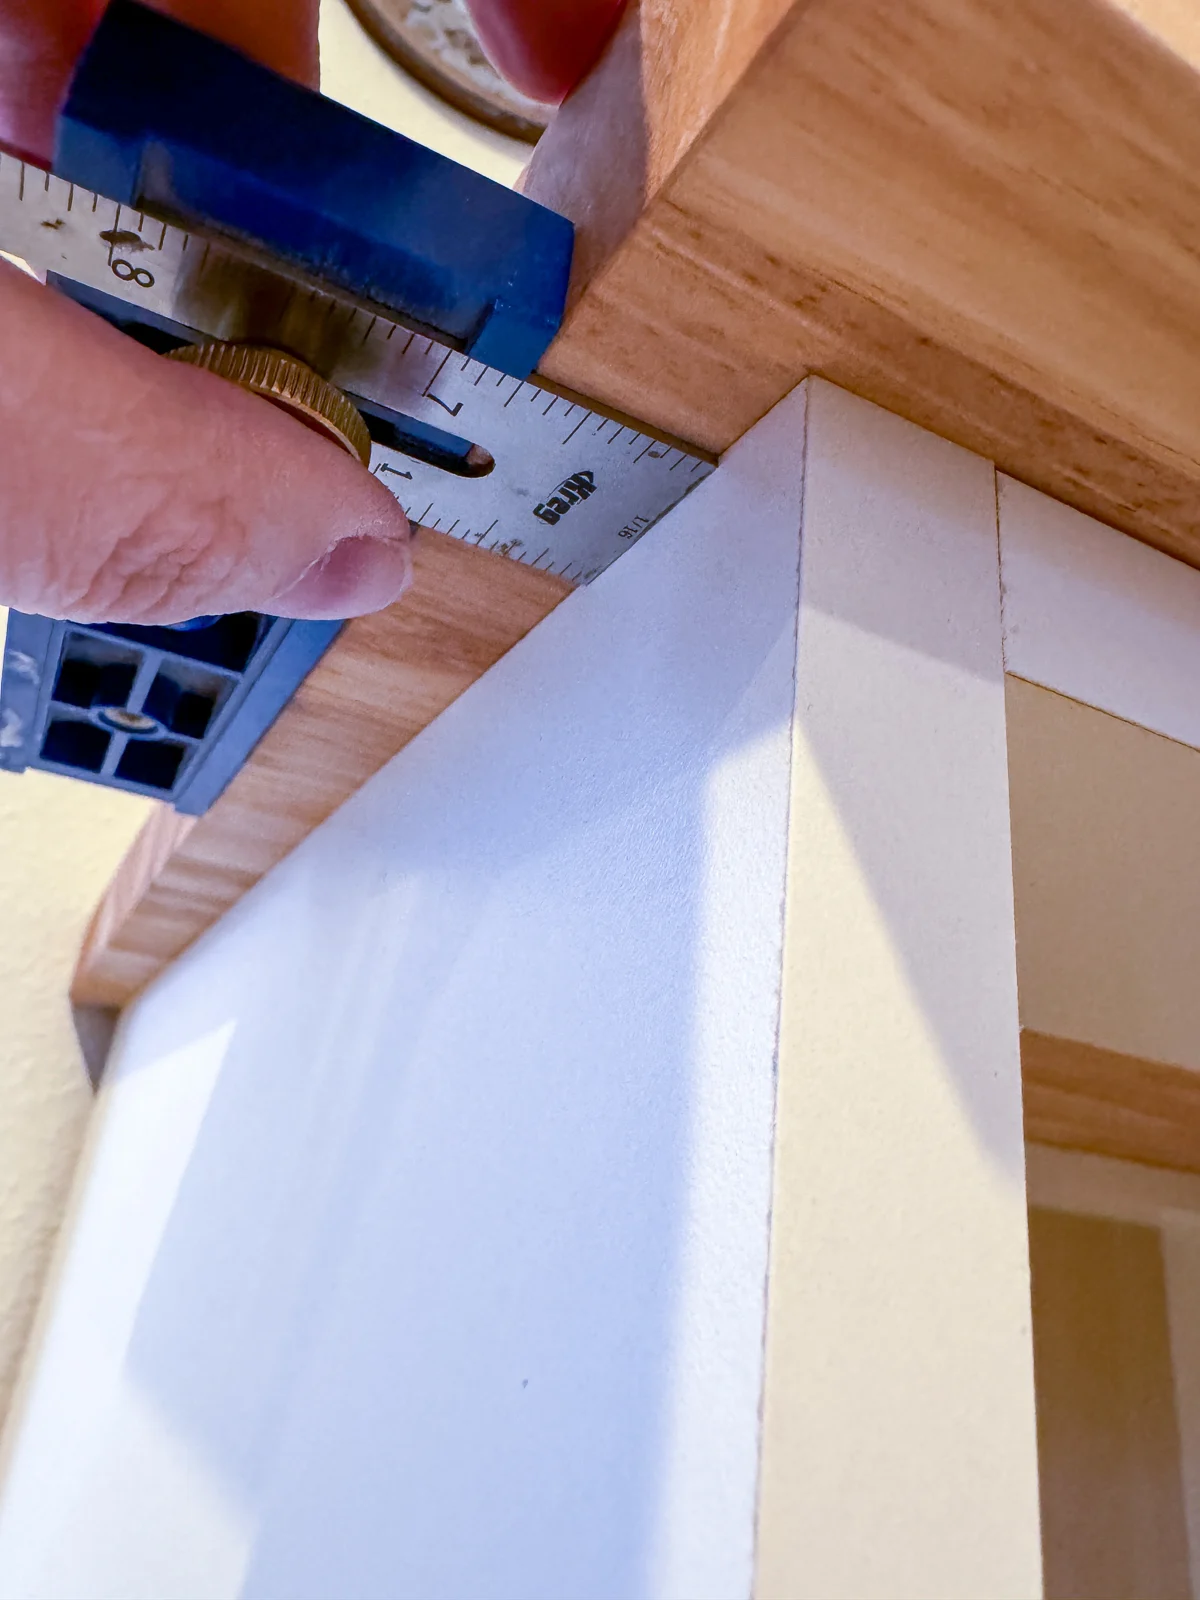
Once the box is assembled, measure across the opening to determine the size of the cabinet back panel. Check for square by measuring across the diagonal in both directions to see if the numbers match.
I'll just be stapling it to the back, so I cut it slightly smaller than the opening so the edges aren't visible from the sides. I had a piece of old IKEA bookcase backing that I saved from when I upcycled the shelves into these closet shelves, but you could just use ¼" plywood.

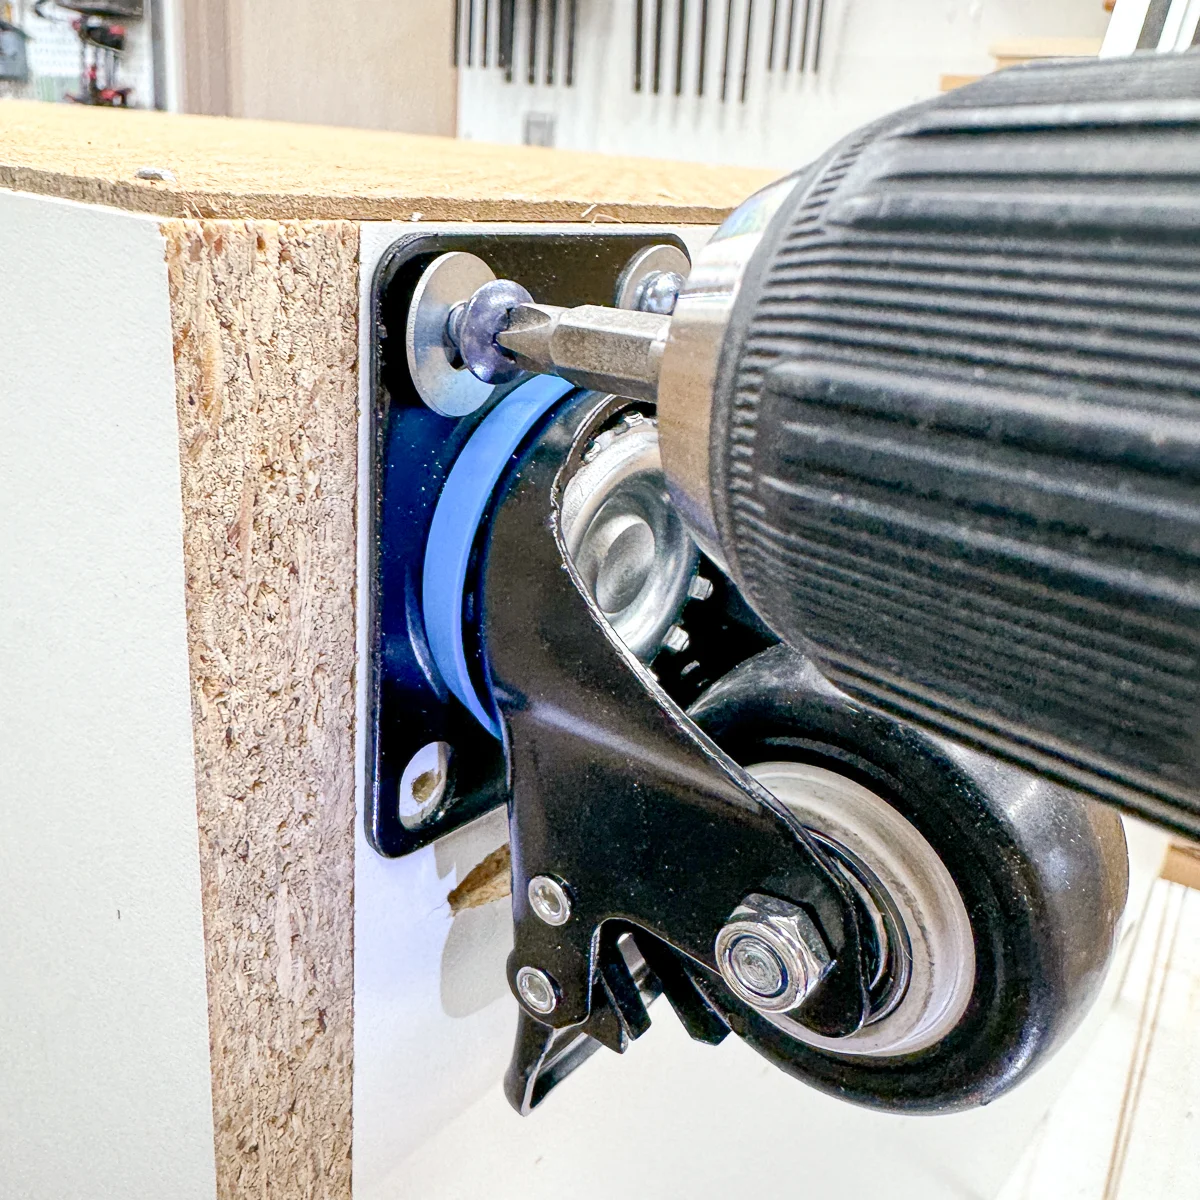
Add casters and top
I wanted to make my craft cabinet mobile so I could roll it over to the window to vent out fumes when using the xTool M1 laser feature. These 2" locking casters will prevent it from wiggling around when the brake is engaged. I recommend predrilling the holes in the melamine first so it doesn't split when you install the screws.

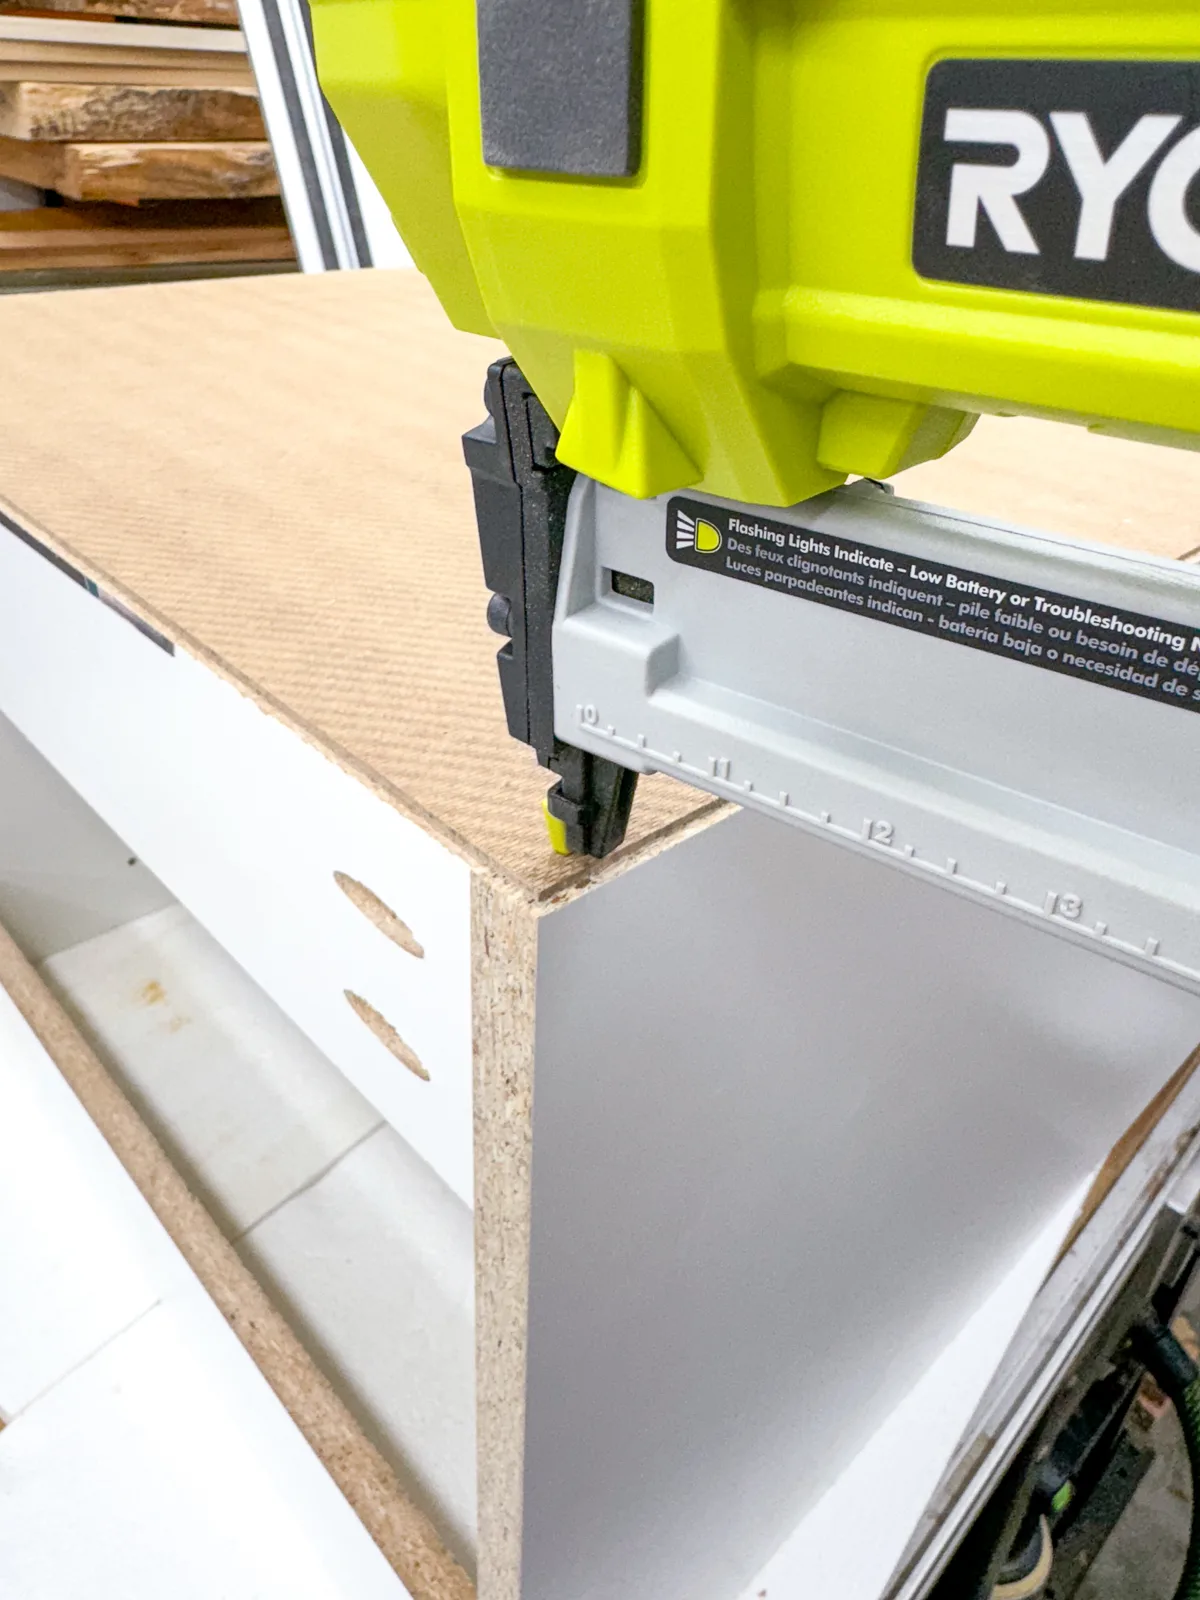
The top was made from the offcut of butcher block countertop that I cut out for our kitchen sink. I cut off the rough edges left by the jigsaw with a track saw.
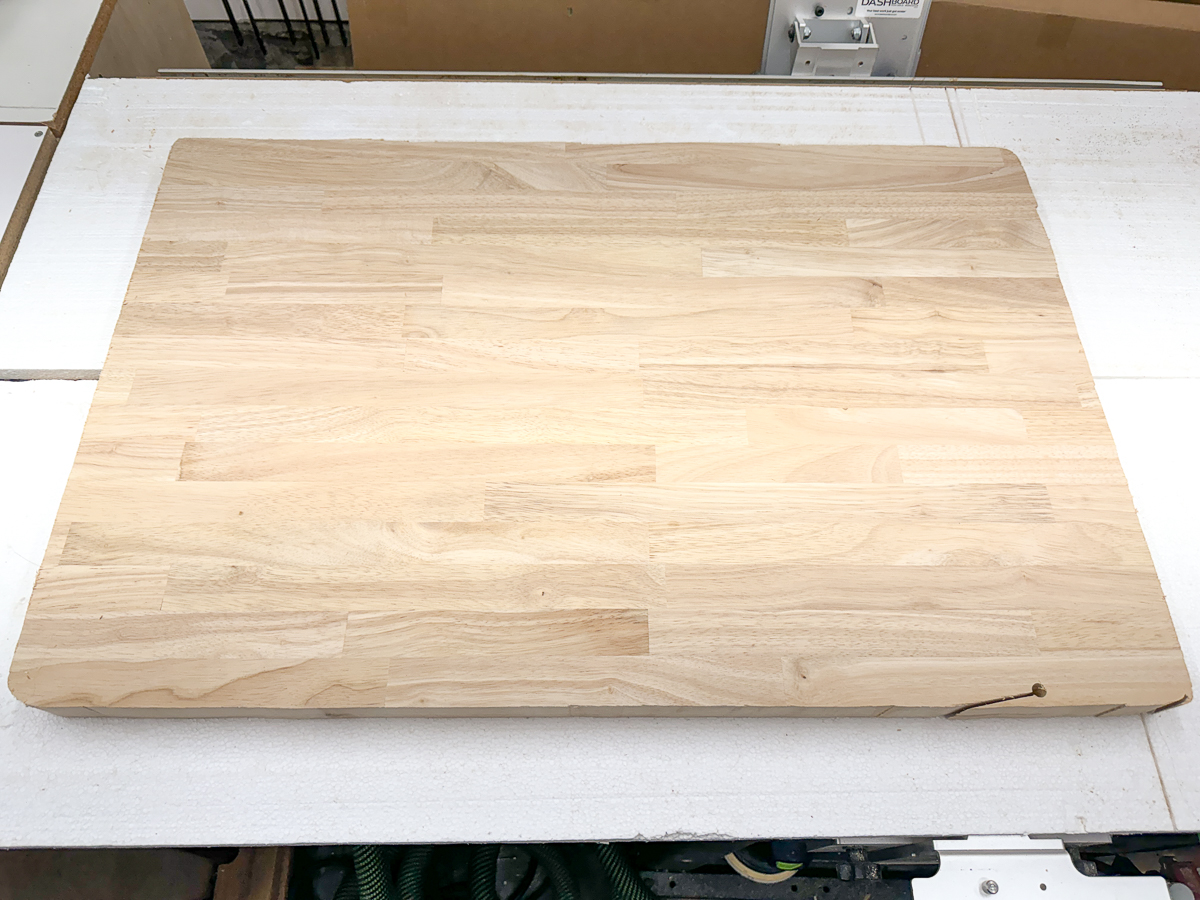
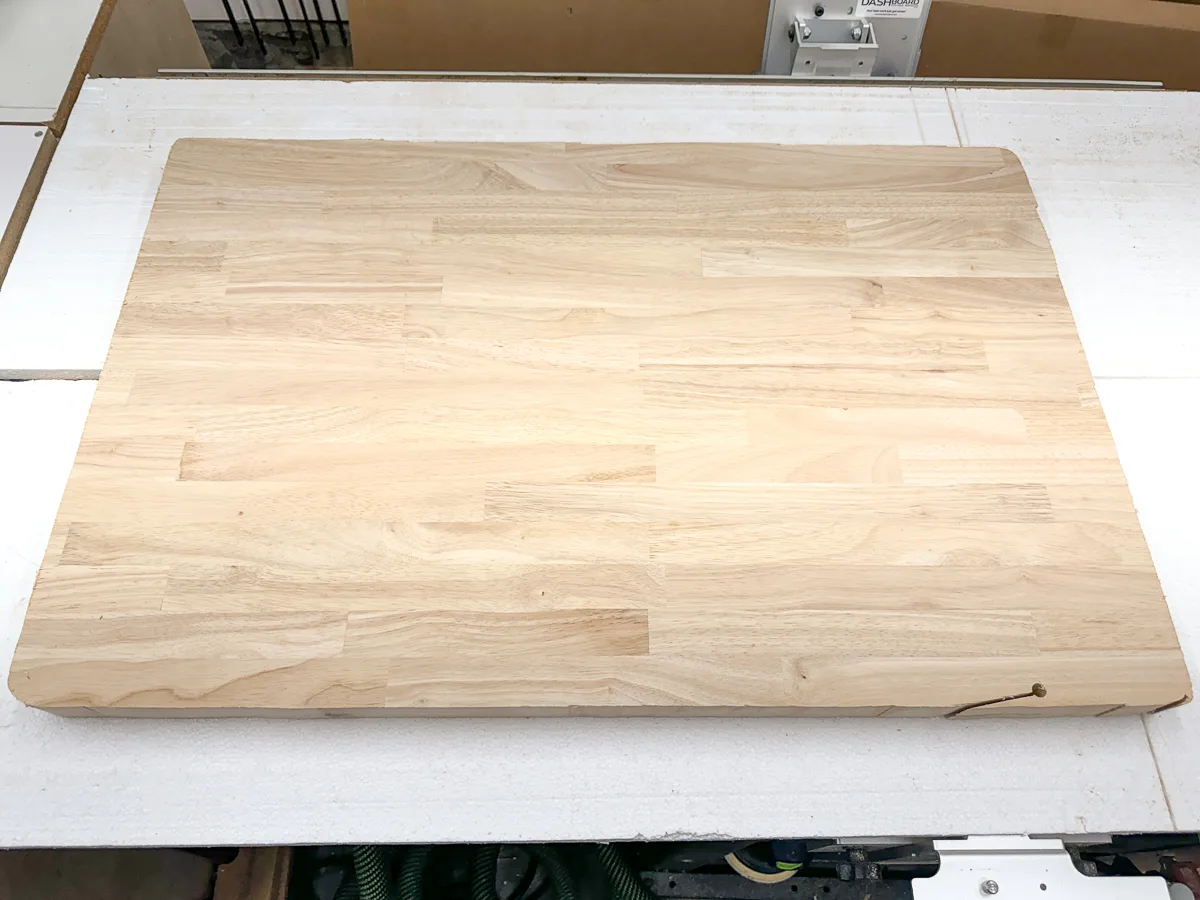
I had just enough width to span the top of the craft cabinet with ¾" overhang on each side. The front edge is deeper at 1 ½", in case I decide to install doors later on.
Secure the top to the cabinet box through the stretchers on the front and back. Since this is a solid wood top, I drilled the holes in the stretchers slightly oversized so there's room for wood movement.
Add the adjustable shelves and load it up!
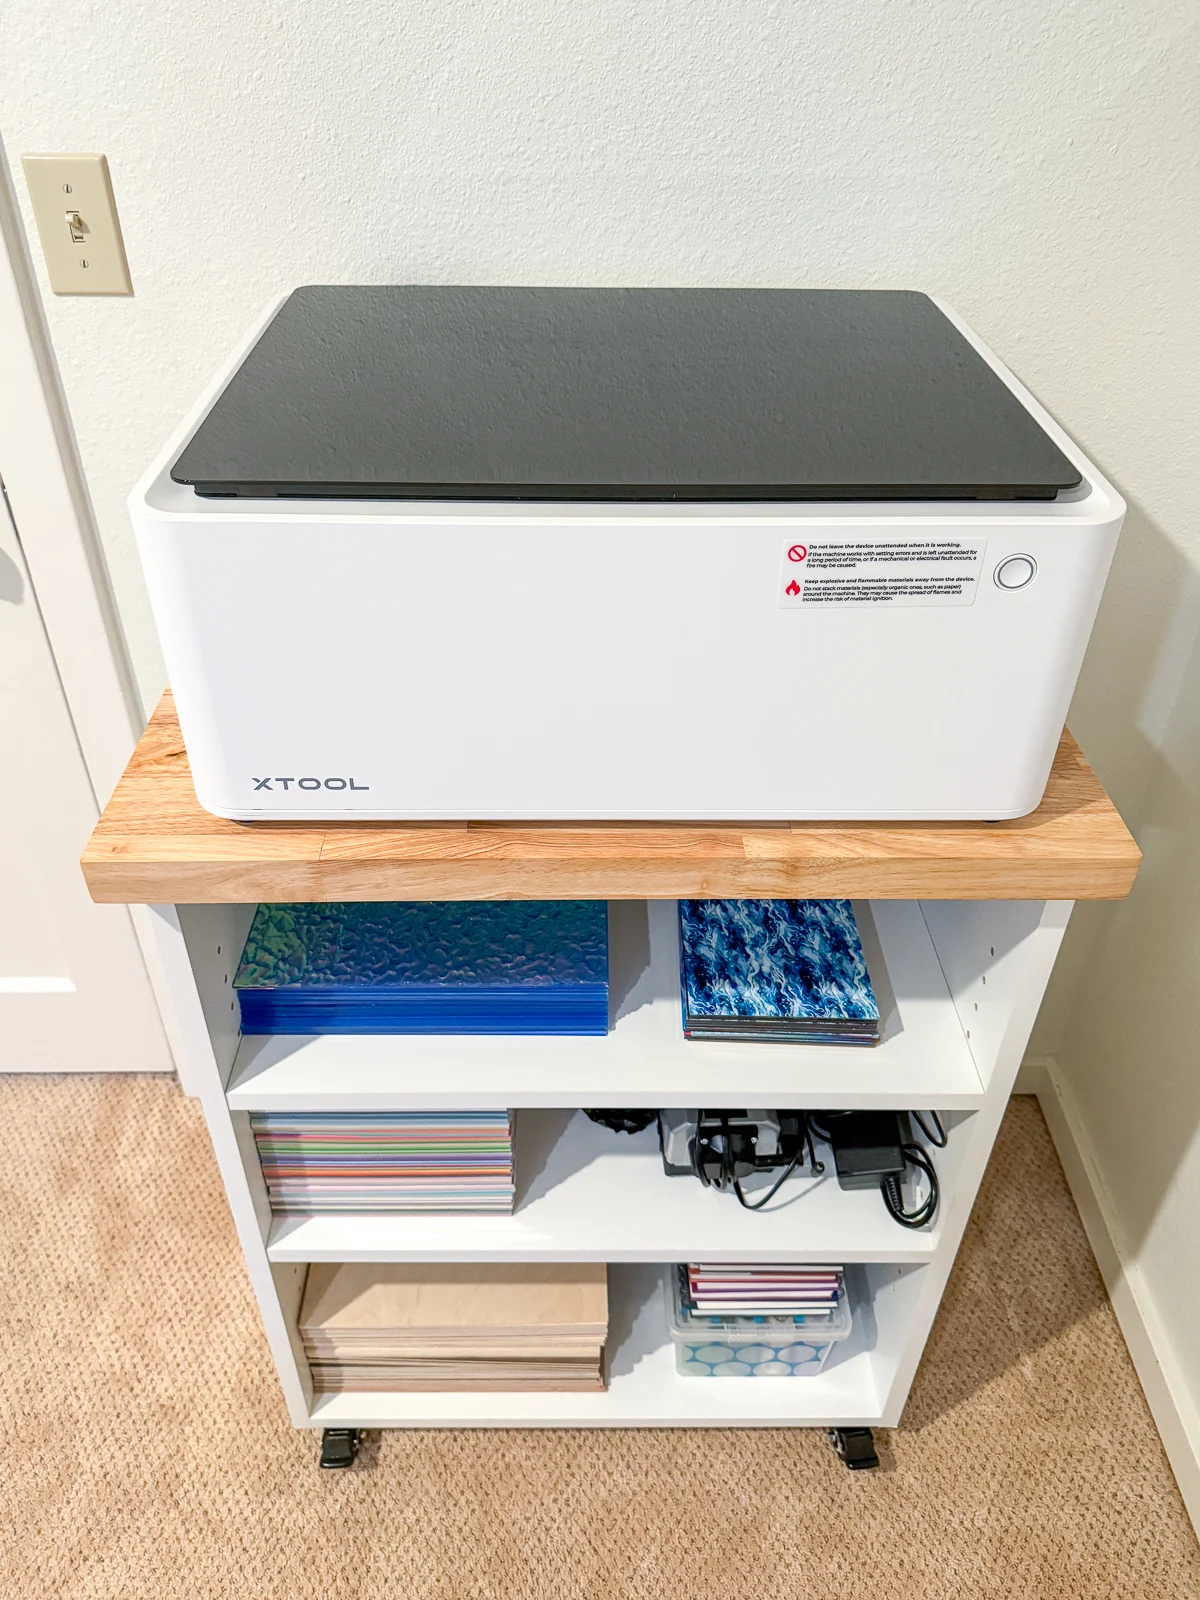
After clearing away all the junk that was piled up in this corner of the guest room, I rolled my new craft cabinet into place. It fit perfectly in the space next to the door!

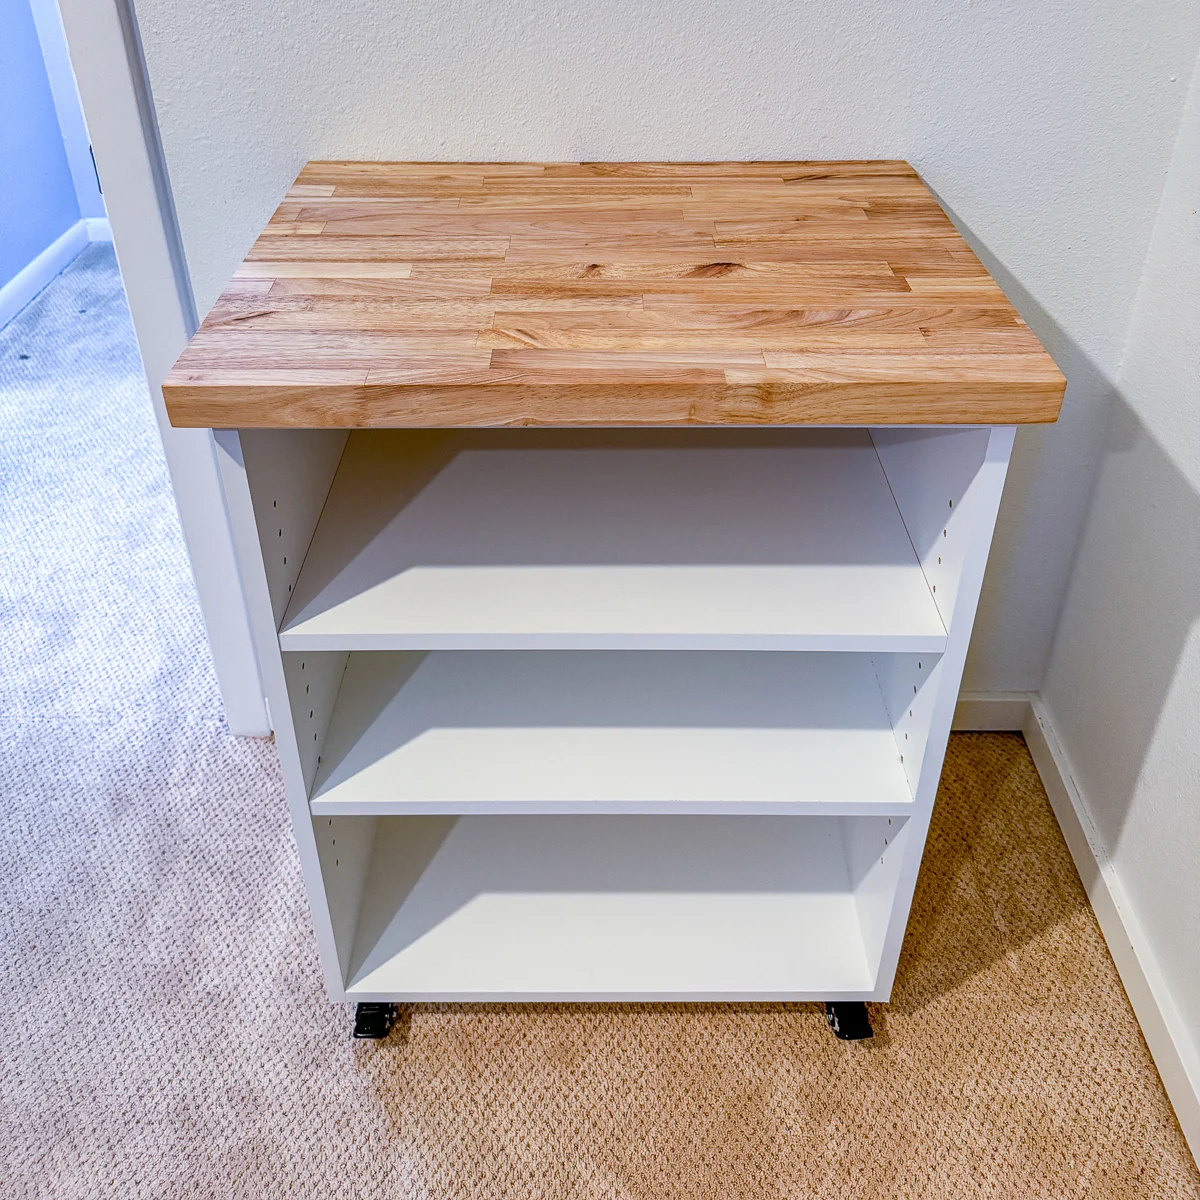
I could finally get my xTool M1 off the floor and into its new home! The shelves underneath hold all the acrylic and wood I use for laser cutting, as well as cardstock for paper crafting with the blade attachment.

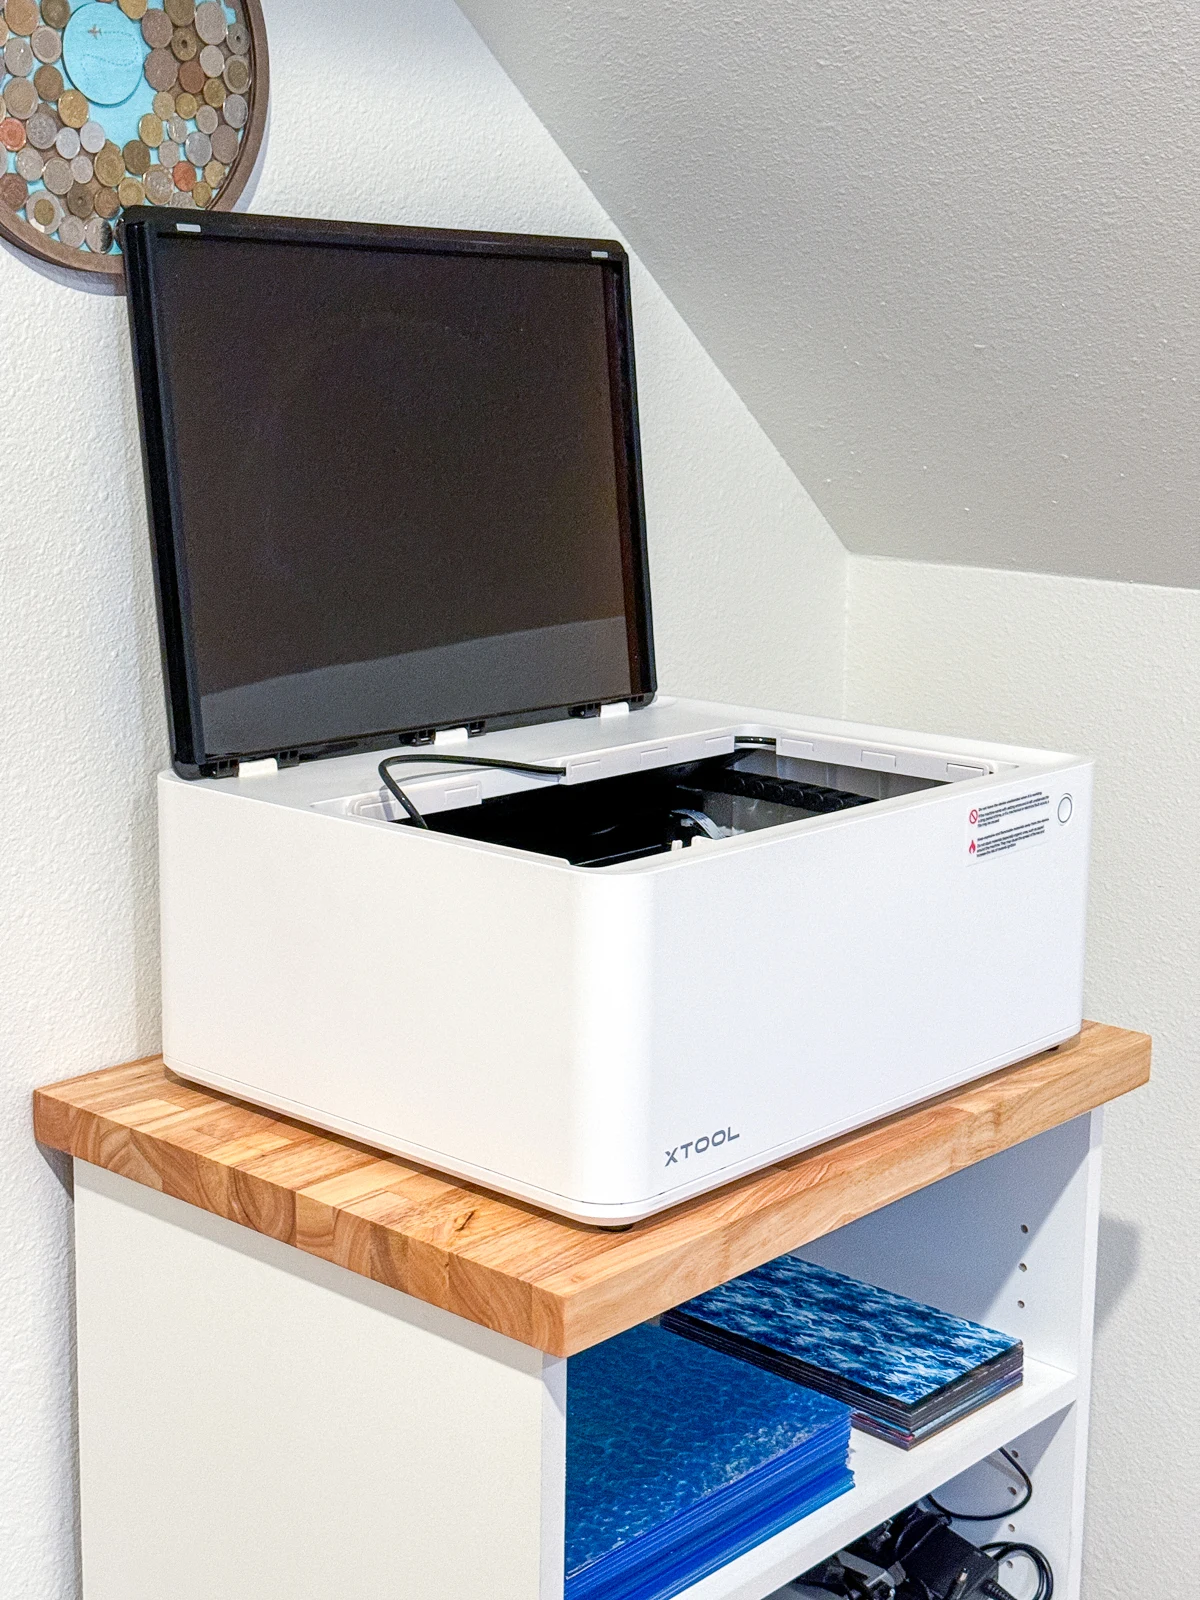
I have just enough room with these sloped ceilings to lift the lid. Whew!

Now all my supplies are neatly organized on the adjustable shelves. I plan to build an organizer similar to the one I made for sandpaper, so I can arrange the paper and acrylic by color easily.


I'm still debating whether to make cabinet doors to cover up the clutter. But at least now it's all neatly stored on shelves instead of piles on the floor!
Sandra
Saturday 9th of March 2024
I can't wait to build this. One for my printer and one for my grandaughters crafts storage.
Vineta Jackson
Sunday 10th of March 2024
I'm so glad you like it!