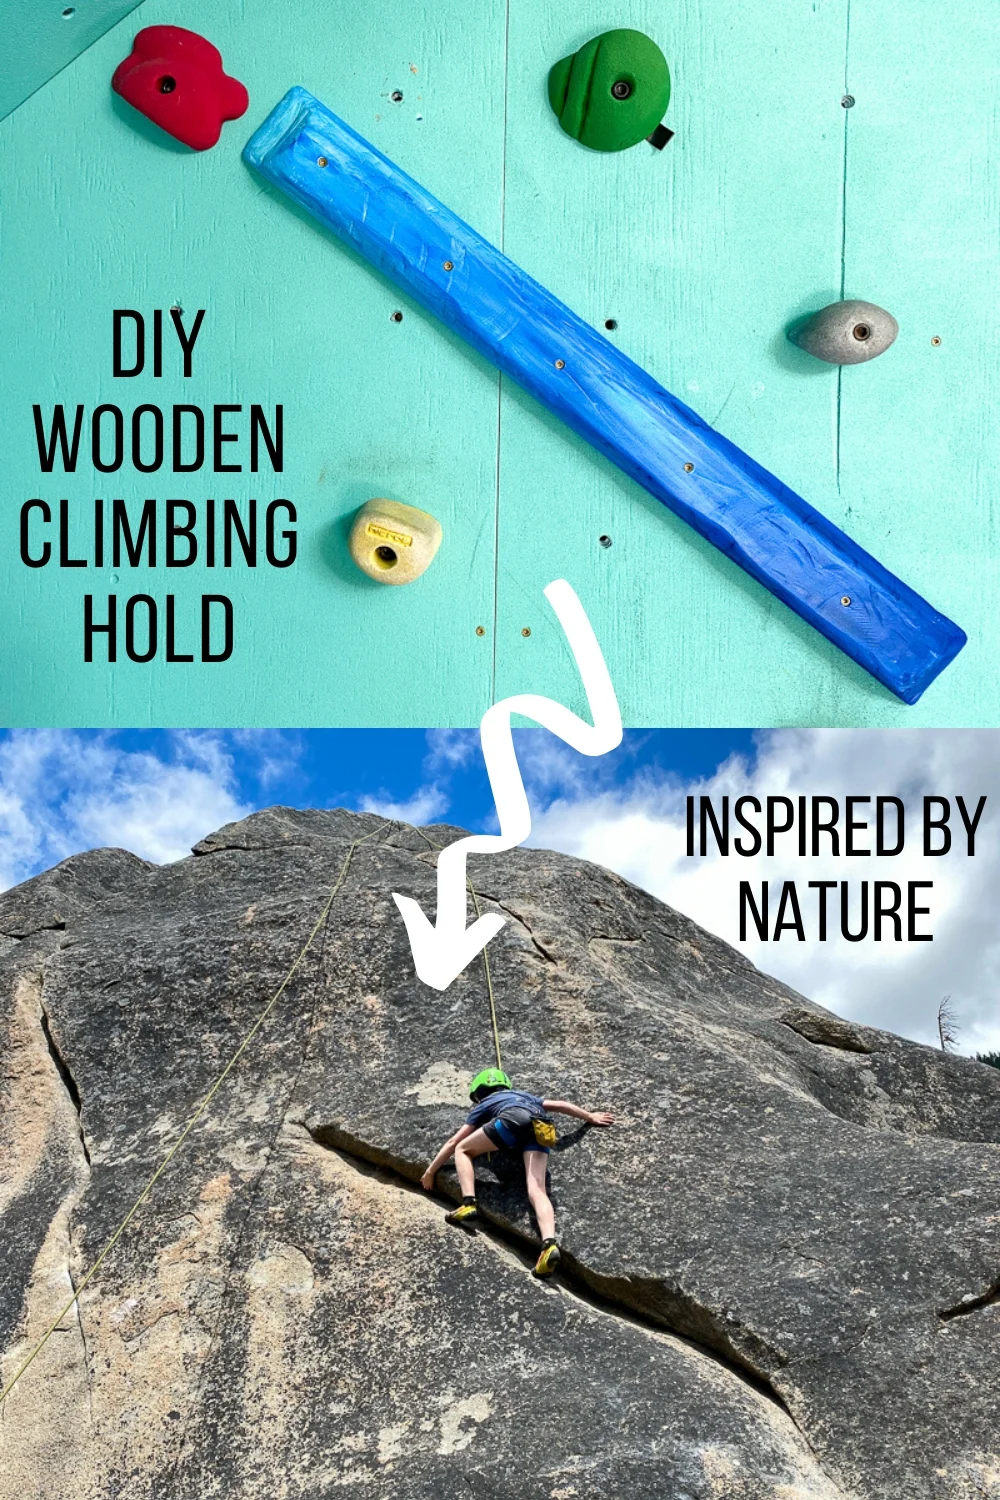
Climbing holds are expensive, and you need a LOT of them! Learn how to make wooden climbing holds out of scrap plywood for just a few bucks!

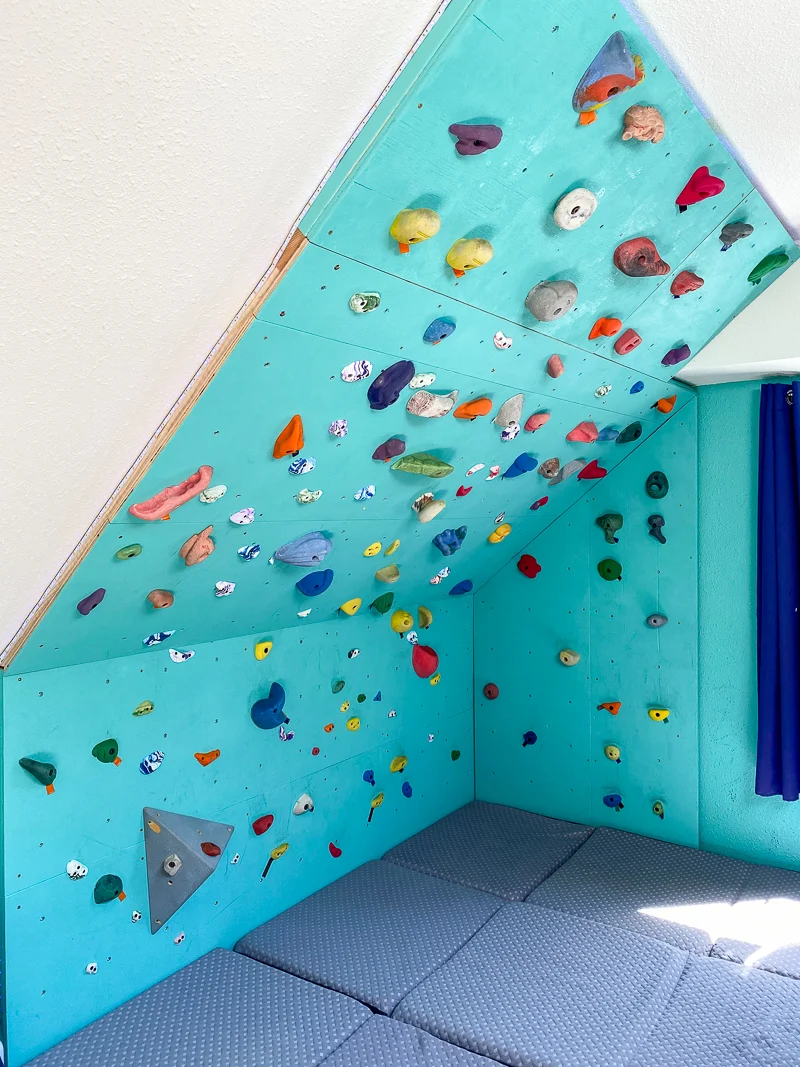
The DIY climbing wall I built for my son's bedroom has gotten a lot of use over the past few months! It's also grown a few more feet, so now it reaches all the way to the ceiling. He's gonna totally crush those overhang routes when competition starts up again!

This post contains affiliate links for your convenience. Purchases made through these links may earn me a small commission at no additional cost to you. Please visit my disclosures page for more information.
But all that wall space requires a LOT of climbing holds. I scored two boxes of commercial holds from a gym that was getting rid of their unused inventory, and bought a few packs of Metolius holds to fill out the rest of the wall.
But it's still looking a little empty in a few spots, and the even spacing of the T nuts makes the wall a little boring.


I really didn't want to sink a ton of money into more holds (seriously, bigger ones can be over $100 a pop!) Luckily, I have lots of scrap wood in my shop, so these are free!
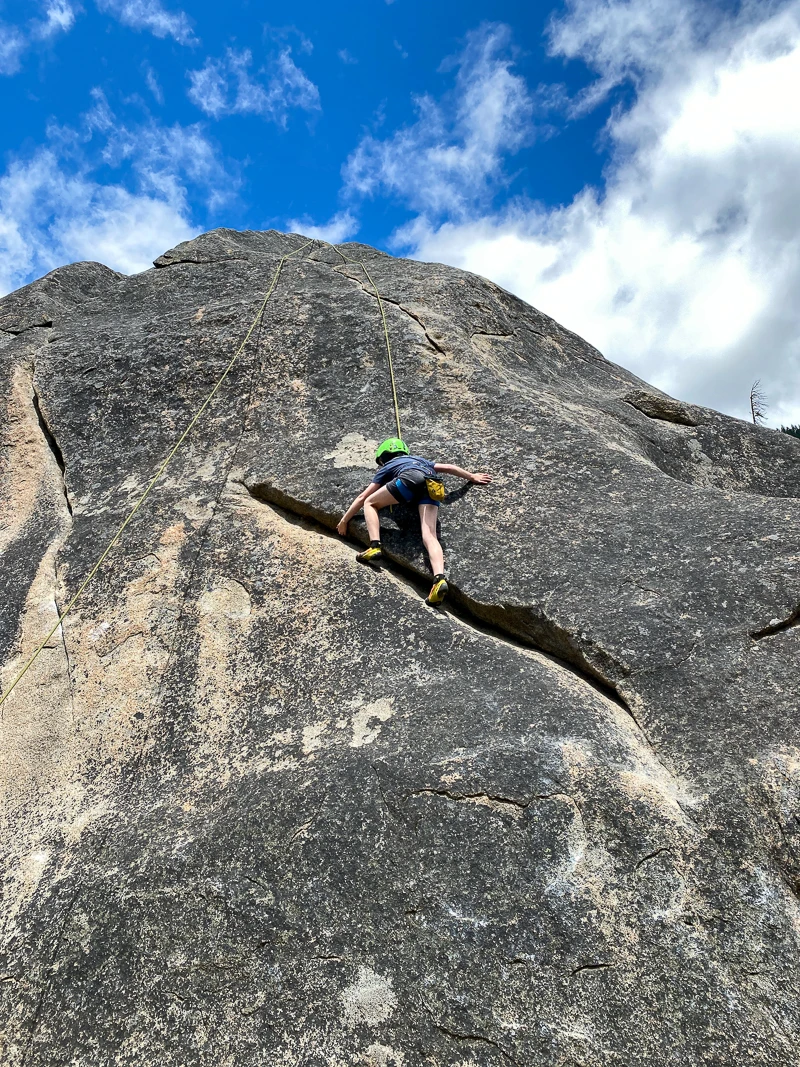
The best part about making your own wooden climbing holds is that you can customize them so you can work on different angles or moves. We just got back from an outdoor climbing trip that involved lots of flakes and cracks, so my son wanted to simulate some of those features on his wall.

If you don't have a home climbing wall, you can make an assortment of holds to create your own hangboard instead! I have a tutorial on how to make a hangboard mount so you can switch up different boards and configurations easily.

Materials Needed for Wooden Climbing Holds
- Scrap plywood or solid wood pieces
- Wood glue
- Clamps
- Angle grinder
- Sanding discs
- Shaping disc (not required, but highly recommended if you're planning to make a lot of holds!)
- Sandpaper
- Countersink bit
- Drill bit (should match the diameter of the screw shaft)
- 3" deck screws
how to make DIY climbing holds
Do some research first
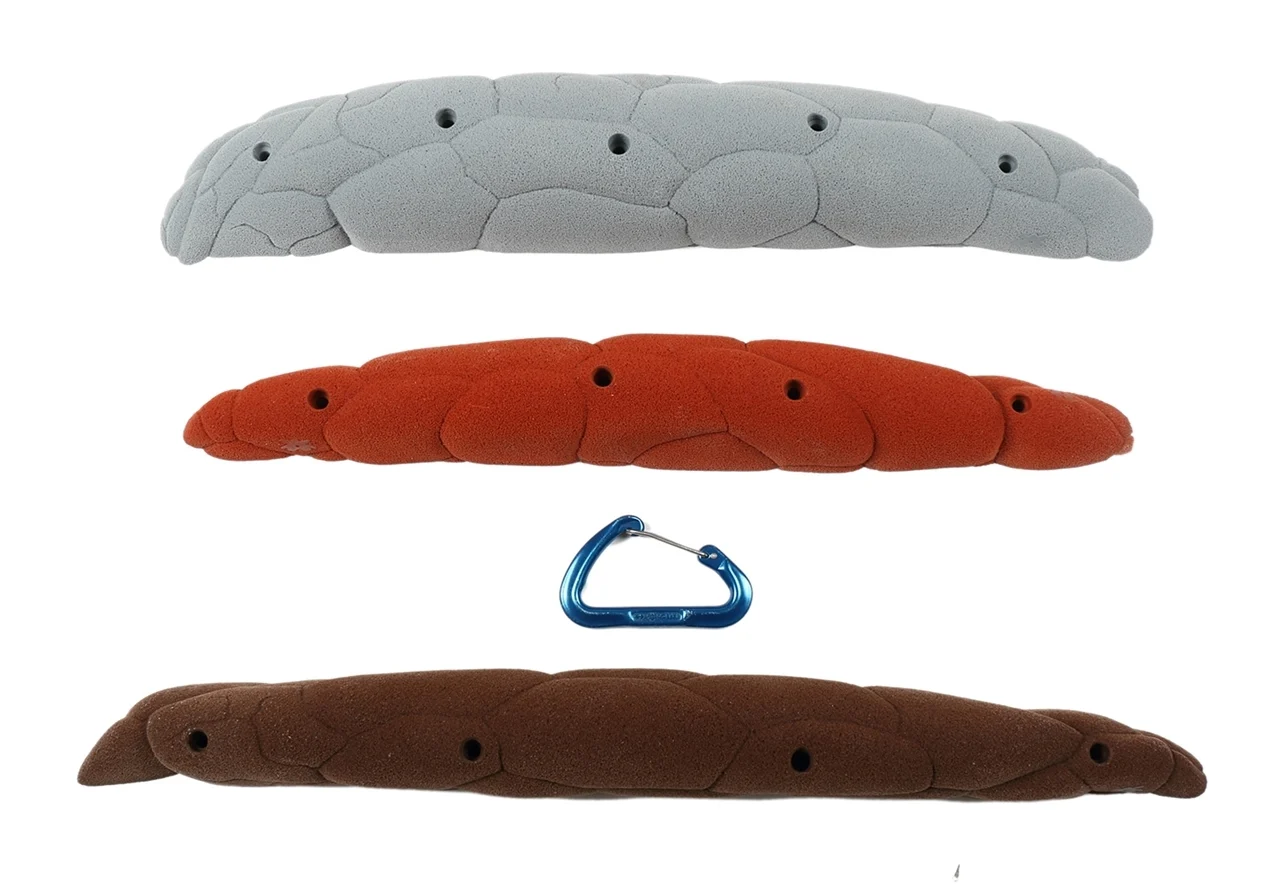
Before you start, take a good look at different types of climbing holds you can buy online. I took some inspiration from these Atomik climbing holds and these Element climbing holds for the rail. I liked how the long edges were different, so you can just flip it around and get a brand new experience.

Then compare those designs to your scrap wood pile and see what you can create on your own.

We already have a lot of smaller holds, so I focused my attention on the larger feature pieces. These will be screw on holds that can be placed anywhere on the wall, to break up the pattern of bolt-on holds spaced exactly 8" apart.
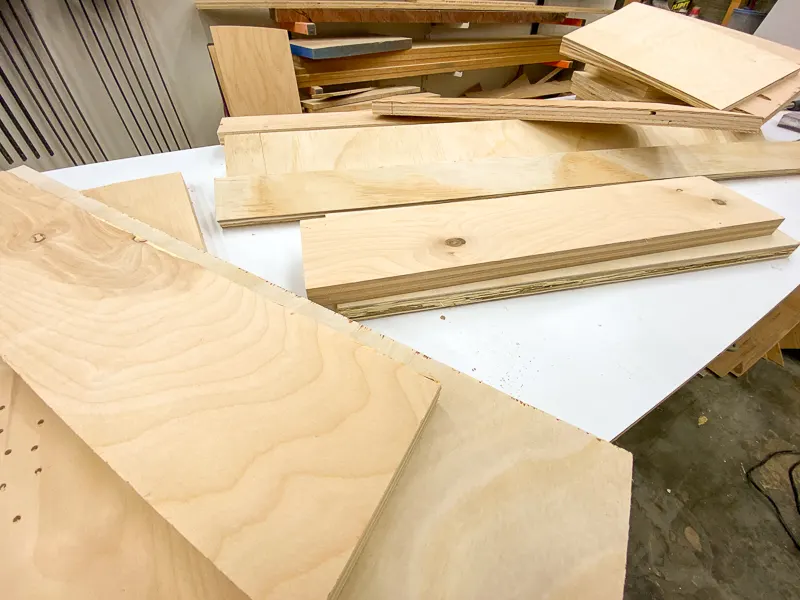
Arrange the scrap wood pieces
I had a bunch of long, skinny plywood pieces, so I played around with them for a bit. Stack them up in different ways to see what kind of shapes you can create. I plan to use these to create rails or long pinches, depending on how they're mounted on the climbing wall.
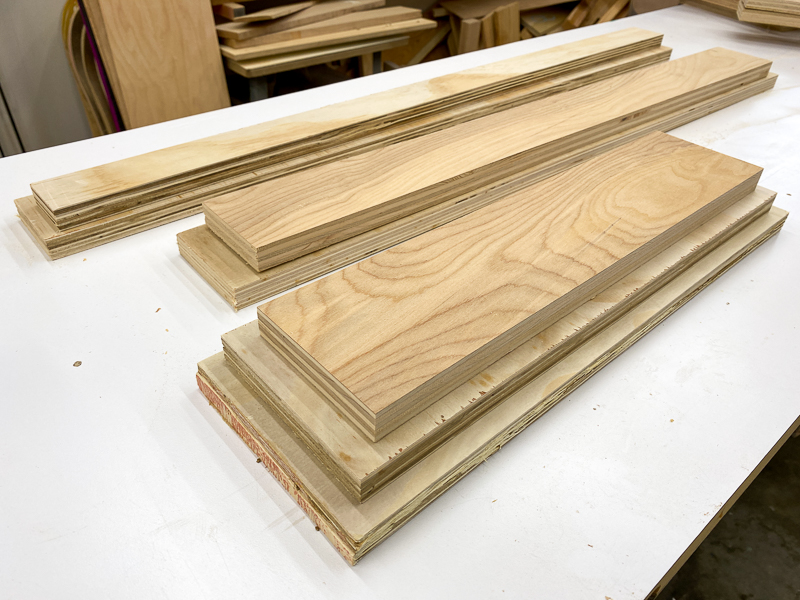

Glue up the plywood stacks
Once you have a rough idea of what you want your wooden climbing holds to look like, it's time to glue up the stacks! Believe it or not, wood glue creates an incredibly strong bond, so the wood itself is more likely to fail before the glue does.
Apply a liberal amount of wood glue between the layers of plywood, making sure to coat every inch of the surface. This glue roller spreads it out perfectly with minimal effort!

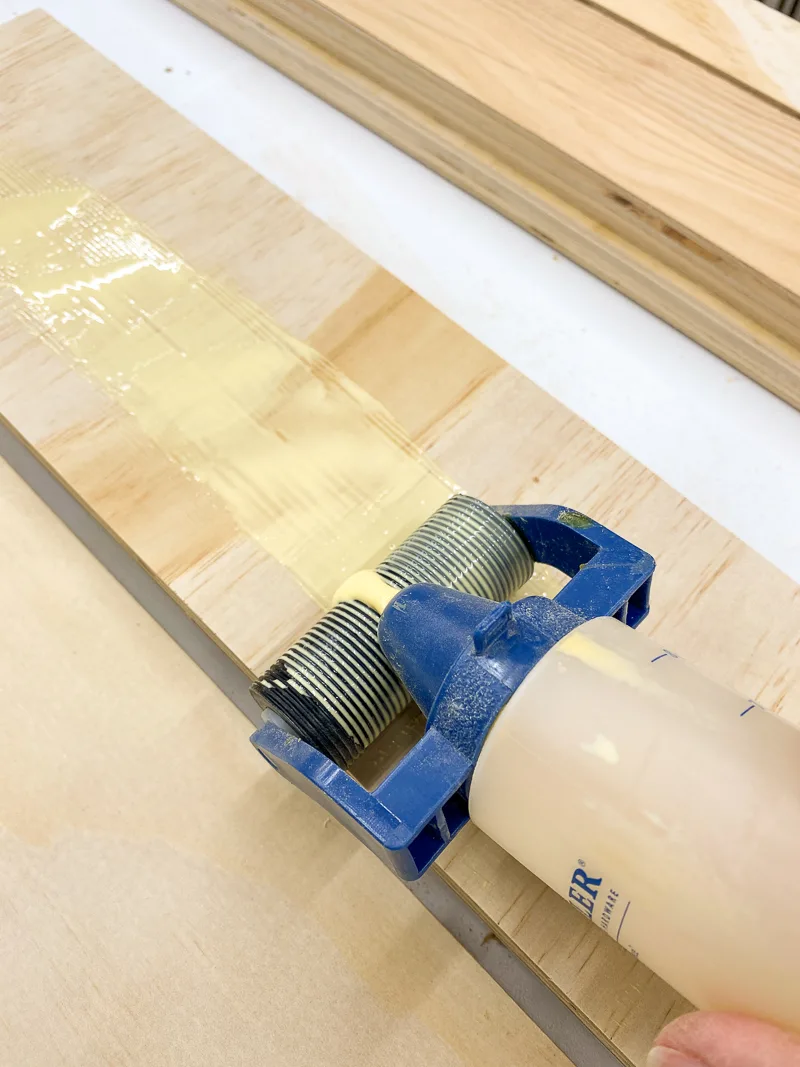
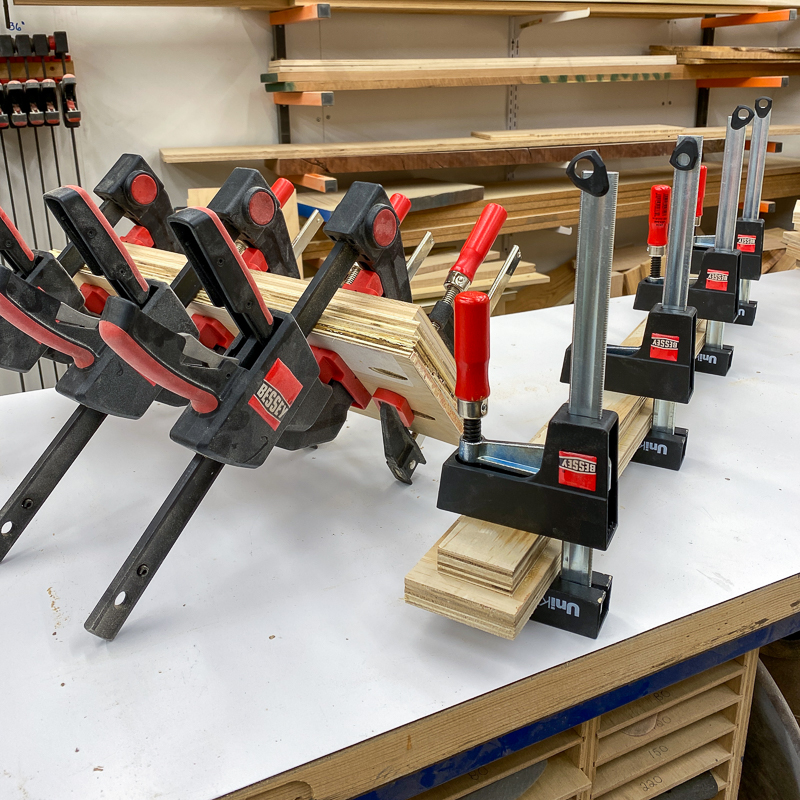
Once all the joining surfaces are covered with glue, clamp them together and allow them to dry overnight.

Carve the climbing hold shapes
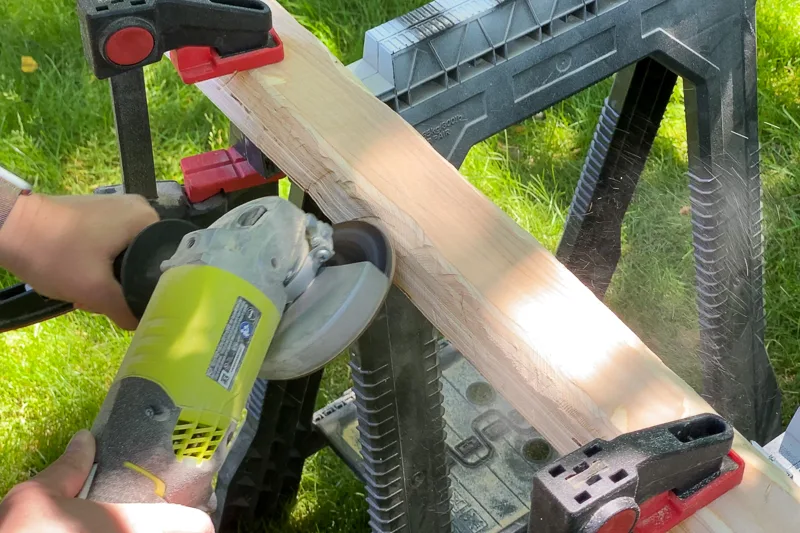
Here's the fun part! You might want to work outside for this step, because it makes a LOT of sawdust. I just set up a sawhorse in the middle of the backyard so the wind could whisk it all away.
Clamp one end of the glued-up stack of wood to the sawhorse with the flat side that will go against the climbing wall facing down. Start the angle grinder disc at the top of the stack, and smooth down those sharp corners. I made one side more sloped than the other, so I can rotate the hold when I change up the wall and get a different surface to climb on.
Then I randomly attacked the wood with the disc to create grooves, gouges and divots!

I used a sanding pad attachment on the angle grinder, but I'm already thinking of getting a shaping disc in the future. It took quite a while to get the edges smoothed out, and the curved shaping disc will make it easier to create interesting texture in the wood.
As a woodworker, it felt a little weird to purposefully create irregular edges and surfaces. I'm usually trying to get everything perfectly straight! But it was oddly therapeutic to go to town on that chunk of wood!
Drill the screw holes
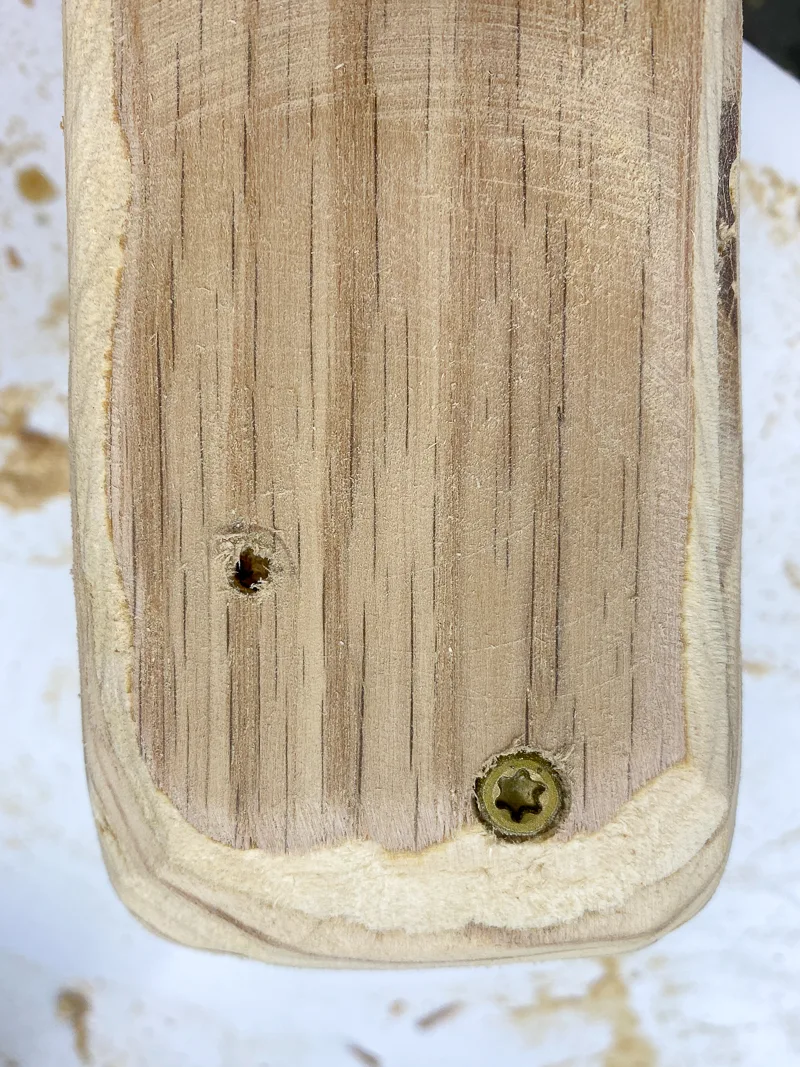
Predrill holes for the 3" deck screws every 4-6 inches along the length of the climbing hold. These holes should be the same diameter as the shaft of the screw. If you're making really rounded shapes, you might want to drill the holes before you start carving.
Then use the countersink bit to drill a small recess at the top of each hole. You can learn more about how to countersink screws here. This will allow the screw head to sit below the surface of the wood and won't interfere with the hold itself.

Give each hole a test to make sure the screws slide in easily. Also check that the end of the screw pokes out at least ¾" from the bottom of the hold, so it can grab onto the plywood wall. Then give the entire surface a quick sanding to remove any sharp edges or splinters.
Apply stain (optional)
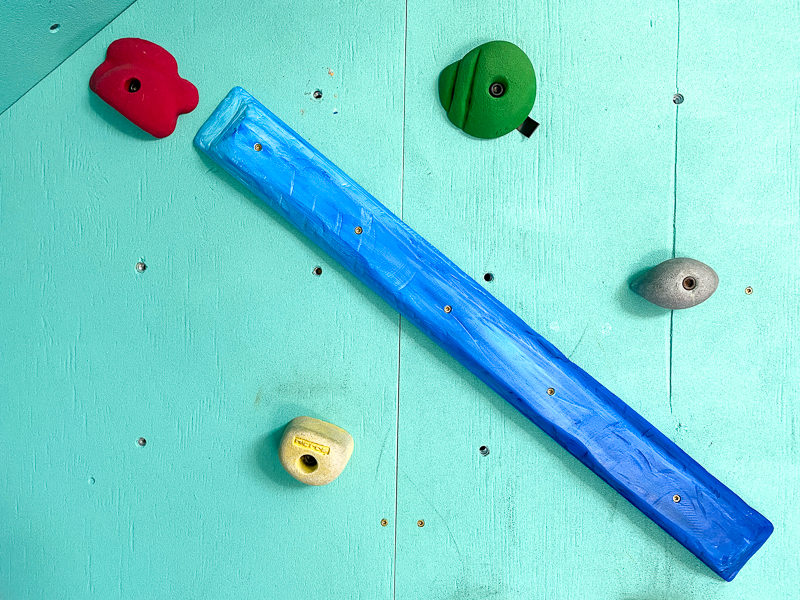
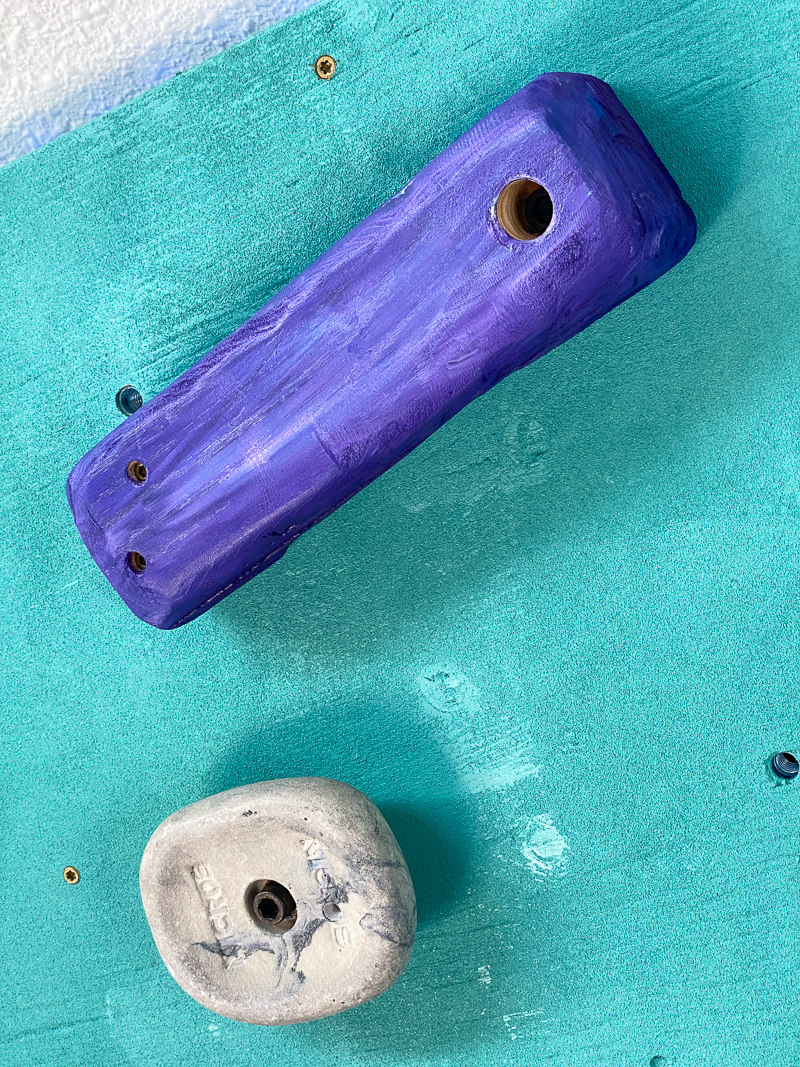
Climbing holds are usually bright and colorful, and these wooden ones were looking a little drab in comparison. I didn't want to paint them, because latex might flake and peel after a lot of use. Wood stain soaks into the grain instead of sitting on top, so I dug through my stash and found a few bottles of Unicorn Spit that I bought on clearance years ago.
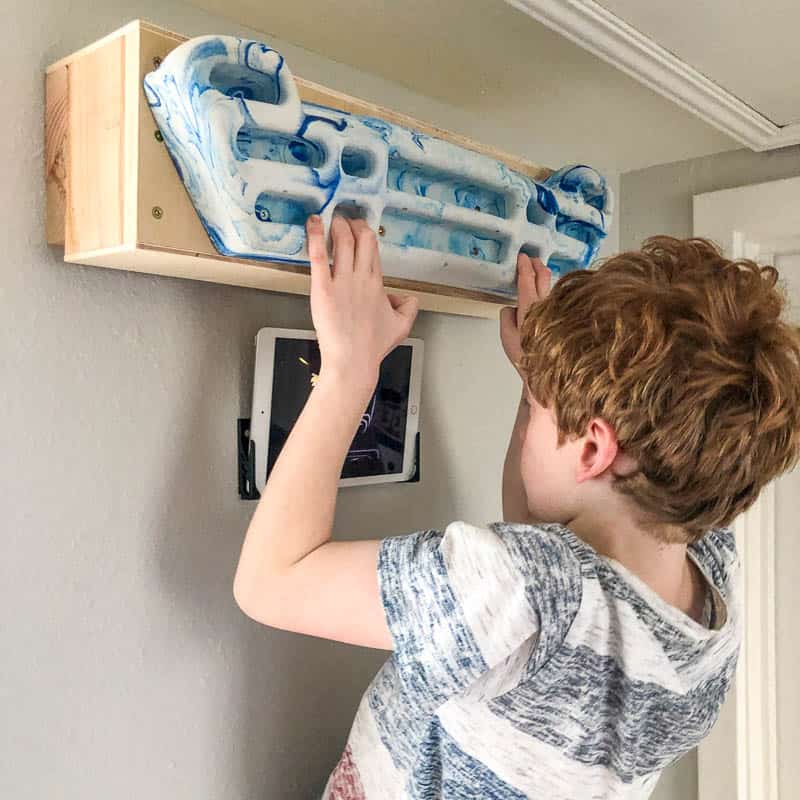
This stuff is so cool! It's super pigmented stain that can be mixed like finger paint into cool swirls and streaks. I combined teal and dark blue together into a kind of ombre effect.
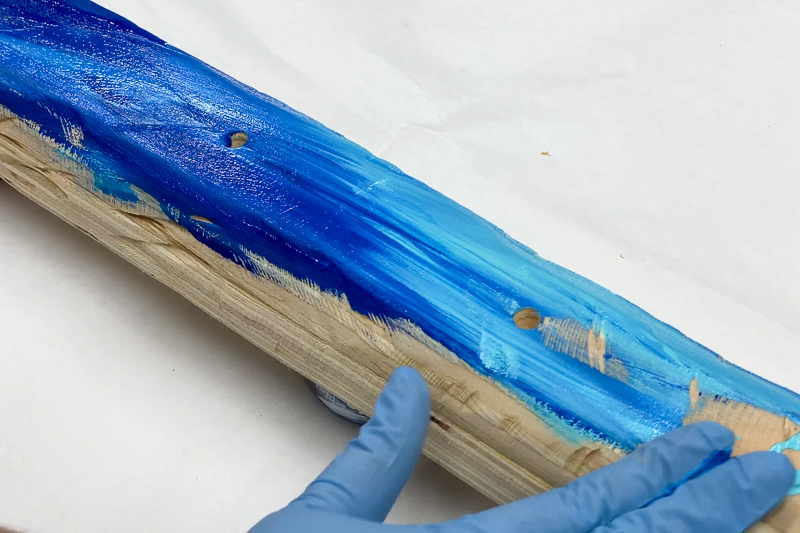
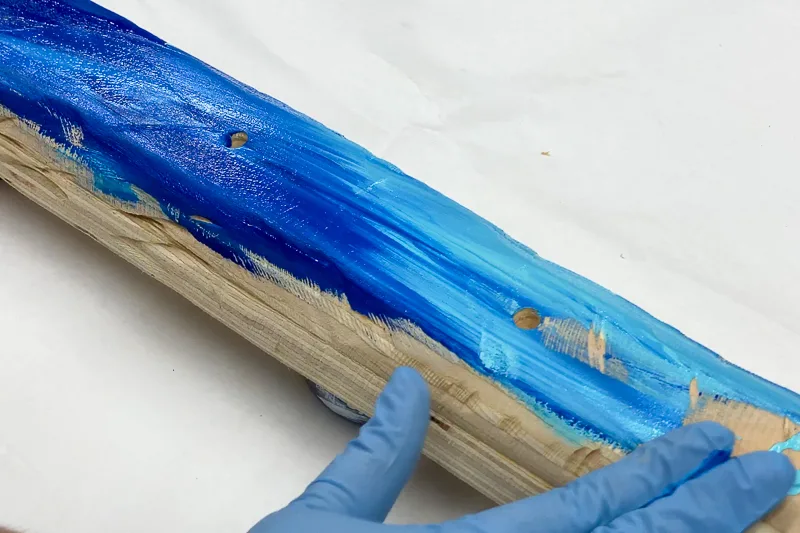
Once it was dry, I applied three coats of spray lacquer to prevent the color from rubbing off on my son's hands and climbing shoes. It made the color even richer, and also added a bit of grippy texture!
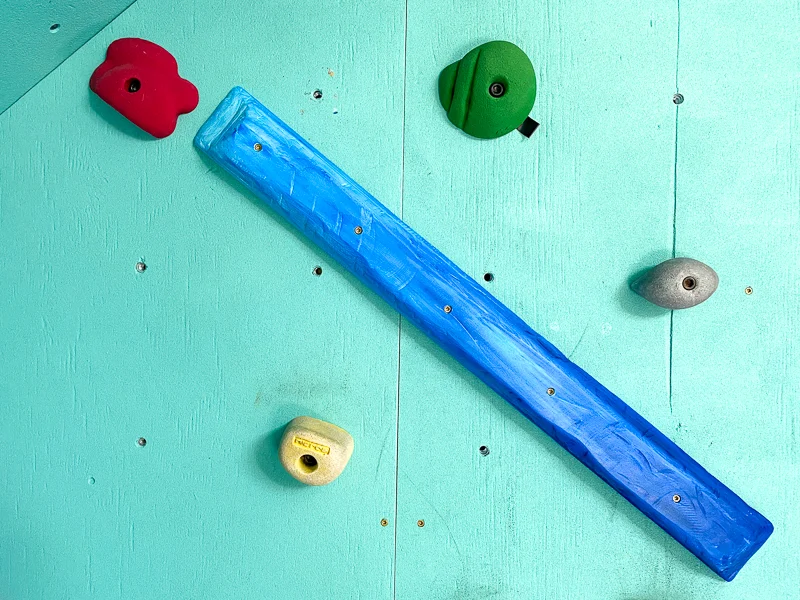
Attach the wooden climbing holds to the wall
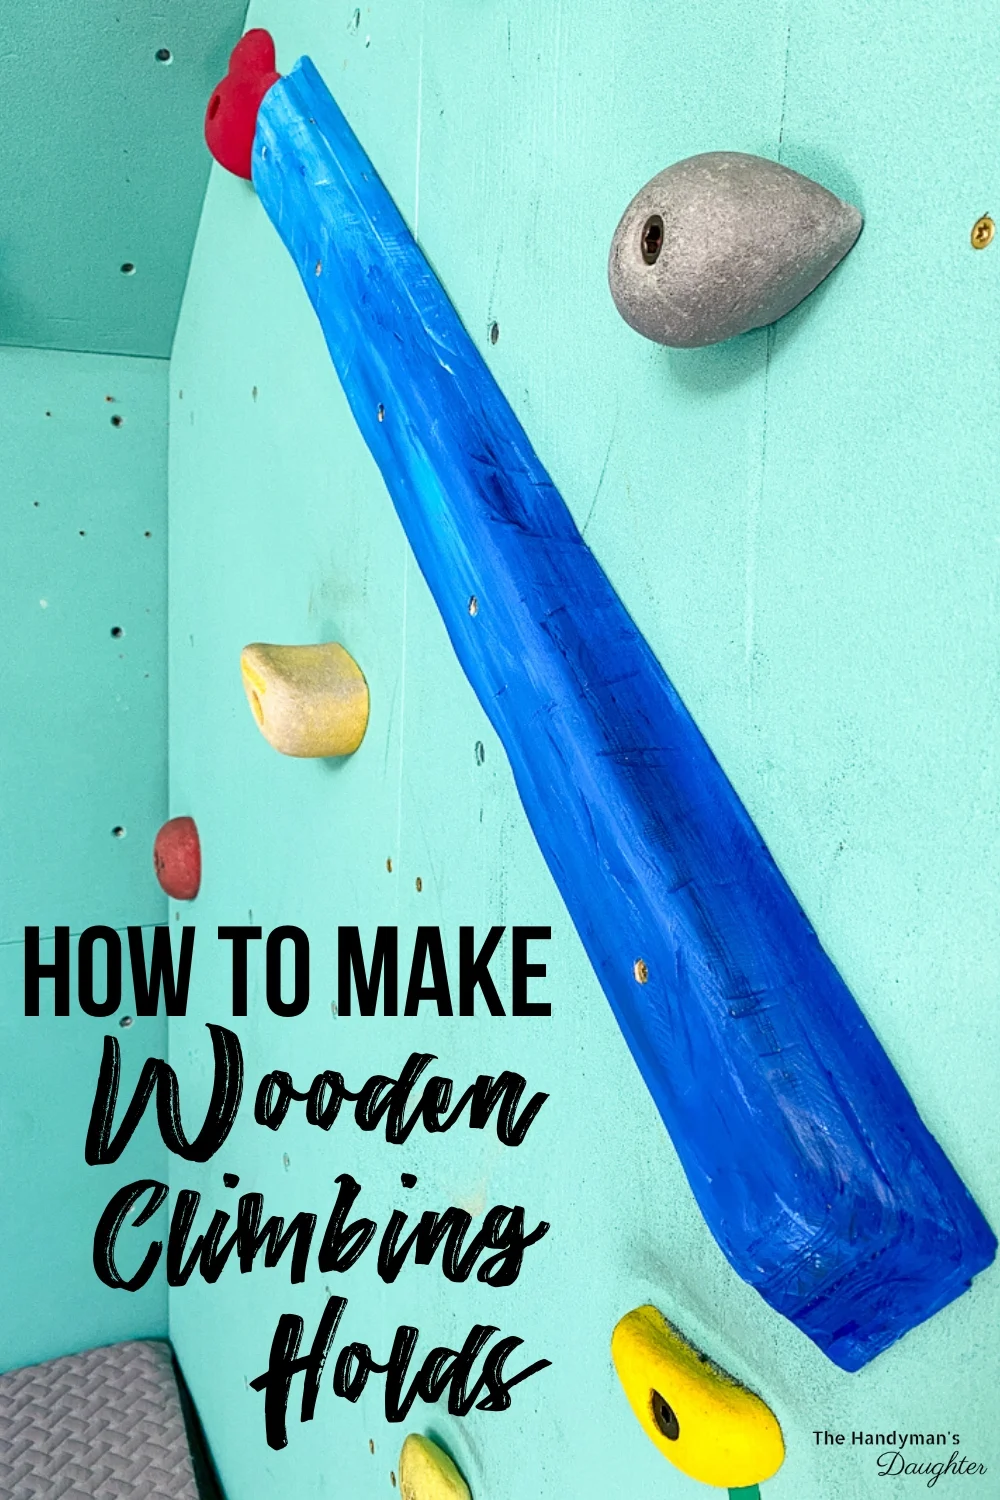
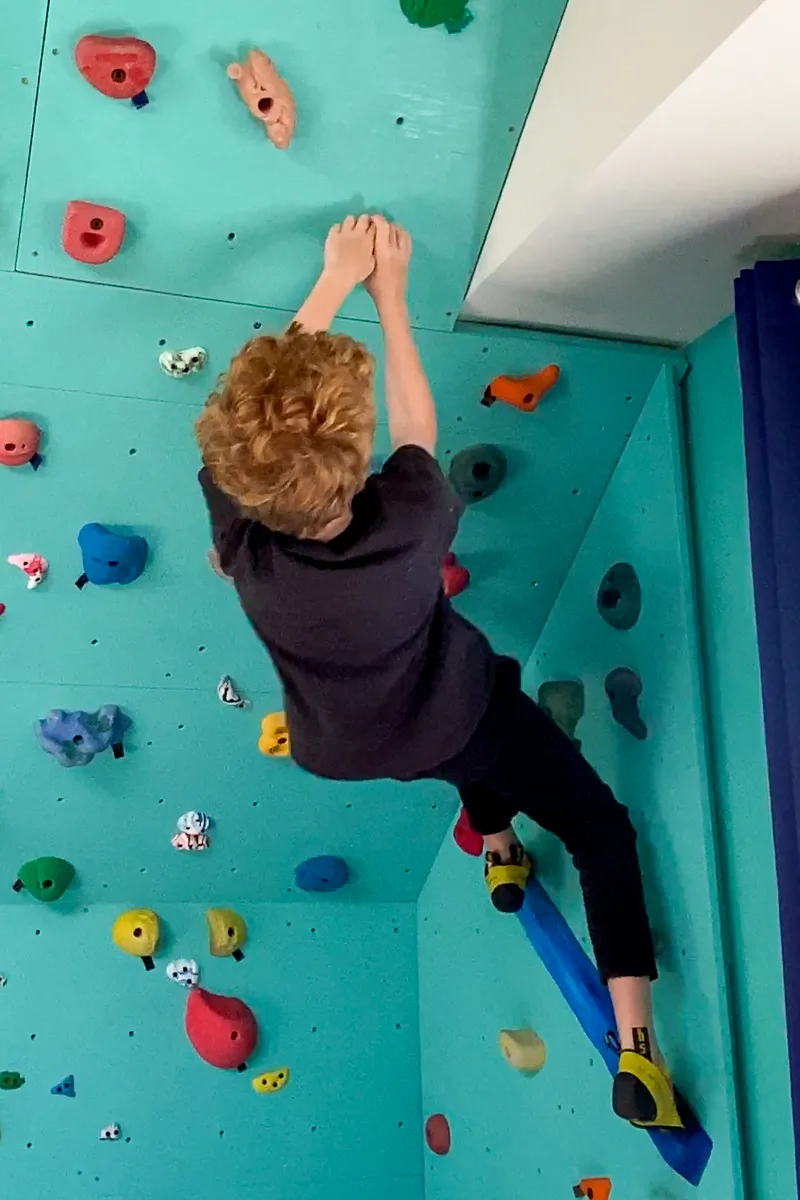
A long rail like this can be mounted in pretty much any direction! I just found an empty spot on the wall and screwed it into place. Test first to make sure it's secure before doing any climbing on it!
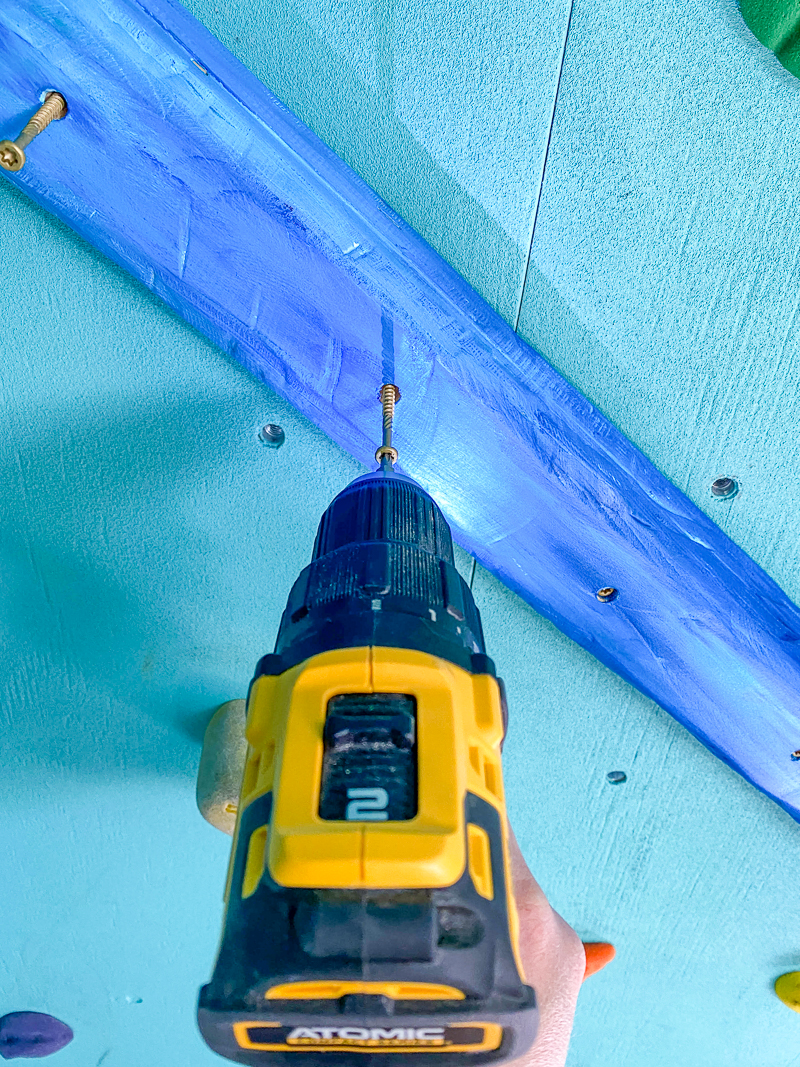
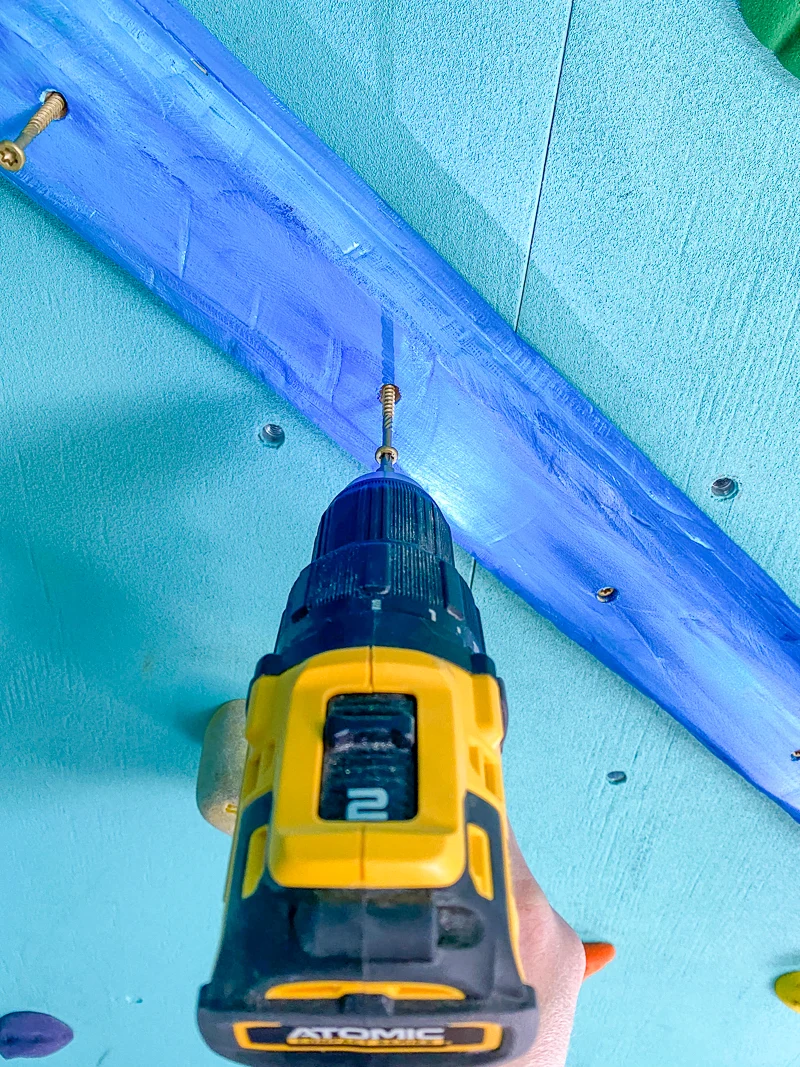
The diagonal angle is the opposite of the overhang wall above to make it a little more challenging for him to keep his balance. I could have mounted it horizontally, but what's the fun in that? 😉
My son couldn't wait to try it out! He found that he can use it as a long pinch hold for his hands...
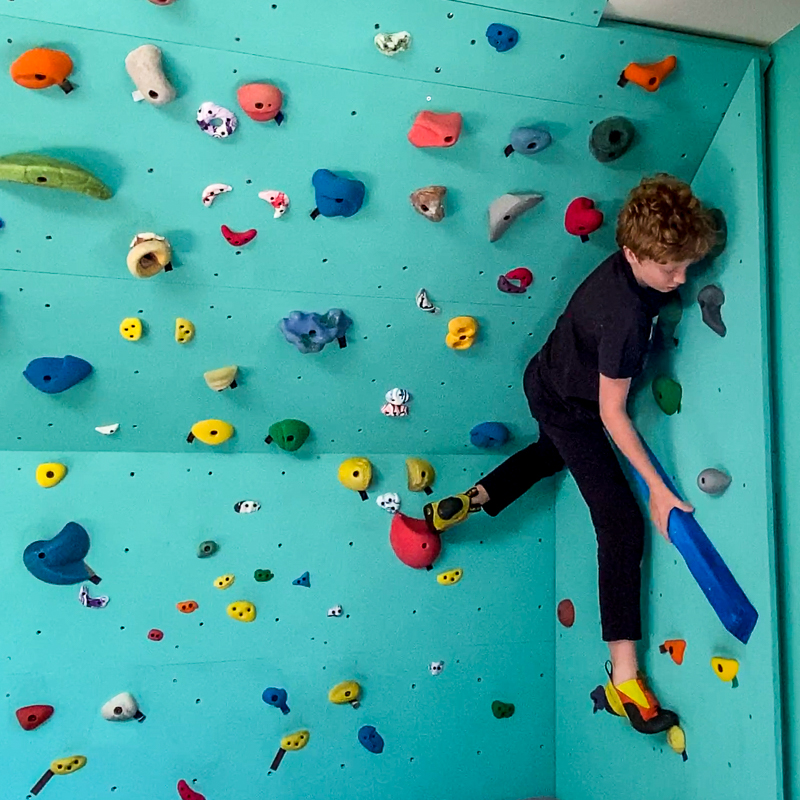

Or he could use it as a support for his feet when reaching for those higher holds.
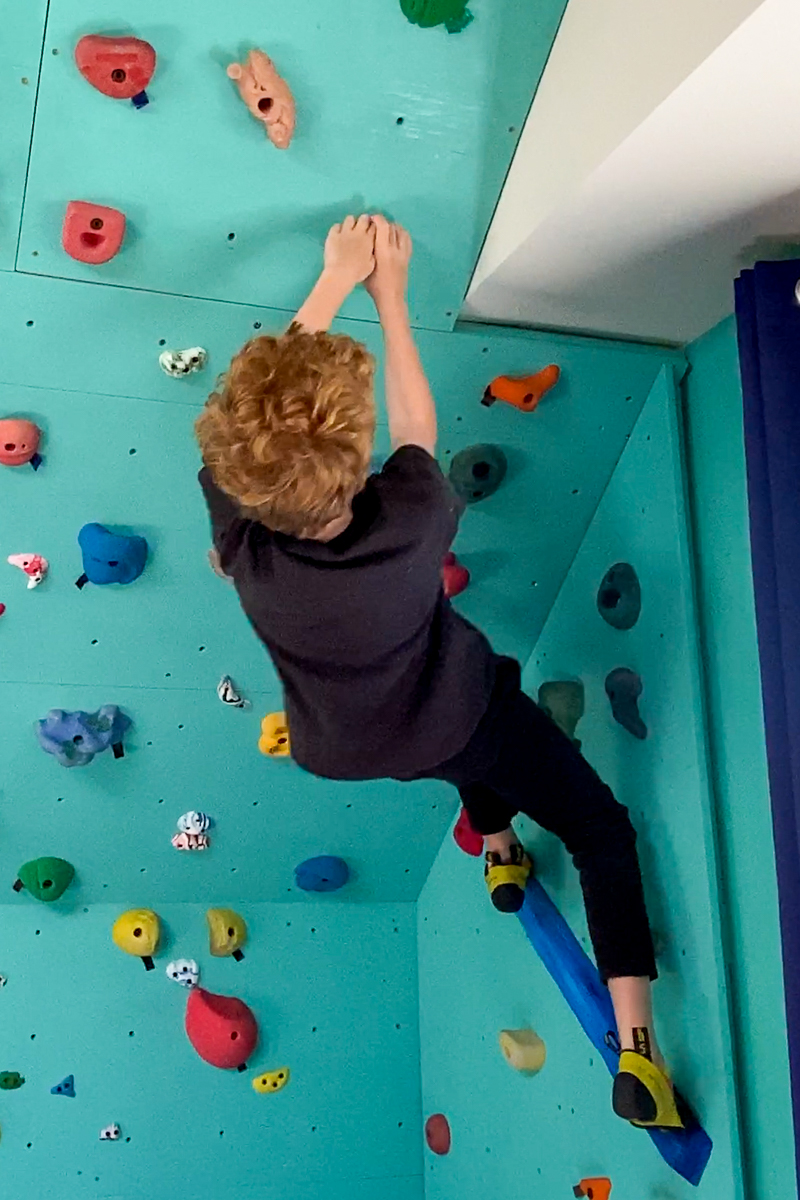
I also made this "phone" shaped one to use as a finish hold at the top of the wall. It's easy for him to grip it with both hands to complete the route, then safely drop to the mats below. This one uses a bolt through a T-nut on one end and screws on the other, so it can be mounted in any direction.

I really like how these wooden climbing holds turned out, and I plan to make a bunch more soon! I'll add photos of the new styles as I create them, so you can see all the different shapes you can make with scrap wood!