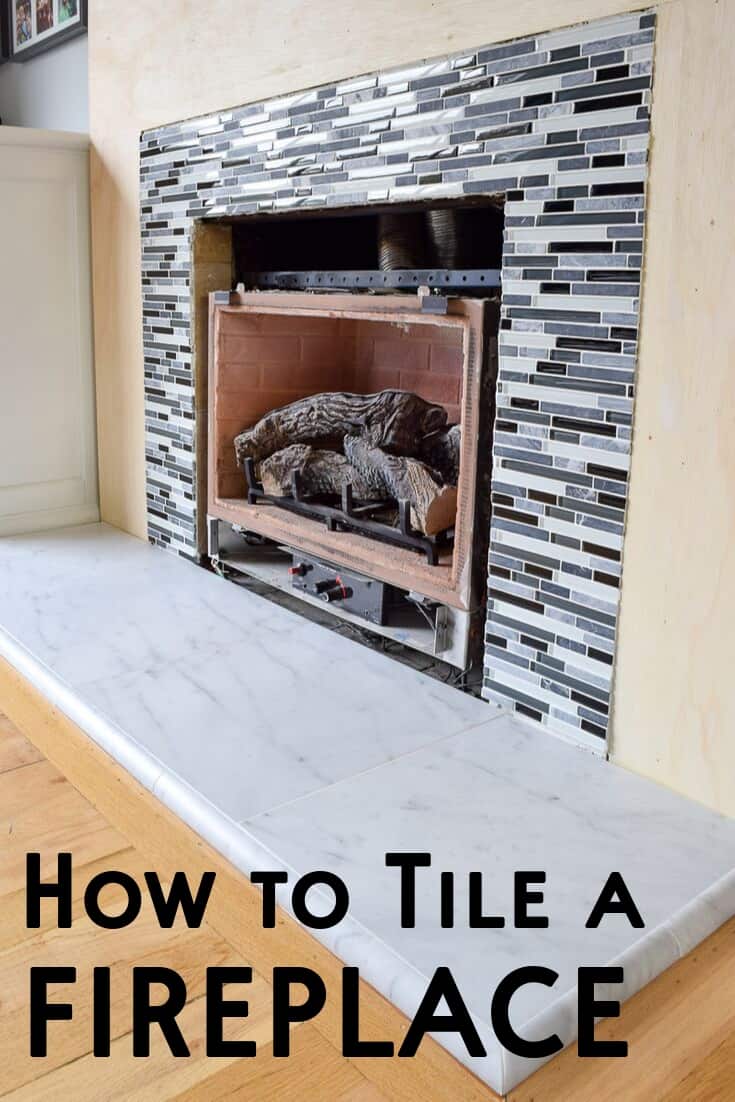
Yes, you CAN tile over a brick fireplace! Learn how to prep the old brick for a new tile fireplace wall for a fresh, modern look!

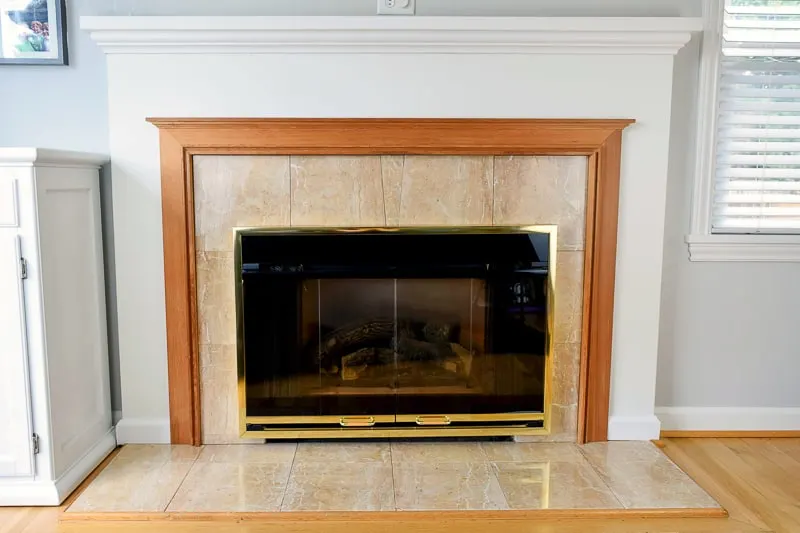
This fireplace remodel has been quite the journey, but I'm almost to the finish line! In case you missed it, here's the before photo of our ugly 80's fireplace.

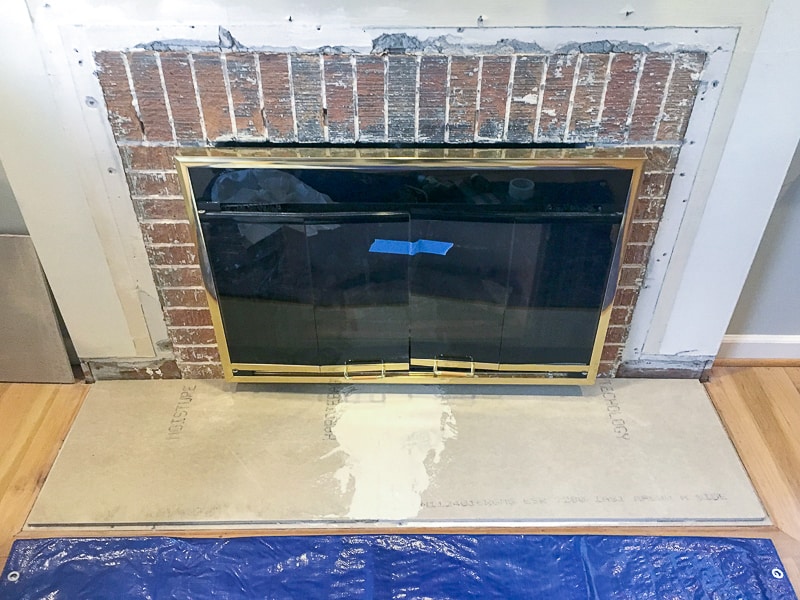
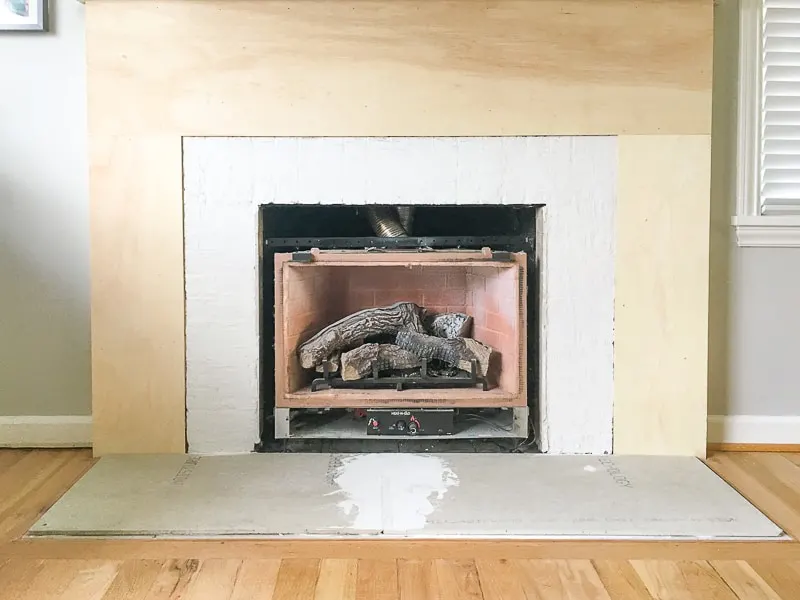
After hours of demolition and removing LOTS of ugly peach marble tile, I unearthed the original brick fireplace from 1946.

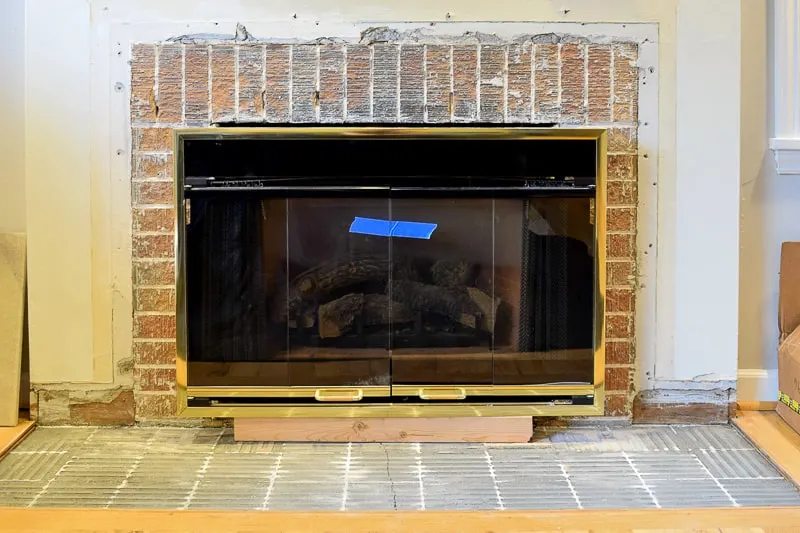
Then I built a fireplace hearth out of cement backerboard.
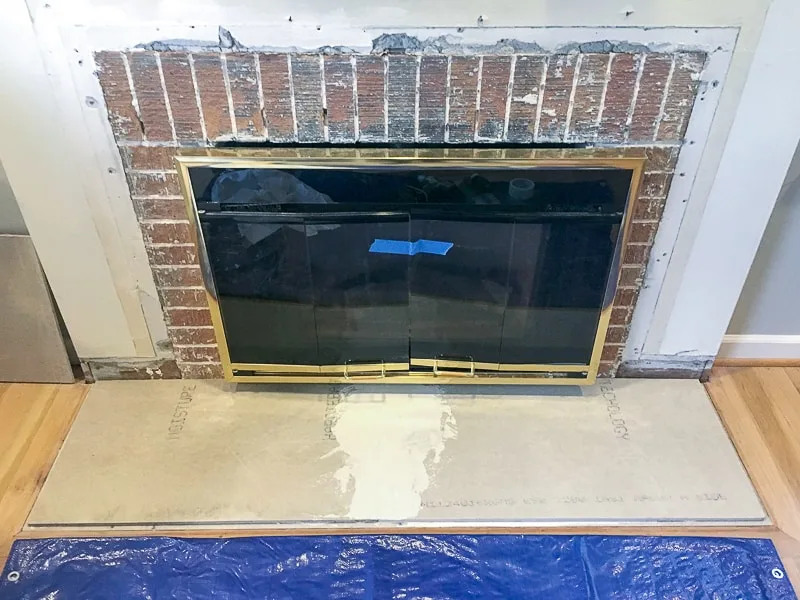
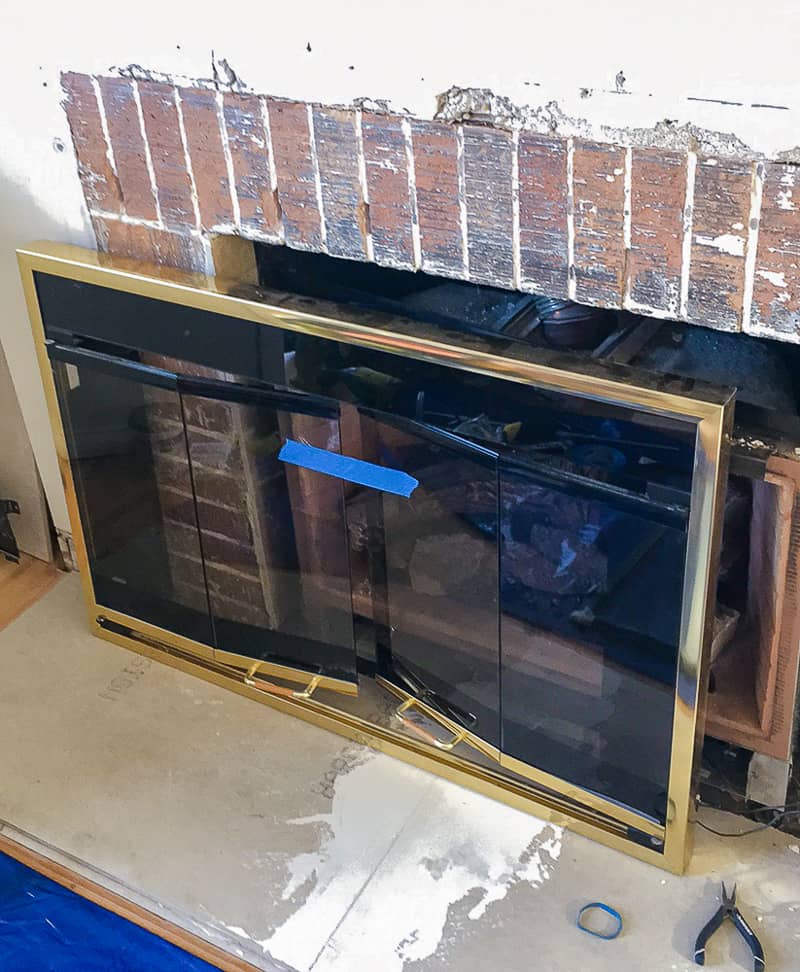
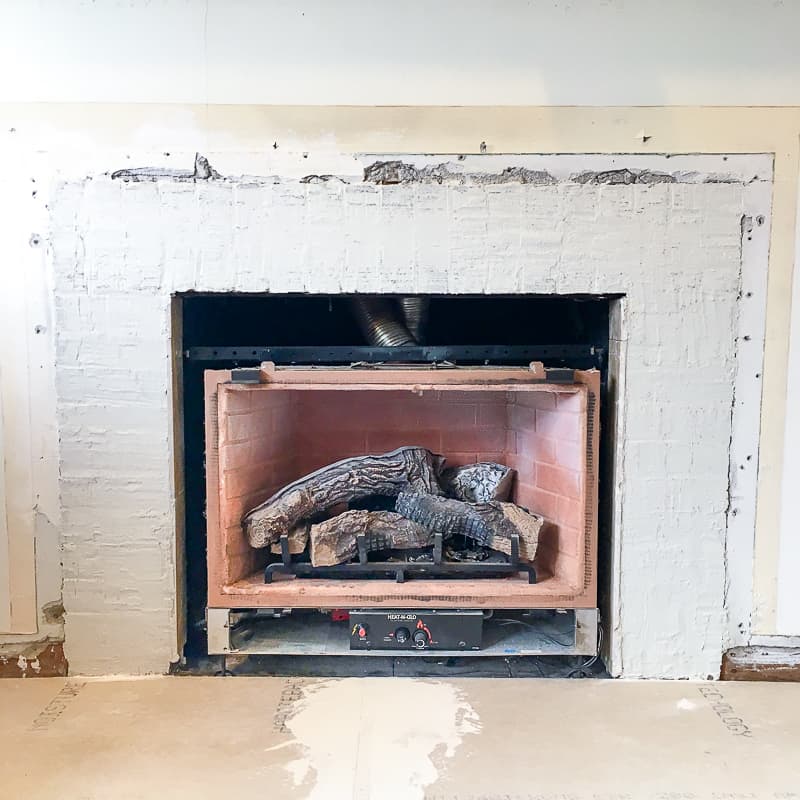
I removed the front of the gas insert, which will be getting a new coat of high heat black spray paint to cover up all that brass. I should have done that before I started demo, but couldn't figure out how to get it off! Once I got the last screw out, it crashed to the floor. So glad I hadn't installed my marble tile hearth yet!

With all the old brick exposed, now it's time to make it pretty with new fireplace tile!
This post contains affiliate links for your convenience. Purchases made through these links may earn me a small commission at no additional cost to you. Please visit my disclosures page for more information.
Materials Needed
- New tile
- Wire brush
- Thin set mortar
- Bucket
- Mixing paddle
- Small trowel
- Large trowel
- Tile spacers
- Grout (use unsanded for glass tile)
- Grout sponge
- Grout float
- Tile caulk
- Caulk gun
Smooth out the brick surface
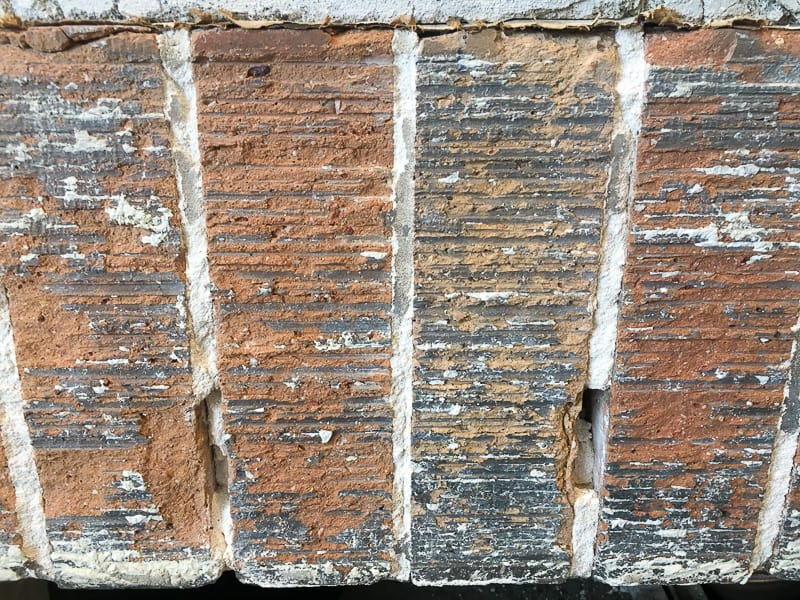
Before I can cover up the brick with new beautiful tile, I need to smooth out the surface. This is especially important with the mosaic stone and glass tile I'll be using. The smaller pieces can sink into the cracks and divots, making the new tile uneven.
All those mortar lines between the bricks will cause issues when installing the new tile. Mine also had a few chunks missing from demolition.

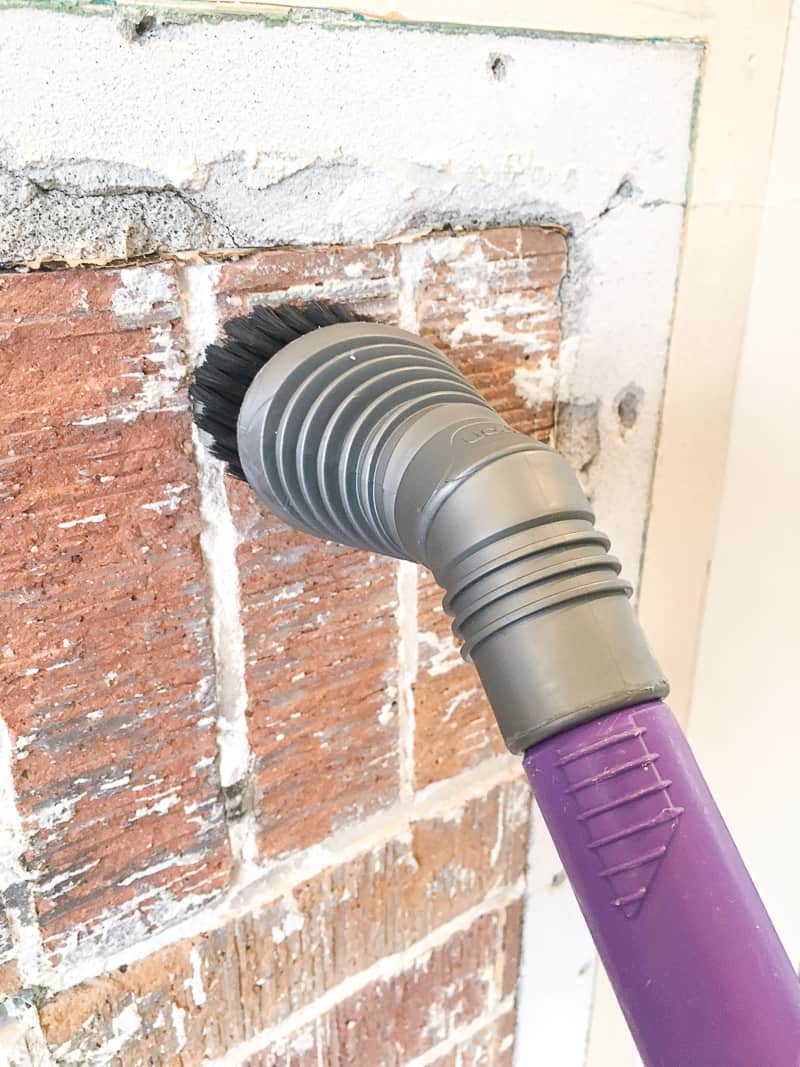
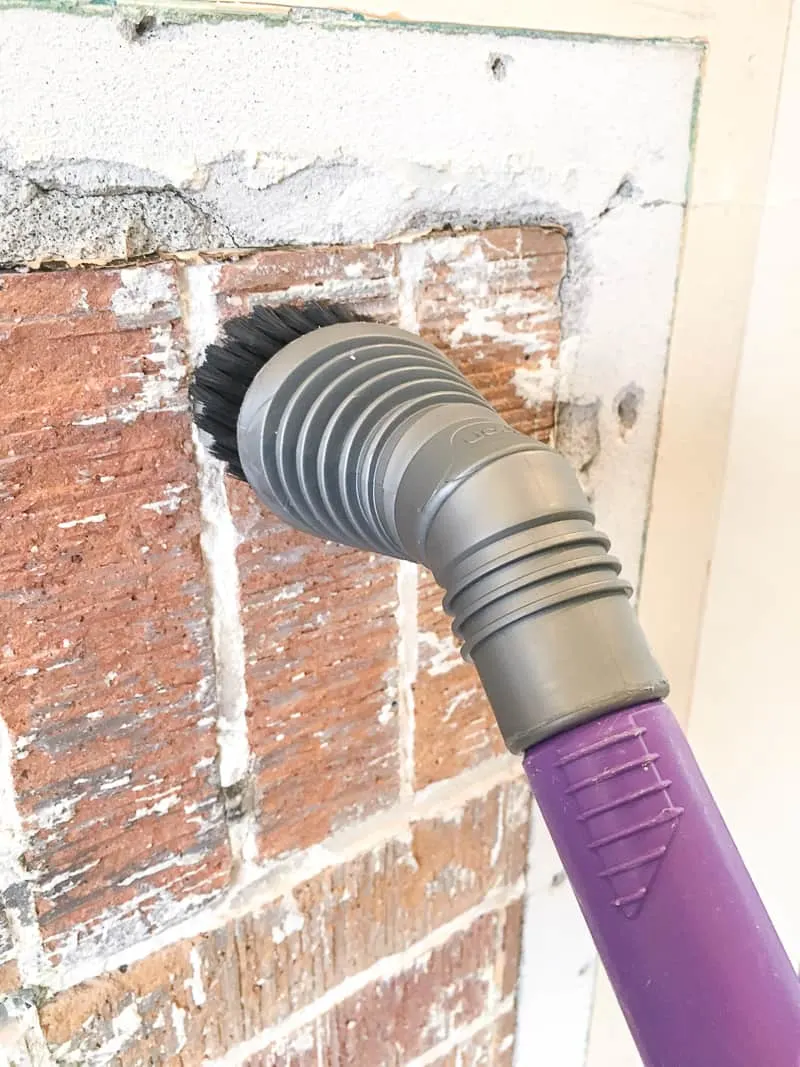
Give the entire surface of the brick fireplace a good scrub with a wire brush, followed by the vacuum to suck up any dust. This bristle attachment helped loosen up anything stuck in the cracks and crevices.
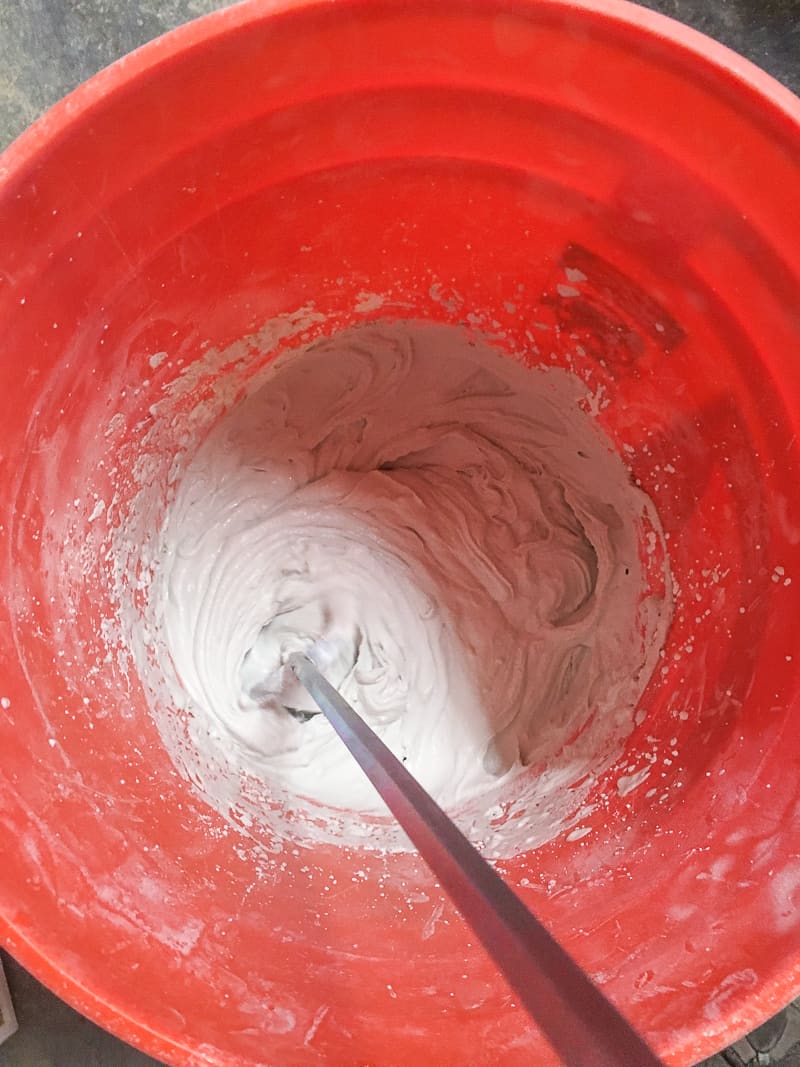
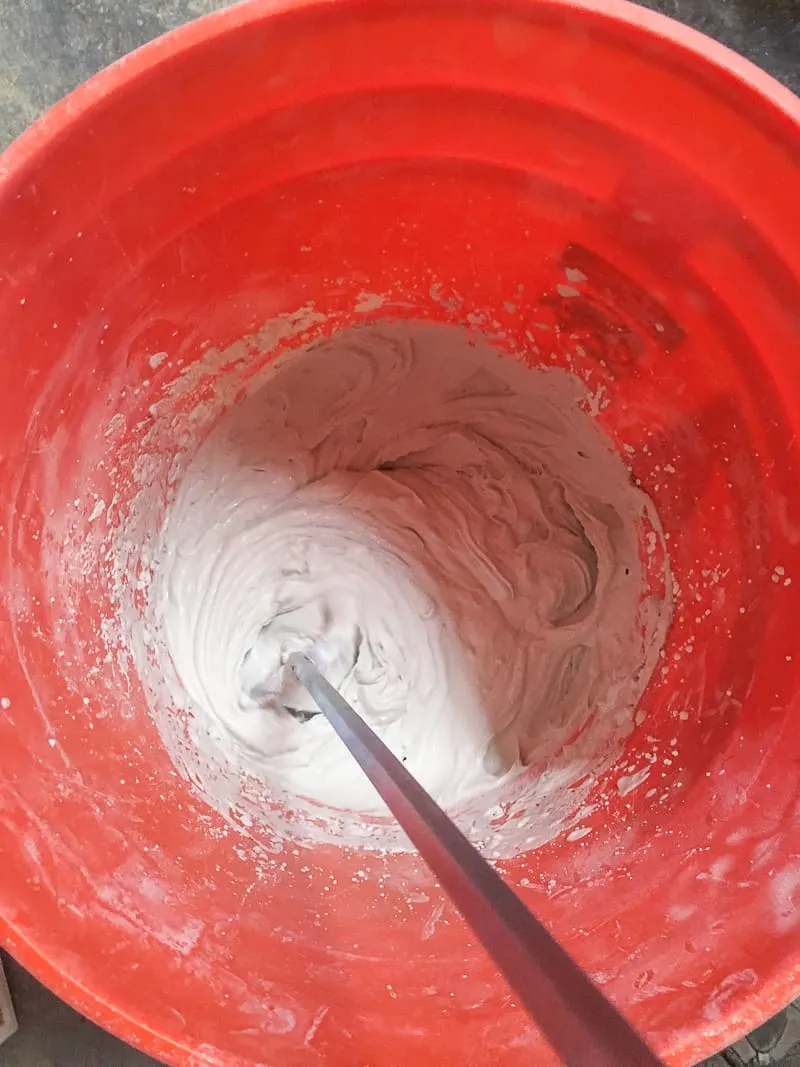
Mix up a small batch of thin-set mortar until it has the consistency of creamy peanut butter.
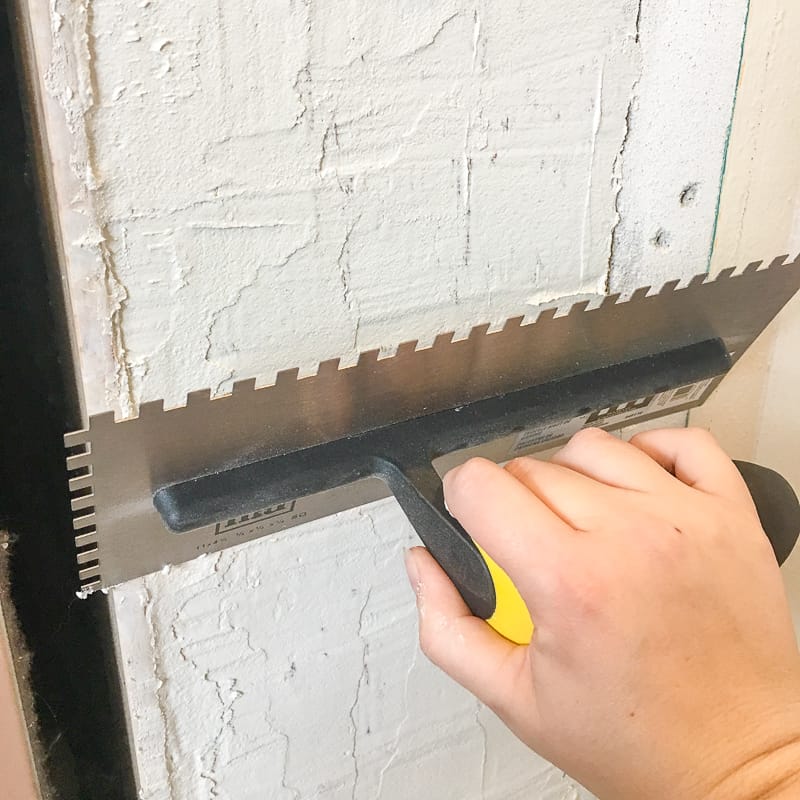
Using the flat side of a small trowel, smear the thin-set over the brick. I found that a narrow trowel was much easier to use. Work the thin-set into all the nooks and crannies of the brick, adding more when necessary to make the surface even.
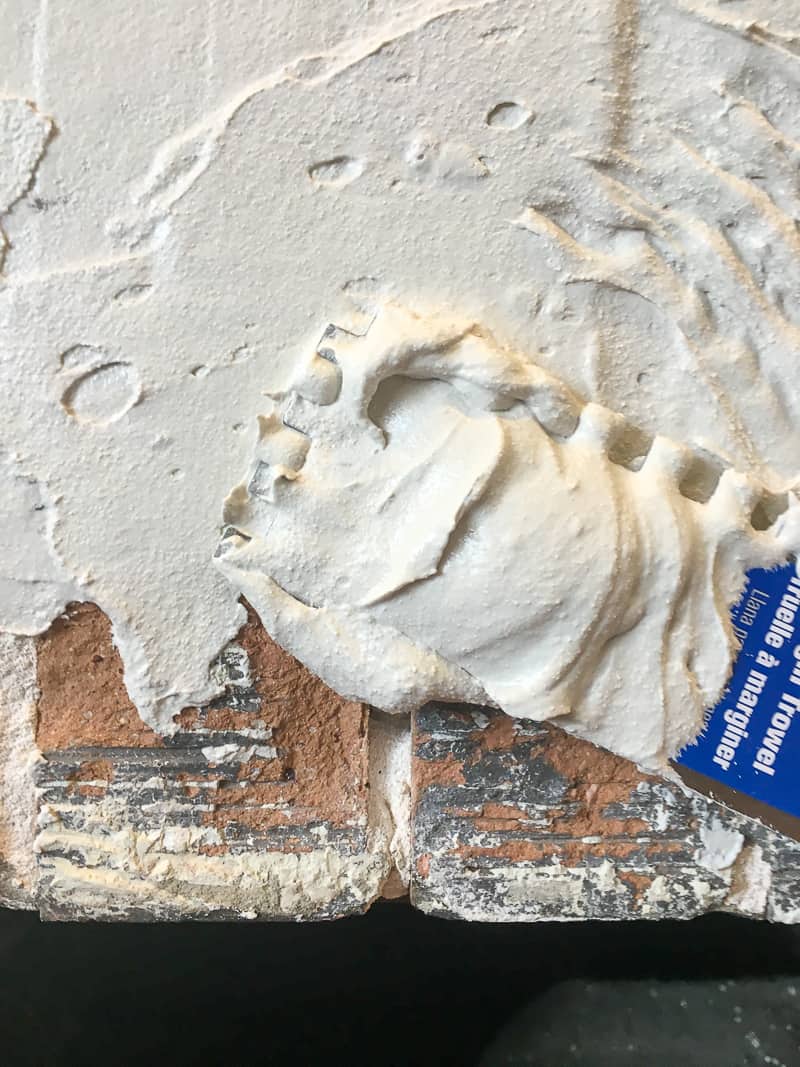

When you have a large section of brick covered, use the flat side of a larger tile trowel to skim off the excess. This trowel was wide enough to span from the firebox tile edges on the left and the fireplace surround on the left, so I could ensure that the mortar was level with the sides.

I fiddled endlessly with the thin-set, knocking down any high points and filling in low ones. It was helpful to look at the fireplace surround from above to see if I missed a spot.
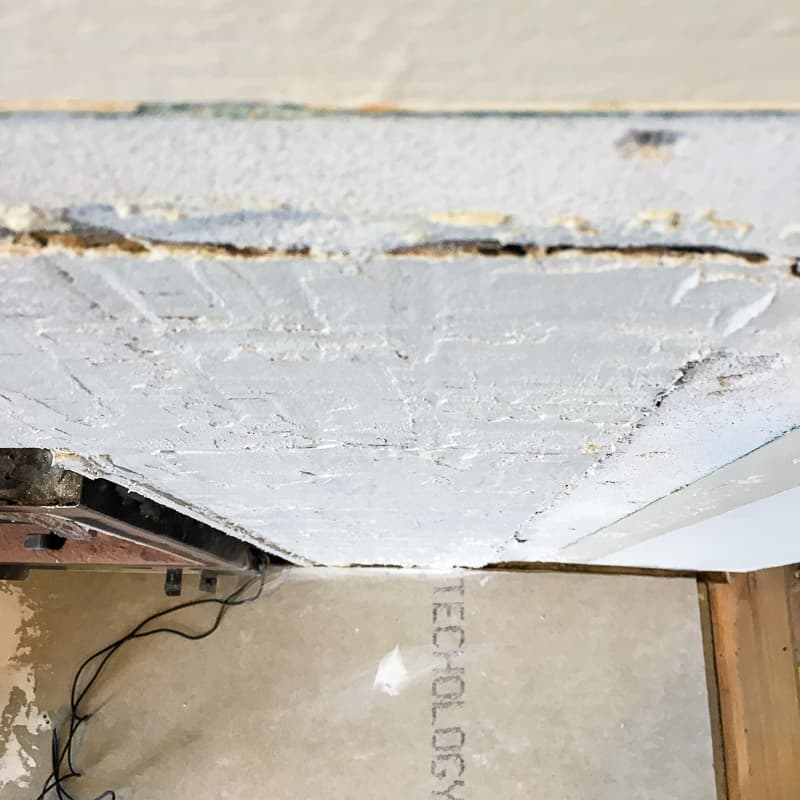

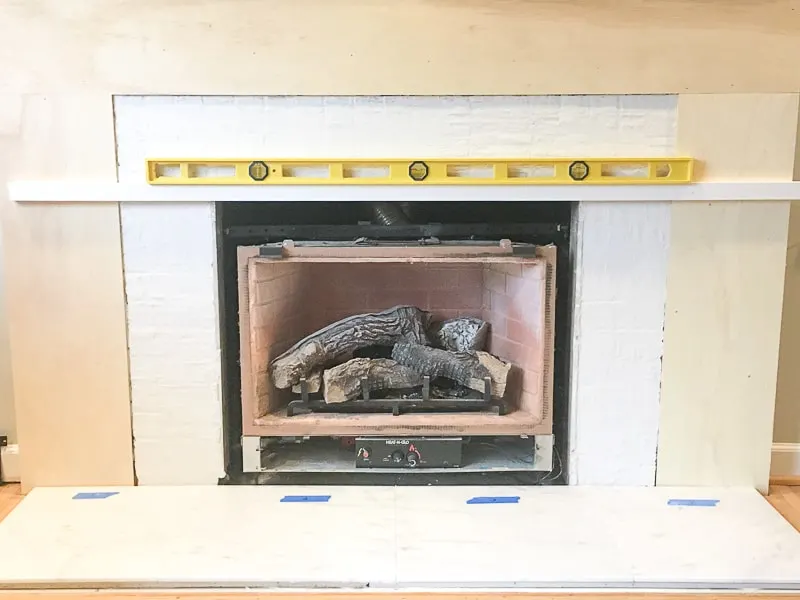
Once the entire surface of the brick is relatively flat and even, it's ready for tile!

Fix the fireplace surround (if necessary)
Demolition caused a lot of damage to the area where the brick and the drywall meet. The new tile will only be going over the brick, with decorative wood trim surrounding it.
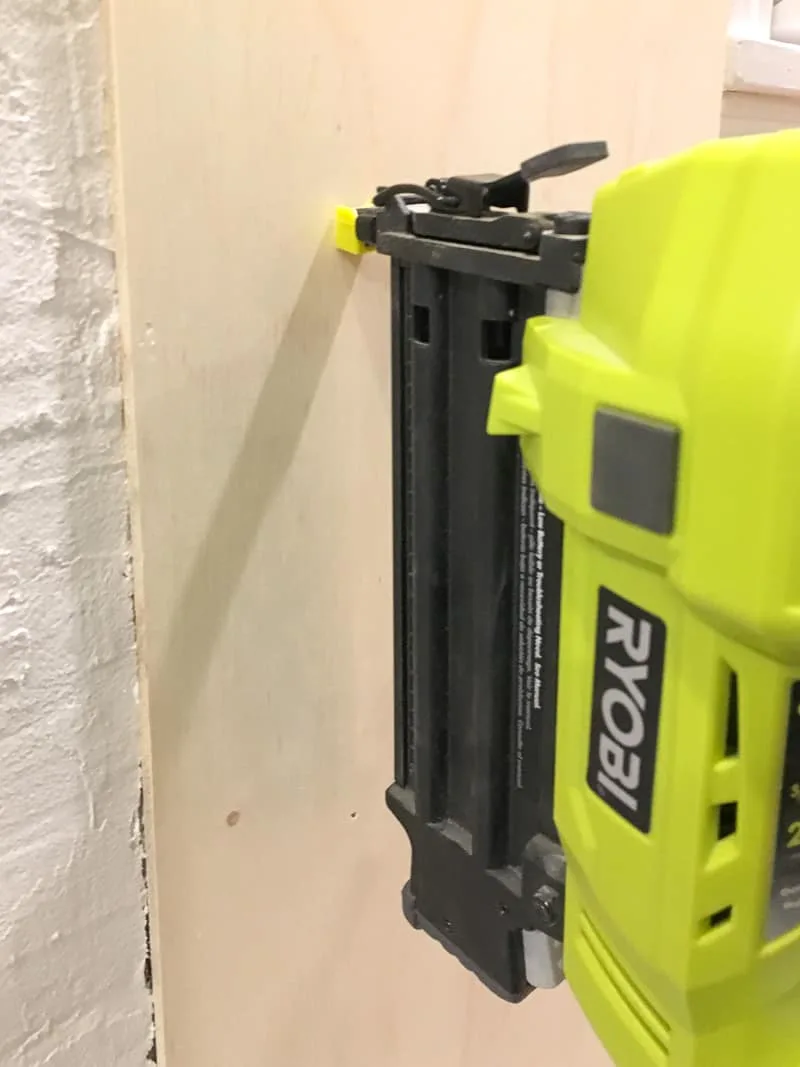
So, while the thin-set was drying, I decided to clean up the drywall fireplace surround by cladding it in thin plywood.


Be sure to check with your local building code when applying flammable materials to a fireplace! Standard building code states that they should be no closer than 6" from the firebox opening, with an extra inch for every ⅛" that it sticks out from the surface. Don't burn your house down, please!
I had the plywood cut for me at the store, so it was a simple matter of attaching it to the studs in the fireplace surround with a brad nailer.

The seams and nail holes will be filled in with wood filler once I add the fireplace trim. It will be much easier to install the fireplace tile now that there's a clear division between the brick and the plywood exterior!

Fireplace Hearth Tile Installation
Start with the hearth tile, so you can build on top of it with the fireplace wall tile. If you do the wall tile first, you might have to remove some rows if the hearth ends up too tall!
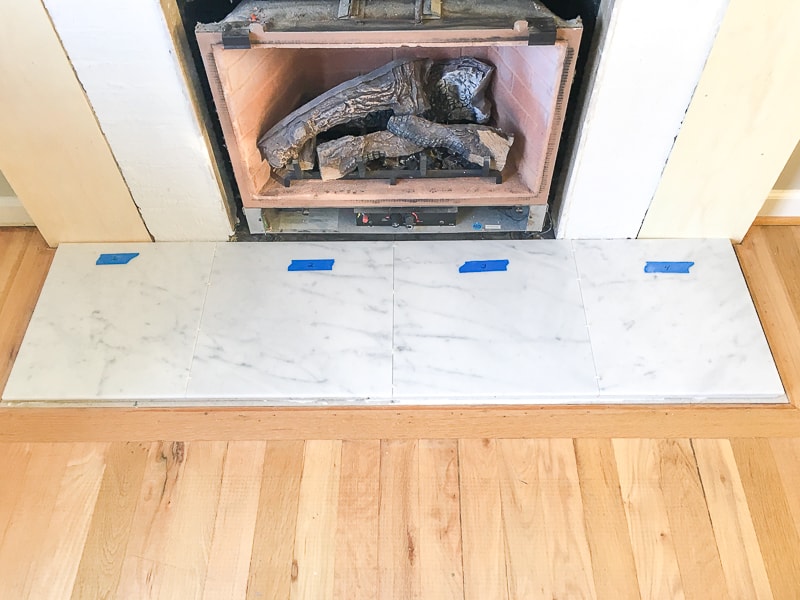
Determine the placement of tiles
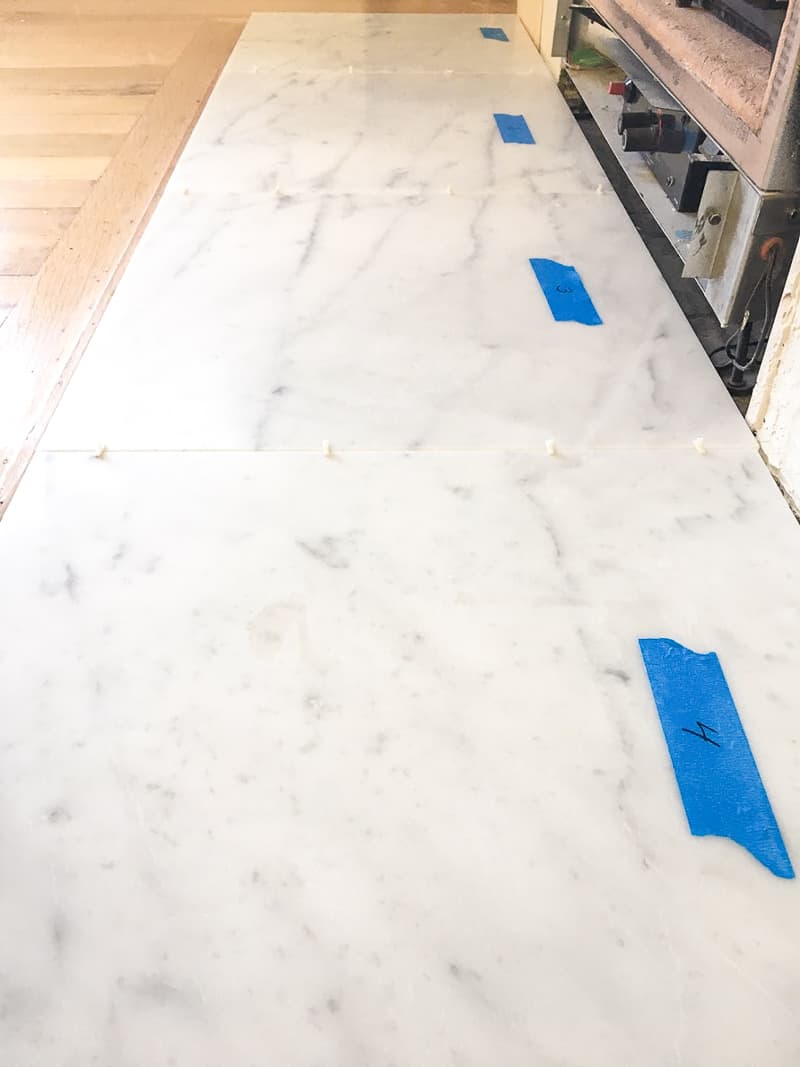
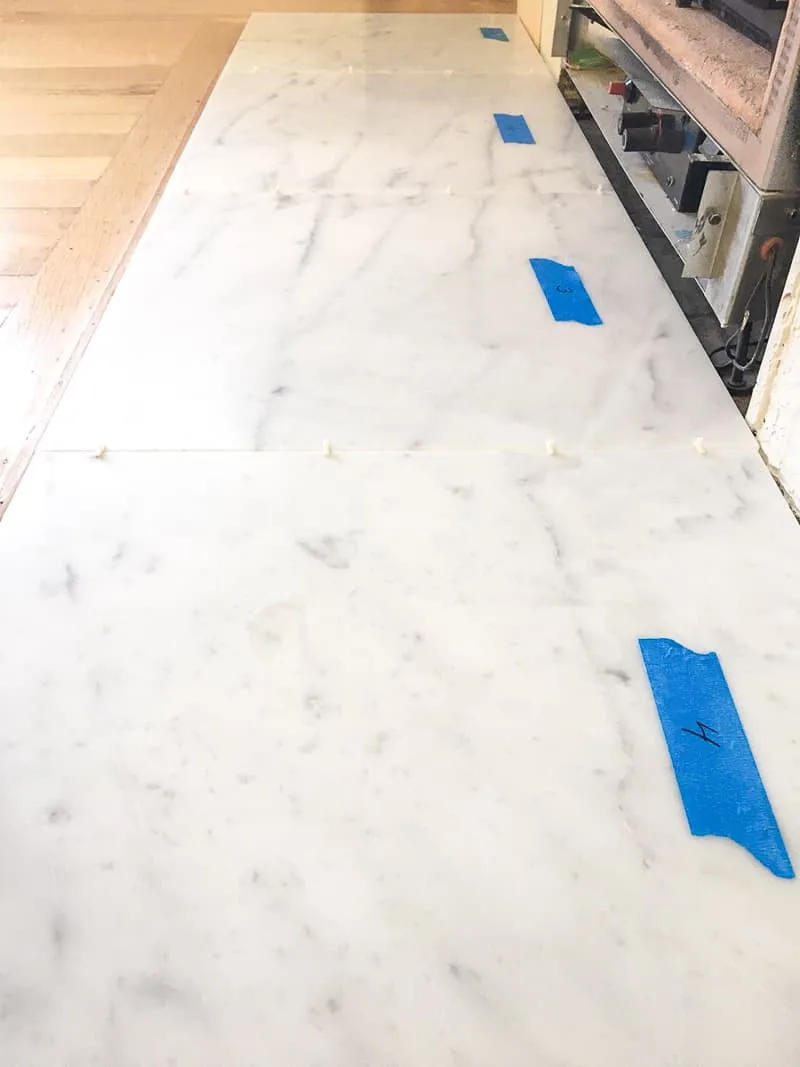
The entire area only needed four tiles, but this box of six tiles gave me a chance to play around with the placement a bit. I wanted the natural pattern of the marble to flow from one tile to the next, like they were all cut from the same slab.
Two of the tiles matched up really well, with dark striations that looked like tiger stripes. I placed those together in the center, and chose the closest match for the two ends. Each one was labeled with painter's tape at the top so I would remember how they were arranged.
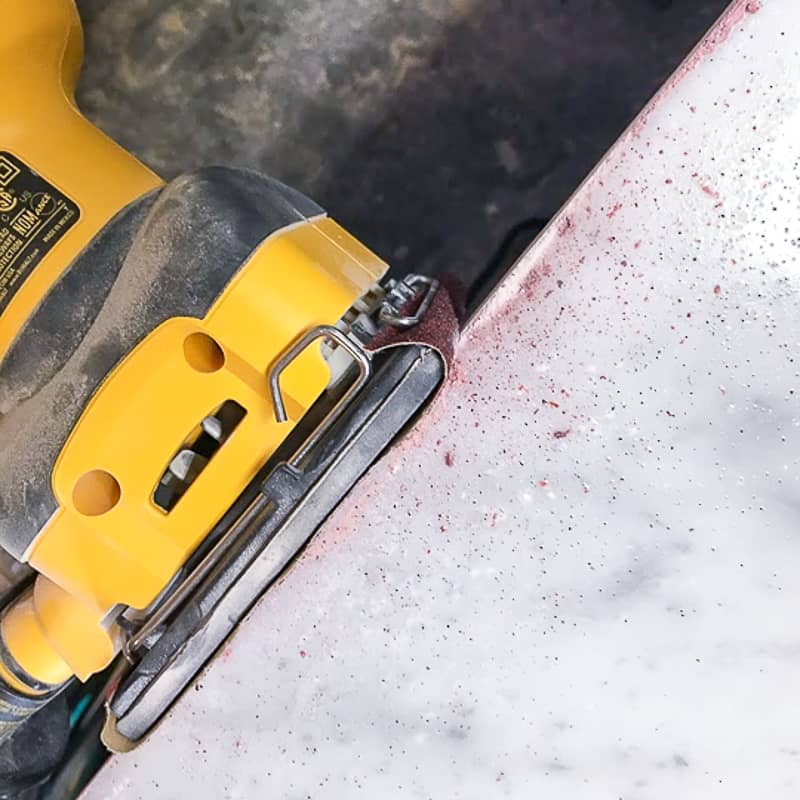
Cut the hearth tile to fit
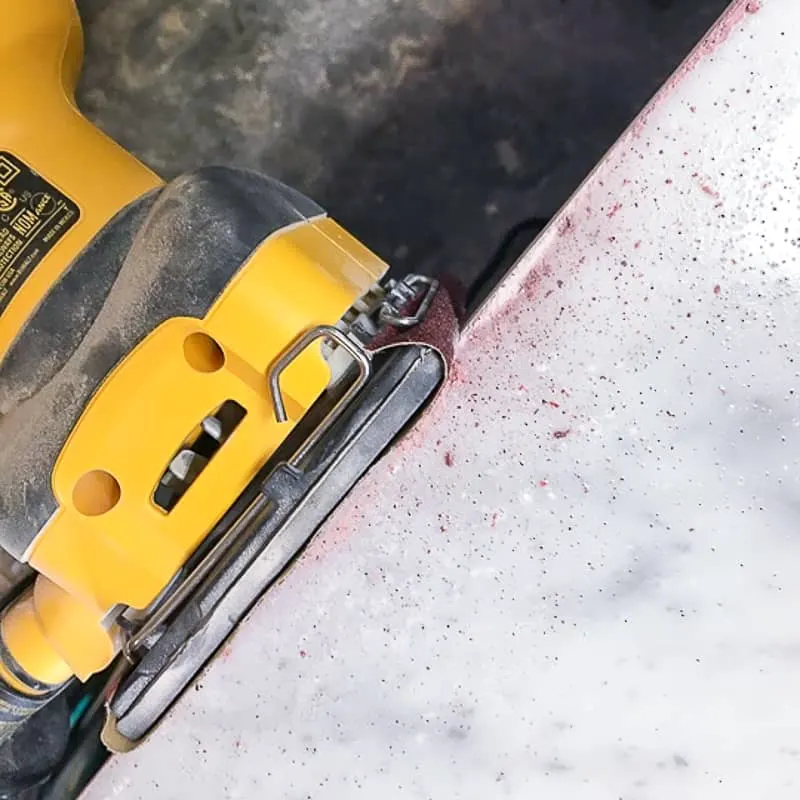
I only needed to cut the two end tiles to fit the raised section of the fireplace hearth. Marble is a soft stone, and the cut edges can chip out a bit on the tile saw. Luckily, you can sand it down easily for a smooth edge.
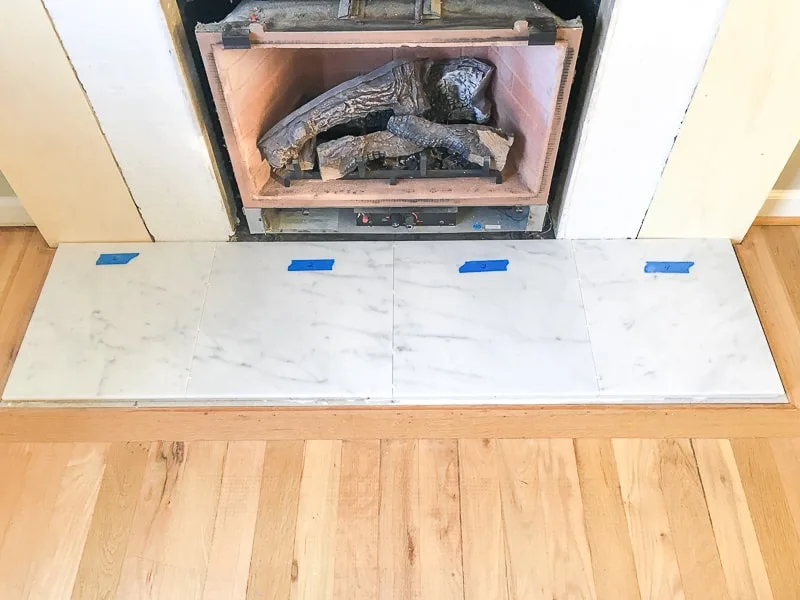
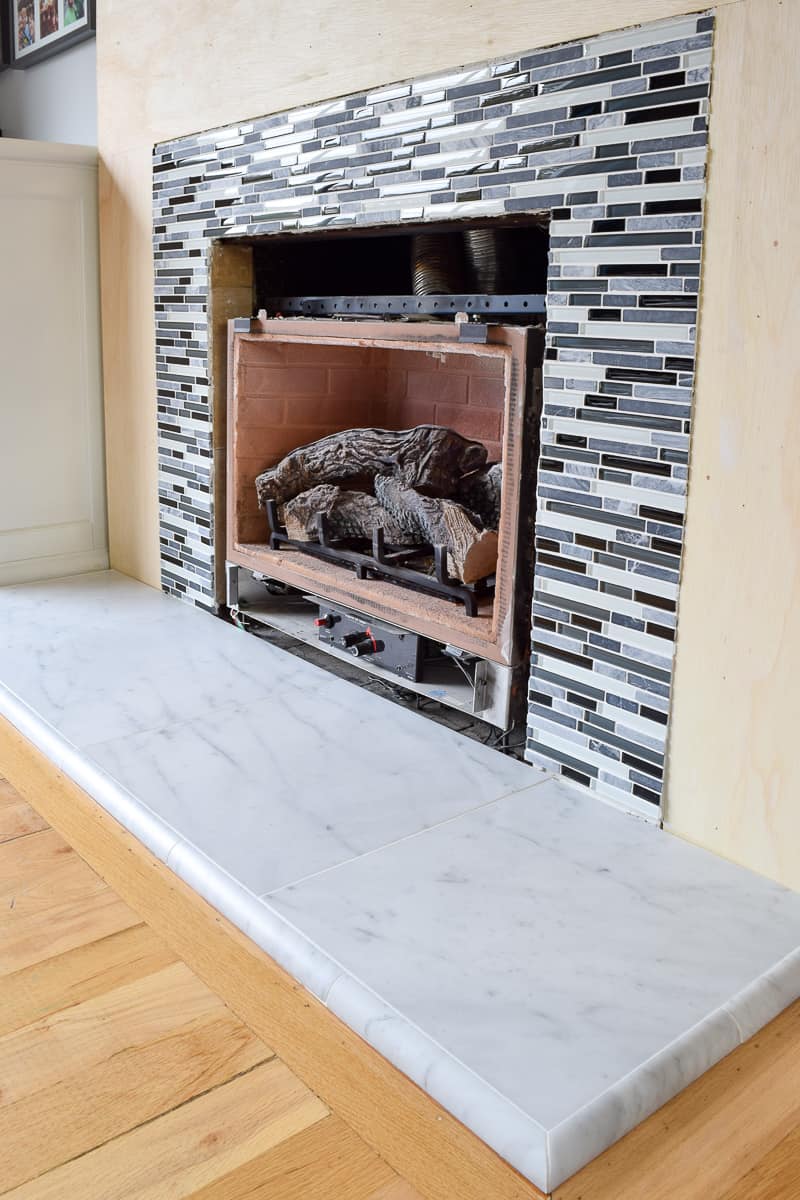
Set the hearth tiles
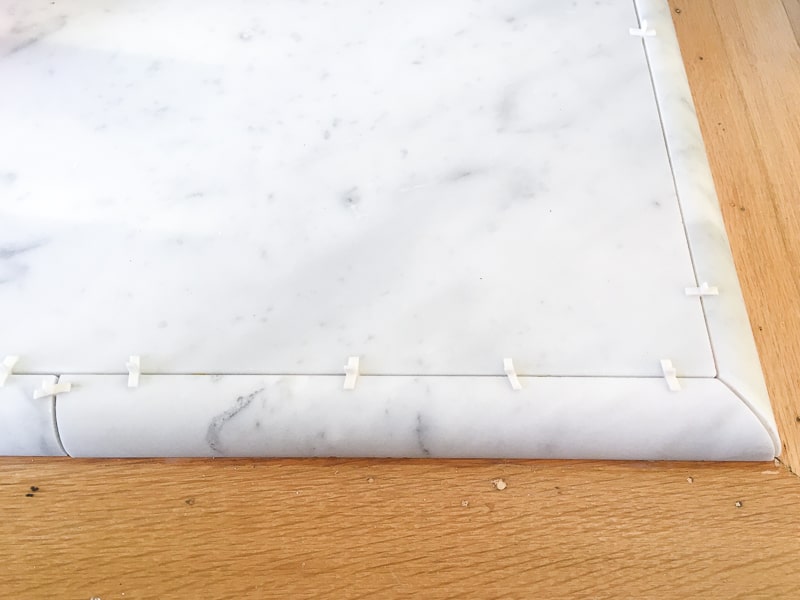
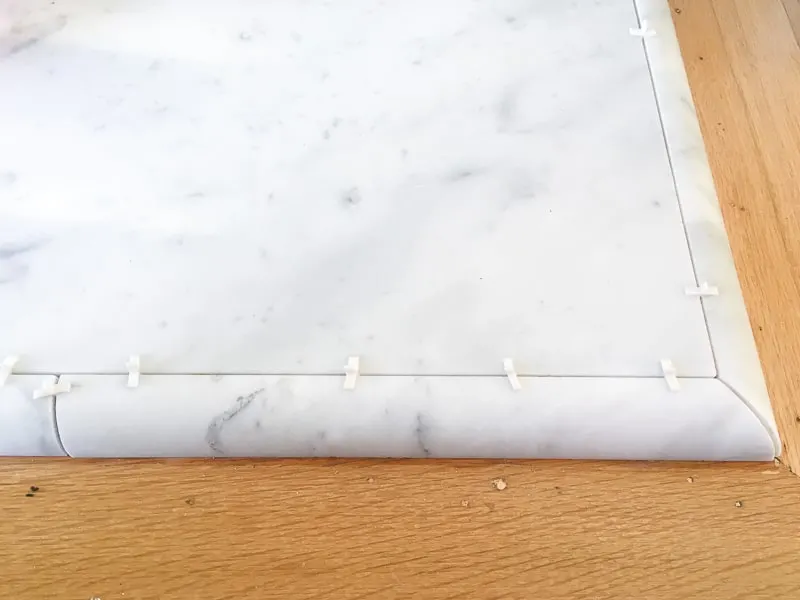
These large-format tiles require special thin-set mortar that prevents sagging. They lined up perfectly with the edges of the cement backer board, with 1/16" spacers for tiny grout lines.
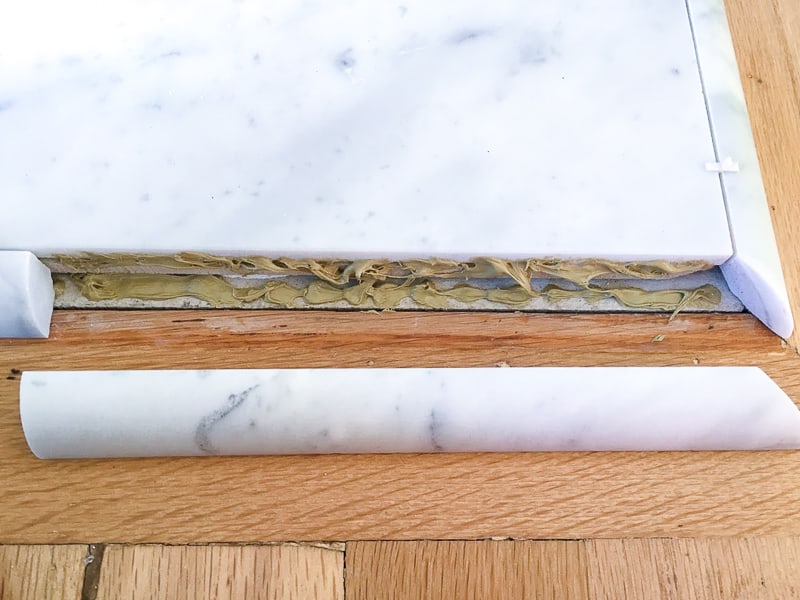
For the outside edge, I used these gorgeous honed marble quarter round trim tiles. Instead of thin-set, I decided to use Liquid Nails for marble to adhere them to the backer board.
I needed to avoid getting any adhesive on the hardwood floors, and the tube applicator gave me more control. The marble quarter round tile will float just above the hardwood floor to allow the wood to expand and contract with the seasons.

It took a few wrong cuts to get the mitered corners to line up. It's a good thing I had a couple extra tiles! The gaps will be filled in with grout and make the whole corner look seamless.
Trim will wrap around the corner of the fireplace surround, so I cut a notch in the quarter round to accommodate it. It took quite a few trips back and forth to the tile saw to get it right!
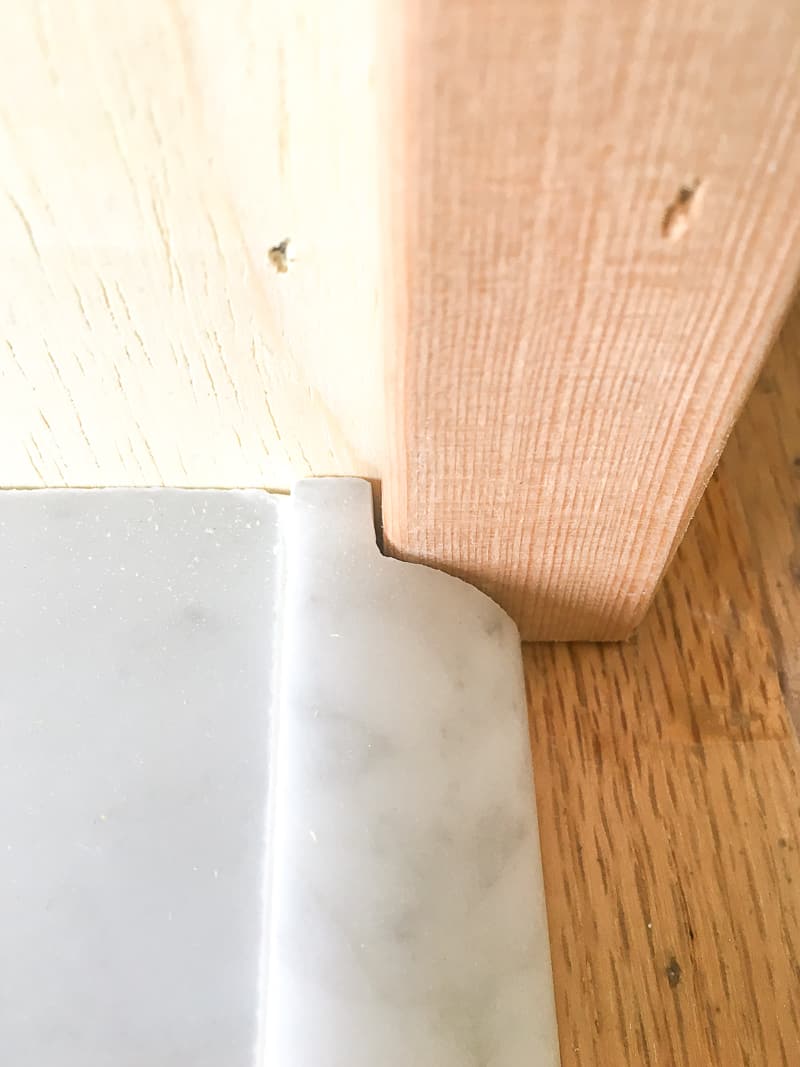

Once I set a piece of quarter round tile into the Liquid Nails, it was held in place with painter's tape. It set pretty quickly, and now they're solid as a rock!


How to Install the Fireplace Wall Tile
Installing the rest of the fireplace tile is similar to any other wall tile, but there are a few key things to keep in mind.
Dry fit the tile pattern
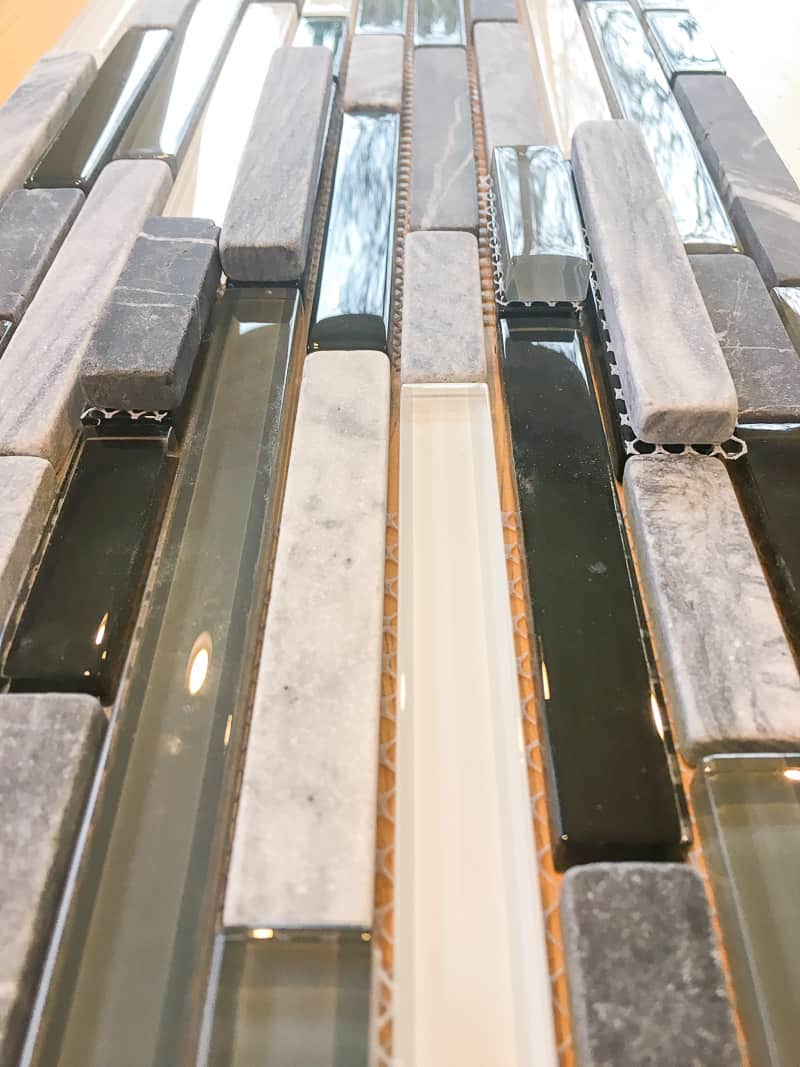
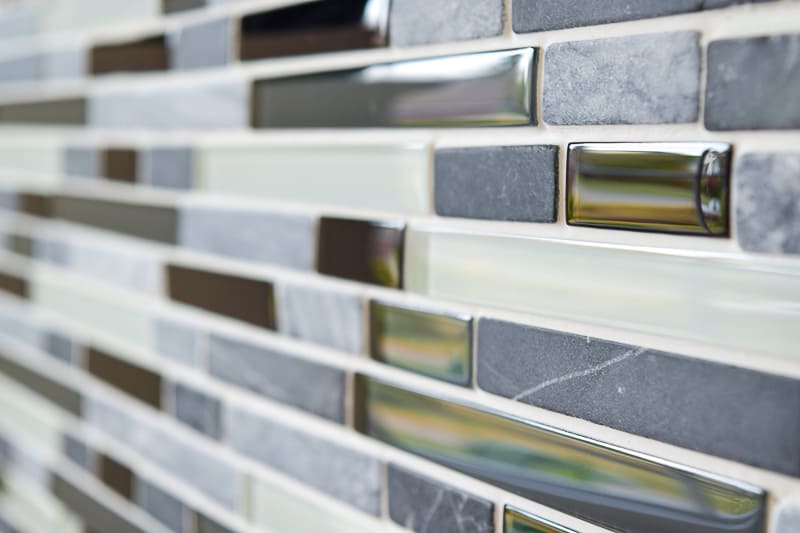
I started by laying out the mosaic tiles in the same size and shape as the fireplace. Then I could play around with the pattern before permanently installing them.
I decided to switch out a few of the black glass tiles for more neutral stone ones. There's a lot of black in the gas insert, and I wanted to lighten up the look. Just peel the tiles you don't want off the mesh backing, then add the new ones with extra mortar when the fireplace tile is installed.

Add a support ledge across the opening
This step is really important! To keep the tile in the middle from sagging before the thin-set hardens, nail a support board across the top of the opening. Make sure the board is perfectly level and straight!

Tile Across the Top of the Fireplace First
Rest the first line of tiles on top of the support board. These mosaic tiles were glued into sheets with a mesh backing, which is easy to cut and fit into place.
The spacing on these mosaic tiles didn't quite fit perfectly. I had to choose between leaving a small gap at the top, or cutting the top row of tiles in half.
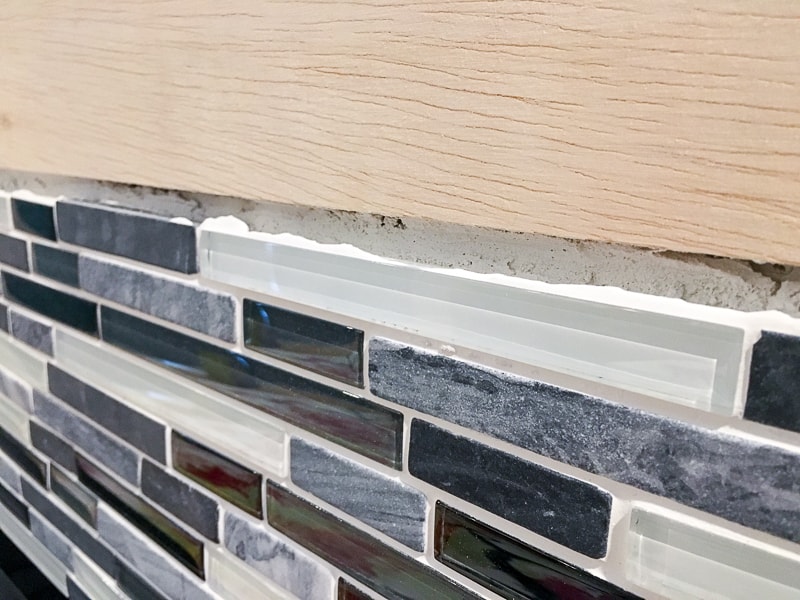
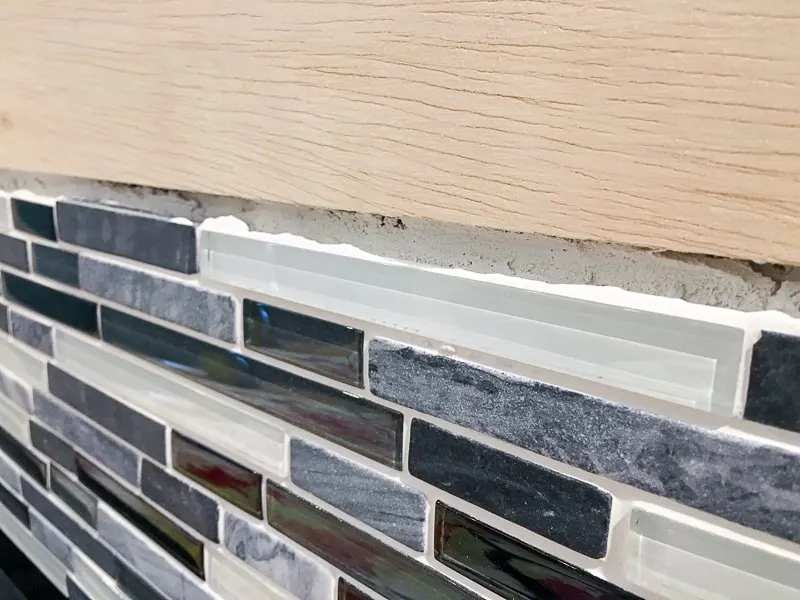
Since the edge of the tiles will be covered in fireplace trim later on, I decided to leave a gap at the top. The notch in the back of the trim fits over the tile, and any space will be filled with caulk.


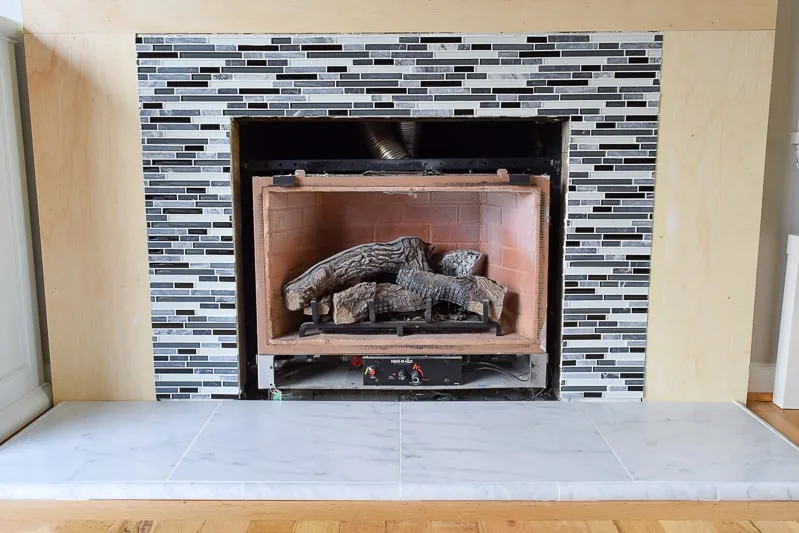
Continue Tiling the Rest of the Fireplace
Allow the mortar to set on the top row of tiles before removing the support board. This will prevent the tiles from sagging and slipping out of alignment.
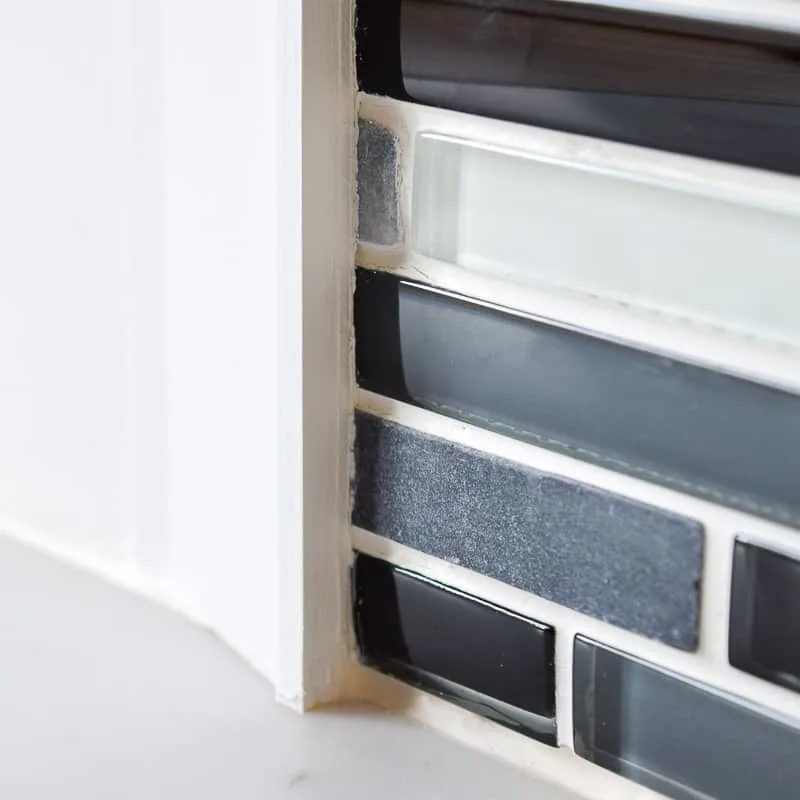
Work your way down the sides of the firebox until you get down to the hearth. Again, I had to choose between a tiny sliver of tile at the bottom, or a caulked gap. I wanted to keep whole tiles throughout the fireplace, so the space where the wall tile meets the hearth was filled in with tile caulk.

Grout the fireplace tile
Once all tile is set (check the mortar bag for dry times), it's time to grout! I used non-sanded grout on both the surround and hearth. Non-sanded grout is best for grout lines up to ⅛", and won't scratch glass tile like the sanded variety can. Learn more about sanded vs unsanded grout here!

Spread the grout over the surface of the tile with a grout float held at a 45 degree angle. Move the float across the tile at different angles to ensure that all the gaps are filled. Then wipe the tiles clean with a damp cloth or sponge.
Where the fireplace surround tile meets the hearth, apply caulk instead of grout. The flexible caulk allows the two perpendicular surfaces to move independently without cracking when the house settles.
I'm pretty proud of how the fireplace tile came out! The combination of glass tile and stone gives a nice contrast in texture and prevents it from looking too glossy.

Next up is the fireplace trim! Those little details really bring the whole project together!

Check out the rest of the fireplace makeover!
Jann Olson
Tuesday 2nd of October 2018
It looks wonderful! You did a really great job!! Thanks for sharing with SYC. hugs, Jann
Kim~madeinaday
Tuesday 25th of September 2018
You did an amazing job! I would not have been able to do all that myself! Looks like a builder did it! Thank you for sharing on Merry Monday! Hope to see ya next week! Kim
Oliver@WonderlandGardens
Saturday 15th of April 2017
Hey Vineta,
Just love the fireplace tile. Great stuff there. I'd like to try something similar with this though soon. Thanks for sharing!
Cheers, Oliver
Adil
Thursday 26th of January 2017
Vineta, Your design is just classy and professional. Gorgeous glass and Mosaic combination on white area has given the fireplace an awesome look. can I twitte this on my Twitter?
Vineta
Thursday 26th of January 2017
Thanks so much! I'd love for you to share it on Twitter. :)
Trenton
Thursday 12th of January 2017
I know tiling is a time consuming project but you did a great job. I really like the tile colors you put together. Your project has inspired me to began my own tiling project. Thanks for sharing.