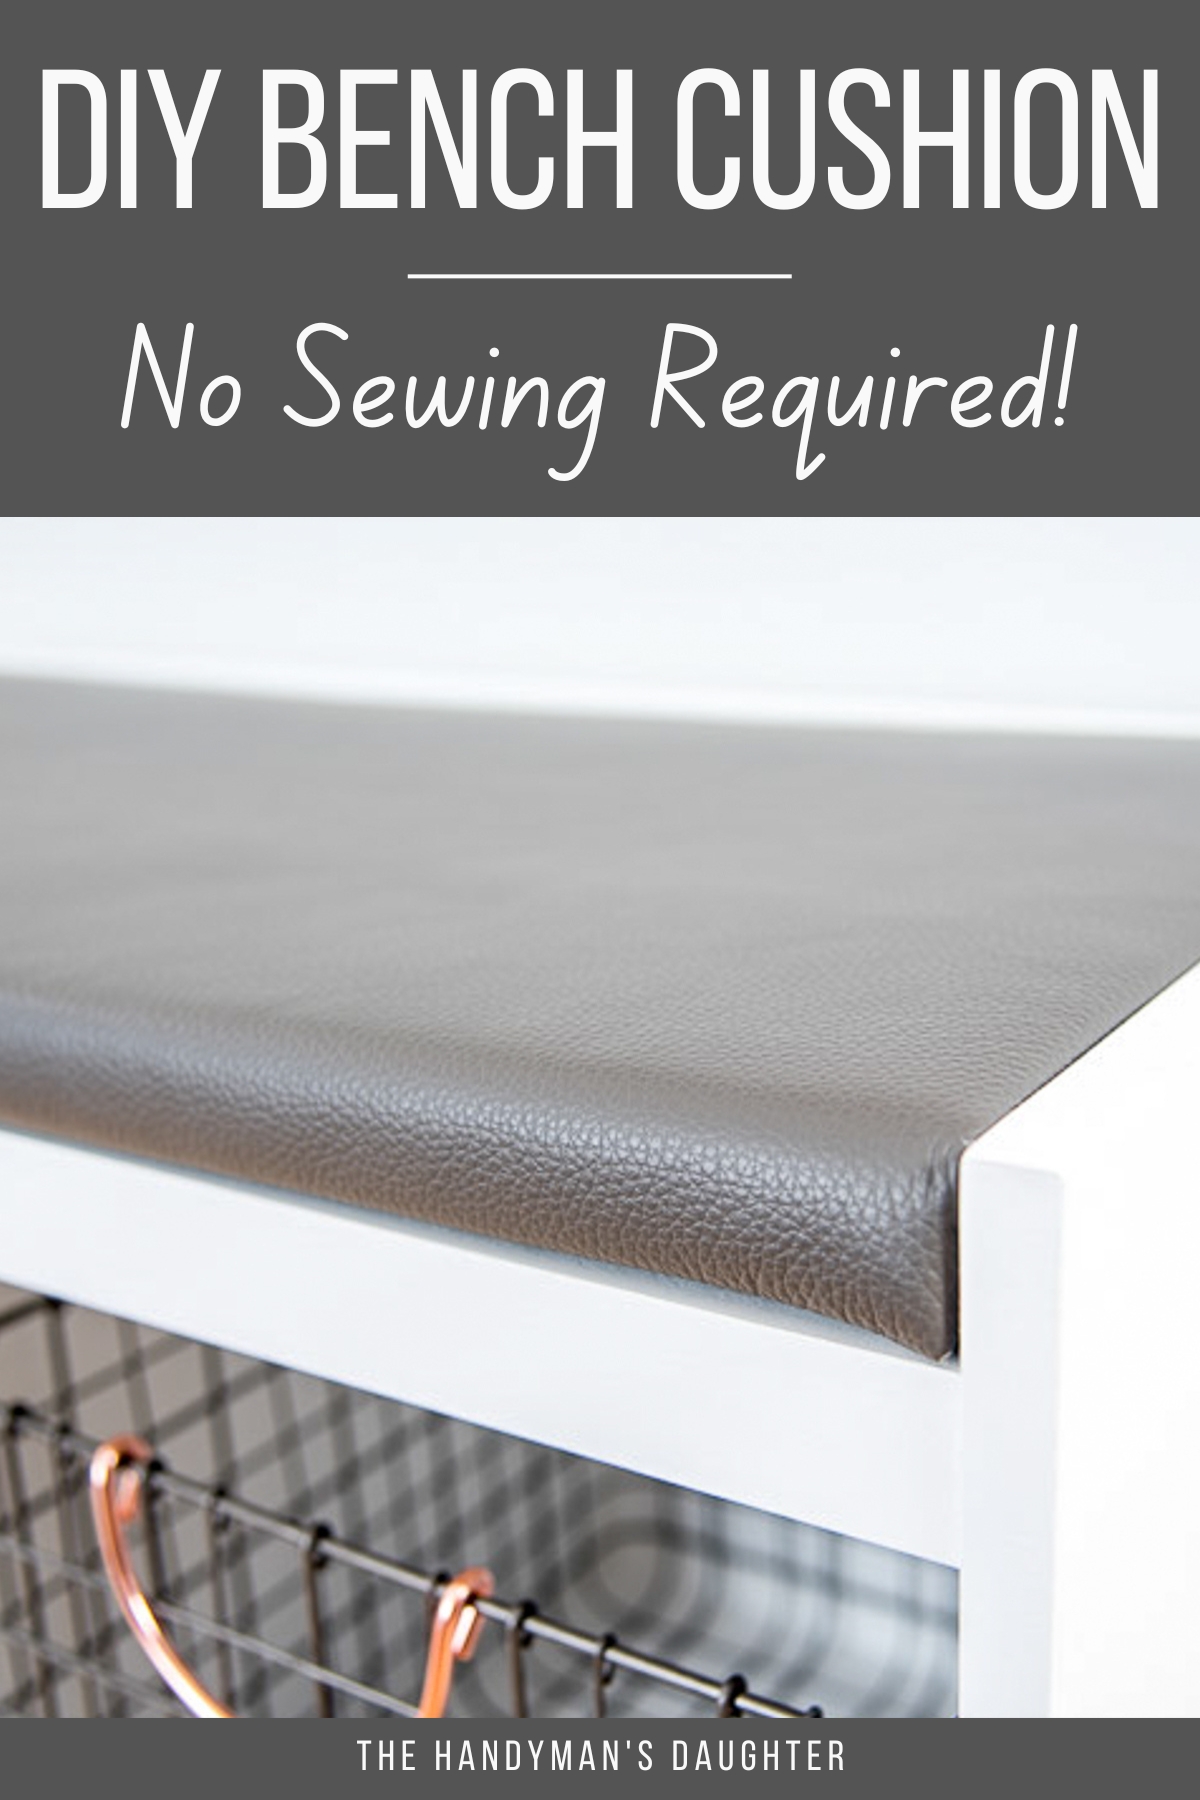
Learn how to make a bench cushion without a sewing machine! This tutorial will show you how easy it is to make a custom cushion for a bench or window seat.

Finding the right bench cushion can be tricky or even impossible! And when you do find the correct size, it's usually WAY too expensive. It's just a piece of foam wrapped in fabric, right?
Luckily, it's really easy to make your own bench seat cushions! If you know how to wrap a gift, you can do this! It doesn't require a sewing machine, so all you need to do is cut, fold and staple!
This post contains affiliate links for your convenience. Purchases made through these links may earn me a small commission at no additional cost to you. Please visit my disclosures page for more information.
How to Make a Bench Cushion
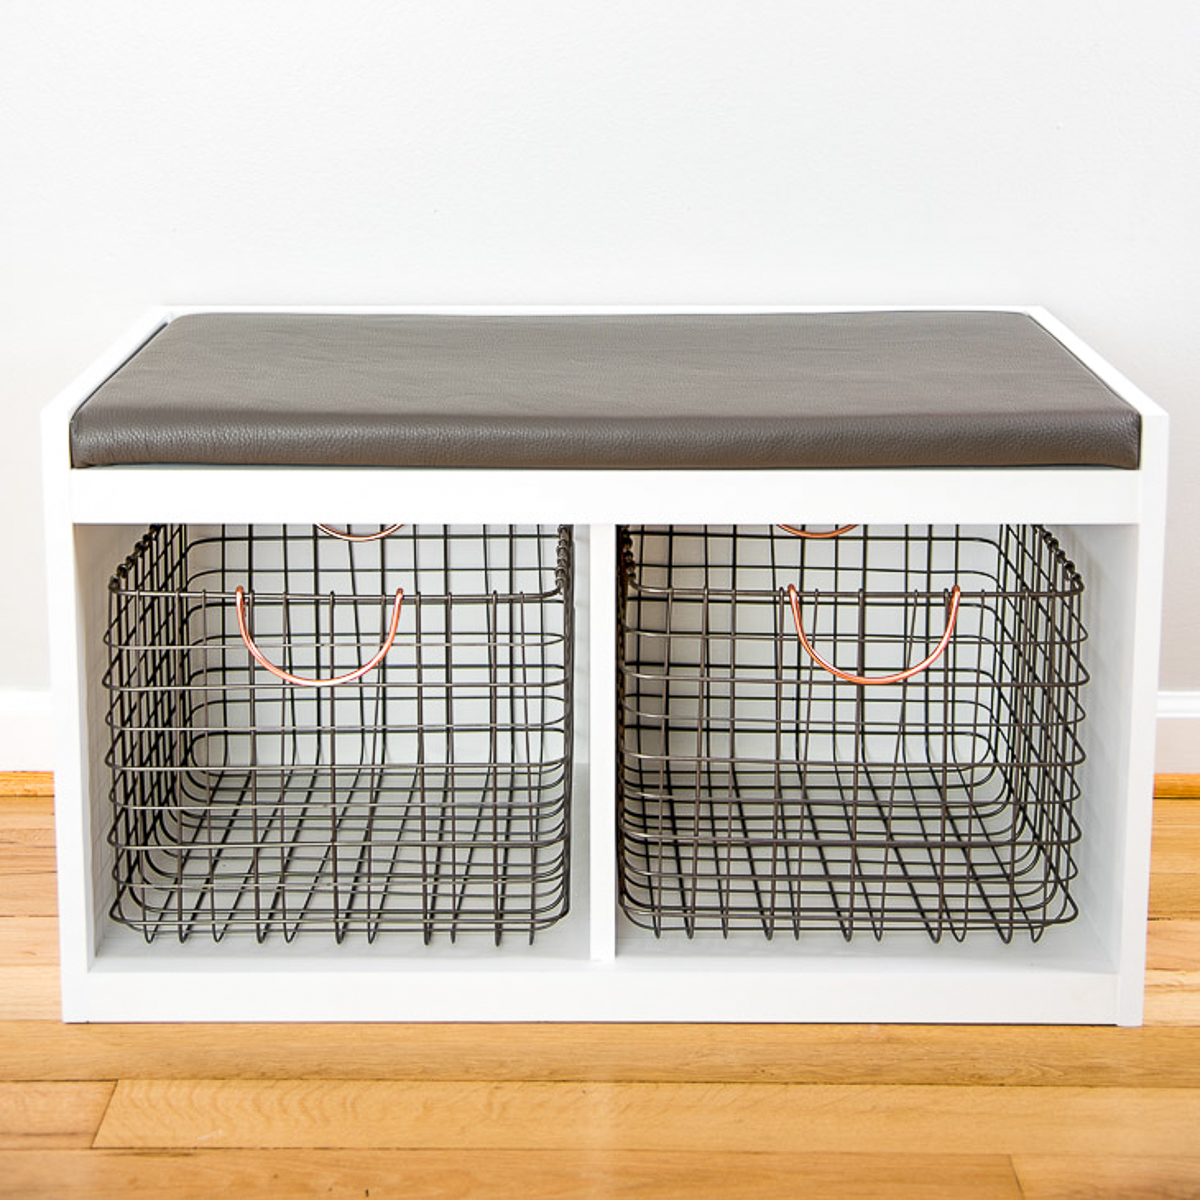
I used this method to make a leather cushion for this entryway bench. Leather and other non-woven materials won't unravel at the cut edges, but are bulkier than fabric. The process is basically the same, but I'll show you both options.

Materials Needed for DIY Bench Cushion
- Fabric or leather
- Upholstery foam
- Batting
- Fabric scissors
- Staple gun and ¼" staples
- ¼" plywood
- Spray adhesive (optional)
Cut the plywood backing
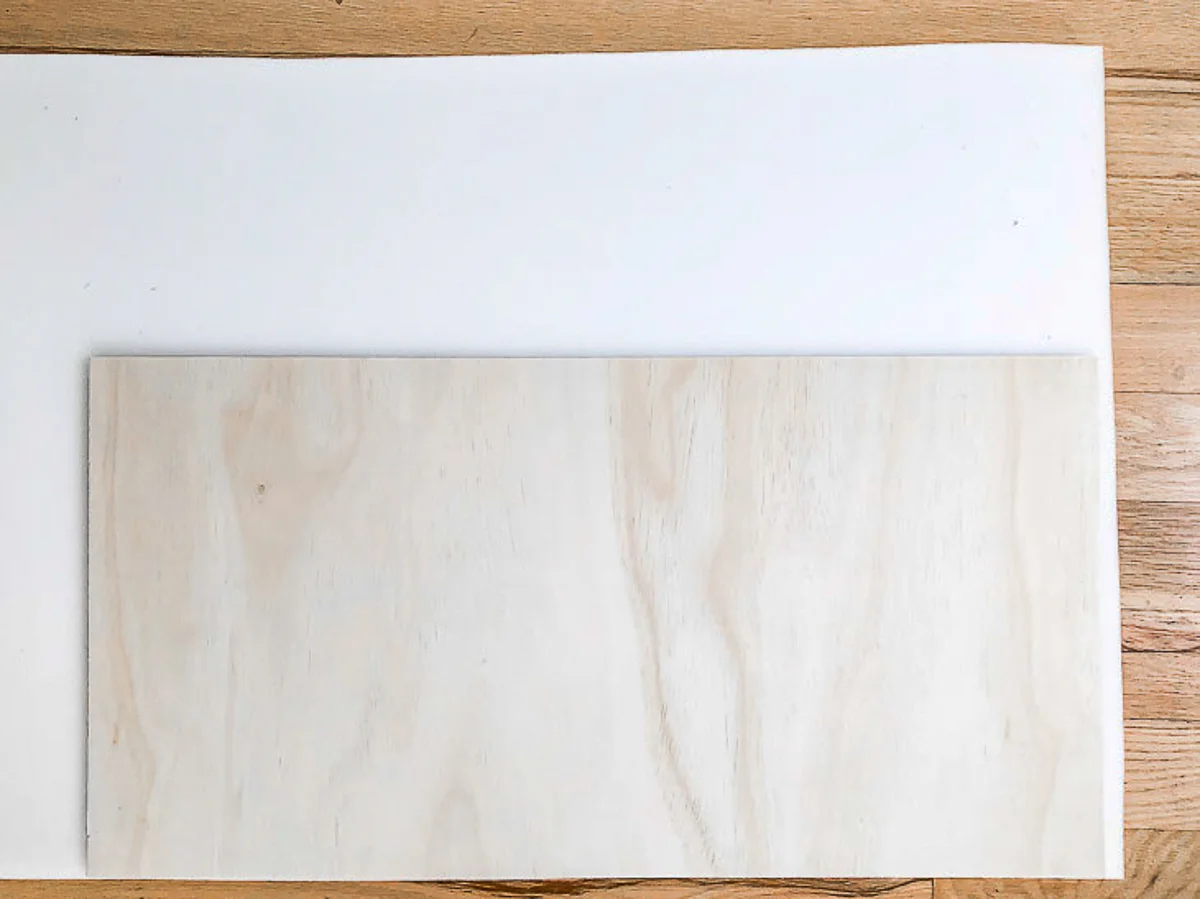
Measure the top of your bench, and cut a piece of ¼" plywood slightly smaller. About ¼" of space all the way around should be good.
The batting and fabric will fill the gap around the outside edge and make the cushion fit snugly. You can get plywood cut for you at the store, or you can use a circular saw, track saw or table saw to cut it to size.
Cut the upholstery foam, batting and fabric
You can buy upholstery foam in lots of different thicknesses. I used 1" high density foam for my project, which fits nicely in the lip of the bench. If you plan to spend lots of time lounging in a window seat, you'll want to go thicker for a more comfy cushion!
Place the ¼" plywood backing on the foam and trace the outside edge with a marker. You want it to hang over the edge of the plywood a bit so you don't feel that hard edge. Cut the upholstery foam to size, using a utility knife or even a serrated bread knife.
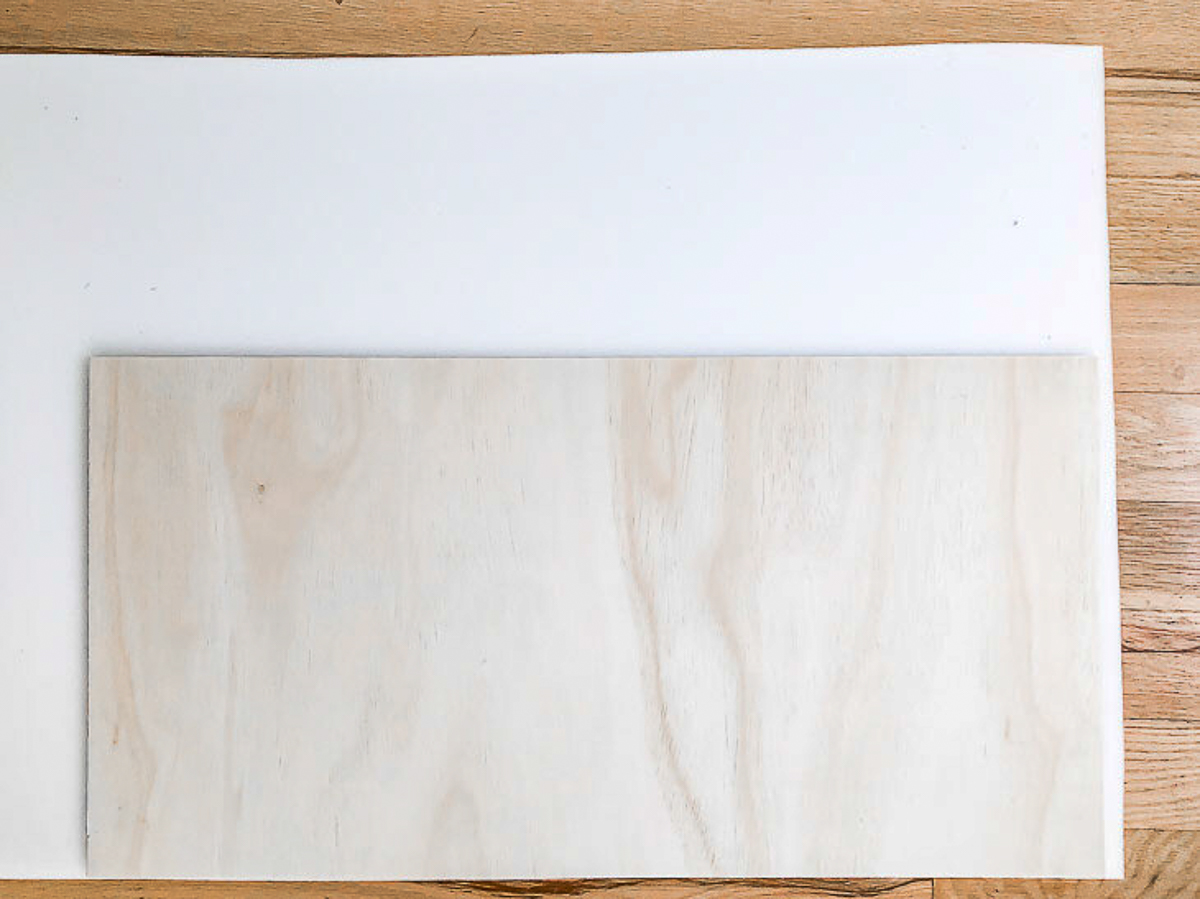
Cut the batting and fabric about 6" bigger than the foam all the way around. This gives you plenty to grab onto when pulling it taut. The batting will fill out any gaps between the fabric and the foam, preventing that "deflated" look.
Wrap and staple the fabric to the plywood
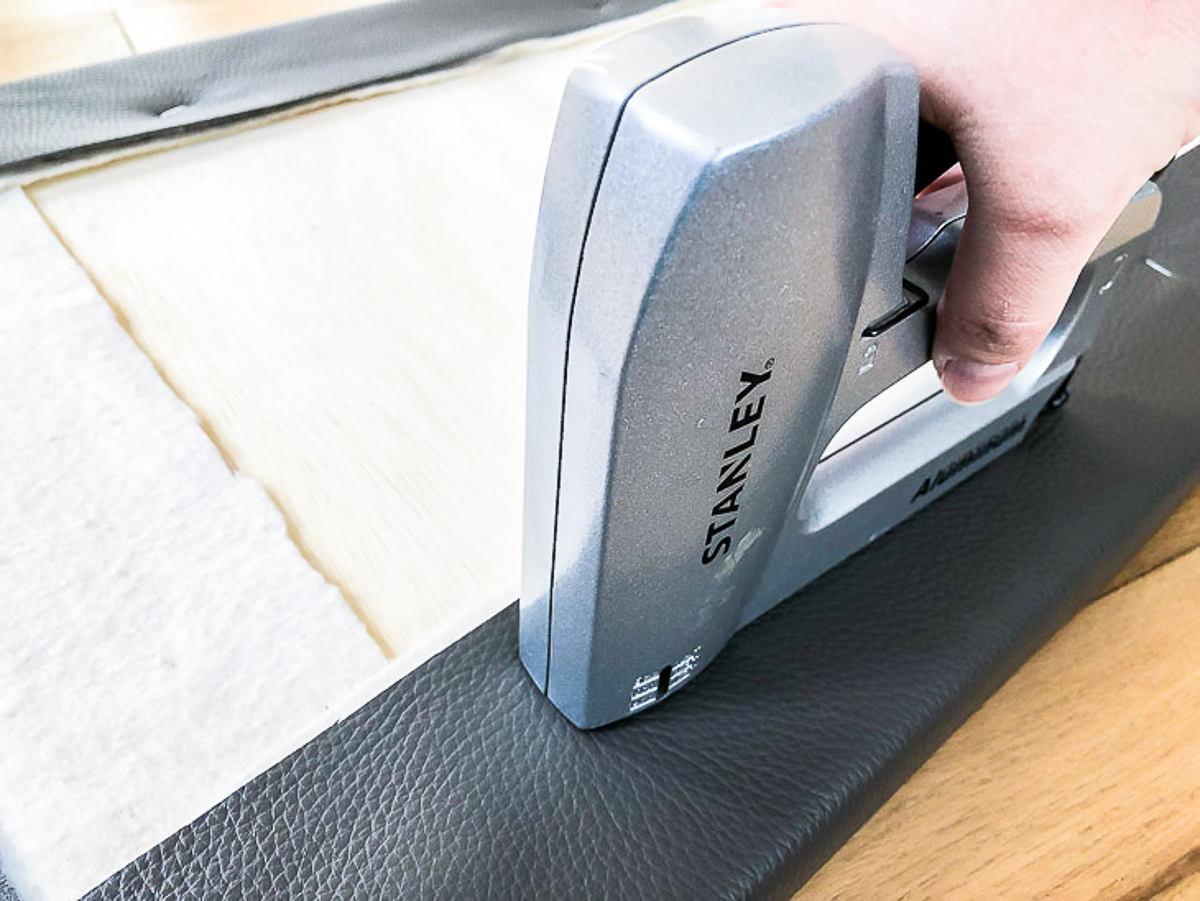
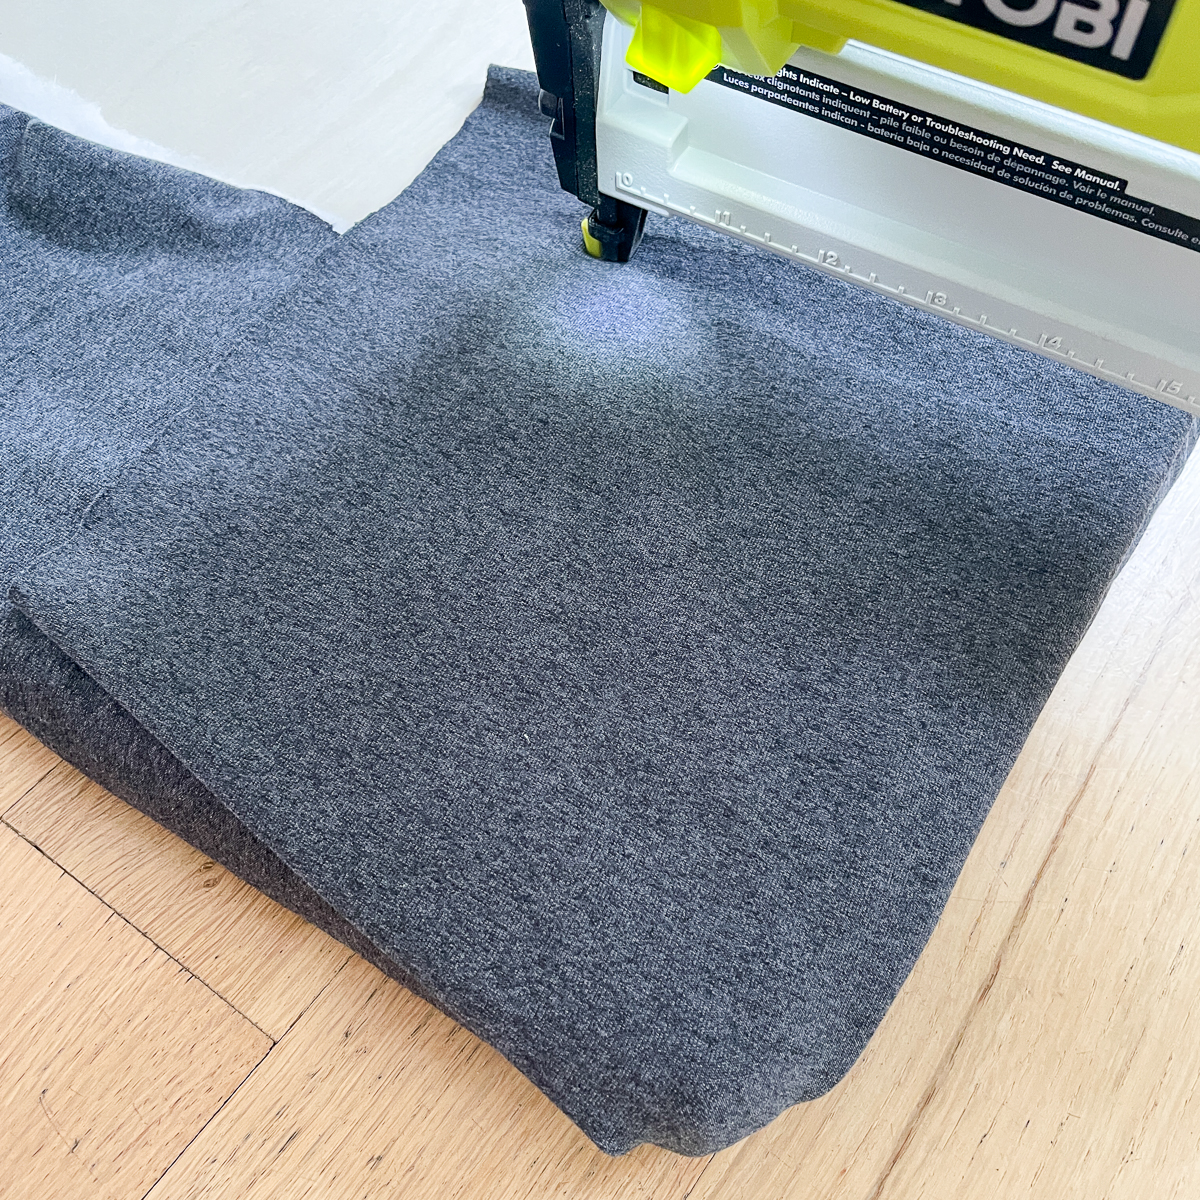
Place all the layers for the bench cushion upside down on the floor. Start with the fabric, then the batting, foam and the plywood on top. Make sure each layer is smooth without any wrinkles or folds.
Fold one long side of the batting and fabric layers up and over the edge of the plywood. Staple them to the back in the center, leaving the corners loose. Pull the other long side taut, then staple it in place.

Make sure you have 8-12 inches of loose batting and fabric at all four corners.
Fold and trim the batting corners
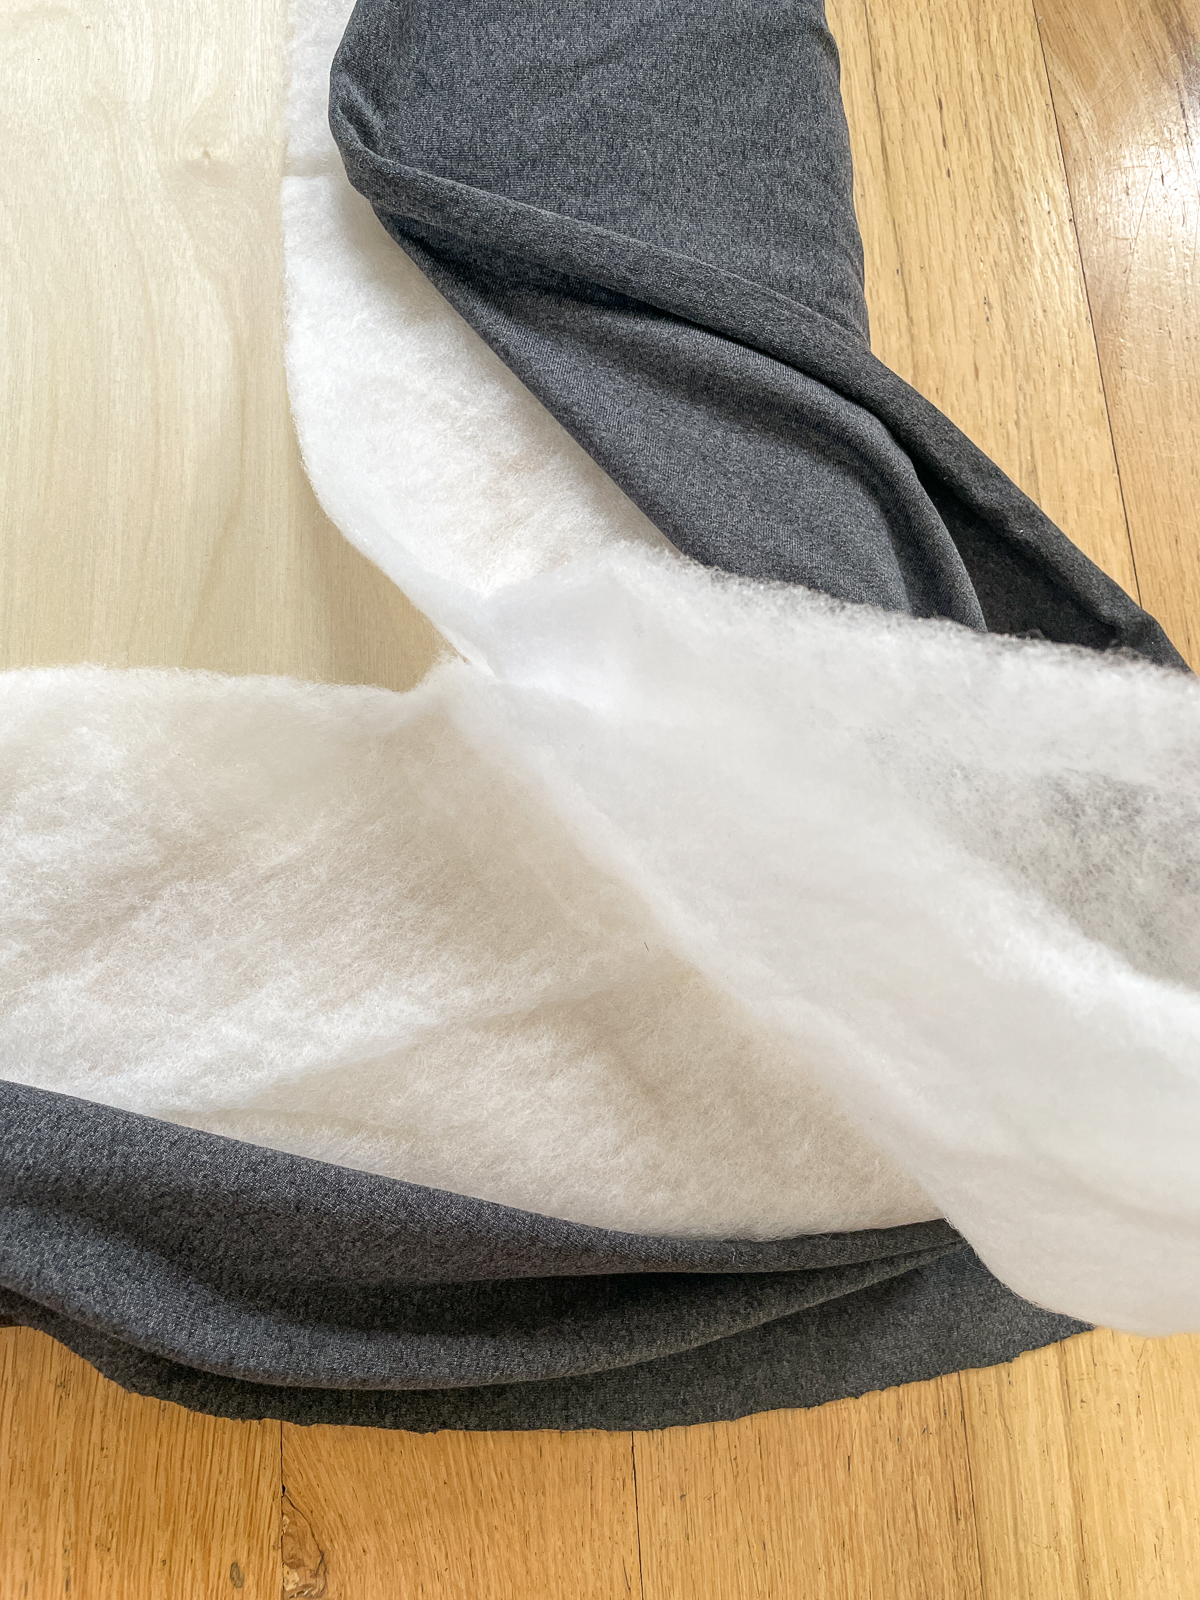
This is the part where using fabric differs from leather or other non-woven material that won't ravel. I made a mock-up of a fabric cushion just to show how you wrap the corners.
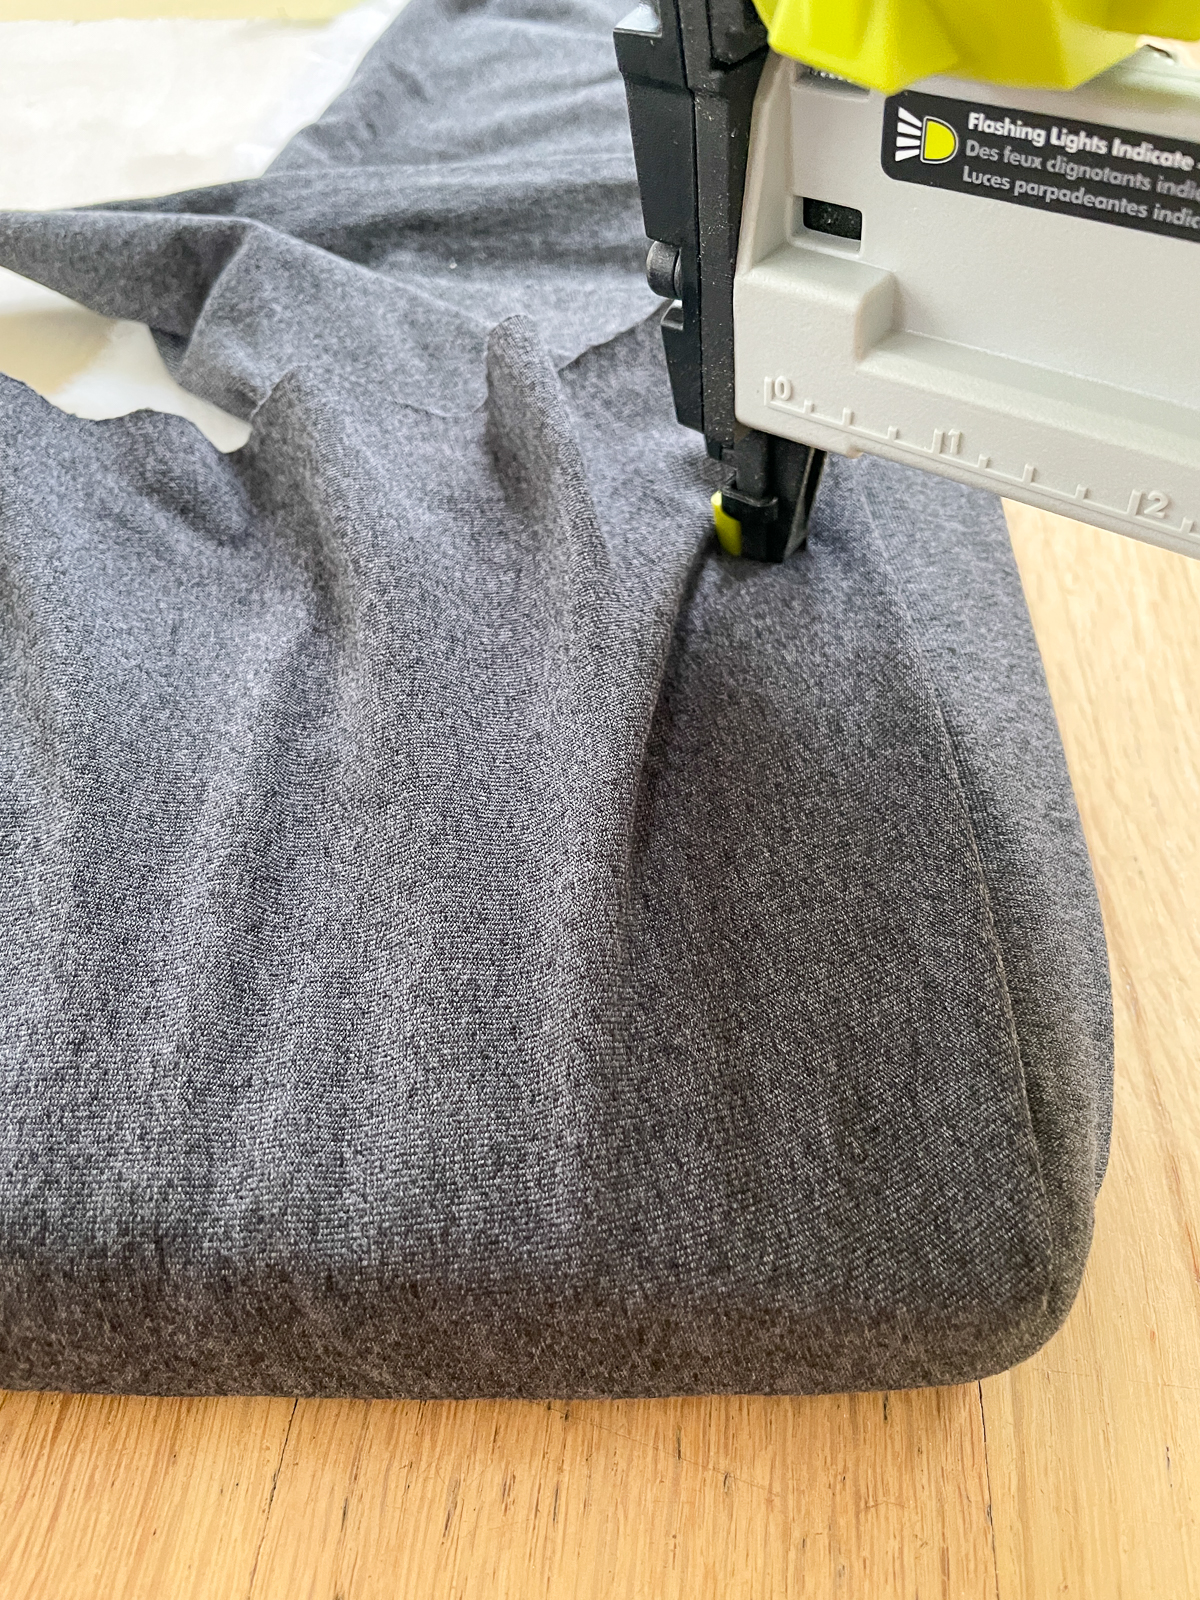
You'll want to minimize the bulk at the corners so you don't end up with bulges in the fabric. Since the sides are already stapled down, you can start to see the natural folds at the corners.

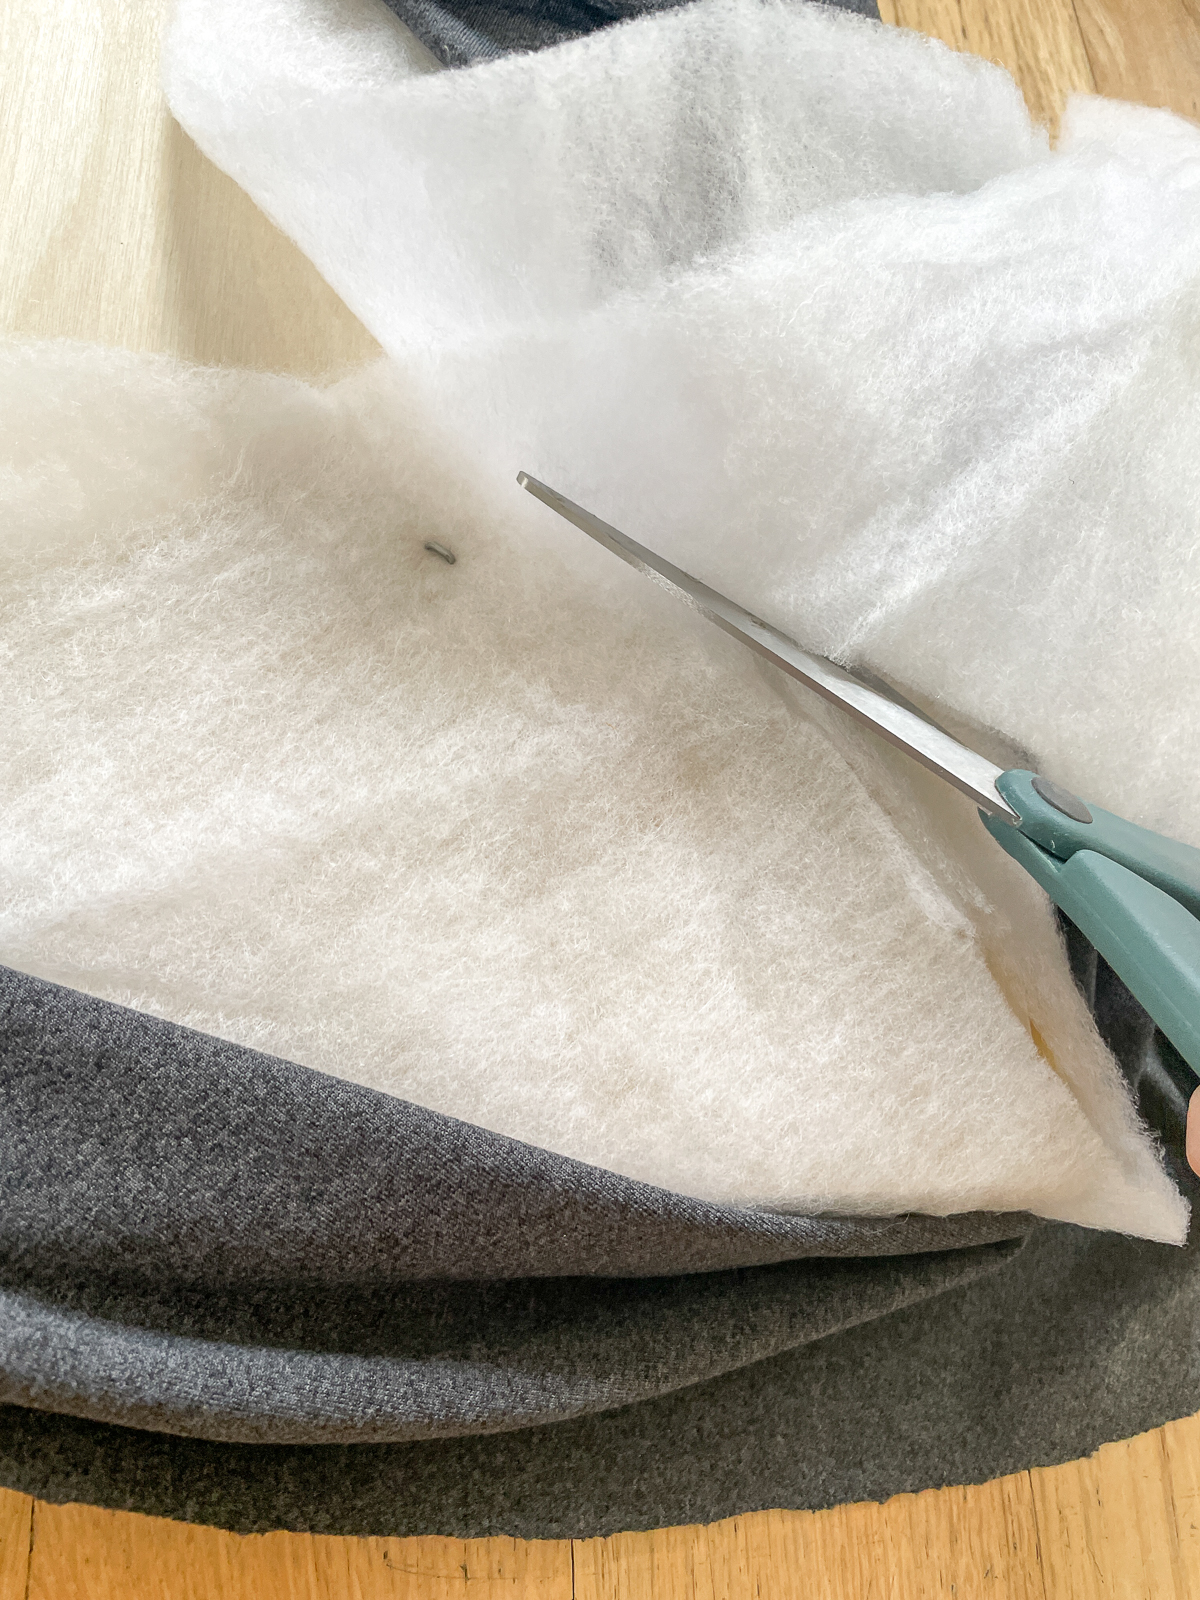
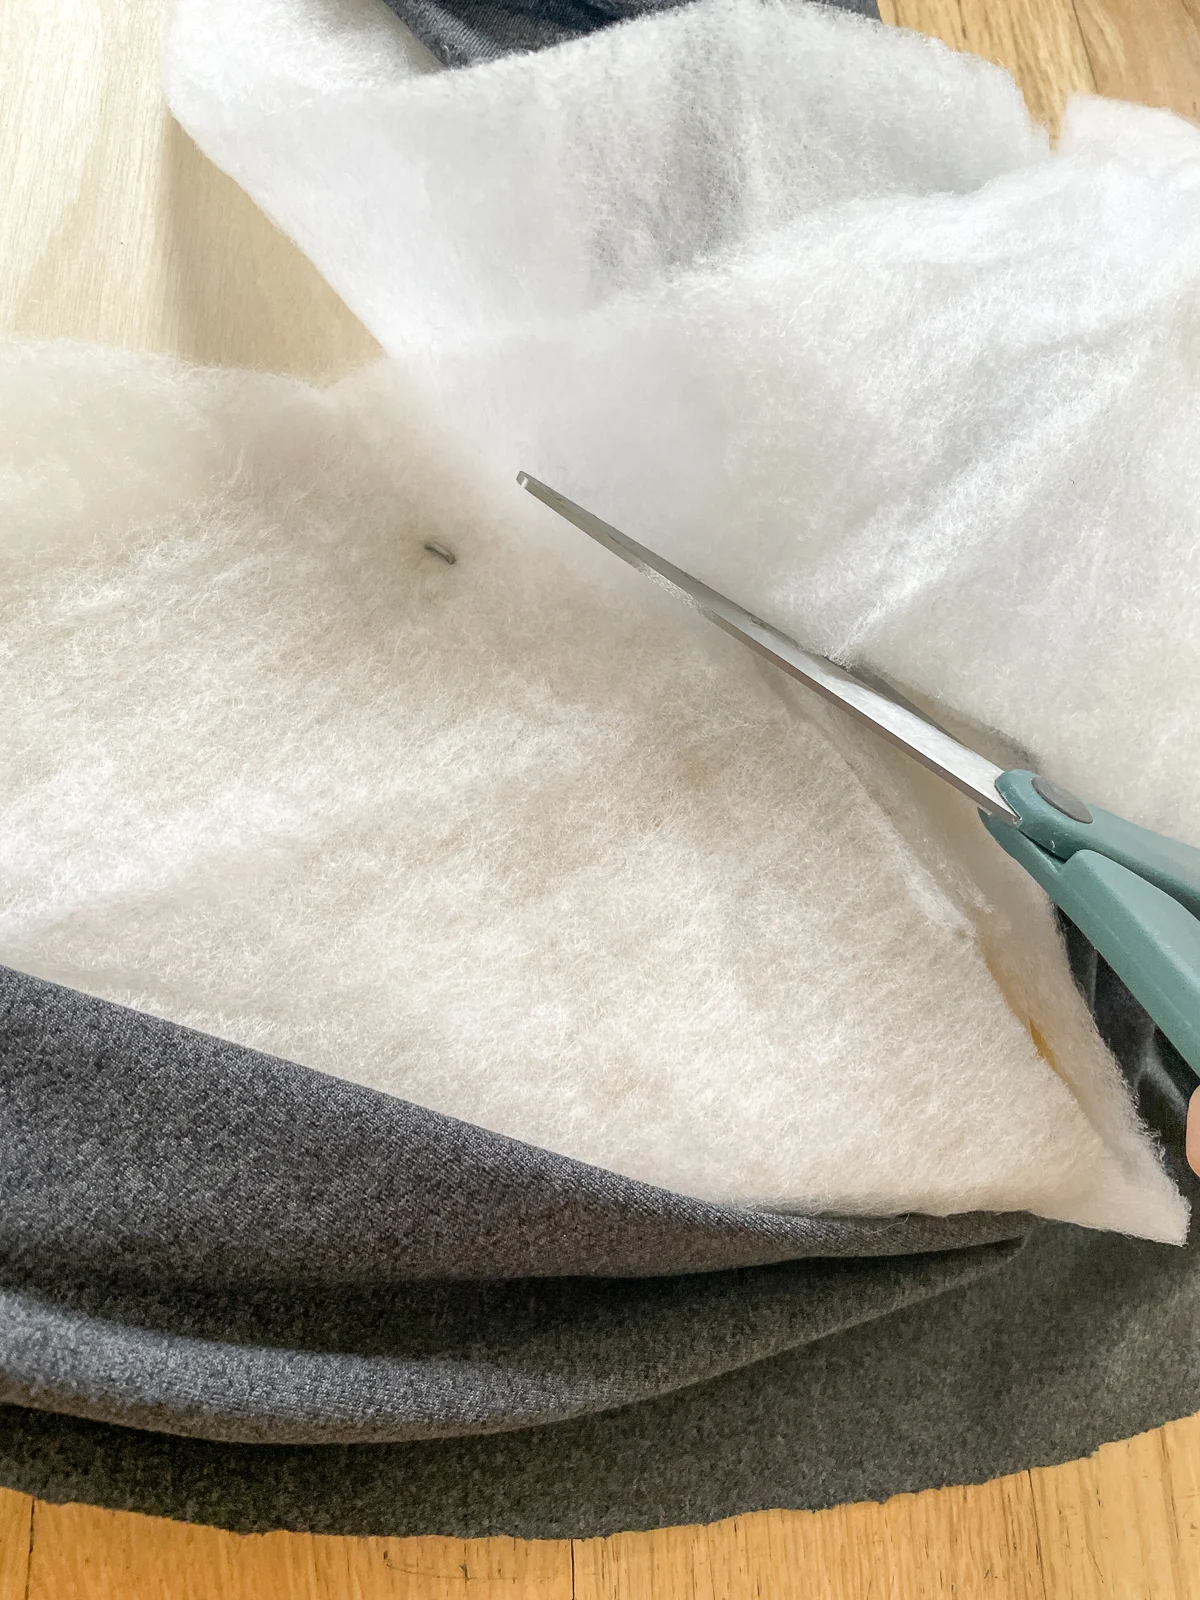
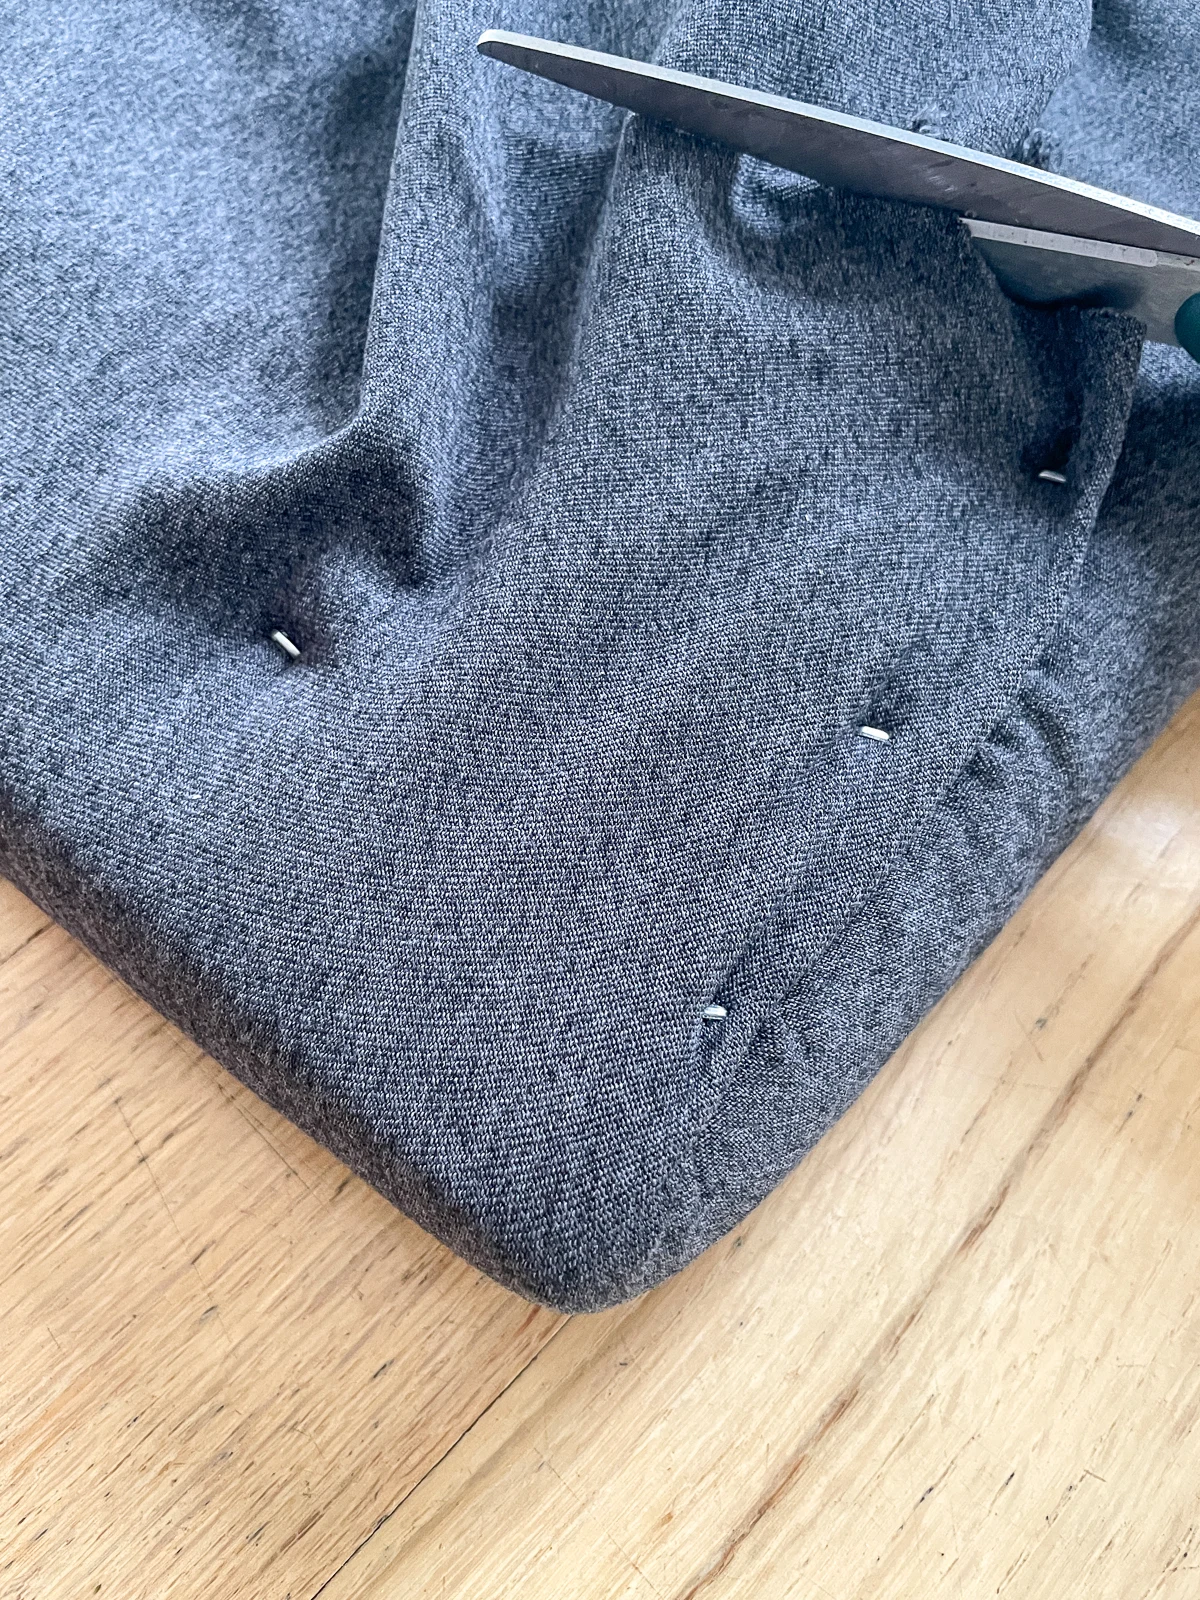
Pinch the batting layer so that it creates a diagonal line from the corner of the plywood towards the middle. Staple close to the fold on either side, then trim away the excess. Then secure the rest of the batting to the plywood, making sure it's only one layer thick.
Neatly fold and staple the corners
Here's where your gift wrapping skills are put to the test! Fleece or fabric with some stretch will be easier to wrap around corners neatly. Stiffer material such as thick upholstery fabric may end up with some ripples, but you can keep adjusting it until you get the look you want!
Start with the pointed corner of the bench cushion. Take the corner of the fabric and wrap it over the corner of the plywood, smoothing out any wrinkles. Don't worry about the edges yet.
Once the corner is taut and looks nice, staple the corner of the fabric to the plywood. I just like to use one staple here, so I have more fabric to work with on the next steps.

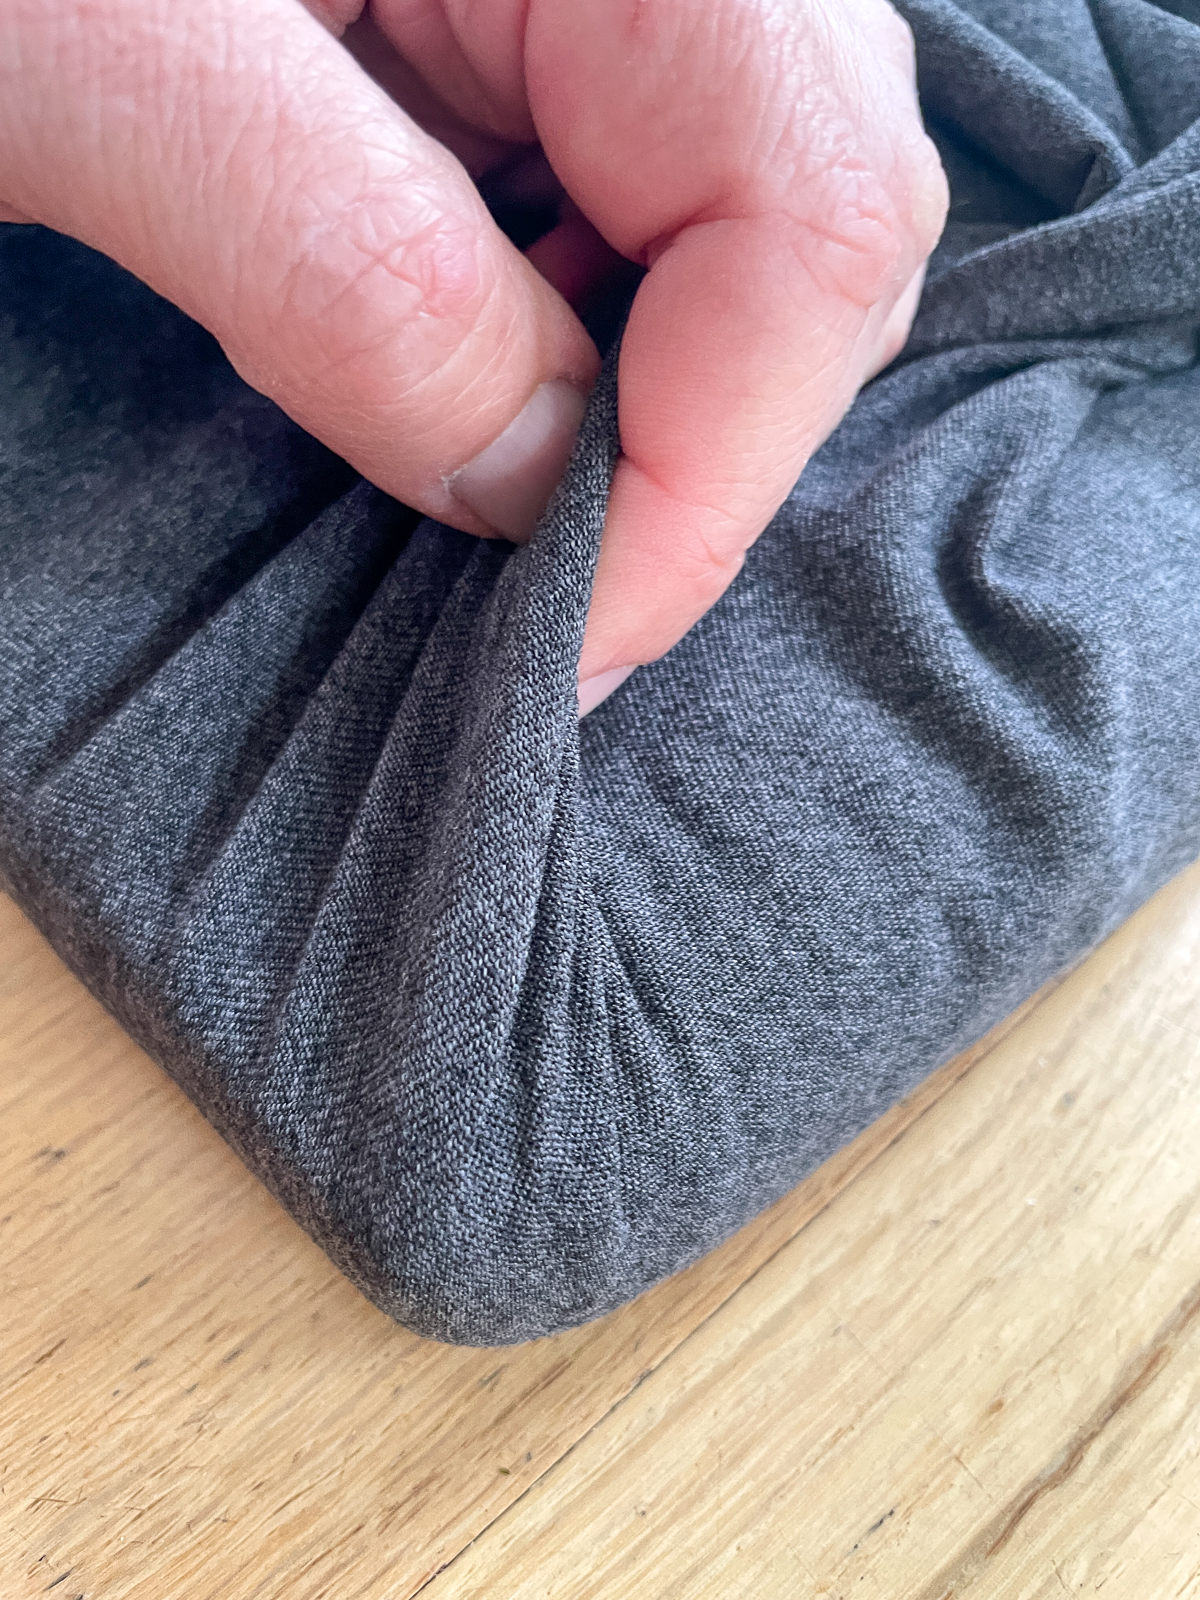
Usually the longest edge of the bench cushion is most visible, so you'll want to spent most of your time making that look as perfect as possible. Fold the fabric so that the crease is set back slightly from the side, then pull it taut.
Remember that no one will see the folds on the bottom, so keep playing around with it until there aren't any ripples along the front edge. When you're happy with it, staple it down at the end of the fold, but leave that fold open.

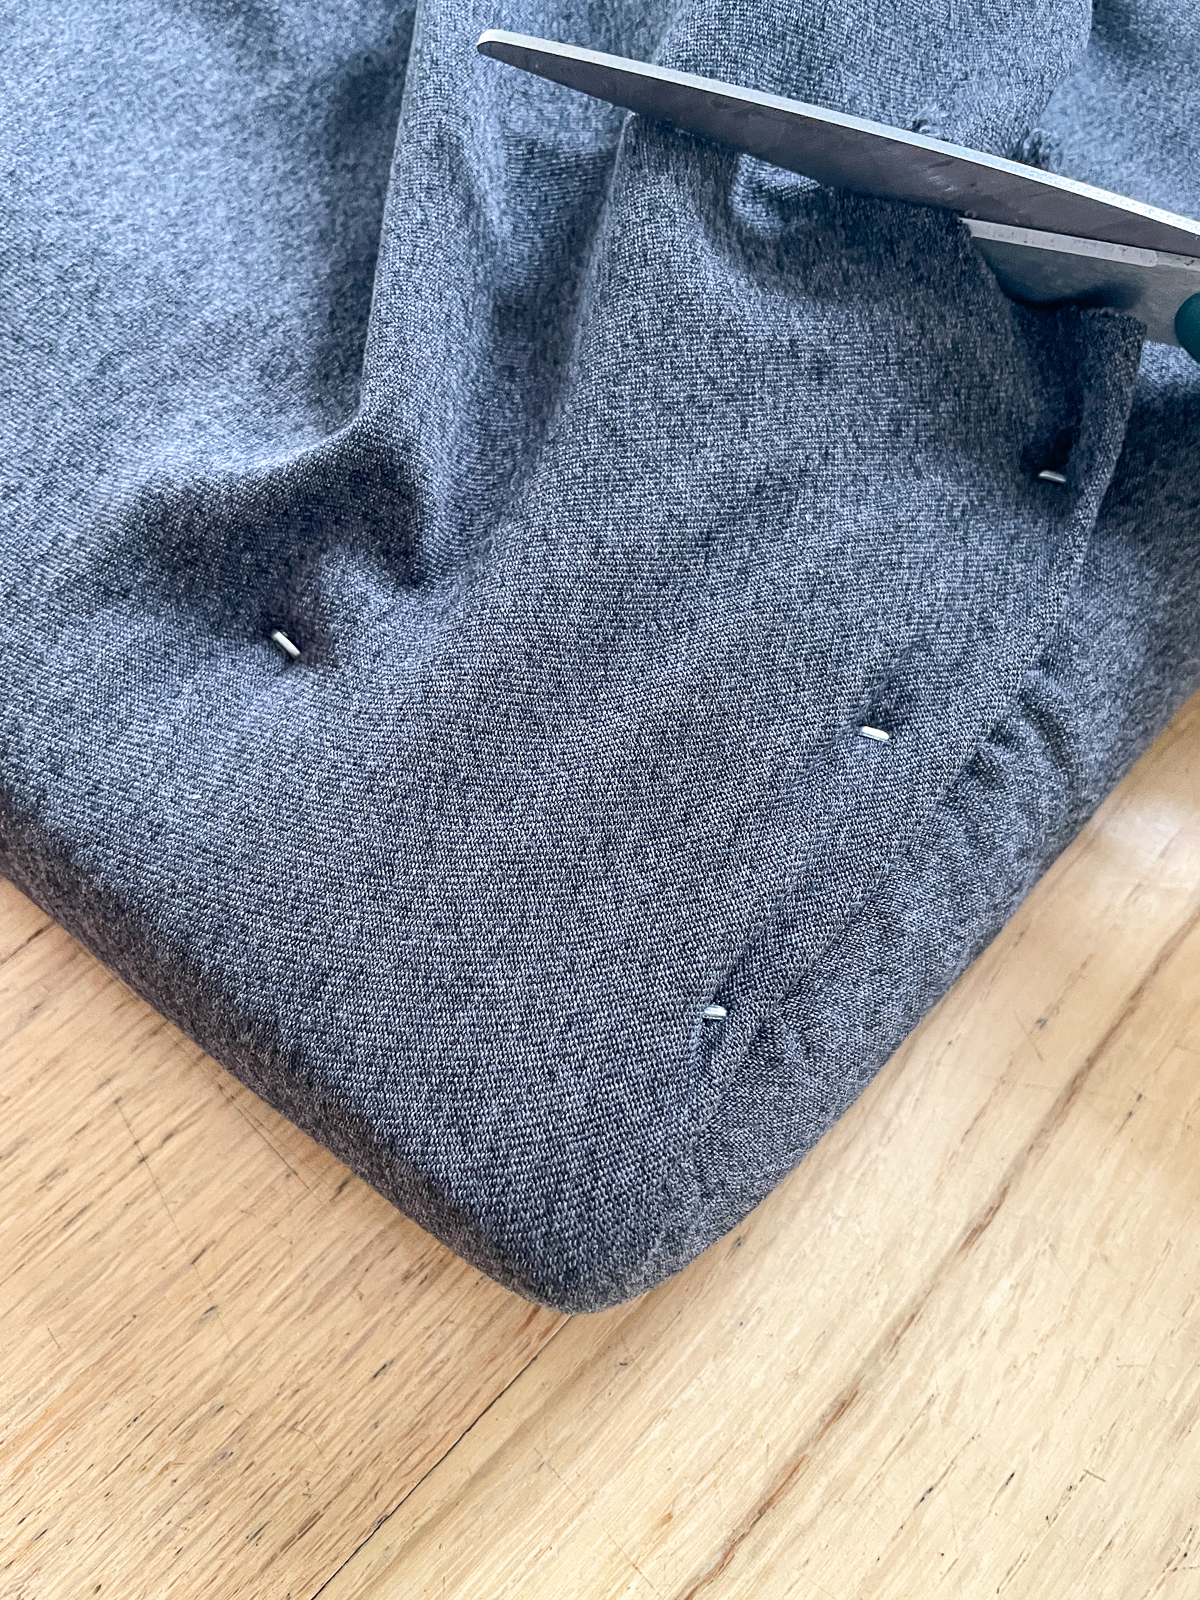
Now you can take the excess from the side and tuck it under that fold. The fold acts as another set of hands, so you can easily hold it taut while you staple.

Staple as you go, closing up the fold while keeping the edges free of ripples and creases. If there's a lot of excess fabric under the fold, you can trim it off before you staple the fold shut.
After the corners have been securely stapled, you can trim away any excess fabric. Use more staples than you think you need, so the fabric doesn't rip with heavy use.
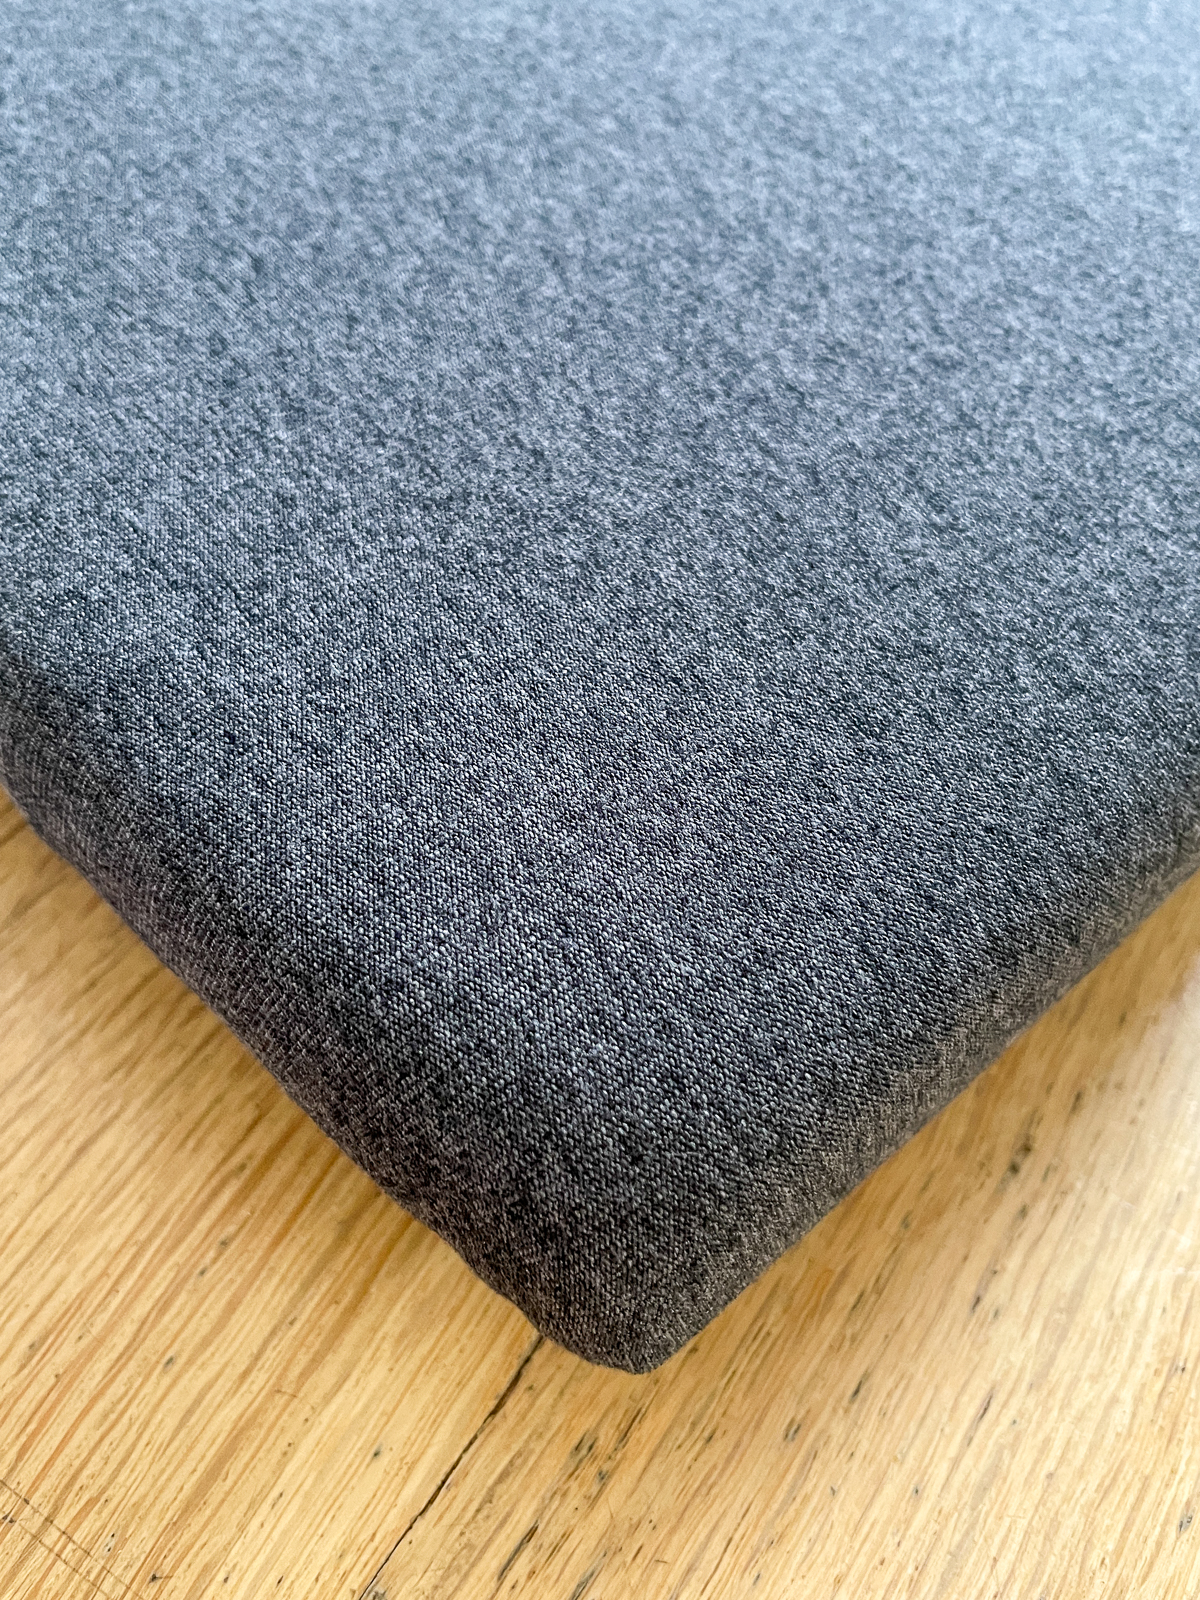
Here's what the corner looks like from the top!

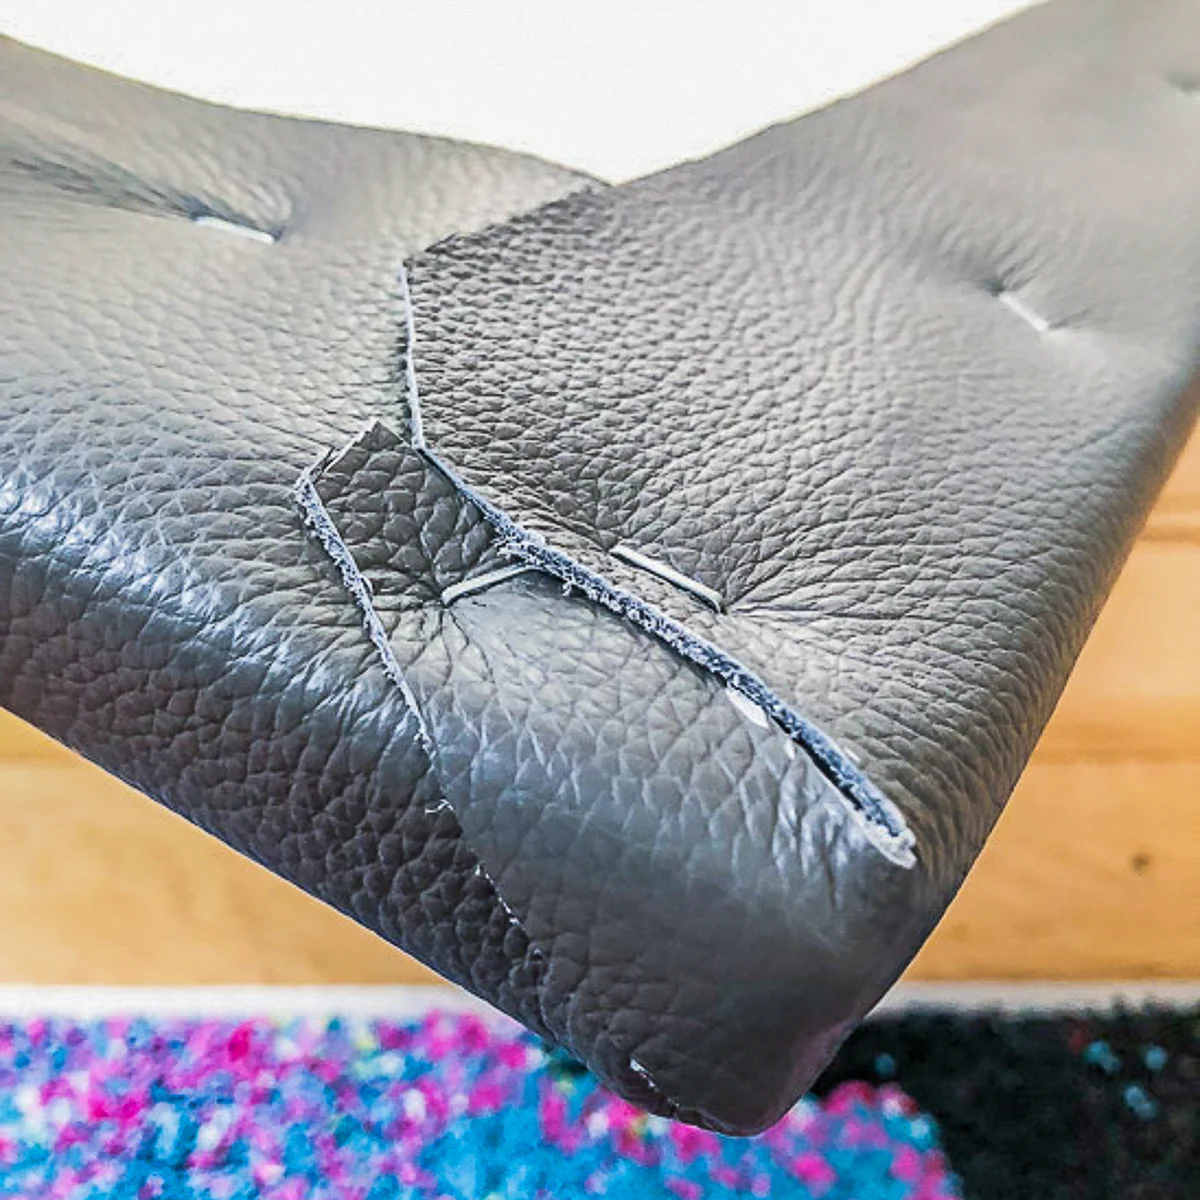
Leather and thicker materials can be trickier to get a clean corner because all those layers get so bulky. However, you can trim away the excess without worrying about it fraying and coming apart later on.
I focused on getting the cleanest long, front edge I could. It took a lot of fiddling to get just right! There was a visible cut edge along the fold, but you can apply Edge Coat for a cleaner look. I didn't bother since that side will be hidden by the bench lip.

Place your DIY cushion on your bench
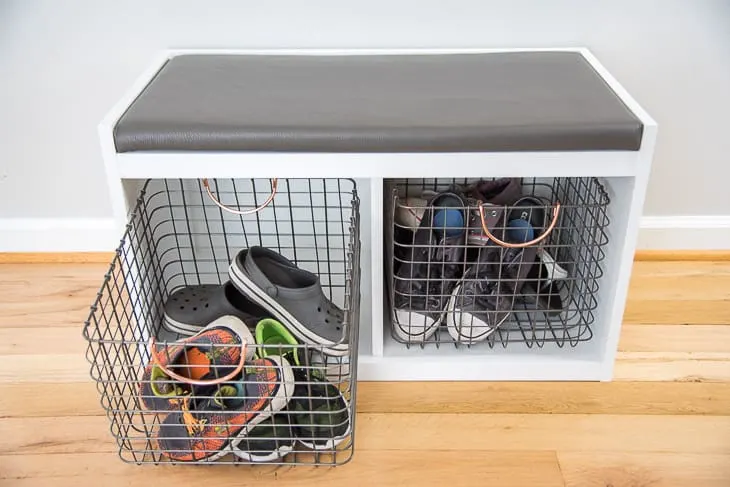
The moment of truth! Slide your cushion onto your bench and see how it fits. The padding of the batting and leather on mine made it a snug fit, so it won't shift or slide out when you stand up.
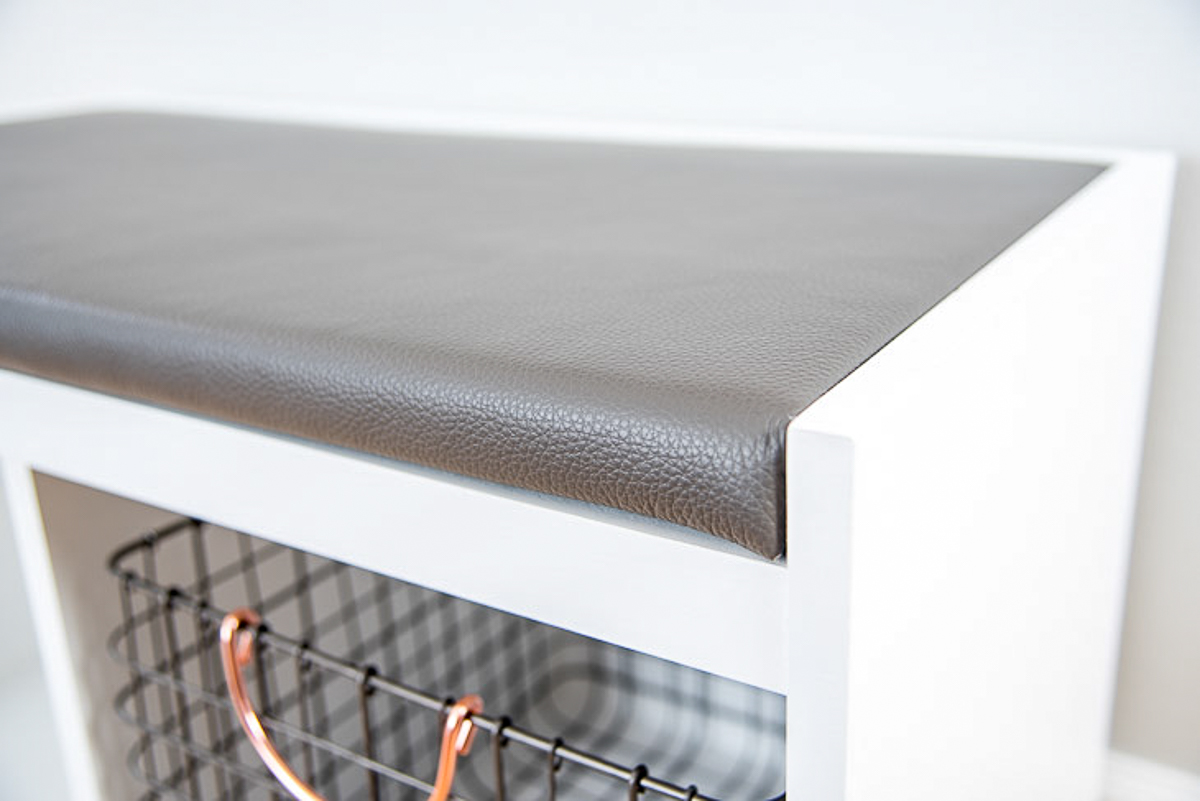

I really like how this shoe storage bench turned out! It's perfect in our entryway, and we finally have a spot to sit and put our shoes on before we head out the door!

Check out these other DIY project ideas!