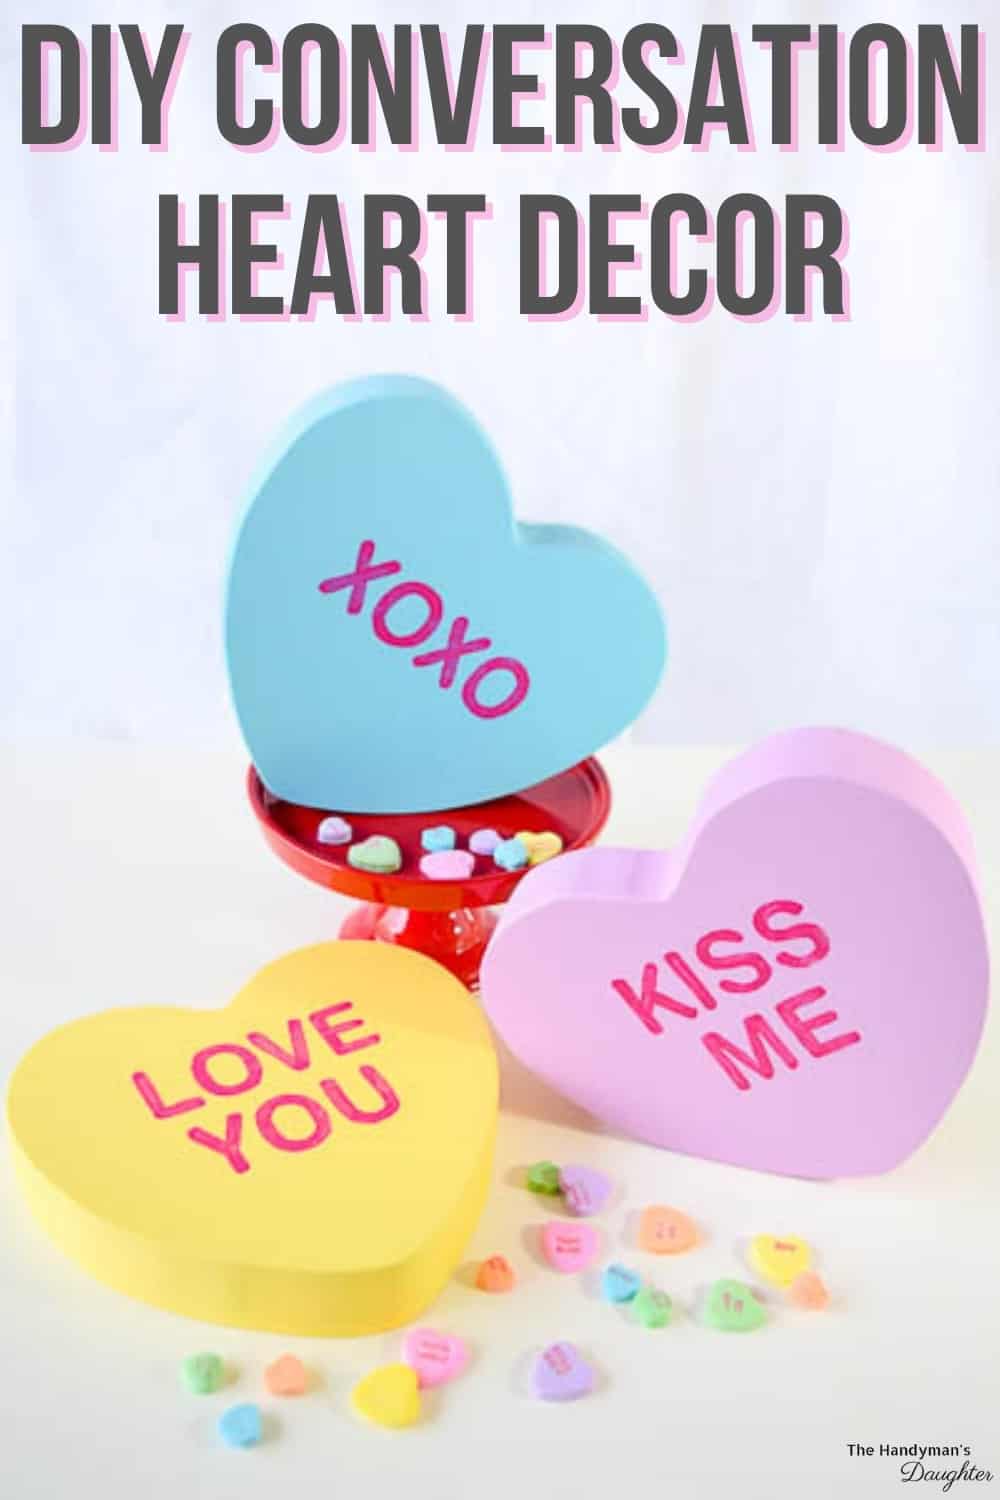
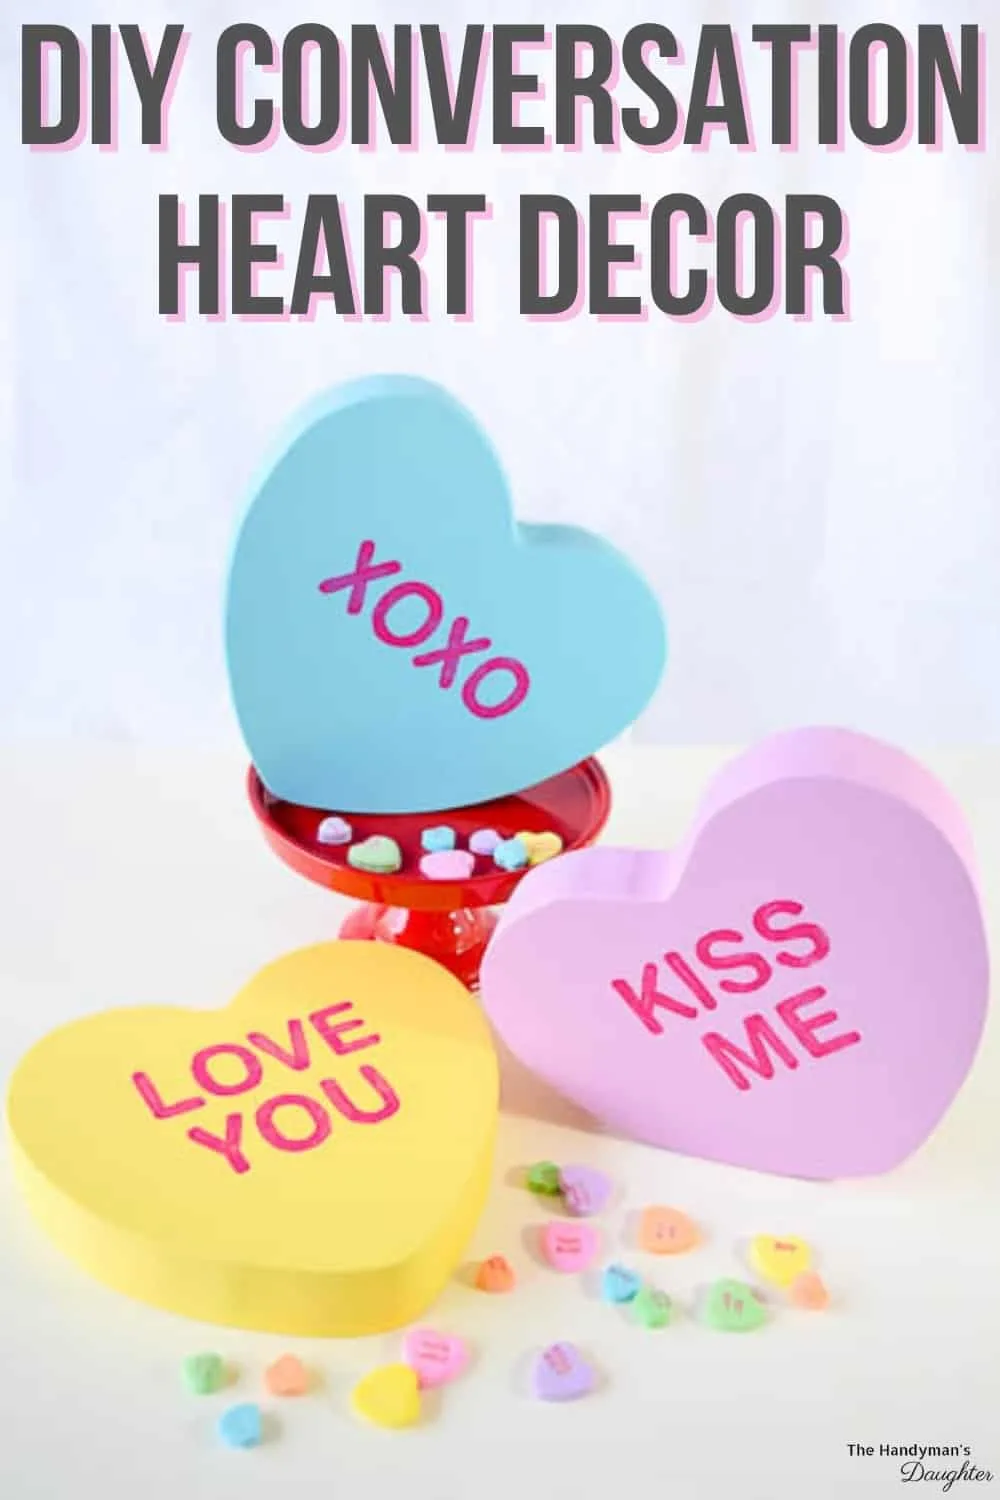
Make these conversation hearts decorations for a sweet touch this Valentine's Day! They're easy to make with scrap wood and a jig saw.
Now that the Christmas decorations have been put away, our living room is looking pretty bare. I like the idea of changing up seasonal decor, but don't want to spend a ton of money every time the calendar flips.
When I was cleaning up the workshop, I unearthed a stack of 2x12 end cuts that got the wheels in my head turning. The chunky wood is perfect for creating giant conversation hearts decor for Valentine's Day!
This post contains affiliate links for your convenience. Purchases made through these links may earn me a small commission at no additional cost to you. Please visit my disclosures page for more information.
Materials needed for conversation hearts decor
- Scrap piece of 2x12 wood (you could use 2x8 or 2x10 lumber as well)
- Jig saw or scroll saw
- Sandpaper
- Sample sizes of paint
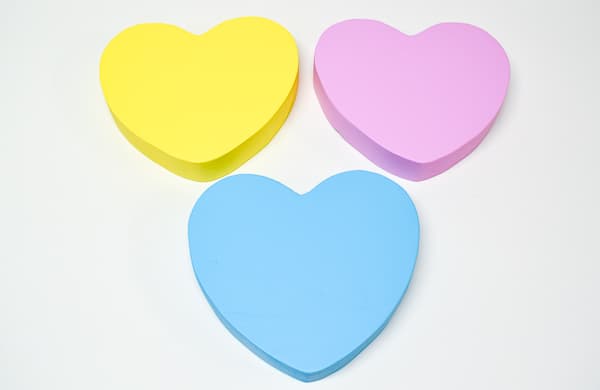
- I color matched the yellow candies to Spirited Yellow, the blue ones to Paradise Sky and the pink to BFF. The dark pink lettering is Diva Glam.
- Paint brush
- Artist brush (for the lettering)
- Heart template
How to make Wooden conversation hearts decor
Trace the Template
This template by Sandy Toes and Popsicles is the perfect size and shape for these giant conversation hearts. I printed off my favorite sayings and cut them out. Three hearts fit on a 22 inch 2x12 board, but you could go as narrow as a 2x8.
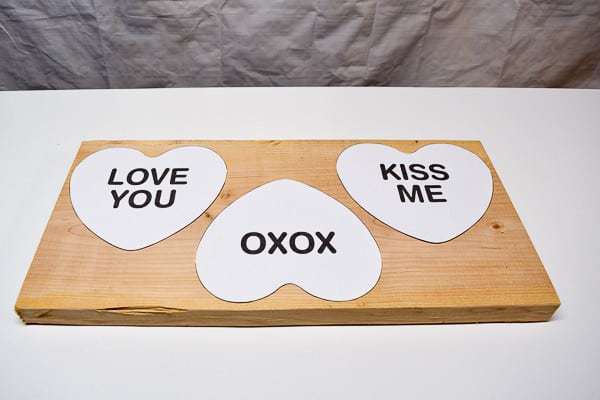

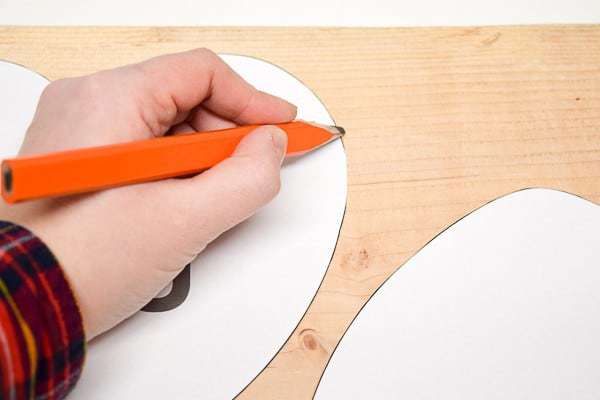
Trace around the outside of the hearts with a pencil. Keep the templates on hand, because you'll need them for the lettering later on.

Cut out the hearts
Cut the three hearts apart first to make them easier to work with. I used my miter saw and moved the miter angle around until I found a spot where I wouldn't cut through any of the hearts.
Now slowly cut out the hearts with your jig saw or scroll saw. I recently picked up a scroll saw to add to my ever growing collection of tools, and it was perfect for this. If you're using a jig saw, you'll need to clamp the wood to your workbench to keep it still while you cut around your traced outline.
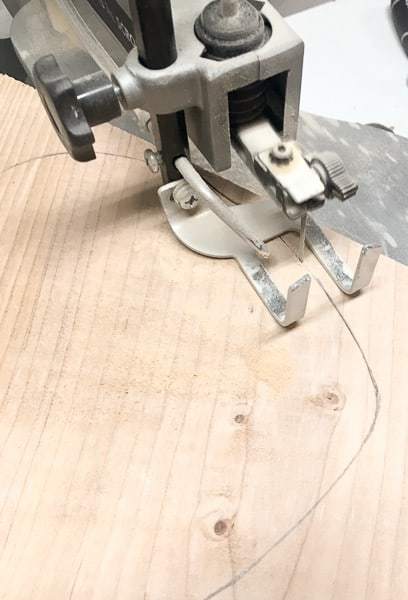
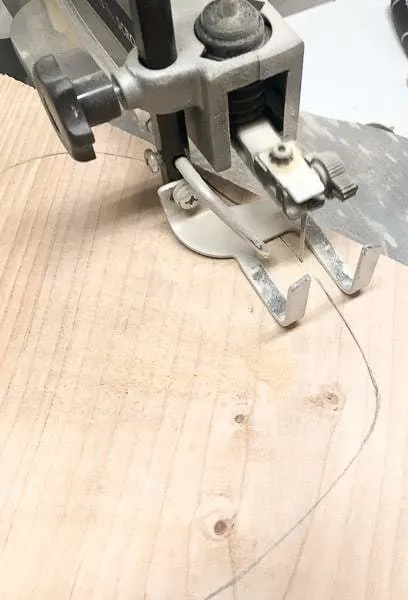
You can see here that the edges came out a bit wavy. Sand the sides and top smooth, and round off the top edge corners. I used 150 grit sandpaper and a random orbit sander for this step.
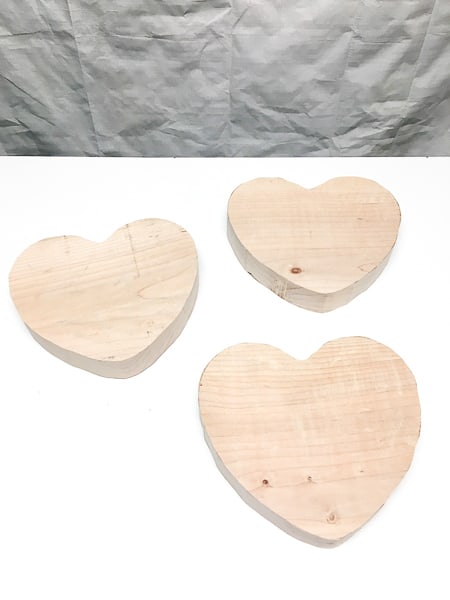

Paint the hearts
Remove all the sawdust from the hearts, then break out the paint brush! As soon as the paint hit the wood, I could really start to see them as giant conversation hearts and not just heart-shaped blocks of wood.

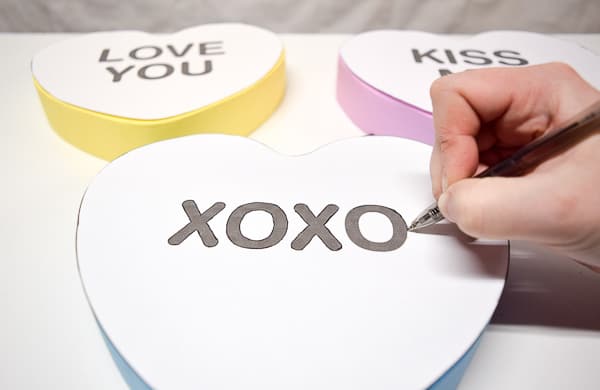
Once the paint is dry, place the paper templates on top of the painted hearts and trace around the outside of the letters with a ballpoint pen. Make sure to press hard enough to make an indentation in the wood, but not so hard that you rip through the paper and write on it!
You could also use carbon paper underneath to make it easier to see the transferred lettering. You can see how I did this on my Halloween tombstone epitaphs.

Remove the paper and paint inside the lines on the wood with the dark pink color. The lettering on the actual candies isn't exactly crystal clear, so it's ok to make it a little messy! I'm a perfectionist, so I cleaned up the edges of the letters with a hard bristled artist brush.
One coat of the dark pink paint allows a little of the base color to show through to give it that stamped letter look.
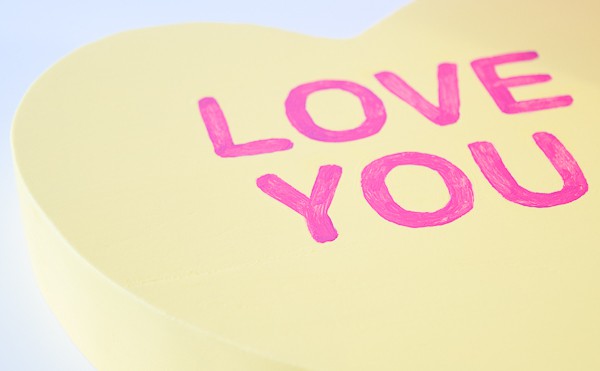
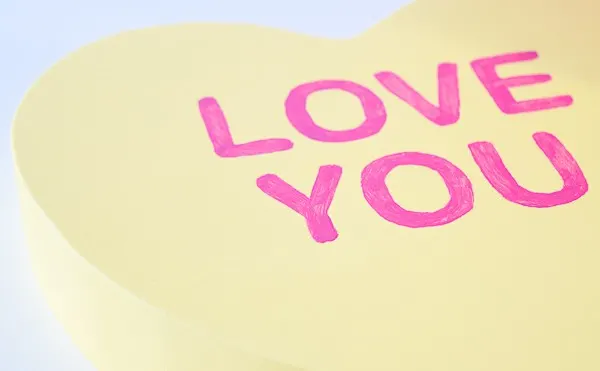
Now your giant conversation hearts decor looks good enough to eat!


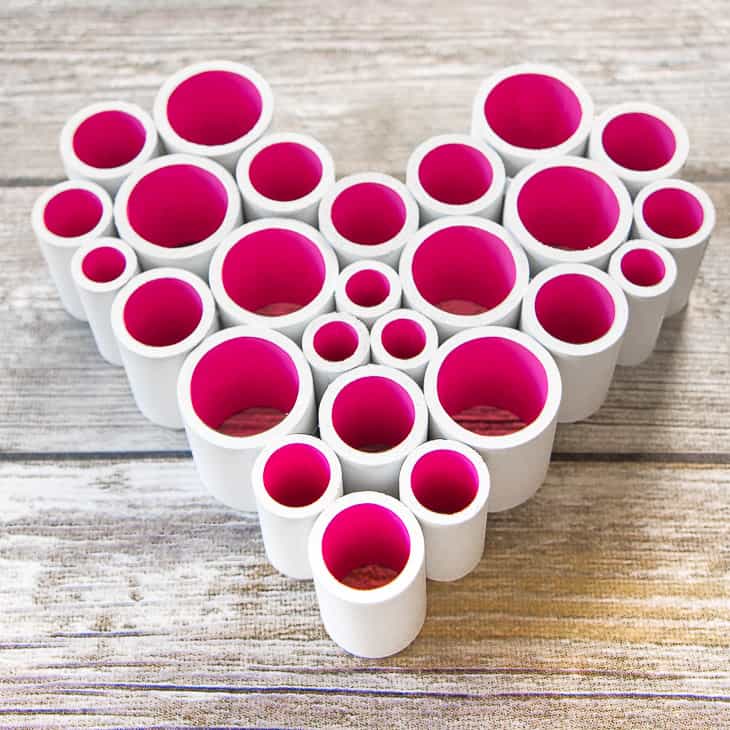
Want more Valentine's Day decor ideas? Check out this cute PVC pipe heart project!

Or this laser cut rose bouquet!

Sherry
Tuesday 7th of February 2017
These are super cute! Love that they look like the candy hearts. Thanks for sharing at Funtastic Friday.
Susanne
Monday 23rd of January 2017
These are super cute!! Thank you for sharing this great project and tutorial at TaDa Thursday!
Leanna
Thursday 19th of January 2017
These are so cute and fun. Pinning to my Valentines board. Great post, thanks for sharing.
Pamela
Thursday 19th of January 2017
These are so very cute. Pinning! Thanks for stopping by Ta Da Thursday!
Janine
Thursday 19th of January 2017
Vineta,
These look amazing! I totally wish they were the real candy since they look so real!!! Great job and project!