Boost your productivity in the workshop with this extended miter saw fence with side supports, and add the Kreg stop block track system for identical cuts every time!
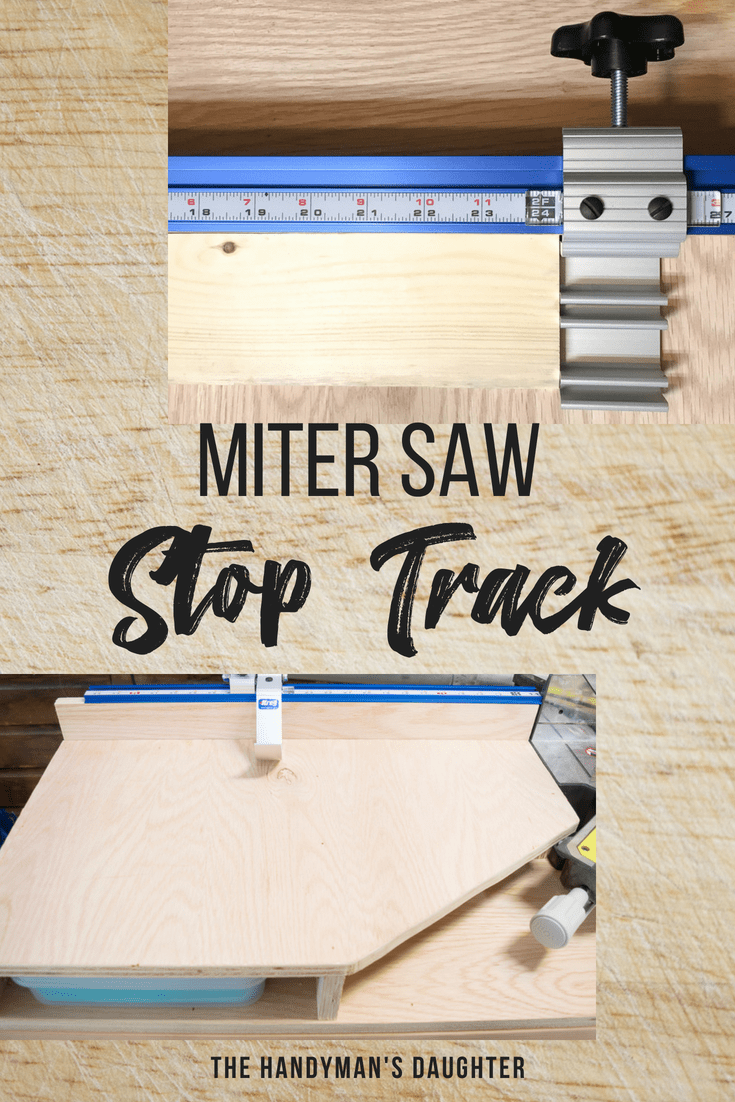
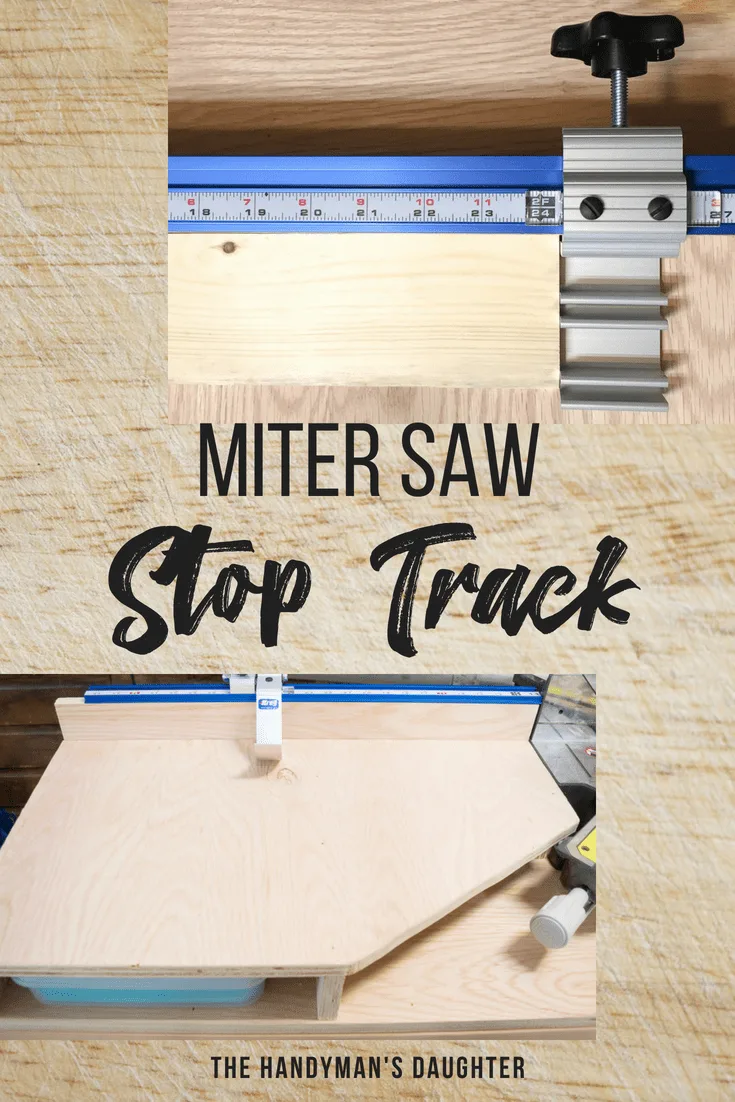
I'm on a quest to create the perfect miter saw stand, and this week's project got me one step closer! I built an extended miter saw fence and side supports to make handling long pieces of lumber a breeze. And the Kreg Stop Trak I added to the fence is a dream come true when it comes to making multiple cuts. Let's get building!
This post is sponsored by Kreg Tools and contains affiliate links for your convenience. Purchases made through these links may earn me a small commission at no additional cost to you. You can read more about how this site earns money on my disclosures page.
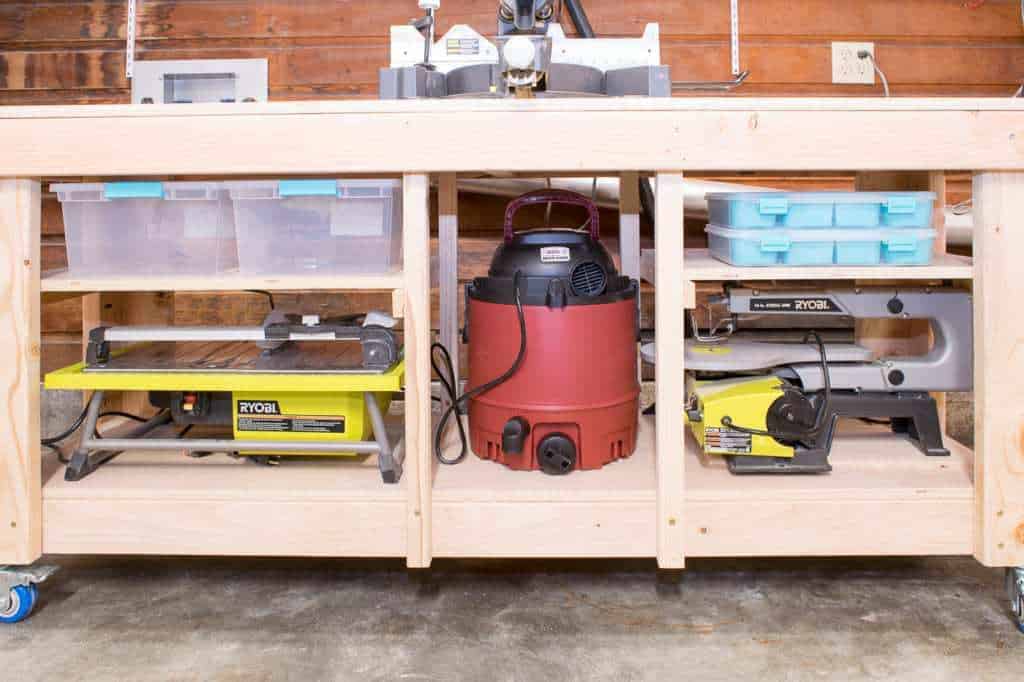
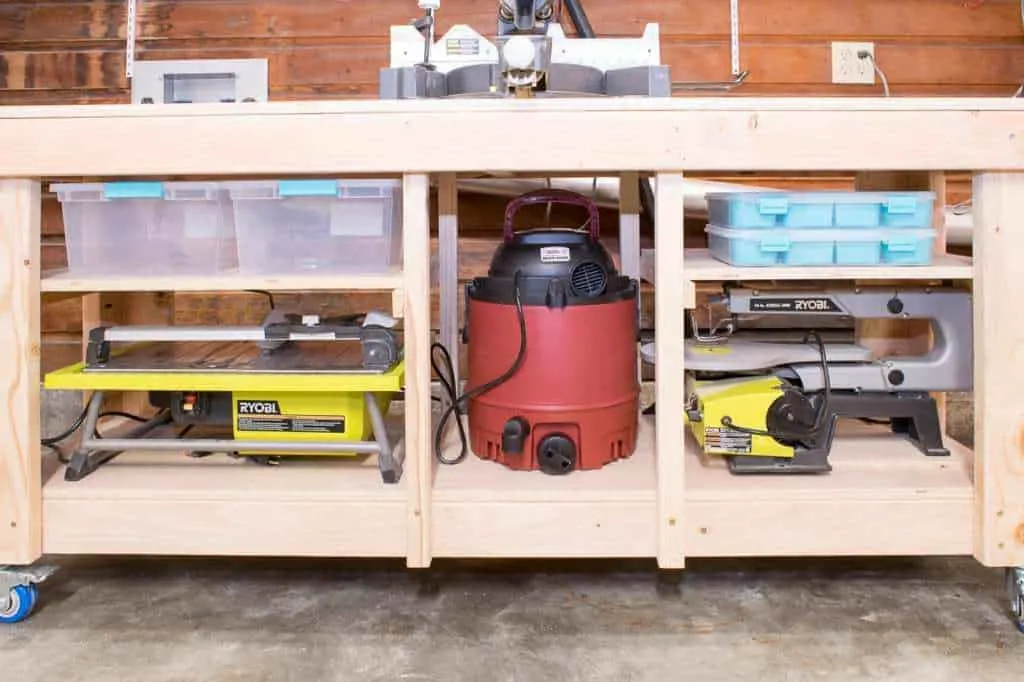
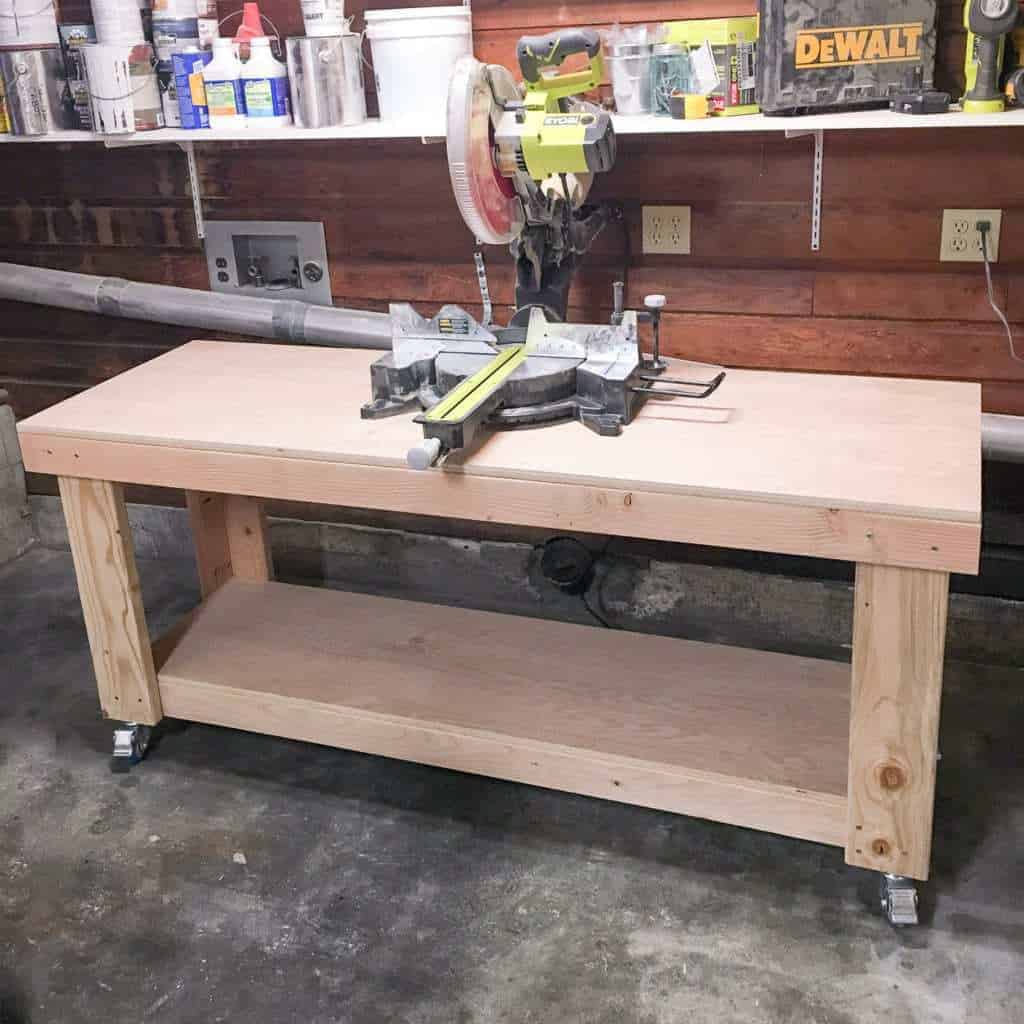
My miter saw stand is already looking pretty good. It has plenty of storage underneath, thanks to the custom shelves I installed. Now I want to boost the productivity of the miter saw itself!
There are several different ways to add a stop block to your miter saw set up. You don't even need a stand to use one! I go into more detail about the different types of miter saw stop block systems here.
UPDATE: I recently changed this area of the workshop to a new miter saw station with space for four major power tools! You can also find more options for DIY miter saw tables here!
Materials for Miter Saw Fence and Stop Block Track
- 2' x 4' sheet of ¾" plywood
- 1 ¼" pocket hole screws
- Kreg Jig (I prefer the K5, but you could use the R3 as well)
- Brad nails
- I use the Ryobi Airstrike brad nailer, although you could just use a hammer (but it's a lot less fun!)
- Kreg Trak and Stops kit
- Drill
- Miter saw
- Jig saw
Miter Saw Fence and Supports
Don't forget your safety gear when woodworking! Here are my recommendations for safety glasses and ear protection. No excuses!
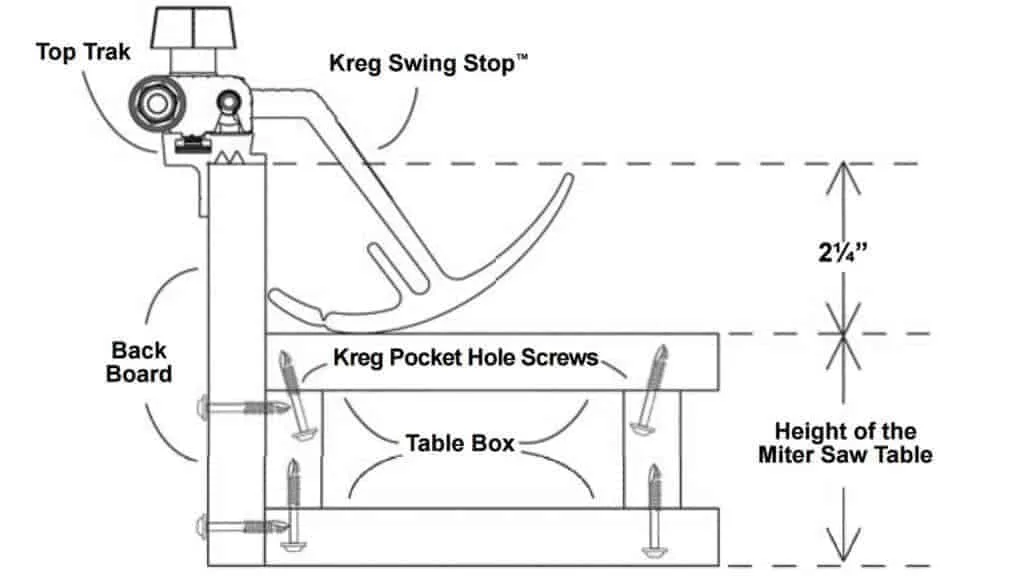
If you are planning to use the Kreg Trak and Stops kit, you'll need to do a bit of math before you start building. The miter saw fence needs to be 2 ¼" taller than the tabletop, which should be the same height as your miter saw. If that didn't make sense, this diagram from Kreg Tool should help!

The Kreg Trak comes in 2 foot lengths, and my miter saw stand is 6 feet long. If I position my miter saw in the center of the stand, I have about 25" on either side. Perfect! Attach your miter saw to the bench with large screws or carriage bolts.
My Ryobi 12" miter saw is 3 ½" tall, so the extended fence needed to be 5 ¾". Your miter saw might be different, so measure accordingly! I cut a strip of ¾" plywood to that width with my table saw, then cut it into two 25" pieces.
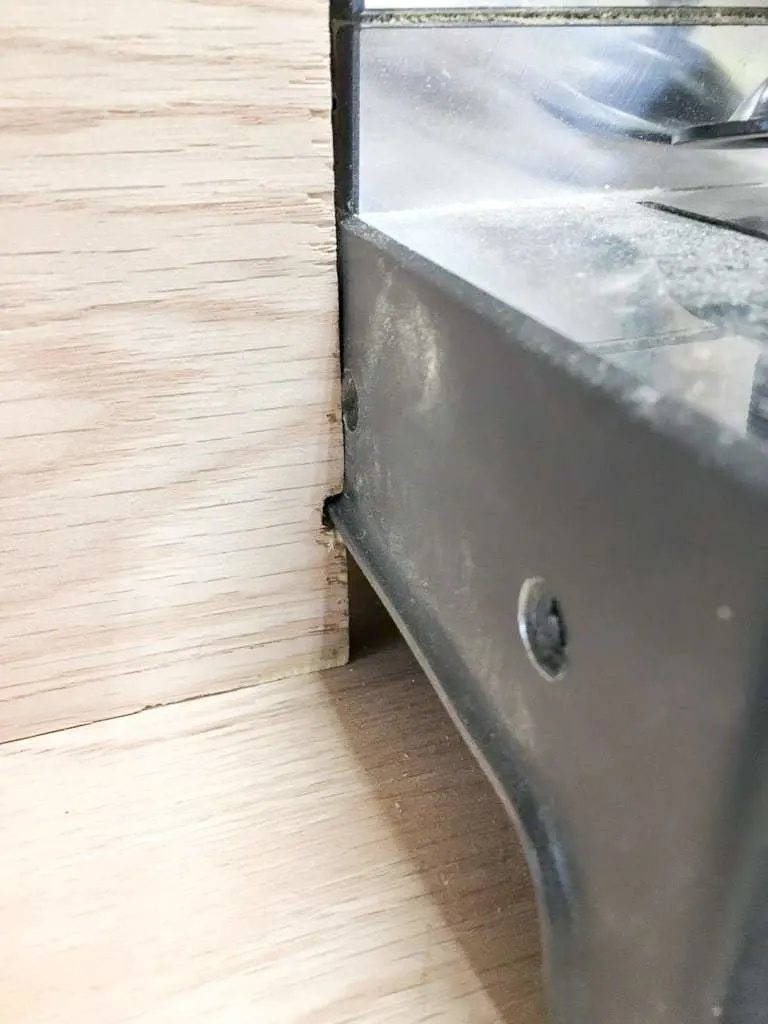
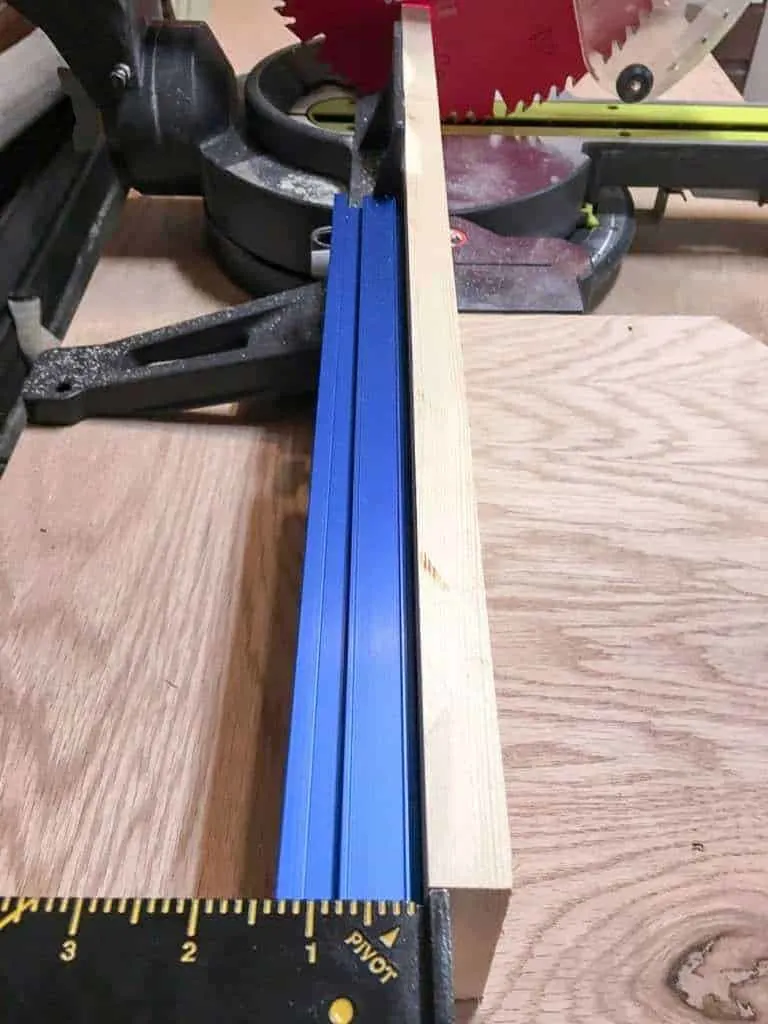
This little bump in the side of the miter saw made a gap between two fences. I cut a notch to fit around it so they sit a bit closer.

Drill pocket holes along one edge of the fence pieces and line it up with the fence on your miter saw.
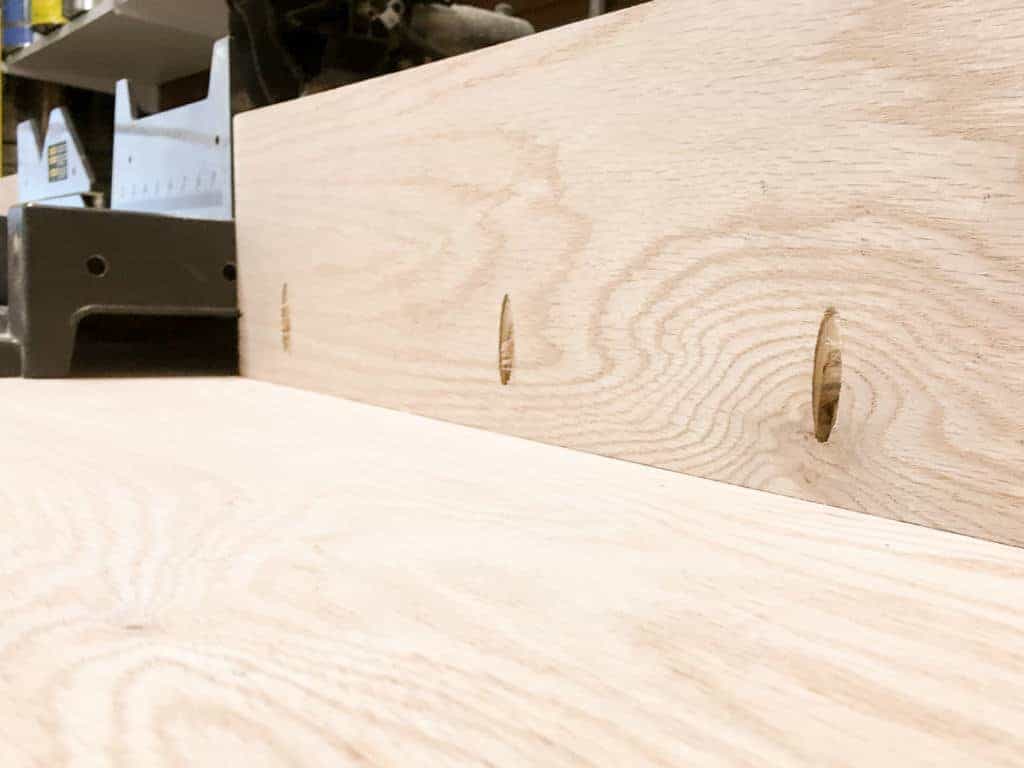

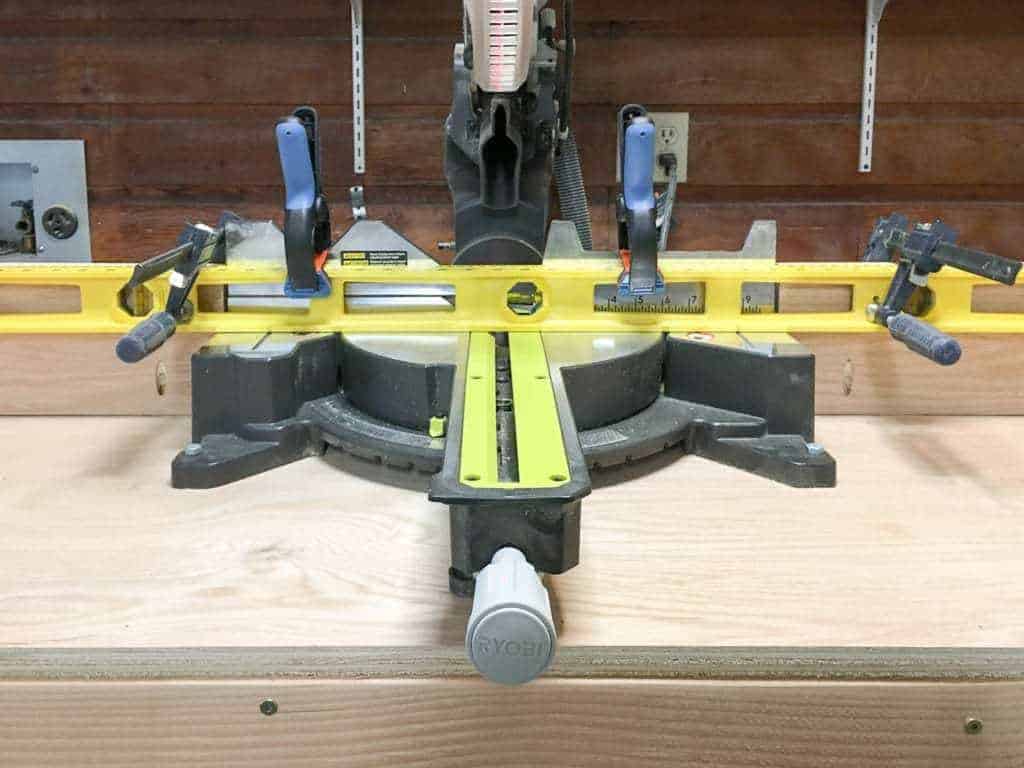
It's really important to make sure that your extended fence aligns perfectly with your miter saw fence. I clamped a long level to both fences, then screwed it into place.

Now it's time for some more math! Take the height of your miter saw, and subtract the thickness of the plywood you're using for the top. Every 16th of an inch counts! My plywood was actually 11/16", so I had to cut all my supports again when the top didn't line up with the miter saw base perfectly!
Next, measure the distance from the fence to the front of the miter saw bench. Mine is 14 ¾". Make sure to take into account the angles your miter saw can cut. Mine can go beyond 45 degrees to the right, but not the left. I cut four pieces at 14 ¾", one piece at 5 ½" and another at 7". Drill pocket holes along one side and attach to the miter saw bench.

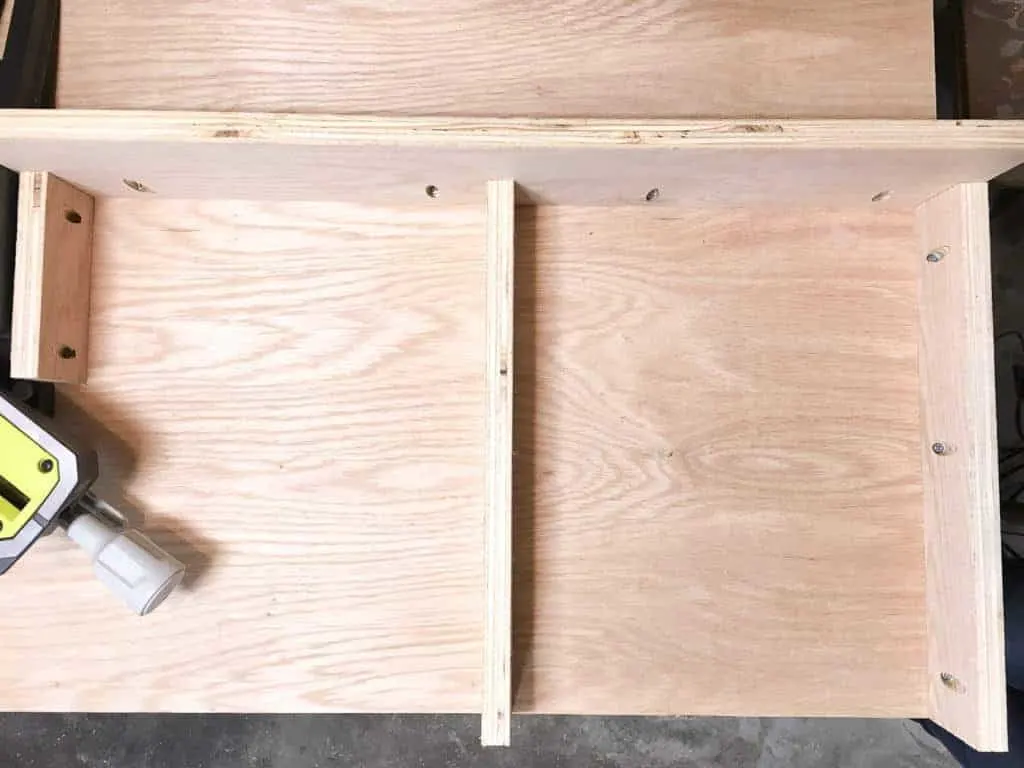
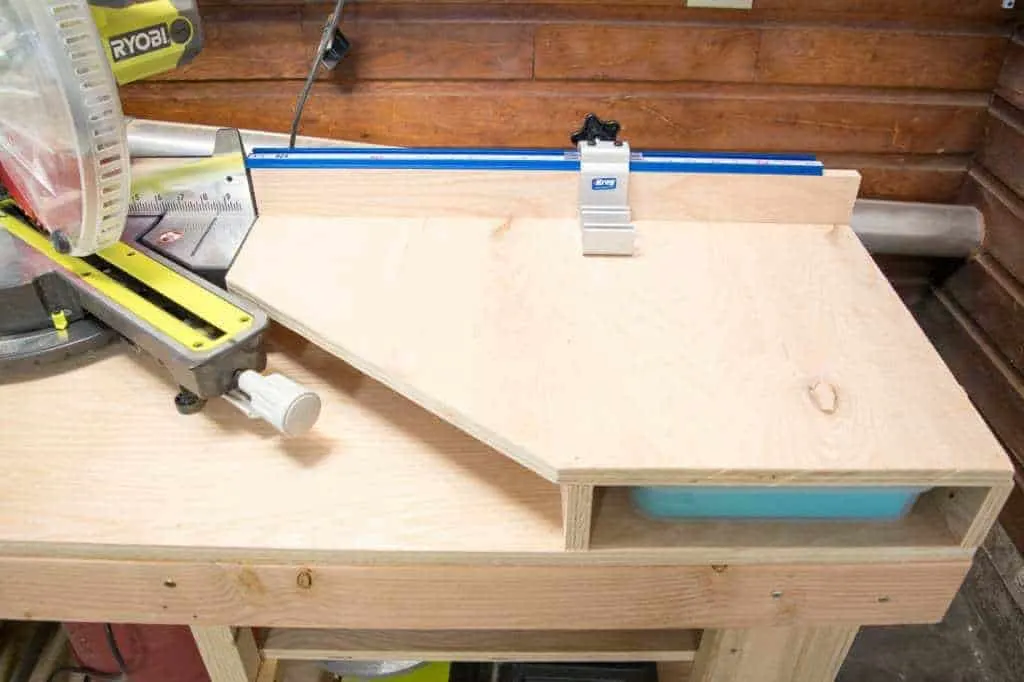
Cut the plywood top to fit each side. Mine are 25" in the back, then angled to accommodate the swing of the miter saw arm.

Nail the top to the supports with brad nails. I love my Ryobi Airstrike brad nailer for this step!

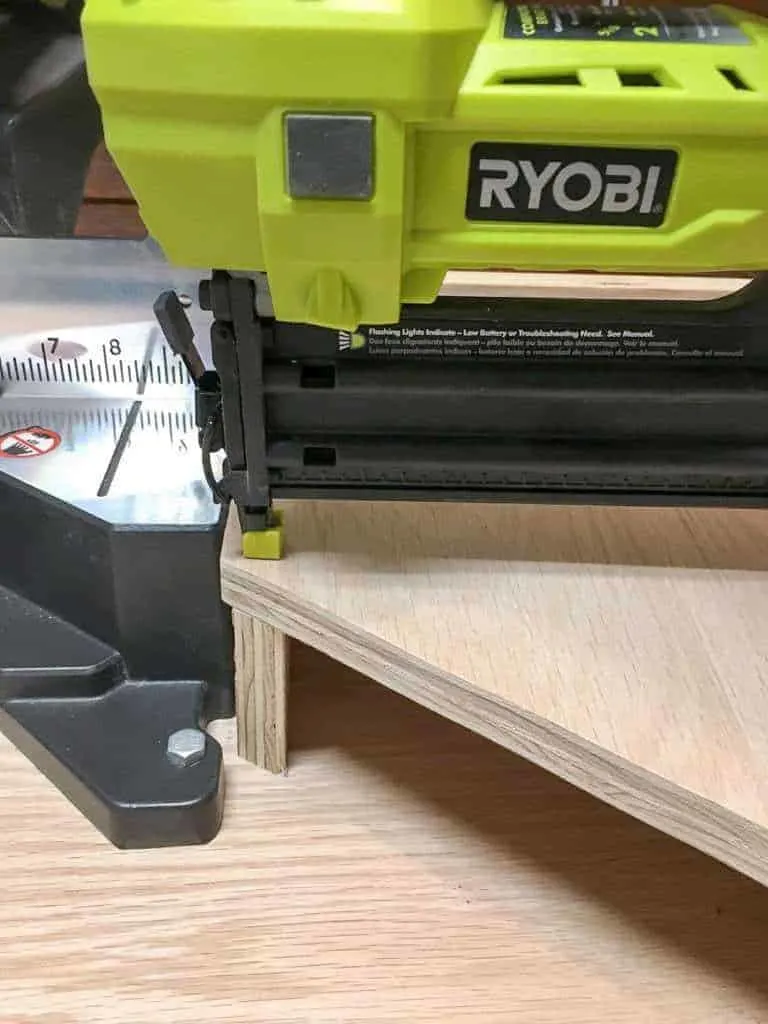
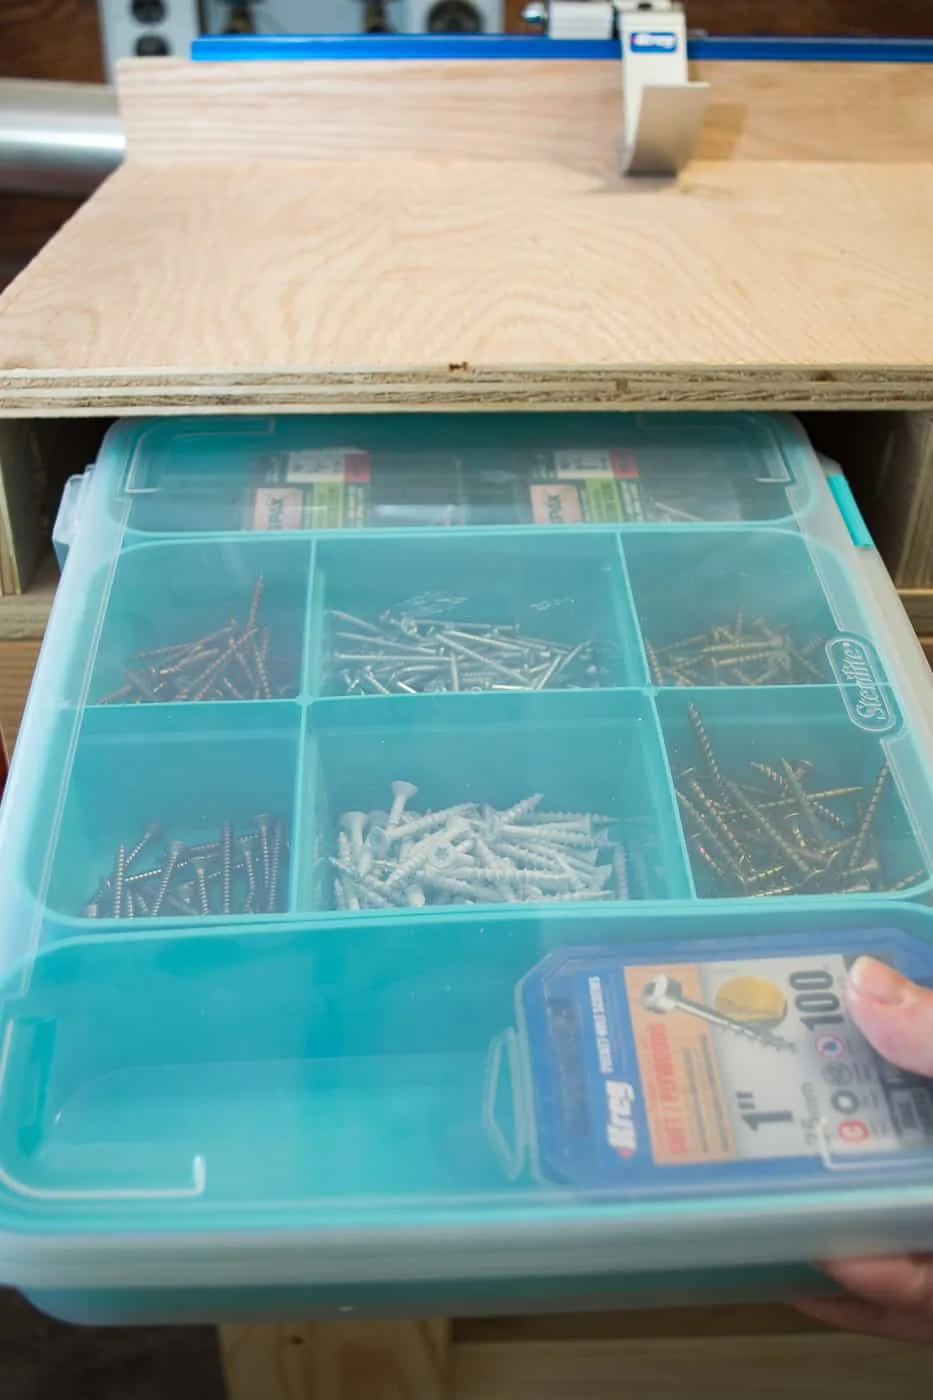
If you just wanted additional support and a longer fence for your miter saw, you're done at this point! Load up the gap underneath with storage containers like this one. It fits perfectly, and is great for all those random screws and bits laying around the workshop!

But if you want to get the most out of your miter saw stand, I highly recommend the Kreg Trak and Stop kit. Before installing mine, I would get so frustrated when I made multiple cuts that weren't quite identical. Now I can whip out a stack of pieces that are exactly the same length without having to hunt down my tape measure once!
How to Install the Kreg Stop block track kit
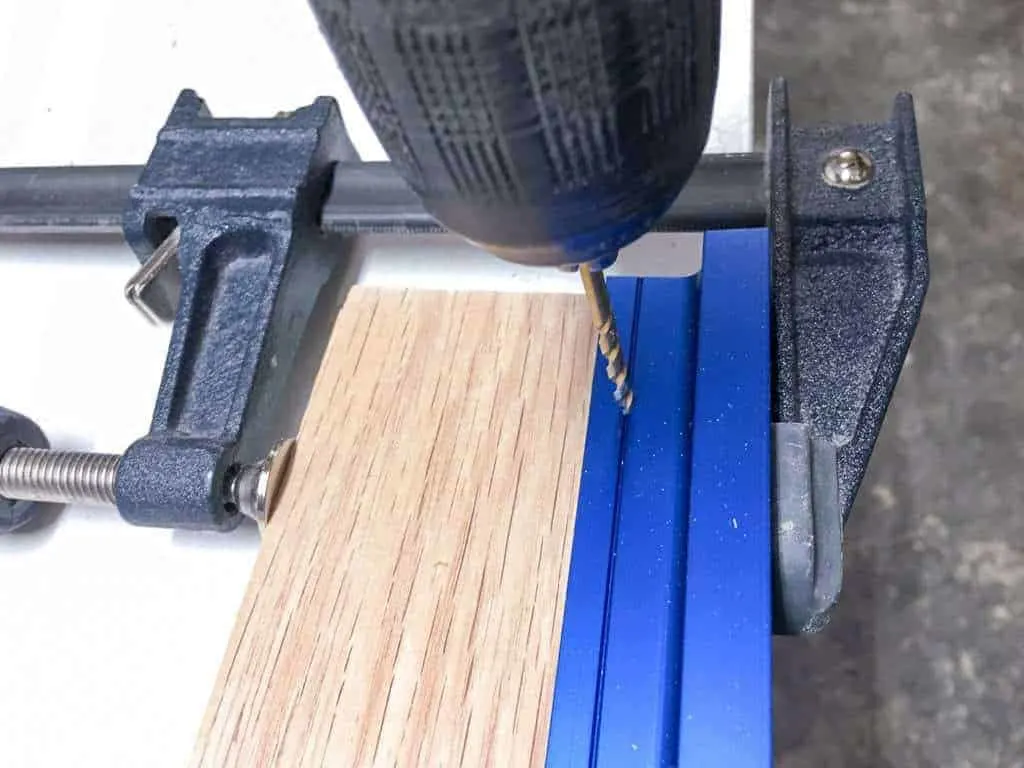
Start by preparing the top track for installation. For some reason, it doesn't come with pre-drilled holes in the metal. I clamped each piece to a sacrificial board and drilled four holes along this line.

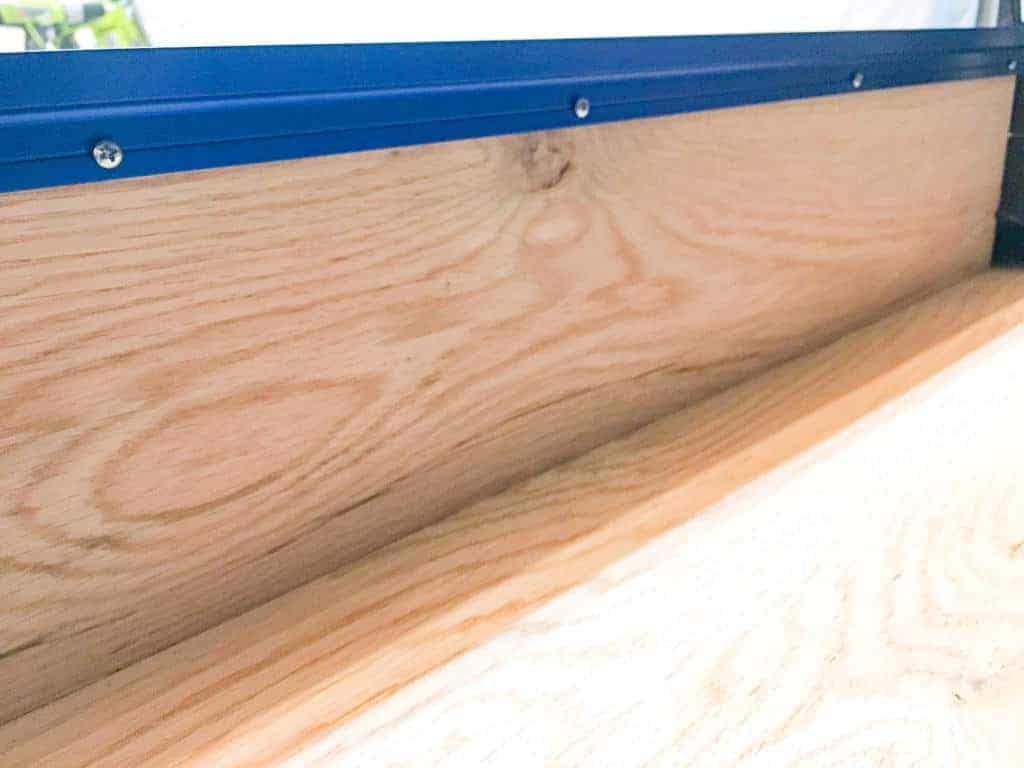
Then attach the top track to the back of your new fence with the included screws.

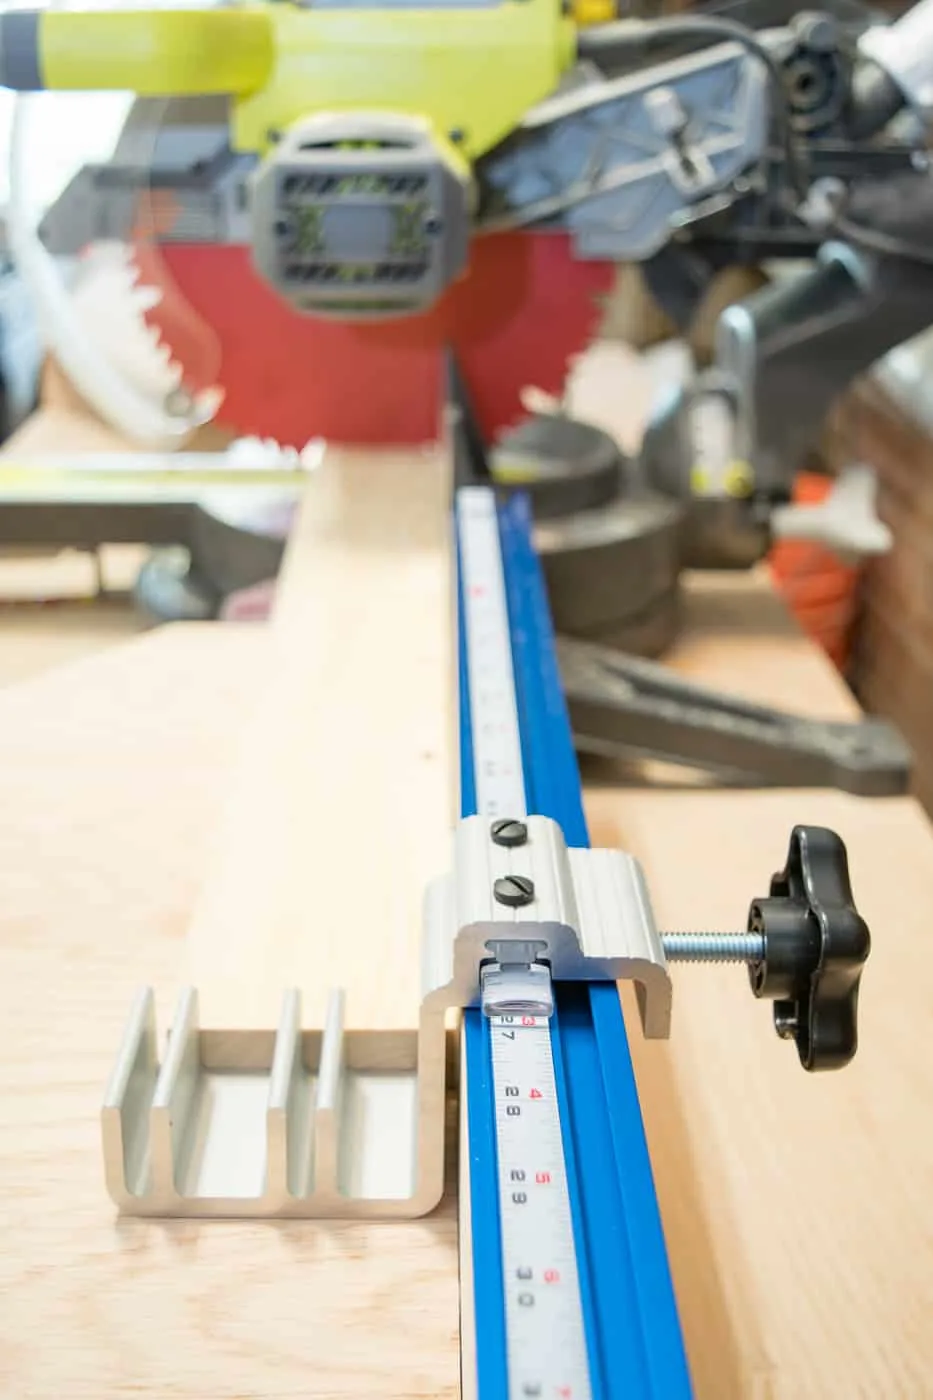
Next, you need to calibrate the tape measure that will adhere to the top of the track. Cut a piece of scrap wood exactly two feet long, then butt one end of the board right up to your saw blade. Make a mark on the track at the other end, using a square to ensure accuracy.

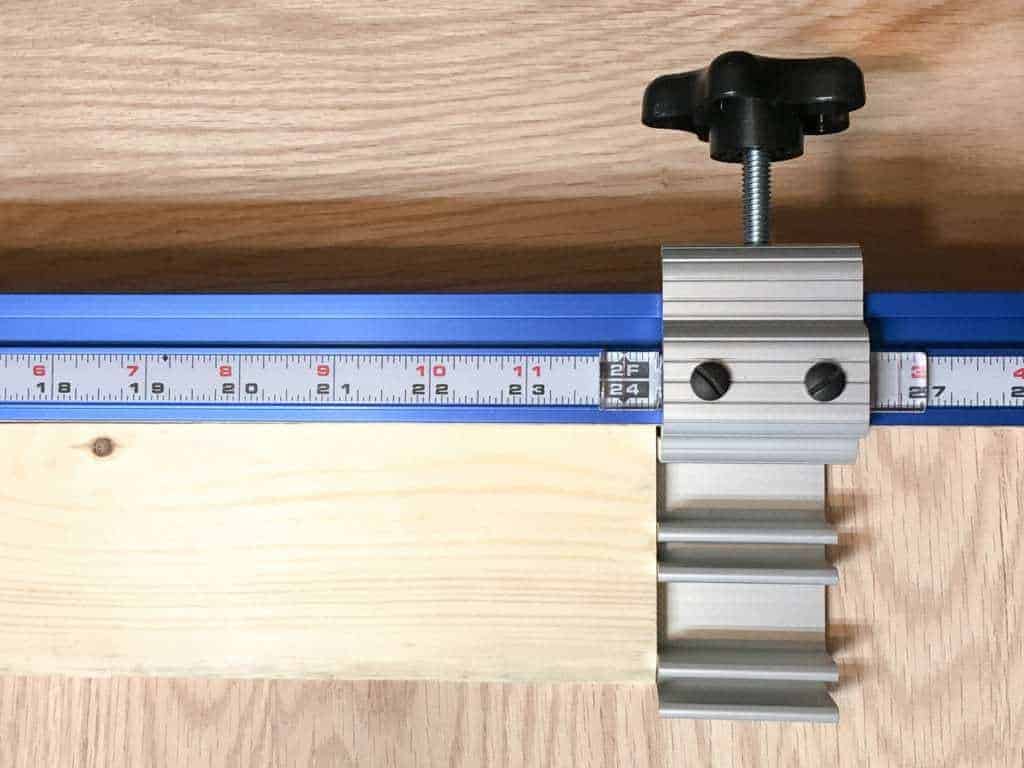
Now here's the part that I couldn't wrap my head around at first. Align the adhesive measuring tape with the line you made on the track at 24 ⅜", not 24". Crazy, right? Well, the stops have a cursor that is offset by ⅜". So the cursor is measuring the end of the stop, not its own location on the fence.
Trust me, it works! Here's that two foot long board again, with one end against the saw blade and the other at the stop. The red line is on the 24" mark.
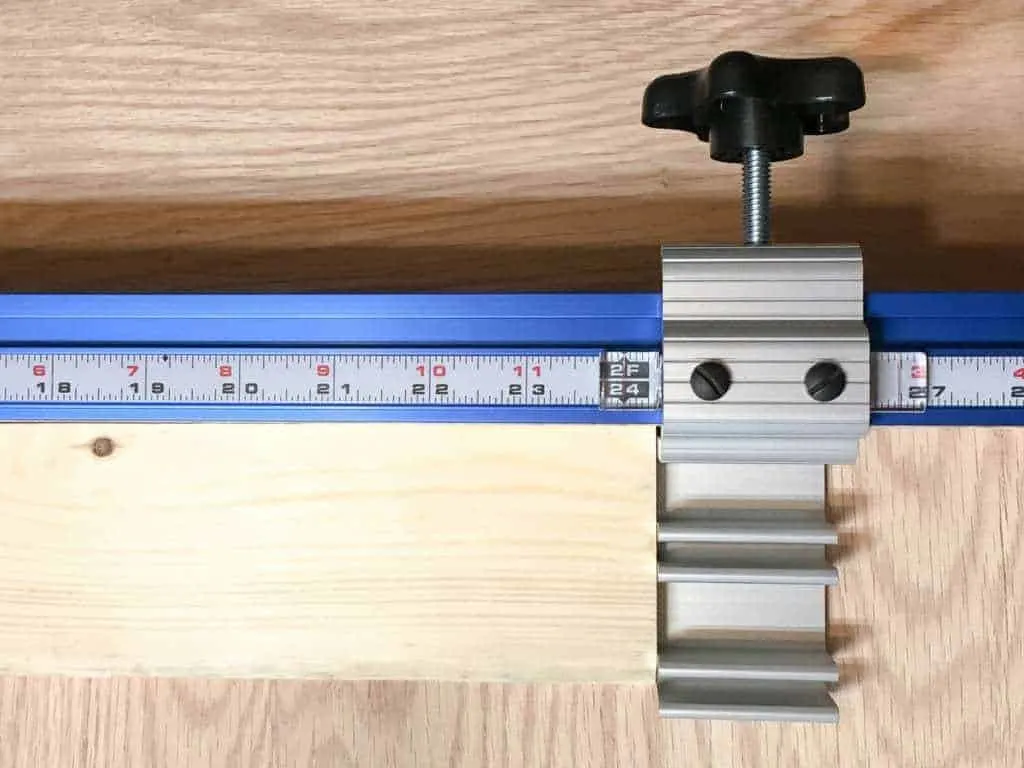
Once the cursor is calibrated, screw it down and don't move it again. You can make another test cut with the stop block at a shorter length just to see if it's accurate.
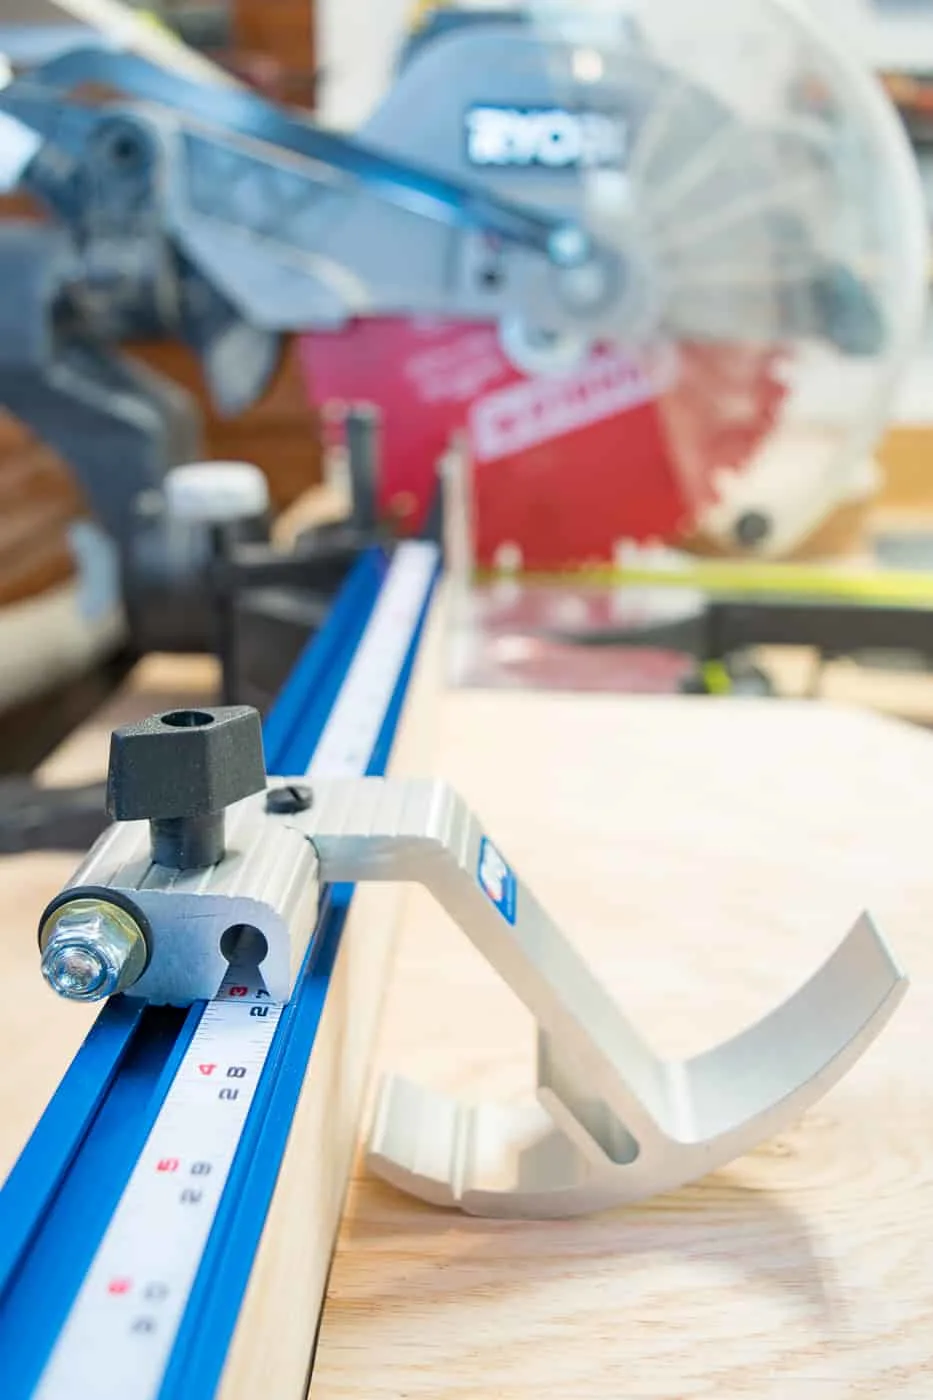
Now you can set the stops to whatever dimension your woodworking plans require! I prefer to use the production stop for most of my repetitive cuts because it stays in place better than the swing stop.
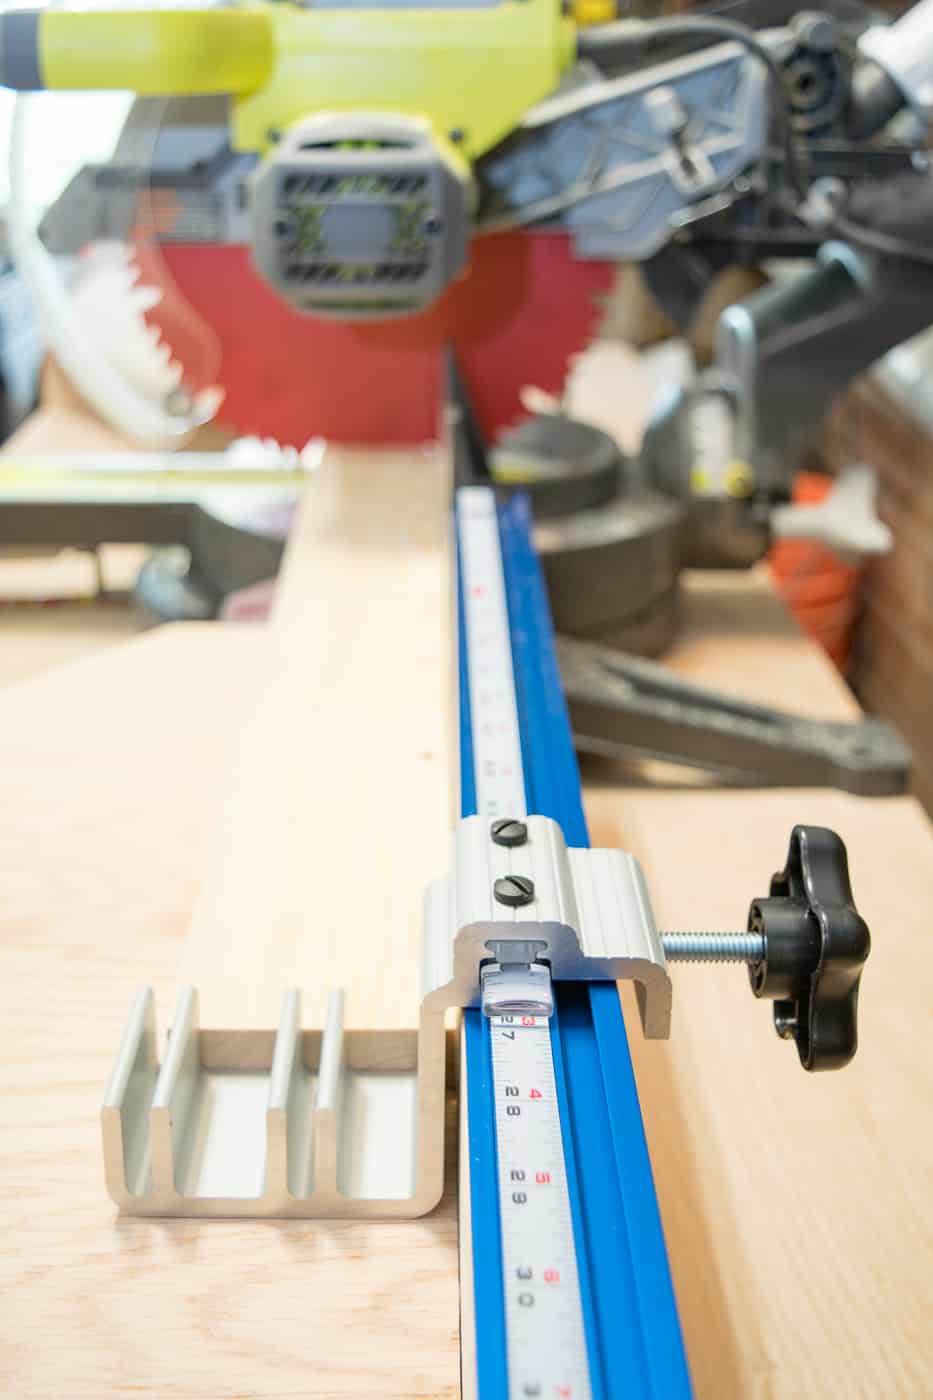
The swing stop is mostly used for holding the board in place while making the cut. But it also has the cursor in case I need to measure from the left hand side.

I can't wait to start using my miter saw stand on a new project! I'm already feeling so much more productive in my workshop, and I have a few more ideas to make it even more functional.
Check out these other woodworking tutorials!