Is a sliding miter saw worth the extra cost? Let's compare sliding vs non sliding miter saw options so you can decide which saw is for you!

The miter saw is a great first tool for any homeowner or beginning woodworker. But there are so many options to choose from! Single vs double bevel, sliding vs non-sliding, compound miter saws...how do you know which one to pick?
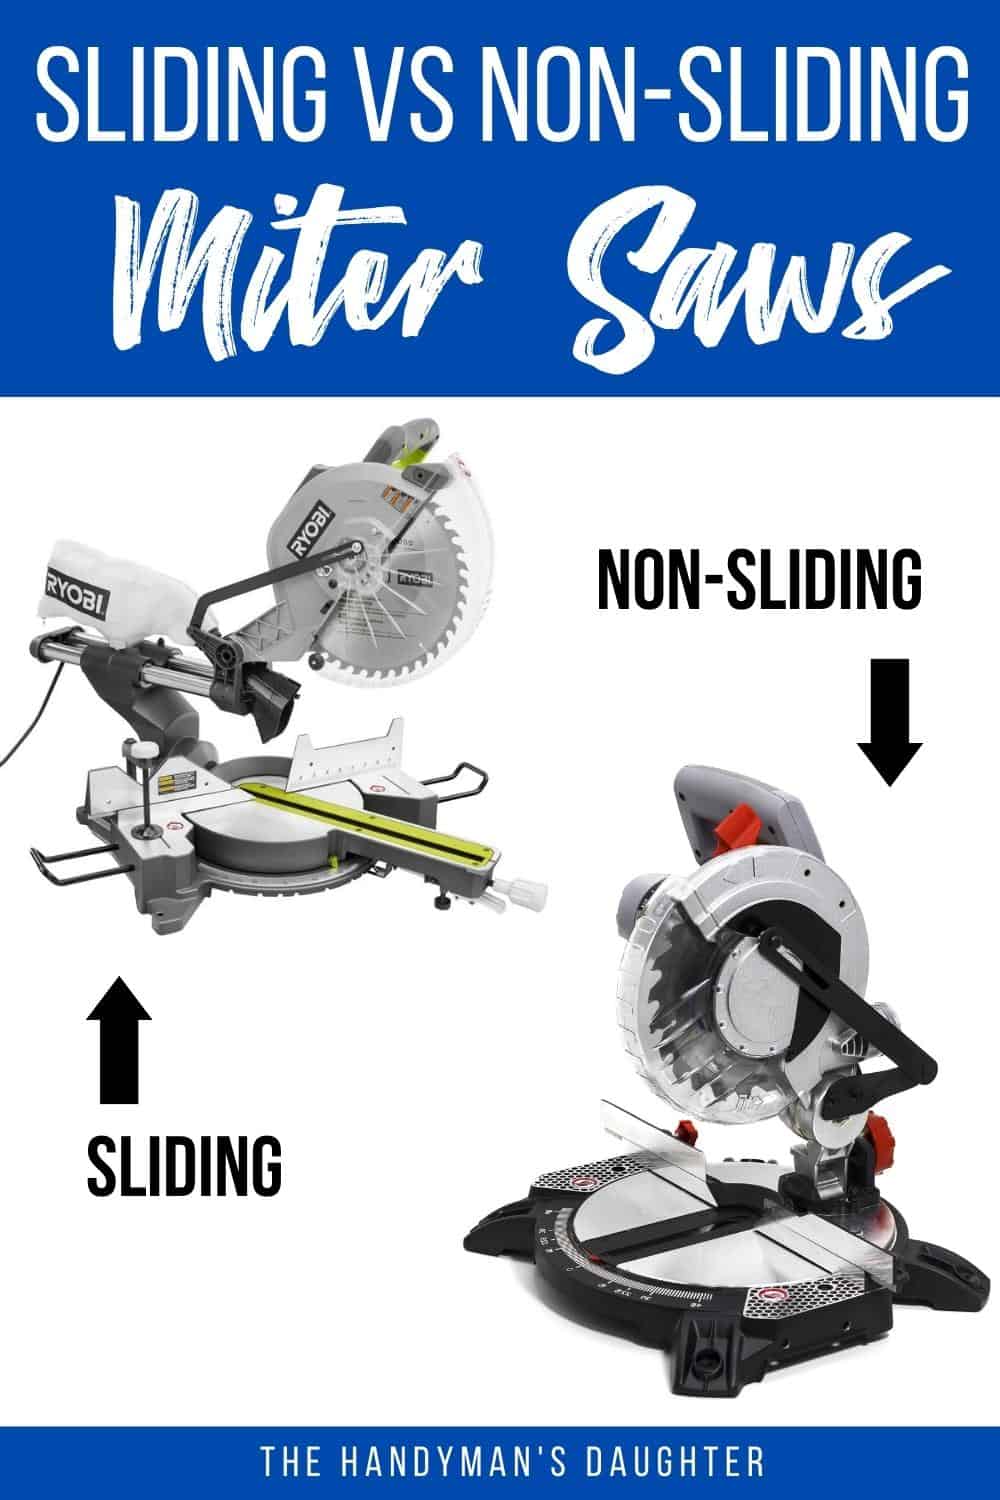
Let's start with something simple: sliding vs non-sliding miter saws. What's the difference?
Sliding miter saws can cut wider boards than non-sliding miter saws. The sliding bars or arms allow the blade to travel forward over the board, giving you a larger cutting capacity.
A non-sliding miter saw can only cut a board that falls under the radius of the blade, plus an inch or two. To make a wider cut with a non-sliding miter saw, you'll have to flip the board over and make a second cut.
Both of these types of saws can cut boards with both a cross cut and a miter cut. In the sections below, we will explore the pros and cons of each type.
Let's jump right in!
Differences Between Sliding and Non-Sliding Miter Saws
Sliding miter saws and non-sliding miter saws are closely related, and both will cut the same types of materials. However, if you're buying a miter saw for the first time, you'll want to keep these differences in mind.
- Sliding miter saws are more expensive.
- Sliding miter saws typically take up more space behind the saw.
- Non-sliding miter saws are lighter.
- Sliding miter saws can cut wider pieces of lumber.
- Sliding miter saws help prolong blade life.
- Non-sliding miter saws can still be compound miter saws, which can make miter and bevel cuts at the same time.
Check out my tutorial on how to use a miter saw to learn more about all these terms!
Alright, let's explore each of these saws in more depth.
What is a Sliding Miter Saw?
A sliding miter saw is a miter saw that slides forward and backward on bars or folding arms, enabling wider cuts.

There are several types of sliding miters saws:
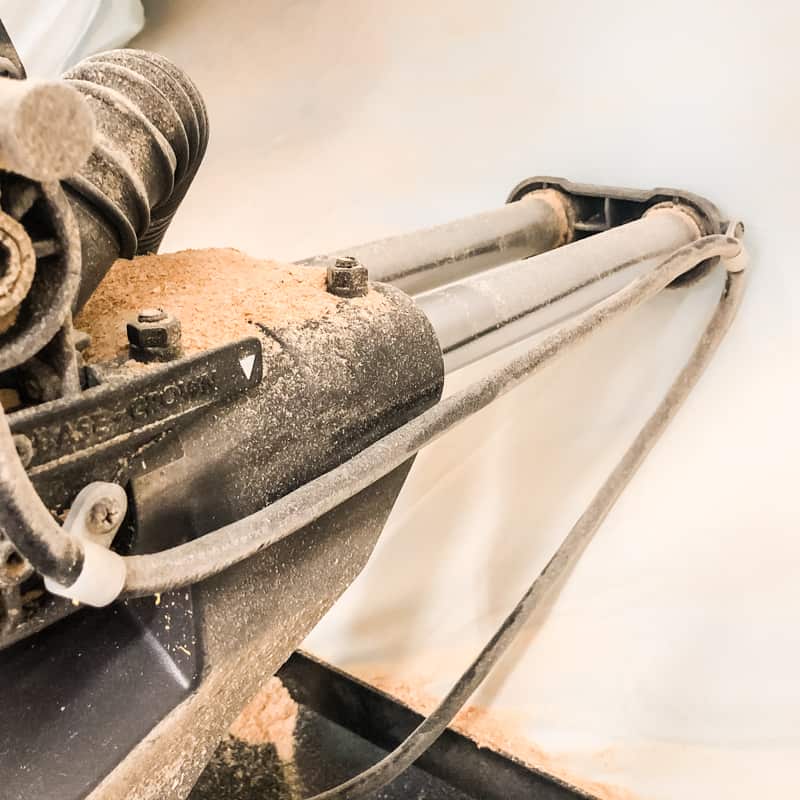
- Standard Sliding Miter Saws: These miter saws have sliding rails that extend behind the miter saw. The saw slides forward and backward on the bars, allowing you to make wide cuts.
- Compound Sliding Miter Saws: Compound sliding miter saws have all the features of a standard sliding miter saws, but they also cut a miter and a bevel simultaneously. A double bevel miter saw easily cuts bevels in both directions.
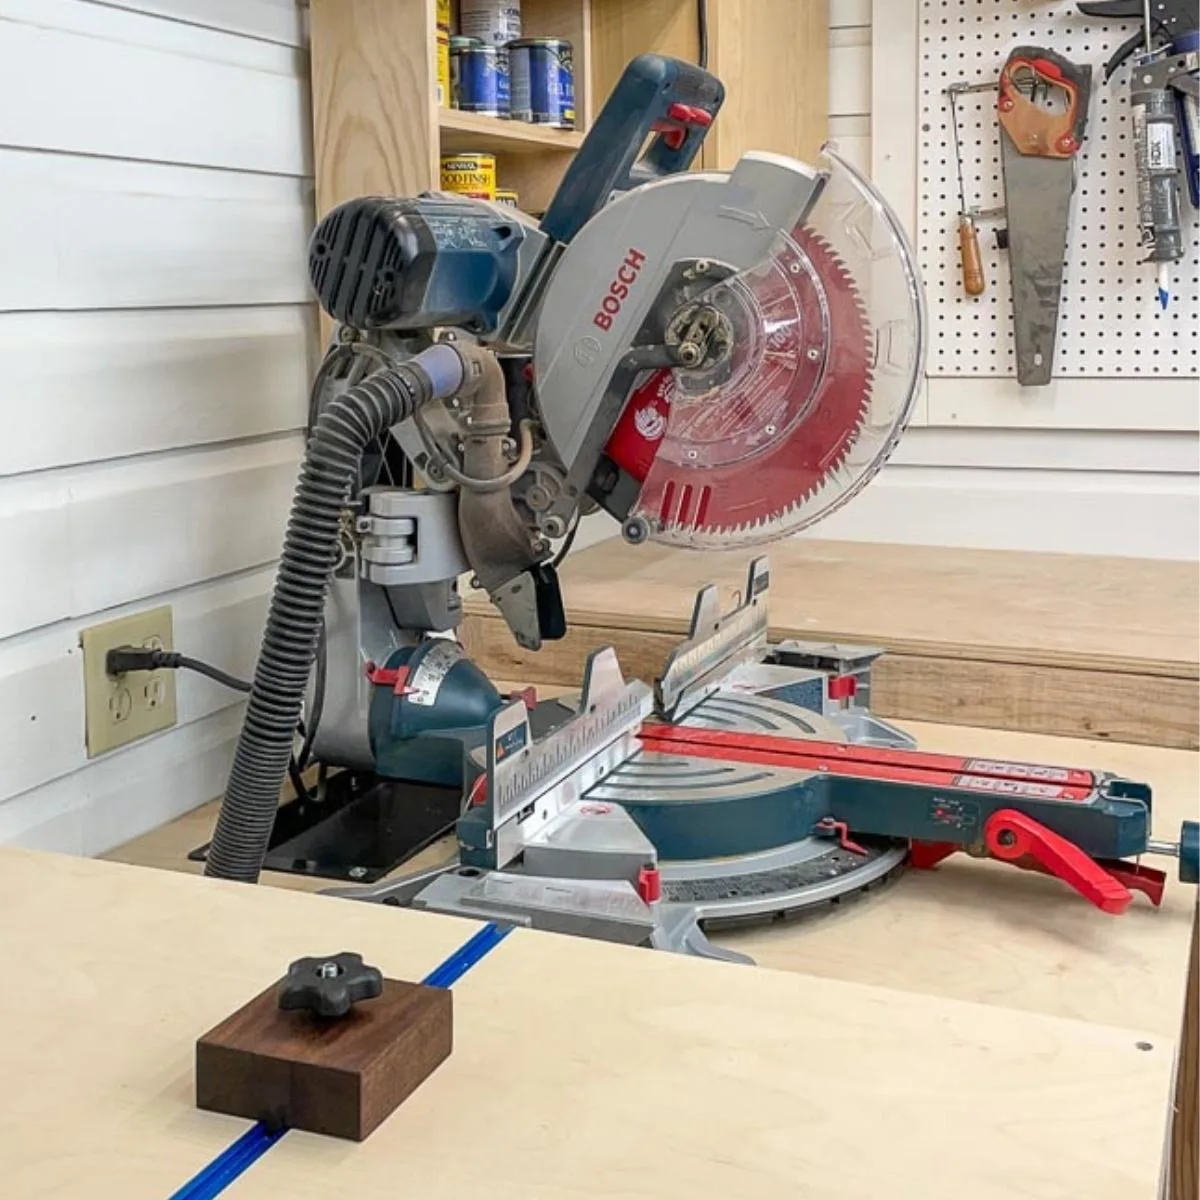
- Robot Arm Sliding Miter Saws: These miter saws offer all the features of the sliding miter saw. However, they use folding arms rather than bars, so you can place the saw much closer to the wall. I've had several different miter saws over the years, and this is by far my favorite!

What is a Non-sliding Miter Saw?
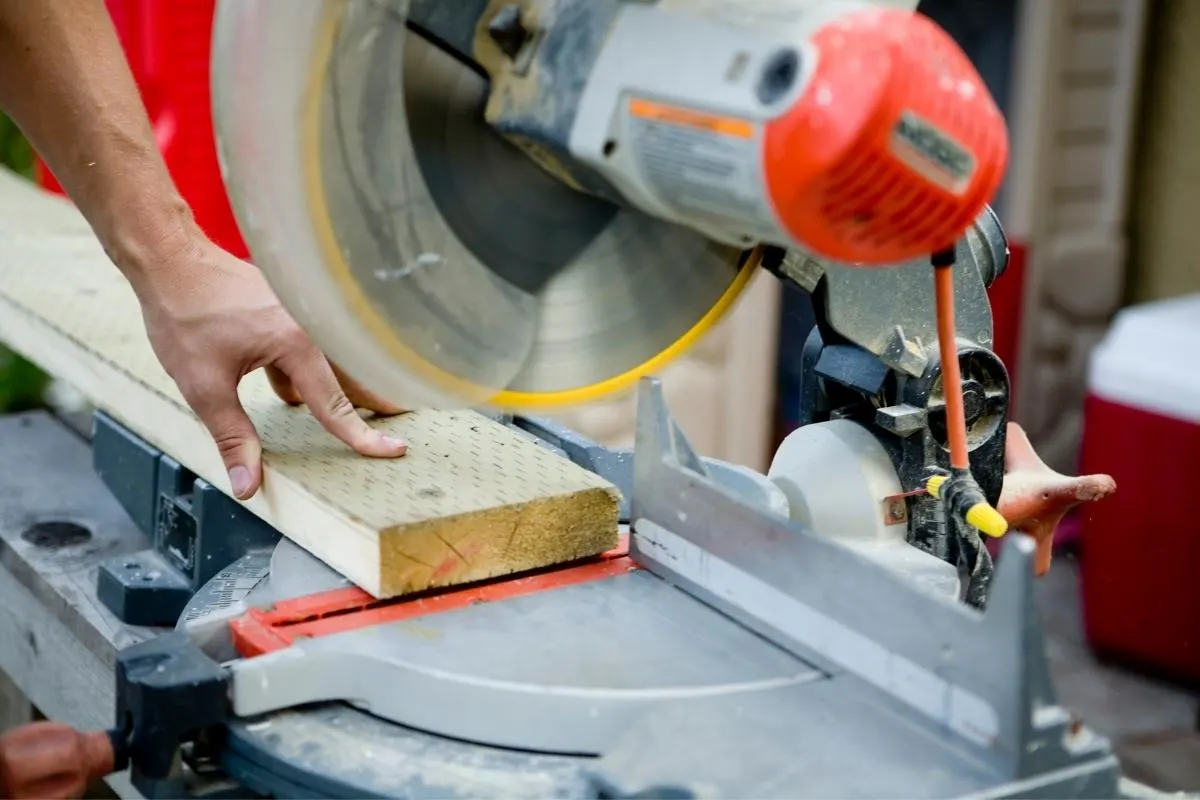
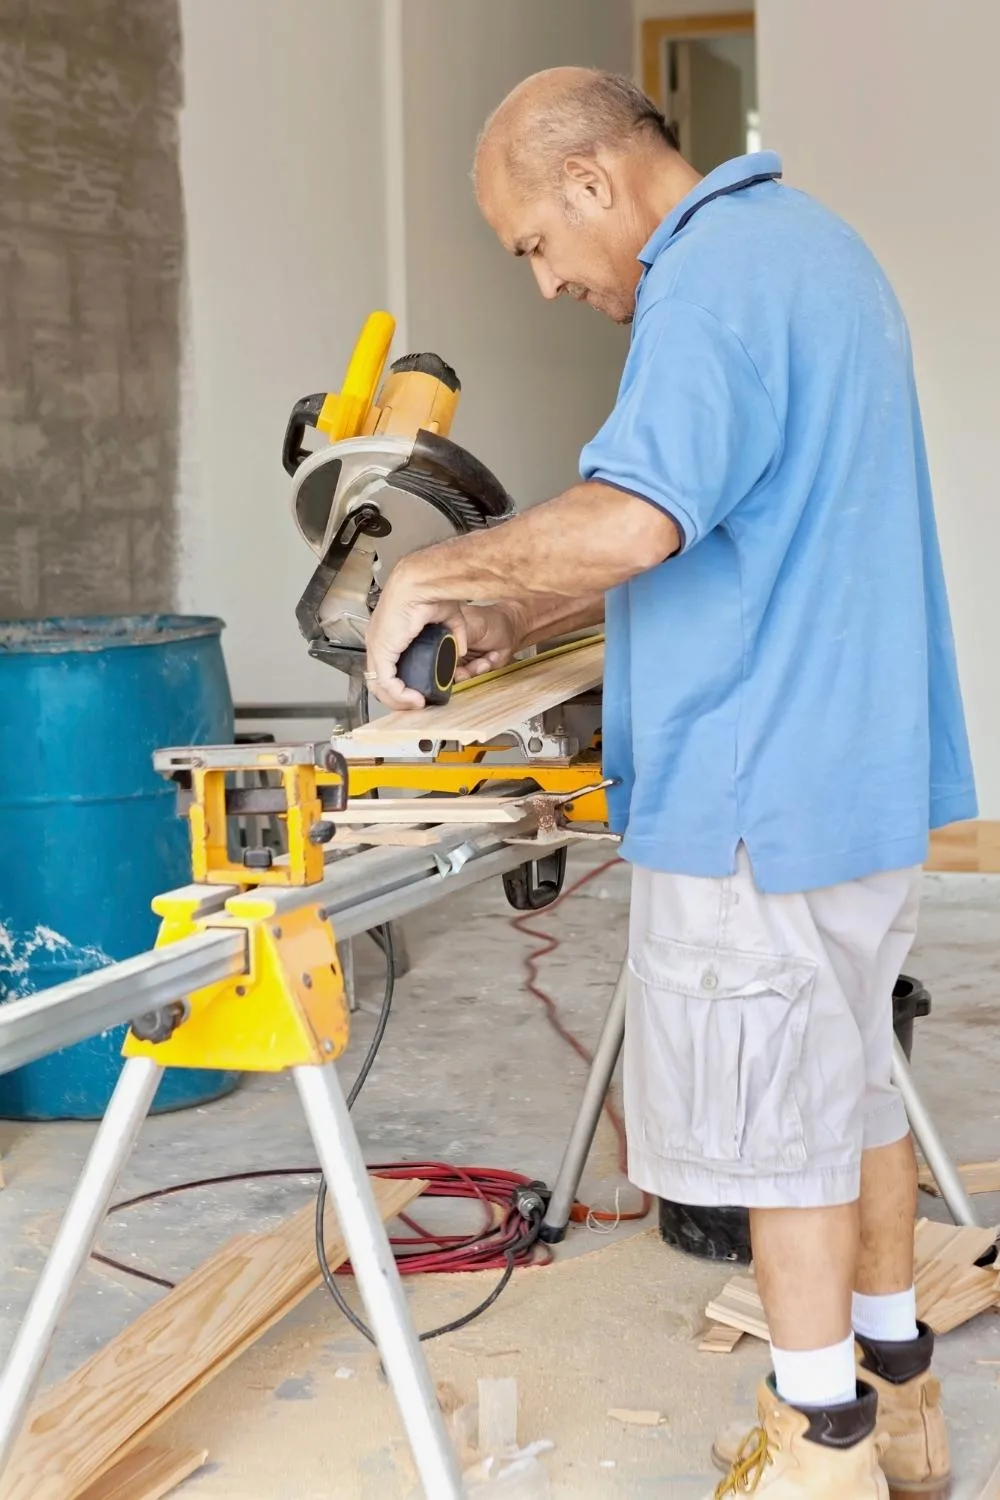
A non-sliding miter saw simply chops whatever is directly below the blade, which is why it's sometimes referred to as a chop saw. It pivots on a spring-loaded hinge, cutting straight down.
Brands can vary, but in general, a 10-inch non-sliding miter saw will cut a 2x6 board at 90 degrees and 2x4 lumber for a 45 degree miter cut. For greater cutting capacity, you can get a 12-inch non-sliding miter saw that will cut a 2x8 at 90 degrees and a 2x6 at 45 degrees.

Despite this limitation, non-sliding miter saws have a few advantages.
- Less expensive: You can still get a lot of use from a non-sliding miter saw, and for less money.
- More portable: The non-sliding miter saw is much lighter, making them more practical if you have to haul it out to the driveway every time you need to make a cut.
- Smaller footprint: The sliding miter saws tend to take up more space due to the bars extending behind the saw. A non-sliding miter saw is ideal for a small workshop, especially if you can use other tools such as a table saw or circular saw for wider cuts.
Miter Saw Tables and Stands
Whether you buy a sliding or non-sliding miter saw, you'll want to consider getting a stand for your new tool as well. They typically fold up for easy storage, and support the board on both sides of the cut for added safety.
Some miter saws will come with a stand, or it can be purchased separately. These are great if you want something that can be folded up and thrown into the back of a truck and taken to a job site.

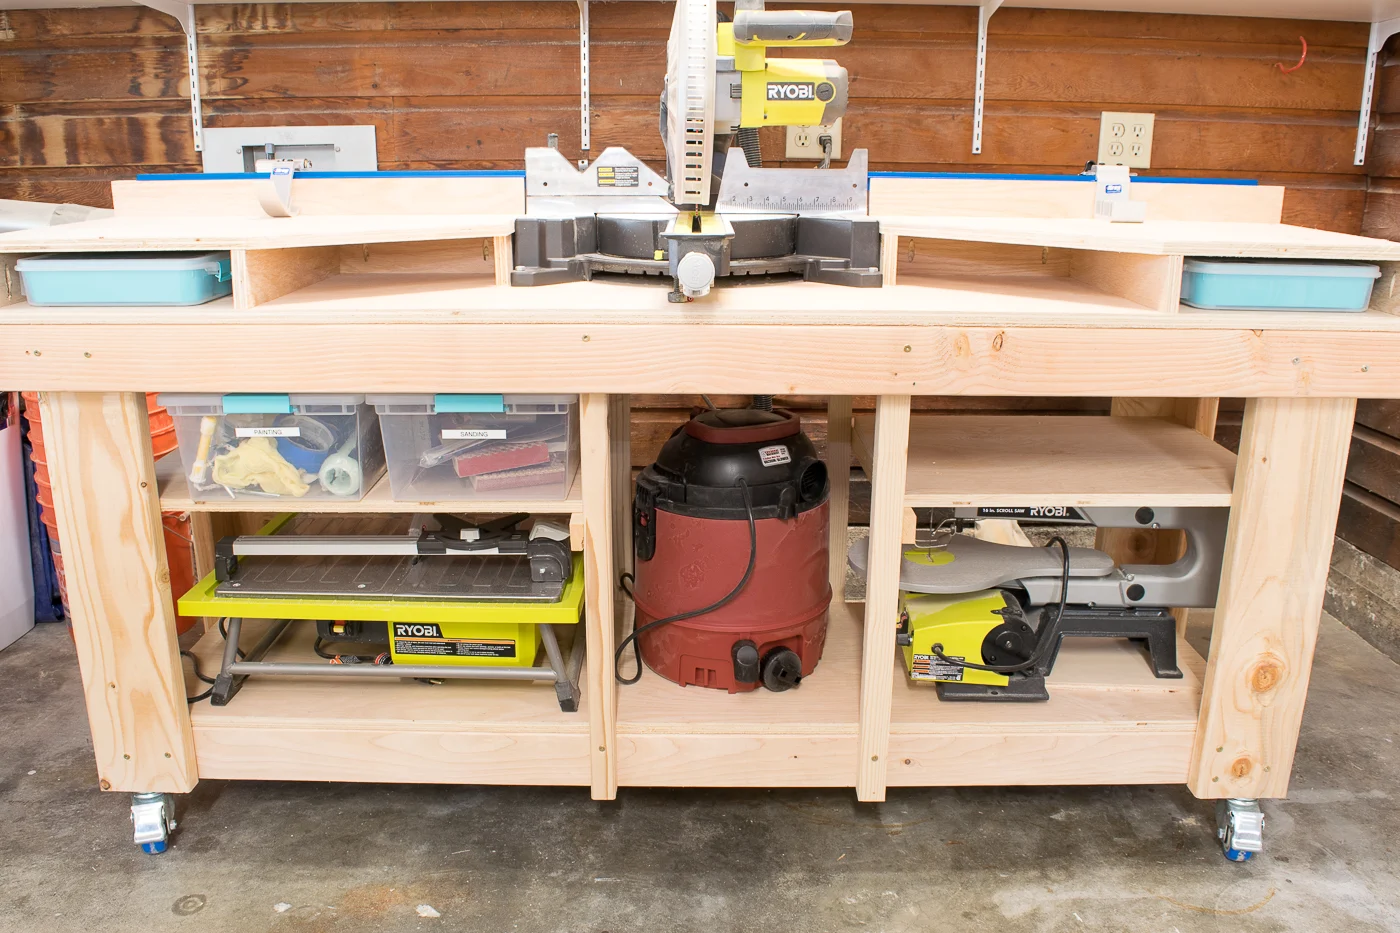
However, for a more permanent set up in a garage or workshop, I recommend building a miter saw table. This simple 2x4 workbench with a miter saw fence and stop block allows you to make repeat cuts easily. Plus, it has tons of storage below!

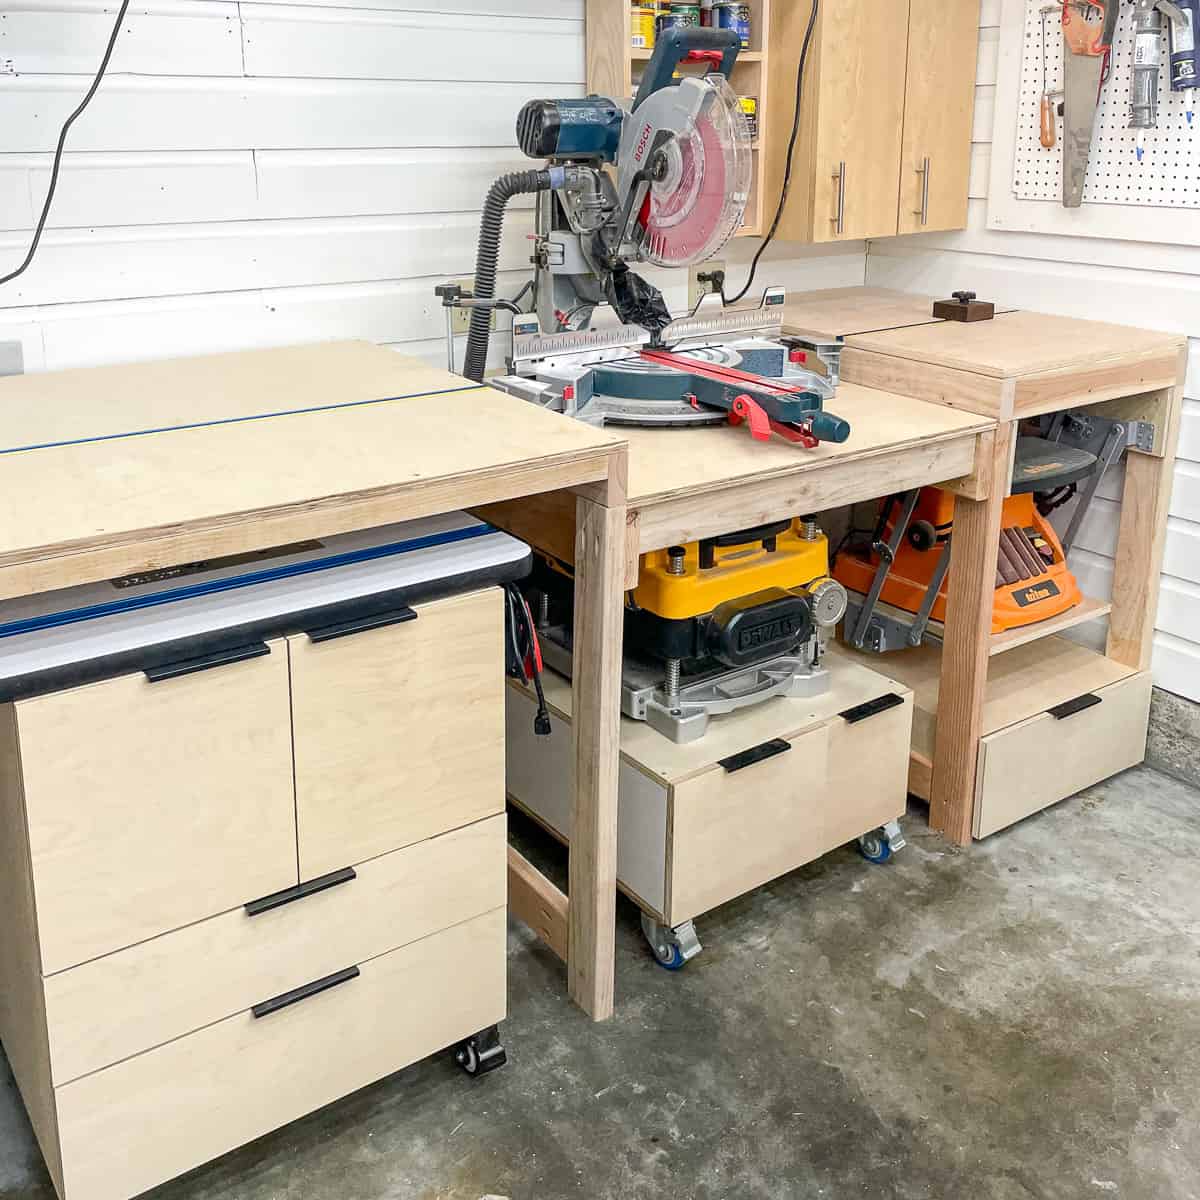
Eventually, I switched to a full miter saw station with space underneath for a router table, planer stand and benchtop sander. The robot arm sliding miter saw allows me to place the saw up against the wall, instead of bars that require a much deeper space.

Frequently Asked Questions
Is a Sliding Miter Saw Worth the Extra Money?
If you're buying a miter saw for the first time, and you have enough space for a sliding miter saw, I would say it's worth the extra money for the additional cutting capacity. However, if you're only planning to use a miter saw occasionally for narrow boards, such as picture frames, a non-sliding miter saw is all you really need.
What Can I Use Instead of a Miter Saw?
You can use a circular saw for many of the same tasks as a miter saw. You can learn more about the differences between a miter saw and a circular saw here.
One step up from the circular saw is the track saw. This tool comes with a special track similar to a circular saw jig, so you just slide the saw along the track to make your cuts.
A table saw can also overlap with some of the miter saw's tasks, although you'll need a miter gauge or cross cut sled to make those cuts safely. This article compares miter saws and table saws in more detail.
Check out these other woodworking tutorials!