Are your boards always a tiny bit too short? Learn how to account for saw kerf in your woodworking projects, so each cut is the right length!

It happens to every beginning woodworker...you make a bunch of cuts for a project and discover that some of the pieces are too short! Even if you measure twice and cut once, if you don't account for the saw kerf, you'll be heading back to the store for more lumber.
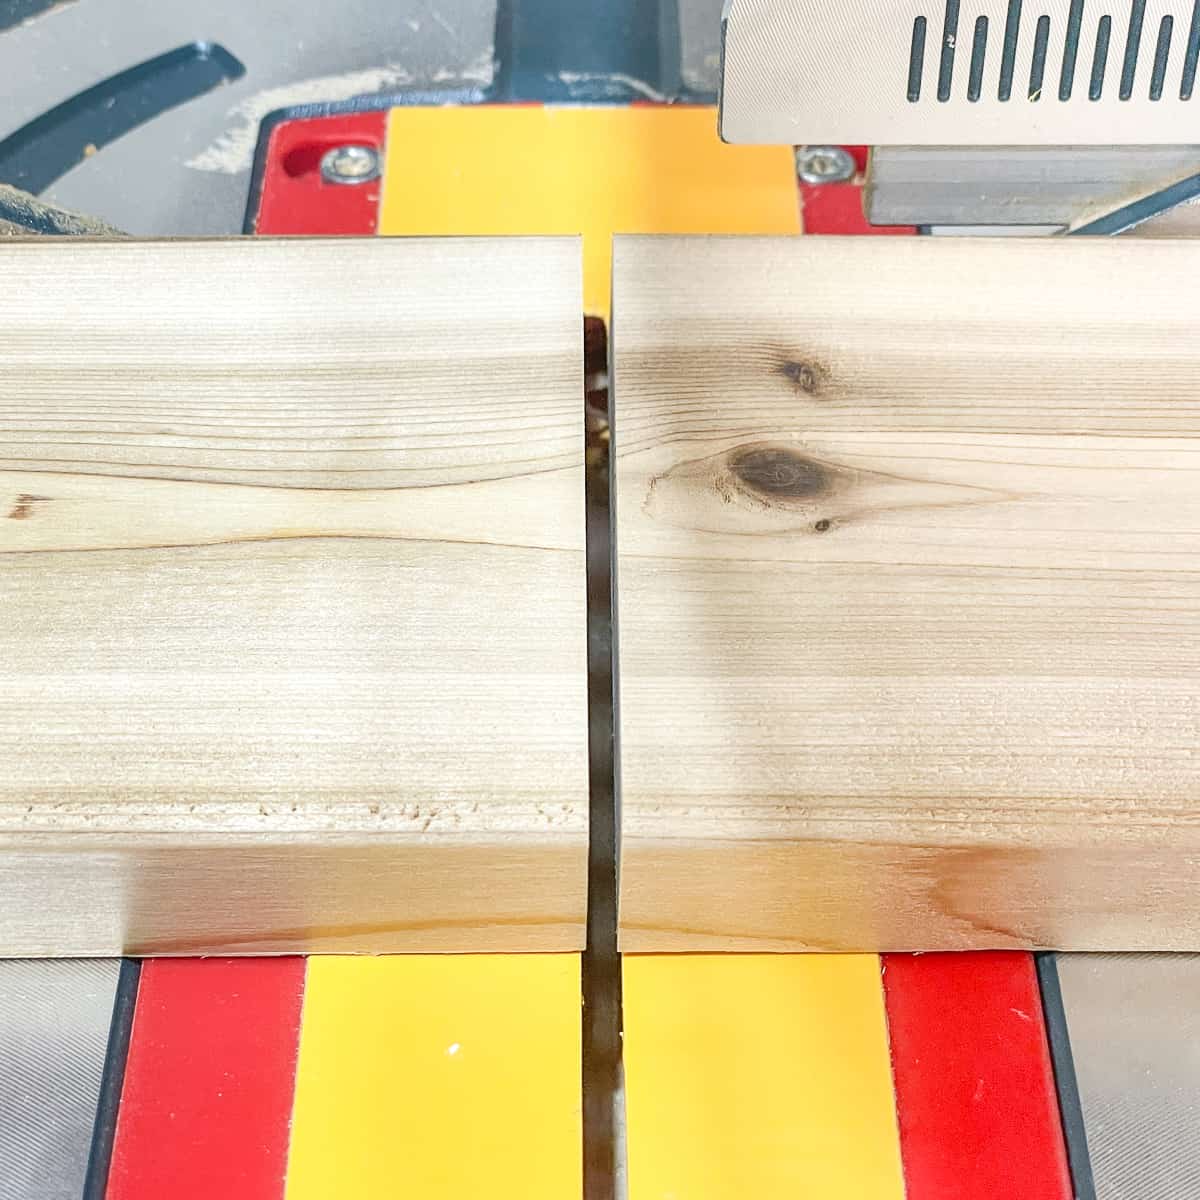
Saw kerf refers to the amount of material removed by the blade and turned into sawdust. Kerf is directly related to the thickness of the blade; however, it's not exactly the same (more on that soon!) If you don't account for the kerf, you will make an inaccurate cut.
This post contains affiliate links for your convenience. Purchases made through these links may earn me a small commission at no additional cost to you. Please visit my disclosures page for more information.
What is kerf?
Kerf is the space the saw blade leaves behind or the amount of material it removes. So, kerf is the width of the saw blade? Usually, but not always!

The saw blade may not spin perfectly straight or may wobble, which will result in more material being removed. Thinner blades are more flexible, and may flex when going through the wood. Also, the teeth may splay out slightly, causing the kerf to be larger than the blade itself.
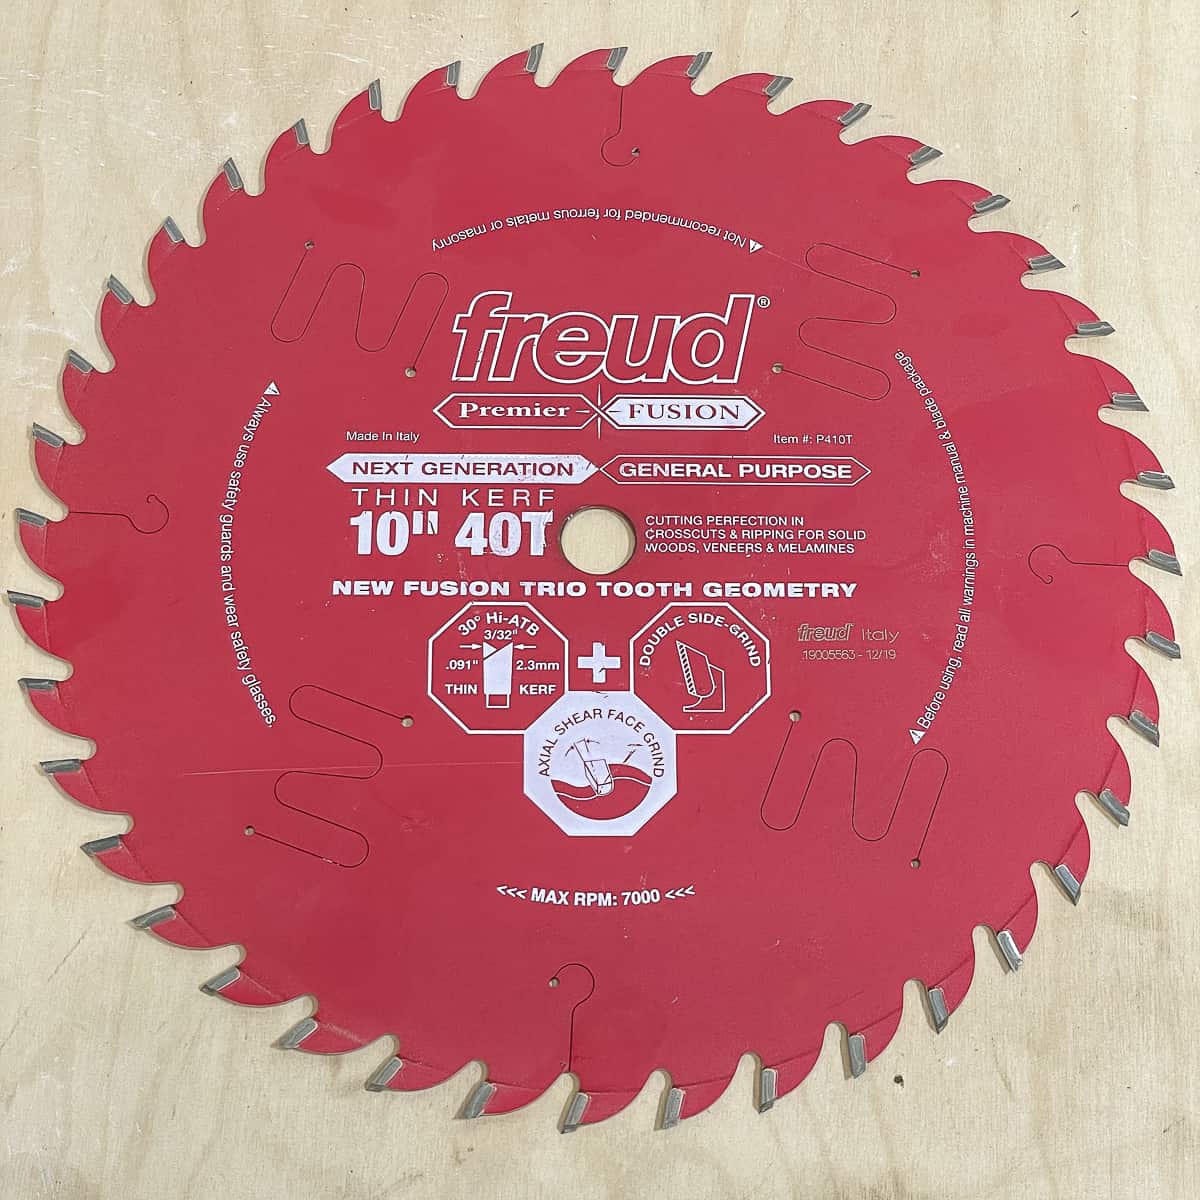
The saw blade package will most likely identify the width of the blade, but you should always run a test with your own saw to measure the exact width of the kerf.
How do you calculate kerf?
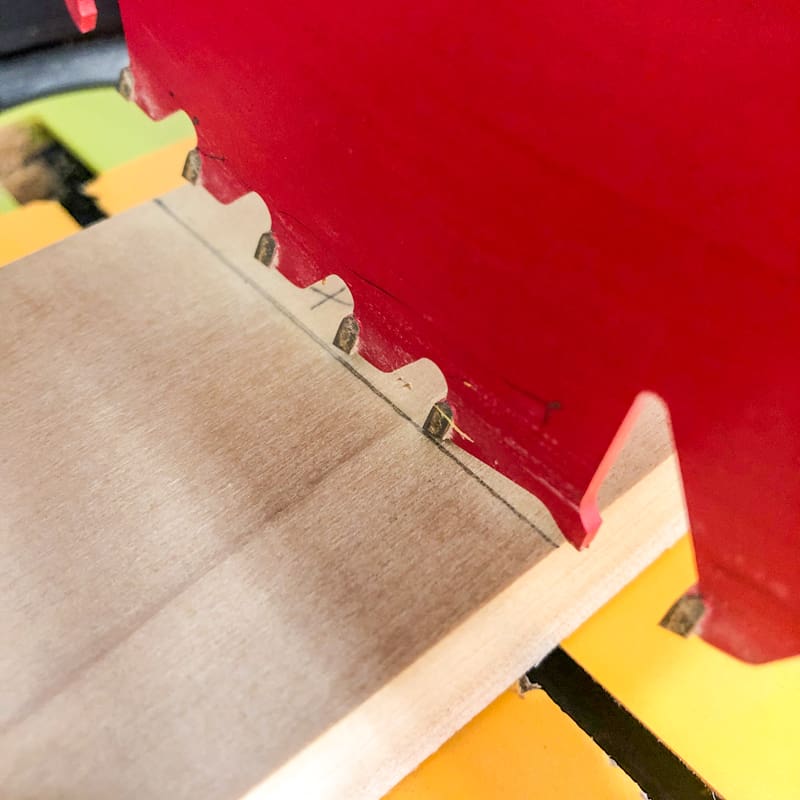
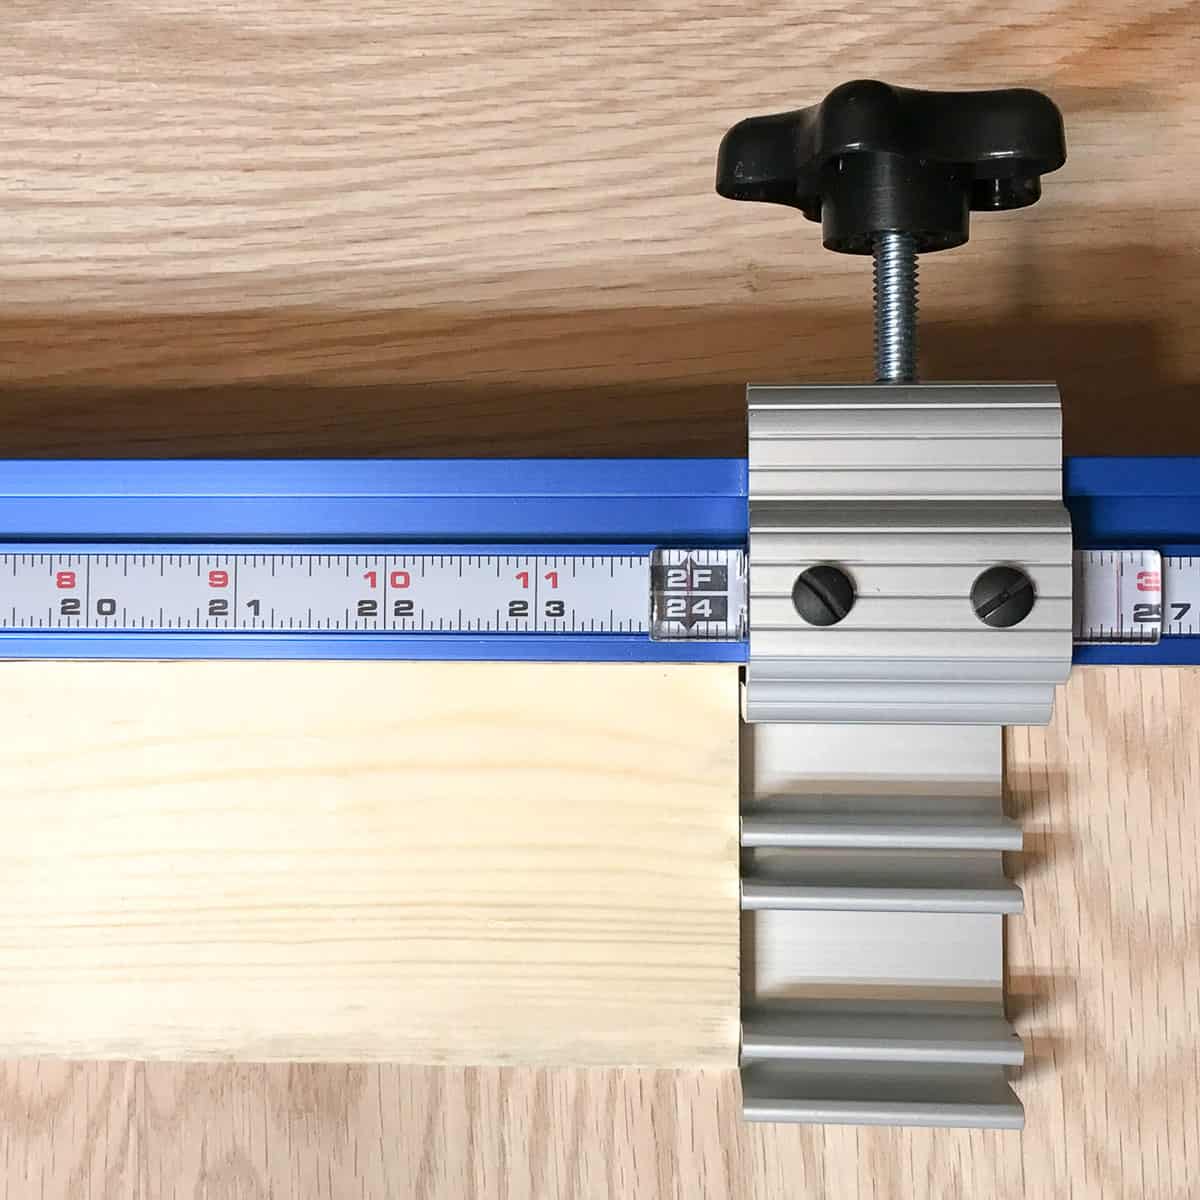
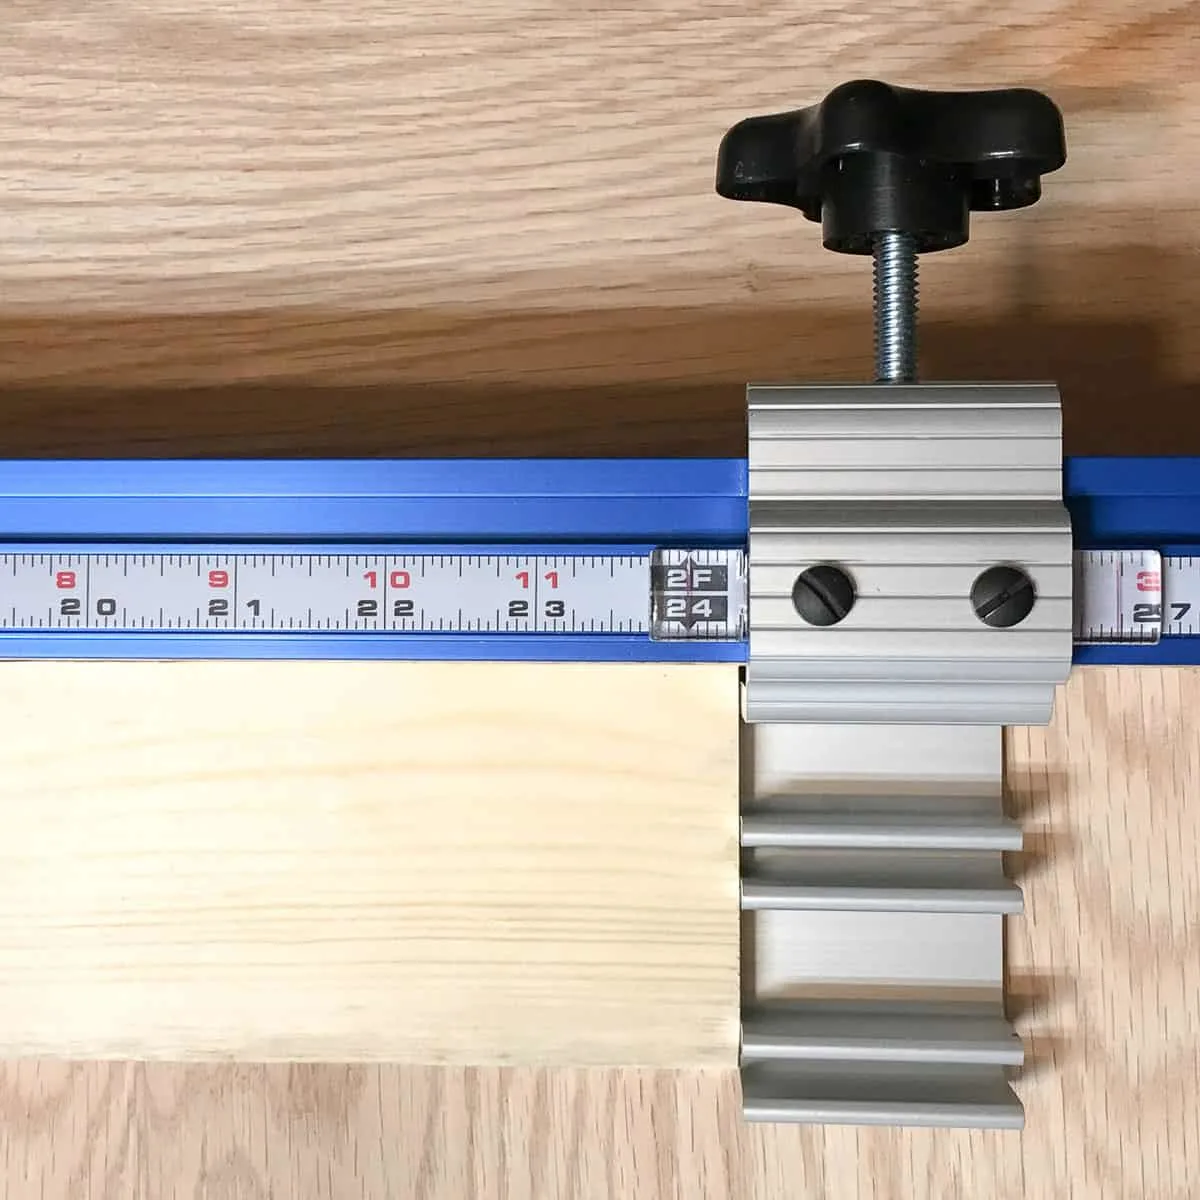
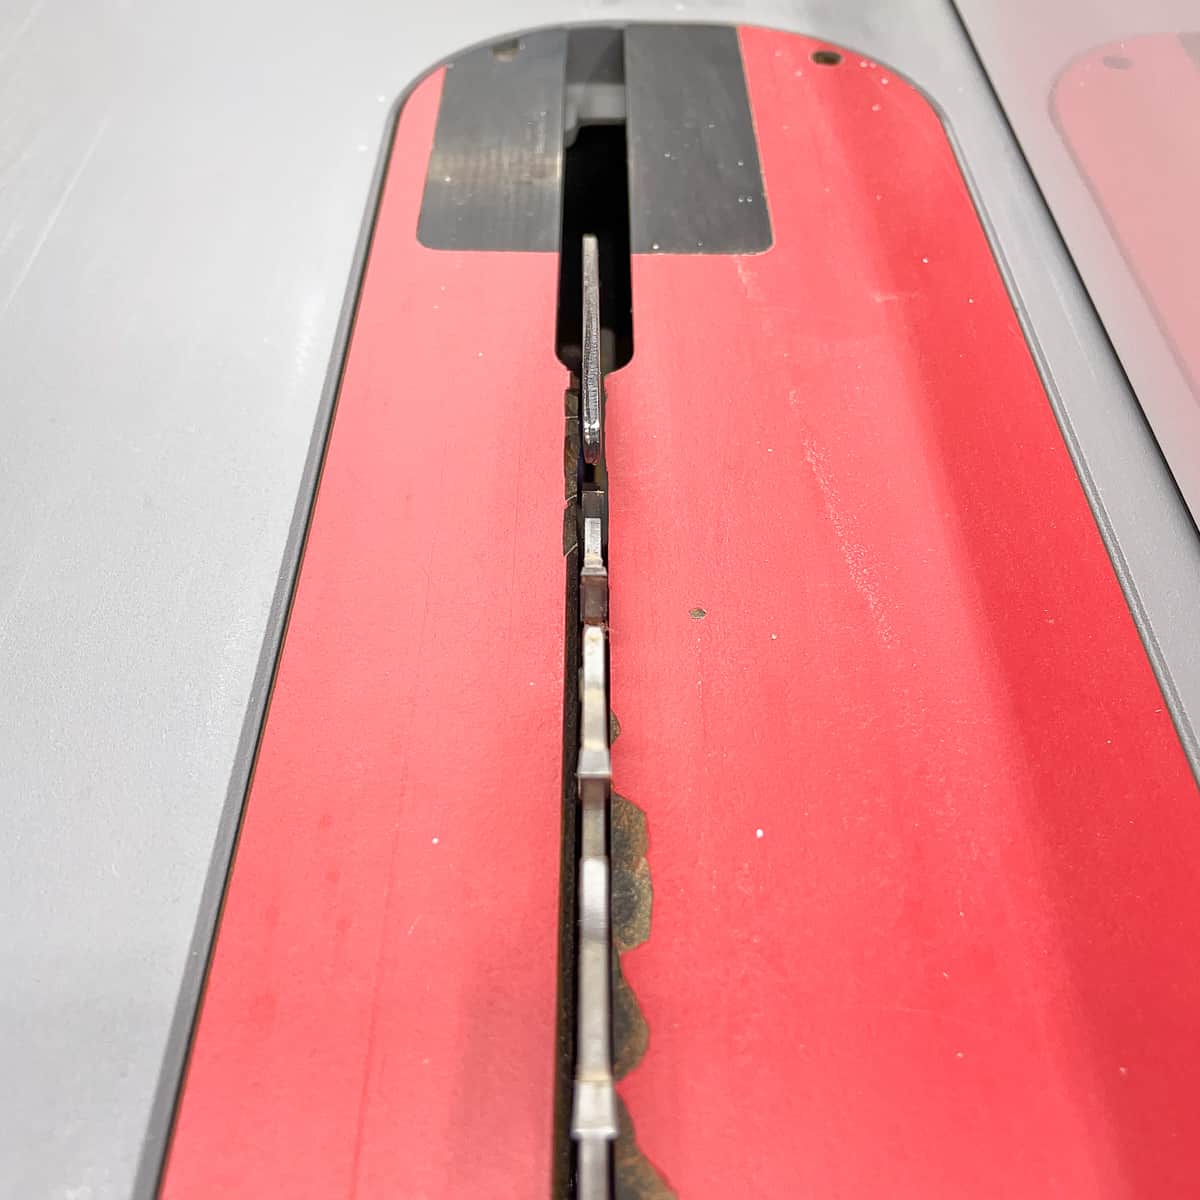
To calculate kerf, make several cuts with the blade you will be using for your project. Cut into the material, but not all the way through, then measure the grooves created. The width of the space is the kerf.
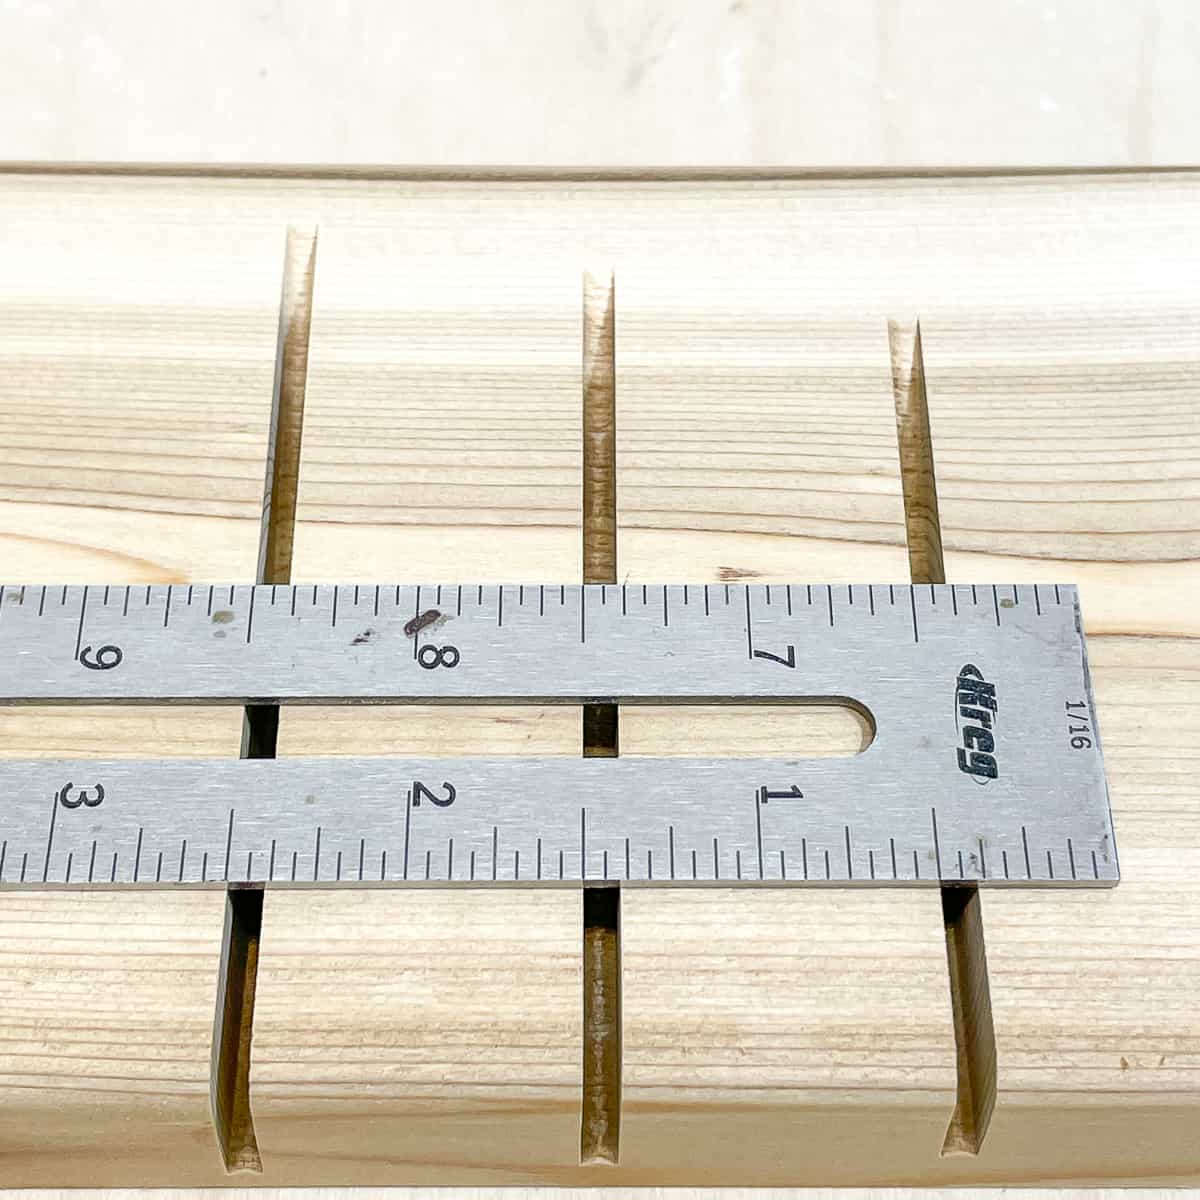
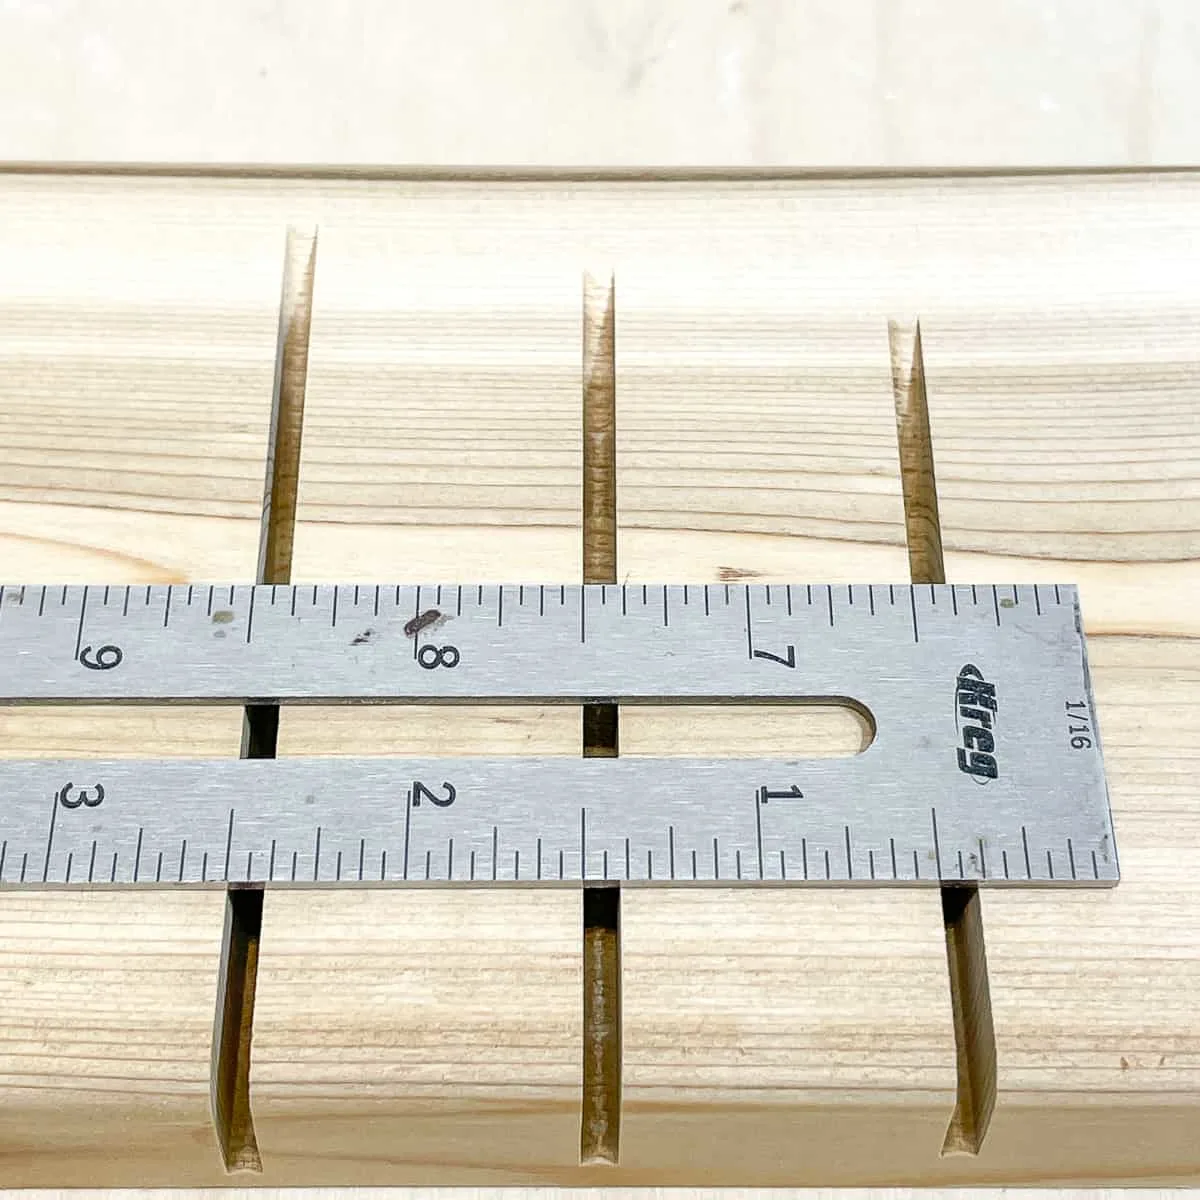
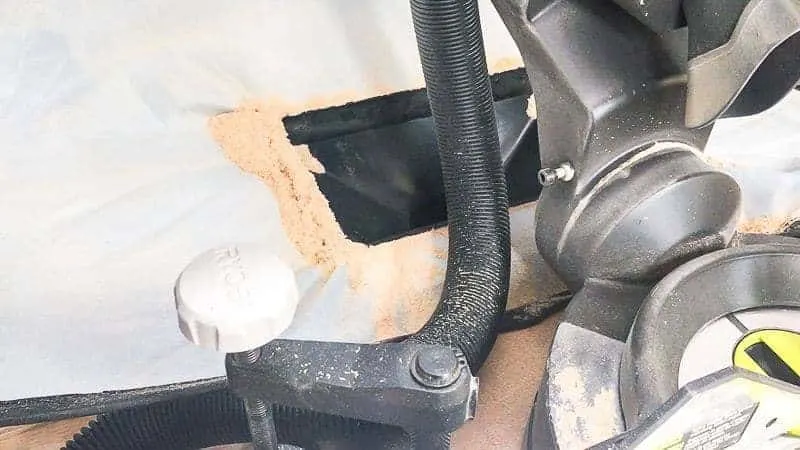
This test was done with a 100 tooth super fine thin kerf blade on my miter saw. I prefer to use a thin kerf blade for that saw because it makes less sawdust (miter saw dust collection is a pain!) You can see that the kerf is less than ⅛", which may not seem like a big difference, but when you're making hundreds of cuts a month, it adds up!
Remember that some materials may have larger kerf than others. A blade may create a wider kerf in a soft material because it's able to flex. Also, if the blade isn't 90 degrees to the material, it may remove more than if it were perfectly straight.
Kerf is difficult to predict without testing. If you're embarking on a project that requires very close tolerances, it's a good idea to take the time to test, test, test.
Why is kerf important for woodworking?
The kerf can drastically change how you buy, measure, and cut lumber. If you're only doing rough construction, you may get away with not paying attention to the kerf. However, for more precise woodworking, you'll need to keep it in mind.
Let's look at the three reasons why this small line can make a big difference in how you prepare and execute a project.
How you buy lumber
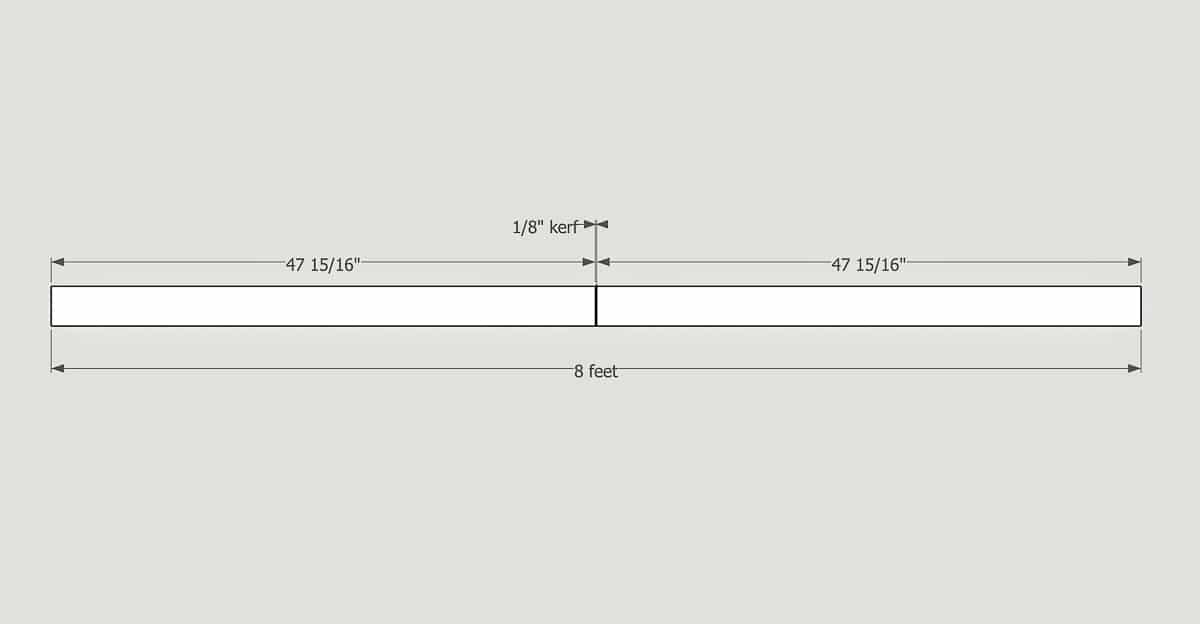
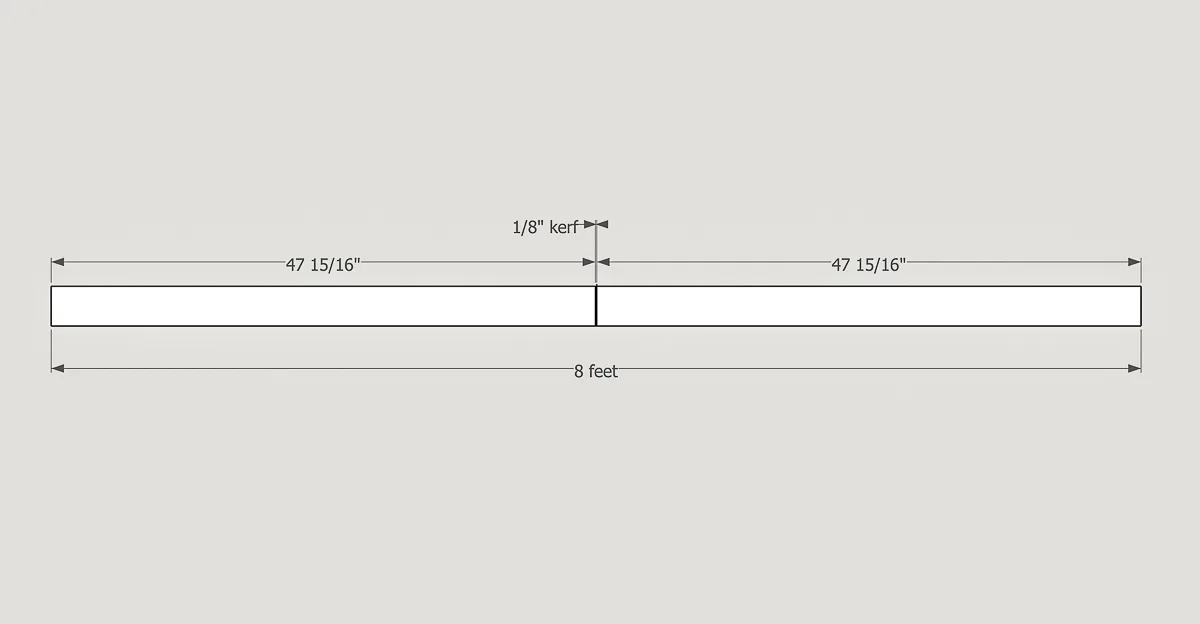
Imagine that you need two 4 foot long pieces of lumber for a project. You can't just take an 8 foot long board and cut it in half. Why?
If you cut it exactly in half with a ⅛" wide saw blade, you'll be missing 1/16" from each side. Or if you measure 48" off one end, the remaining piece will be even smaller at 47 ⅞". While this isn't a big deal for something like workshop furniture or simple storage shelves, it can make for some uneven table legs!
In my woodworking plans, I provide a cut diagram to help you get the best use out of your materials. I'll leave a little extra space at the end of each board, rather than trying to squeeze everything together, in order to account for the kerf. When you're making five or six cuts on a single board, that ⅛" of space adds up!
As a general rule in carpentry and DIY projects, buy a little more than you think you'll need. My lumber rack is filled with random boards that I bought "just in case." You can always find one board woodworking projects to use them up!
How you measure and mark a board
Second, kerf changes how you measure boards. What do they say? Measure twice, cut once. Maybe we should change it to "measure twice, account for kerf, cut once."
When marking your line on a board or any piece of material, think about where you should make your cut in relation to the line. I recommend marking the waste side of the board with an X, even if you plan to use that side for another piece later on.
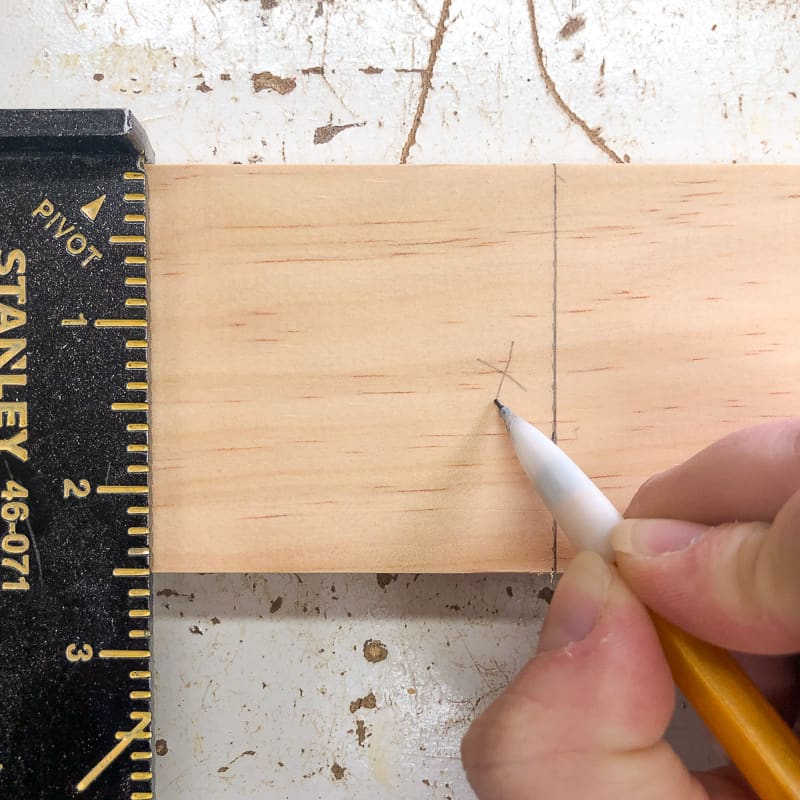

Always place the saw blade on the waste side of the line, not on top of it! The edge of the teeth should just kiss the side of the line.

If you're marking your board for several cuts, always leave a generous space between each cut line, rather than reusing the same line for both cuts. If you're making numerous repeat cuts of the same length, consider using a stop block to skip the measuring altogether!
As a general rule, it's always better to err on the side of leaving extra material than too little. You can always cut a little more off, but you can't add length back on!
How you cut material
Once you become aware of kerf, you'll pay more attention to the thickness and the sharpness of your saw blades. A thick saw blade will remove more material, but it may be more stable. Thin blades tend to wobble when spinning at high speeds, which can create a bigger kerf than anticipated.
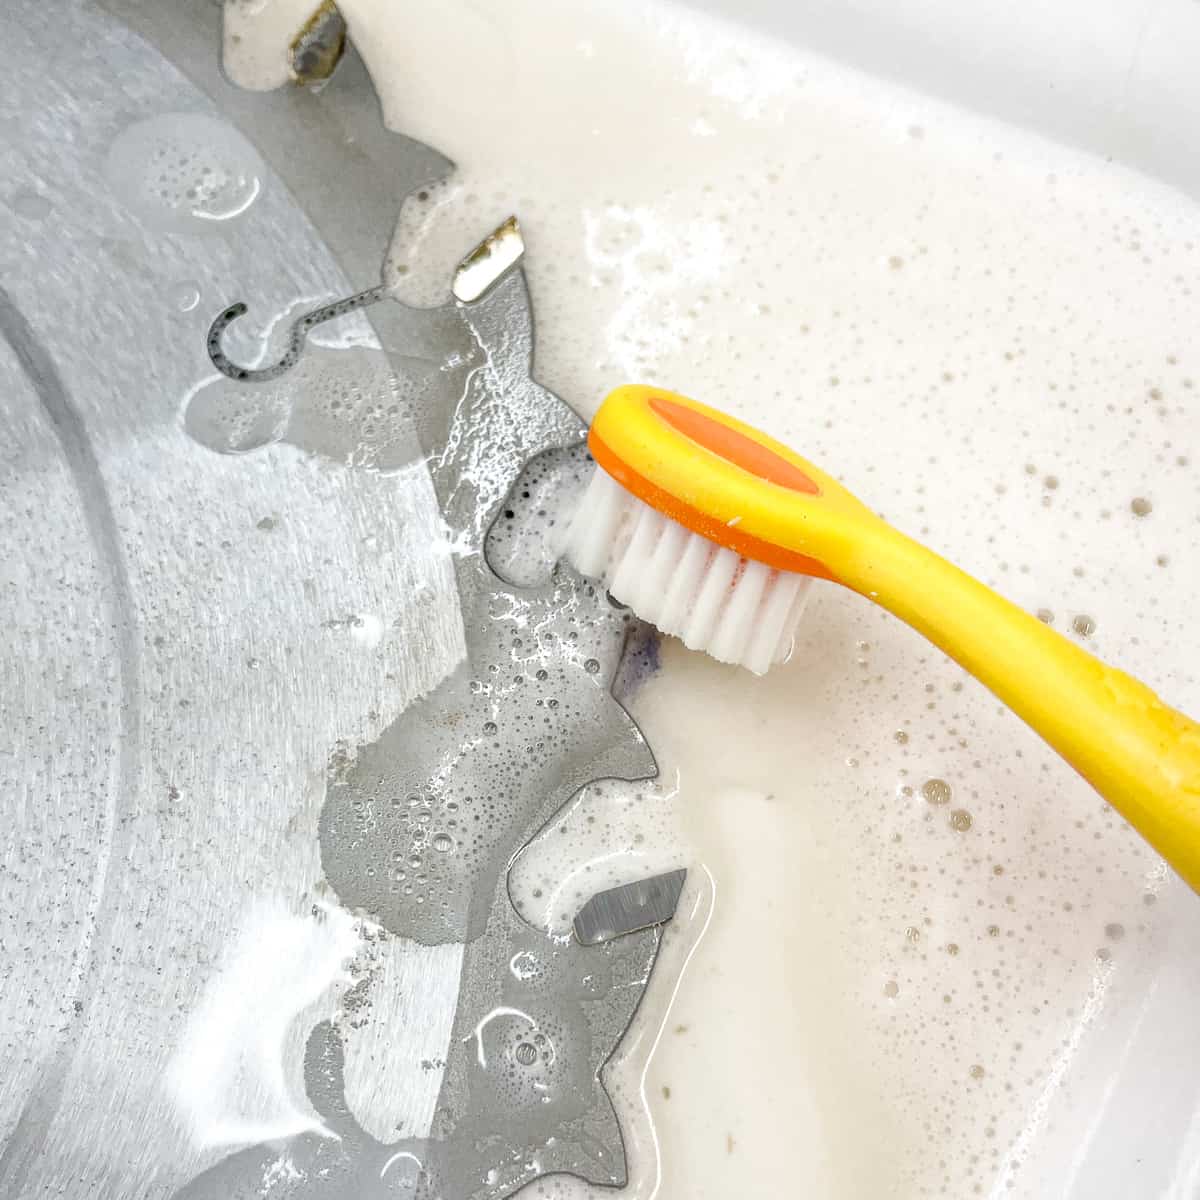
Also, a dull saw blade will remove material slower and cause burning that may need to be sanded off. This can impact your final length. Remember to clean your saw blade periodically, and swap it out for a new one or get it sharpened when it becomes too dull.

Full kerf vs thin kerf blades
When shopping for a new blade, you might find yourself overwhelmed by all the different options. Cross cut, rip cut, alternating bevel, flat tooth, ugh!
While it may seem like a good idea to always buy a thin kerf blade so you don't waste material, it's not always the best choice. Let's talk about the pros and cons of each type.
Full kerf saw blades
Full kerf saw blades are the most common. These thicker blades make a fast, straight cut in the board because they are more stable and won't wobble as much. You also don't need to sharpen a full kerf blade as often, as the carbide teeth are wider and have a larger cutting edge.
However, with full kerf blades, you'll create more sawdust during the cutting process than you would with thin kerf blades. More sawdust equals more waste, which can be a drawback when making products like cutting boards to sell. You're literally turning your profit into dust!

Thicker blades may be less effective with lower-powered saws, particularly the portable table saws. A larger blade requires more power to slice through the wood, so you might notice it getting bogged down during longer rip cuts.
Thin kerf saw blades
Thin kerf saw blades offer several benefits. First, thin kerf blades don't remove as much material, as the actual cut width is reduced. So, with large projects, you'll end up with less sawdust and less wasted wood.

Second, thin kerf saw blades slice through wood easier, because there's less material to move out of the way. If you're using a battery powered circular saw and find it difficult to make long rip cuts through dense wood, try switching to a thin kerf blade!
However, thinner isn't always better. Here are some of the downsides to thin kerf blades:
- They wear faster.
- They tend to wobble and wander more.
- The thinner cut may not match the thickness of the riving knife in your table saw, which can cause serious safety issues such as pinching and kick back.

Kerf-related tricks and techniques
Understanding kerf doesn't just help you make accurate cuts. It opens a world of cool woodworking techniques!
The first is the dado cut. Essentially, this creates a groove in the side of a board so you can slide in a back panel, shelf or divider.
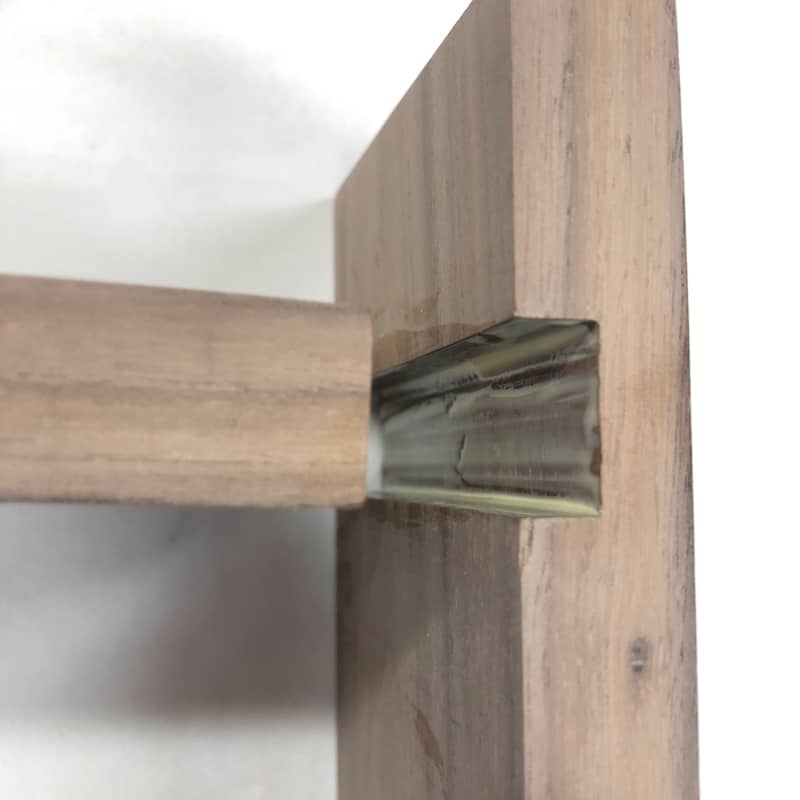
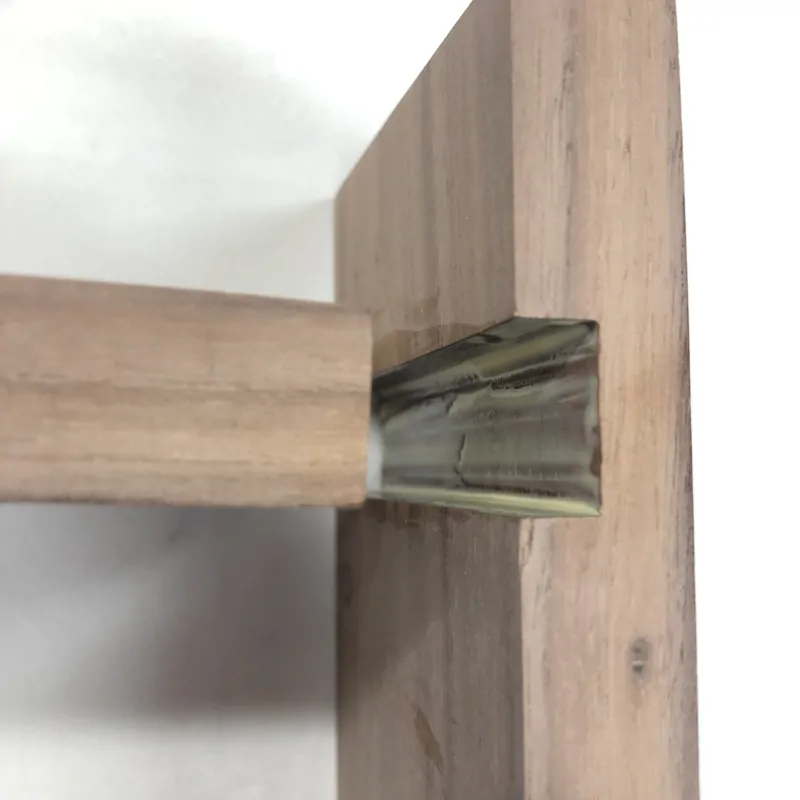
You can use a special set of multiple blades, called a dado stack, but I like to use a single full kerf blade with flat top teeth in my table saw instead. Just make multiple passes to sneak up on the perfect fit.

The second clever trick is something called kerf bending. Kerf bending allows you to take any piece of wood and bend it to fit a curve or arch.
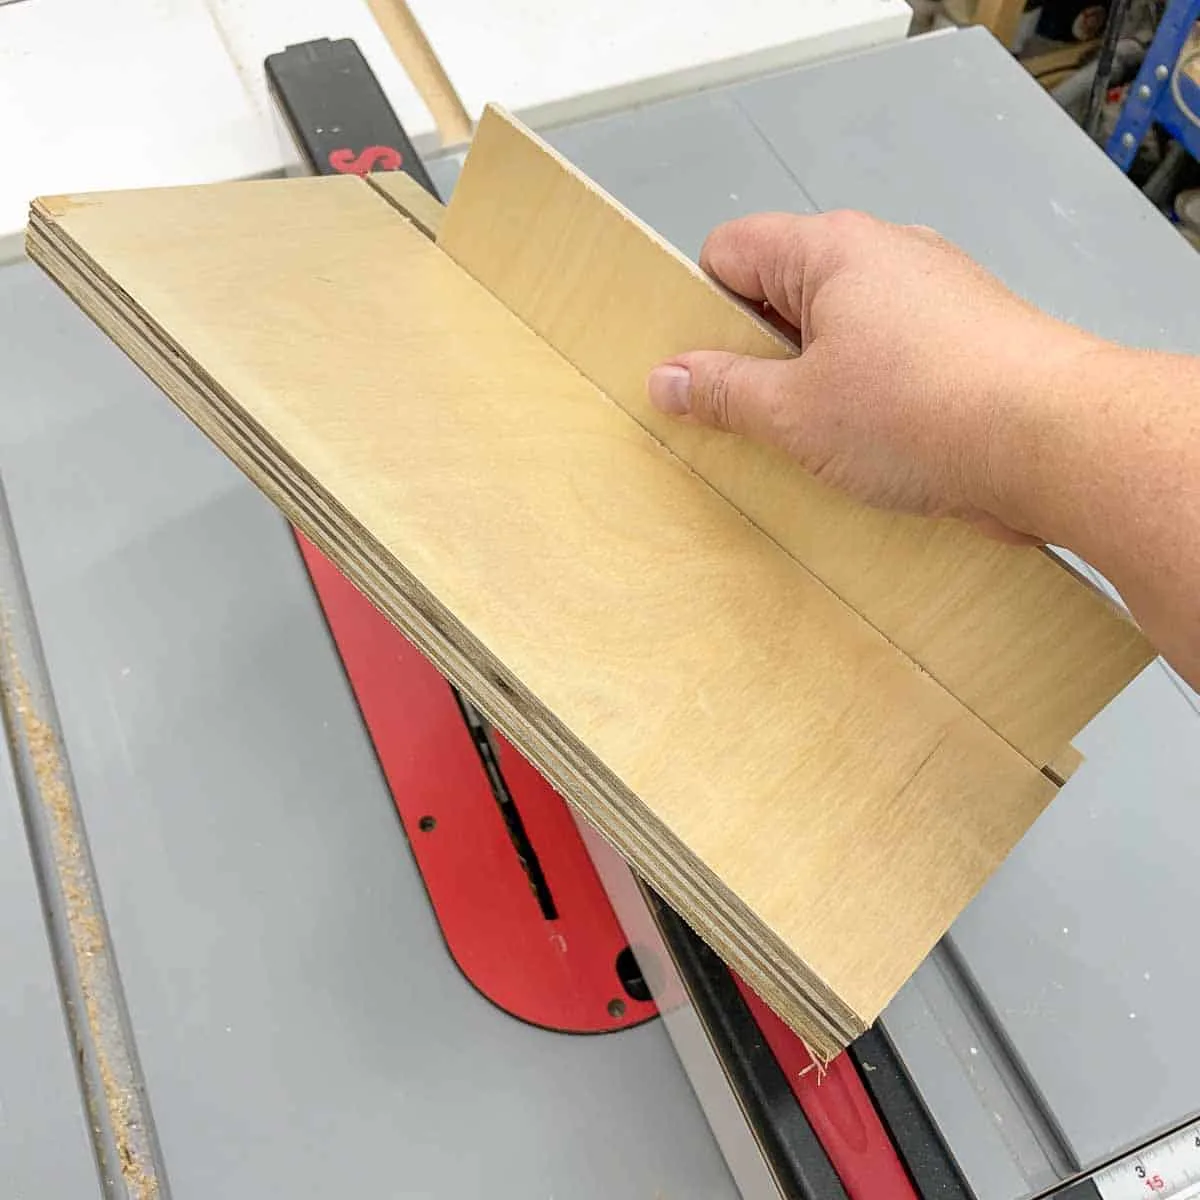
To kerf bend, you cut a series of grooves into a board (without going through the top layer of material) at close intervals. This creates relief points that allow the wood to bend without snapping.
Check out the video below for more about this technique.
Understanding saw kerf will help you make more accurate cuts in your next woodworking project! I hope you found this article helpful!
Check out these other woodworking tutorials!
Em
Monday 7th of November 2022
Thanks so much for all of your good -- and understandable -- advice!