Whether you're looking for a mobile miter saw stand or a permanent miter saw station, you'll find the perfect miter saw table plans here!

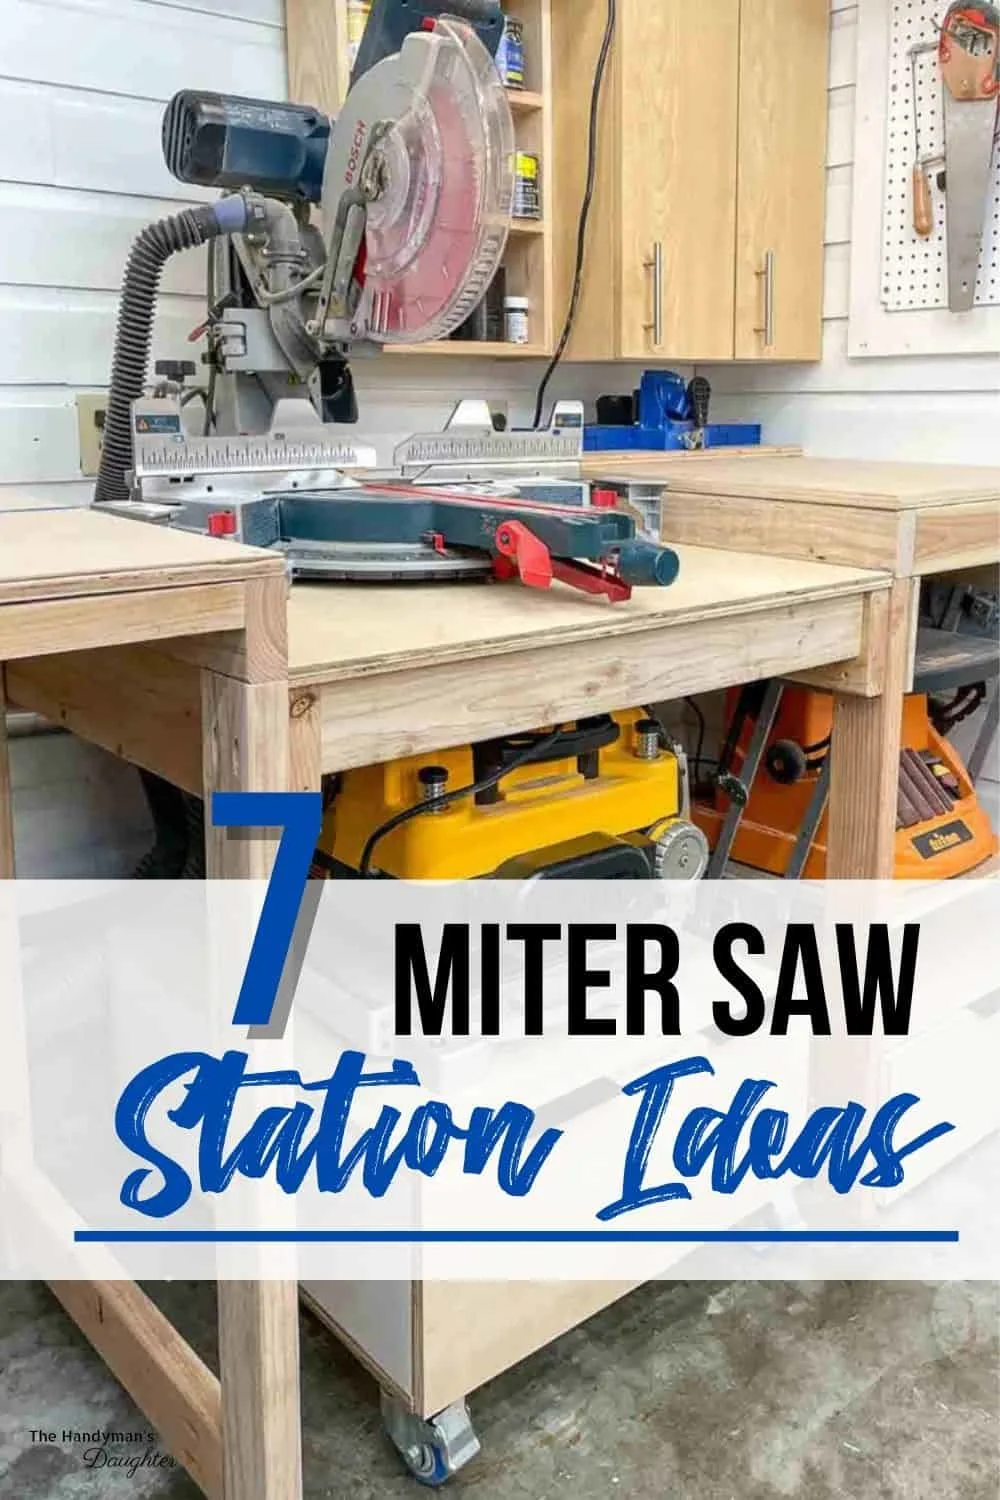
Every workshop needs a miter saw, but every workspace is different! Weekend DIYers might need a portable stand that can fold up and roll into a corner of the garage. More frequent builders might want a permanent miter saw station built into the wall with all the bells and whistles.
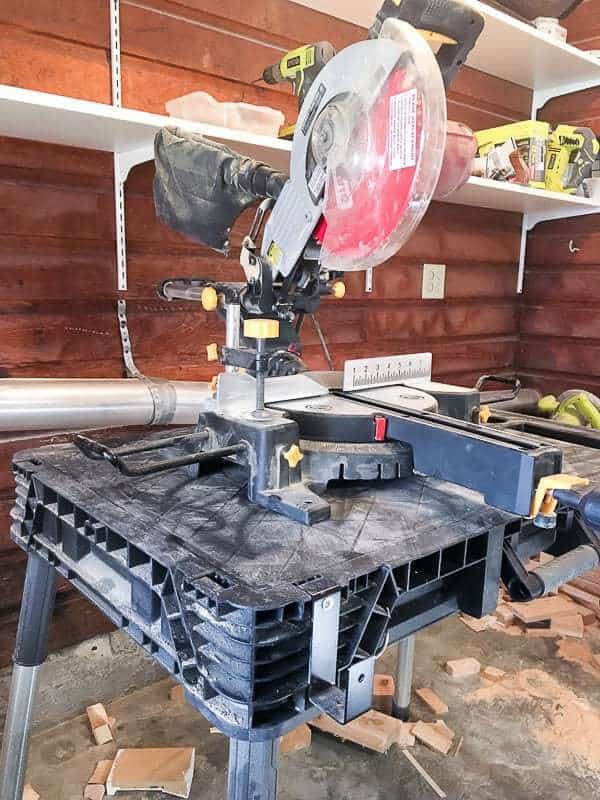
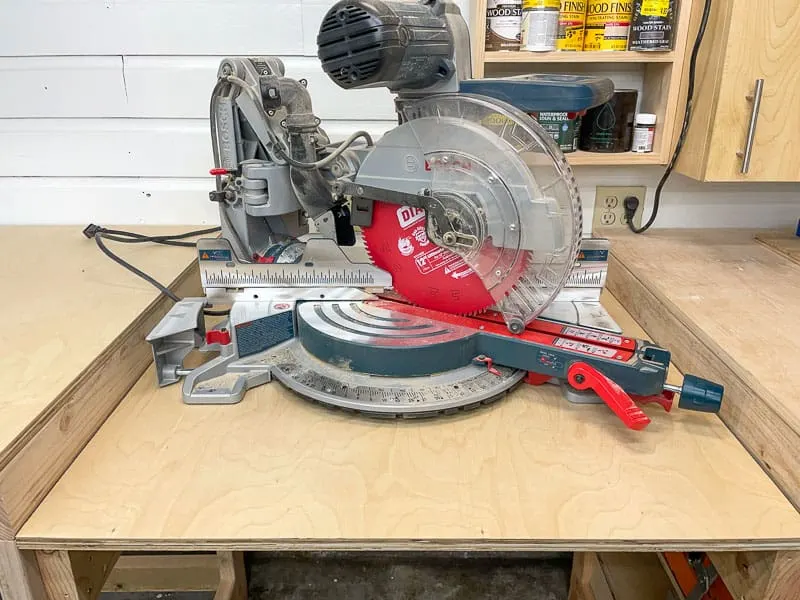
I started off with a cheap miter saw on an even cheaper plastic stand! The saw wasn't screwed down, so it would shift and slide every time I made a cut or bumped the table leg. Not a great solution, but it was better than working on the floor!

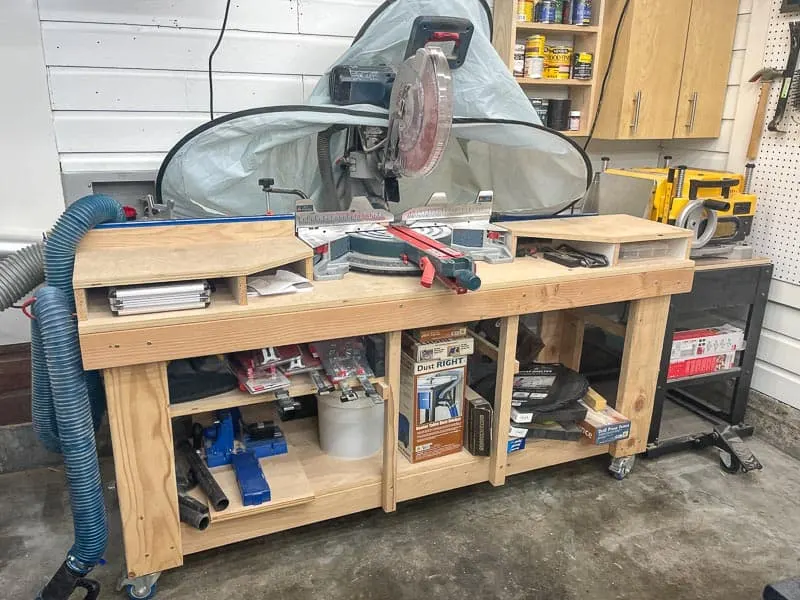
My first big workshop project was this rolling bench, and it served me well for many years! It's on casters, so I could wheel it around the shop. But eventually the workshop filled with other tools, and there wasn't enough space to move it anywhere!

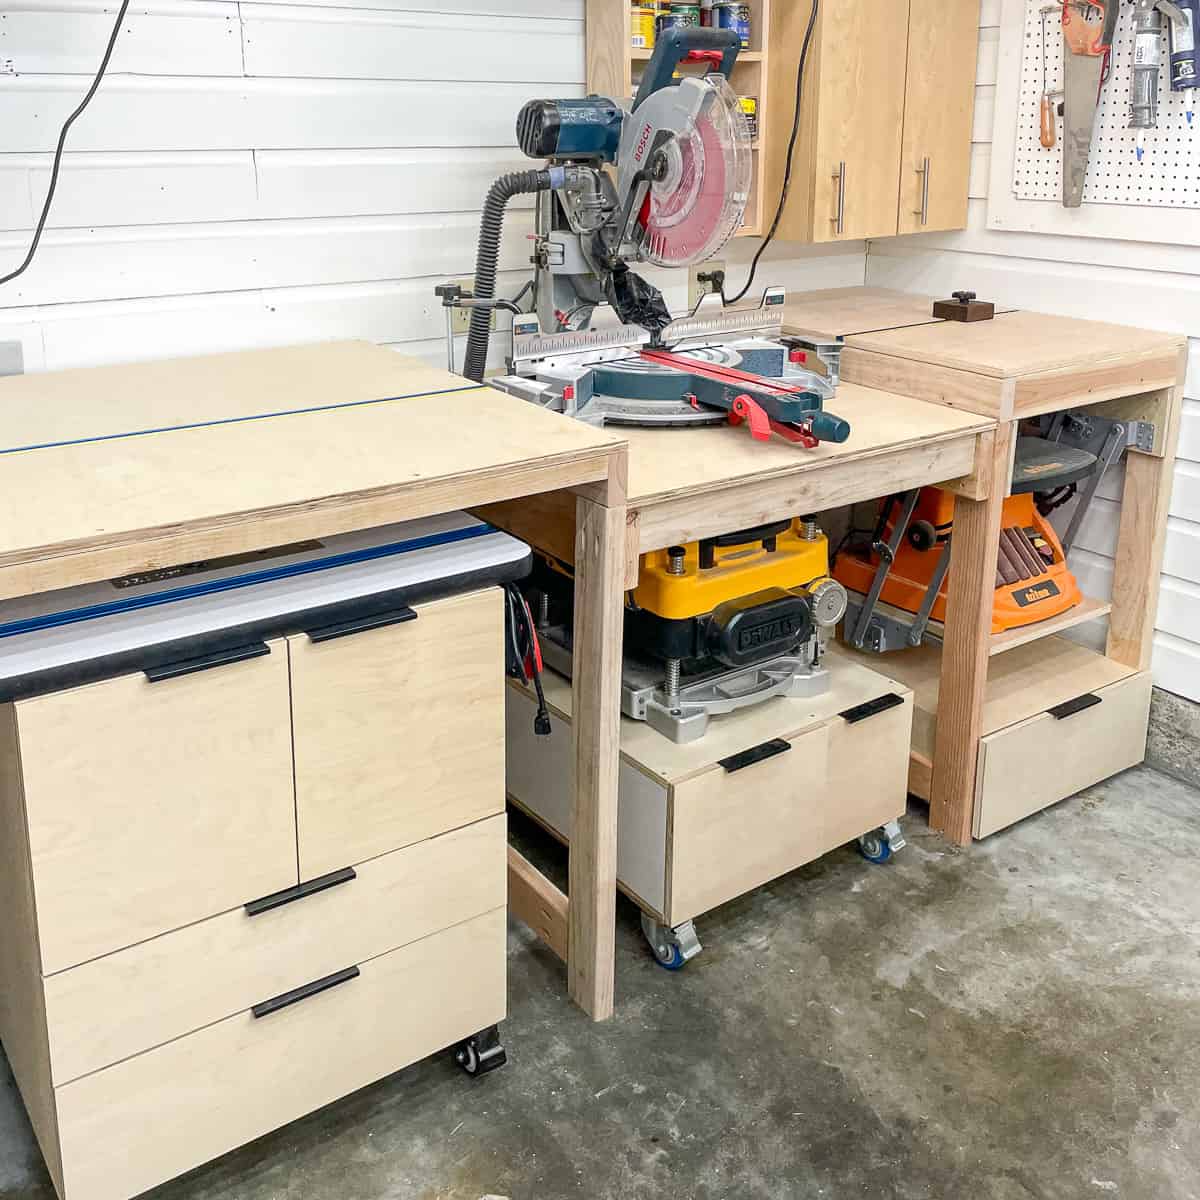
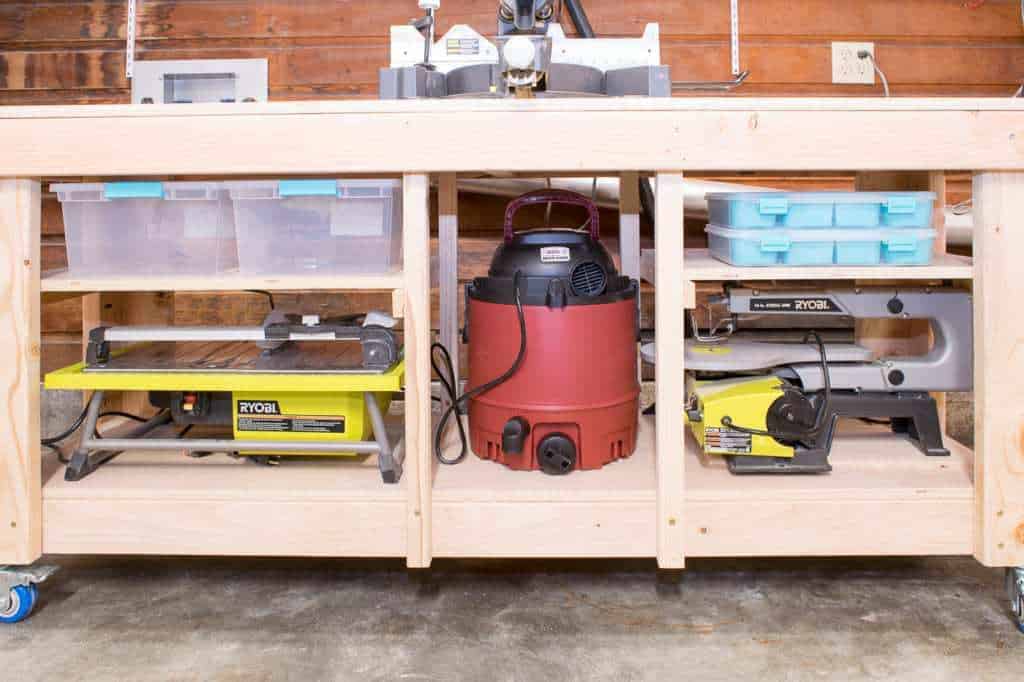
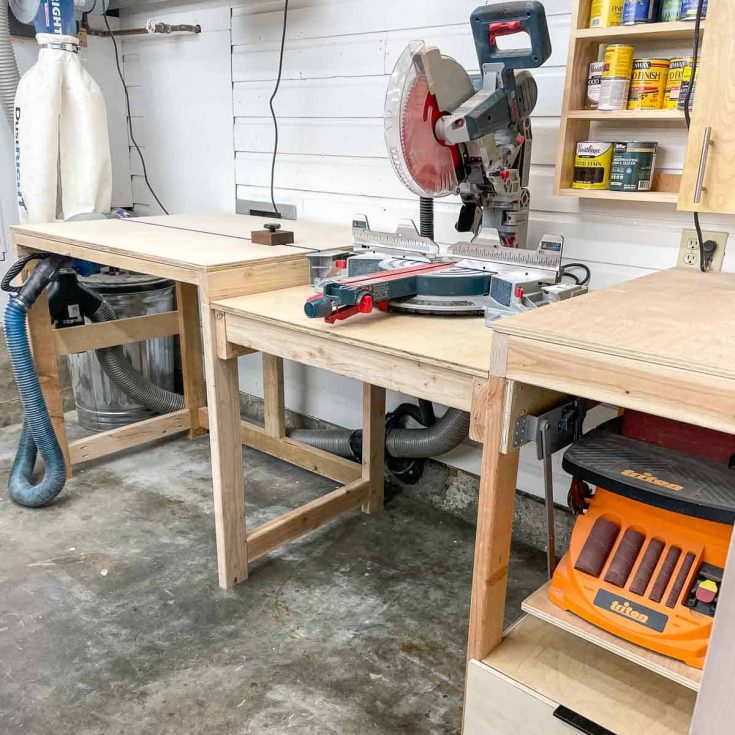
Eventually, I dismantled that stand and built a new miter saw station with storage for four major power tools! I have woodworking plans for the individual parts of the station, like the tool stand with lift, planer stand and router table, or you can purchase the bundle with all four projects here.

Things to consider when building a miter saw table
As I gained more experience, I learned what types of miter saw set up works for me. Everyone's workshop is different, so here are some things to consider when choosing a miter saw table plan for your space.
Side supports
All of these plans feature side supports on both sides of the saw. This will hold the board level throughout the cut so the piece doesn't fall or bind the blade.
If space is an issue, consider a miter saw stand with collapsible sides that can be rolled away when not in use. There are a few different methods for accomplishing this, with folding wings or special brackets that hold the sides up.


If you're planning to build a miter saw station that stays in place, think about where you want to position the saw on the bench. For most furniture projects, you're cutting pieces that are less than 36" long off the end of an eight foot board. Offset your saw so that there's more room to the left of the blade, so you have more support on the longer side of the board.
Height
How tall should a miter saw table be? It really depends on your height and what feels comfortable to you! Standard countertop height is 36", so that's a good starting point. You should be able to easily reach the handle at the top of the saw and line up the board with the blade without bending over.

Keep in mind that the "wings" will be higher than the platform the saw sits on, in order to line them up with the deck of the saw. That height difference is typically between 3 and 4 inches, so if 40" is too high to be comfortable, you should adjust the dimensions accordingly.
Stop Block
A miter saw stop block makes cutting multiple pieces of the same length quick and easy! Just position the block at the length you need, and butt the end of the board up to the block when making the cut. There are several methods for adding a stop block system to your miter saw stand, and it can really help increase productivity and accuracy.

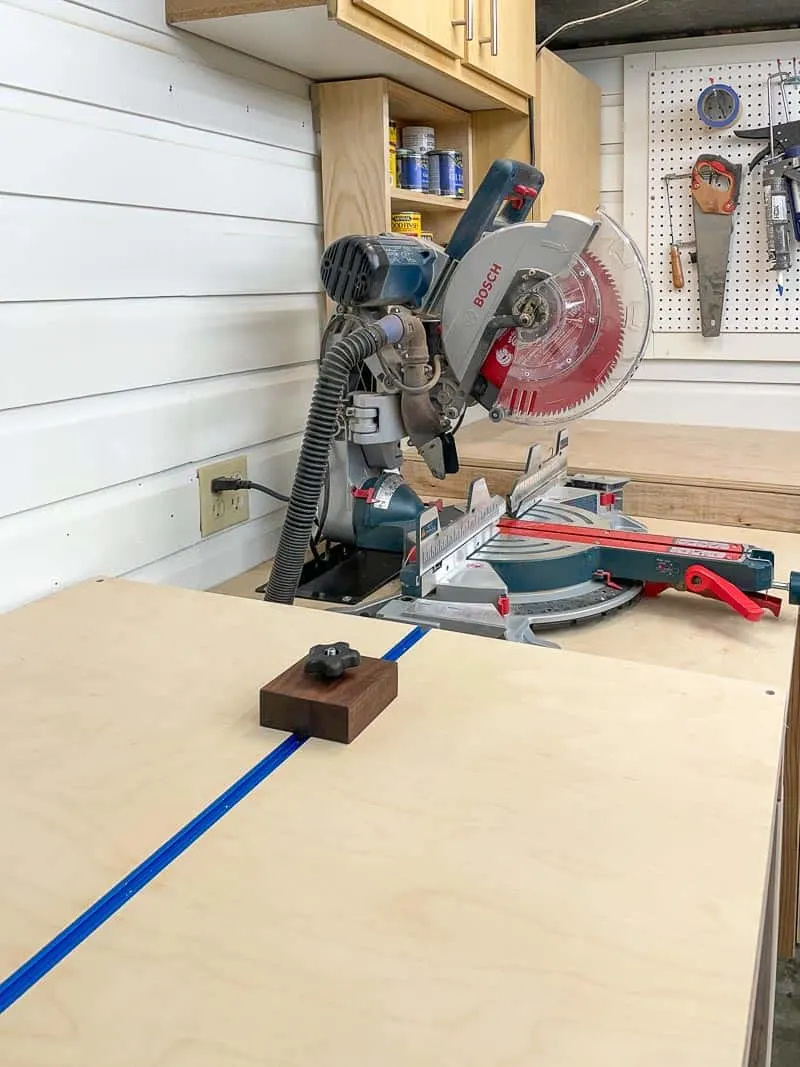
My previous miter saw stand had the Kreg stop track system with a fence extension on either side of the blade. My new set up has a recessed T track stop block that gives me more flat surface area in the workshop. Either method works great!
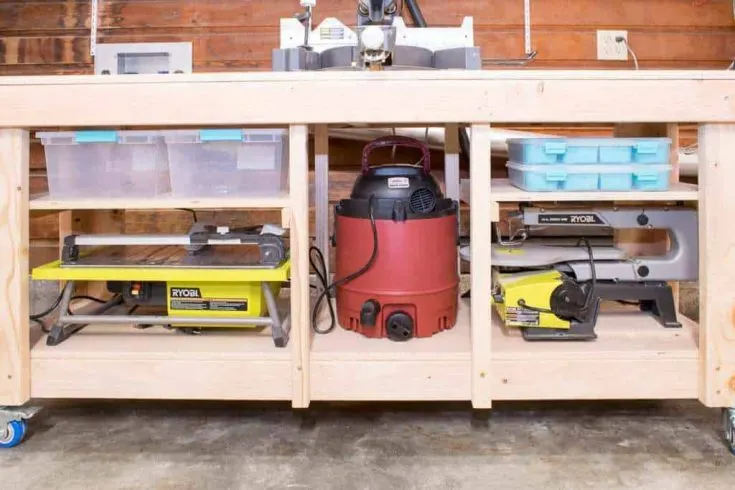
Storage
Space is always at a premium in the workshop, so put the space under the saw to work with some extra storage! Even a few simple shelves can really help!
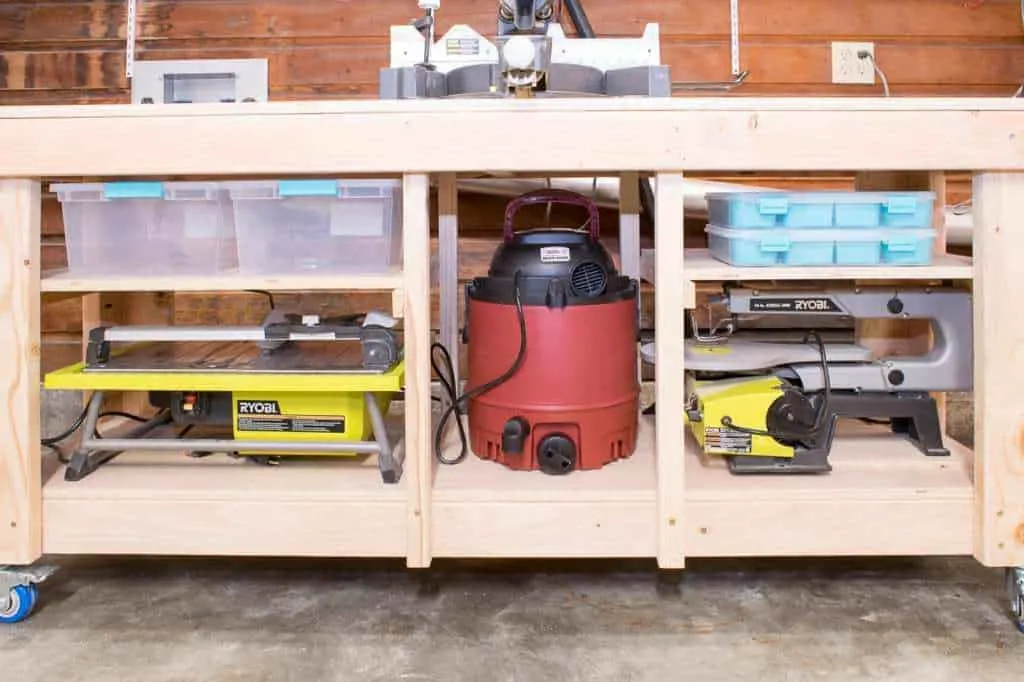
Keep in mind that open shelves will collect sawdust that will need to be cleaned up every once in a while. Drawers and doors help keep the tools stored underneath dust-free, and hide the clutter!
Dust collection
Miter saw dust collection is tricky. Every cut seems to send a plume of sawdust flying! I made my own miter saw dust hood for my old stand, and it helped direct the fine particles into the dust collector instead of my lungs.
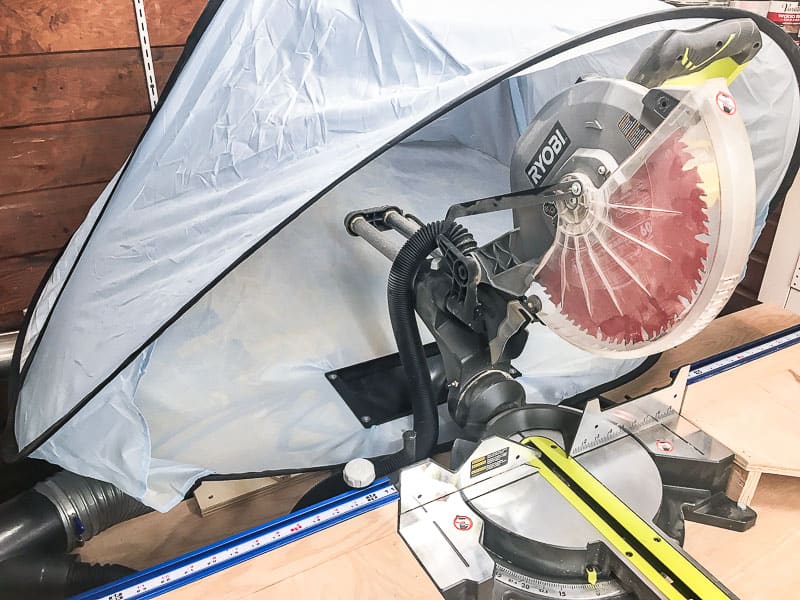
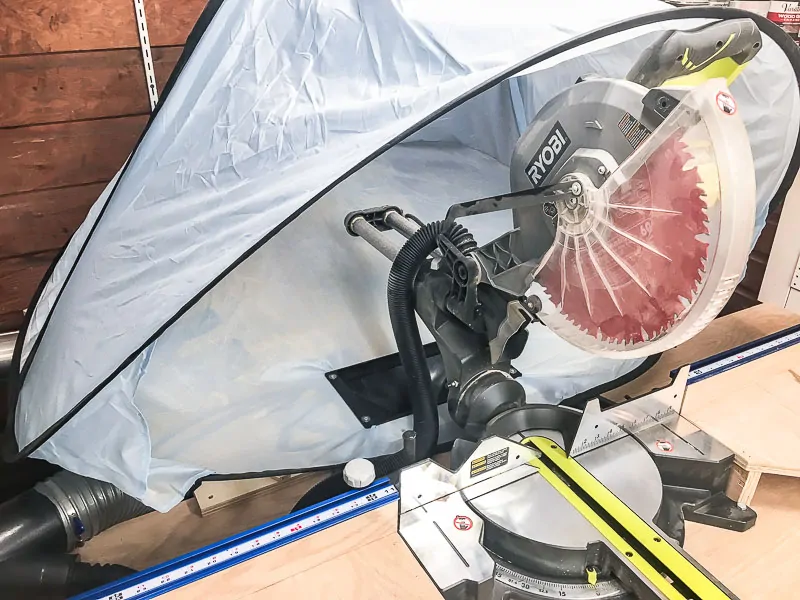
At the very least, you should consider hooking up a shop vac to the miter saw dust port to collect as much as you can right at the source. The video below is a great example of how you can make a few simple alterations to your set up to improve the dust collection.
Ready to start building your own miter saw table? Check out the projects below for inspiration!

Think you don't have space in the workshop for more tools? Think again! This miter saw station combines up to four major tools in one small footprint to maximize space and productivity!

This miter saw table can also be used as a workbench, and is easy to customize to fit your space. Add shelves, drawers or cabinet doors for extra storage underneath!
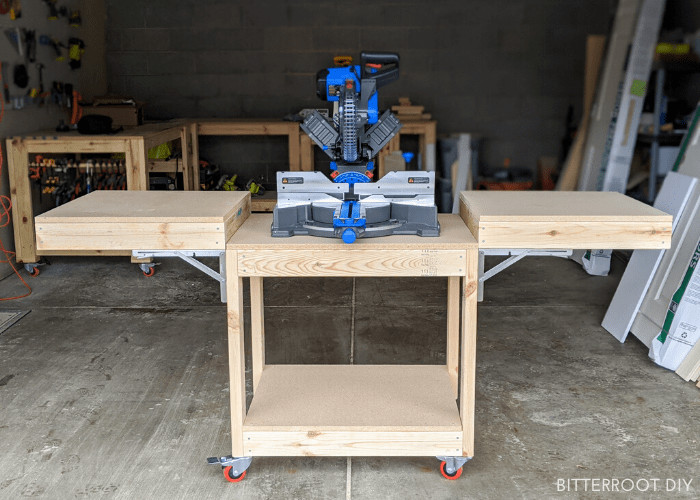

Move this miter saw stand wherever you need it and put it back when you're done. The sides fold up with heavy duty brackets, so you can store it away in a corner until it's time to get back to work!

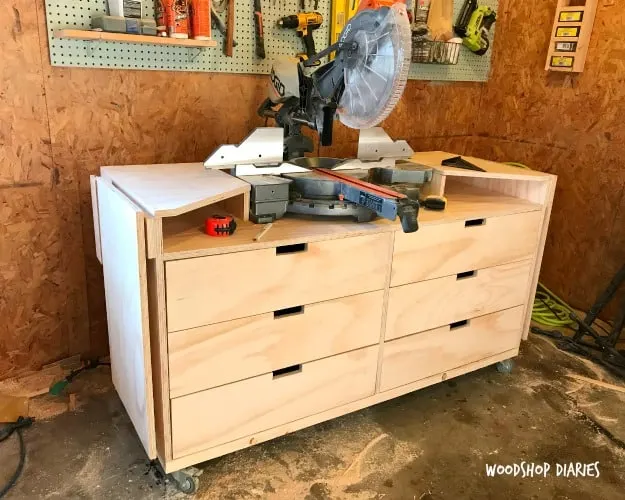
This miter saw stand has tons of extra storage space with six drawers! Extensions on both sides allows you to cut longer boards with ease.


This rolling miter saw stand has doors and drawers to keep sawdust out, plus folding wings for extra cutting capacity.


This miter saw station is so cool! The sides unfold like a pocket knife, for a super sturdy hold. It also features stop blocks on either side of the blade for easy, repeatable cuts.


If you have uneven floors in your basement or garage, the leveling feet on this miter saw station will help! Plus, it features an extension wing for supporting those extra long boards.
Which one are you planning to make? I'd love to hear which is your favorite in the comments below!
Check out these other workshop project ideas!