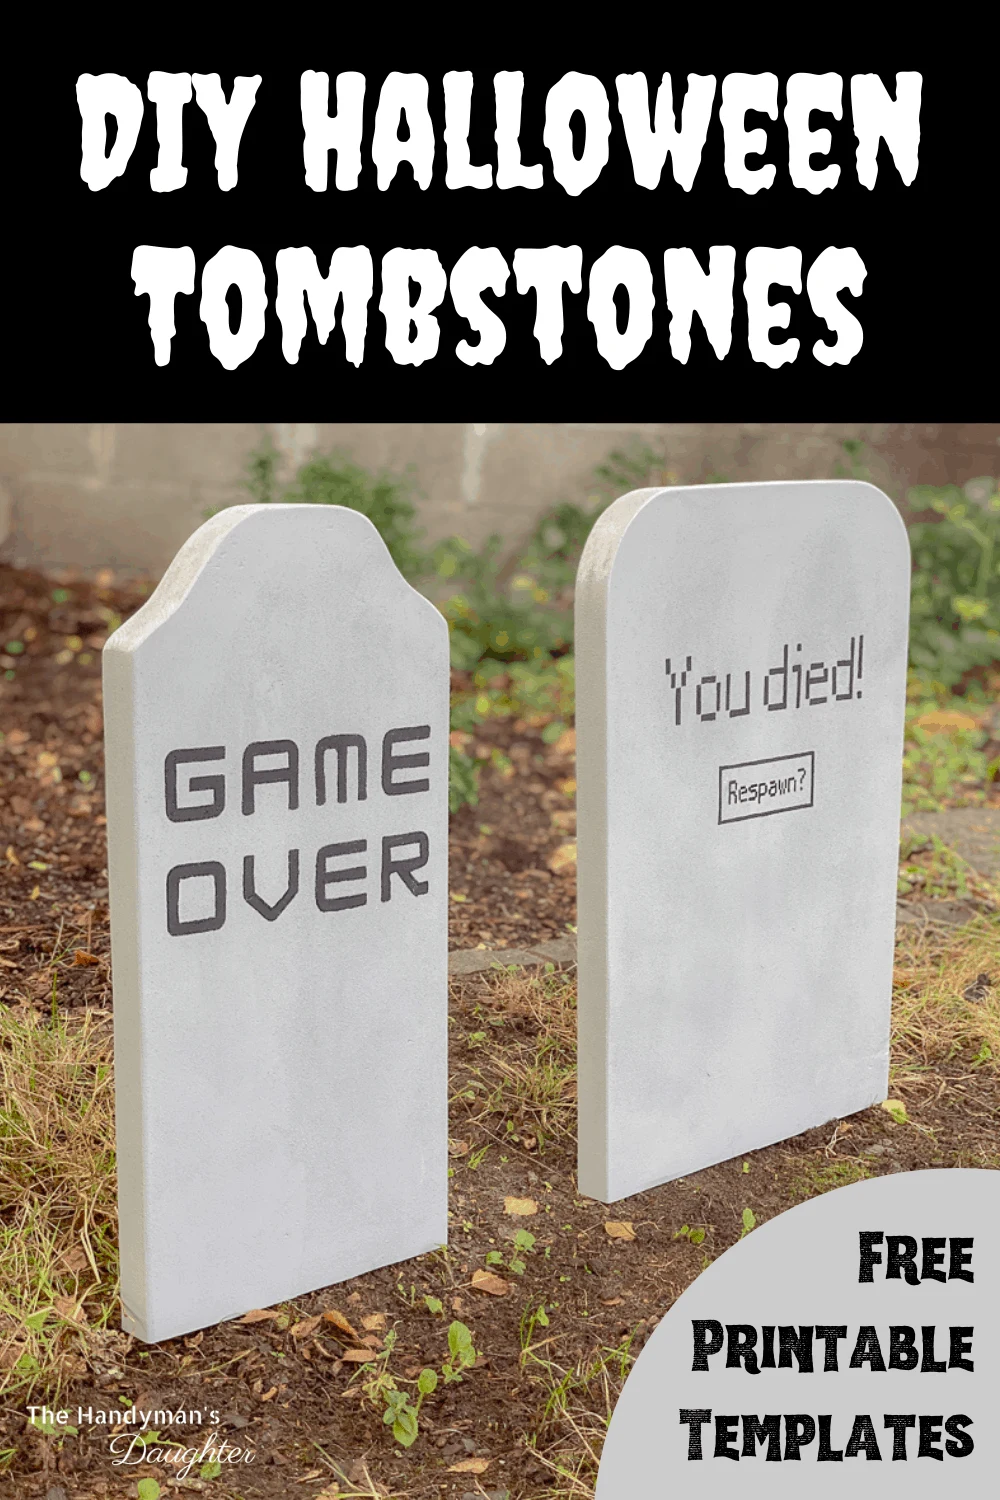
These DIY Halloween tombstones are super easy to make with just a few pieces of scrap wood! Download the free templates and get building!

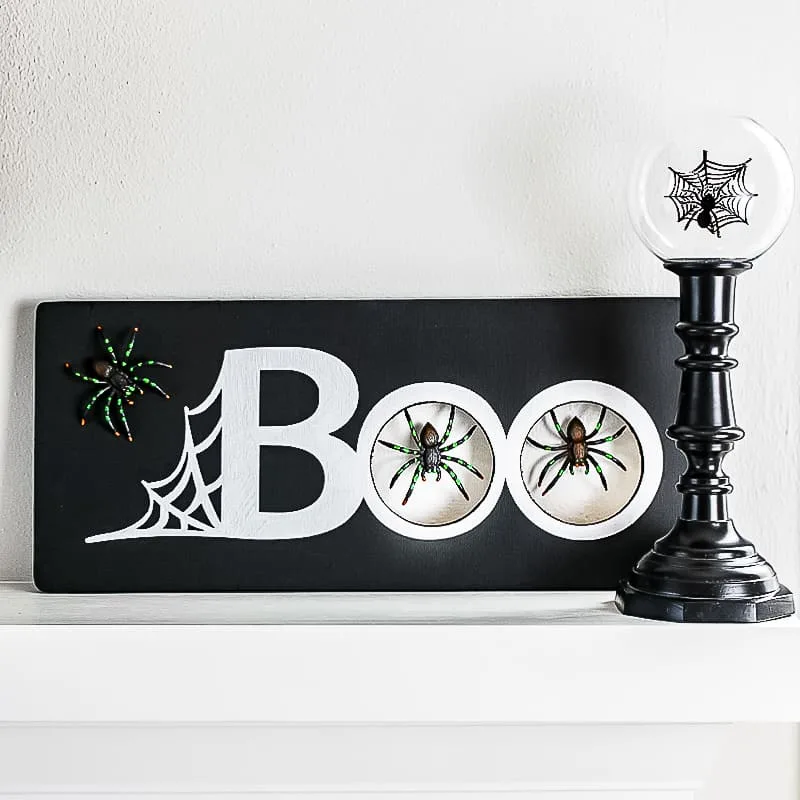
I love digging through my scrap wood pile and coming up with holiday decoration ideas I can make for free! Halloween is my favorite, and I've made pallet pumpkins and a spooky spider sign for our mantle. Check out more DIY outdoor Halloween decorations here!

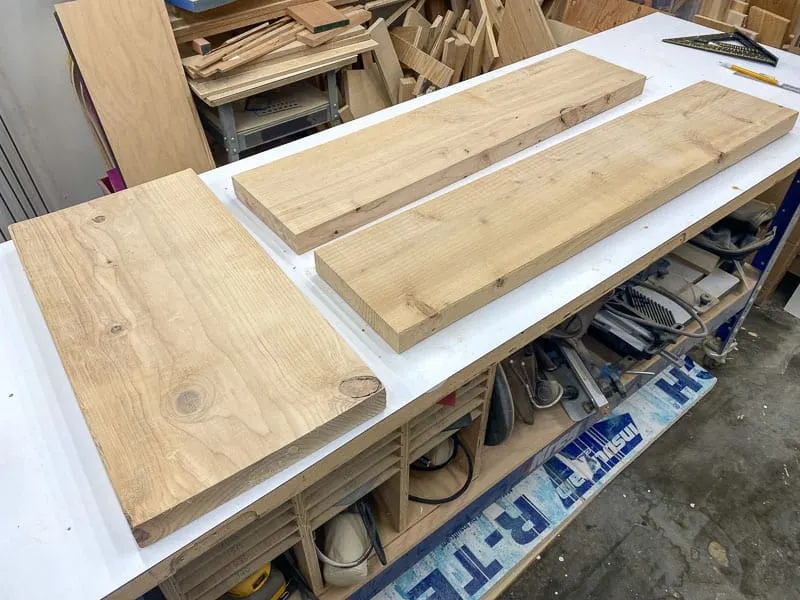
I've had these big pieces of 2x12 cluttering up the lumber rack for YEARS, but they're too twisted and warped to build anything useful. Instead of tossing them, I turned them into fun DIY Halloween tombstones to decorate the front yard!

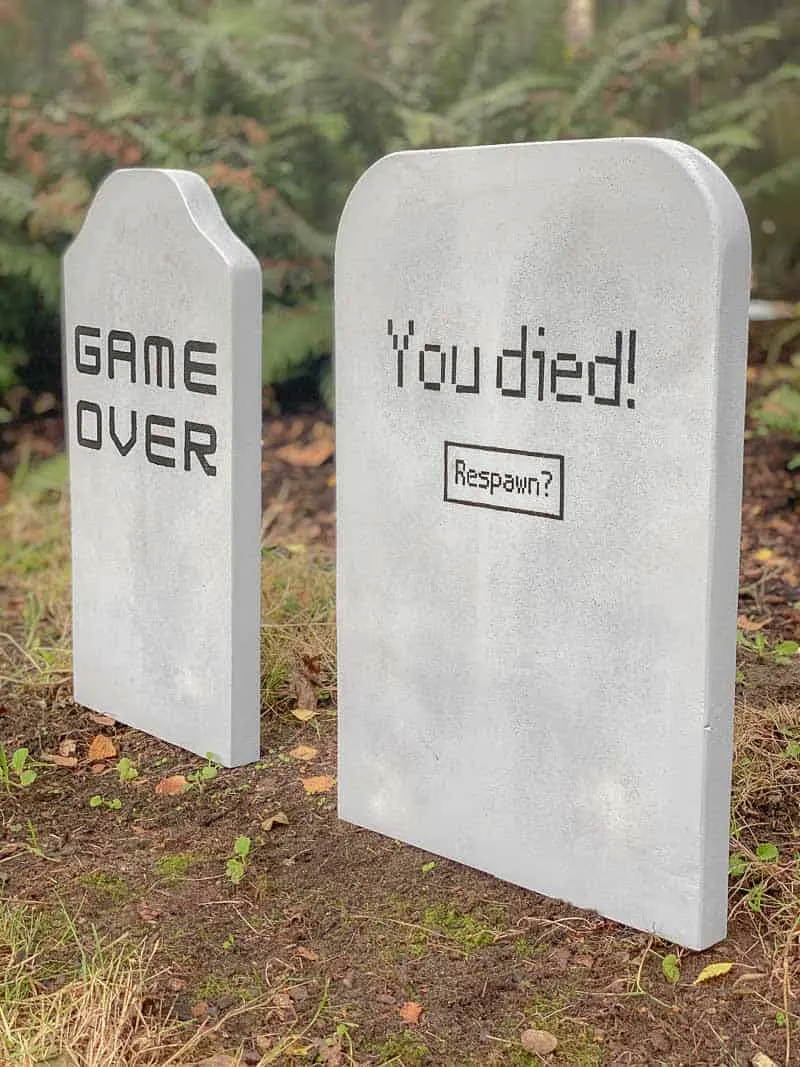
We're a family of gamers, so I went with a video game theme for my epitaphs. You can get the free printable PDF with these funny tombstone sayings here!
Here's how to make your own wooden tombstones!
Materials Needed
- 2x12 board
- Jigsaw
- Sander and sandpaper
- Gray exterior paint
- Play sand (for optional texture)
- Carbon transfer paper
- Ball point tracing tool
- Black craft paint
- Small artist brush (flat tip works best)
- Paint pen (optional, but helpful!)
- Stakes (I used these concrete form stakes)
How to make Halloween tombstones
Cut the wood
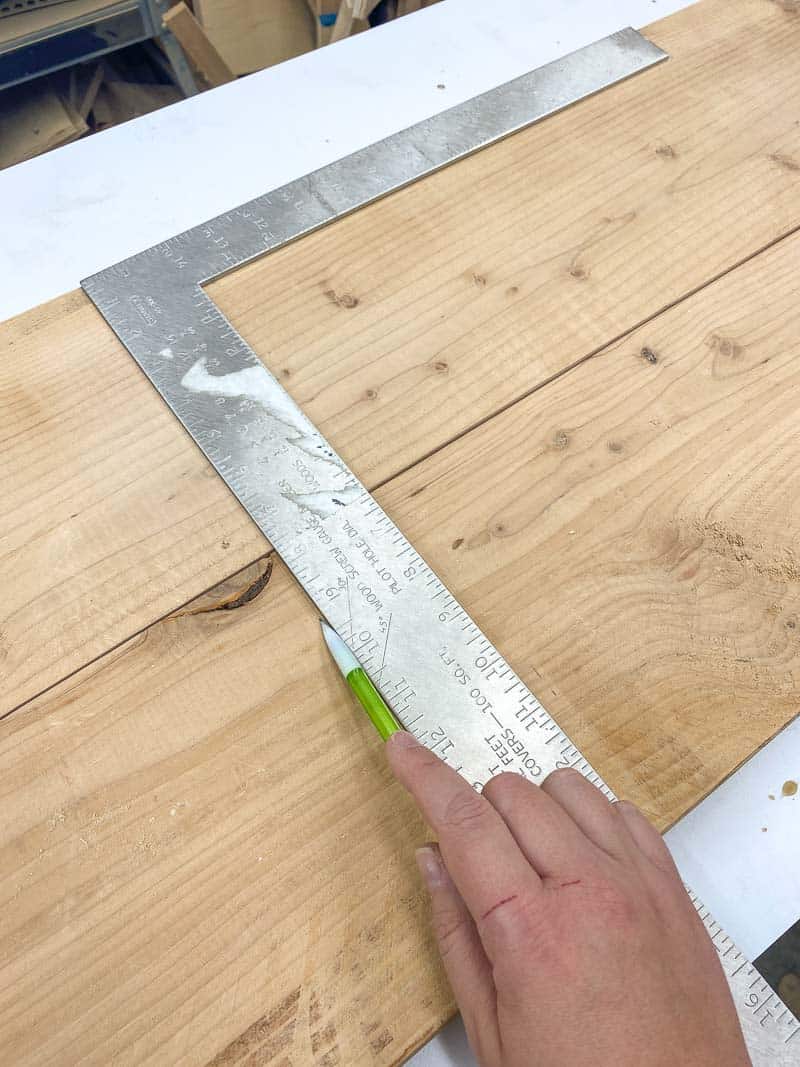
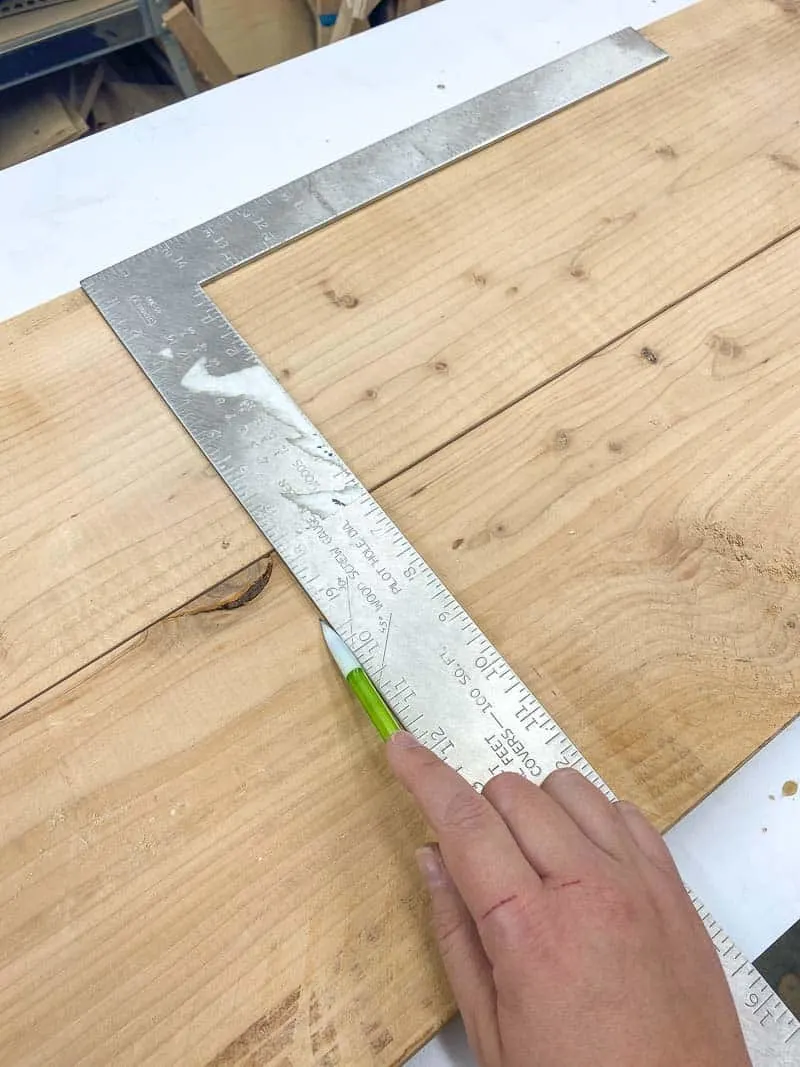
I had one full width 2x12 piece, and two pieces that had been cut down to about 8" wide from a previous project. I decided to join the two narrower boards together to create a wider tombstone, so I lined them up and marked the cut across both of them.
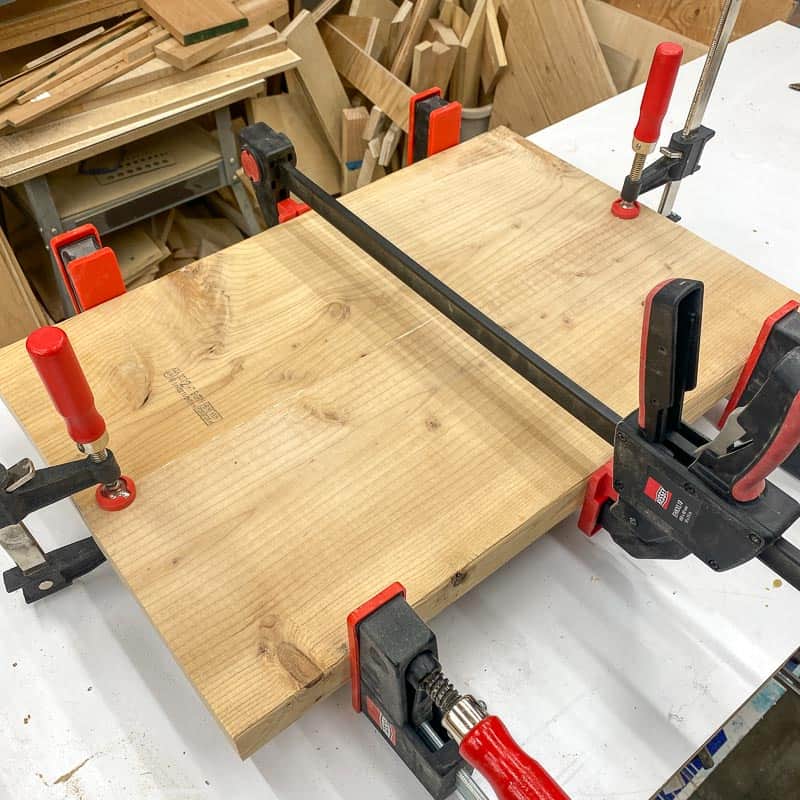
Each narrow board had one straight, clean cut edge already, so I didn't even have to trim off the rounded corners. I applied wood glue along the edge, then put them in clamps to dry for an hour or two.

Meanwhile, I drew a pattern on the corners of the other board to make it look more like a tombstone, then cut it out with a jigsaw.

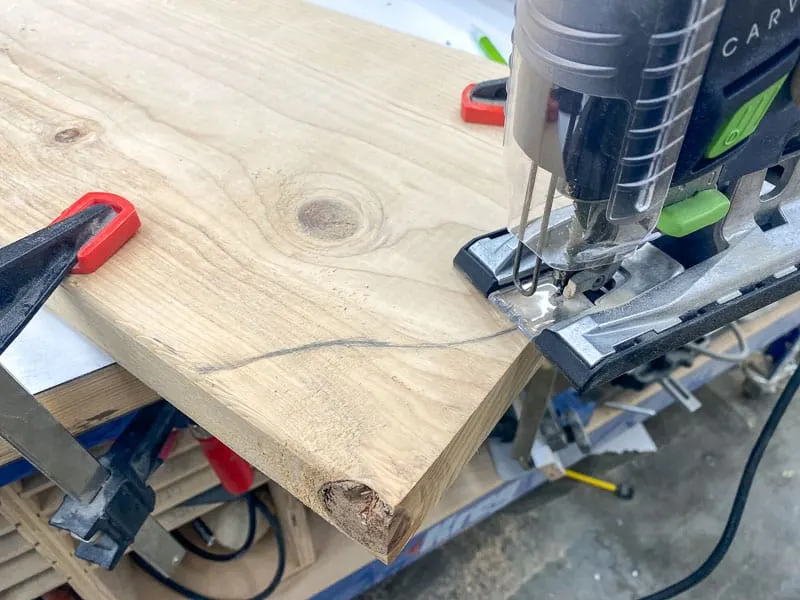
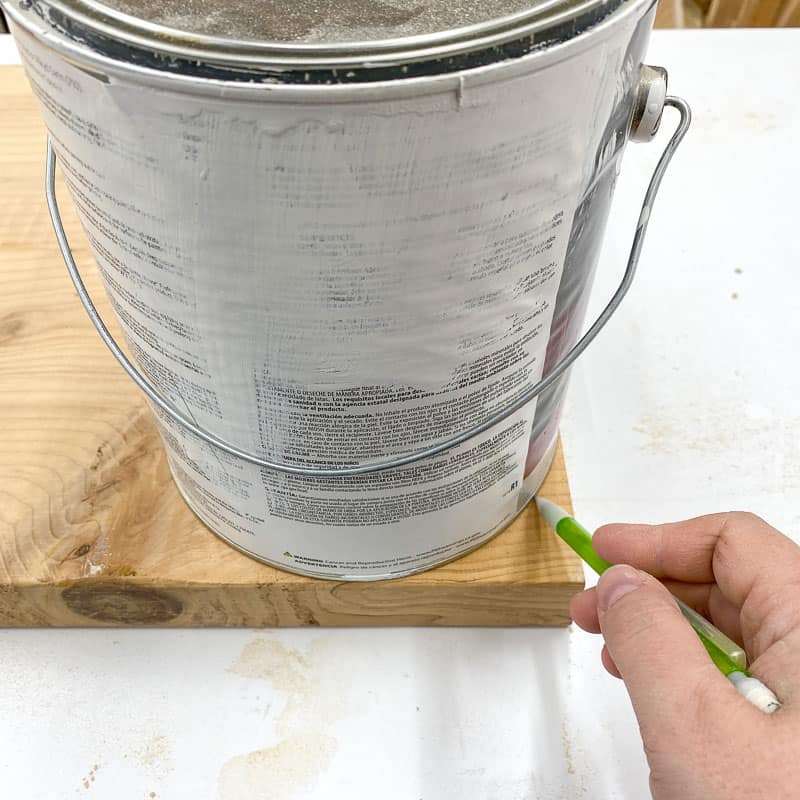
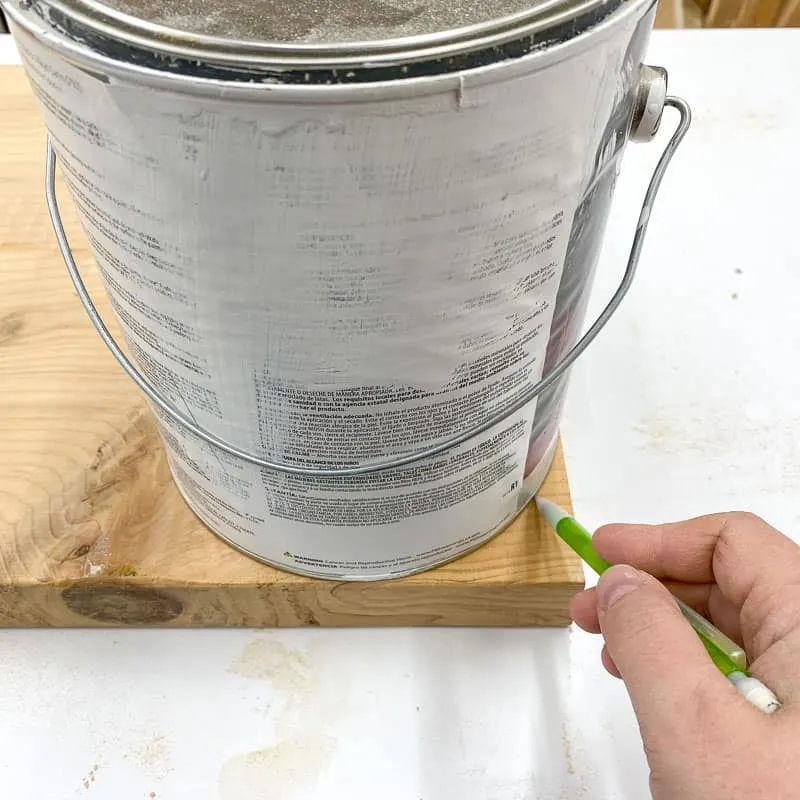
When the glue dried on the wider panel, I used a paint can to trace a curve on the top corners. Then I cut them out with the jigsaw and used the sander to round everything over.
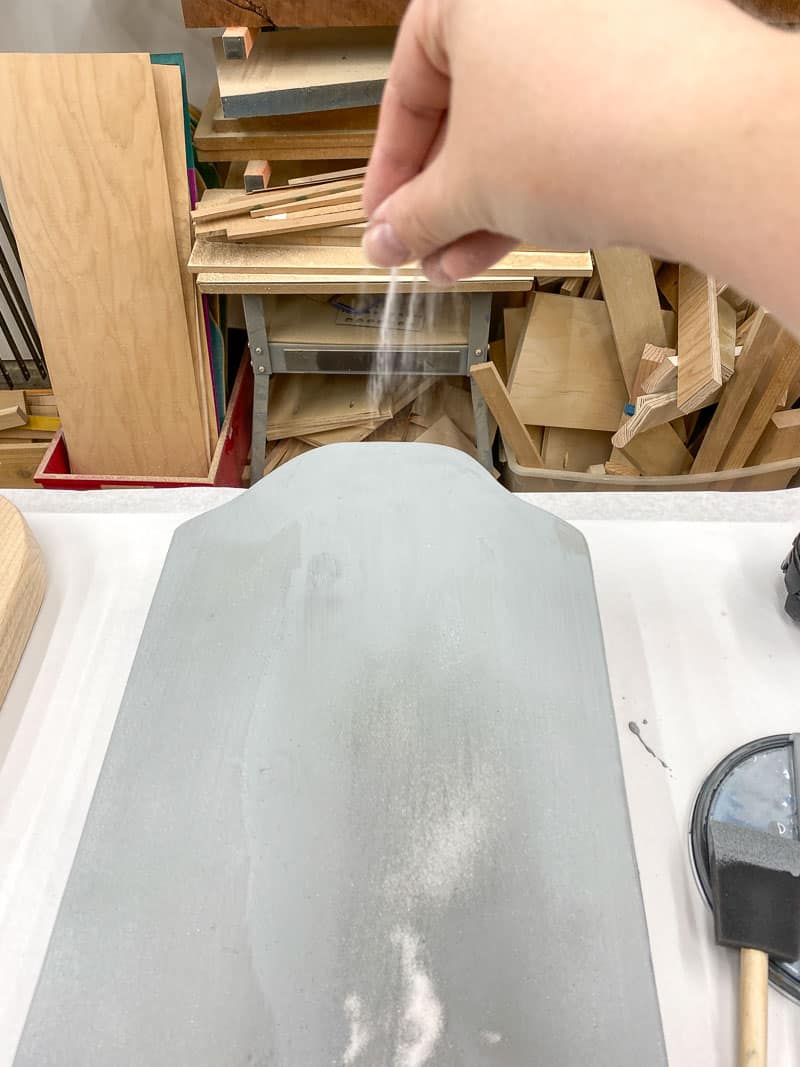
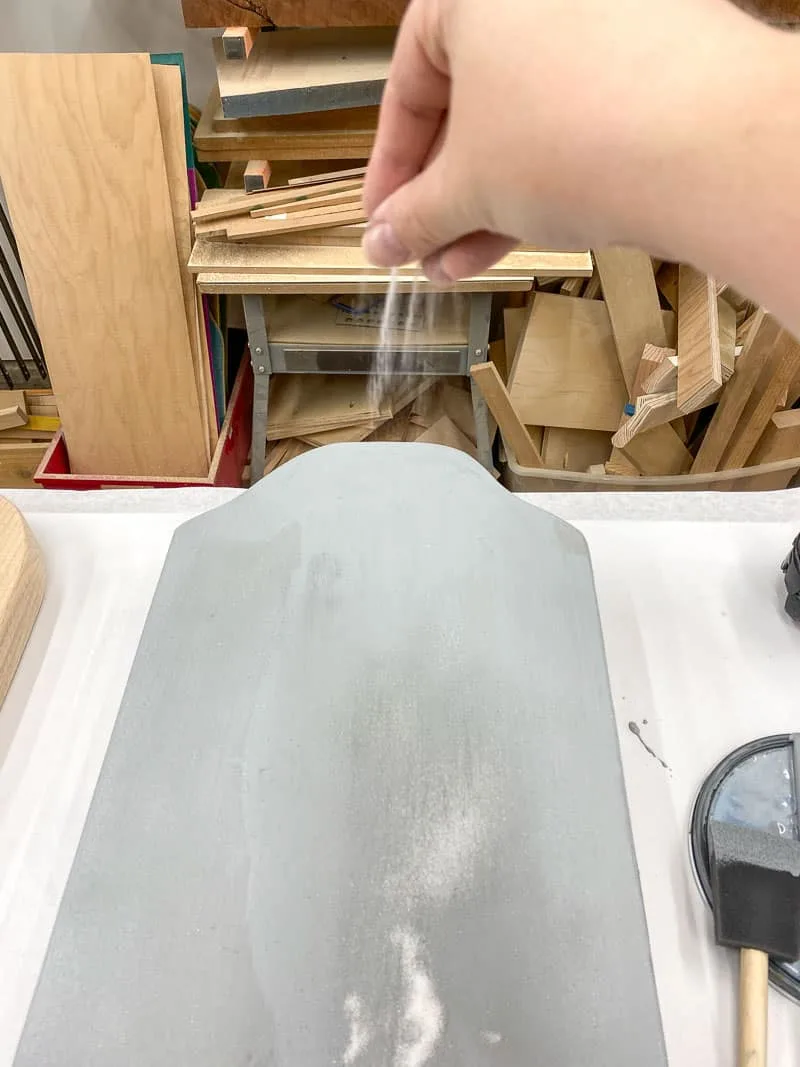
Paint and texture
I wanted the tombstones to look like stone or concrete instead of wood, so I did the same texturing trick that I used on my son's climbing wall. While the first coat of paint was still wet, I sprinkled a little play sand onto the surface.
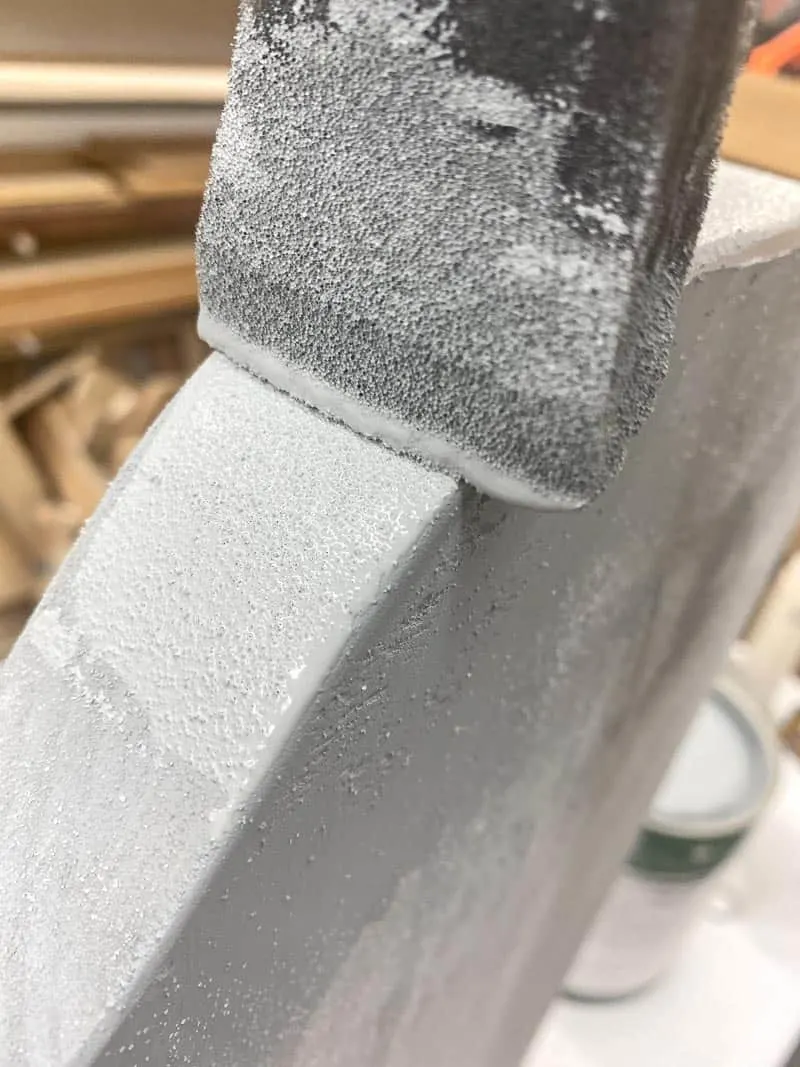
When the paint is dry, brush off any excess sand. Then apply a second coat to seal in the sand and make the color more uniform. Instant stone texture!

Trace the template
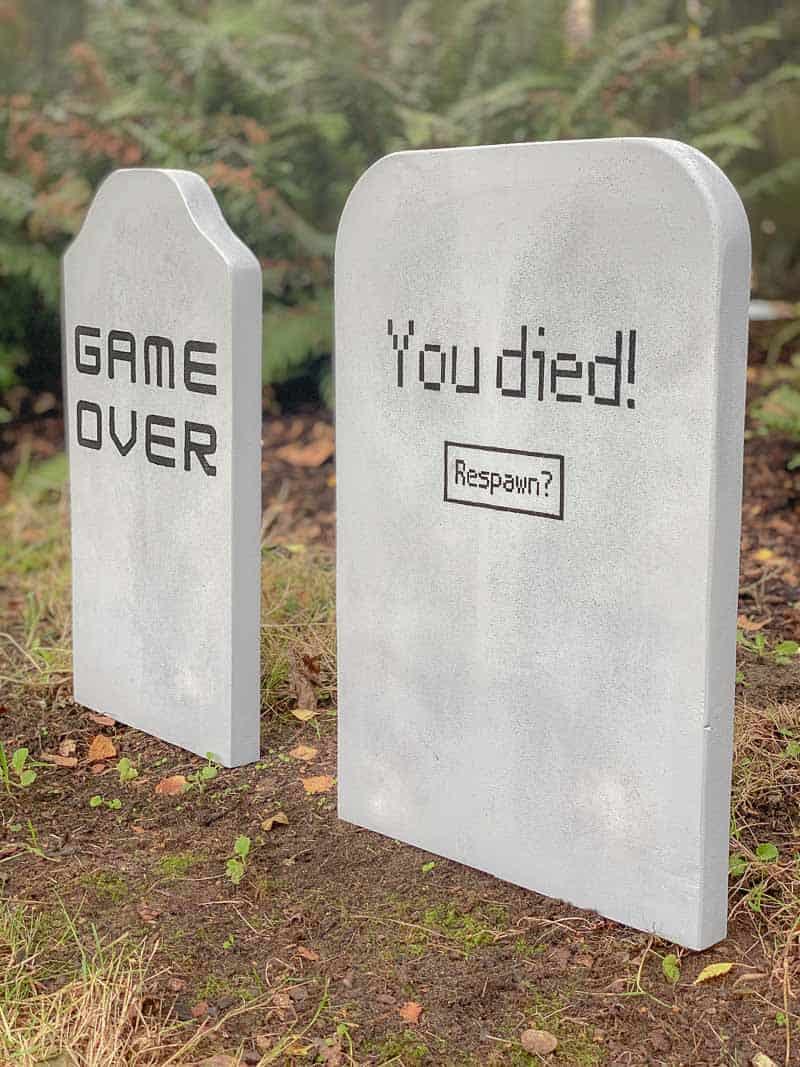
I designed these templates based on Minecraft and other video games with a GAME OVER screen.
Place a piece of carbon paper under the printed design, and tape it in place on one side. Use a ball point pen or a rounded tip tool to trace around the outside edge of the letters. Don't use a pencil or anything sharp, or you'll just rip through the paper.
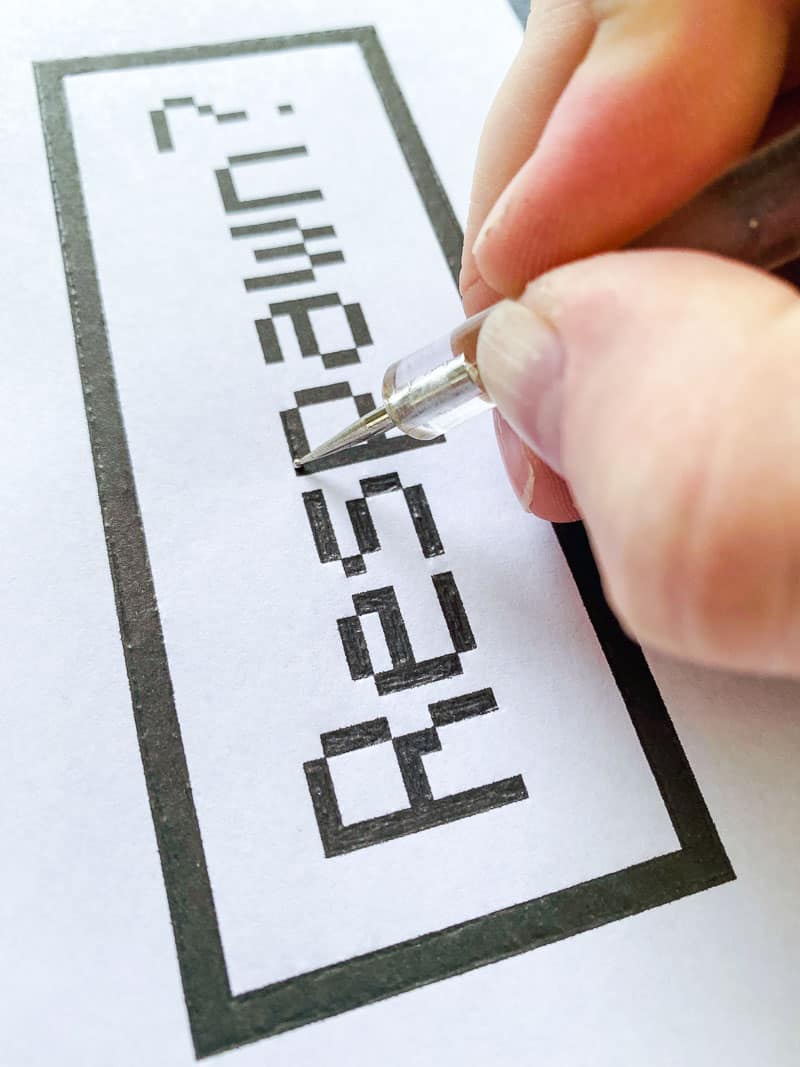

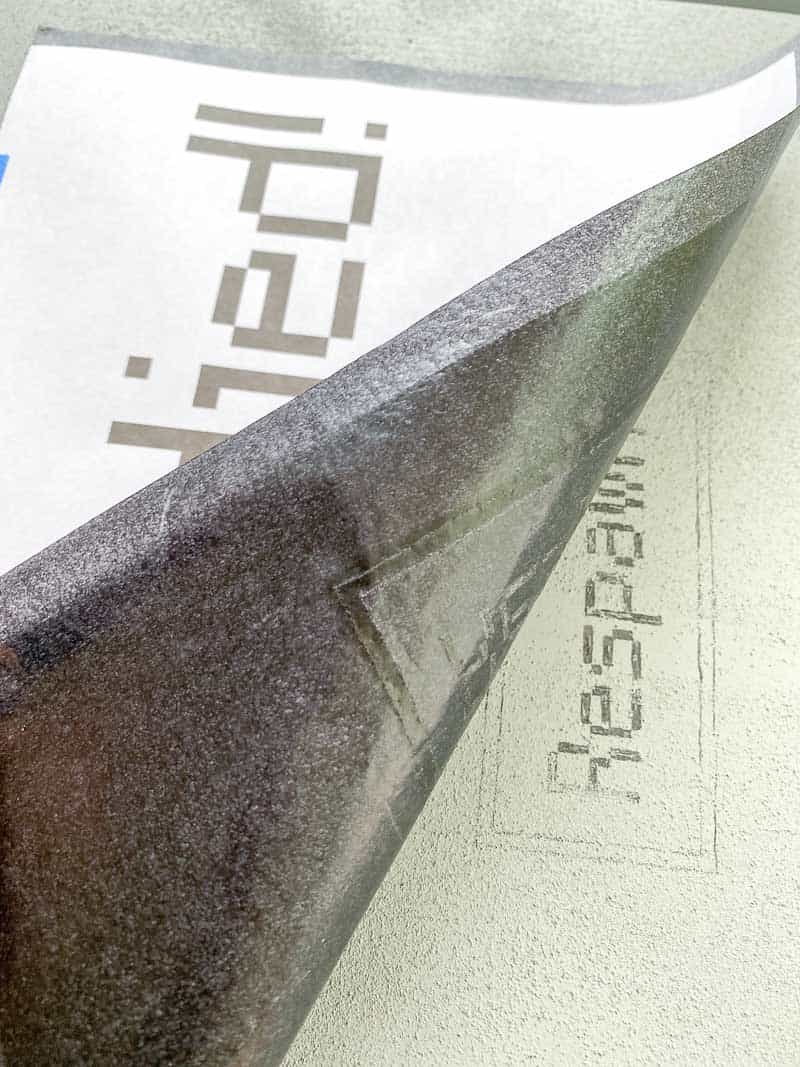
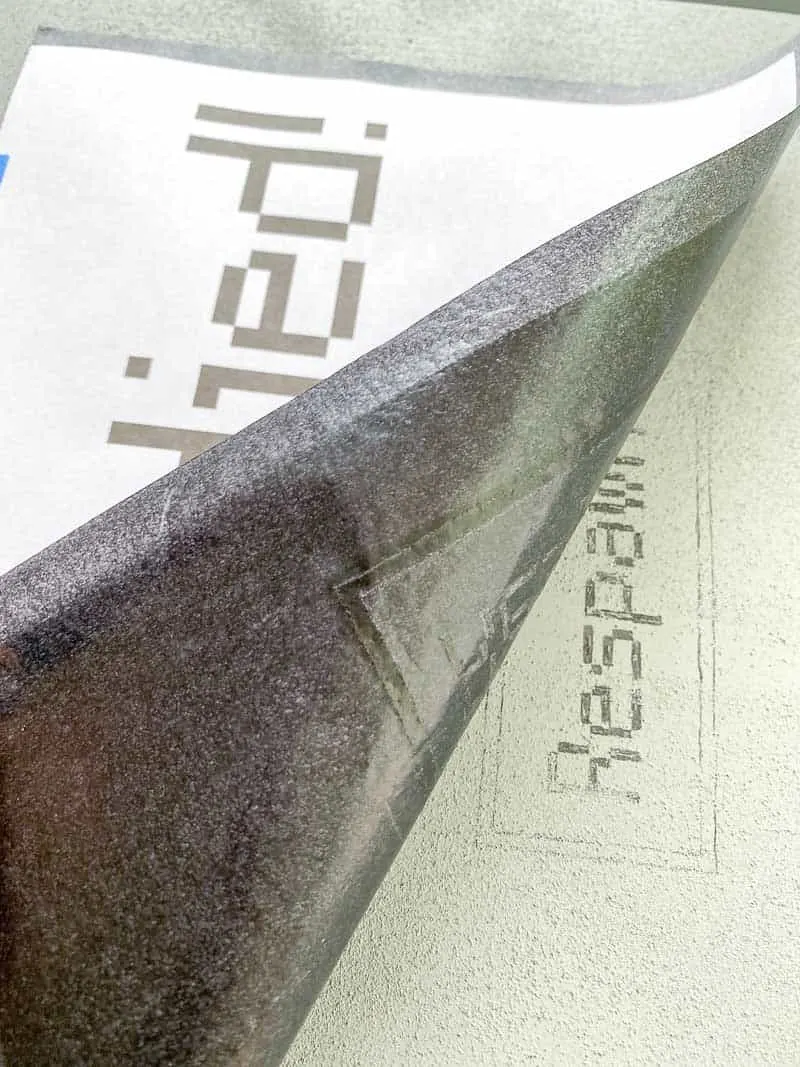
Every once in a while, lift up the template and carbon paper so you can check to see if the design is being transferred legibly.
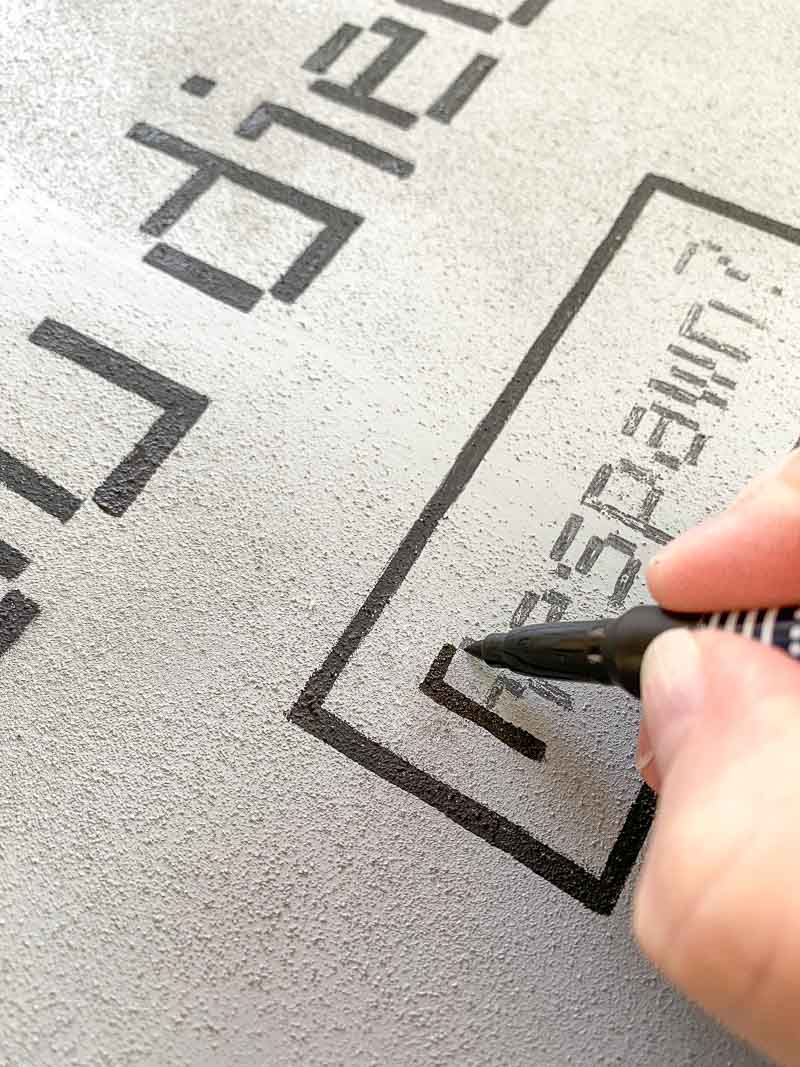
Paint the traced design
Pull up a chair and get comfortable, because this step can take a while! I started off using a regular craft paint brush to fill in the letters. But I wasn't getting the crisp lines I wanted, I ran out to the store to get a few flat tipped brushes that worked much better!

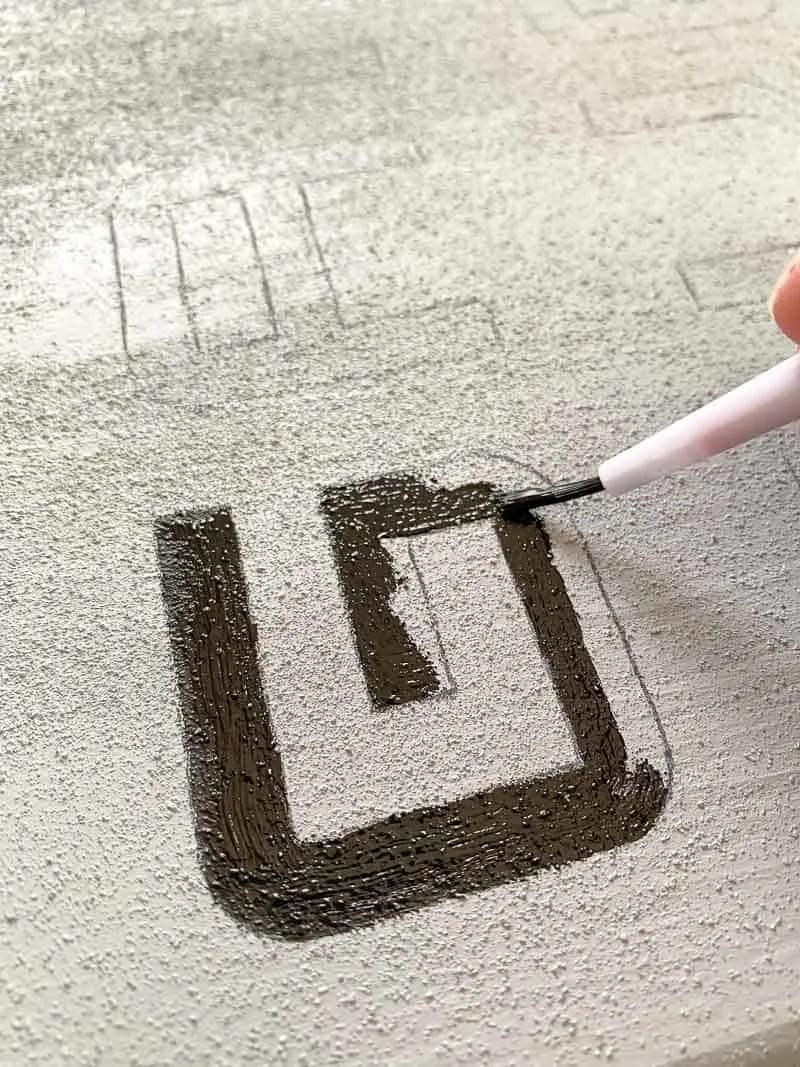
For the really narrow letters and sharp corners, I used a black paint pen instead. It probably would have been faster and easier to use the pen for the whole project!

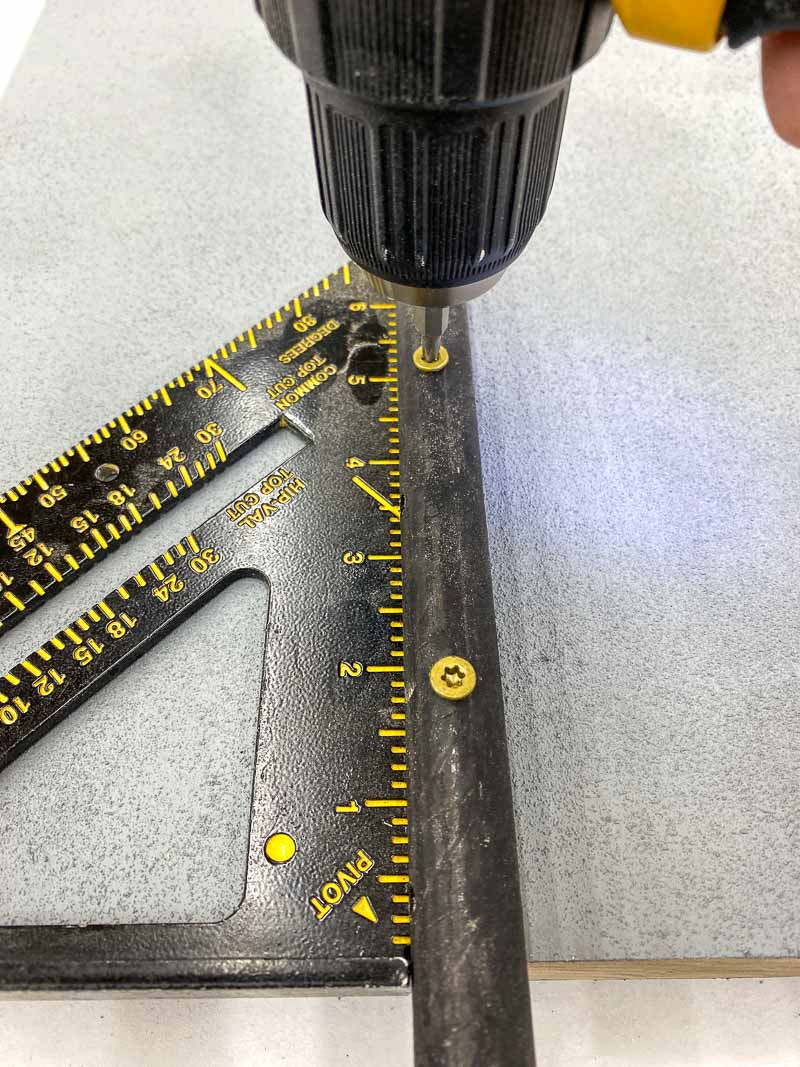
Attach stakes to the back
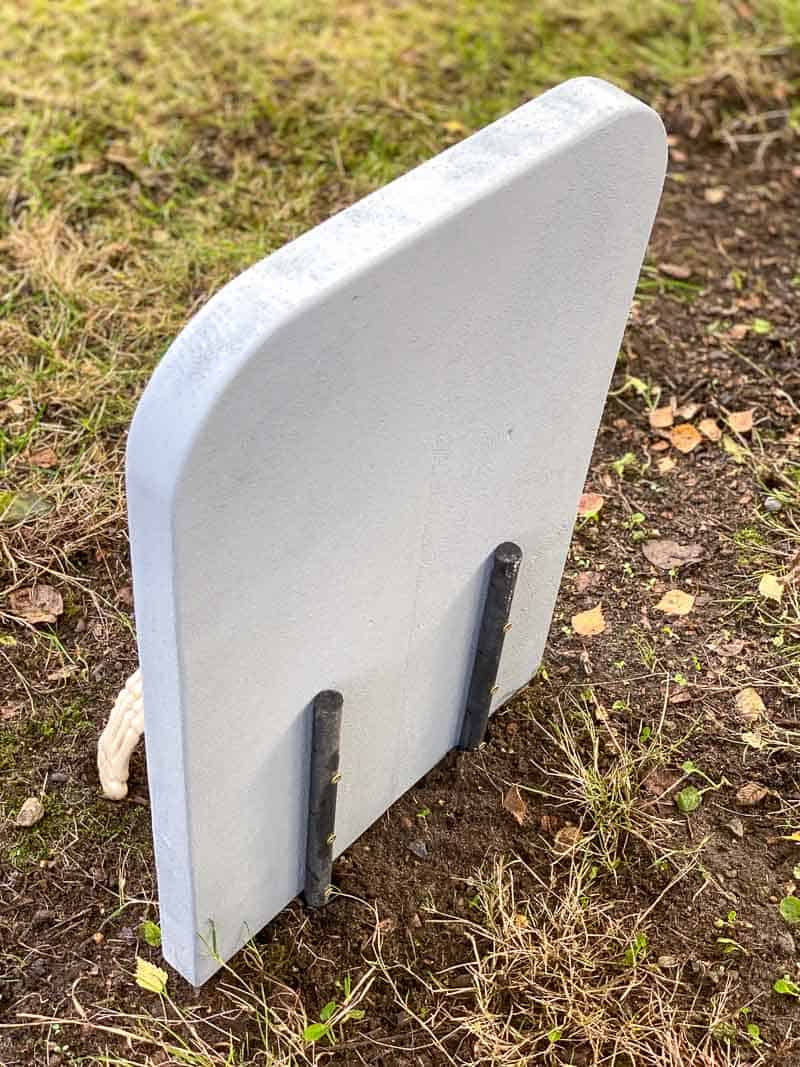
I found these cement form stakes in the drywall section of my home improvement store, and they're perfect for holding yard decor upright! They already have holes drilled into them, so all you have to do is screw them in place. I held a square next to the stake as I screwed it on to keep it straight.

Our ground was pretty soft from recent rain, so it was easy to just push the stakes into the ground. If your soil is too hard, use an extra stake and a hammer to create the hole first.

Have a spooky Halloween!
I couldn't be happier with how these DIY Halloween tombstones came out! It was a foggy morning when I took these photos, which just added to the spooky effect.
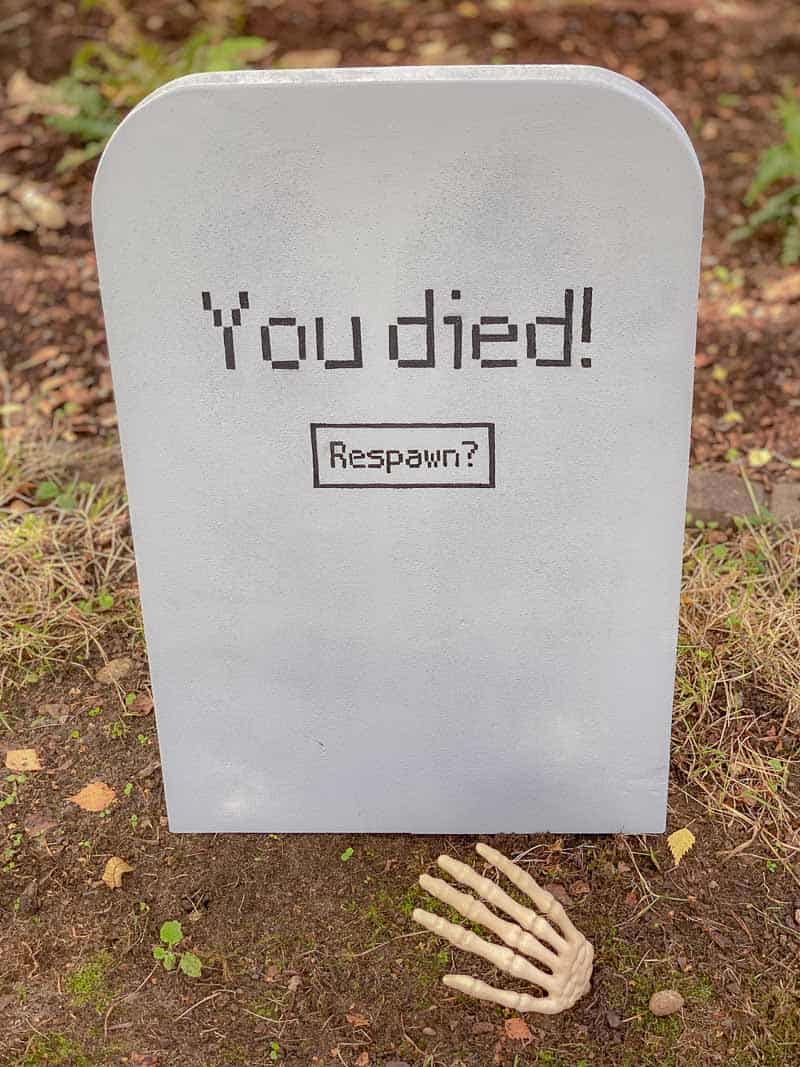
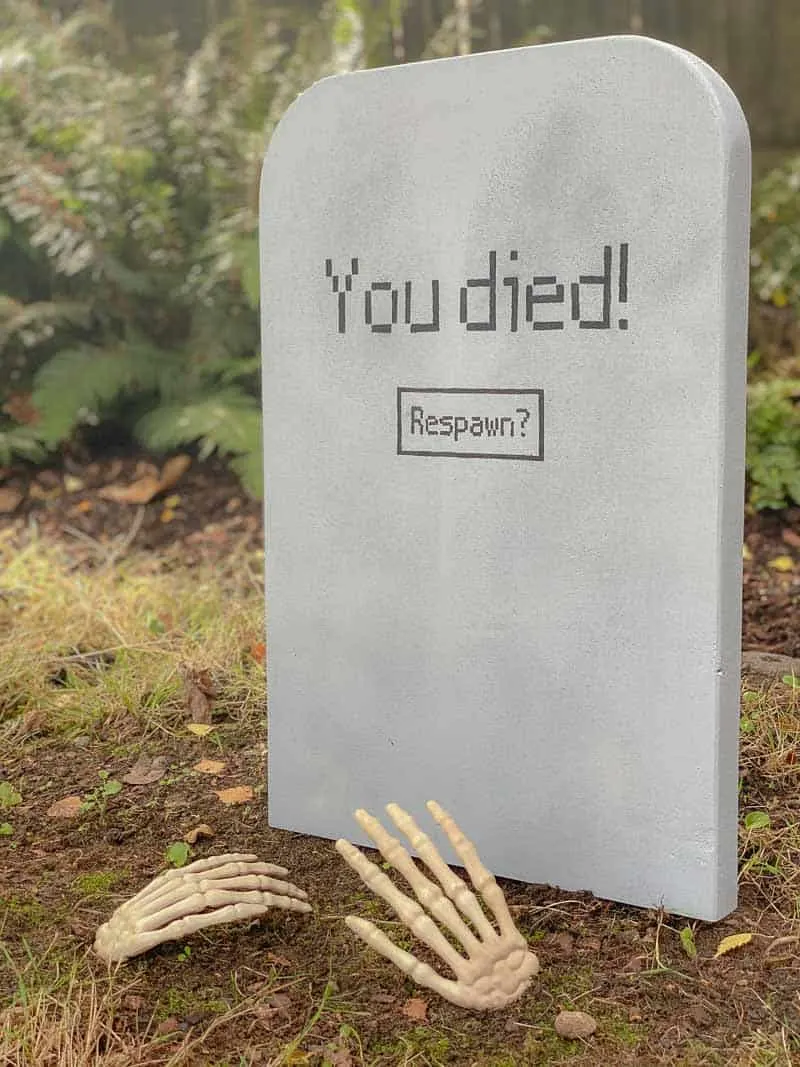
I started playing around with a bag of fake bones to make the display even better! Looks like this guy hit the respawn button...


Check out these other Halloween decoration ideas!