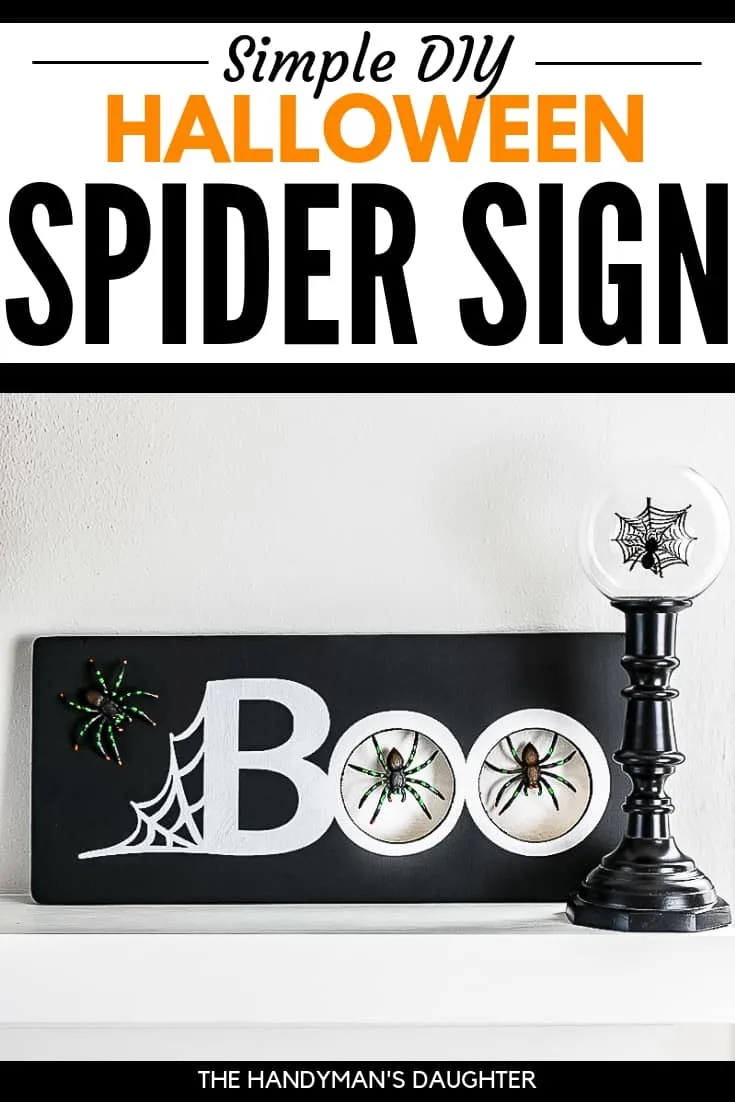
This spooky DIY Halloween spider decoration is perfect for your fireplace mantel! This quick and easy Halloween sign comes to life with dangling spiders!

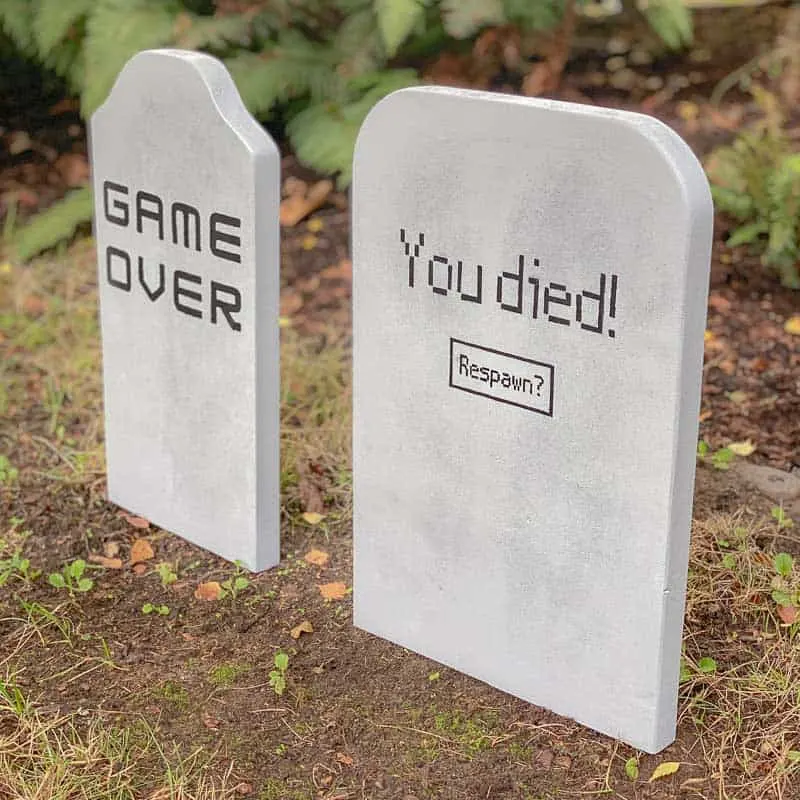
I love making seasonal and holiday decor out of scrap wood because a) it's almost free and b) it whittles down my huge scrap pile! I've made Halloween tombstones out of scrap 2x12 boards and these wooden pumpkins out of an old pallet. Find more DIY outdoor Halloween decoration ideas here!

This year, I'm making this DIY Halloween spider decoration out of extra plywood to coordinate with the rest of my black and silver Halloween decor. Soon, I'll have a scrap wood project for every season and holiday! 🙂
Adding a three dimensional element to a flat sign really makes it pop! I was inspired by the wooden snowflakes on my Let it Snow sign, and decided to add plastic spiders to this Halloween sign for a similar effect. Nothing creeps me out more than a dangling spider!
Check out even more DIY Halloween spider decoration ideas here!
This post contains affiliate links for your convenience. Purchases made through these links may earn me a small commission at no additional cost to you. Please visit my disclosures page for more information.
Materials Needed for DIY Halloween Spider Decoration
- Scrap plywood or 1x8 board
- Drill
- 3" hole saw or jigsaw
- Black and silver craft paint
- Foam brush
- Large plastic spiders
- Clear fishing line
- Hot glue gun
- Silhouette or Cricut machine
- If you don't have one, you can also use letter stencils or freehand the design.
How to Make a Halloween Spider Decoration
Dig out some scrap wood
Any scrap wood that is about 6" wide and a foot long would work for this project. I dug around in my growing scrap pile and discovered a small plywood board that was perfect!

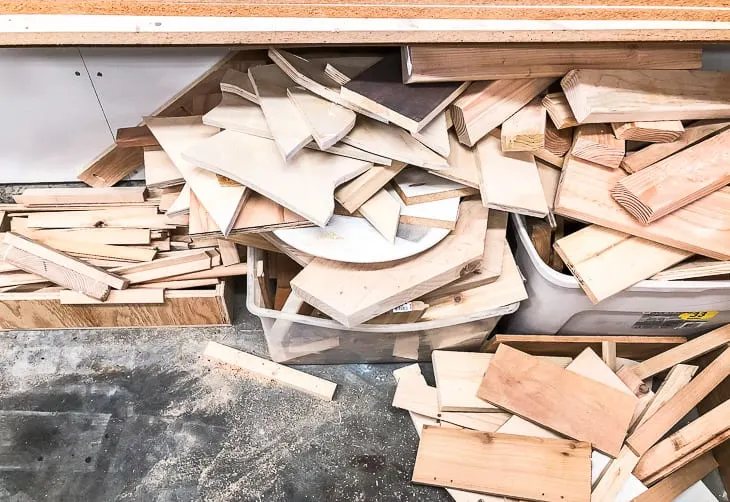
If you're not a hoarder of scrap wood like I am, you can also use craft wood boards for this project.
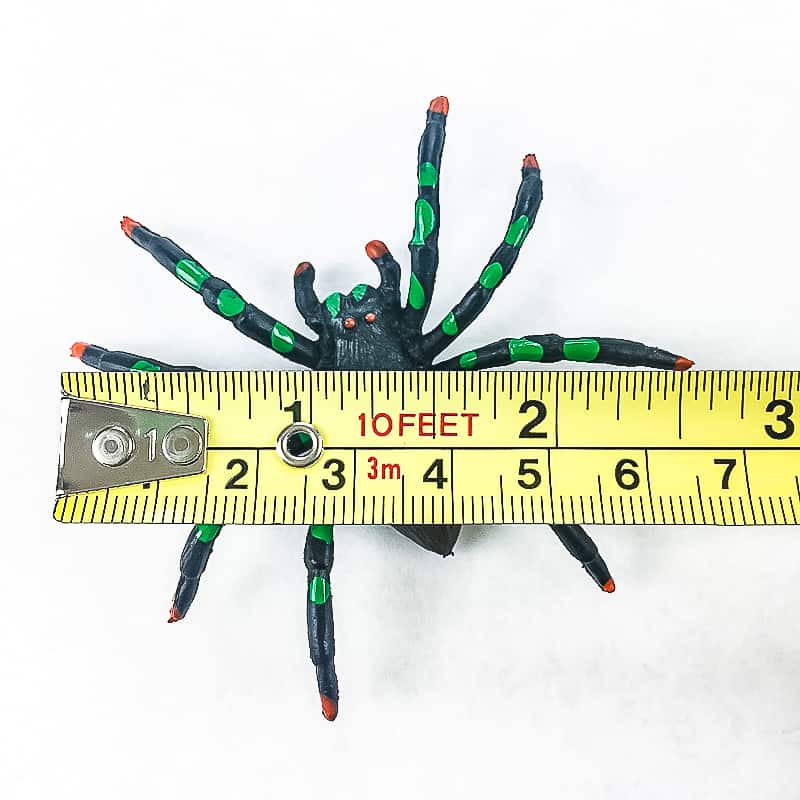
Measure the Spiders
The plastic spiders will dangle in the center of holes drilled into the board, so words with O's work best (like SPOOKY or, in my case, BOO). The size of your plastic spiders will determine the hole diameter you drill.

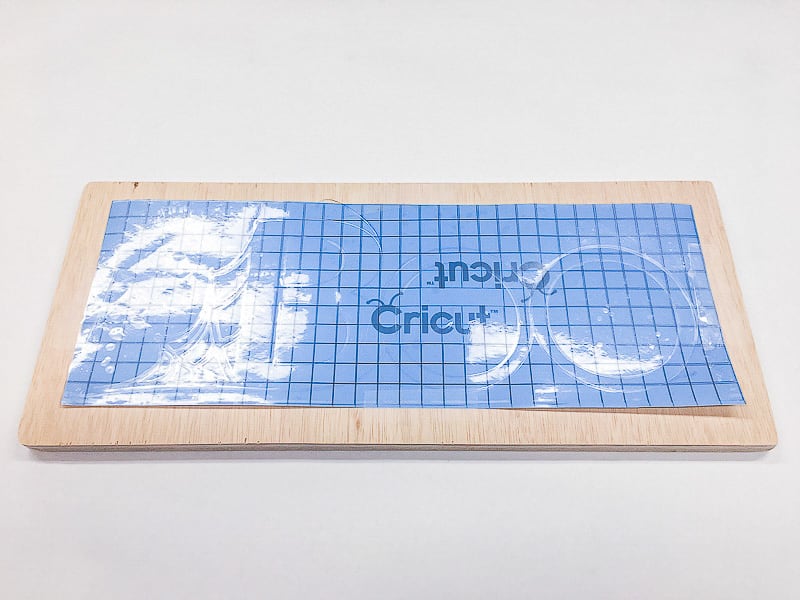
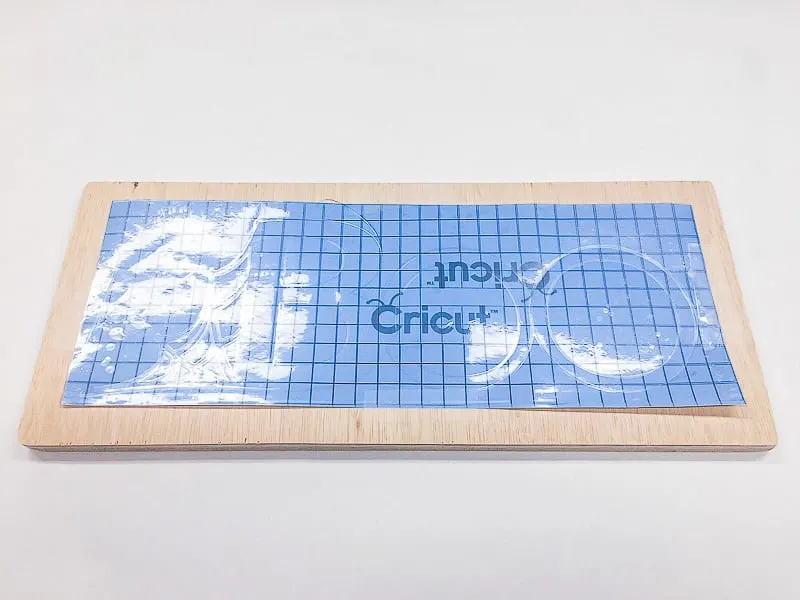
Create the Stencil
I can't freehand draw or write to save my life, so I rely on my Silhouette machine to create stencils. I used this file to make the lettering and spiderweb design using stencil vinyl. You could also use letter stencils and draw a web instead.
Drill holes for the O's
Find the center of each of the O's on the stencil. Lay the stencil on top of the scrap wood, and mark the center of the O with a small drill bit into the wood.
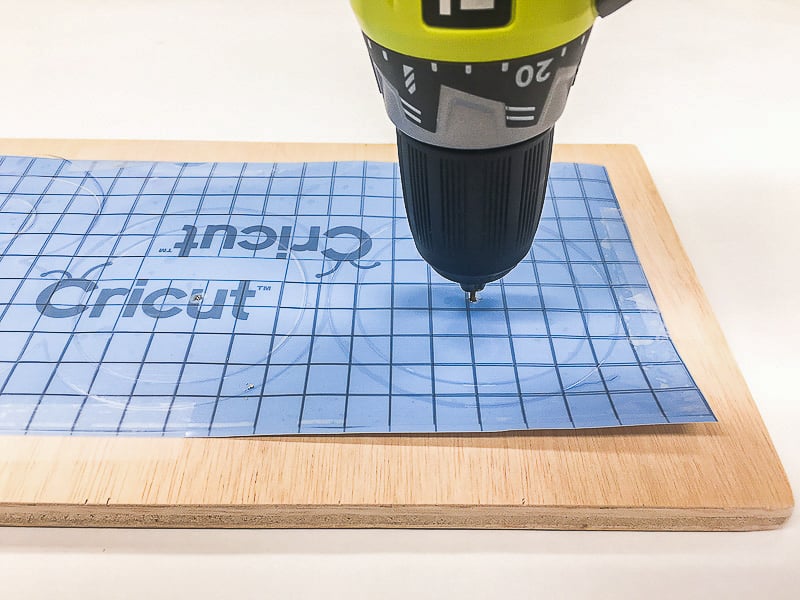

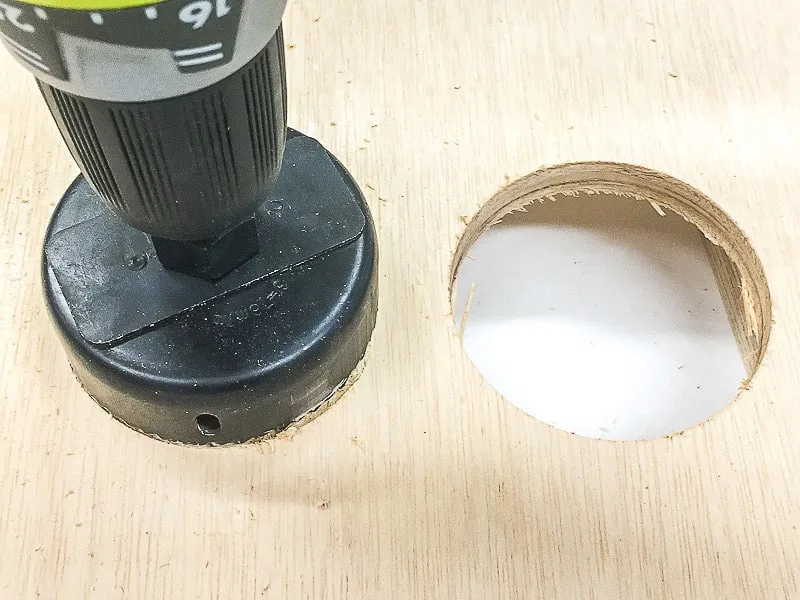
Remove the stencil from the board. Line up the bit of a 3" hole saw on the mark left by the drill bit and cut a circle all the way through the plywood. You can find lots of tips on how to use a hole saw in this article.

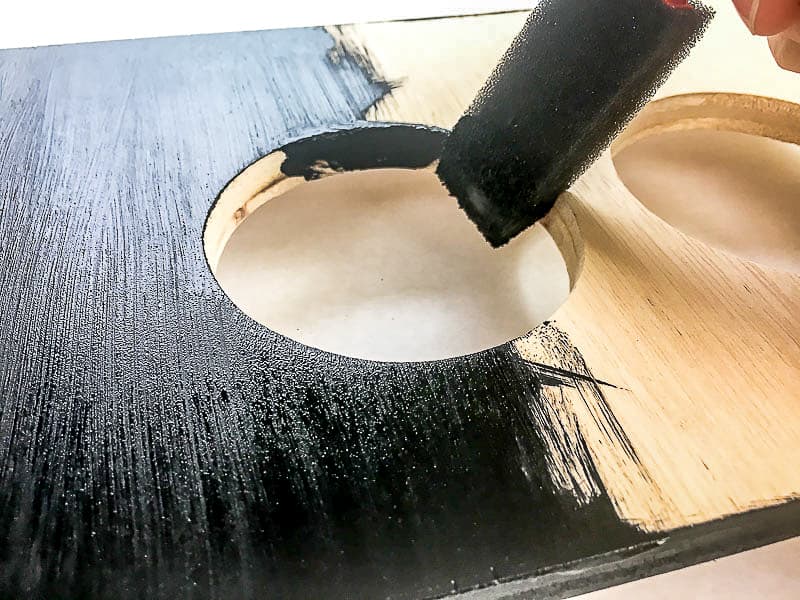
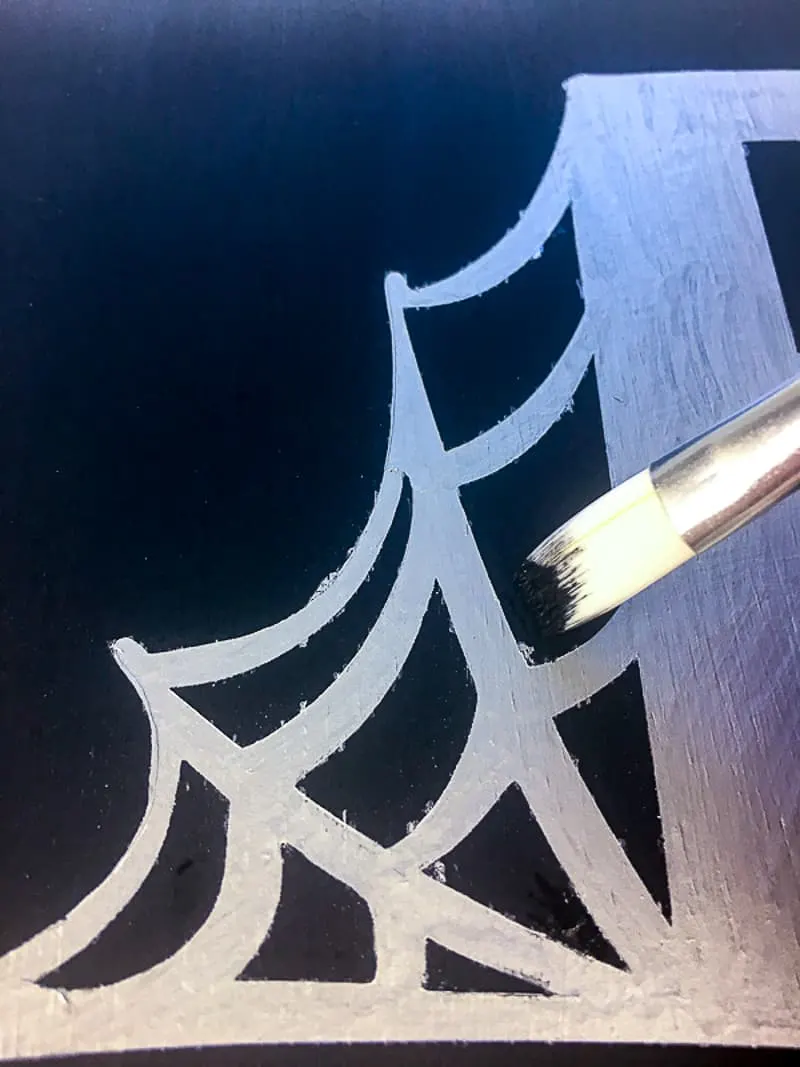
Paint the Stenciled Design
Sand all the rough edges left behind by the hole saw, then paint the entire board black. Don't forget the inside of the holes!

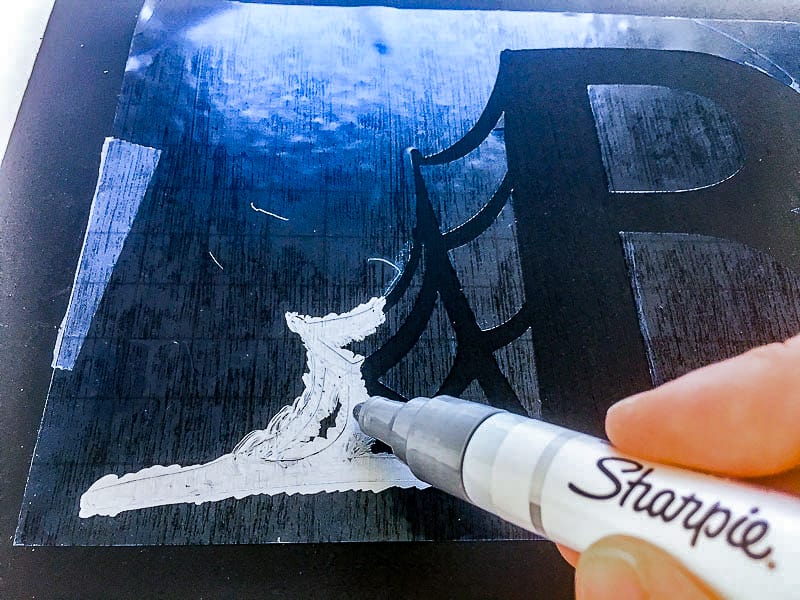
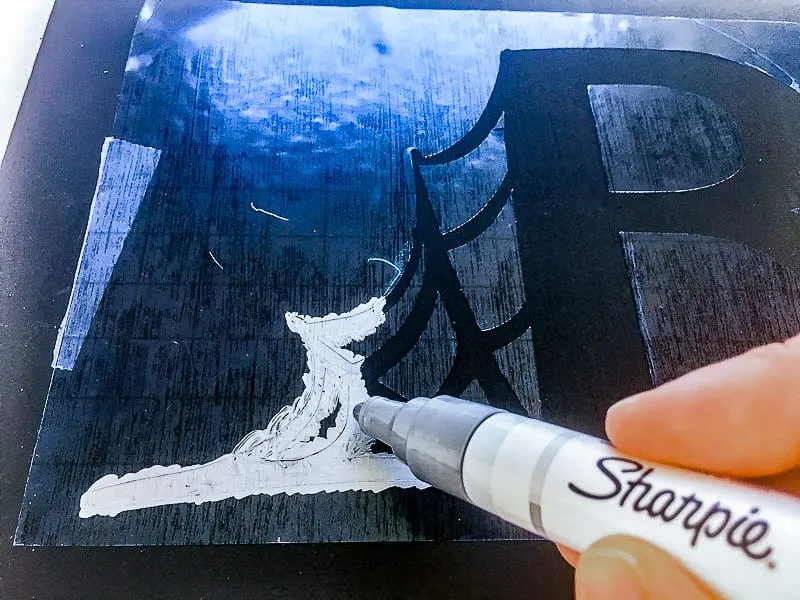
Center the O's of the stencil over the holes in the board, then press it into place. Remove the transfer tape to reveal the stencil.


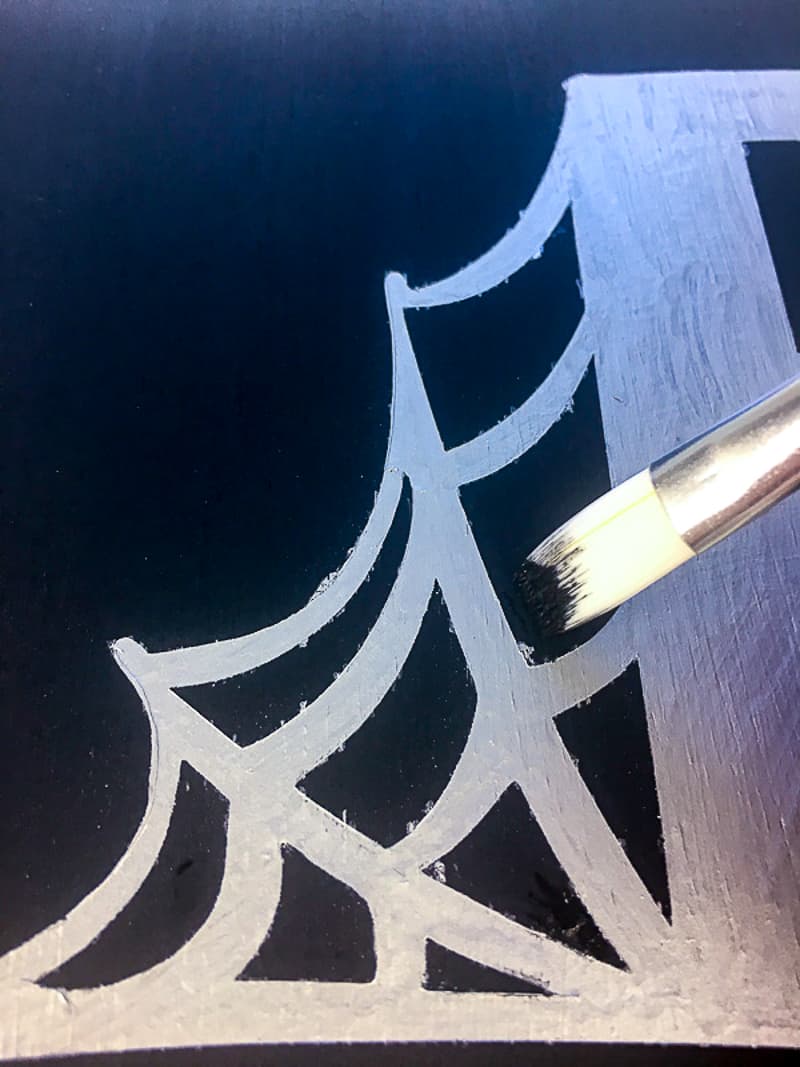
I tried this silver paint pen to see if it helped prevent bleeding under the stencil. Unfortunately, I still needed to touch up a few spots where the paint seeped underneath. A foam pouncer brush and silver craft paint would work just as well.
If you get any bleed through, just touch up the edges with a flat bristled artist brush and more black paint.
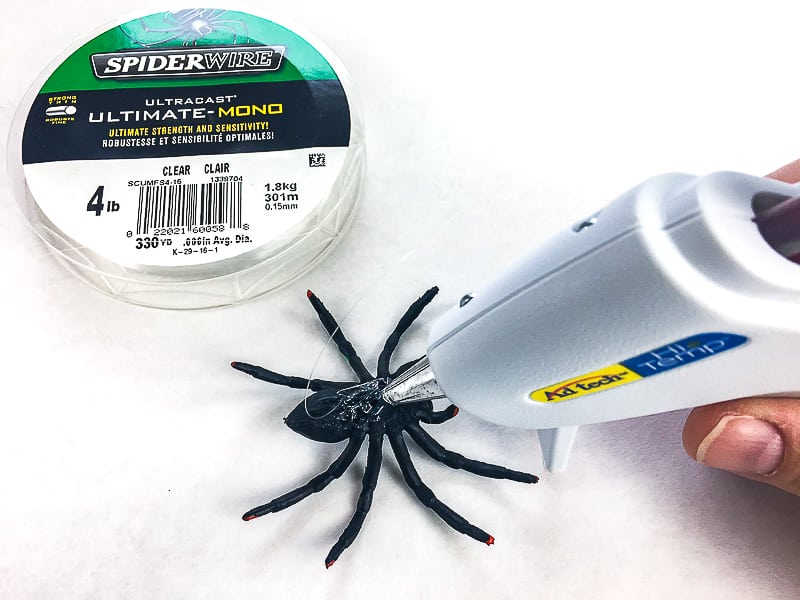
Add Dangling Spiders
Time to add a little creepiness with some dangling spiders! Use a hot glue gun to attach a strand of fishing line to the back of the plastic spiders. I had this Spiderwire fishing line left over from creating my hanging kokedama that worked great. It even has the perfect brand name for this project! 🙂

Center the plastic spiders in the holes, and attach the other end of the fishing line to the back of the sign with more hot glue. To keep the spiders facing forward, I also hot glued a couple legs to the inside of the O.

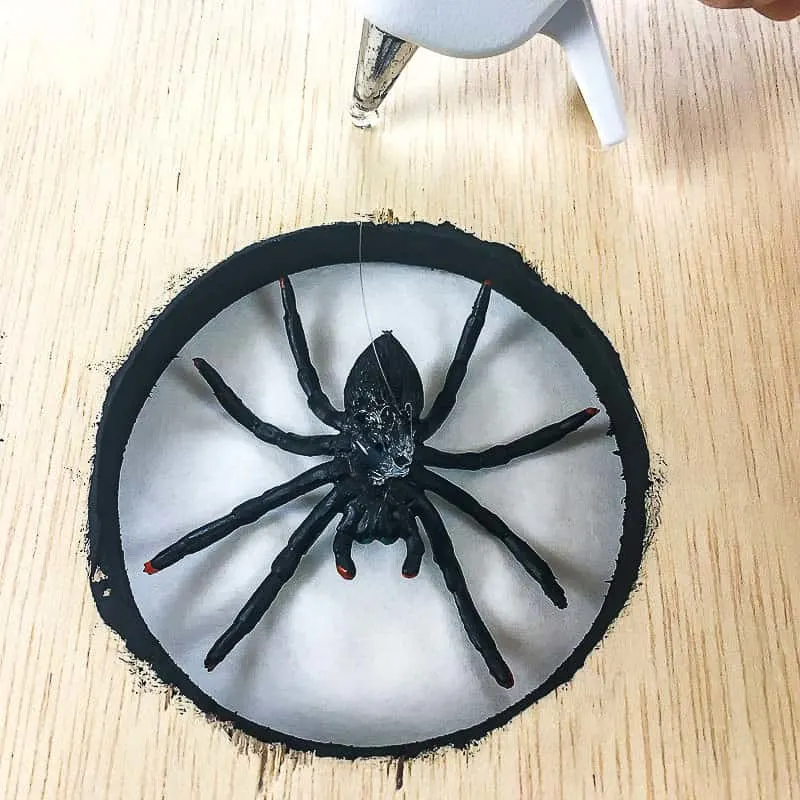
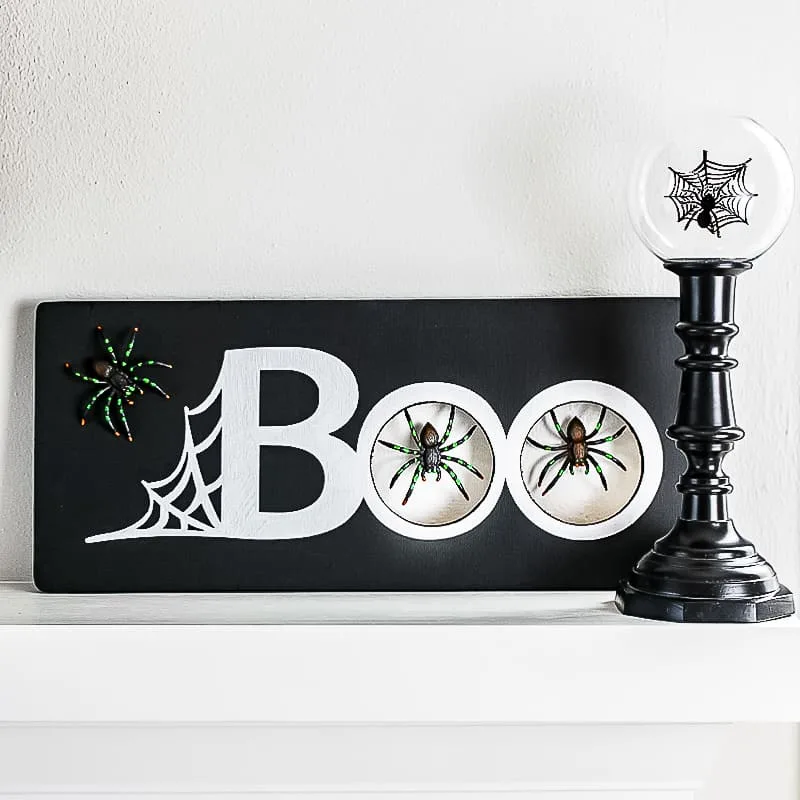
To finish off the Halloween spider decoration, I added another spider crawling to the web. I love how it turned out!
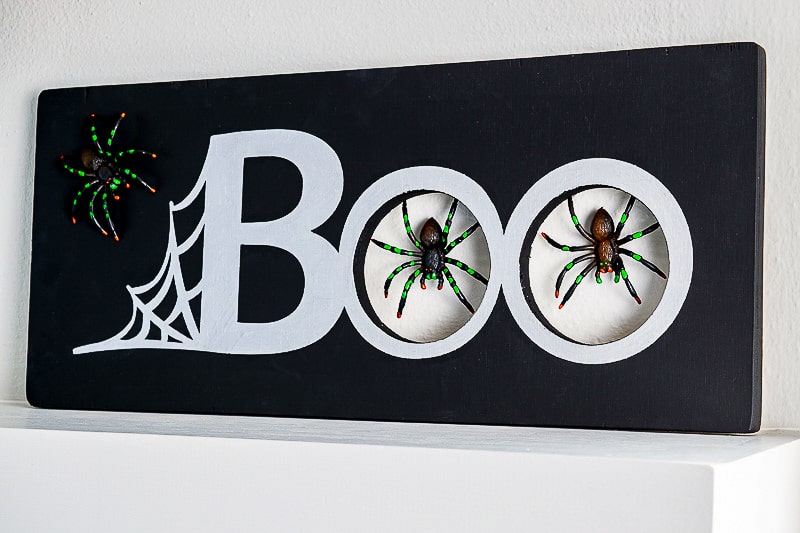

Display your new Halloween Spider Decoration!
I added a few more spider themed decorations to the mantel for a spooky Halloween display. Love how it turned out!

Check out these other DIY Halloween decorations!