The fireplace trim you choose can make or break your entire project! Get ideas for fireplace trim moulding under the mantel and around tile, and tips for installing it properly.
The fireplace is the centerpiece of the living room, and updating it can seem like a daunting task. But you can change up your boring or dated fireplace with trim moulding under the mantel and around the tile for a fresh new look!
In this article, I'll share my process for choosing the right fireplace trim for my project, and how I installed it myself. There are a few things to consider before you pick up the hammer and crowbar to start your own fireplace remodel.
This post is sponsored by Metrie and contains affiliate links for your convenience. Purchases made through these links may earn me a small commission at no additional cost to you. You can read more about how this site earns money on my disclosures page.
Things to consider when choosing fireplace trim
Whether you're remodeling an existing fireplace or building one from scratch, there are some important things to consider when choosing the fireplace trim for your project.
Style of the home
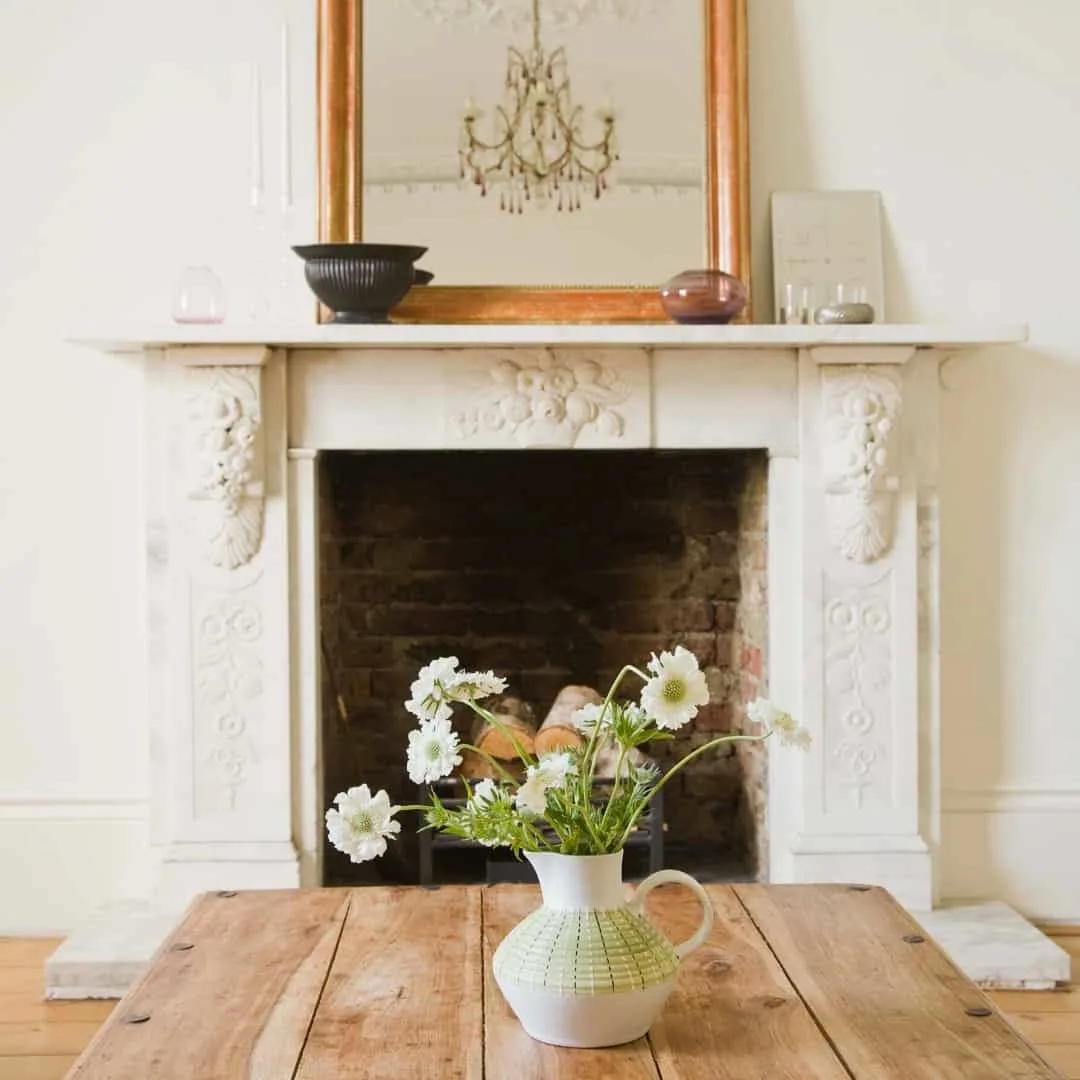
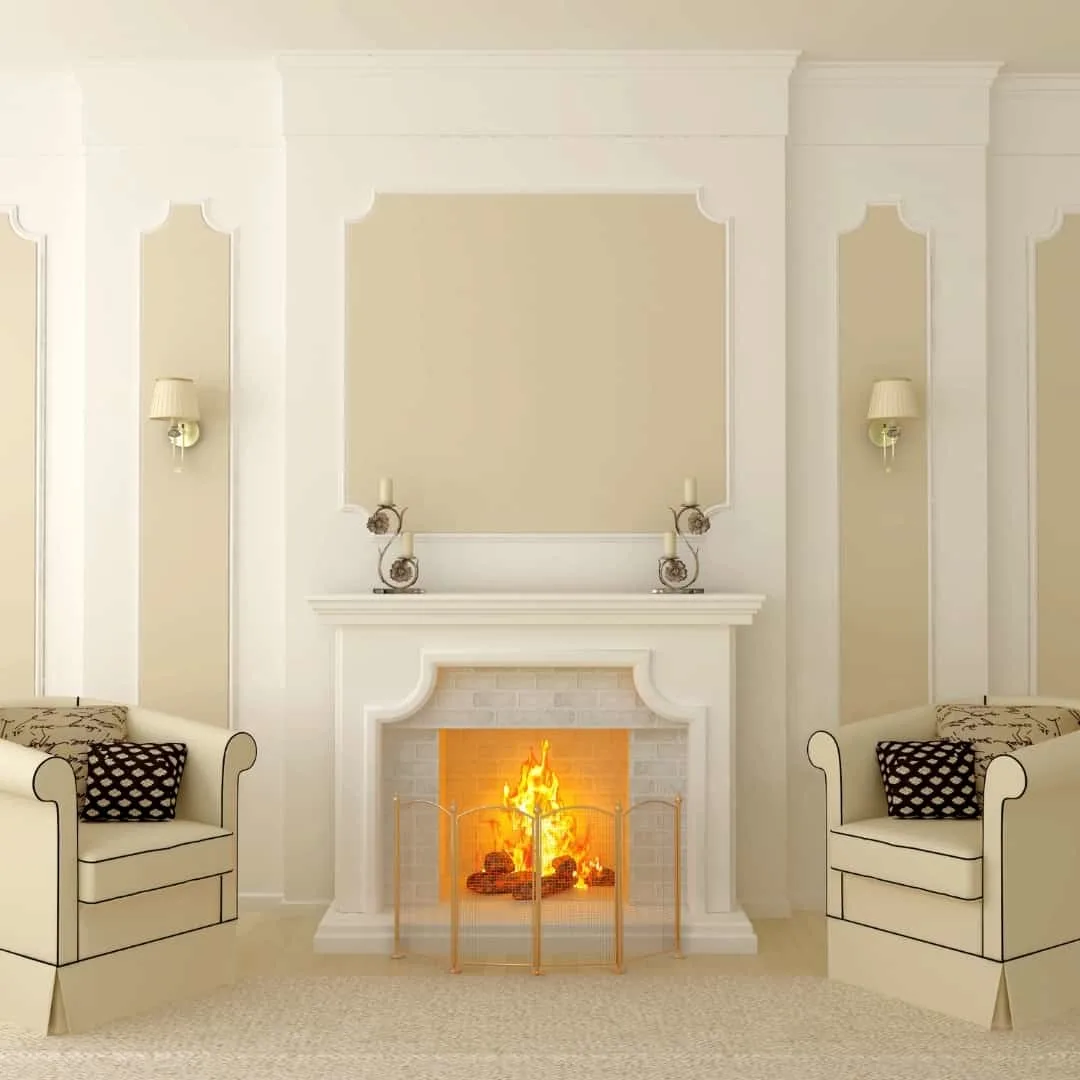
Take into account both your personal style and the style of the home when planning your fireplace makeover. You wouldn't put a sleek glass fireplace in a cozy cottage, or this overly ornate fireplace in a modern home!

Our home is a basic Cape Cod style house from 1946, with little personality of its own. This blank slate is perfect for creating a fireplace that reflects our style, without it feeling out of place.
I prefer clean, contemporary lines, with subtle details that aren't too ornate. Metrie's Very Square line of interior finishings was just what I was looking for! This trim features crisp angles with small decorative reveals that blends well with other elements of the house.
Repeating or complimentary details
Pull the look of the fireplace together with repeating or complimentary details. Sticking with one line of trim ensures that the project looks cohesive and well thought out.
If you already have wainscoting in the home, repeat the same style on the fireplace. Or incorporate the fireplace into a board and batten accent wall to make the whole room pop! You can learn more about wainscoting vs board and batten here.

If you decide to use fluted trim for the sides of the fireplace, choose a similar style like dentil moulding for a decorative accent under the mantel. If your style is more modern, choose a solid mantel without a lot of fussy details and straight trim for the sides.
Consult your local building code
Be sure to check with your local building code when applying flammable materials to a fireplace! Standard building code states that wood or MDF fireplace trim should be no closer than 6" from the firebox opening, with an extra inch for every ⅛" that the trim sticks out from the surface.
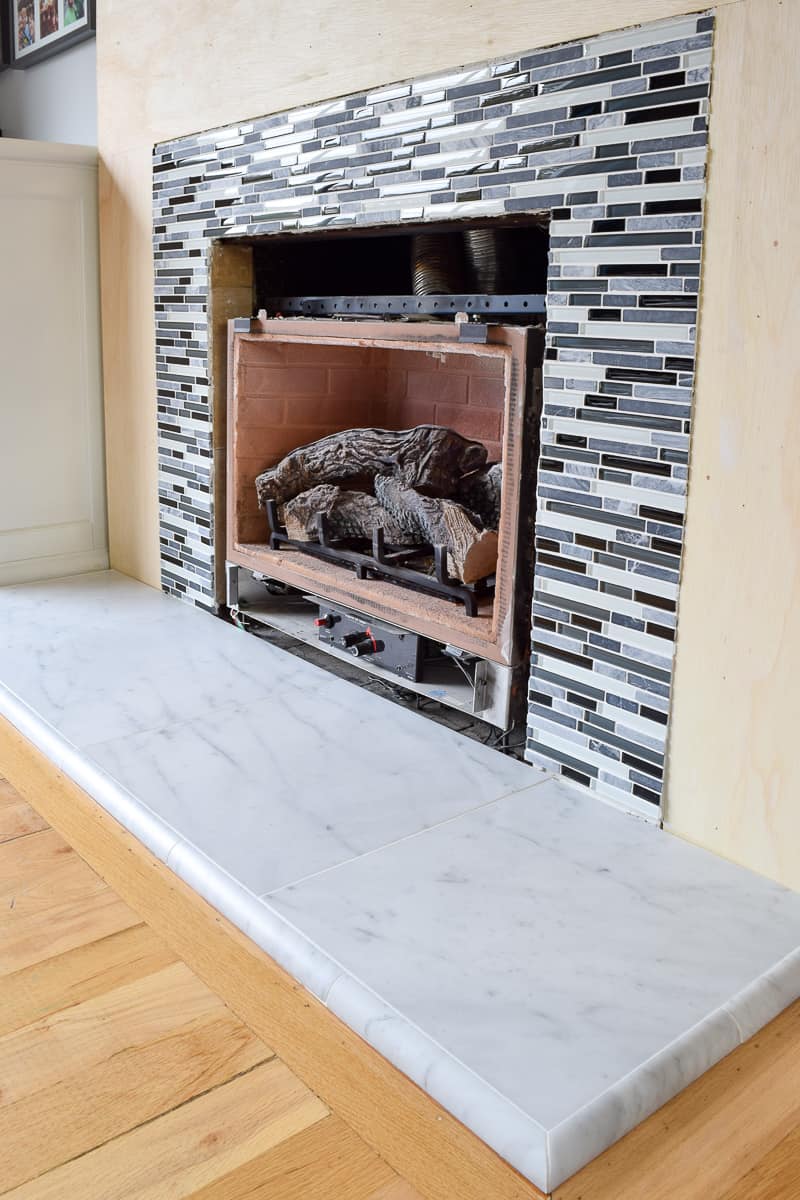
When I installed the fireplace tile over the existing brick, I made sure to take these building codes into account. The tile extends at least 8" around the firebox opening on all sides, because the fireplace trim will stick out ¼" from the wall to frame the outside edge of the tile.

Installing fireplace mantel trim
You don't have to rip out your entire fireplace mantel to give it a new look! By framing out our existing mantel and replacing the crown moulding underneath, it was totally transformed without a huge demolition job.
Add depth to the existing mantel
Our fireplace mantel was only a few inches wide, which made it difficult to decorate with anything thicker than a picture frame! By adding a little extra depth to the existing mantel, I was able to create additional display space and hide some imperfections.
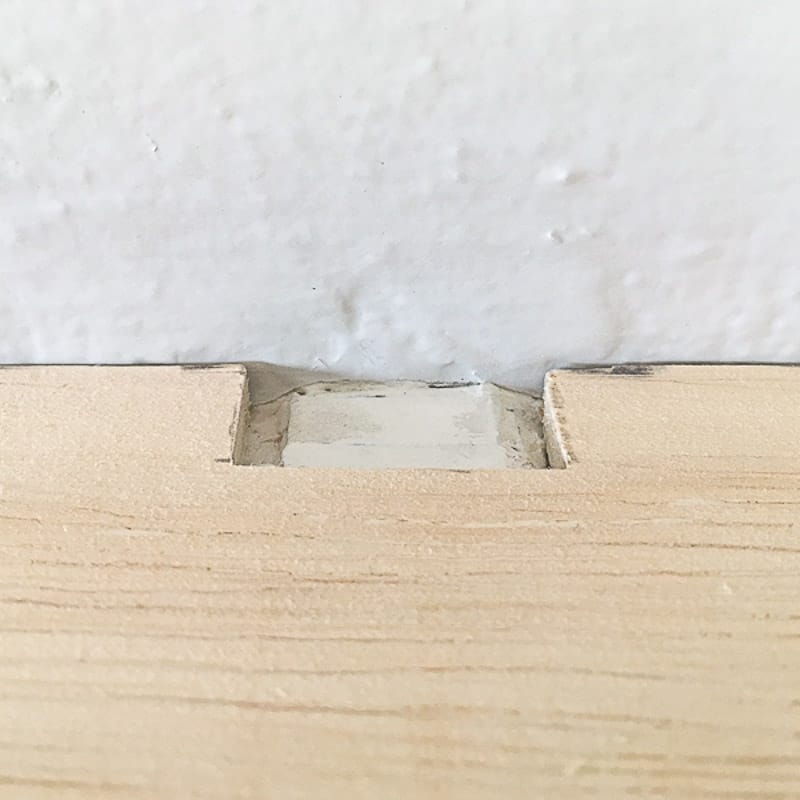
During the fireplace demolition phase of this project, I discovered that the mantel is attached to the studs with brackets that were embedded into the wall. The brackets were plastered over to create this unsightly bulge on each end of the mantel. Why?????
I didn't want to remove the brackets and deal with all that drywall repair, so I decided to hide these imperfections instead. I cut a sheet of ¼" plywood down to the dimensions of the mantel, then cut out notches around the brackets with my jigsaw.
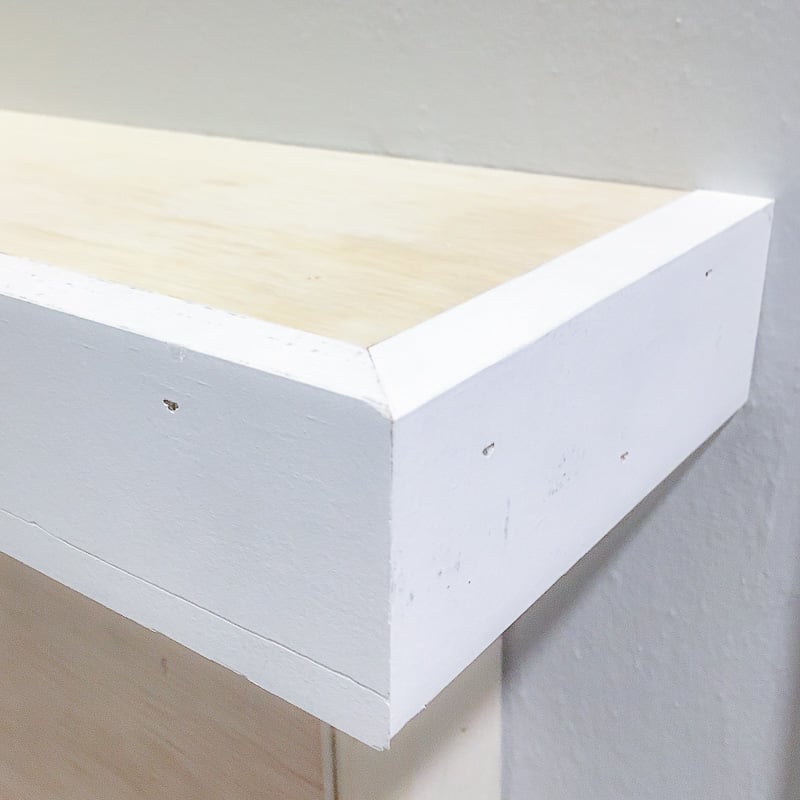
Another piece of ¼" plywood went on top, completely hiding the bracket. This extra ½" on top of the mantel will also make it look more proportional when the fireplace trim is installed underneath.
To cover the plywood edges and create a deeper mantel, I used a pre-primed 1x2 boards cut at a 45 degree angle to wrap around the original mantel. Any gaps, scratches or nail holes will be filled in before painting.

Add moulding under the mantel
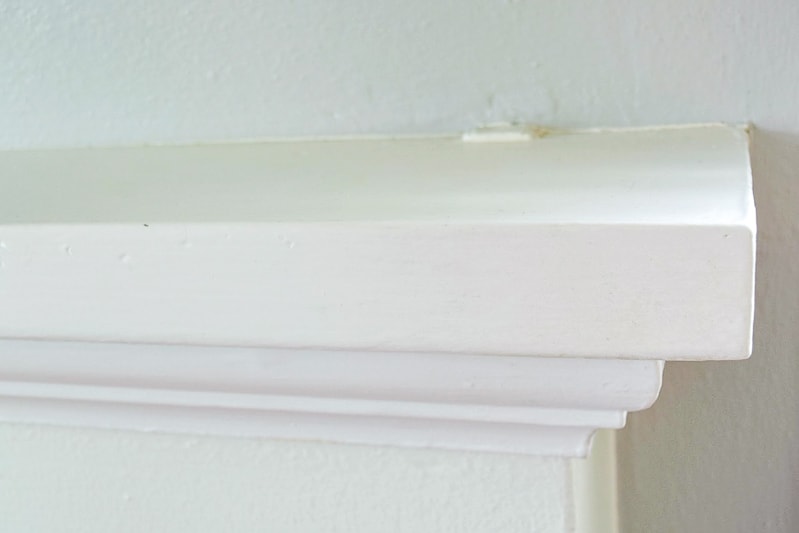
With the mantel fixed, it's time to make it pretty! Usually you would install crown moulding under the mantel, but it can be difficult to find the right size for this narrow space.
Measure the overhang of your mantel, and look for crown moulding or trim with a projection that's smaller than the overhang. Crown moulding is installed at an angle against the inside corner, so it needs to fit properly!
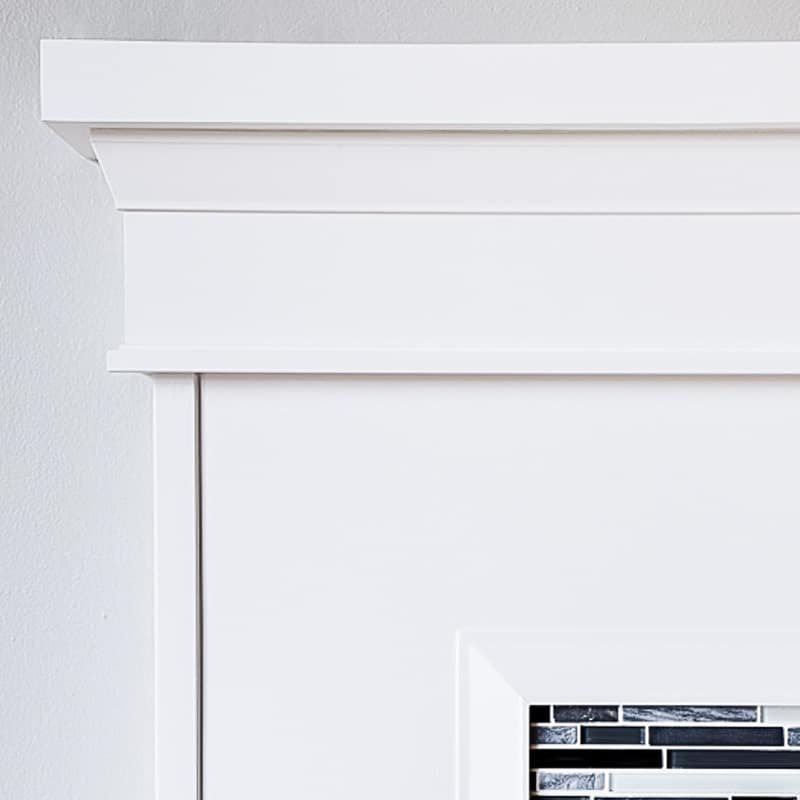
Our mantel only sticks out three inches from the face of the fireplace, which limited my choices considerably. Instead of crown moulding, I chose an architrave trim, which is typically used as a decorative element on top of windows and doors.

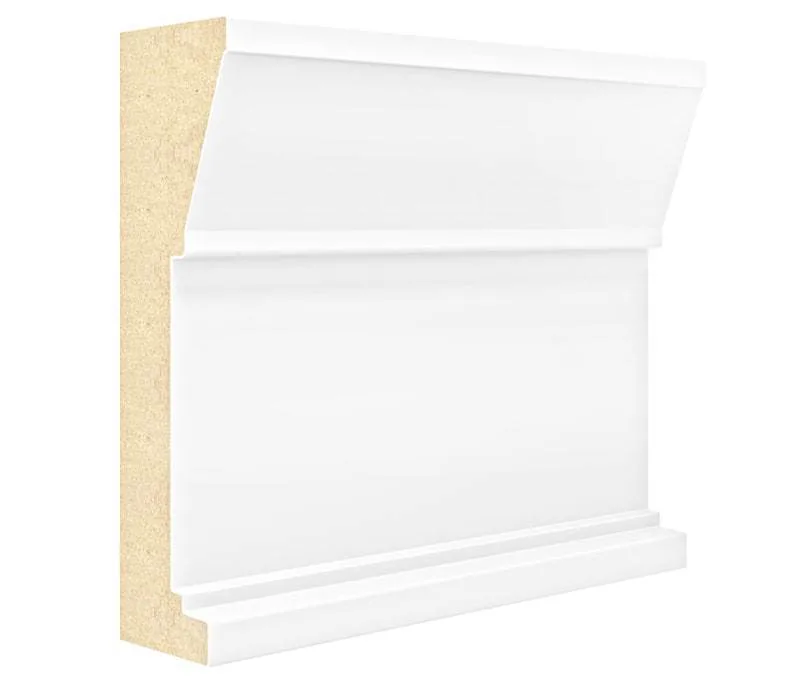
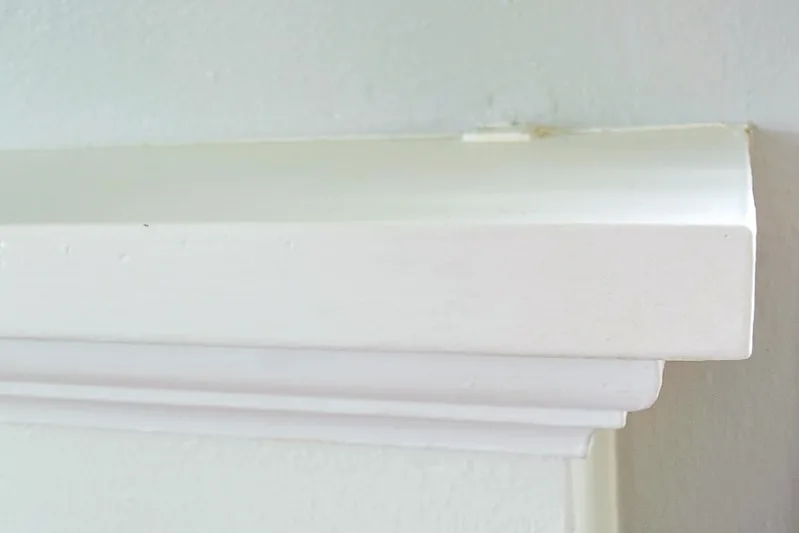
This thick, solid architrave is really heavy, so you should use a finish nailer rather than a brad nailer to make sure it's secure. For added strength, I applied Liquid Nails to the back before I nailed it into place. It rests on top of the corner trim I added to the outer corners of the fireplace surround.
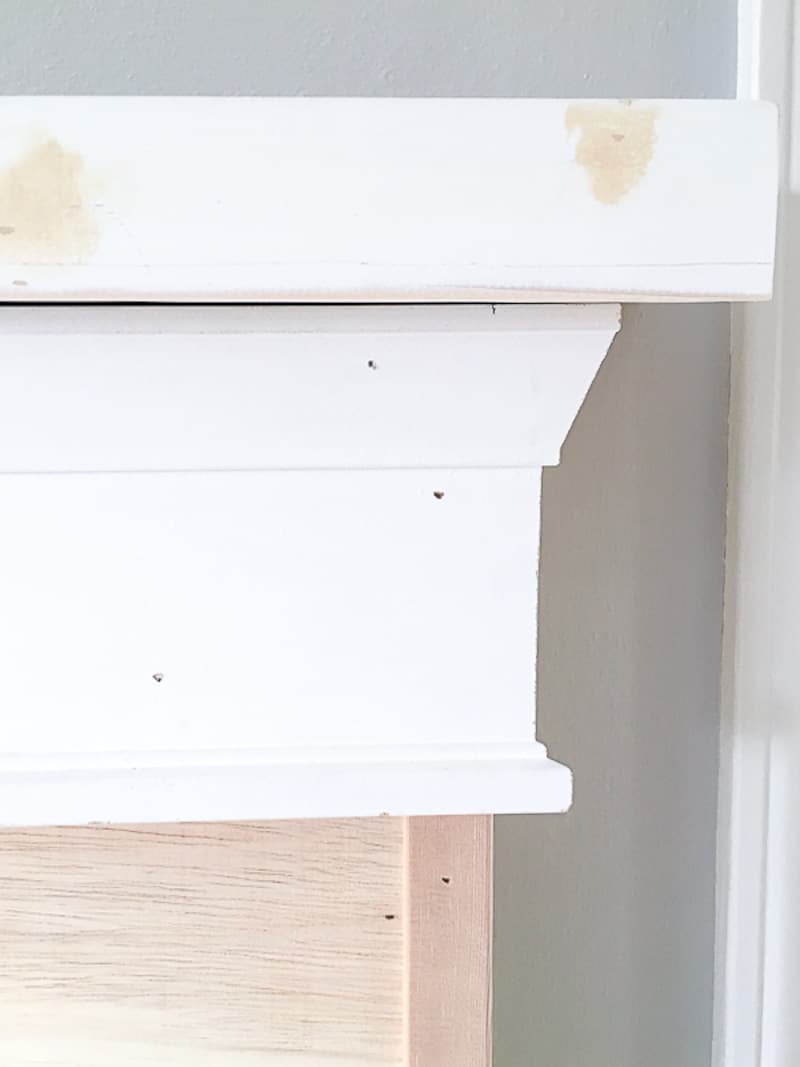
The gap between the mantel and the trim was filled with caulk, and the nail holes were filled with putty before the entire fireplace was painted.
Frame fireplace tile with trim
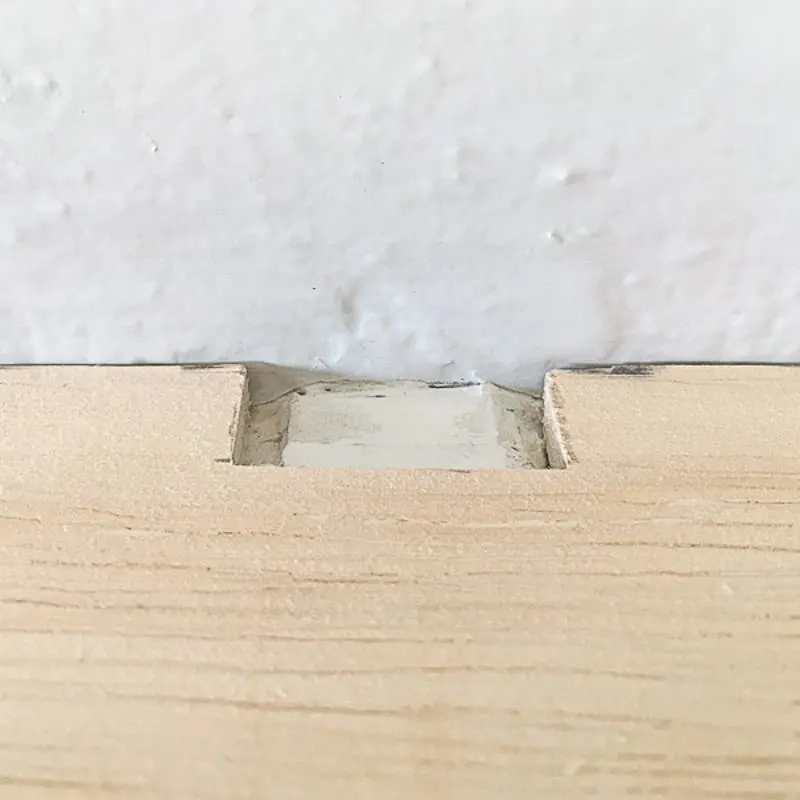
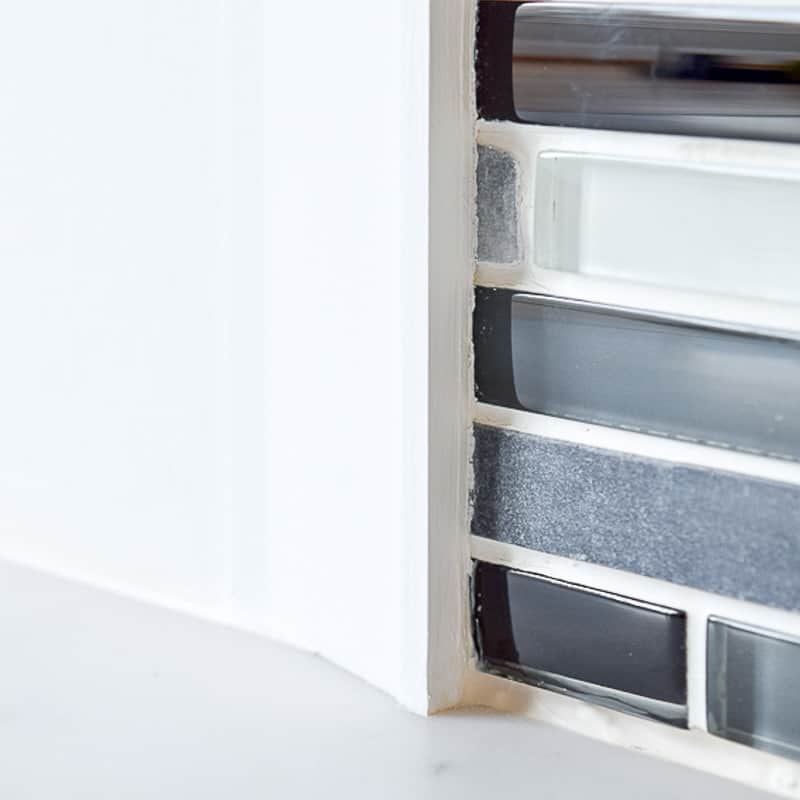
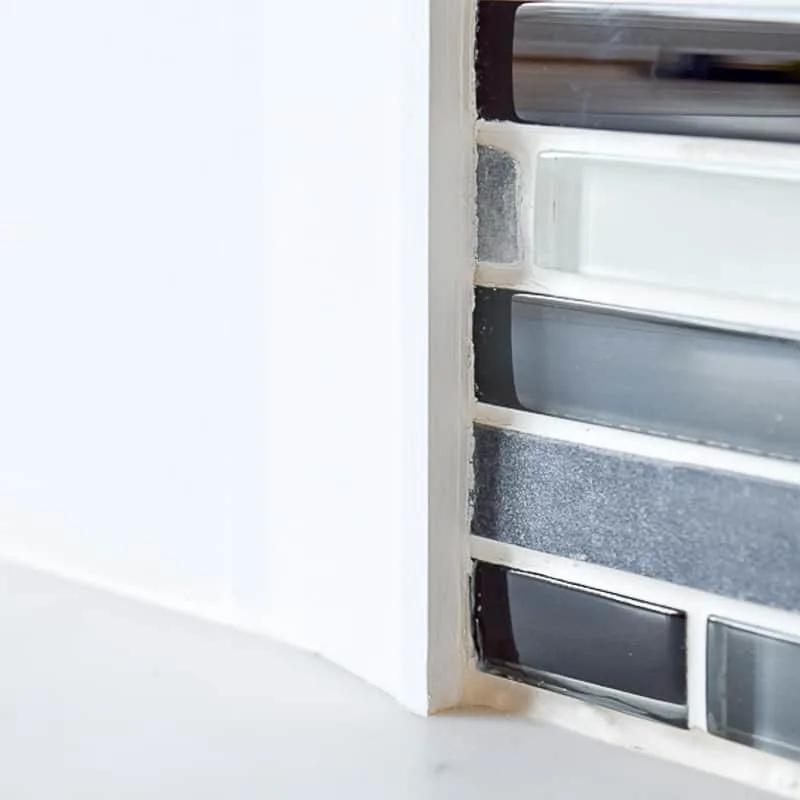
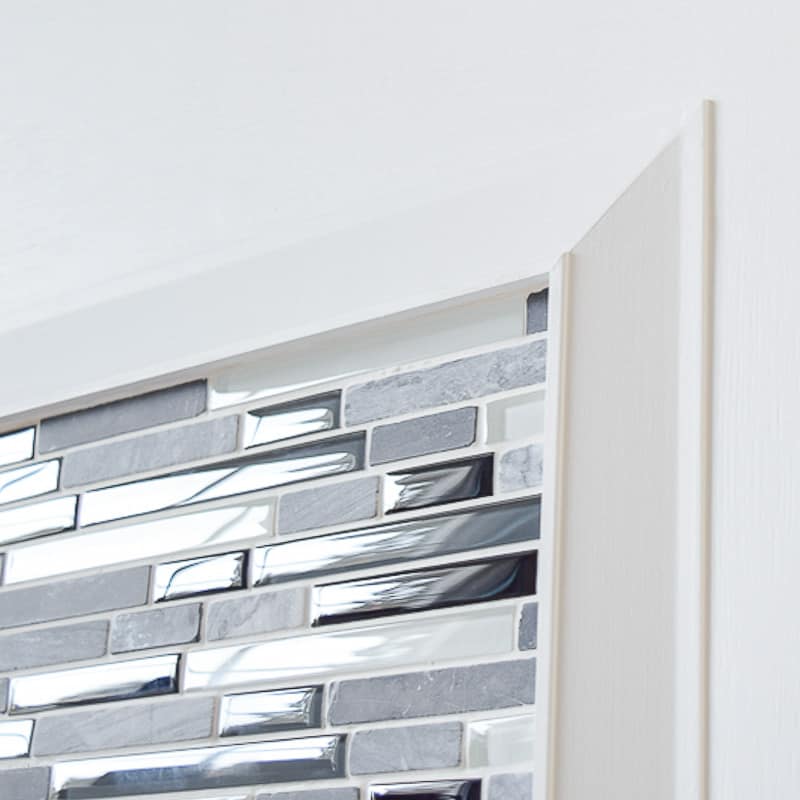
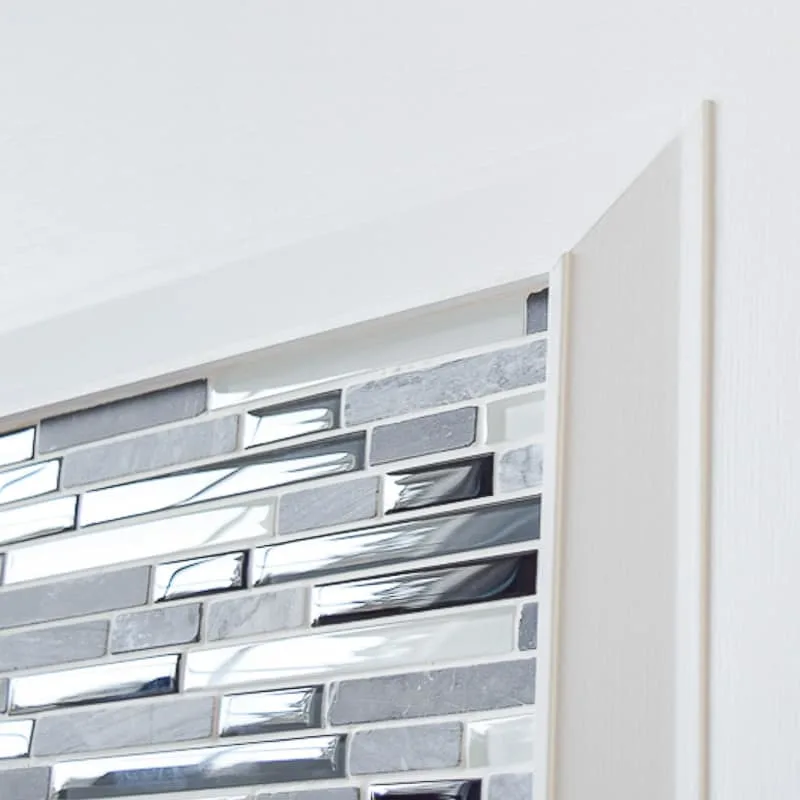
If your fireplace tile doesn't extend all the wall to the sides (like ours), you may have an unsightly edge where you can see the mortar underneath. Adding wainscot trim around the tile will frame the edges and hide any issues. The little notch on the back is perfect for covering up any imperfections in the cut tile edges.
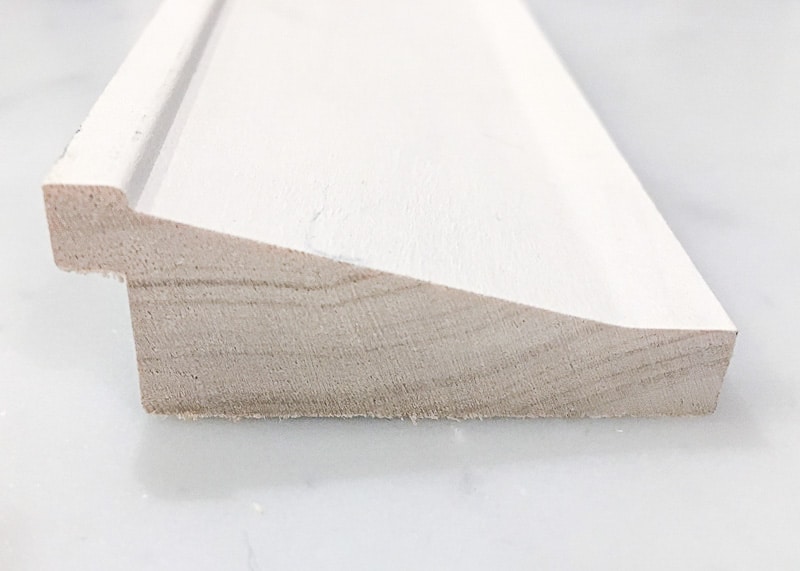

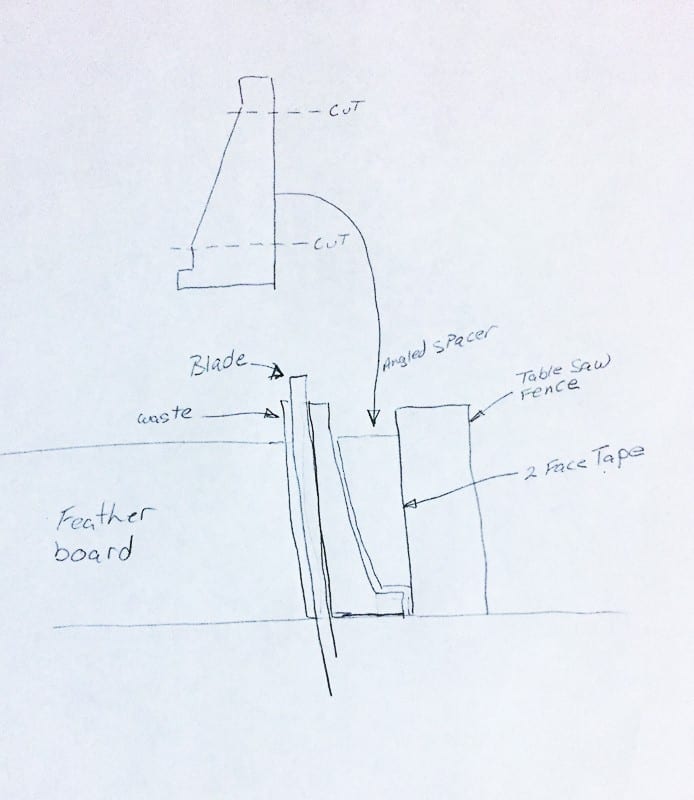
I needed to cut ¼" off the back of the wainscot moulding to match the height of the tile. But because the trim is angled, it needed support so it didn't tip during the cut. My dad suggested attaching a piece of the same trim to the table saw fence with double-sided tape to hold it upright. The two angles would nest together and create a 90 degree angle at the saw blade.
I know. It didn't make sense to me either. Luckily, he texted me a drawing!

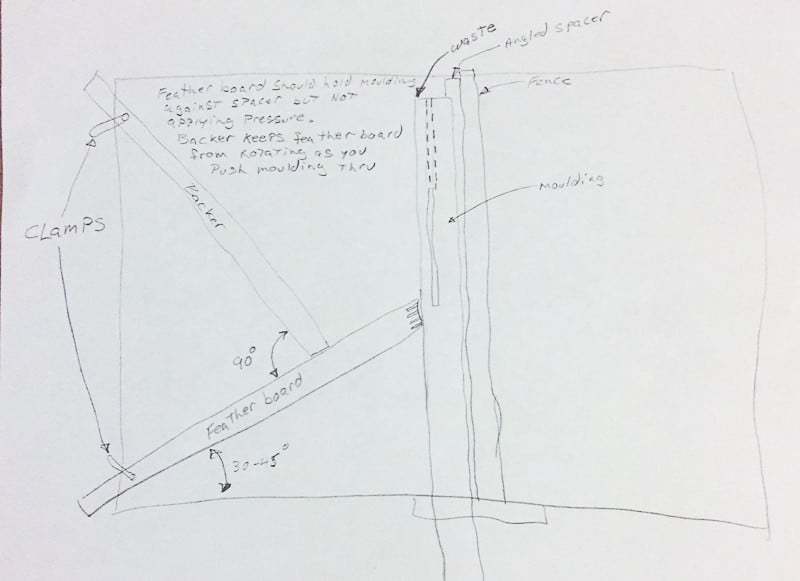
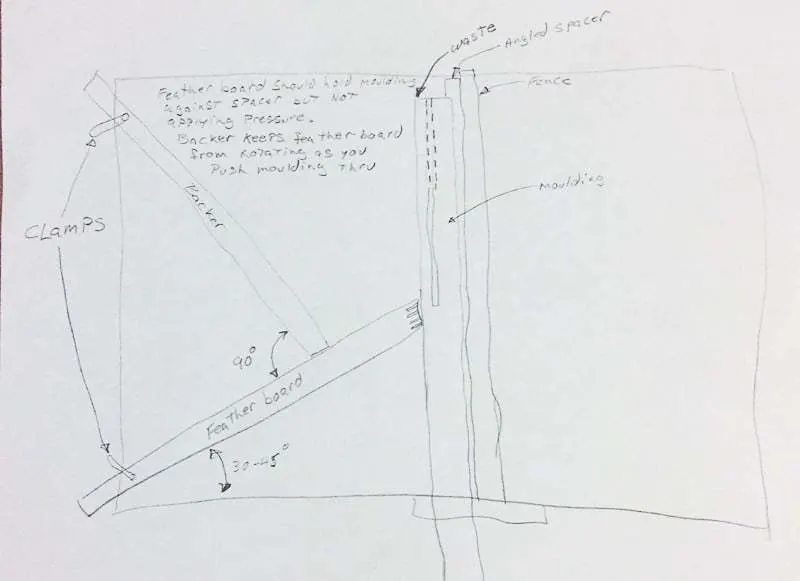
He also sent me a drawing of how to properly set up a featherboard, which holds the cut side of the trim in place as it goes past the blade.
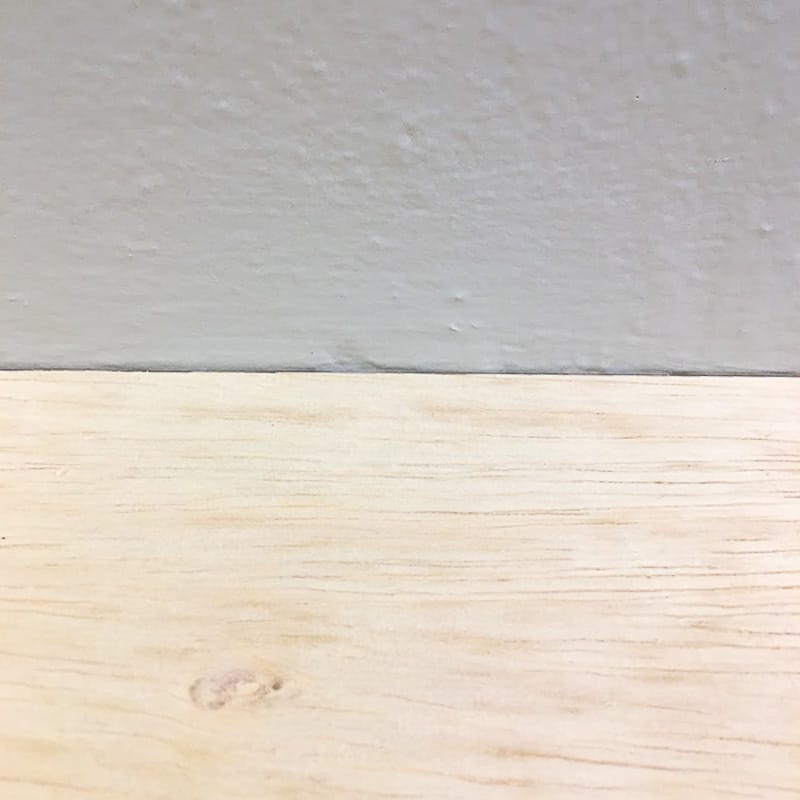
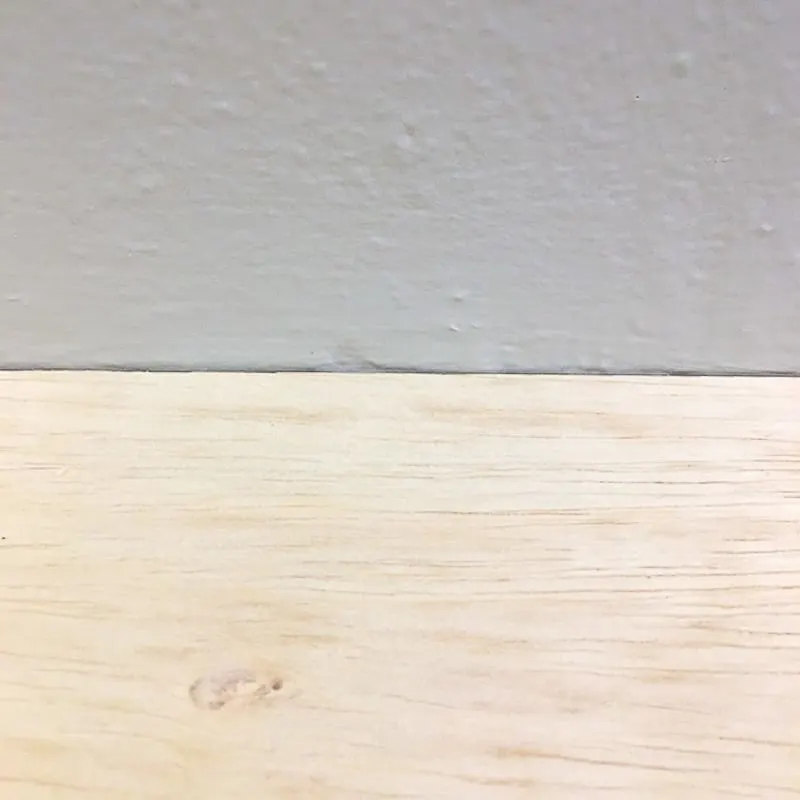
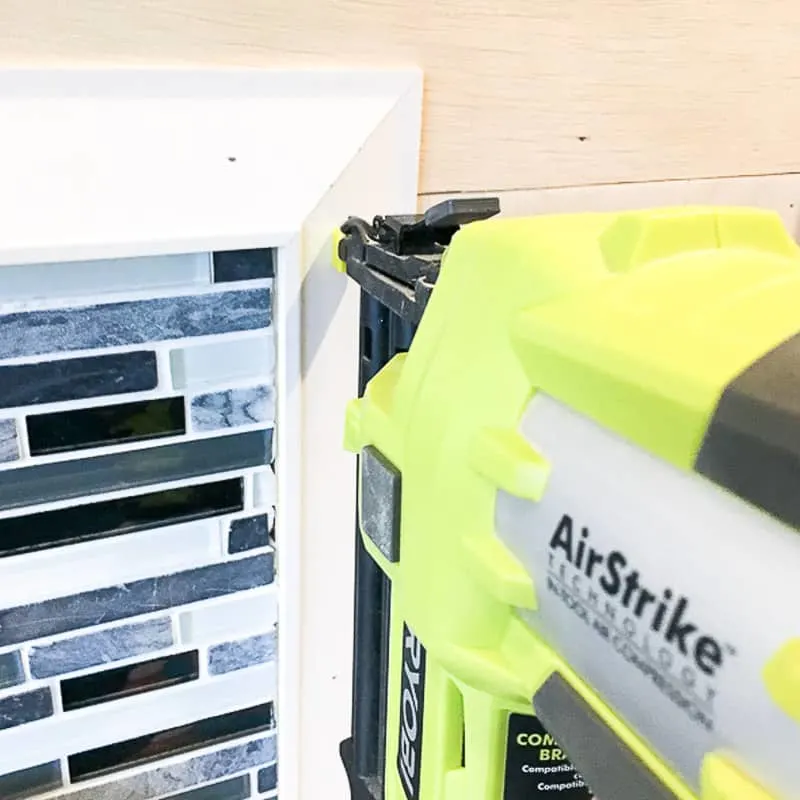
It worked like a charm! Now the notch in the trim floats just above the tile surround, and the remaining gap will be filled with caulk. I mitered the corners and attached it with brad nails to the plywood surround.

Caulk gaps between trim and fireplace
Anytime you install trim, whether it's baseboards or fireplace moulding, you're bound to have gaps. Caulk to the rescue! It fills in the seams, but is elastic enough to allow the wood to expand and contract with the seasons. Learn all my tips and tricks for applying caulk like a pro here!
I used tile caulk that matched the grout for any areas where the fireplace trim and the tile meet. You can learn more about the difference between grout and caulk here. The rest of the joints received regular paintable caulk.
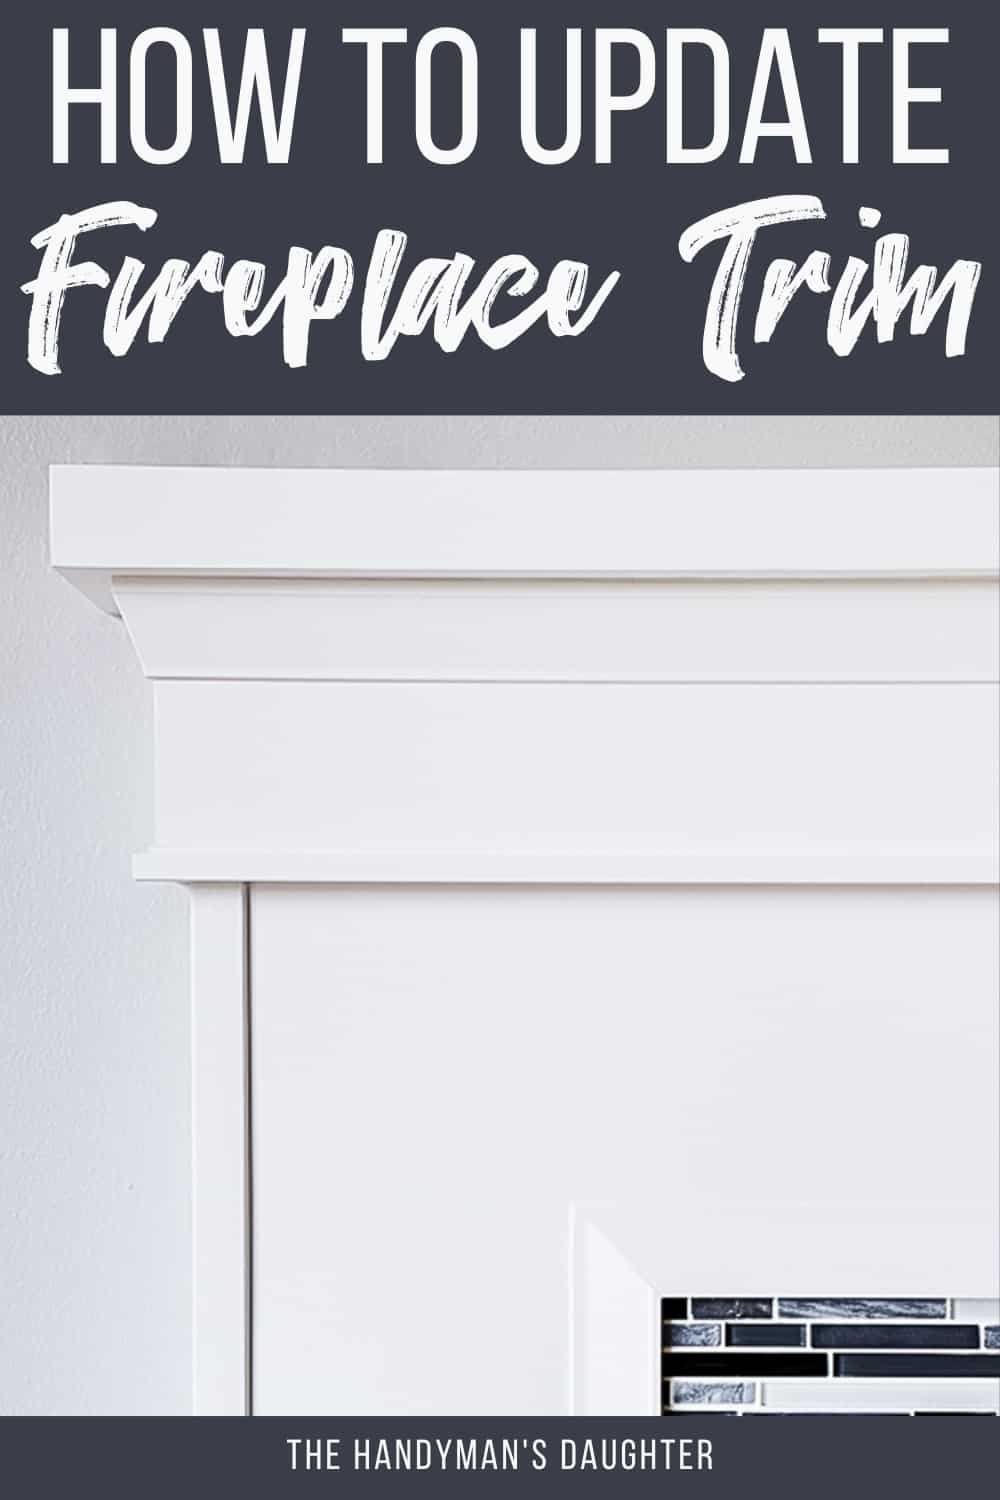
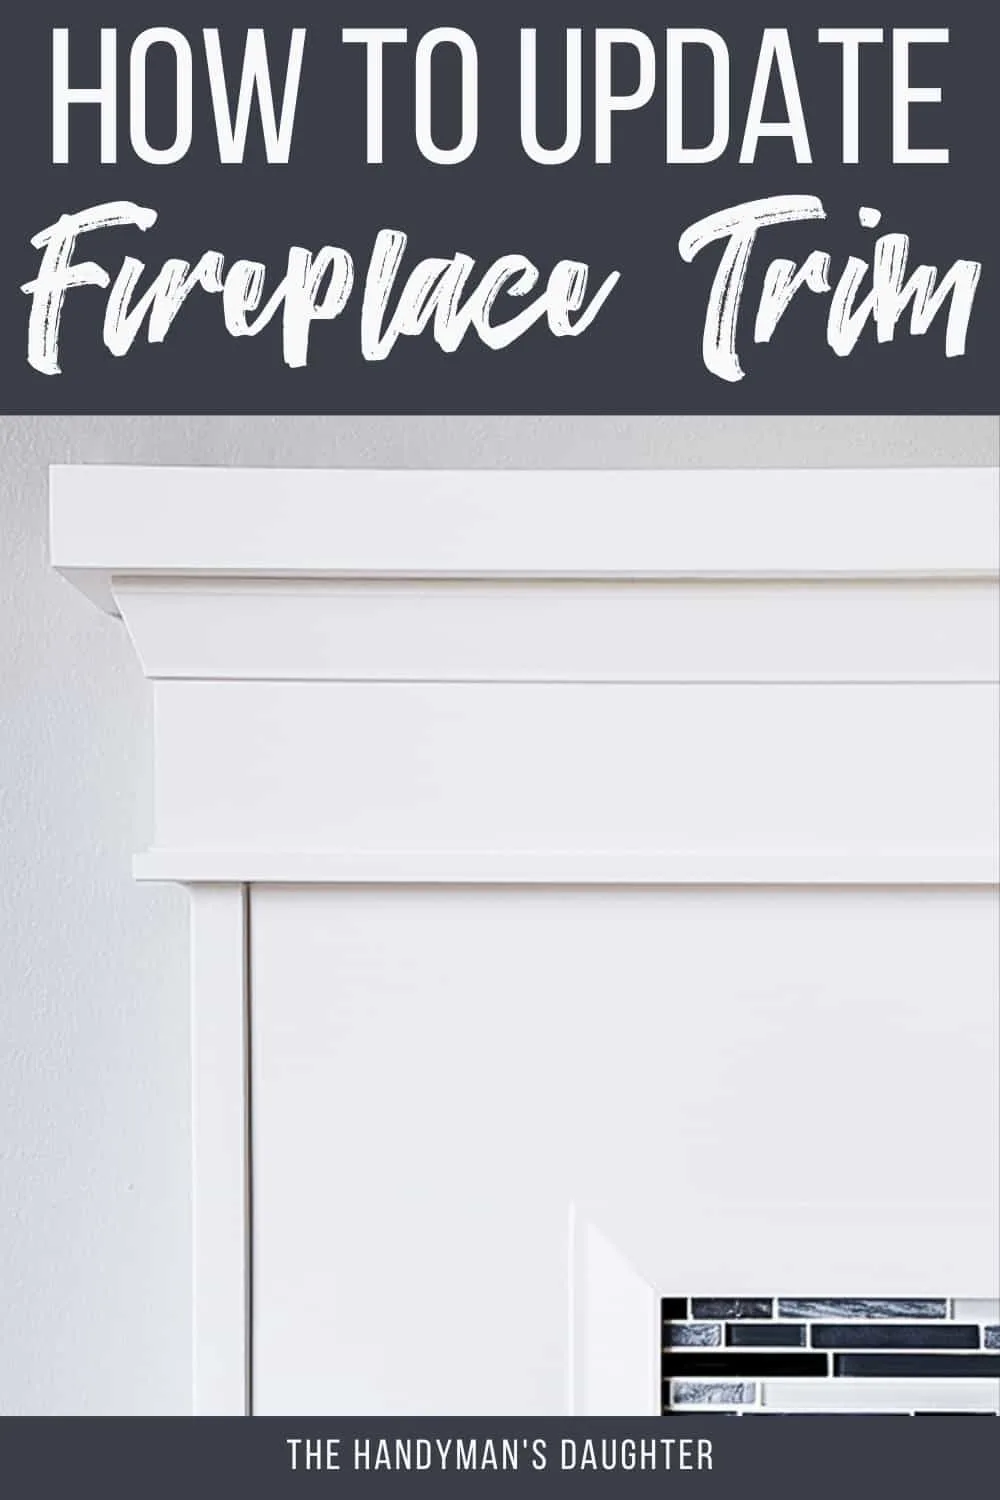
A few coats of primer and white paint worked their magic to finish this fireplace remodel. It's hard to believe this is the same mantel!
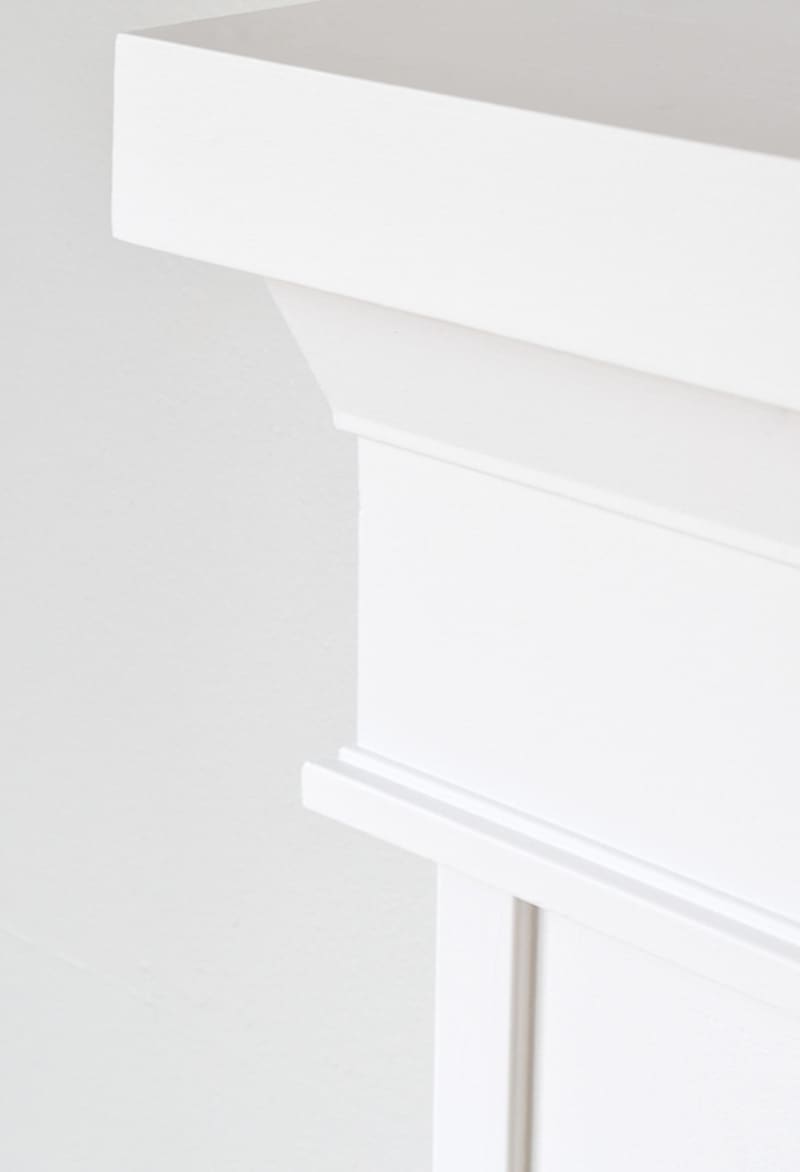
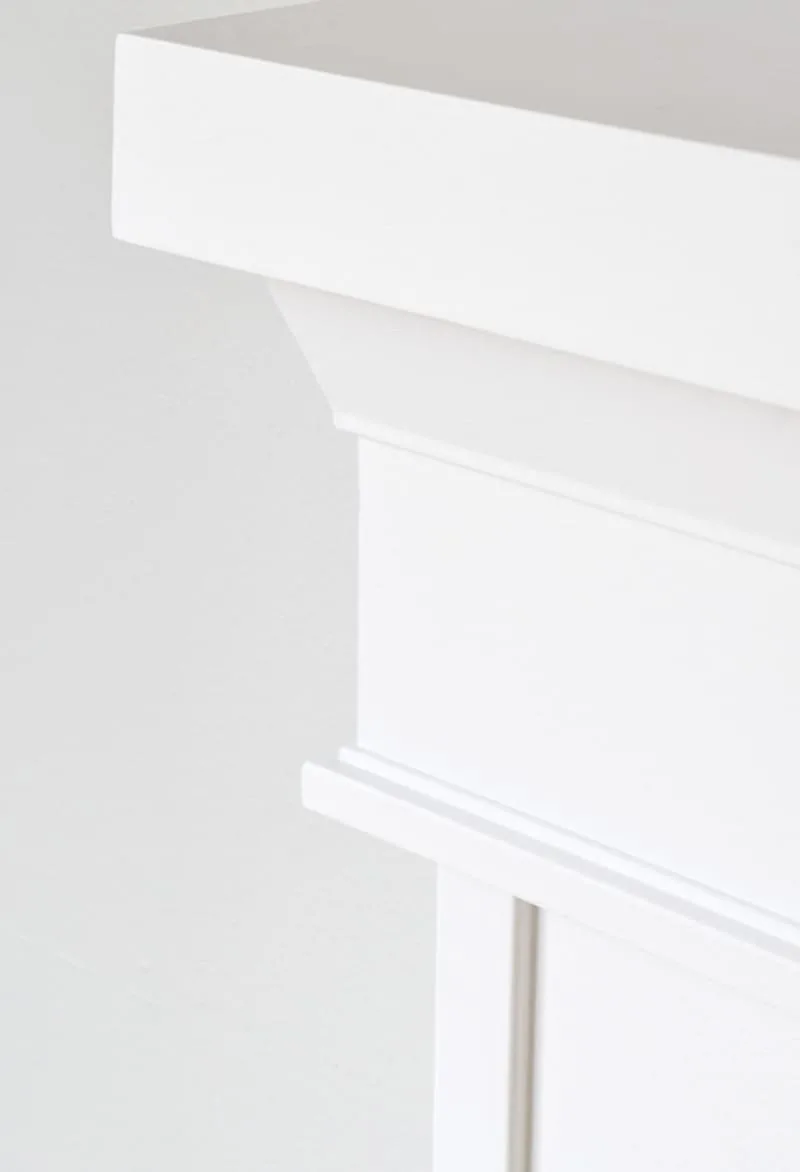
The complementary angles under the mantel and around the fireplace tile really help to tie the whole look together.

The wainscot trim frames the beautiful mosaic tile like a work of art!
I'm beyond ecstatic about how my fireplace trim turned out! It really transformed this project and tied all the elements together. The fireplace now has a clean, yet classic look that will stand the test of time.
Over 30 Amazing Fireplace Makeover Ideas - Twelve On Main
Wednesday 5th of May 2021
[…] How to Choose Fireplace Trim | Handyman’s Daughter […]
Jann Olson
Monday 24th of September 2018
It's amazing at what adding trim to a fireplace can do!! Thanks for sharing with SYC. hugs, Jann
Kim~madeinaday
Tuesday 18th of September 2018
This looks great! I've been thinking of making my mantle wider and this has inspired me! Thank you for sharing on Merry Monday! Hope to see ya next week! Kim
Morton Stones
Tuesday 24th of January 2017
The trim looks fantastic! Well done.
Oliv
Friday 20th of January 2017
Great stuff, Vineta. I stumbled upon this randomly while searching for some things on google.
I don' t know if it was your intention, but this looks very minimalistic. Again, awesome job!