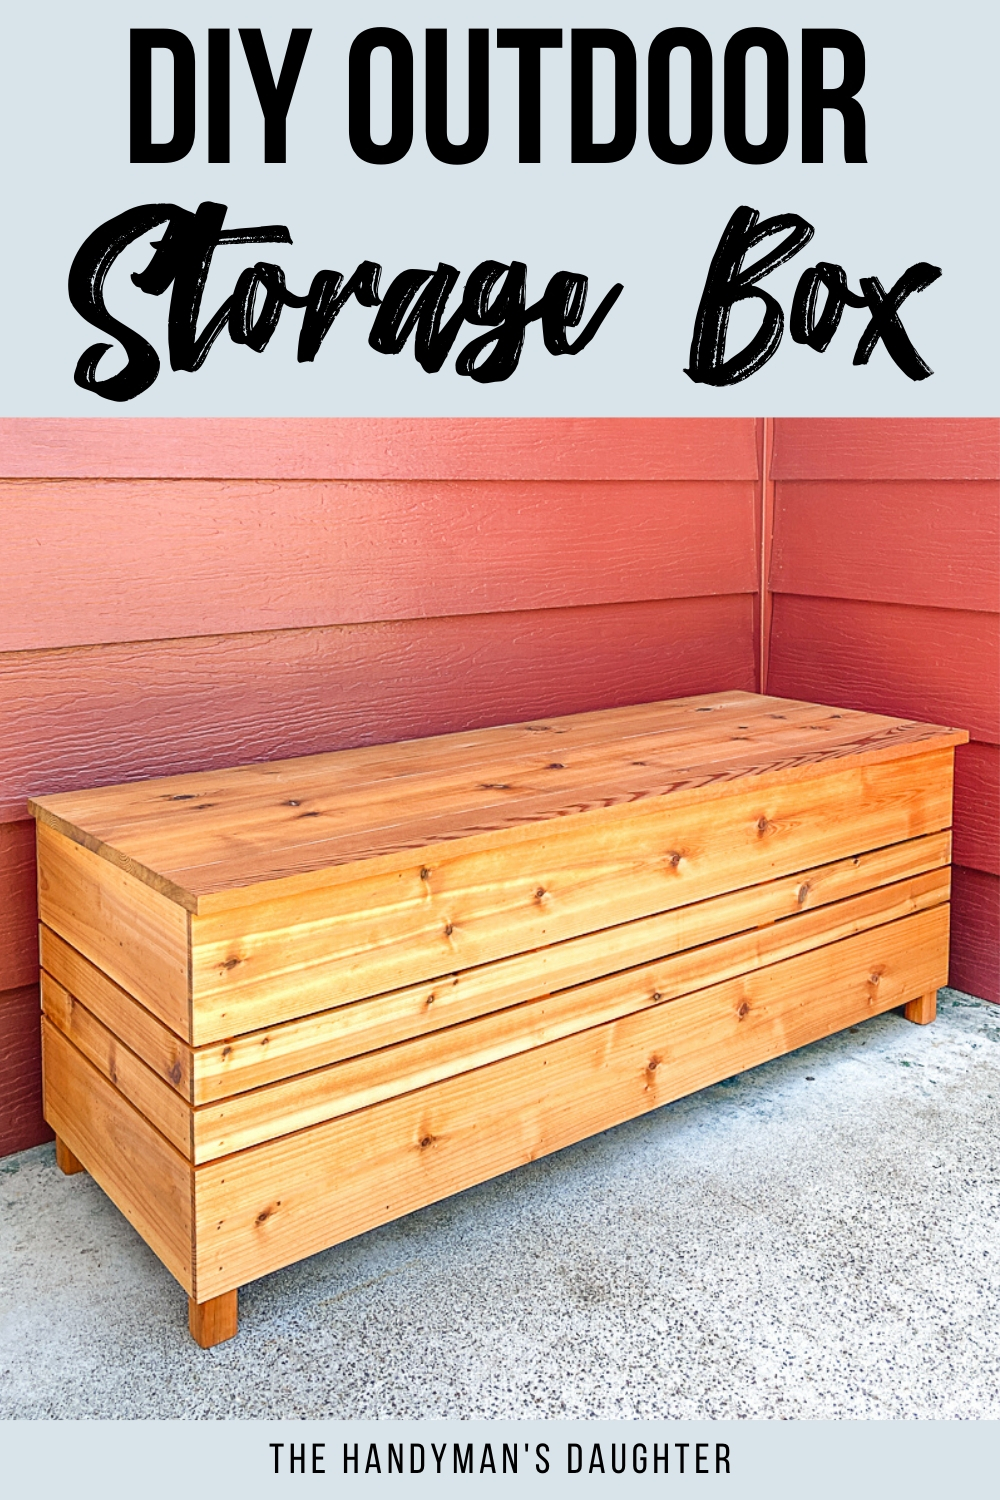
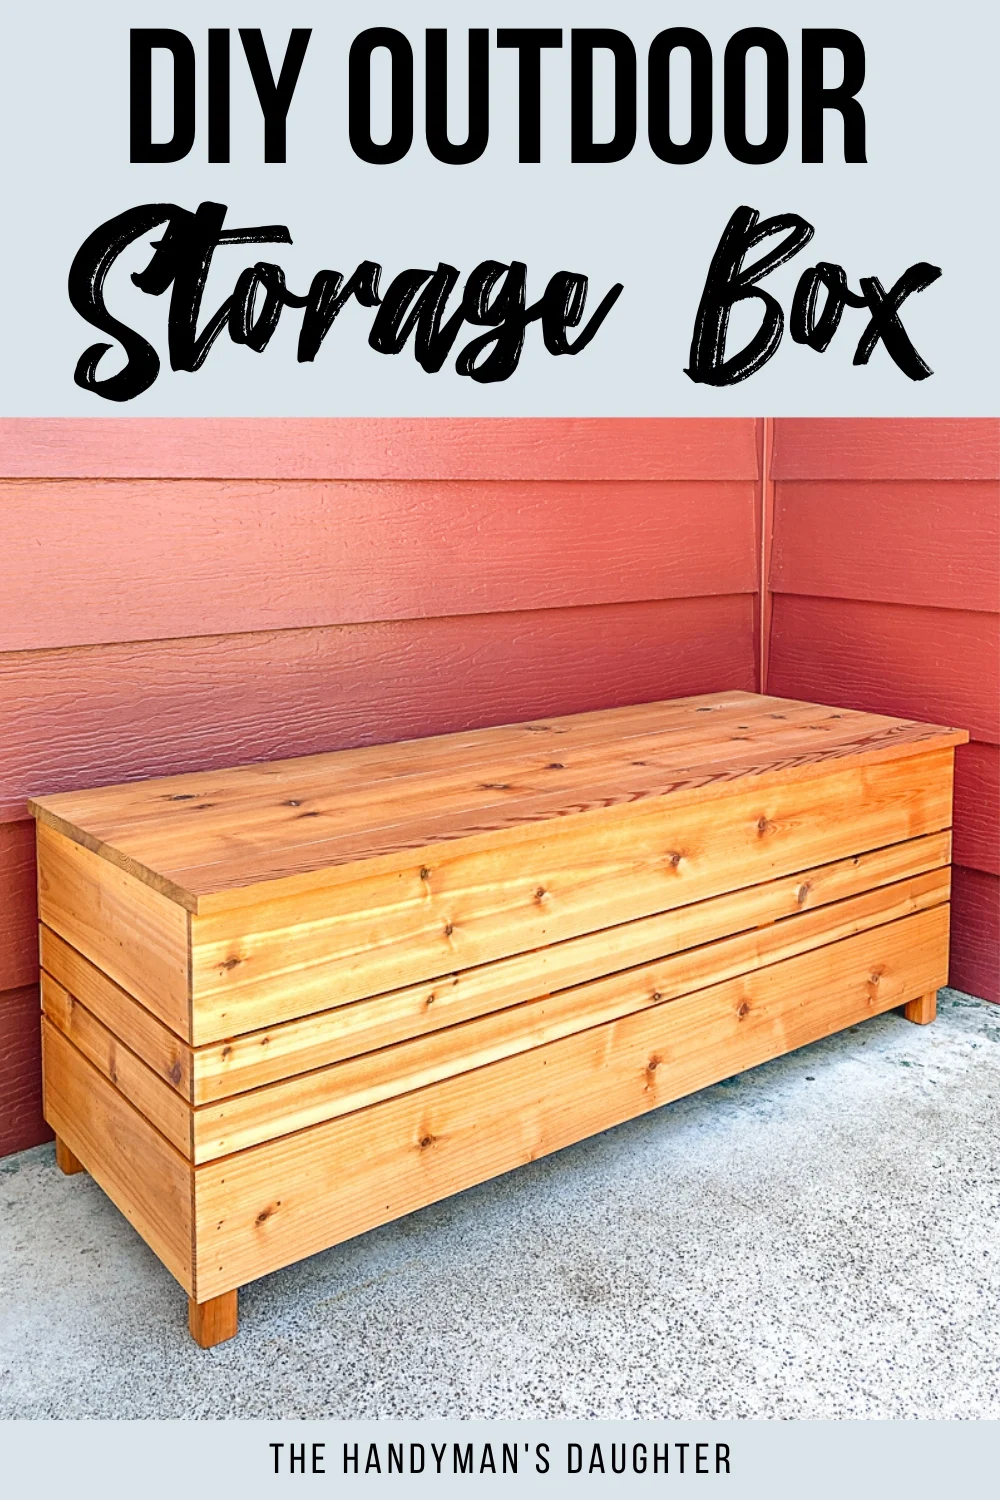
Hide clutter and package deliveries inside this DIY outdoor storage box! Get the woodworking plans for this project and get building!
I seem to have a thing for storage boxes and benches. They're just so handy, especially to hide away all those toys! One of my first big woodworking projects was this outdoor storage bench for our front porch.
But after years in the wet Seattle winters, the paint was peeling and the trim was falling apart! Not exactly the curb appeal I was going for...

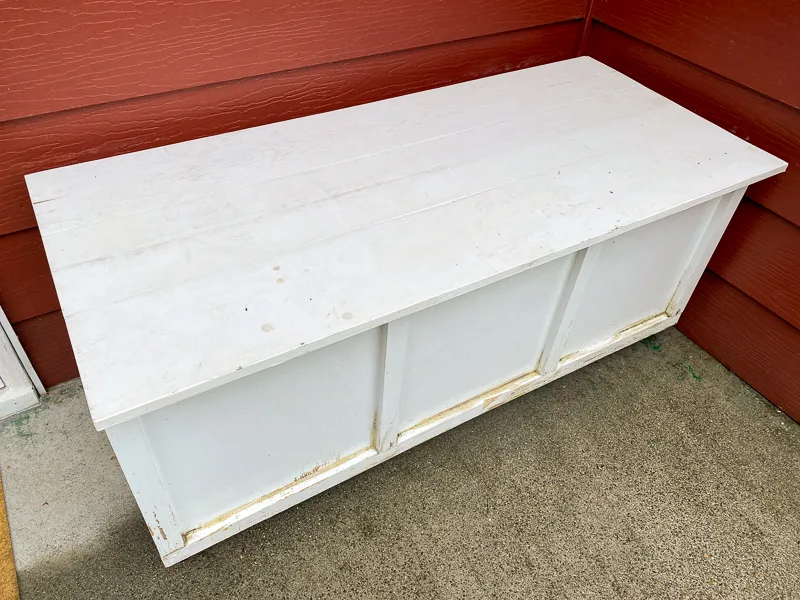
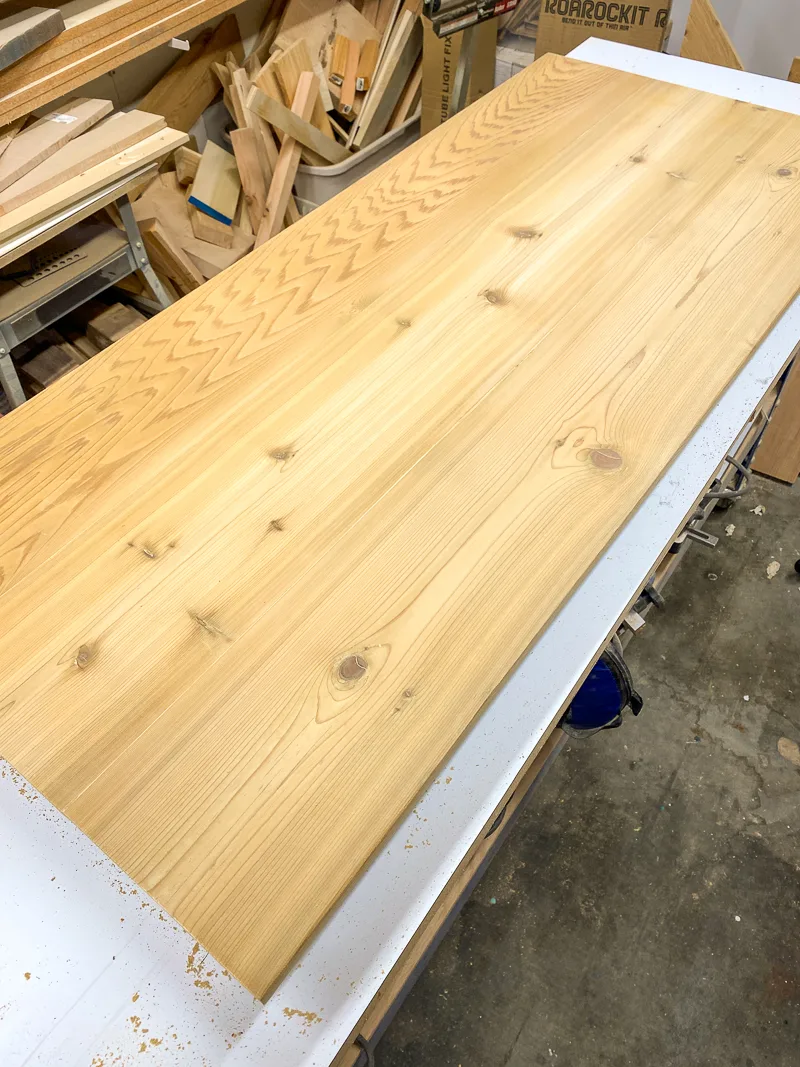
But the lid was made of solid cedar, so I took the time to strip the paint and bring it back to natural wood so I could stain it for my new project.
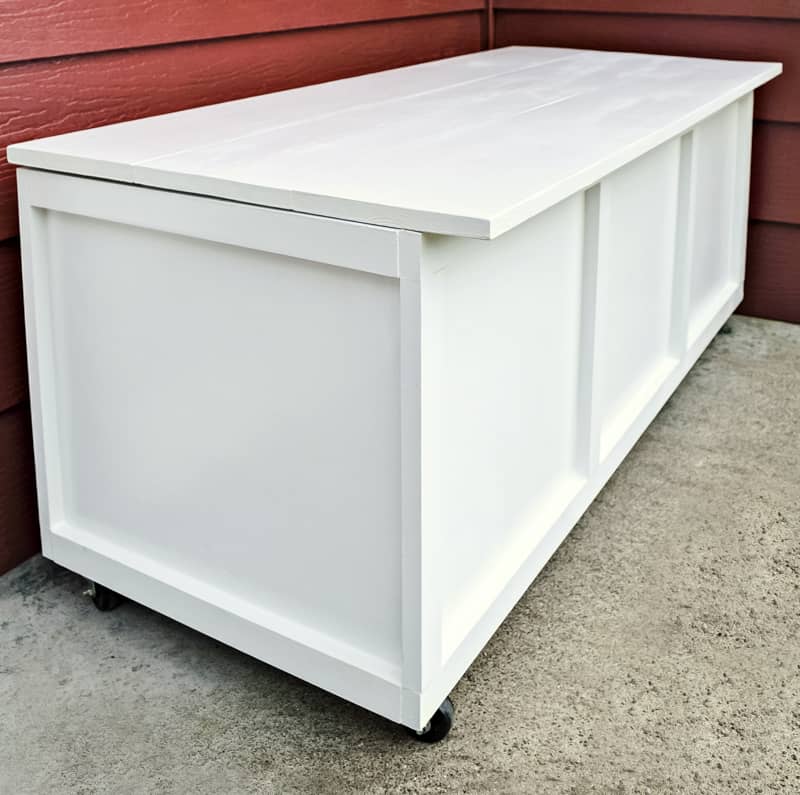
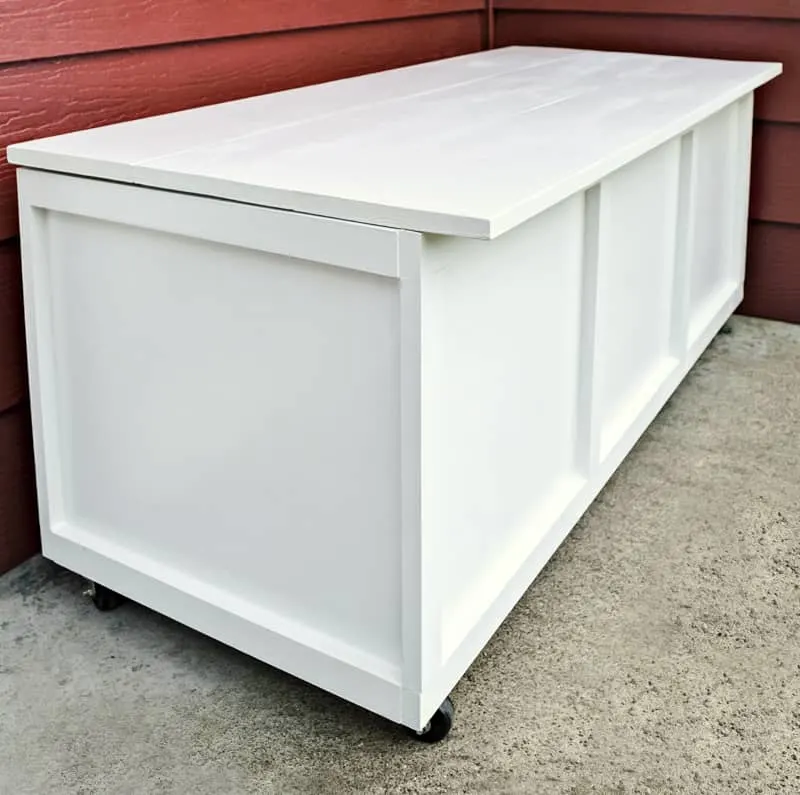
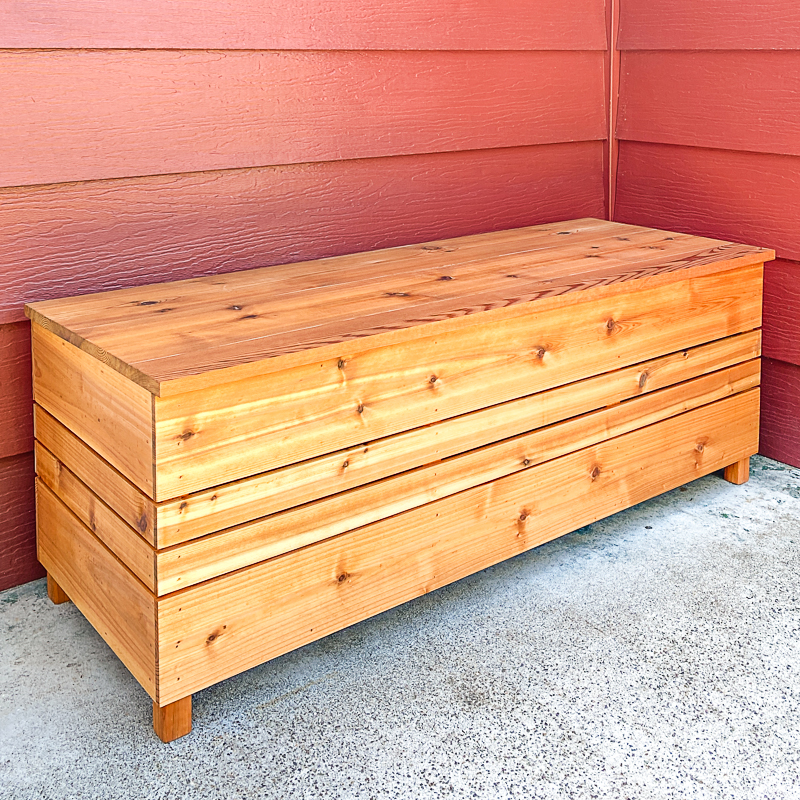
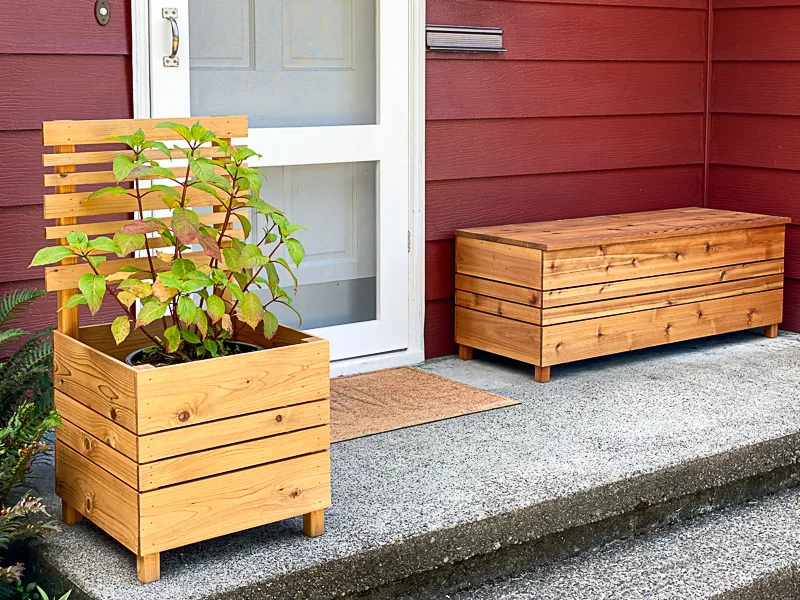
This porch box is an elongated version of the planter box I recently made for the same space. The matching set really brings the whole front porch together and looks so much better!
Here's how to build your own outdoor storage box!
This post contains affiliate links for your convenience. Purchases made through these links may earn me a small commission at no additional cost to you. Please visit my disclosures page for more information.
Materials needed for diy outdoor storage box
- Four 2x2 cedar boards
- Nine 5 ½" x 6' cedar fence pickets
- Two 1x8 cedar boards
- You could also use just one 1x8 board and a 1x6 board instead, but that's what I had on hand.
- Pocket hole jig
- 2 ½" exterior pocket hole screws
- 1 ¼" exterior pocket hole screws (for the lid)
- Brad nail gun and 1" brad nails
- Stainless steel hinges
- Waterproof wood glue
- Table saw
- Clamps
- Sander and sandpaper
- Exterior wood stain
How to Make an Outdoor Storage Box
Download the woodworking plans
Click on the box below to get the woodworking plans for this project! The plans have all the dimensions you need, plus step by step instructions with clear illustrations to help you along the way.
Build the frame
Cut all the 2x2 pieces according to the cut list in the plans. If you're planning to use this storage box as a bench, you might want to switch to 2x4's so it can support more weight. We discovered that we usually sit on the steps instead of the bench, so I went with 2x2's because they're lighter and cheaper!


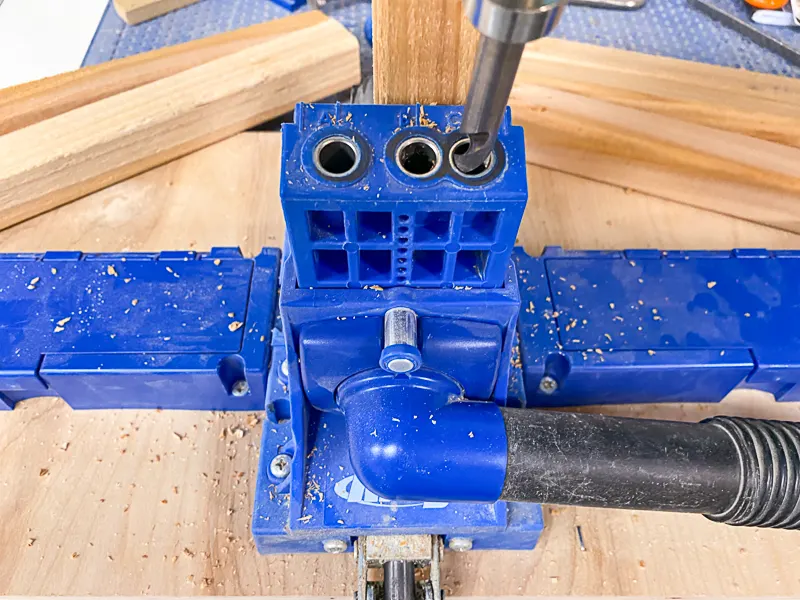
Drill pocket holes in the ends of the boards. Make sure the pocket hole jig is centered, so you don't end up drilling off the side of the board. These narrow 2x2's can be a little tricky!
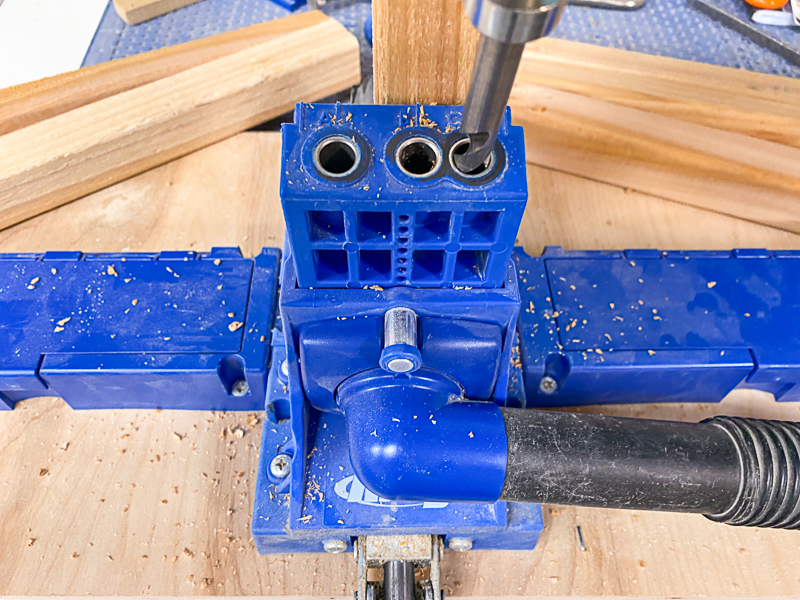
Build the identical front and back frame pieces first, using waterproof wood glue and 2 ½" pocket hole screws. Don't forget to check for square as you go!

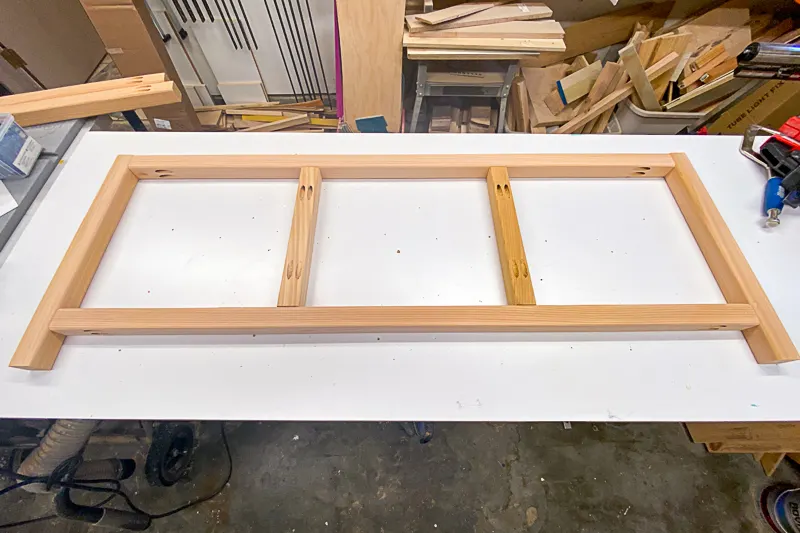
Attach the connecting pieces to one side of the frame.


Then flip it over and screw the other side in place.


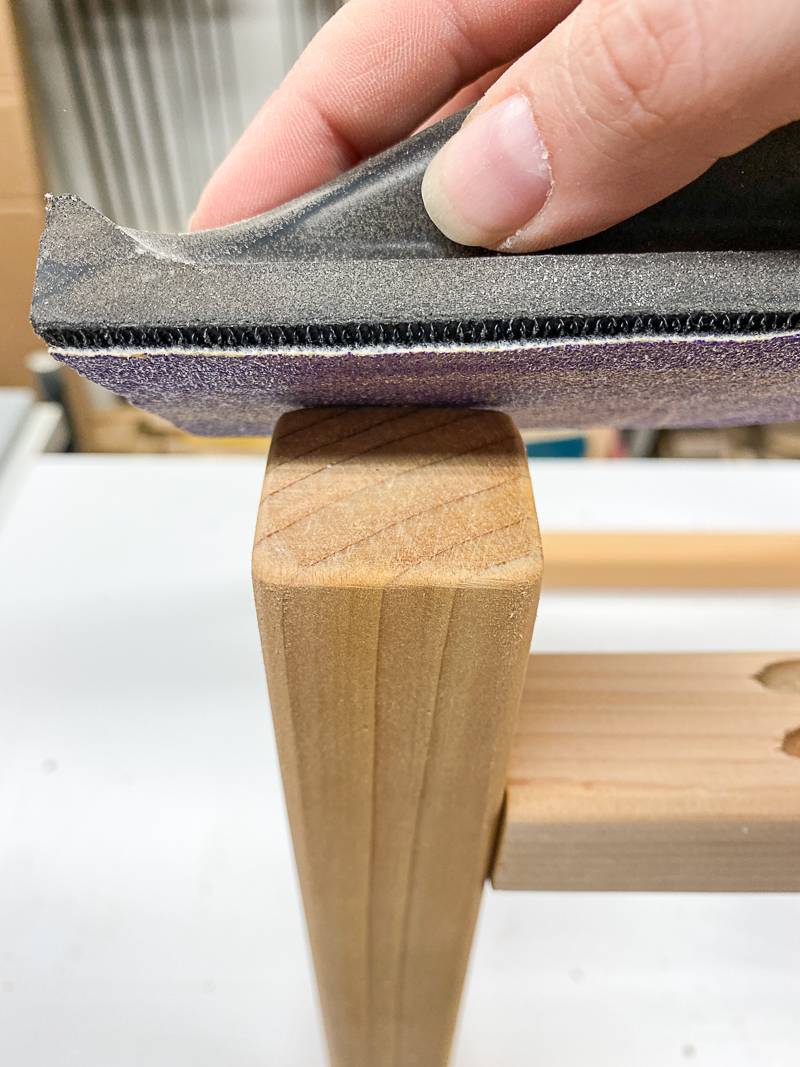
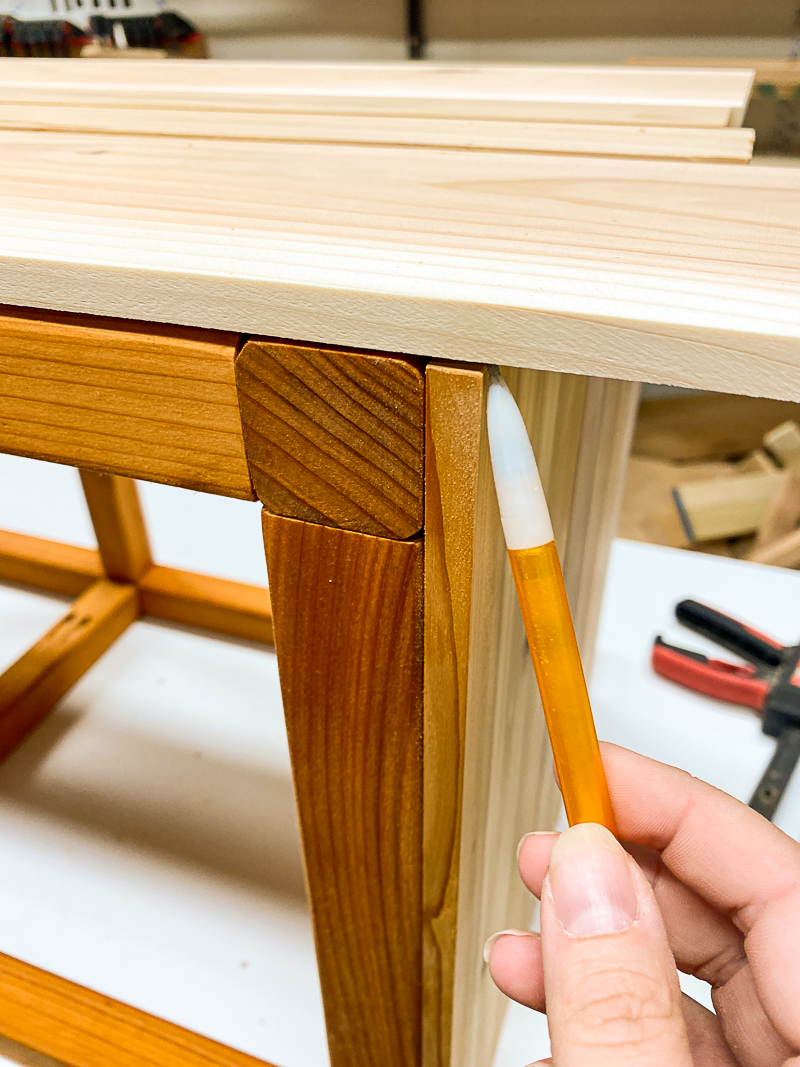
I sanded a bevel on all four legs to prevent the corners from splintering in case the box is pushed across the rough concrete porch.

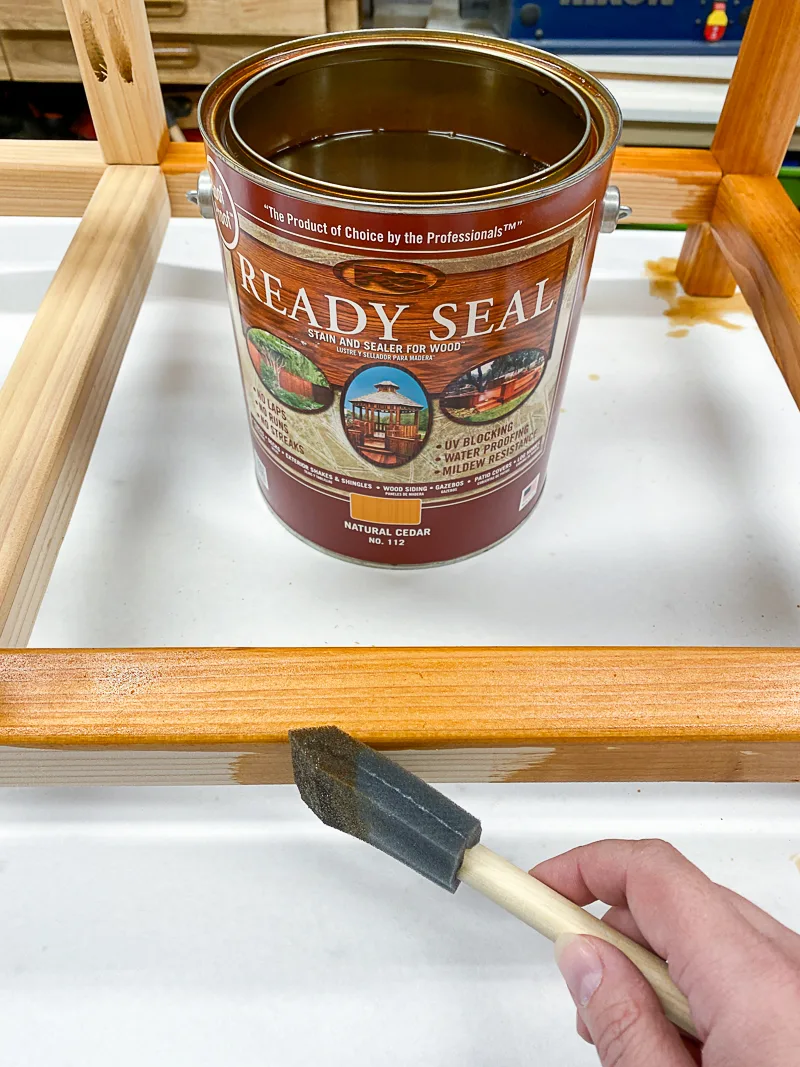
I recommend staining the frame now, instead of waiting until the entire storage box is assembled. It's much easier to reach all those tricky spots when it's open like this! I used leftover Ready Seal stain in Natural Cedar from when I stained our deck last year.

Prep and cut the outside cladding
I love using cedar fence pickets for projects like this. They're an inexpensive way to enclose a box or space (like underneath deck stairs) with weather-resistant lumber. Dig through the pile to find the best pieces with minimal knots and flaws. I've unearthed some beautiful cedar from those giant stacks!
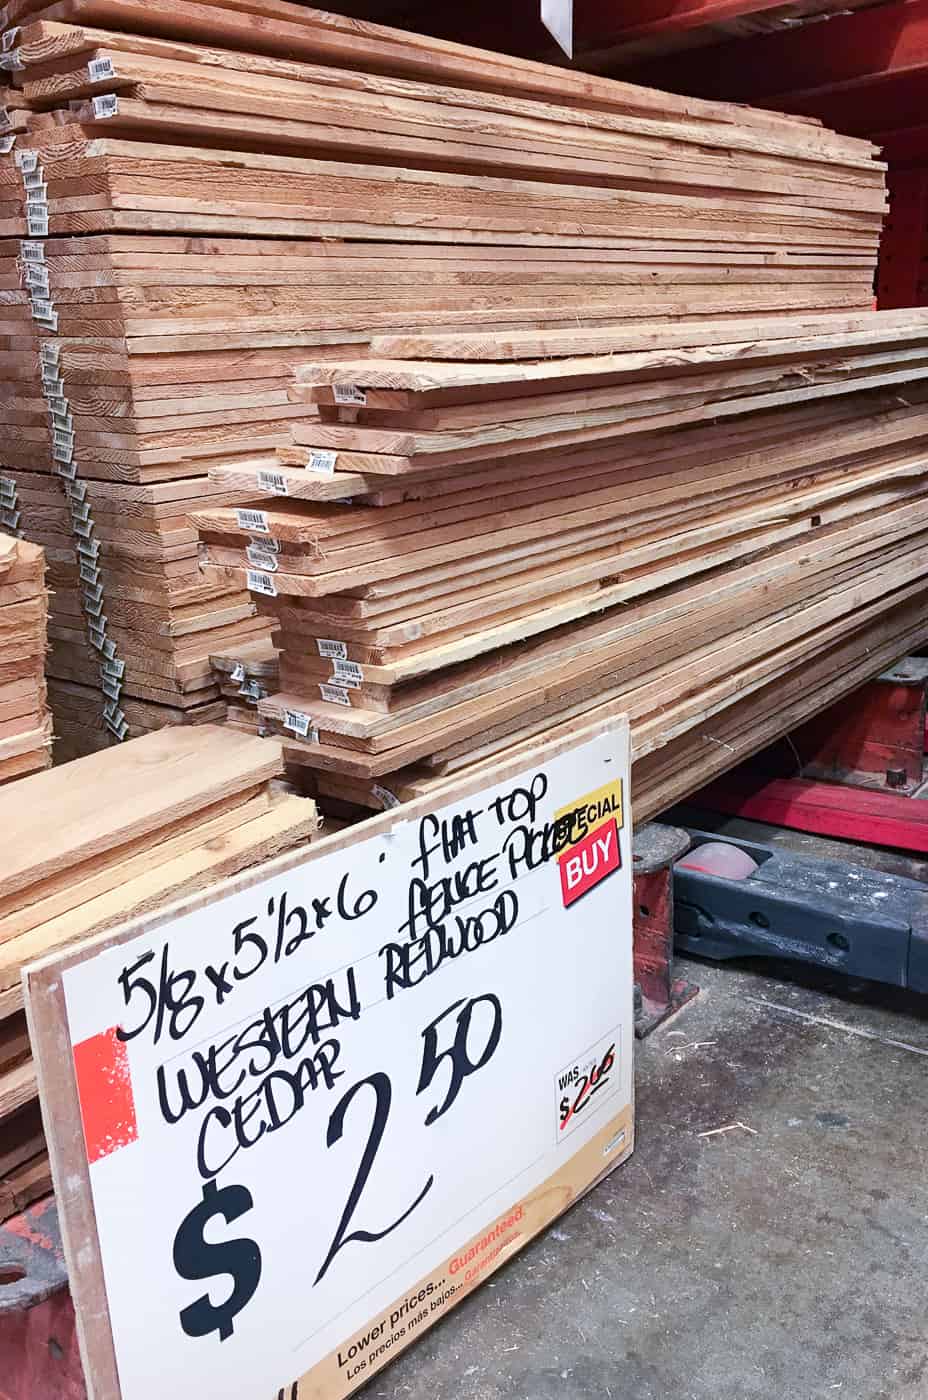

If you don't have a table saw to rip these boards to the different widths, you can buy 5 ½" and 3 ½" fence pickets to get a similar look. You'll just have one narrow strip in the middle instead of two. I've used this pattern in lots of other outdoor projects (like the umbrella stand side table below), and it's become my signature look!

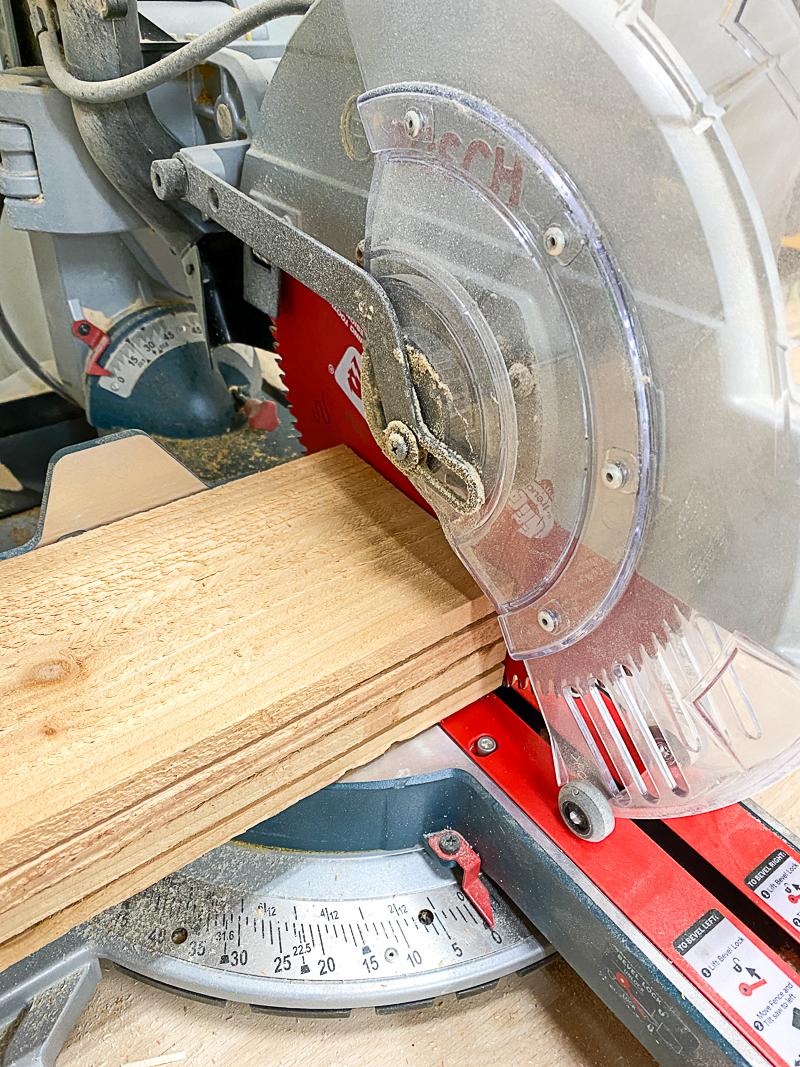
Cut the cedar fence pickets to roughly the length of the sides of the box. You'll be trimming them all to fit later, but the shorter lengths are easier to handle. I just stack them up and chop 'em all at the same time!

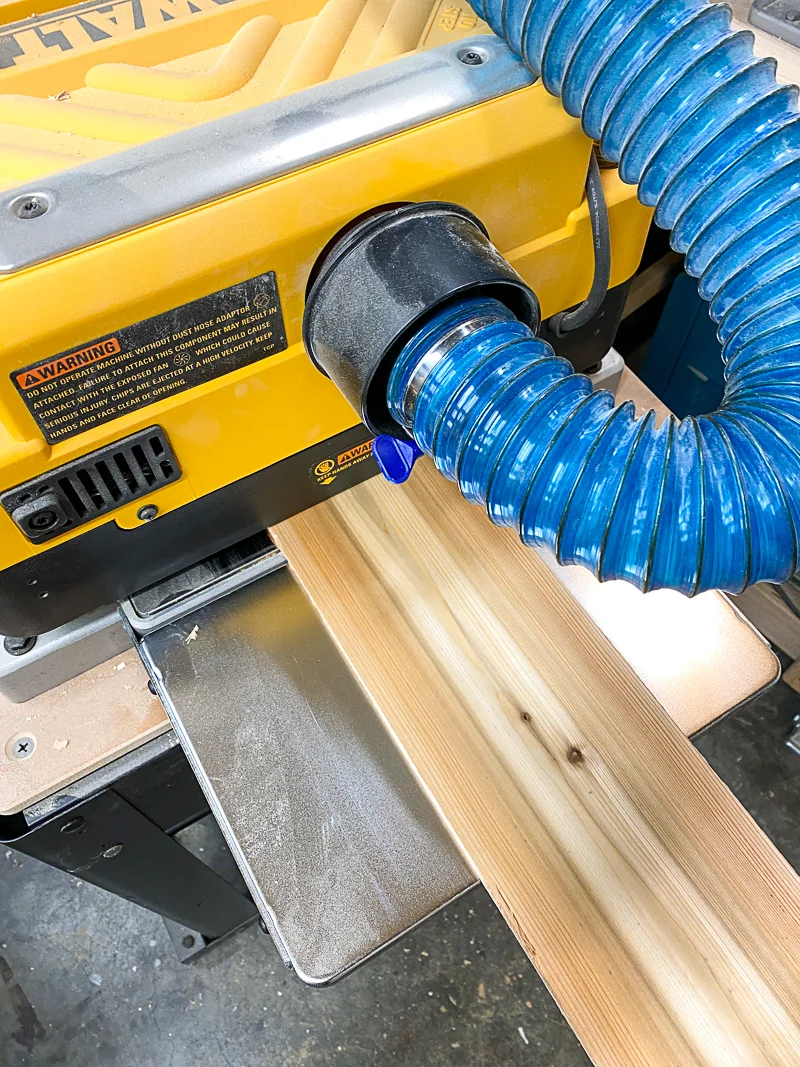
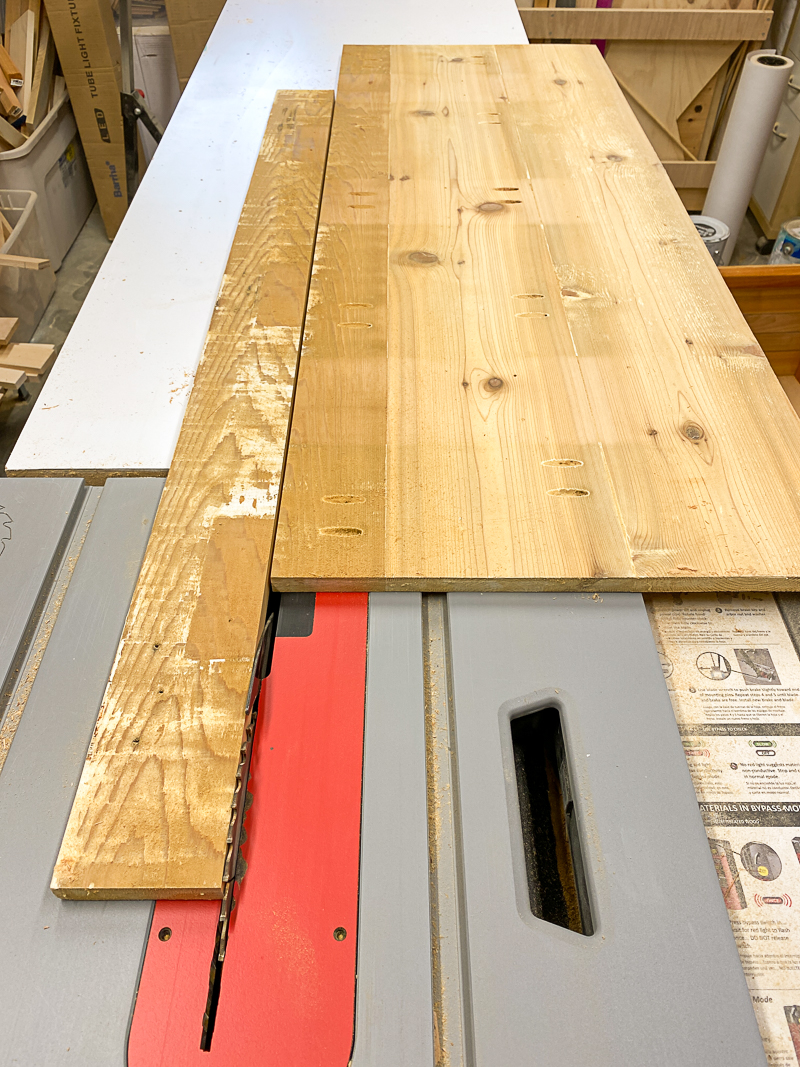
Sand down all the boards to remove the rough, splintered surface. I went one step further and used my jointer and thickness planer to flatten the boards and reveal the gorgeous grain underneath.

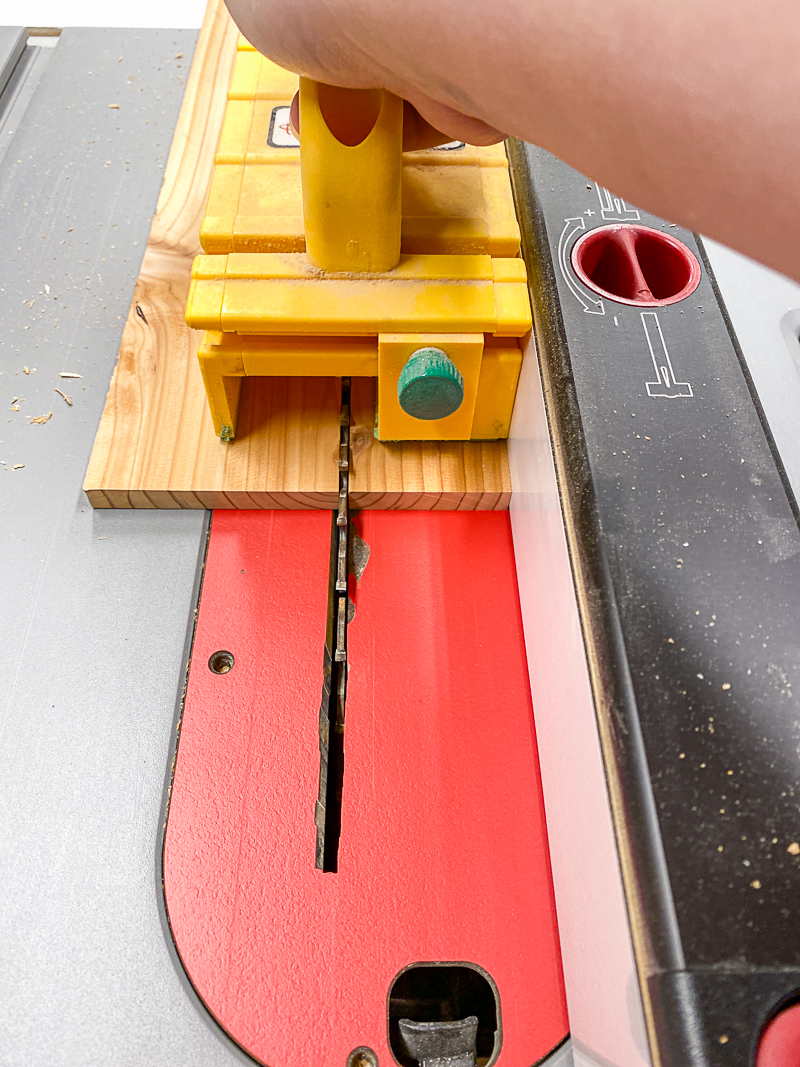
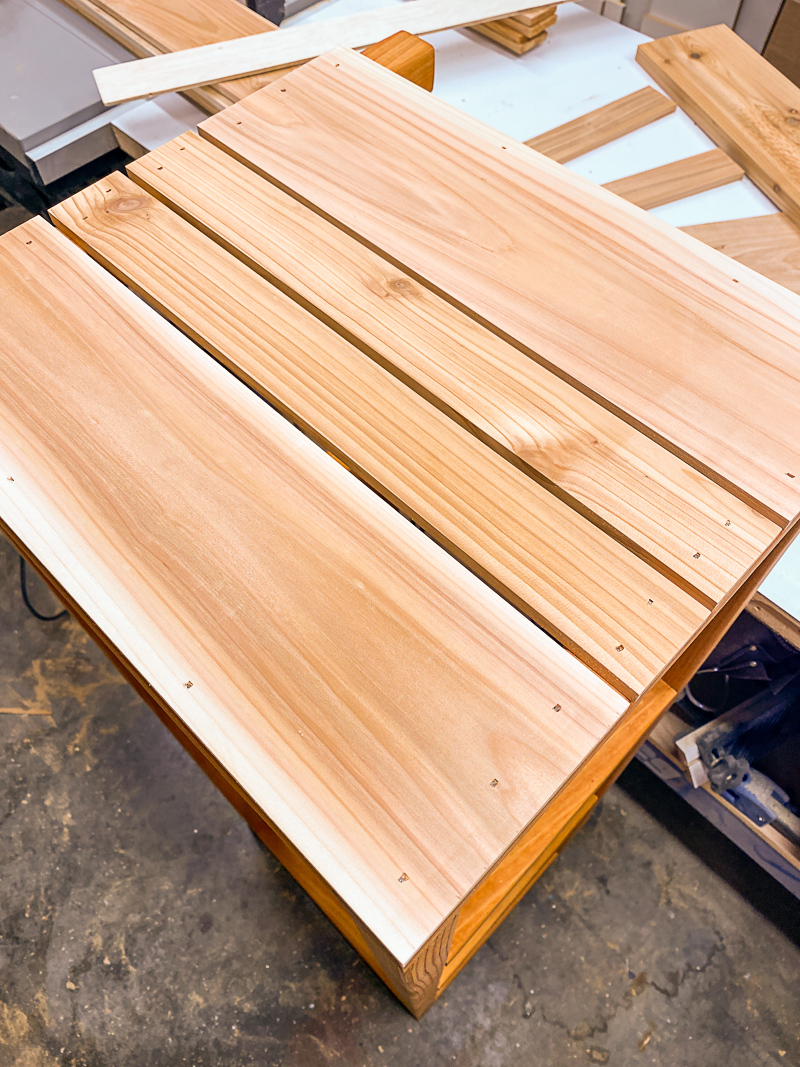
Next, cut the pieces to the desired width. The pattern I used has 5" strips on the top and bottom, with two 2" strips in the middle.
I ripped them down to size on the table saw, using a Grr-ripper to hold those small pieces tight against the fence.

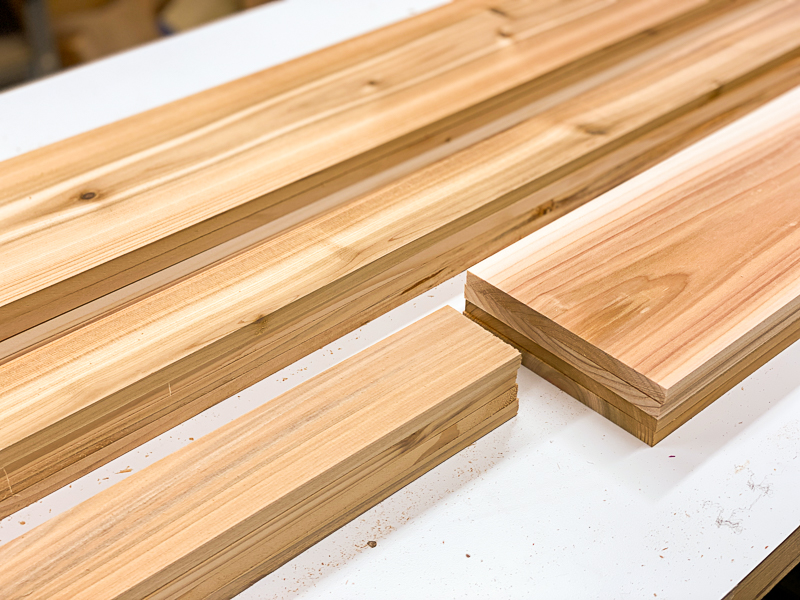
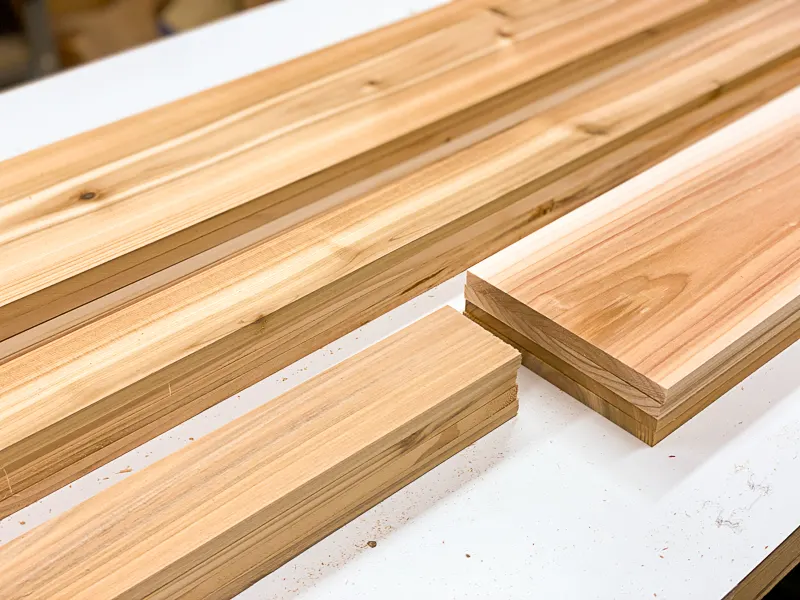
Those rough fence pickets clean up nice! I picked out the best ones to be installed on the front and left side of the storage box where they'll be seen from the street.
Attach the cladding to the frame
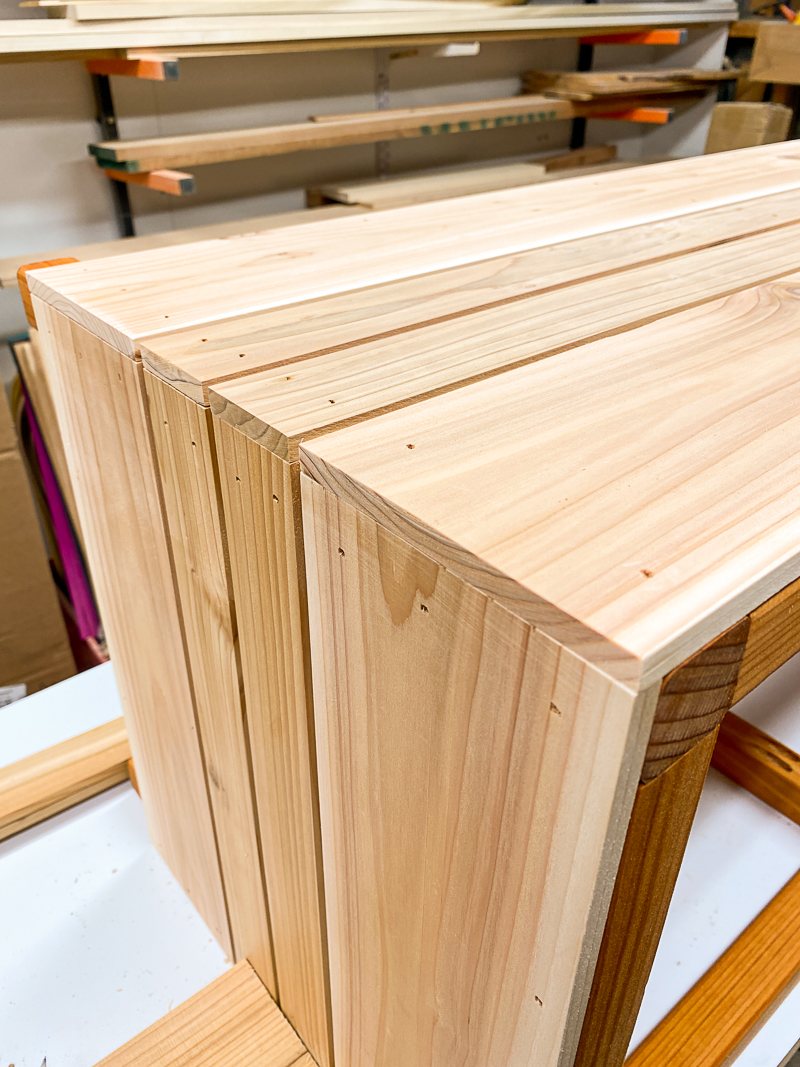
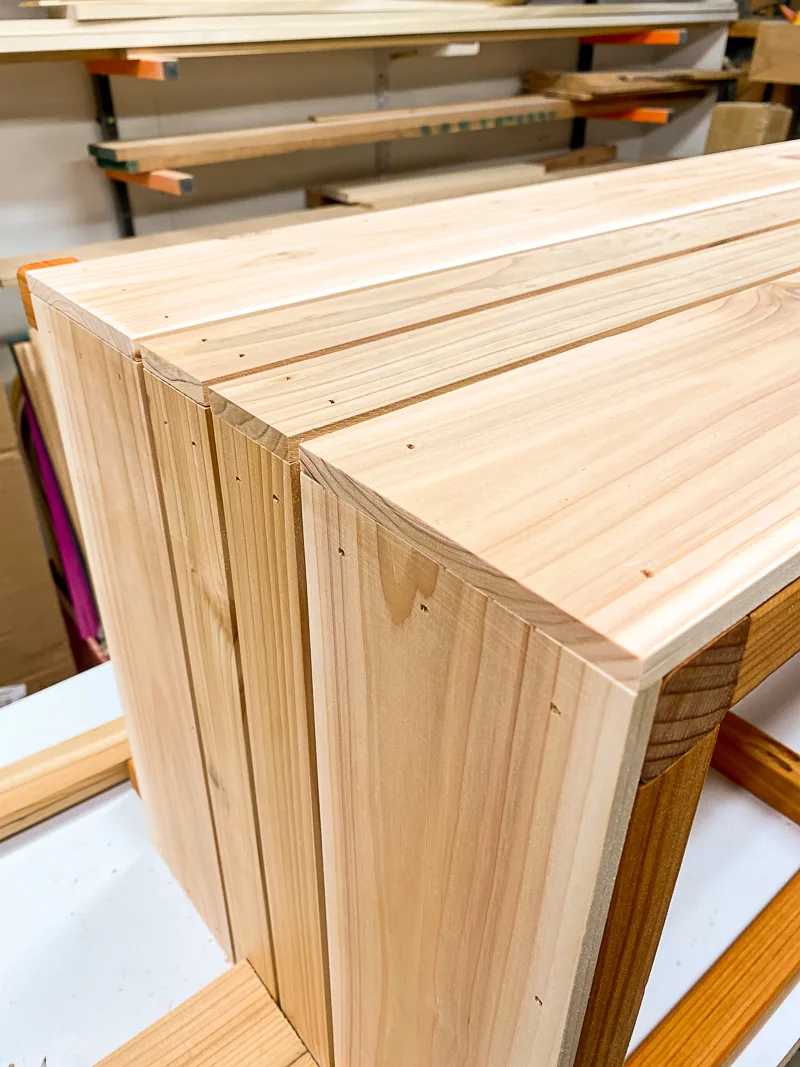
Start with the short ends of the storage box first. I stood the frame upright to make it easier to work on.


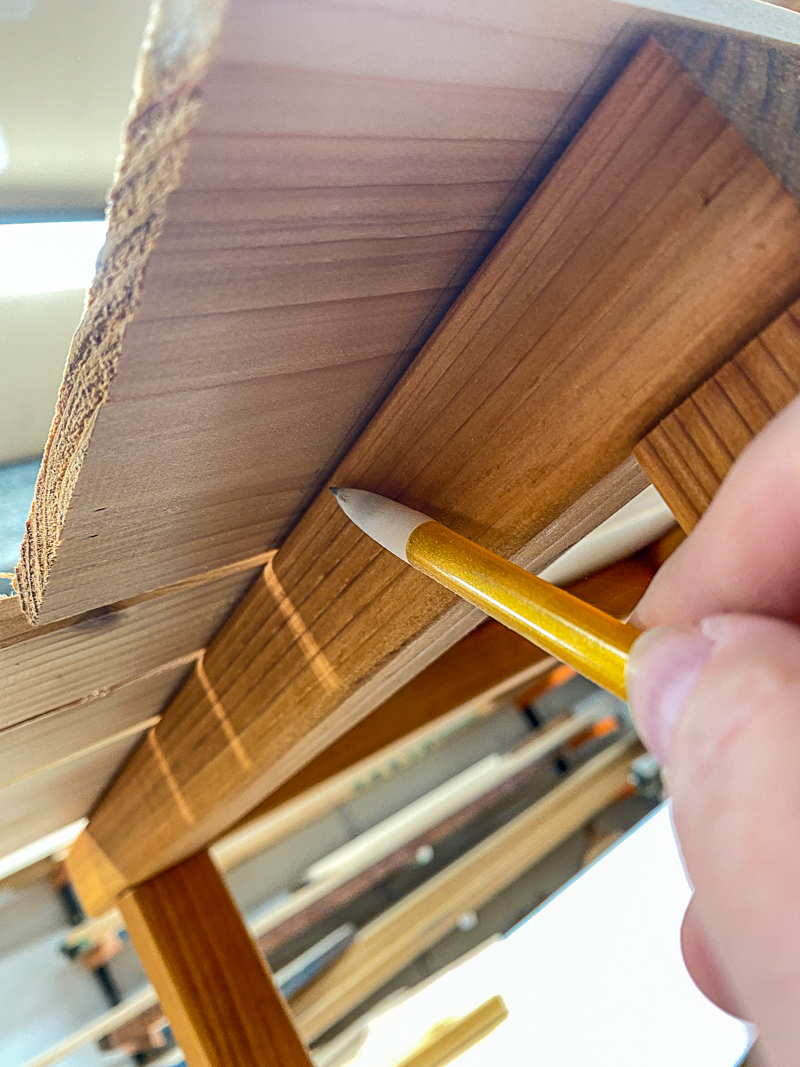
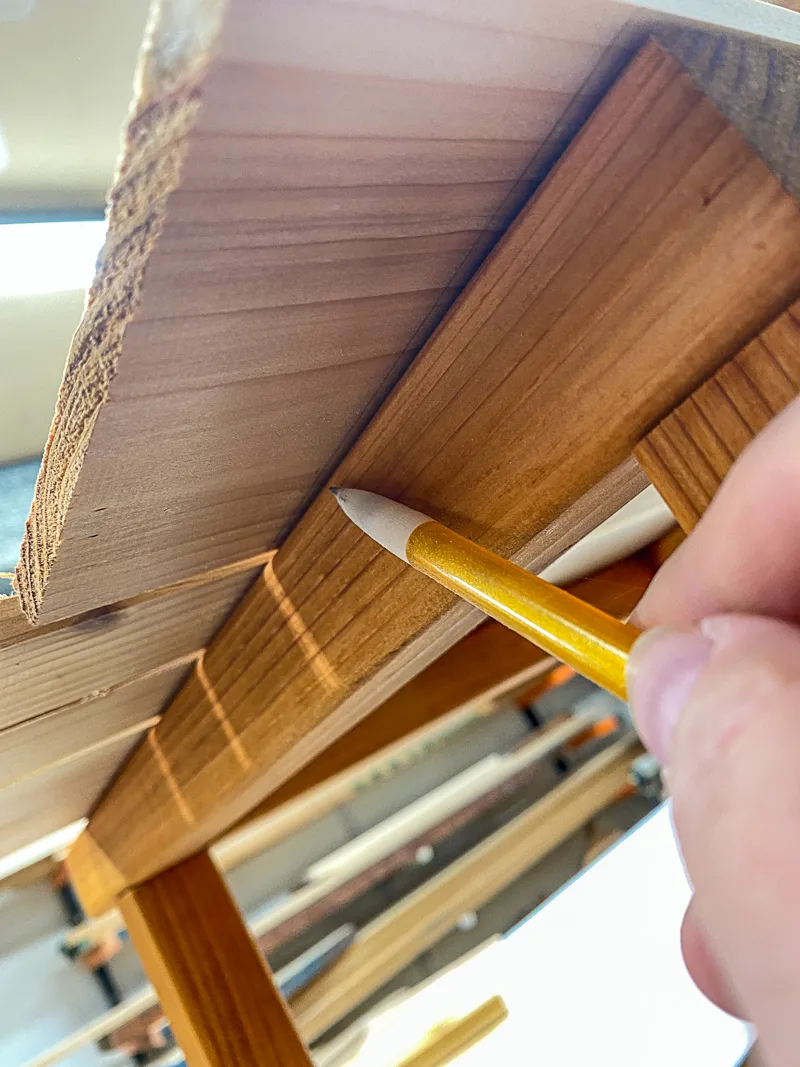
Mark the exact width of the top slat from underneath with a pencil, then cut it to fit. It should be flush with the outside edges of the frame.
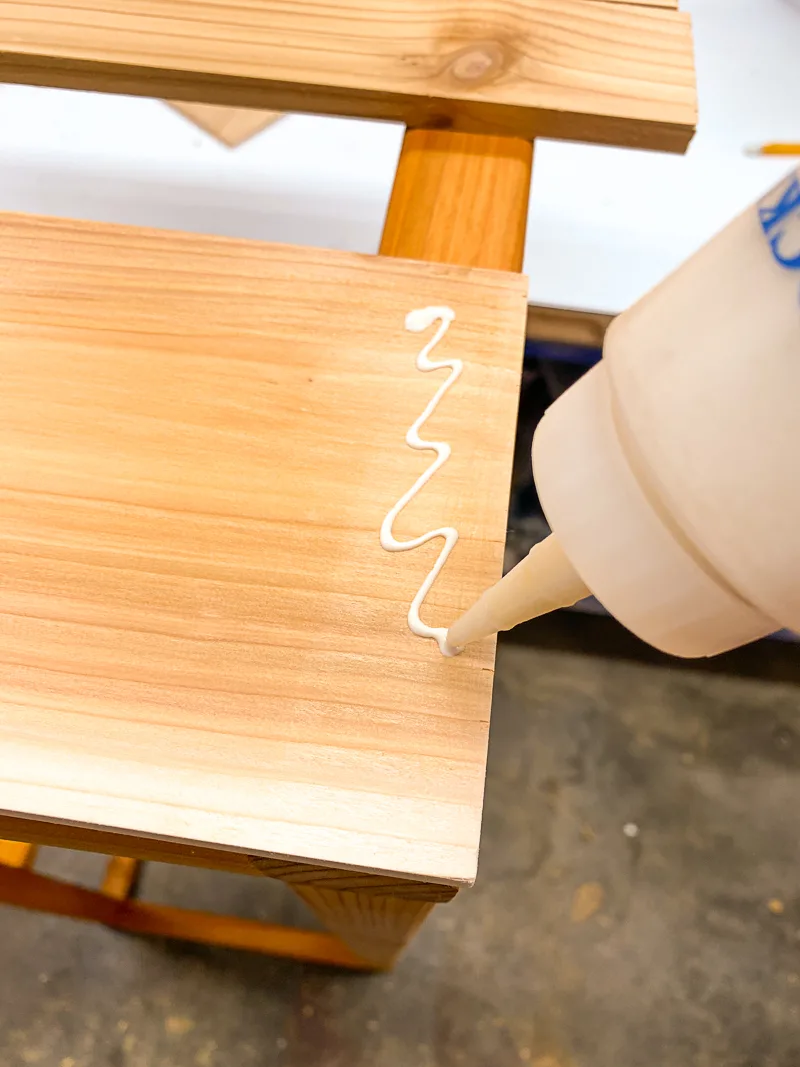
Apply wood glue on both ends where it will come into contact with the frame. Make sure you use waterproof wood glue like Titebond III, or your box will start to come apart after the first rainstorm!

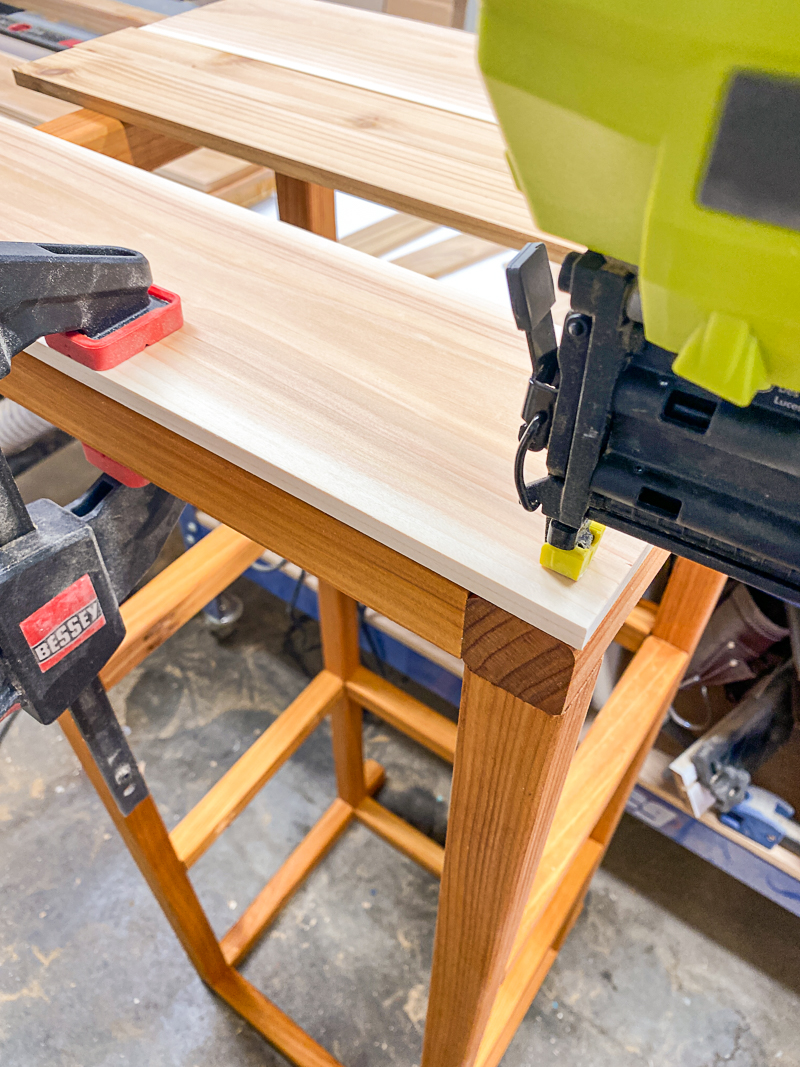
Use a clamp to hold the slat aligned with the top and sides of the frame while you nail it into place.

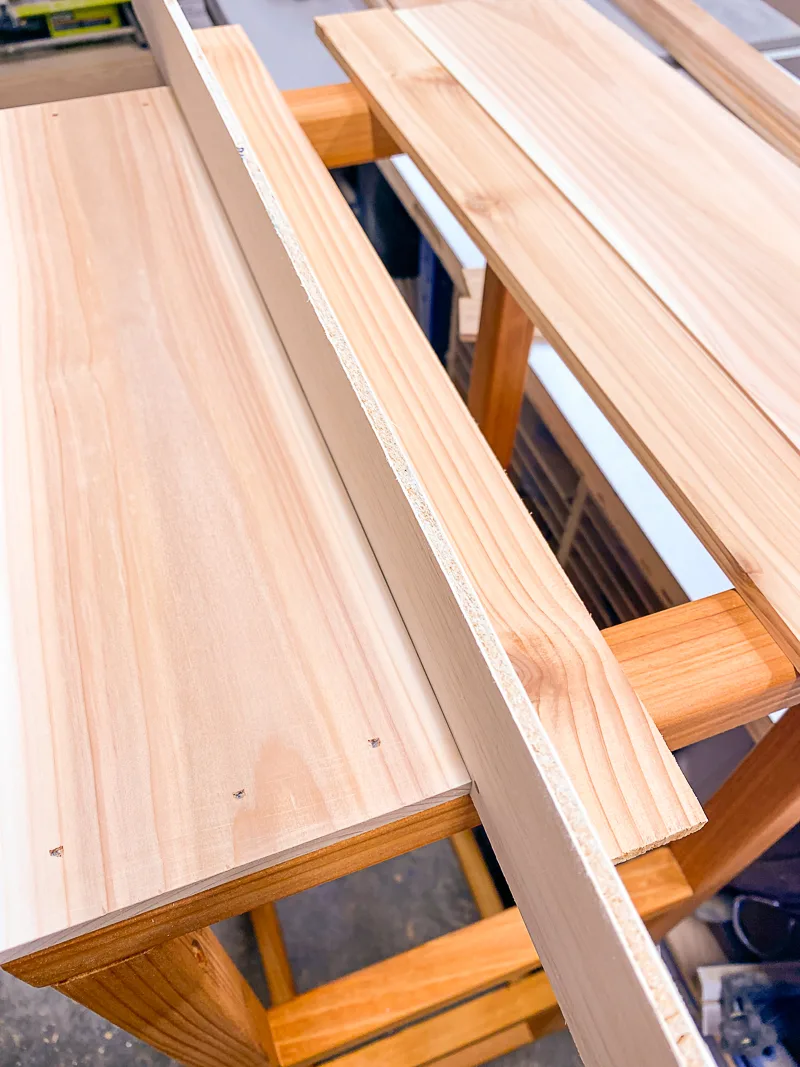
The slats are ¼" apart, so I used a scrap of ¼" plywood as a spacer. Place the next slat tight against the spacer, mark the ends, and trim them to fit.

Repeat the process down the side of the box. The bottom slat should be at or slightly below the bottom of the frame. Then flip the frame over and complete the other short end.

The longer sides cover the cut ends of the shorter cladding pieces. These fence pickets can vary slightly in thickness, so it's always better to cut them to fit rather than all at the same time beforehand! Line up one side flush with the end first.
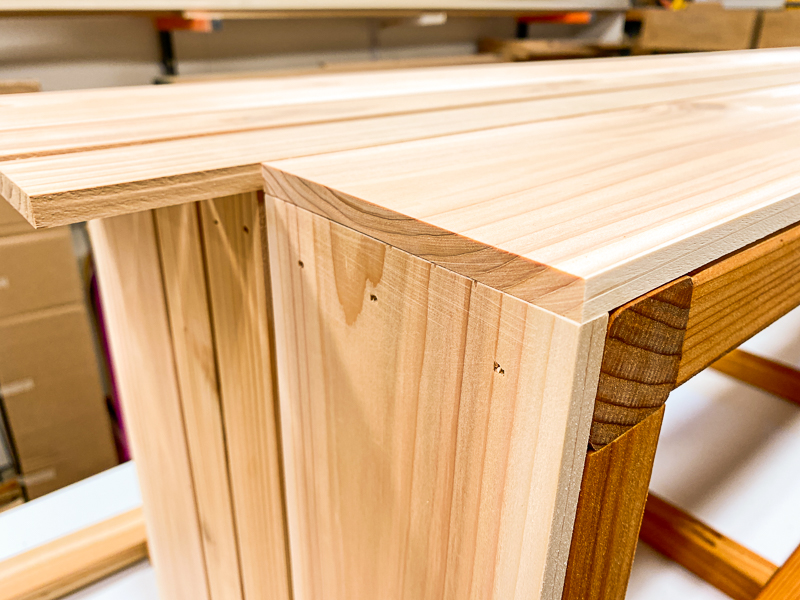
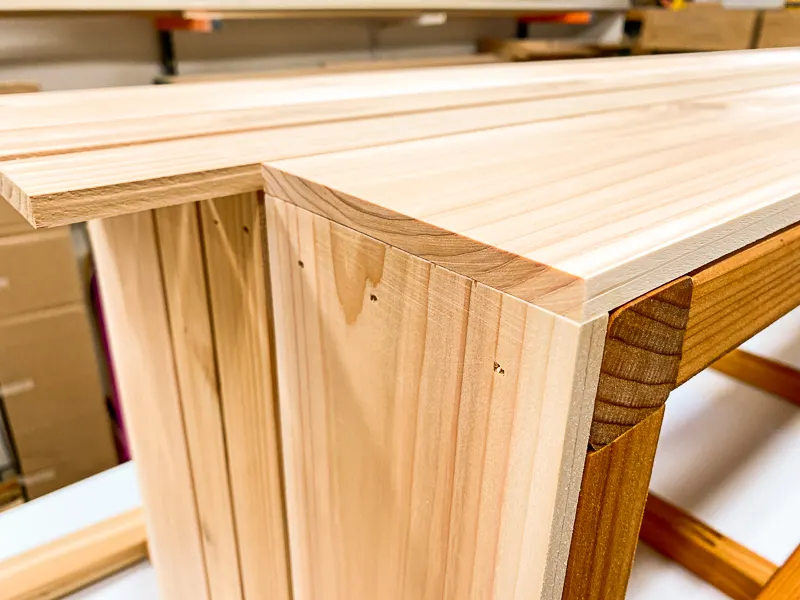
Mark the other end from underneath like before. Cut the slat to fit, then attach it to the frame with exterior wood glue and brad nails.

You don't have to use the spacer for these long pieces. Just line up the edges with the side pieces!
Now it's starting to look like a storage box!
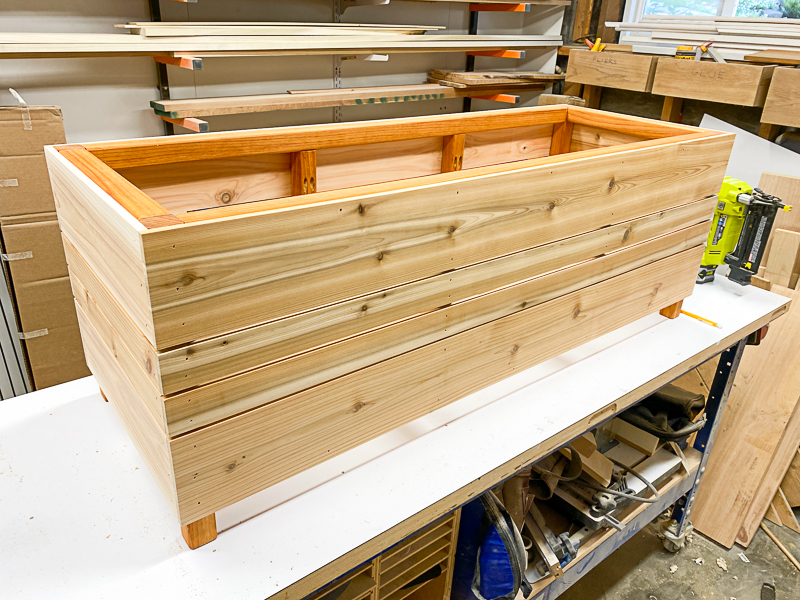
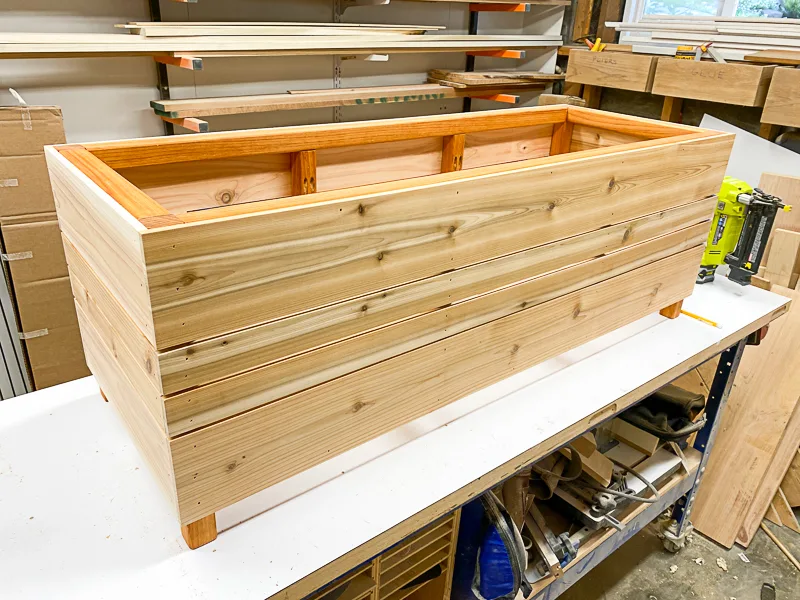
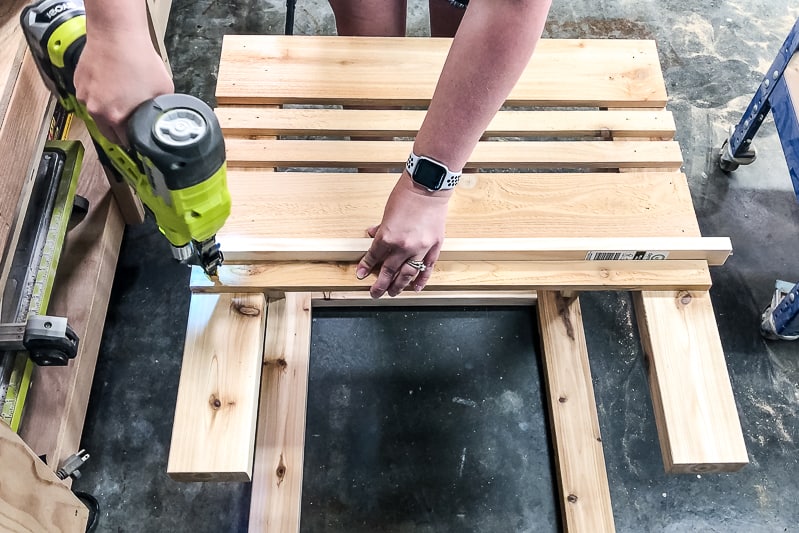
Cut and attach the bottom of the box
The inside of the box isn't quite wide enough for three full fence pickets. I cut the first two down to size, then measured the gap in between. I wanted a bit of space between the slats to make it easier to clean out the bottom (there was a ton of grass in the bottom of our old one), so I subtracted ½" from the gap measurement to allow for ¼" spacing on either side.

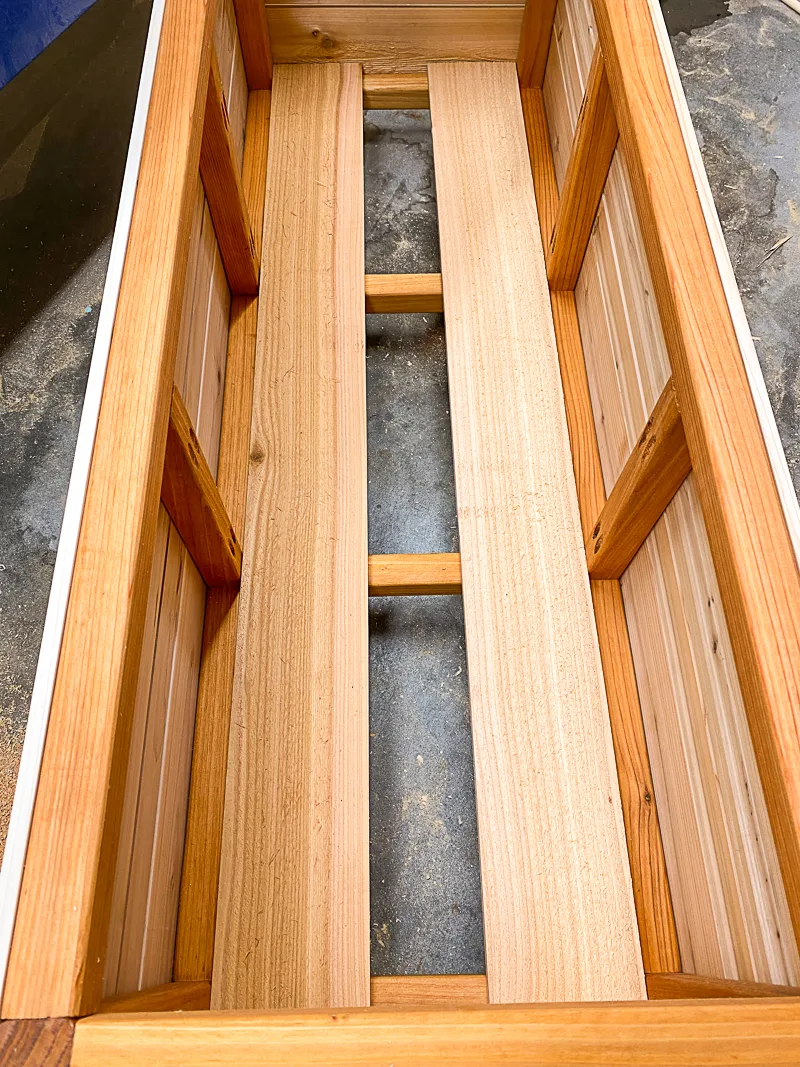
Attach the bottom slats with brad nails along the supports.
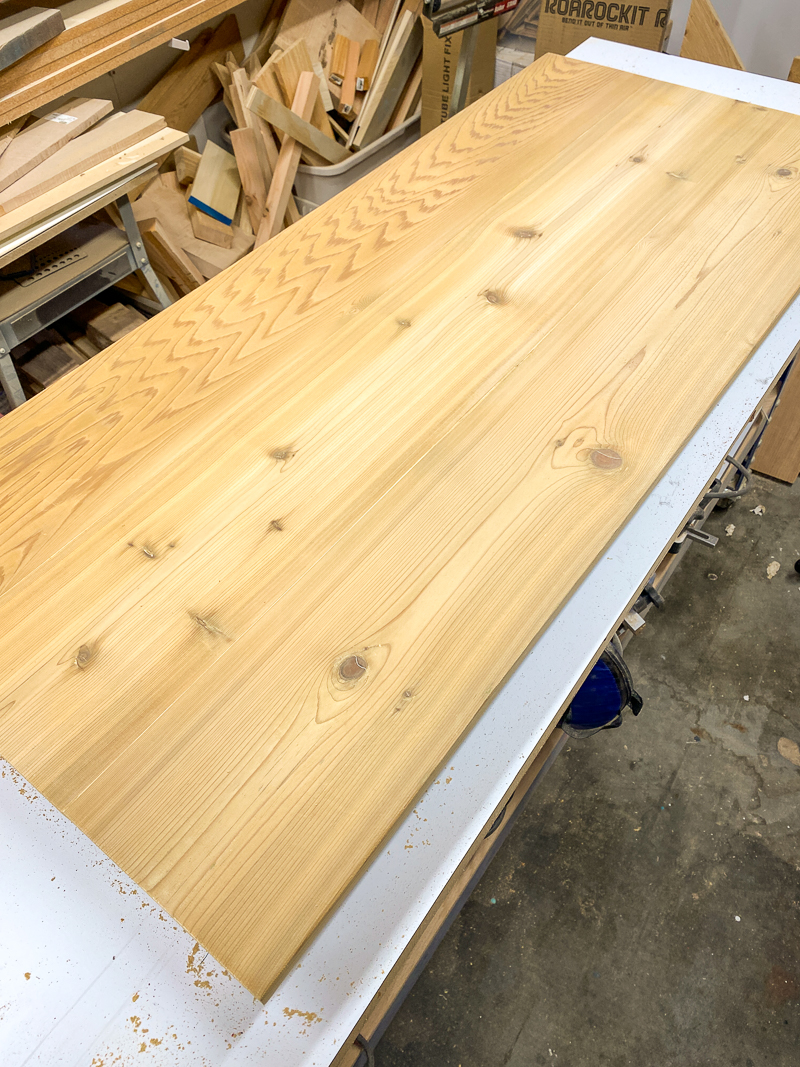
Cut and assemble the lid
I'm reusing the lid from my old storage bench, so all I had to do was cut it to size! I didn't put a lot of effort into sanding down that section when I stripped the paint, since I knew it would be cut off later. Allow for at least ½" of overhang on three sides so you have something to grip onto when you lift the lid.

Since you probably don't have a random cedar plank lid laying around, you'll need to edge join three pieces together with exterior wood glue and pocket hole screws. You can see how I made the lid here. Wait until after you've stained the rest of the project before attaching the lid to the box.
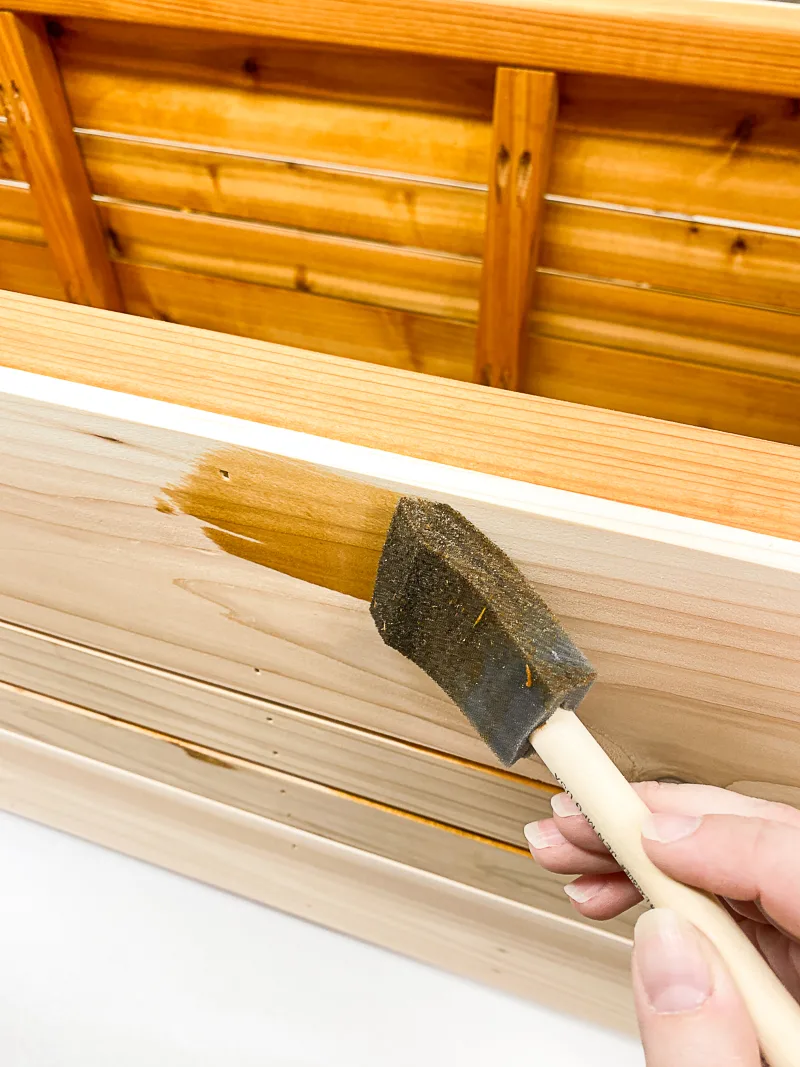
Stain the outdoor storage box
Since I already stained the frame, the rest was easy! Make sure to work the stain into the grooves between the slats, and don't forget the bottom!

Attach hinges
I was hoping to reuse the hinges from the old bench, but they were getting pretty rusty! Stainless steel hinges will hopefully hold up better to our wet weather. If you're planning to use this as an outdoor toy box, I recommend installing a soft-close mechanism to prevent little fingers from getting slammed by the lid.
Fill up your new DIY outdoor storage box!
I cleared out most of the junk from the old box, so we're just left with a few umbrellas and my son's play swords.

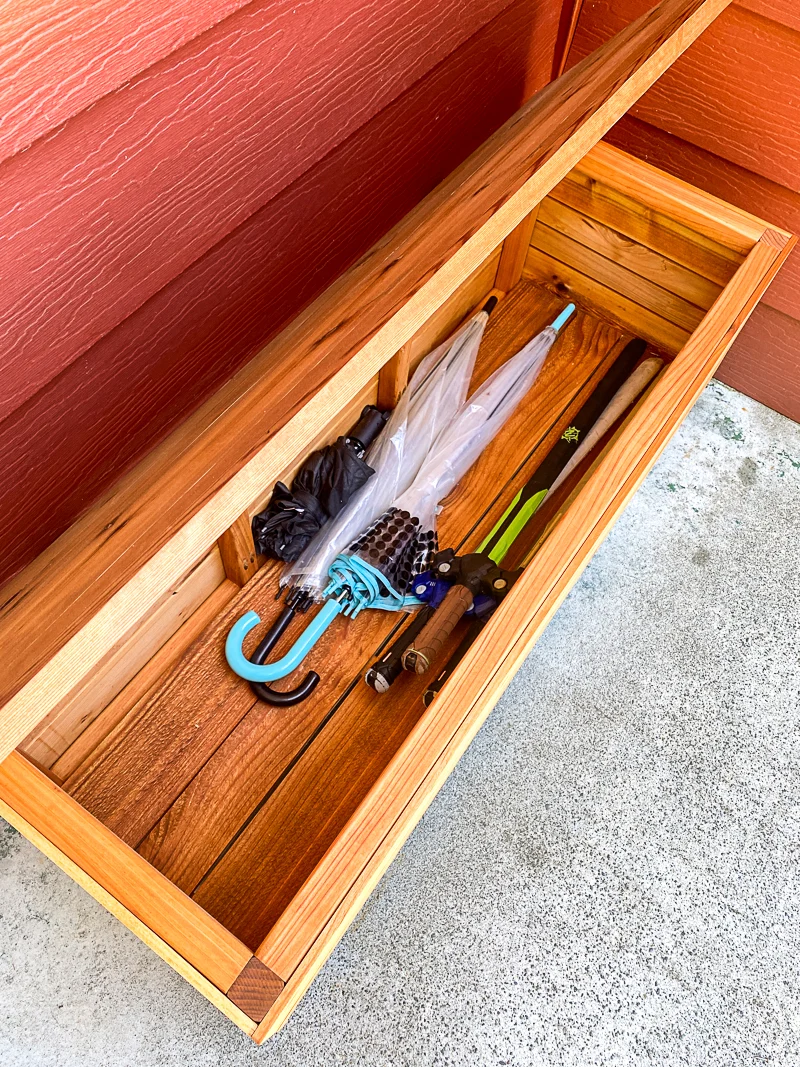
Now there's plenty of room for packages, which are hidden from view from the street.
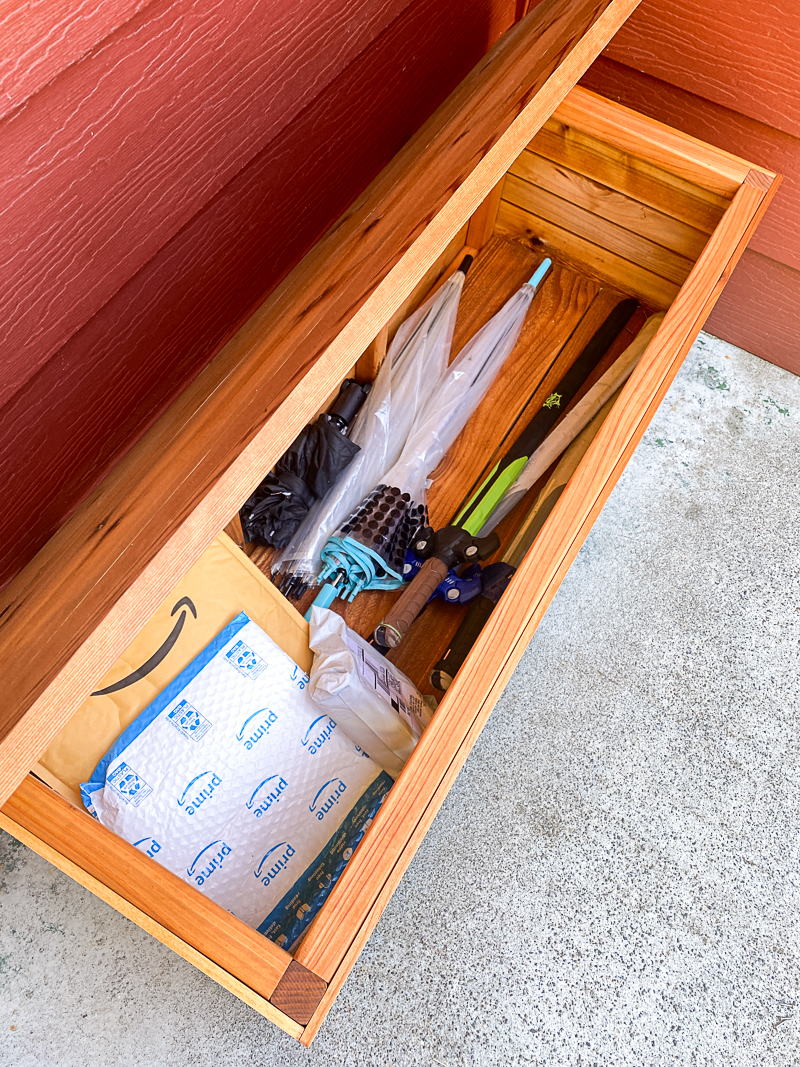

From the front, you can't tell that there's anything inside.
Our front porch looks so much better now! The planter and the storage box tie in with the doormat and my newly built screen door perfectly, so the whole space feels more cohesive.

So what are you waiting for? Download the woodworking plans for this DIY outdoor storage box and get building!