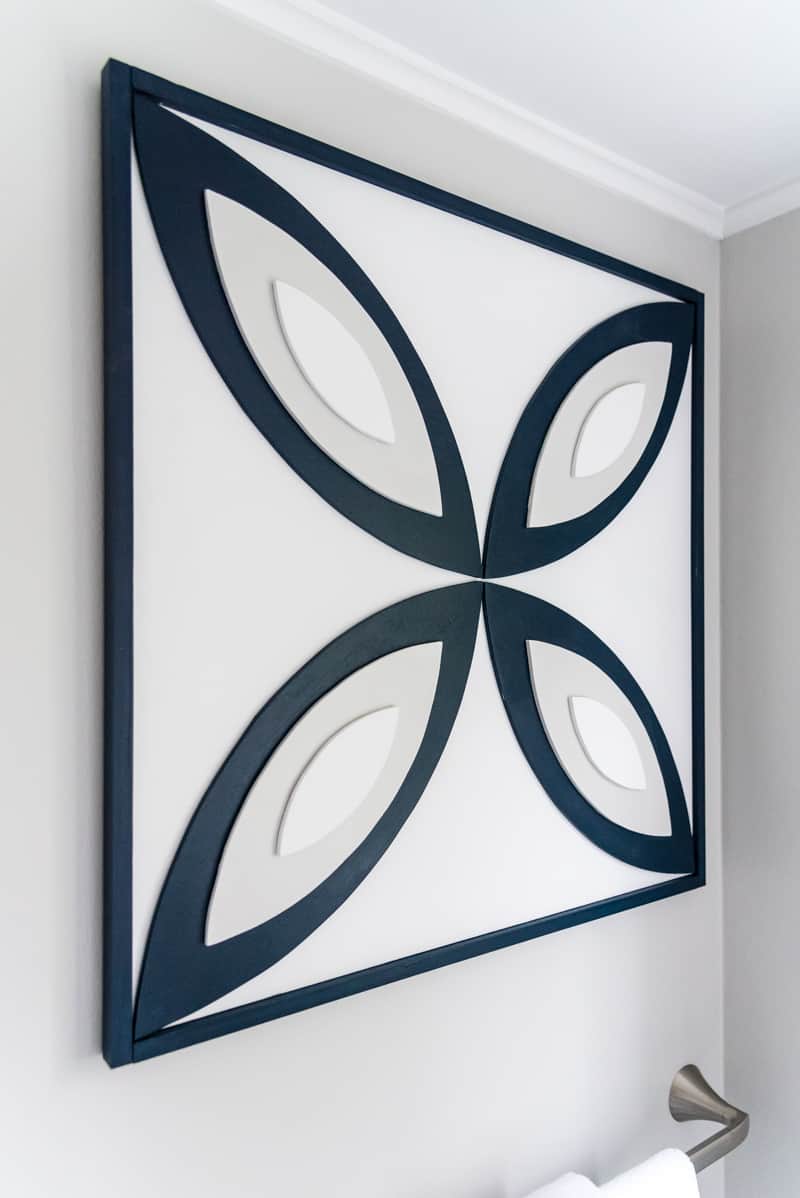
This DIY wood wall art is easy to make with scrap plywood! This design mimics the pattern on my stenciled tile floor, bringing the whole look together!
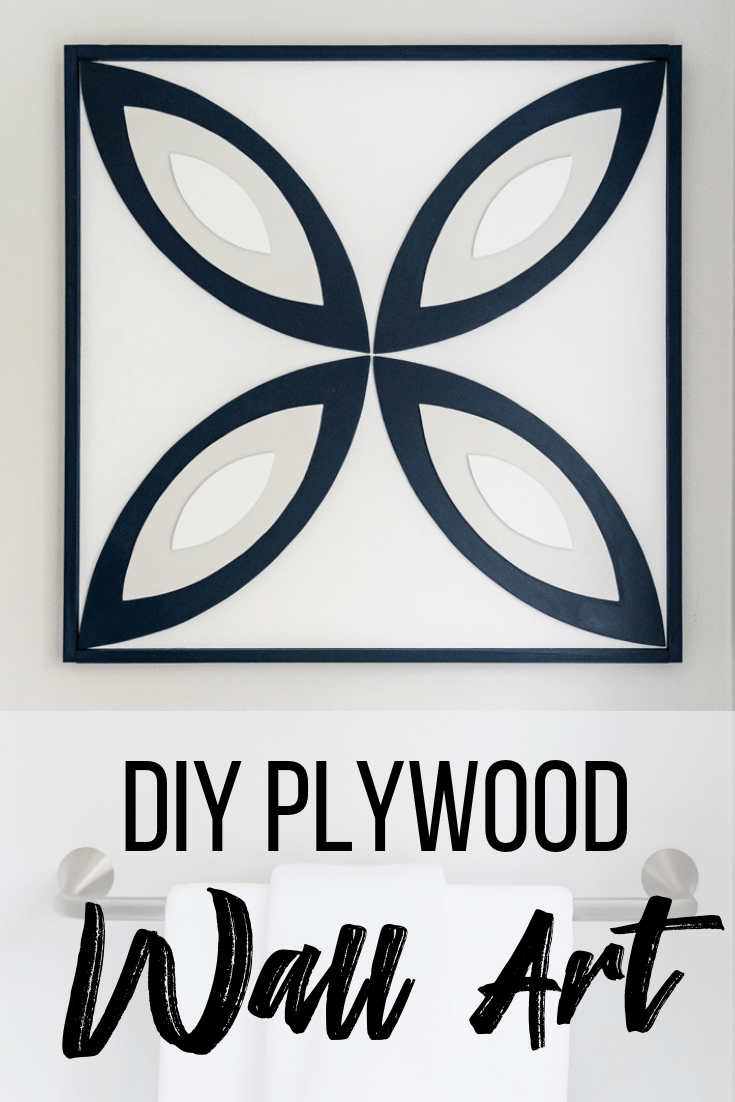
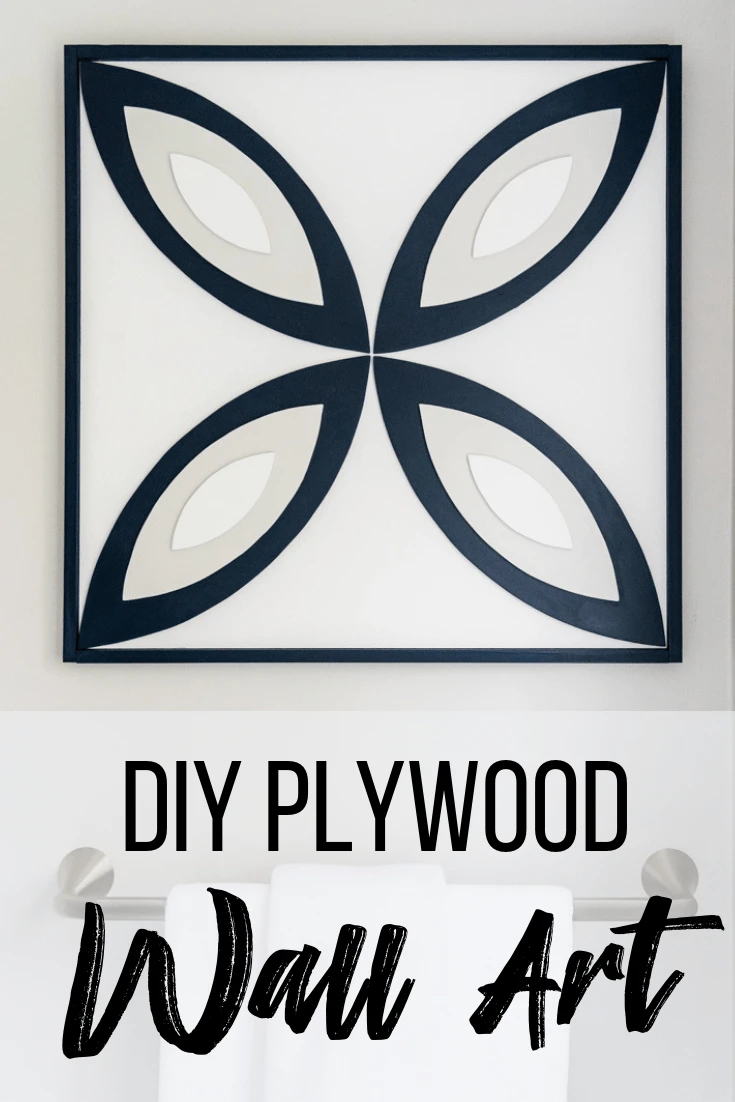
If you recall from my half bath remodel reveal, I didn't get a chance to finish the wood wall art I had planned for the space. But now it's finally up, and the bathroom feels complete! I replicated the pattern I used for the floor tile stencil and gave it a three dimensional effect with layers of thin plywood. I love how it pulls the whole room together!
Materials Needed for Wood Wall Art
- ¼" plywood
- I used scraps, but it would probably use no more than a 24" x 24" project panel.
- 2' x 2' square of ½" or ¾" plywood for the backing
- One 1 x 2 board for frame
- Jigsaw or scroll saw
- Wood glue
- Sander and sandpaper
- Tack cloth
- Brad nailer and ½" and 1 ¼" brad nails
- Various paint or stain colors
- Mine features all the paint colors I used for the bathroom remodel!
- 18" French cleat for hanging (or make your own French cleat out of plywood!)
Don't forget your safety gear when woodworking! Here are my recommendations for safety glasses and ear protection. No excuses!
Instructions
Create the Stencil
I can't draw to save my life, so I rely on stencils whenever possible! My Silhouette machine is a lifesaver when it comes to creating custom stencils. I just replicated the shape I used on the painted tile floor.

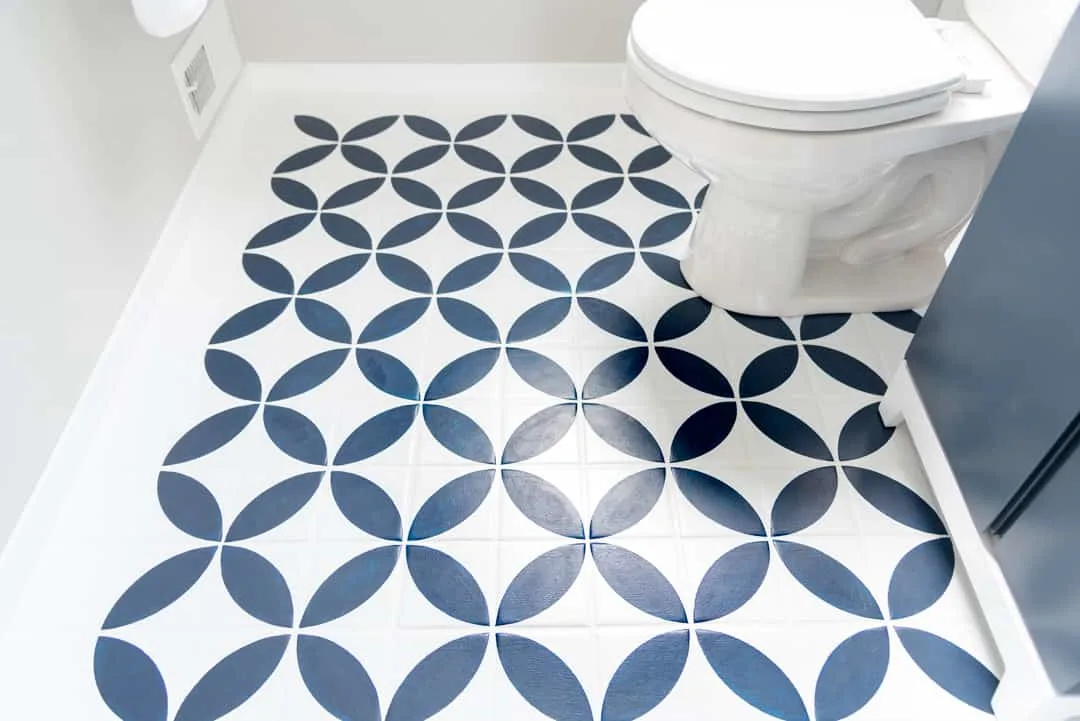
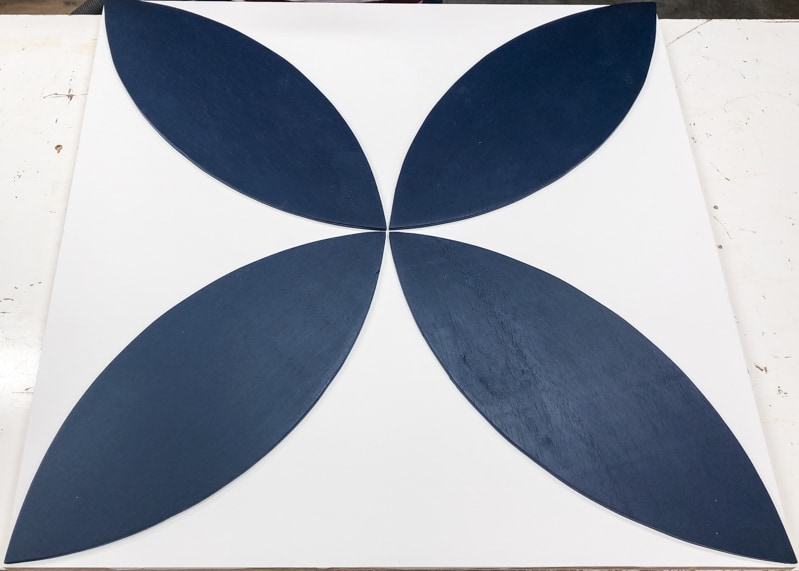
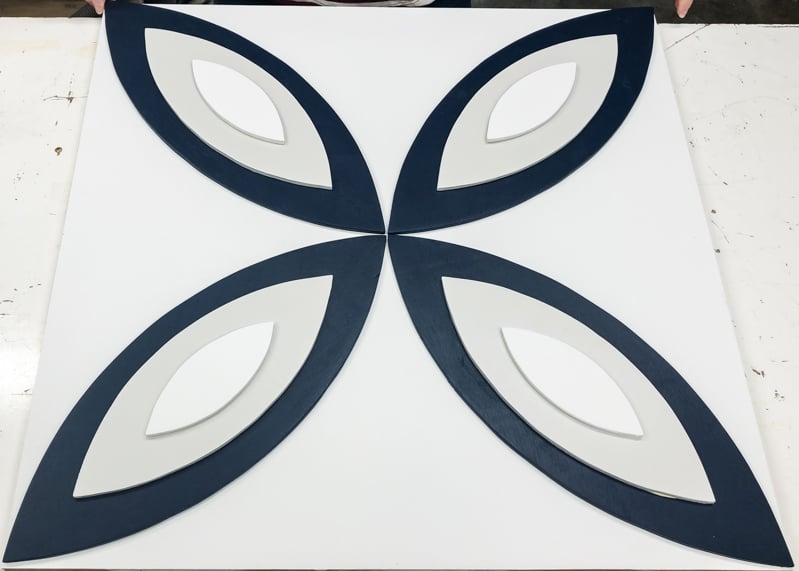
If you look at the pattern on the tile floor, you can see that the four "lobes" of the design create both a flower and a circle. I decided to create the flower, with all the points meeting in the middle and extending to the corners.
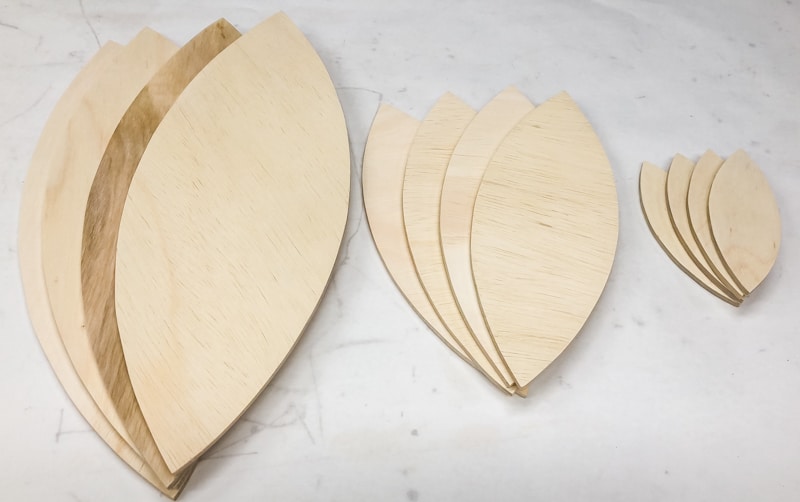
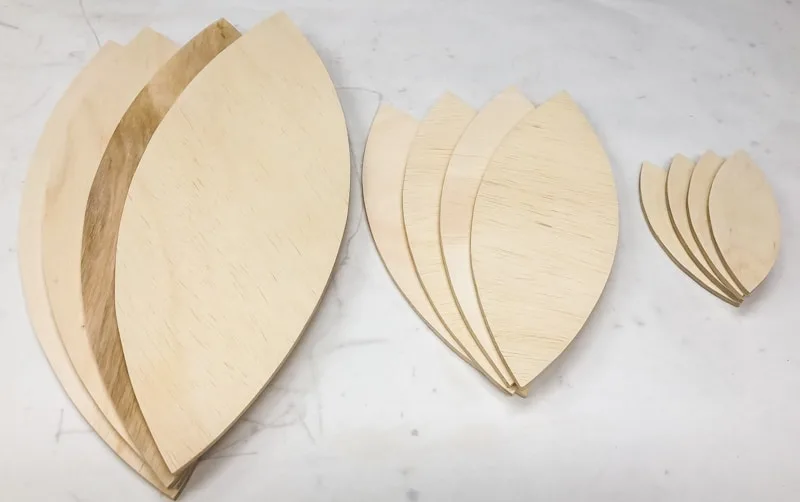
The largest shape is almost a foot long. Then I scaled it down to create two additional layers to go on top. The shapes were then cut out of vinyl with a Silhouette machine, but you can certainly do this freehand as well!
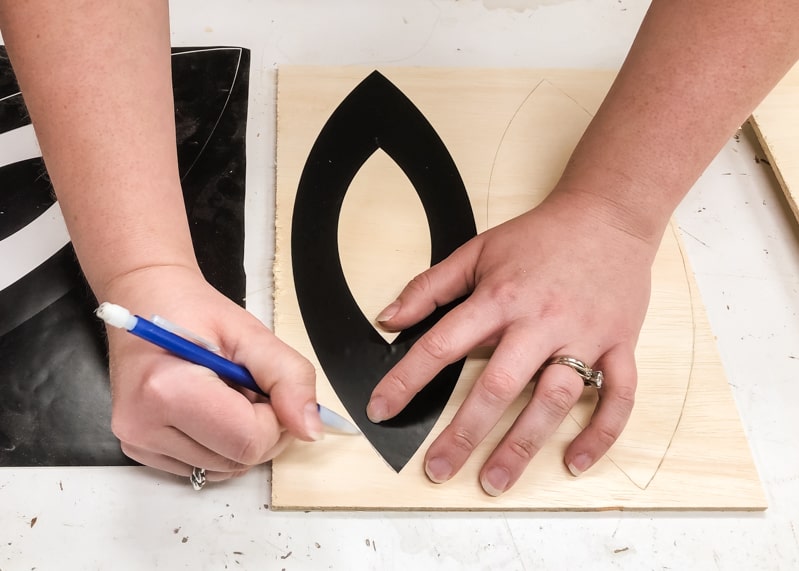
Cut out Shapes and Sand
Peel off the stencil and trace four of each size onto ¼" plywood. I had lots of scraps to use up, so sometimes the grain runs differently from one shape to the next. If you're planning to stain your wood wall art, you'll want to keep the grain direction consistent.

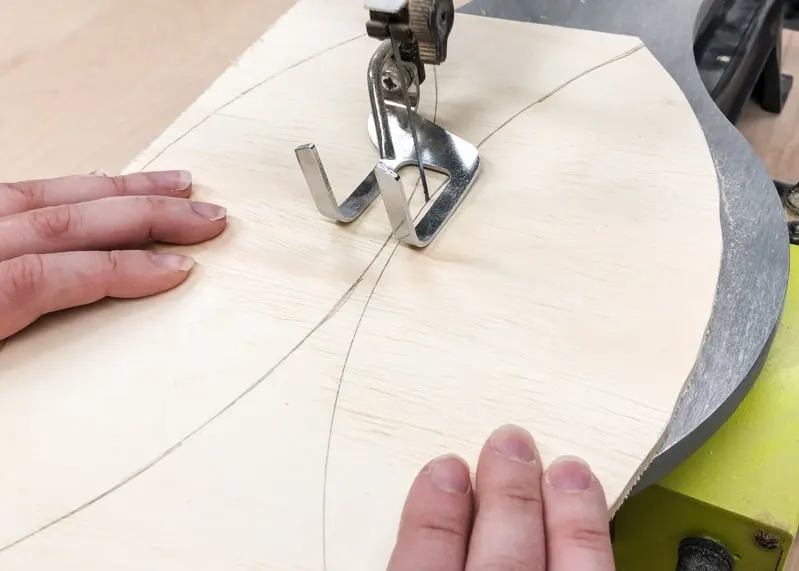
Then cut out each shape with a jigsaw or scroll saw. I used the scroll saw because it makes cleaner cuts in thin wood and is easier to control.

Stack up the four pieces of each size and sand the edges at the same time. This will keep the shape consistent.
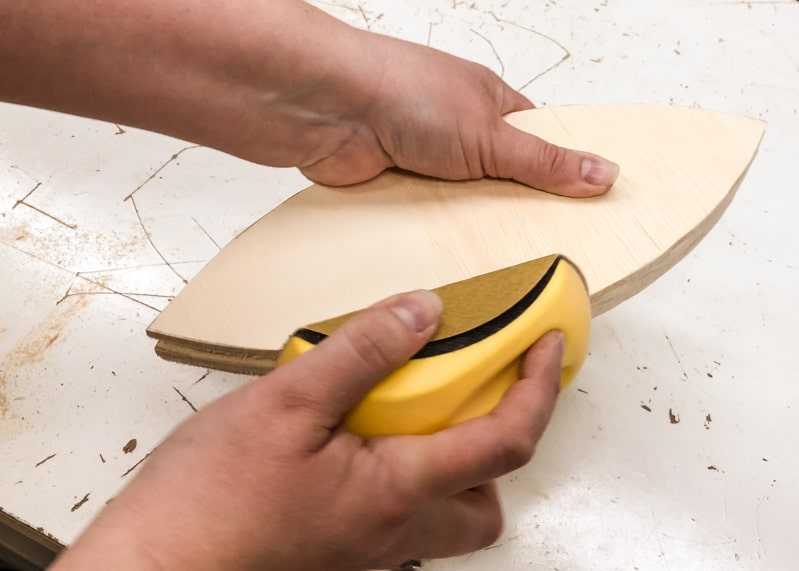

Give the fronts a quick sanding with 220 grit sandpaper, then wipe off the dust with a tack cloth.
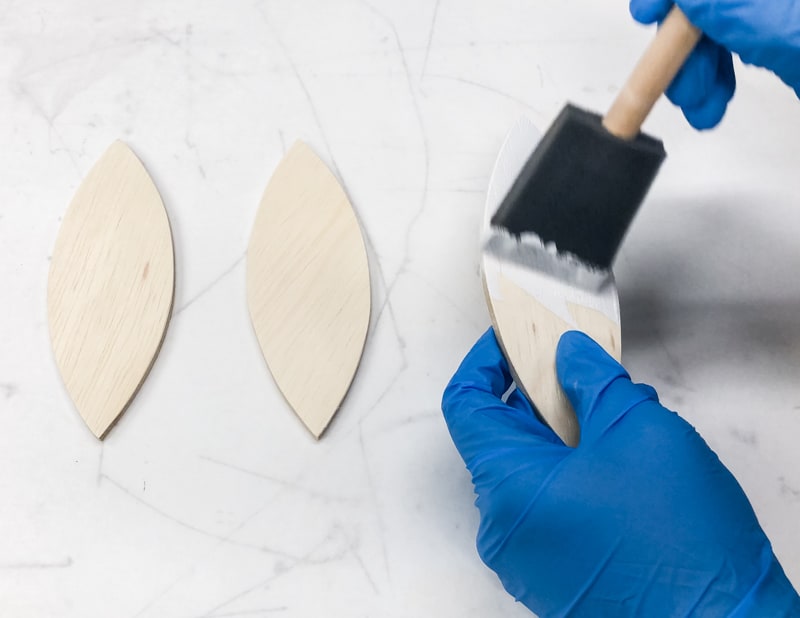
Paint or Stain the Shapes and Plywood Backing
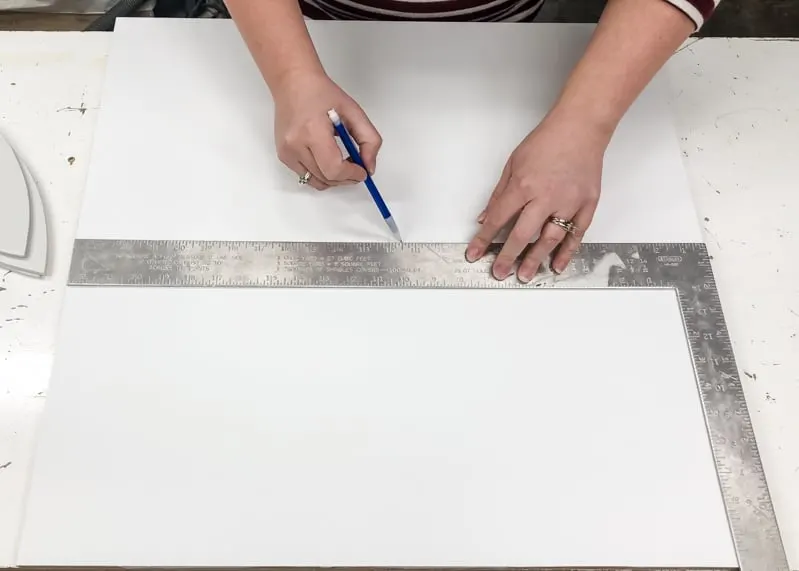
I had a scrap of ½" plywood that was the perfect size for this project. Cut it into a 2 foot square, or have it cut for you at the store. Give it a good sanding, then paint it the background color of your wood wall art.
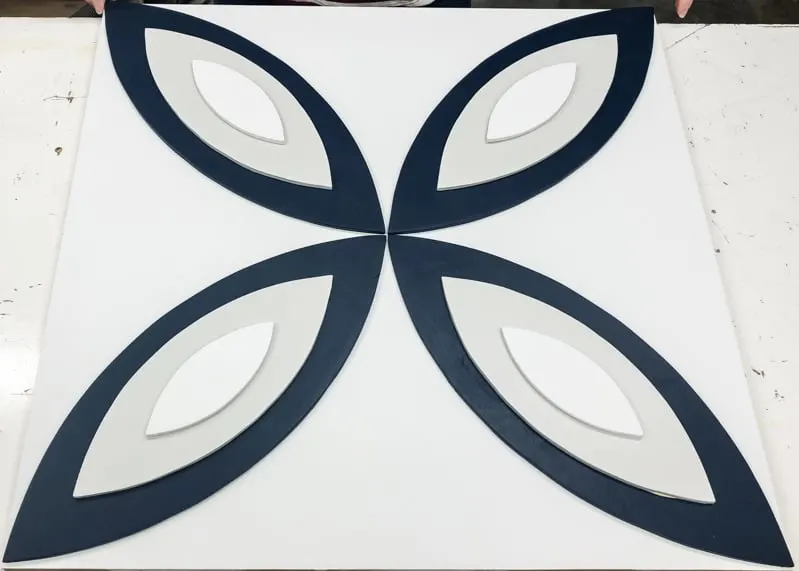
Paint or stain all the shapes, keeping each size the same color. I decided to paint the biggest shape the darkest color, then gradually work up to the lightest.

Attach Shapes to Plywood Backing
Mark the center of the plywood backing and lightly draw two crossed lines. This will help you line up the points.

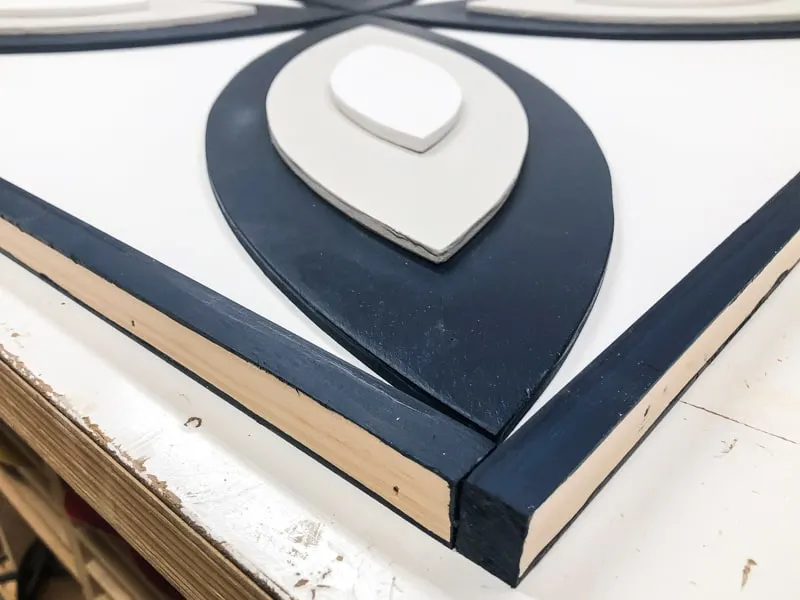
Apply wood glue to the back of the largest shape, and line up the corner. The other end should be positioned in the middle of the quadrant marked in the center, with a little bit of space. This mimics the grout lines of the pattern on the floor.

Add the second and third layers on top with more wood glue. Mine are centered on the bottom layer, but I also thought about having them all radiate out from the center point.
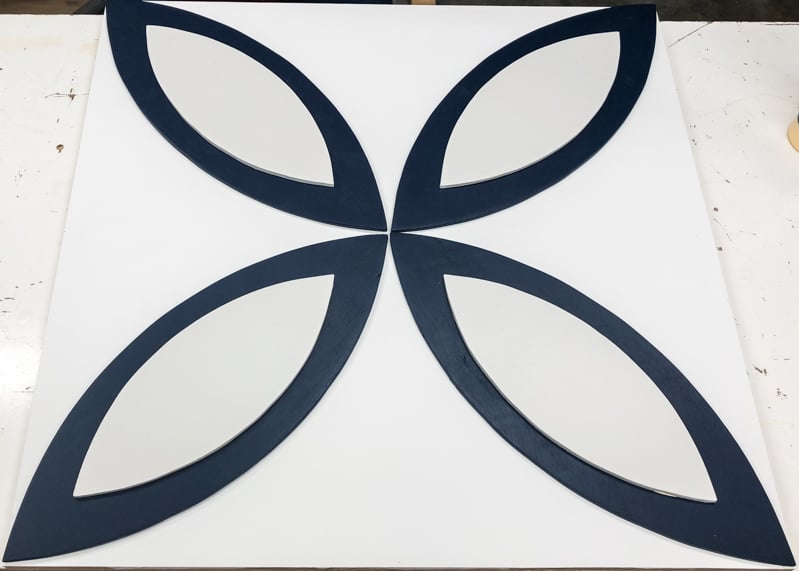

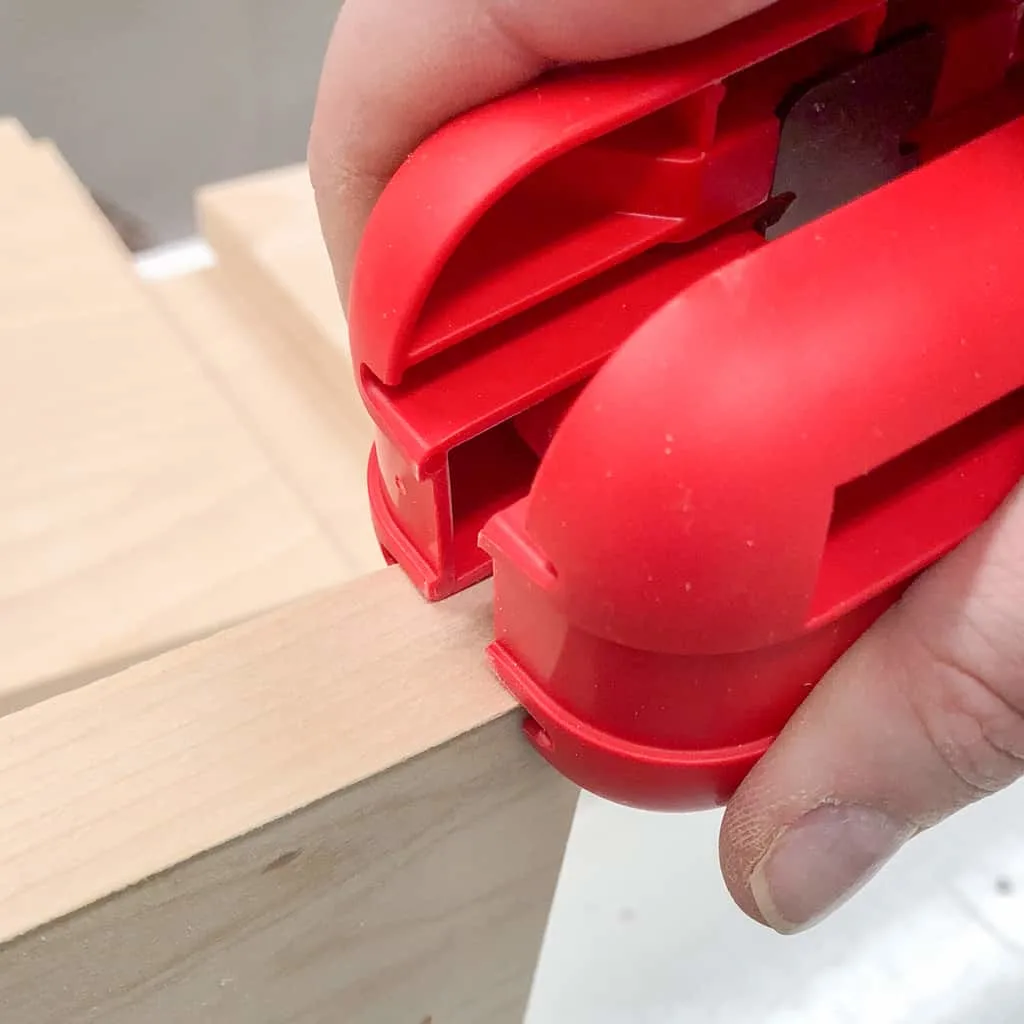
Nail through the top piece to secure all the layers together, and clean up any glue that squeezed out. Then patch the holes with wood putty and touch up the paint.
Create the Frame
You don't have to frame your wood wall decor, but it will cover up the plywood edges and give it a finished look. Edge banding is another great way to hide raw plywood edges.

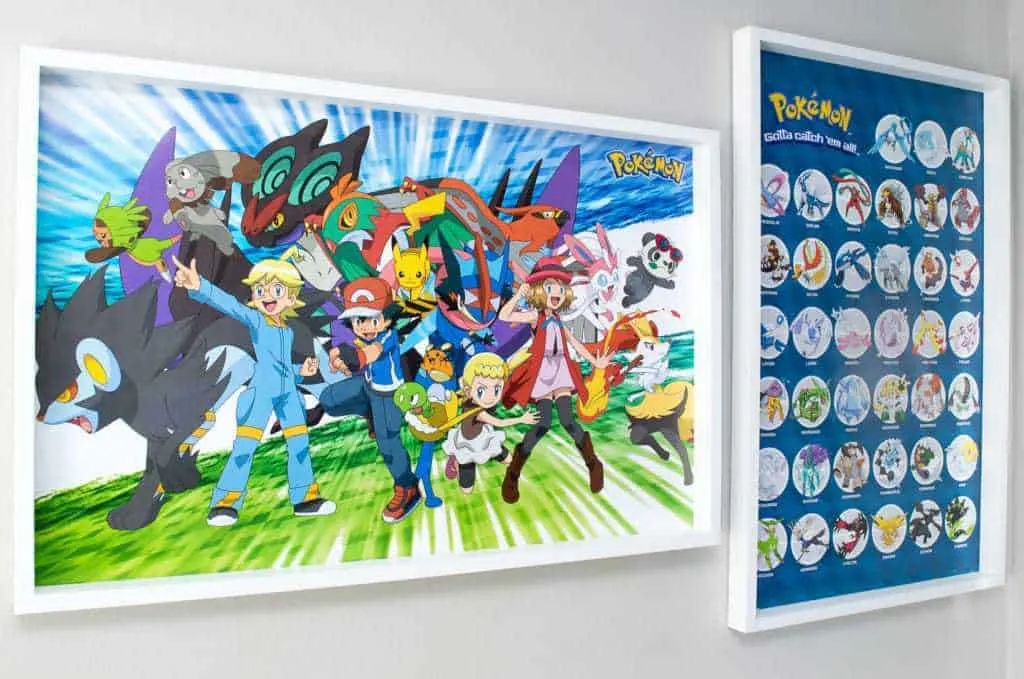
I wanted a shadow box effect, like the poster frames I built for my son's room.

I had a couple of leftover strips of 1 x 2 that were ripped down to ¾" for the industrial computer desk I built, so I decided to use those for the frame. You could also use ¾" square dowels.
Cut two pieces to 25 ½" and two to 24". Paint the frame pieces before assembly. I left the outside edge unpainted so I could fill the nail holes with putty first.
Run a line of wood glue along the edge of the plywood, then nail the frame into place with 1 ¼" brad nails. I attached the 24" pieces to the top and bottom, so the side pieces cover up the end grain.

Fill in the holes and gaps with wood putty, and sand them smooth. Then finish painting the frame.
Hang Your New Wood Wall Art
All that wood can get a little heavy, so I used an 18" French cleat for added strength. The same type of support holds our huge upholstered leather headboard on the wall, and it hasn't budged!
Just screw one side to the back of the wood wall art, and the other to the wall. The two halves fit together and keep your art straight and secure!
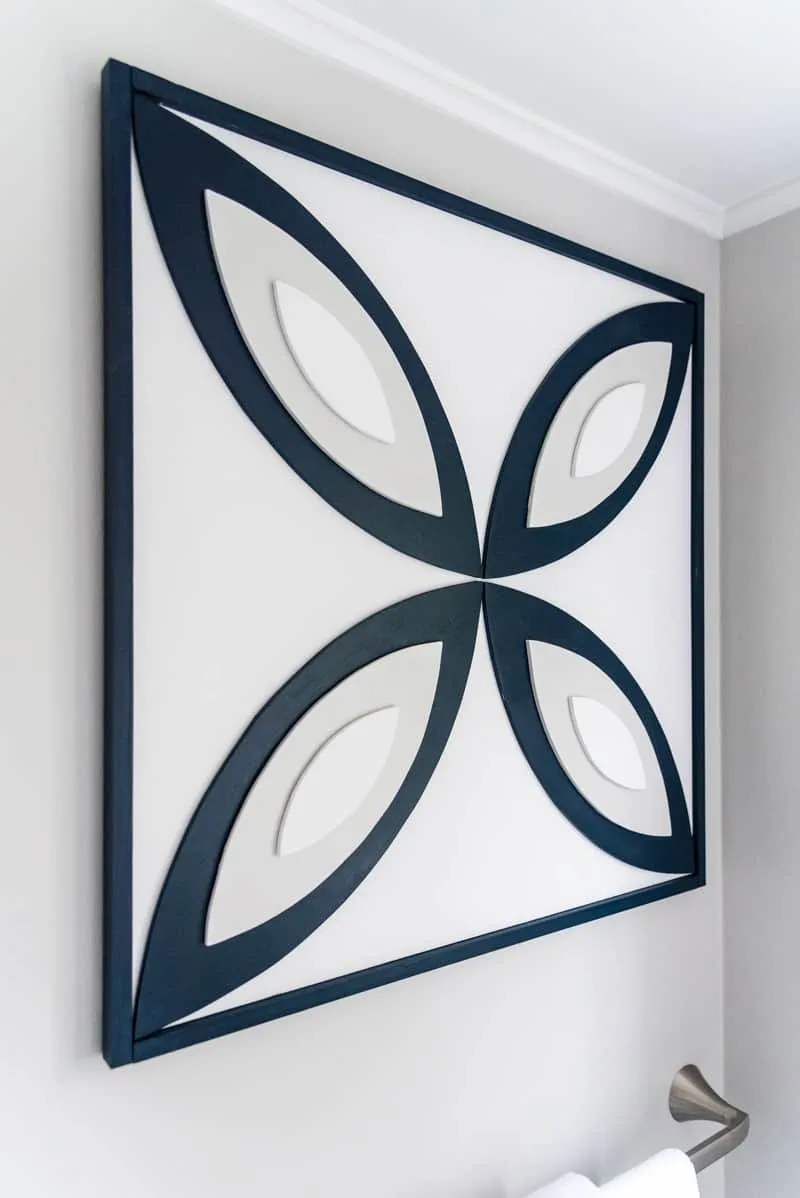
I have one more small project to do before I can officially call this half bath remodel done. But I'm glad to finally get some color on this side of the room to balance it out!