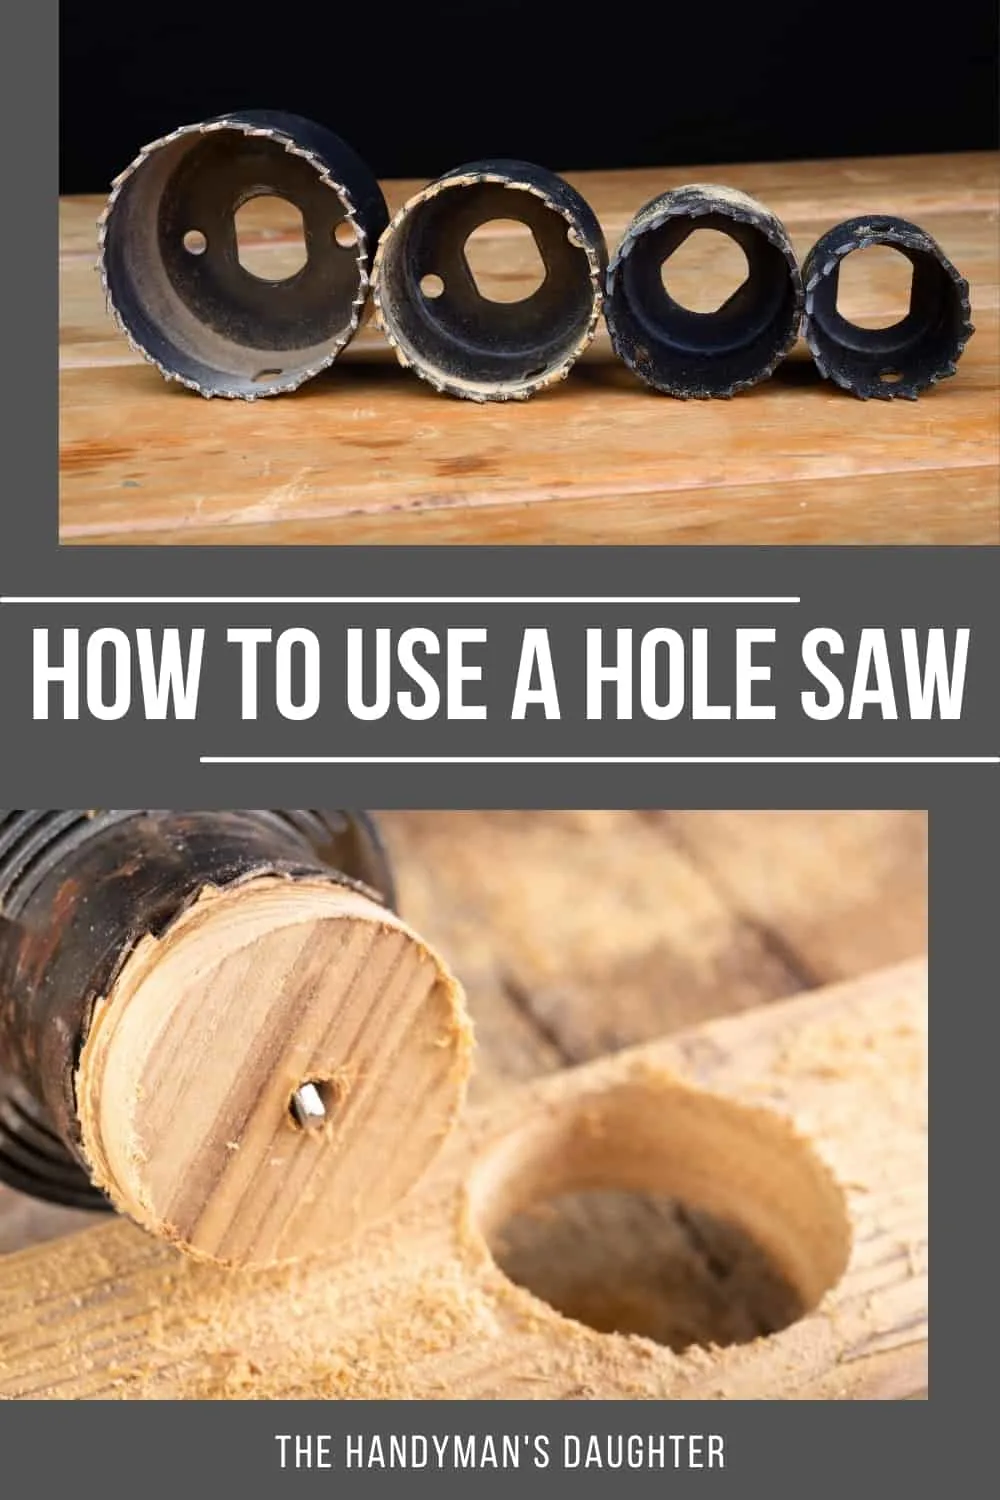
In this article, I'll show you how to use a hole saw correctly. Learn how to remove the wood plug from the hole saw and how to avoid tearout, along with other helpful hints!

Cutting a perfect circle in wood doesn't need to be difficult! There are numerous ways to accomplish this task, depending on the tools you have in your garage. The easiest one to use is a circle shaped saw, named simply, a hole saw.
I'll explain the parts of the hole saw as well as some techniques for using them. By the end of this article, you should feel confident wielding this tool on your next project.
This post contains affiliate links for your convenience. Purchases made through these links may earn me a small commission at no additional cost to you. Please visit my disclosures page for more information.
What is a hole saw?
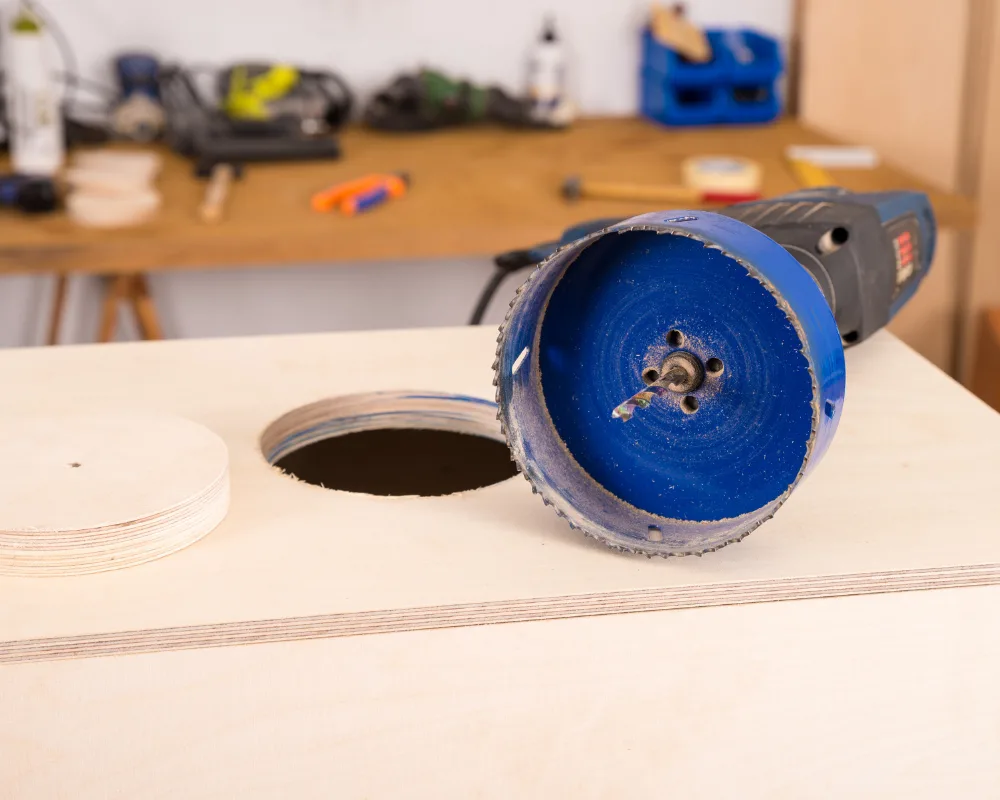
Hole saws make both a hole and a round wooden disc using a thin serrated blade around a central drill bit.

Hole saws can be attached to a regular cordless drill or a drill press. There are many types and sizes, which can be used for cutting wood, concrete, tile, and even metal. They're best used for drilling large diameter holes.

How can this tool help you? Here are some common projects you might need a hole saw for:
- Doorknob and light fixture hardware - Door knobs and light fixtures require a precise hole for proper placement. Most other methods for cutting a circle won't work on a door or ceiling, so a hole saw will be a great help.
- Plumbing and ductwork - Hole saws can cut more than just wood. You can use one when installing ductwork, or to hook up a rain barrel to your downspout.
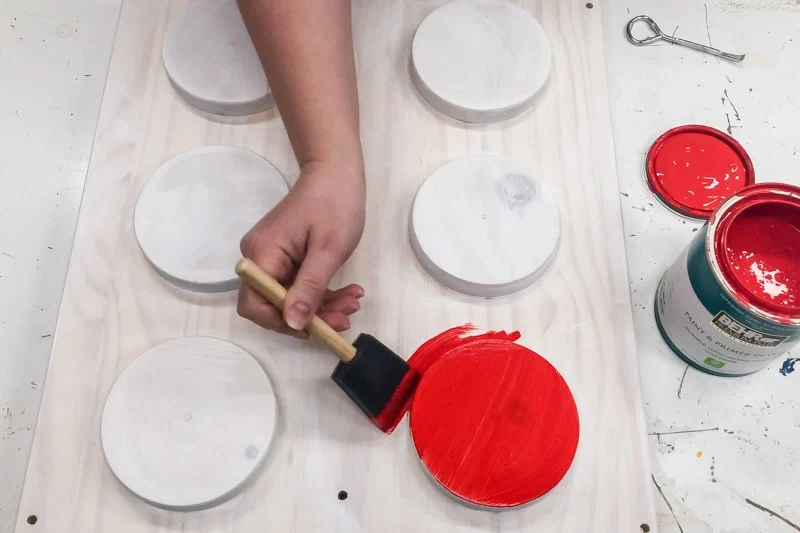
- Crafts - Don't struggle with lopsided circles made with a jigsaw! It's much easier create the hole in a cornhole board, or to make giant Lego dots on the side of a DIY Lego table with a hole saw instead.
Parts of a hole saw
Before you start drilling, it's helpful to know what the different parts do and how they go together.

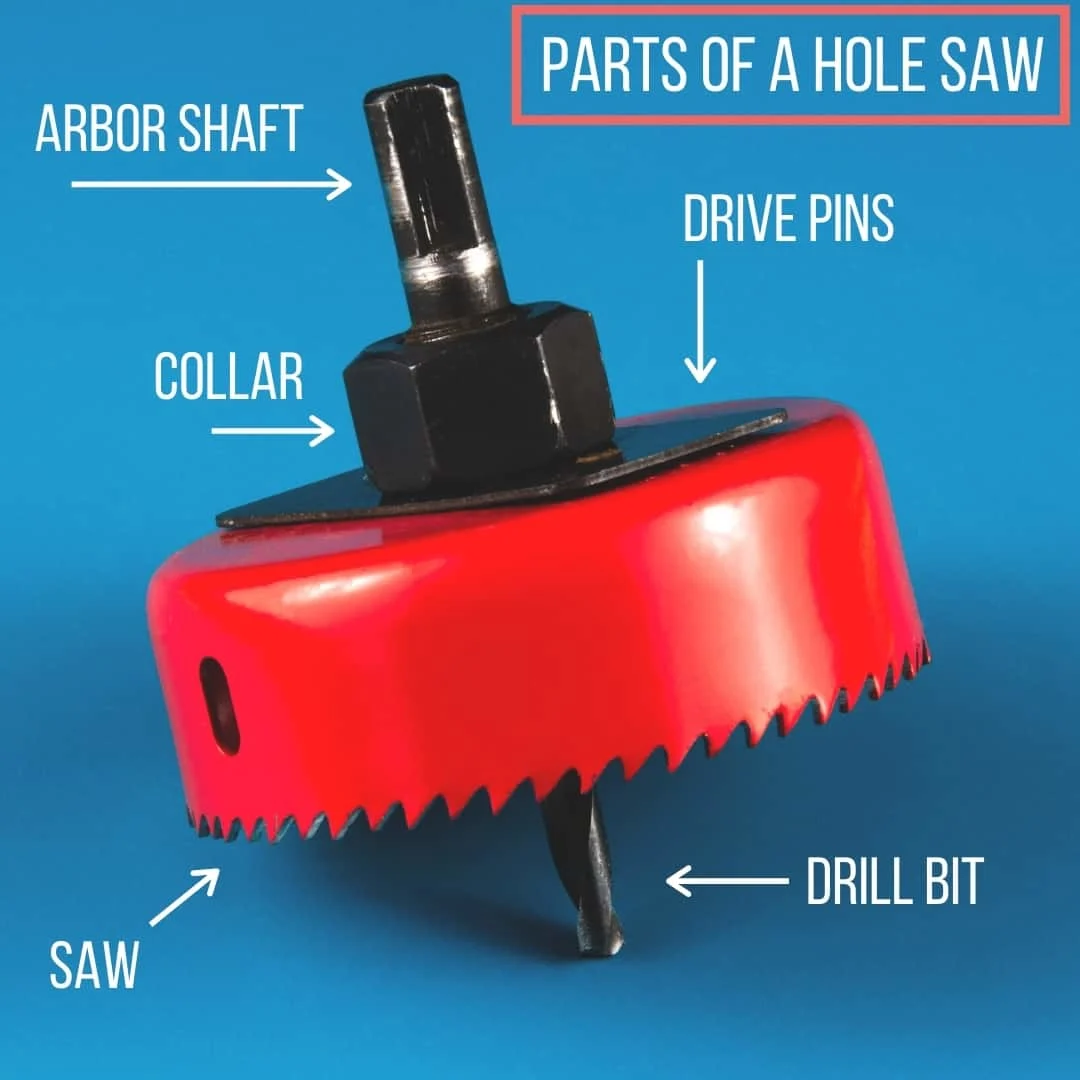
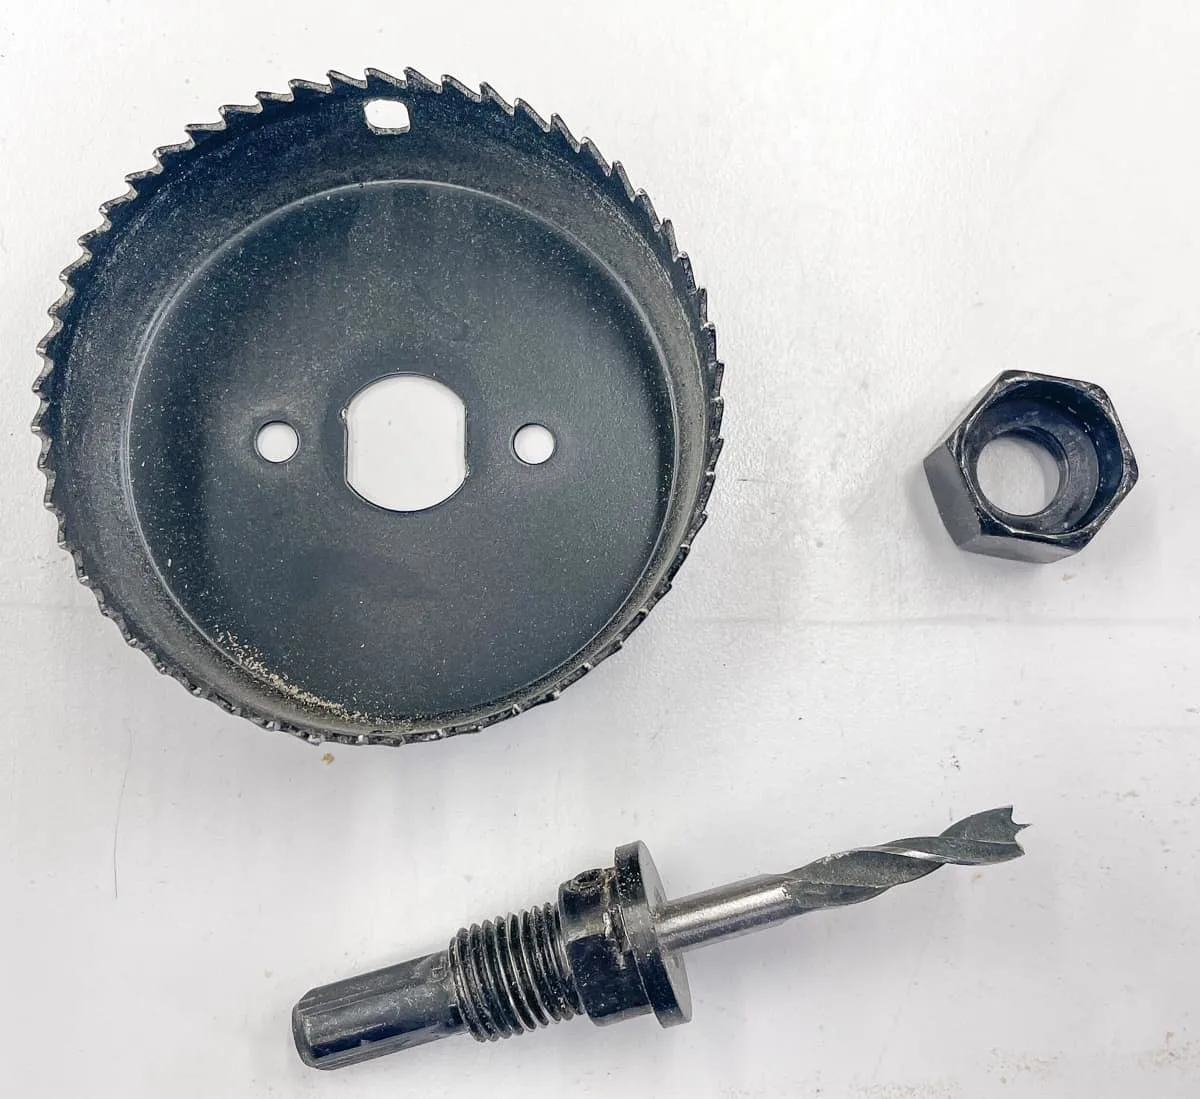
- Arbor shaft - This is the portion that you stick into the chuck of your drill. Make sure it will fit! Some are meant for a drill press, which has a much larger chuck.
- Collar - This is what holds the pilot hole bit and the saw in place on the arbor shaft. There's a nut that goes over it to hold tight against the underside of the saw.
- Collar Screw - The collar will have a small set screw in the side that tightens with an Allen wrench, so you can adjust how far the bit protrudes.
- Drive Pins - Sometimes the drive pins are part of the collar, sometimes they're a separate piece and sometimes you don't need them at all! Mine are mounted on a separate plate, which is only used on the larger hole saws. This keeps the saw turning at the same rate as the drill.
- Saw - The hole saw itself. The round saw usually has vents on the side to help prevent overheating and to allow the teeth to clear sawdust.
- Drill bit - This bit will guide the saw and prevent it from wandering on the board.
How to Assemble a Hole Saw
The first time I opened up the case of my cheap Harbor Freight hole saw set, I was totally confused! All the blades were covered in oil and there were nuts and bolts that fit on some parts and not others. How do you assemble this thing?!?

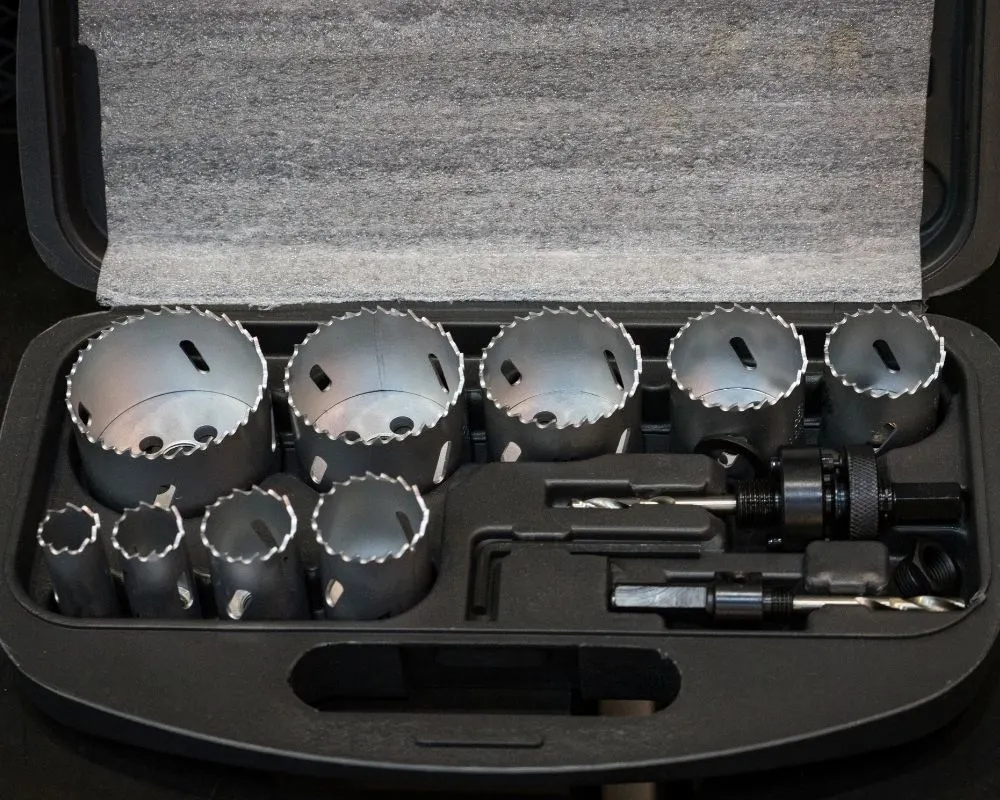
First, choose the right size saw for your project. There should be a number on each one that corresponds to the outside diameter of the circle it will cut.
On larger blades, there will be two holes at the bottom on either side of the center arbor hole. This is for the drive pins, which is a flat plate with two pins sticking up. Insert the drive pins into the holes from the outside. I usually skip this step unless it's a really big blade, so I can use those holes to easily poke out the wood plug if it gets stuck!
Next, place the collar onto the arbor shaft, and insert the pilot hole drill bit into the collar. Adjust the depth of the drill bit so that it protrudes past the teeth of the saw blade, then tighten the collar set screw with an Allen wrench.
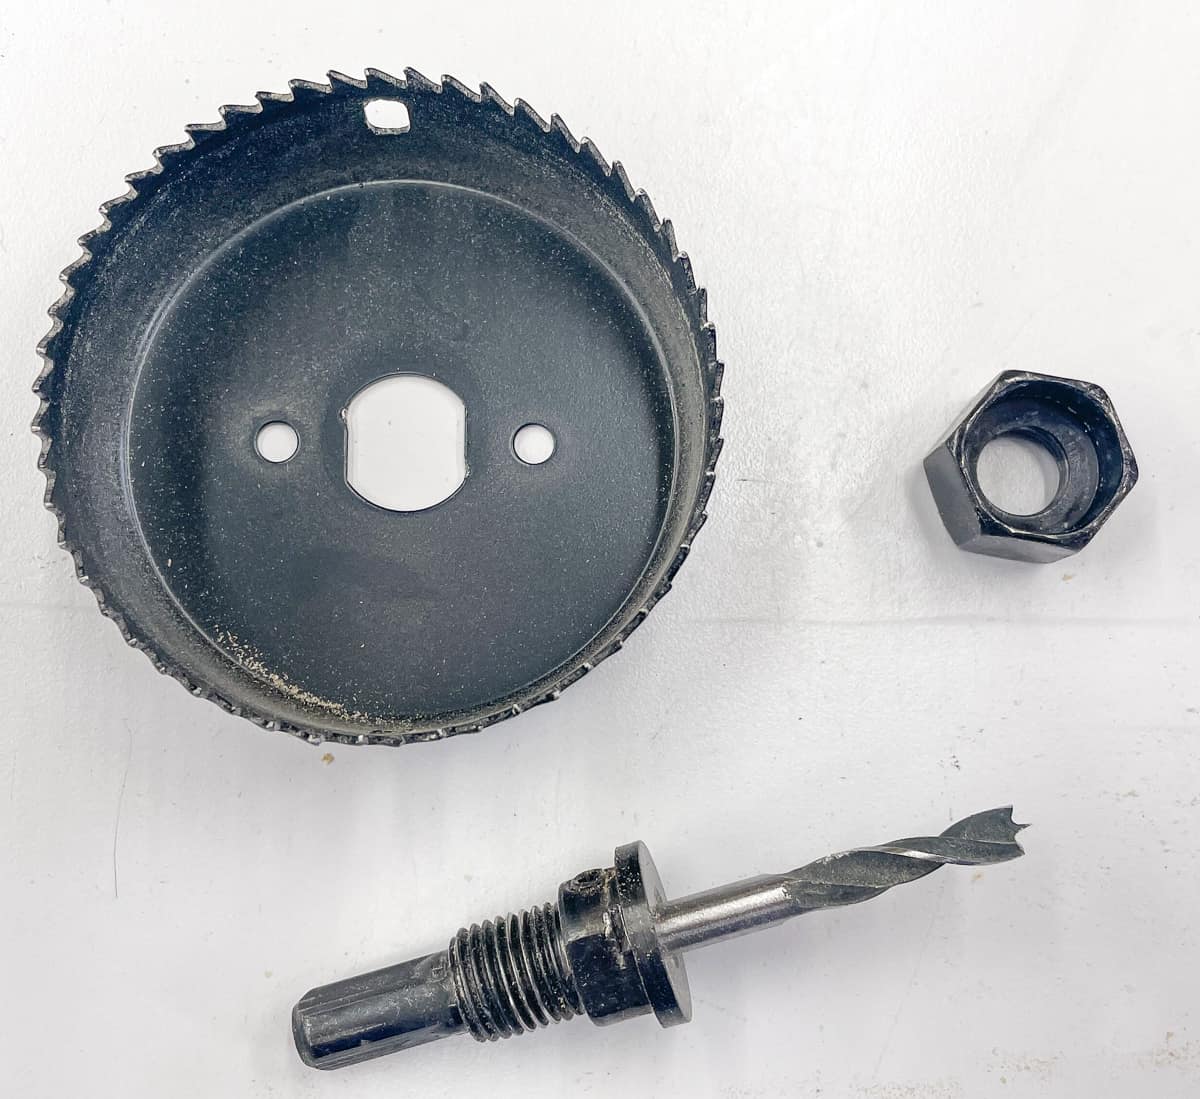
Insert the arbor shaft and collar through the hole in the center of the saw. Match up the flat sides of the collar with the flat sides of the hole so it seats snugly.
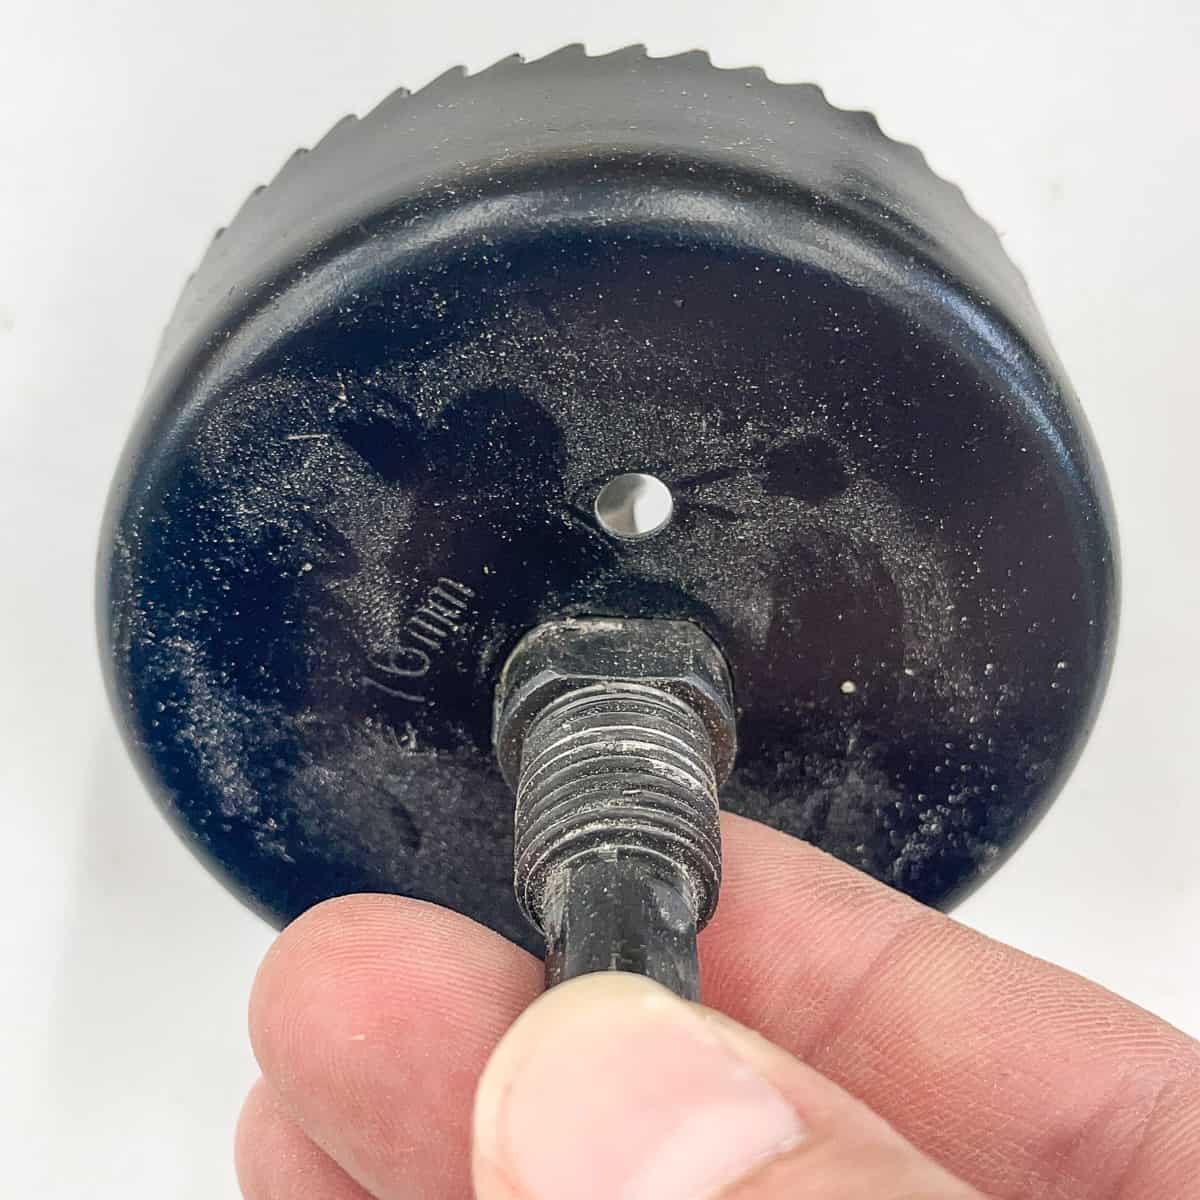

My hole saw has a nut that slides over the collar on the back to hold everything in place. Don't overtighten this nut, or the heat produced can cause it to seize up and make it difficult to remove (I have one that's permanently stuck!)


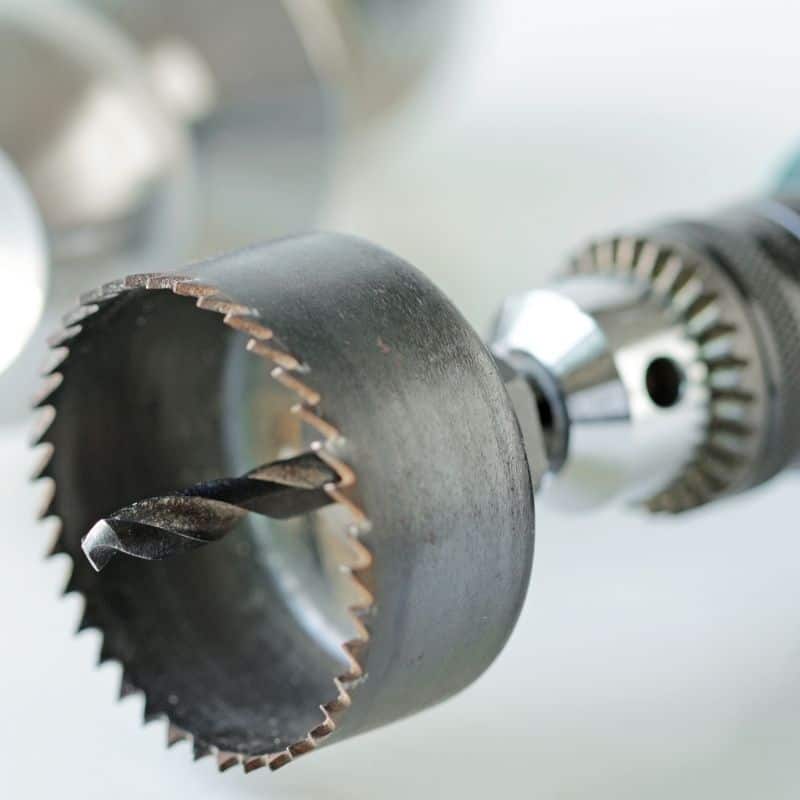
How to Attach a Hole Saw to a Drill
After you have your hole saw assembled, it's time to attach it to your drill. This is just like inserting any other kind of bit, but there are a few things you should know.
First, make sure your drill motor is 18v or larger. Small drills will struggle to move that blade at a high speed and can overheat quickly. A corded drill is a better choice if you're making a lot of holes.
Second, tighten the chuck of your drill around the arbor shaft of the hole saw. Be sure it's not touching the nut (which can cause it to loosen), and check that it's centered and straight.
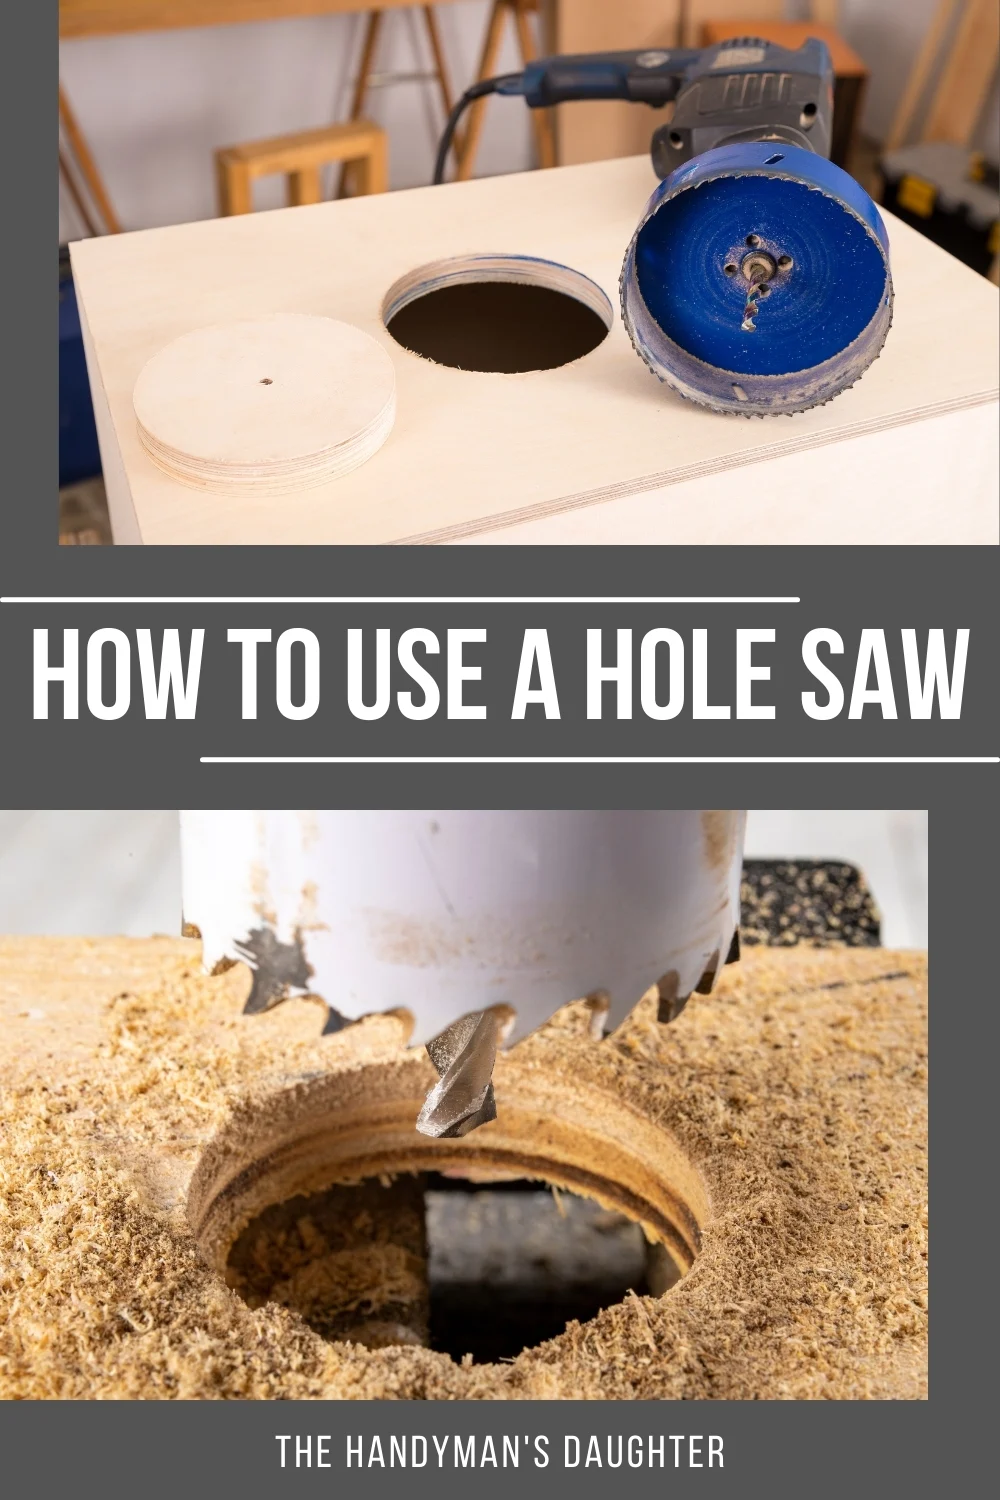
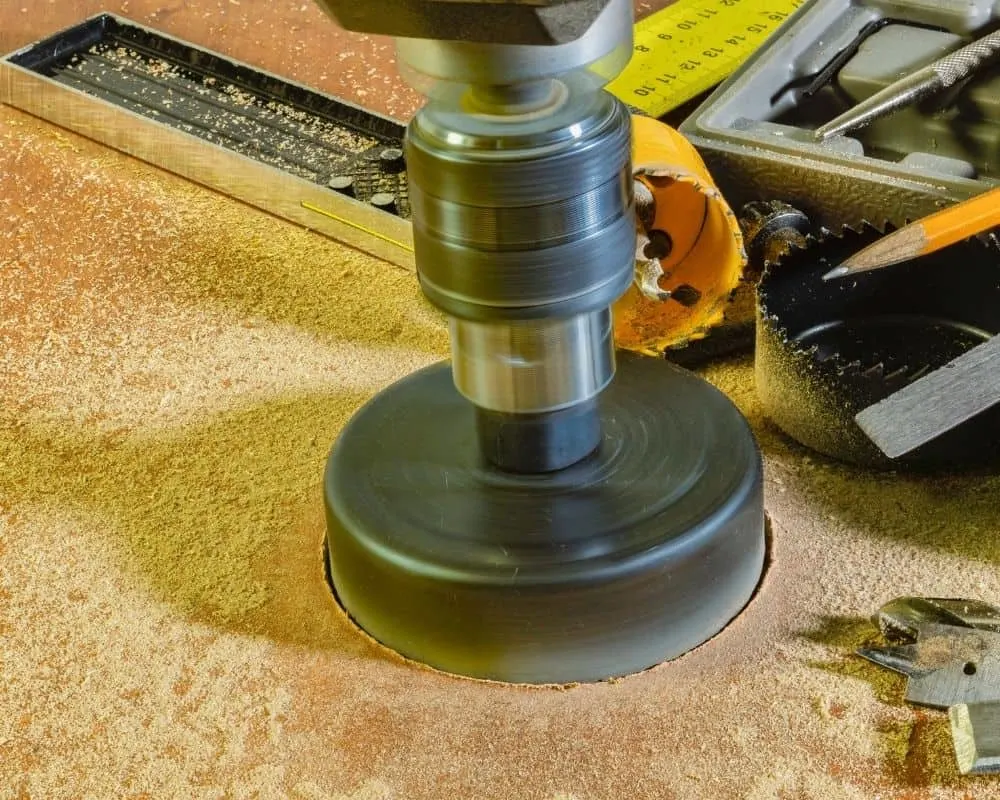
How to Use a Hole Saw
Okay, you've got your hole saw assembled and attached to your drill. Now what? Here are some tips to help you cut the hole flawlessly!

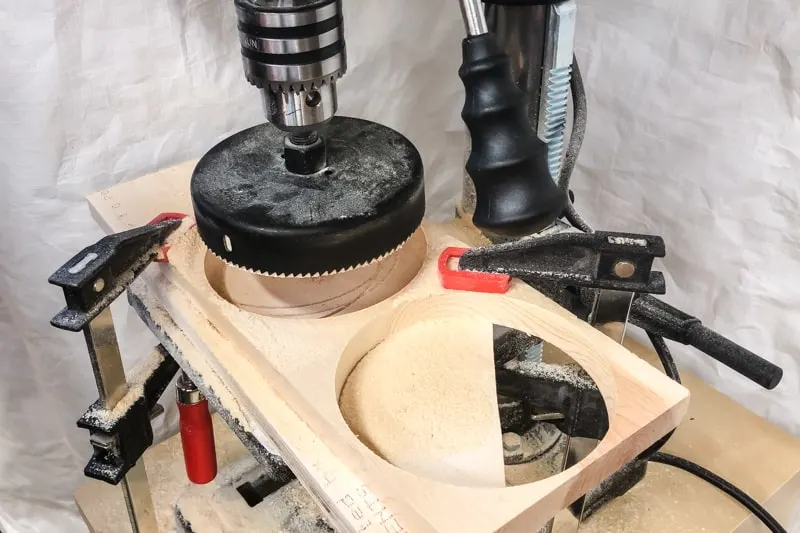
- Place a scrap piece of wood (also known as a backer board) under your workpiece, and clamp both boards down tight. This will stop the board from spinning out of your hands, so you can concentrate on making a clean hole. It also prevents tear out on the back of the board.
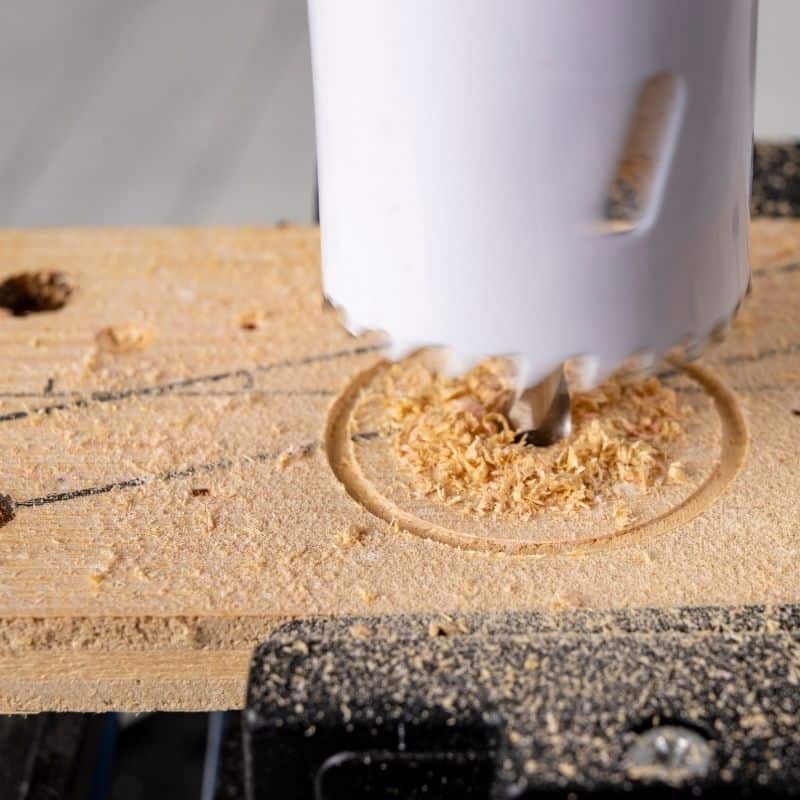
- If you need the hole in a precise location, drill a smaller pilot hole in the center first. This gives the hole saw's pilot bit somewhere to start, so it doesn't wander.
- Switch your drill to a high torque setting, then place the point of the bit at the pilot hole mark.
- Start the drill, and allow the hole saw's teeth to make the cut. Don't apply too much pressure, and make sure to keep the power drill straight. If you notice one side of the hole getting deeper than the other, adjust your position so the saw cuts perpendicular to the work surface.
- After some cutting, pull out the saw to blow away the sawdust and let the blade cool. A hot blade can burn the wood inside the hole.
- For the cleanest cut, saw halfway through the board until the drill bit pokes through. Then flip it over, align the drill bit with the hole and complete the cut from the opposite side.
Frequently Asked Questions
How to Avoid Tearout with Hole Saws
Tear out occurs when the back of the workpiece is unsupported, so the wood fibers give way before the cut is complete. This results in a jagged mess of splinters on the back of your project! Here are a few ways to prevent tearout with a hole saw.
First, use a sharp saw. If your hole saw's blade is dull, it will tend to tear instead of cutting the wood.
Second, don't apply too much pressure. Keep things secure, but let the saw do its job - you don't want to bust through using force.
Third, use a piece of scrap wood clamped firmly underneath your project. The saw will continue cutting straight through to the backer board, holding the fibers in place as it transitions from one piece to the other.

For a perfect cut on both sides of the board, cut about halfway through your project, flip it around, and complete the cut from the other side. How do you line it up? Saw into the material until the pilot hole appears on the other side - you can now use this small hole as a guide.
How to Enlarge Existing Holes
Since an existing hole won't have any material for the pilot bit, you'll have to get creative. You could try to cut it with a non-arbored hole saw, but it can be tricky to keep it centered.
A clever tip for enlarging existing holes is to make a plug for it first. Choose a hole saw that's the same diameter as the smaller hole, and cut a disc out of scrap wood. Switch to the larger hole saw and slide the plug onto the drill bit. The plug will fit into the hole and guide the saw!
This process can be difficult to visualize, so here's a good video showing how to enlarge existing holes with a hole saw.
You can also clamp a scrap of ¼" plywood over the hole, and start your cut on that. The pilot bit will have something to drill through to start the hole, and the teeth embedded in the scrap wood won't wander once the pilot bit punches through.
How to Cut a Deep Hole
Most hole saws can only cut through the depth of a 2x4 board, so what do you do if yours is thicker?
Use the hole saw to cut as deep as you can. Then remove it and use a drill bit to extend the pilot hole to the other side. Flip the board over and use the pilot hole to saw the rest of the way.
If you can't flip the board or access the other side, you can try drilling a relief hole with a spade bit on the edge of the inside of the circle. After maxing out the cut with the hole saw, chisel out the remaining material.
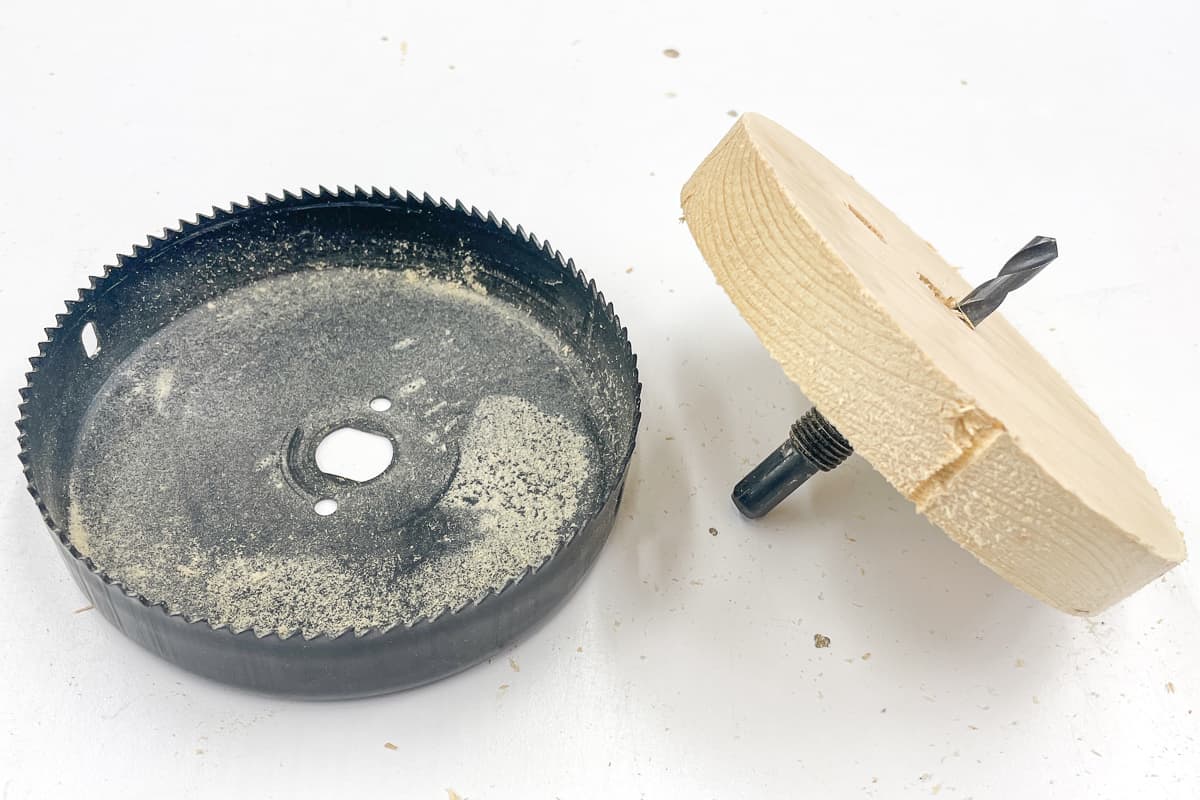
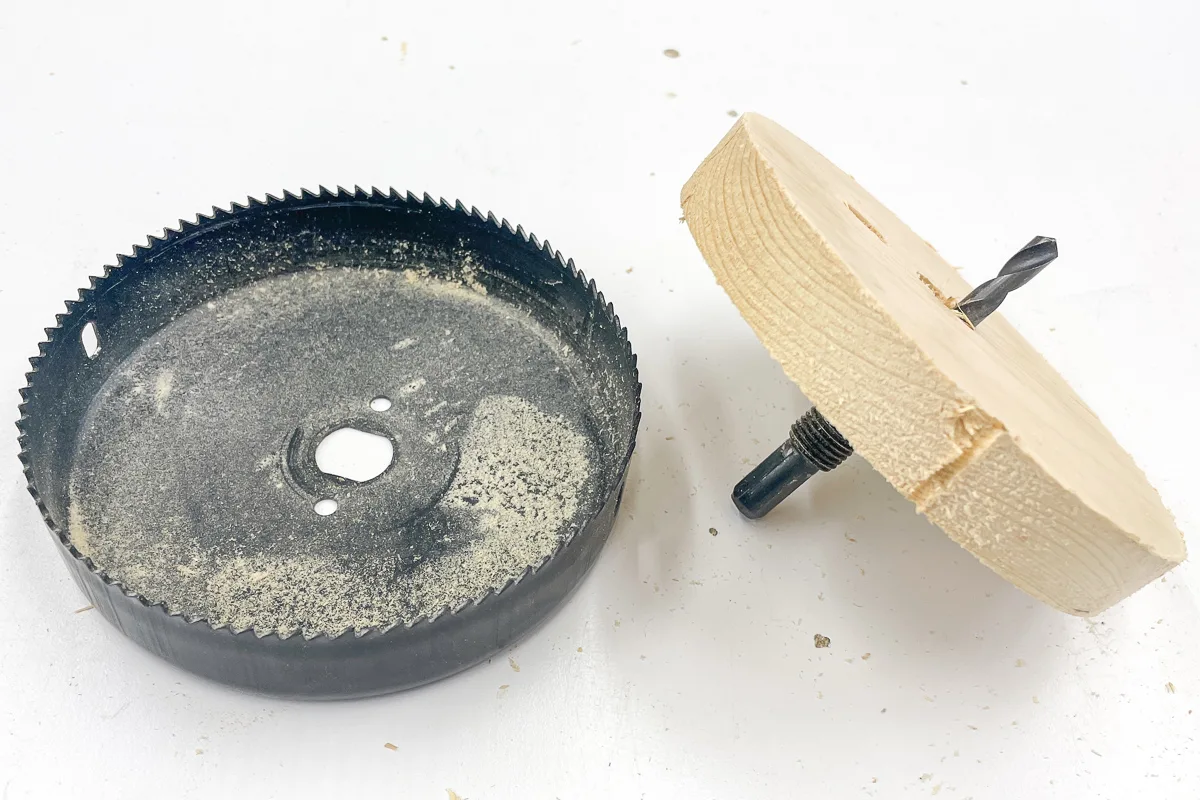
How to Remove Wood from a Hole Saw
This can be one of the most frustrating parts about using a hole saw! After you make the perfect circular hole, the wooden plug is stuck inside the blade! The heat created by the cut can cause the wood to bind, making it difficult to remove.
Most hole saw blades have vents on the sides to allow sawdust to escape. Try using a slotted screwdriver to dislodge the wood plug through the vents (you can see the grooves in the side of this plug from trying this trick).
Another method for removing wood from a hole saw is to drill long screws into the wooden plug on both sides of the drill bit. Alternate back and forth between the two screws, slowly driving it in a little further each time. When the tip of the screw hits the bottom of the hole saw, it will start pushing the plug out!
If that doesn't work, you'll have to disassemble the saw and pop it out from the back. Usually a few good whacks with a hammer on the end of the arbor shaft will suffice!
Safety Concerns
Hole saws can be dangerous. You're dealing with a lot of torque. If the saw binds while cutting, it can yank your arm and injure your wrist. Don't go too fast, and keep a good grip on your drill.
The other safety concern is heat. Allow your drill to rest during large cuts to prevent overheating, and don't touch the saw blade until it's had a chance to cool down. I've made the mistake of trying to remove it too soon, and burned my fingers!
Always use common sense, wear safety glasses, and make sure your mind (as well as your saw) is sharp before operating a hole saw.
Spade Bit vs Hole Saw
Use a spade bit instead of a hole saw to bore up to 1 ½" holes in wood when you don't need the plug and don't mind the rough cut edges. Spade bits have two sharp edges with a point in the center. As the bit spins, the edges shave out the wood.

Spade bits are useful for projects where you need a small hole drilled quickly, like when you're running wiring through a stud wall. They're the cheapest option of the three, but they have some downsides.
First, the spade bit can be hard to use near the edge of a board. They also don't make the cleanest hole and tend to tear out. In general, this type of a bit is best for rough construction rather than a fine woodworking project.
Forstner Bit vs Hole Saw
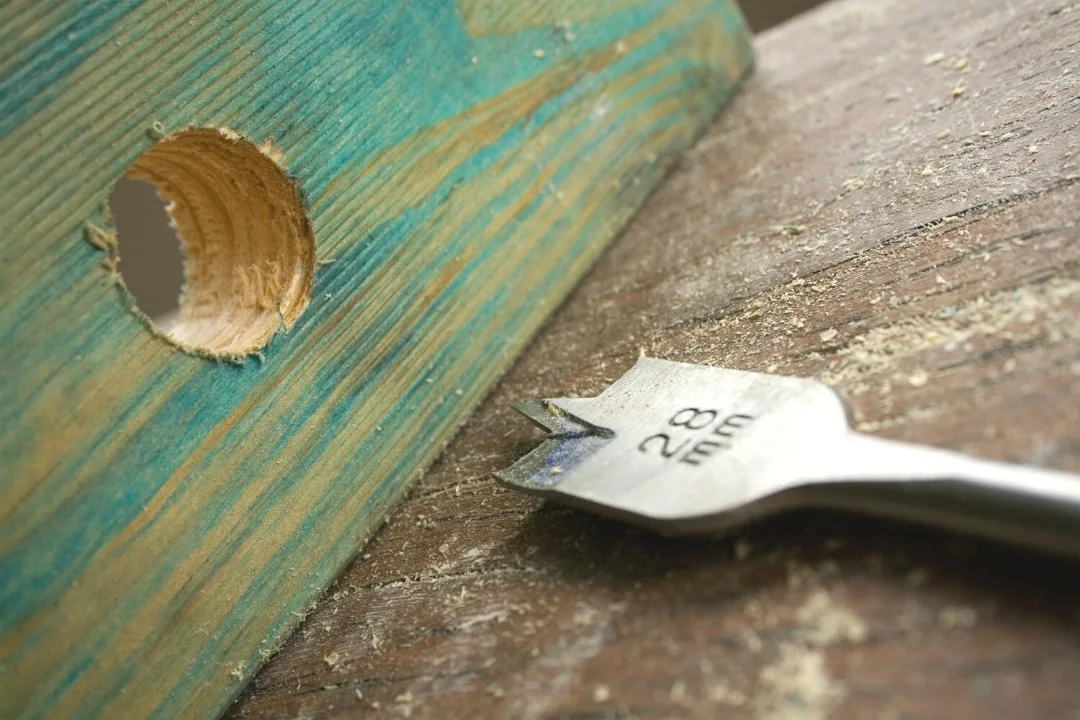
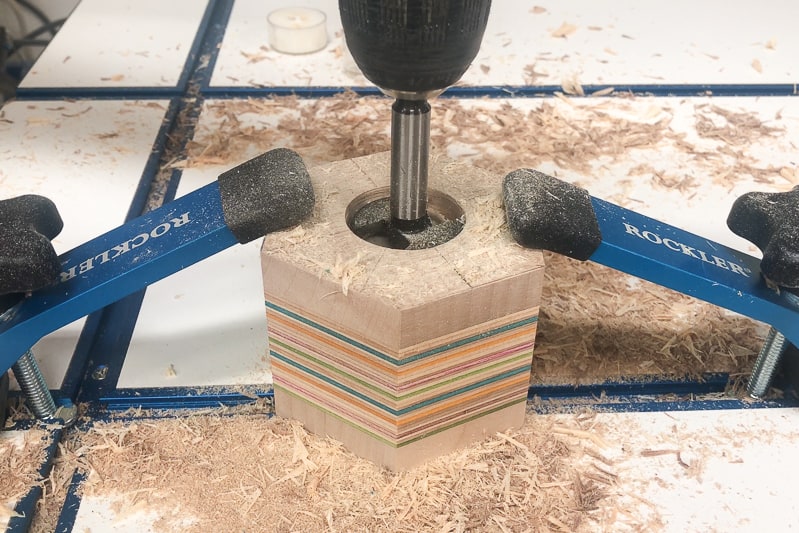
A Forstner bit creates a flat bottomed hole with smooth sides. This bit will give you a much cleaner hole, but at a much higher cost. This tool is great for holes that will be seen, such as recessing screws that will be plugged, or for decorative elements like this tea light candle holder.

The Forstner bit doesn't create as much heat as a spade bit. They work well when you need to cut the edge of a board or make an angled hole. However, they can be expensive, and are only typically available in sizes under 3" in diameter.
Arbored vs Non-arbored
An arbored hole saw has a pilot hole drill bit in the center, and a non-arbored hole saw doesn't. Choosing one over the other comes down to understanding what the pilot drill bit is and how it works.
If you want to save the cutout circle, then you may want to use a non-arbored hole saw. This way, you don't have a little hole in the middle. But if your circles will be painted, you can use wood filler to cover up the hole.

If your project requires precision, you may want an arbored hole saw. The pilot hole will help guide your cut and keep it centered.
Also, an arbored hole saw is generally easier for a beginner to use because the saw blade won't skip over the surface of the wood. A non-arbored hole saw is harder to control, so I'd only use them in a drill press with the workpiece clamped down to the table.
Now that you know how to use a hole saw, you can drill holes in just about anything! I hope this guide was helpful, and if you have any questions, feel free to ask them below!
Check out these other beginning woodworking tutorials!