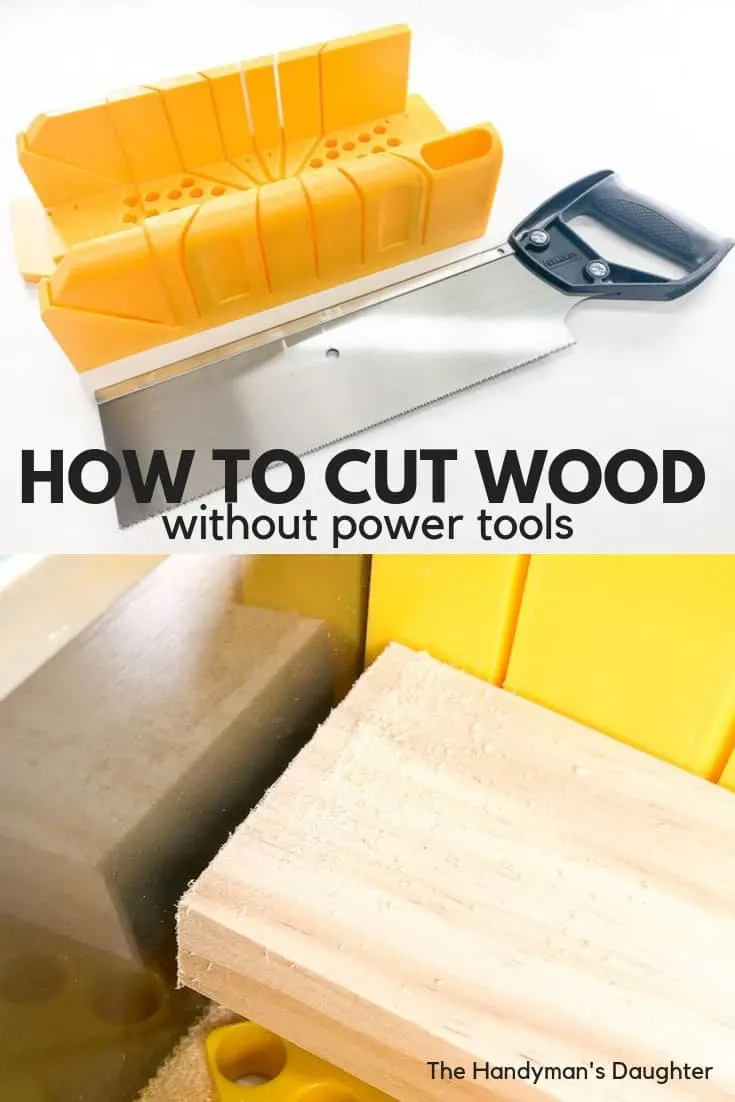
Do you live in an apartment, or fear power tools? No problem! I'll show you how to use a miter box to cut wood by hand without the noise or mess!

The internet (and this site!) is full of amazing DIY project ideas, but the tools required can feel intimidating to a beginner. I remember my first woodworking project, a simple poster frame, and how scared I was to start up the miter saw for the first time! (You can learn how to use a miter saw in this tutorial.)

Luckily, there's a cheap and easy way to cut wood without any power tools! A simple plastic box and a hand saw are all you need to get started. I'll show you how to use a miter box to cut wood, aluminum, plastic pipes and more with just a little elbow grease!
This post contains affiliate links for your convenience. Purchases made through these links may earn me a small commission at no additional cost to you. Please visit my disclosures page for more information.
All too often, I hear people say things like "I would love to make that, but I'm not handy!" or "I can't make that because I'm terrified of power tools!" My goal is to show that anyone can build simple DIY projects with the right information and tools!
I'm constantly adding to my library of beginning woodworking tutorials, so if there's something you want to learn, just let me know!
What is a Miter Box?
A miter box is a plastic, metal or wooden box used together with a hand saw to cut wood at preset angles. It's more precise than cutting wood freehand, because the slots prevent the saw from moving sideways as you work.
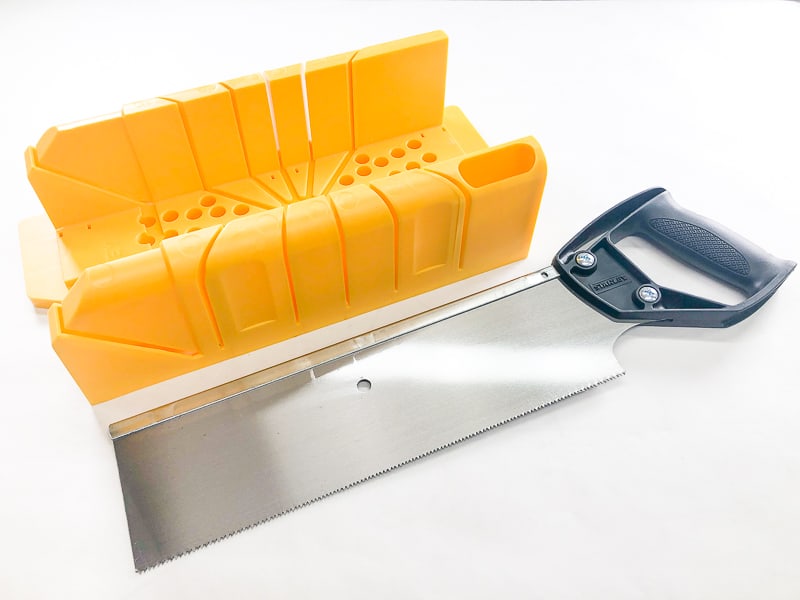

This Stanley miter box is the one I would recommend for beginners, and can be found for less than $20 at your local home improvement store. It features clamping pins that hold the wood in place while you cut, and comes with a decent saw ready to go!
How to Use a Miter Box
There are a few steps to take before you start cutting wood with a miter box if you want the best results.
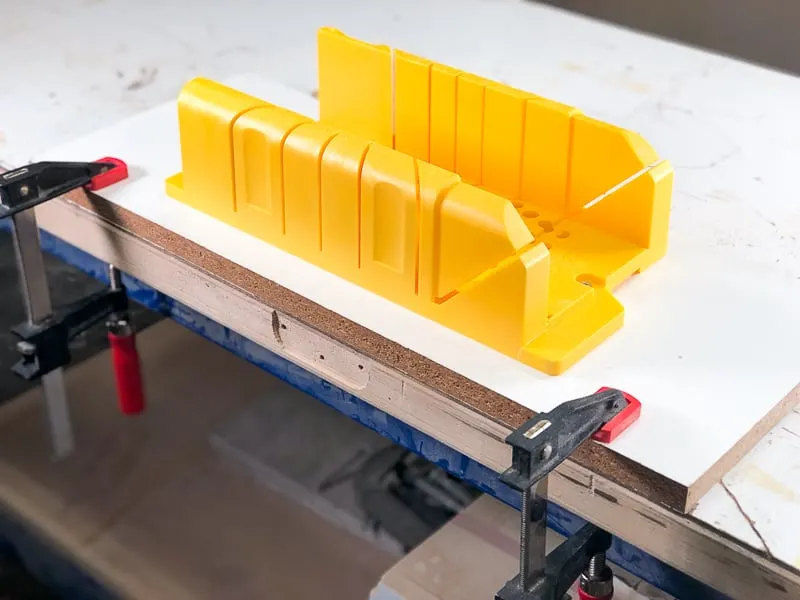
Clamp Down the Miter Box
You'll wear yourself out pretty quick if you're trying to hold the miter box steady with one hand while you saw with the other! Do yourself a favor and use a couple clamps like these to hold the miter box to the table while you cut.
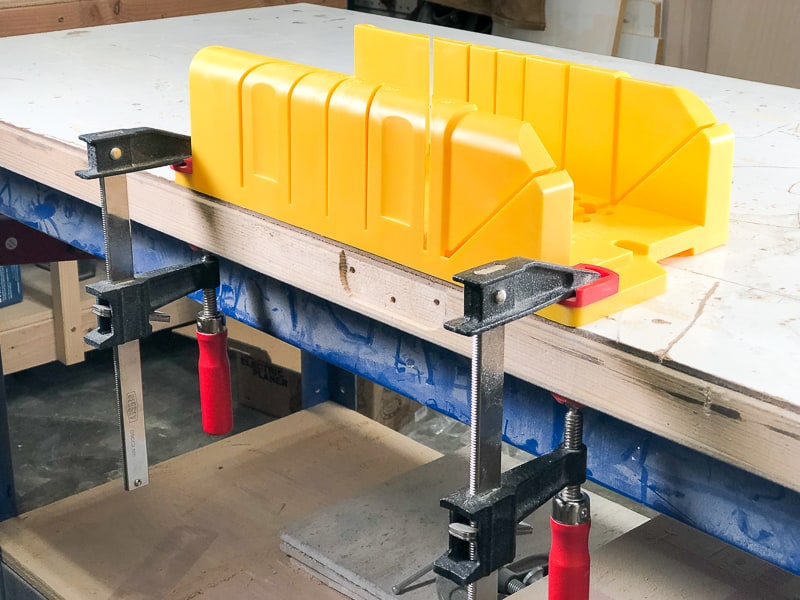

If you're cutting a really wide board, it can be a little tricky to keep the ends of the clamps from getting in the way. You may want to screw the miter box to a scrap board first, then clamp the wood base instead. This also makes it easier to clamp it across sawhorses if you're working outside.

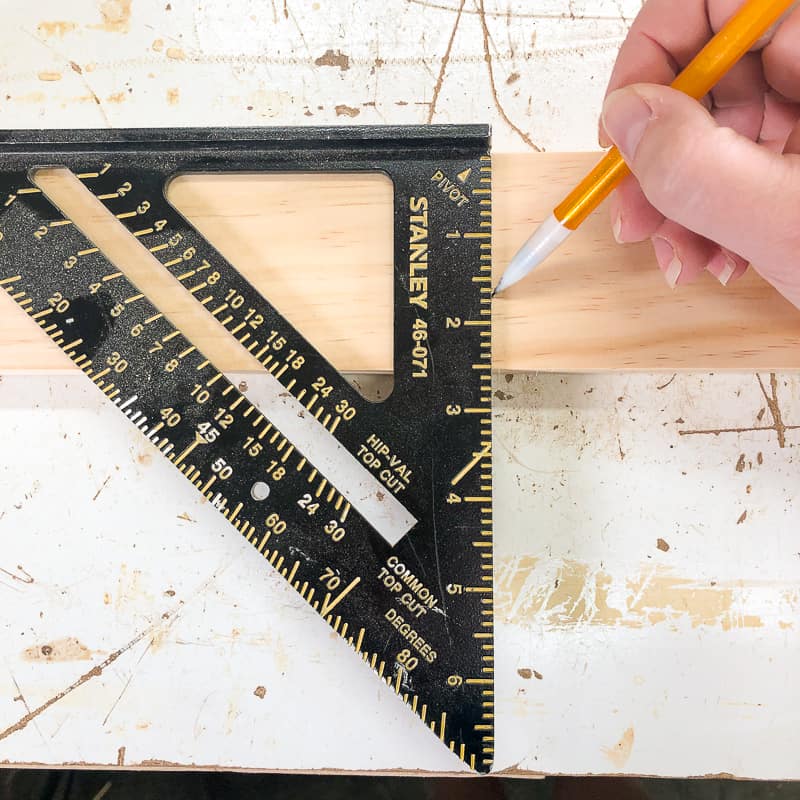
Measure and Mark the Cut
Measure the length of wood you need for your project with a tape measure. Mark it with a pencil, then draw a straight line across the board with a square. This will make sure that the line is exactly 90 degrees from the edge of the board.

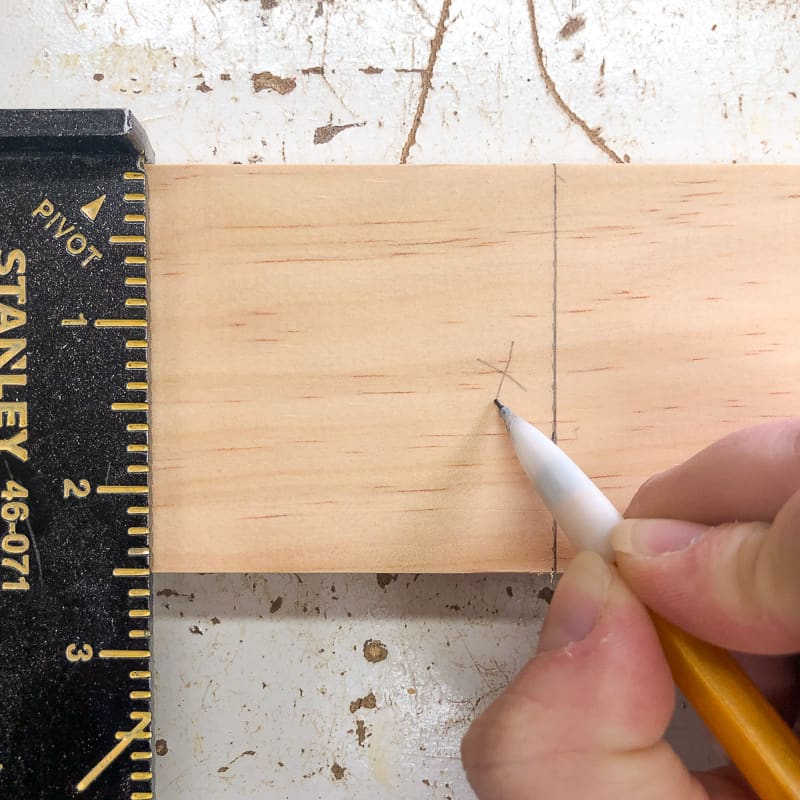
One side of the line is the "keep" side and the other is the "waste" side. The keep side is the one you'll be "keeping" to use in your project. Mark the waste side with an X. It may be obvious on that first cut, but it's easy to get confused when both sides are similar lengths.

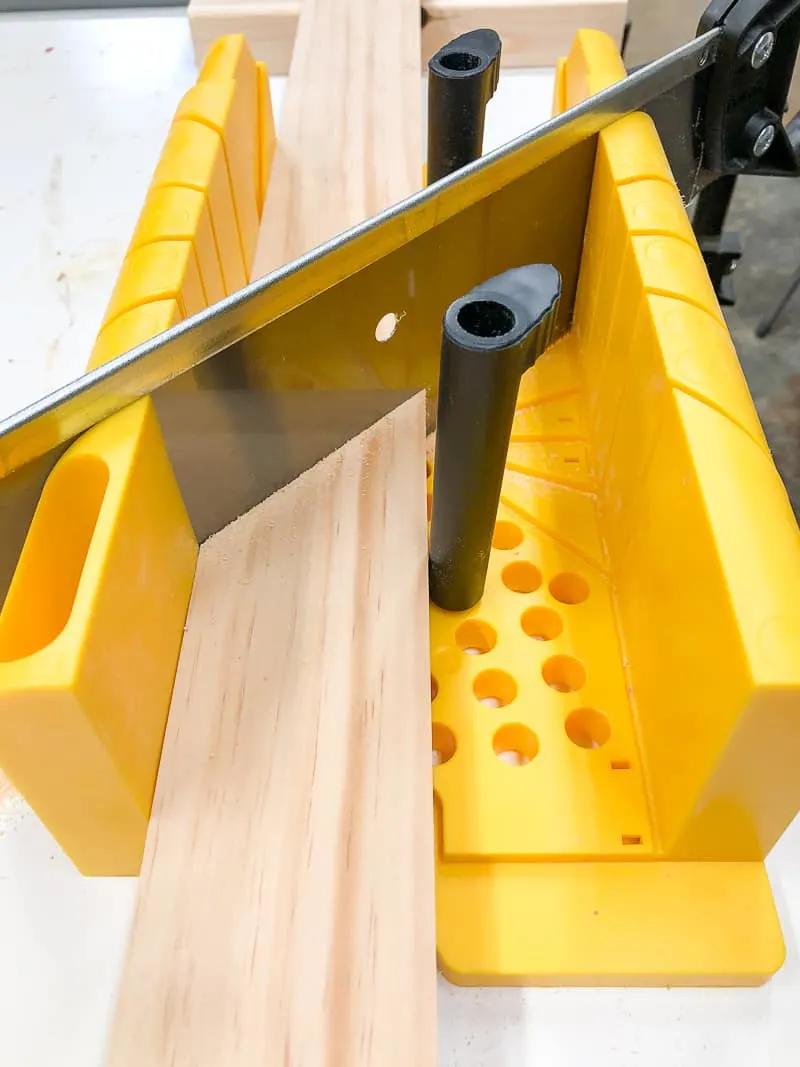
Place the Wood in the Miter Box
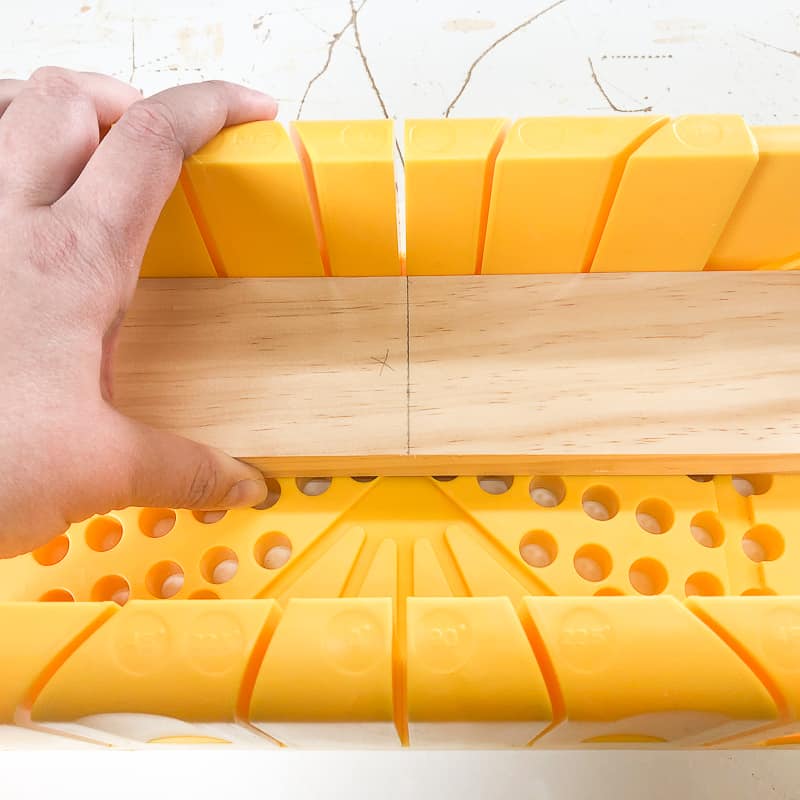
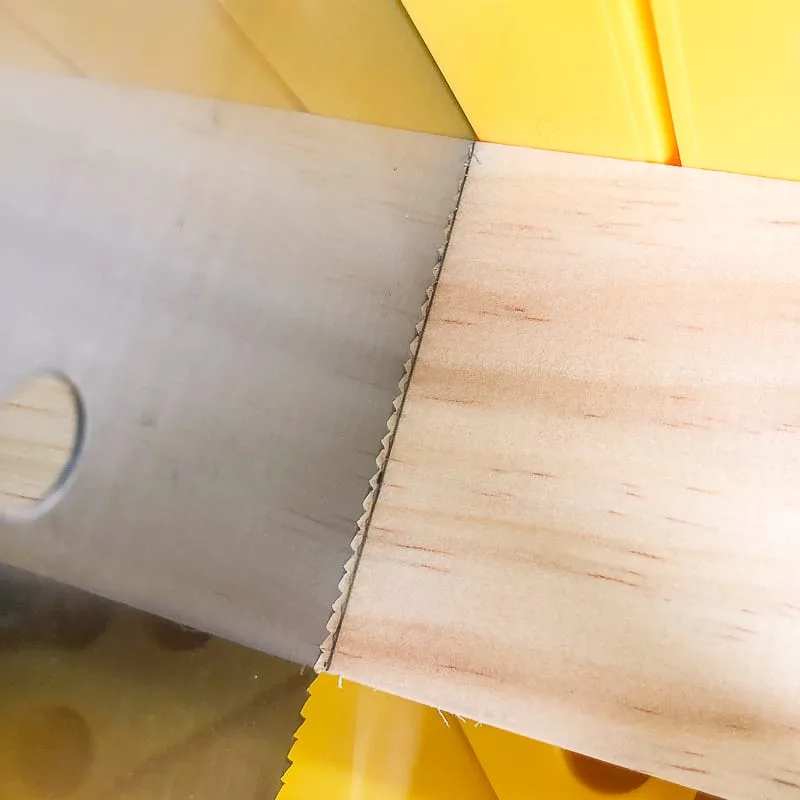
Lay the wood inside the miter box, either flat or standing on end, depending on the cut to be made. This particular miter box comes with little peg clamps to hold the board tight against the back of the box. Line up the waste side of the cut line with the side of the slot, not right down the middle!
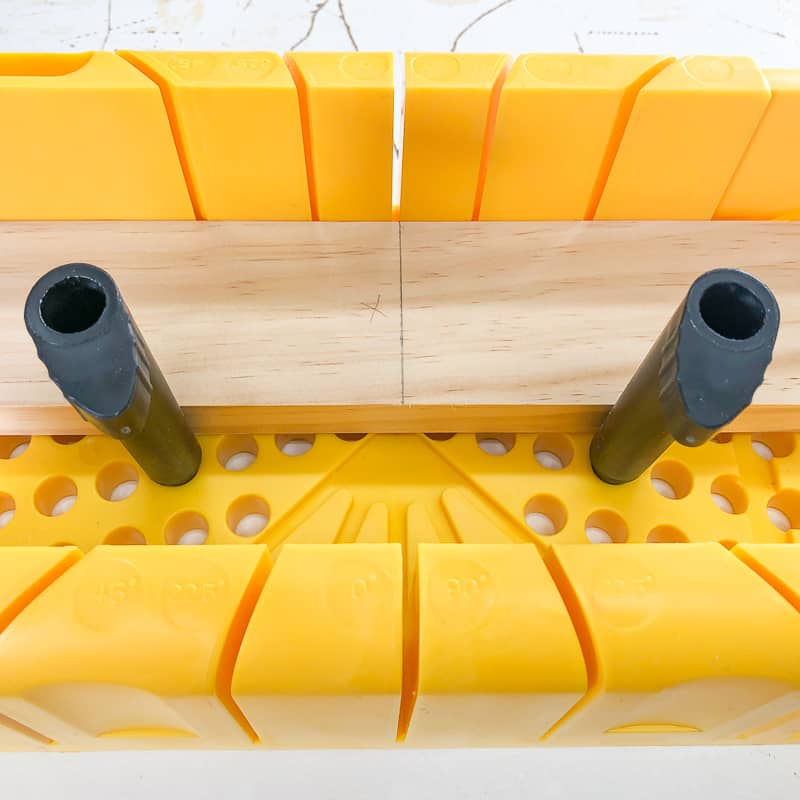
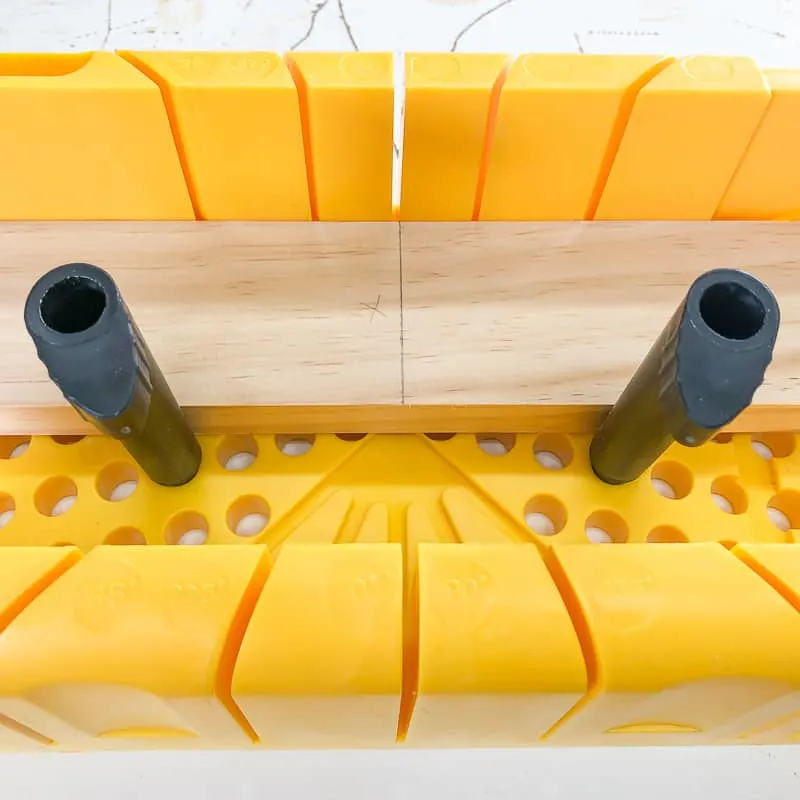
If your miter box doesn't come with these pegs, don't worry! You can use your thumb to hold the wood in place as you cut. Just make sure to keep your hand safely away from the blade!
Line the Blade Up with your Mark
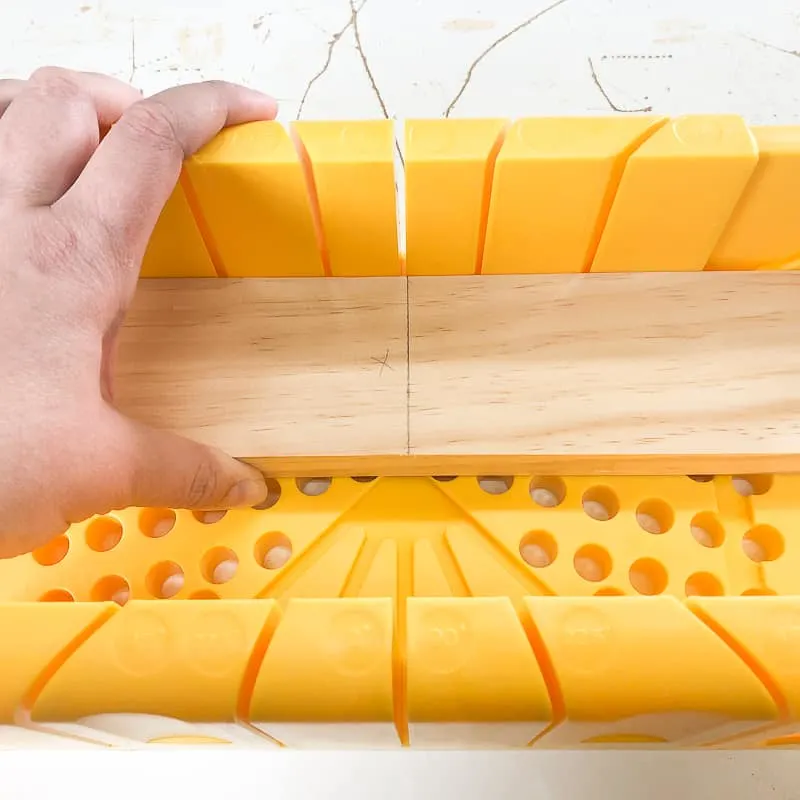
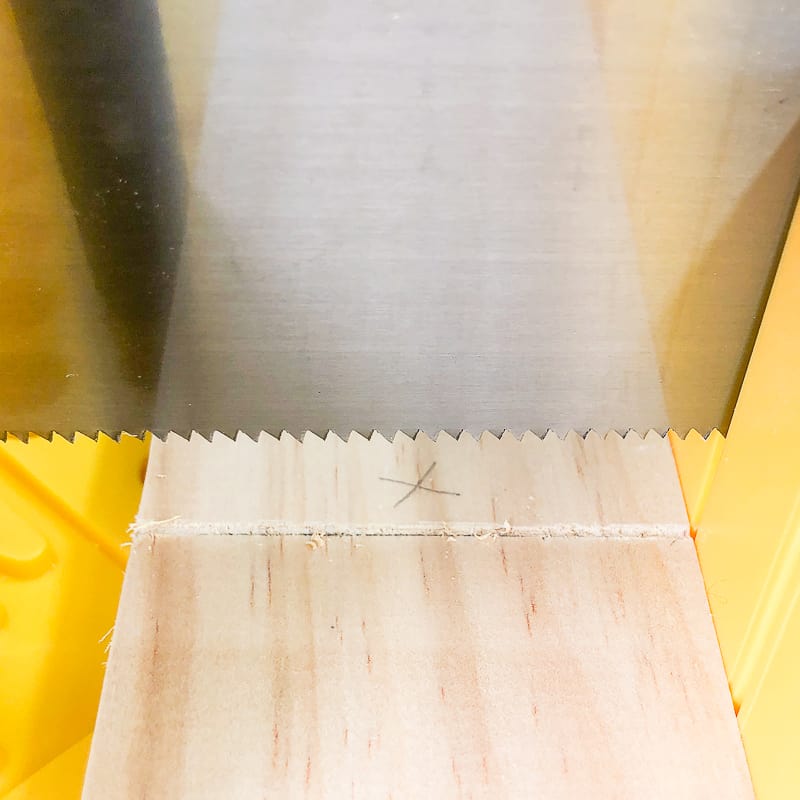
Insert the saw into the slots for the angle you plan to cut. In this case, it's a straight 90 degree cut. Line up the blade so that the teeth will touch the line on the waste side (this is why you make an X!)
Why not cut on the line? The blade will remove some of the wood as it cuts (this is called the kerf). If you cut directly on the line, you'll make the board shorter than you want it to be!
It's always better to cut the board slightly longer than necessary, then sand the end down if it doesn't fit. You can't add more wood back on if it's too short!
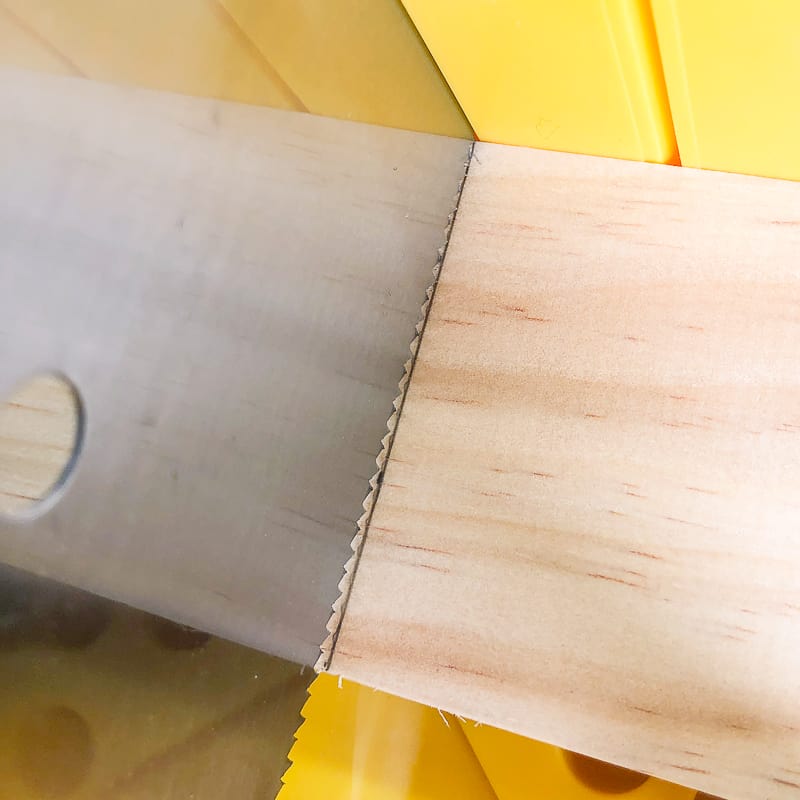
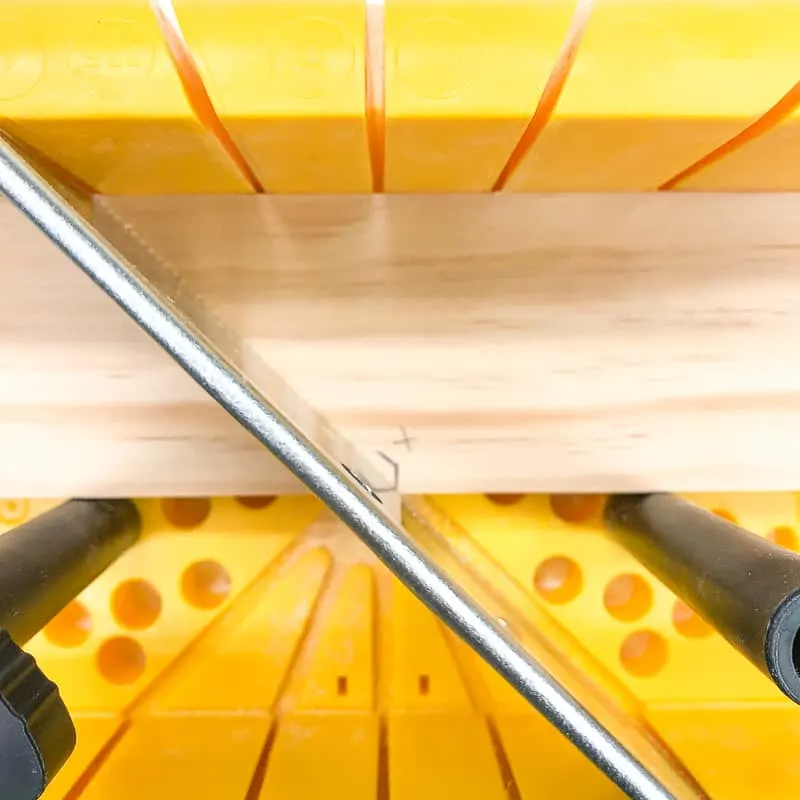
Score the Cut Line First
If you start sawing at full force, the blade will jump and you'll get a jagged edge at the top of the cut. Instead, run the blade lightly over the board a few times to score the surface and break those wood fibers.

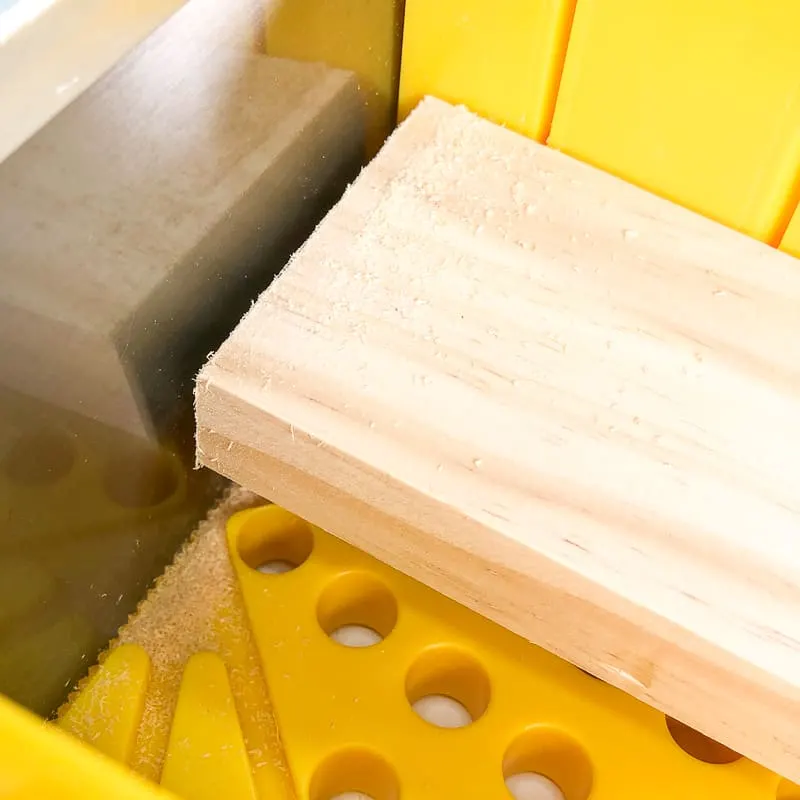
Finish the Cut
Once you have a groove in the board, you can finish the cut using more effort. Don't try to force the saw down. Just let the teeth do the work!

Depending on the species of wood and the thickness of the board, it may take a few minutes to get all the way through. Consider this your arm workout for the day! 😉
Angled Cuts
A miter box is the perfect solution for a homeowner who wants to replace baseboards or window and door trim without buying a full size miter saw. The 45 degree slots are most often used for making those tricky corner cuts.
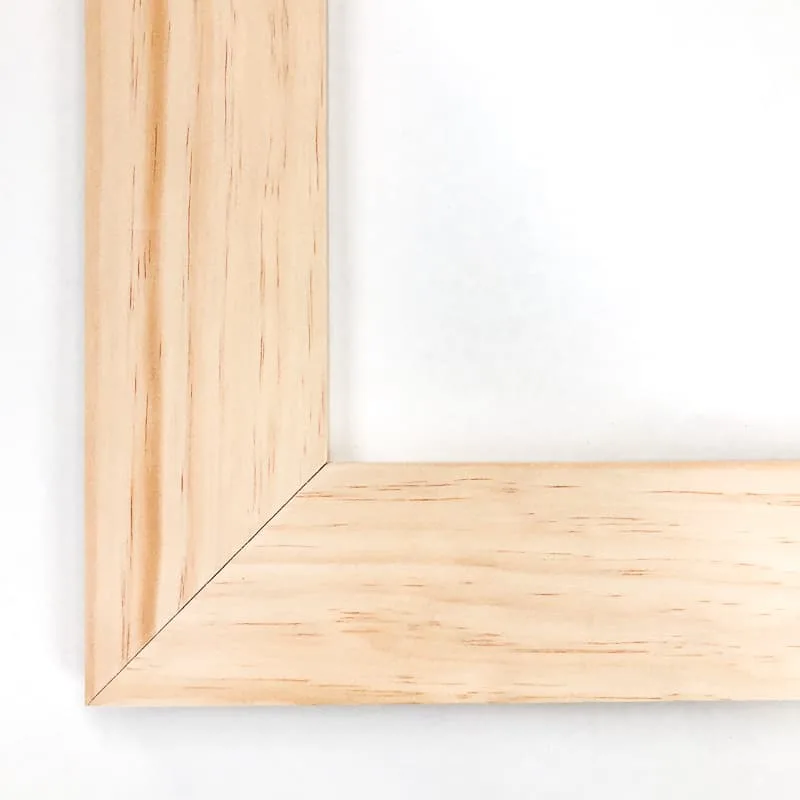
Window and door trim goes together like a picture frame. Measure the top of the opening, then mark that dimension on your board, indicating the direction of the angled cut.

Make the cut the same way as shown above, but line the mark up with the 45 degree slot instead. Repeat for the other end of the board, but with the angle facing the other direction.

Fit the two sides of the cut together at a 90 degree angle for the perfect corner!

Baseboards and crown moulding are a little trickier. This video shows you how to cut trim with a miter box, and he explains it much better than I could! 🙂
Miter Box Alternatives
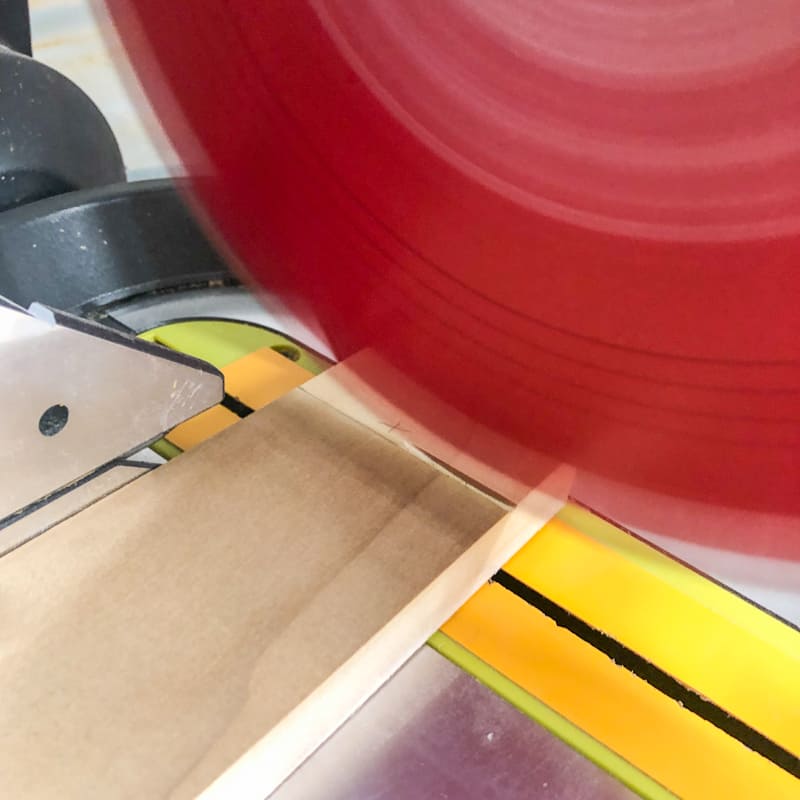
If you have a lot of boards to cut, and not a lot of patience, you may want to consider a smaller power saw instead. Here are a few options that would be great for a beginner!
Compact Circular Saw
I wish I knew about these things when I first started woodworking! The blade on a compact circular saw is half the size of a traditional circular saw, so it doesn't feel like a spinning wheel of death and dismemberment! 😉 The handle is further away from the teeth, so you can feel better about keeping your digits safe.
Jigsaw
A jigsaw is another good alternative for people who aren't comfortable with power tools. Instead of a spinning blade, it has a small straight blade on the front that moves up and down like a cutting knife. You can learn more about how to use a jigsaw here!
Now that you've learned how to use a miter box, you'll need some easy projects to get you started! Here are some ideas!
Lloyd Bronson
Friday 4th of October 2019
I am thankful that your article mentions how mitre boxes offer an alternative to using power tools as it offers several convenient angles to cut at. My spouse and I are interested in building wooden toys for our children but we do not have access to power tools nor the budget to do so. We'll be sure to look into purchasing a mitre box for the future.
Amy
Wednesday 25th of September 2019
Miter boxes are such a great tool. I had that exact miter box, but I gave it to my nephew. Unfortunately, I do very little woodworking any more. I figured that the miter box would get more use if I gave it to him. Thank you for sharing this very informative post.
Sandi
Wednesday 25th of September 2019
Just read this tutorial. Vineta, what a wonderful job you did explaining how to use this miter box. I learn so much from you. Thank you!
Vineta
Wednesday 25th of September 2019
Aw, thank you so much! I'm glad I could help!